The Micro-Dwelling Project Part 8: The Heating
This post may contain affiliate links. See my disclosure policy.
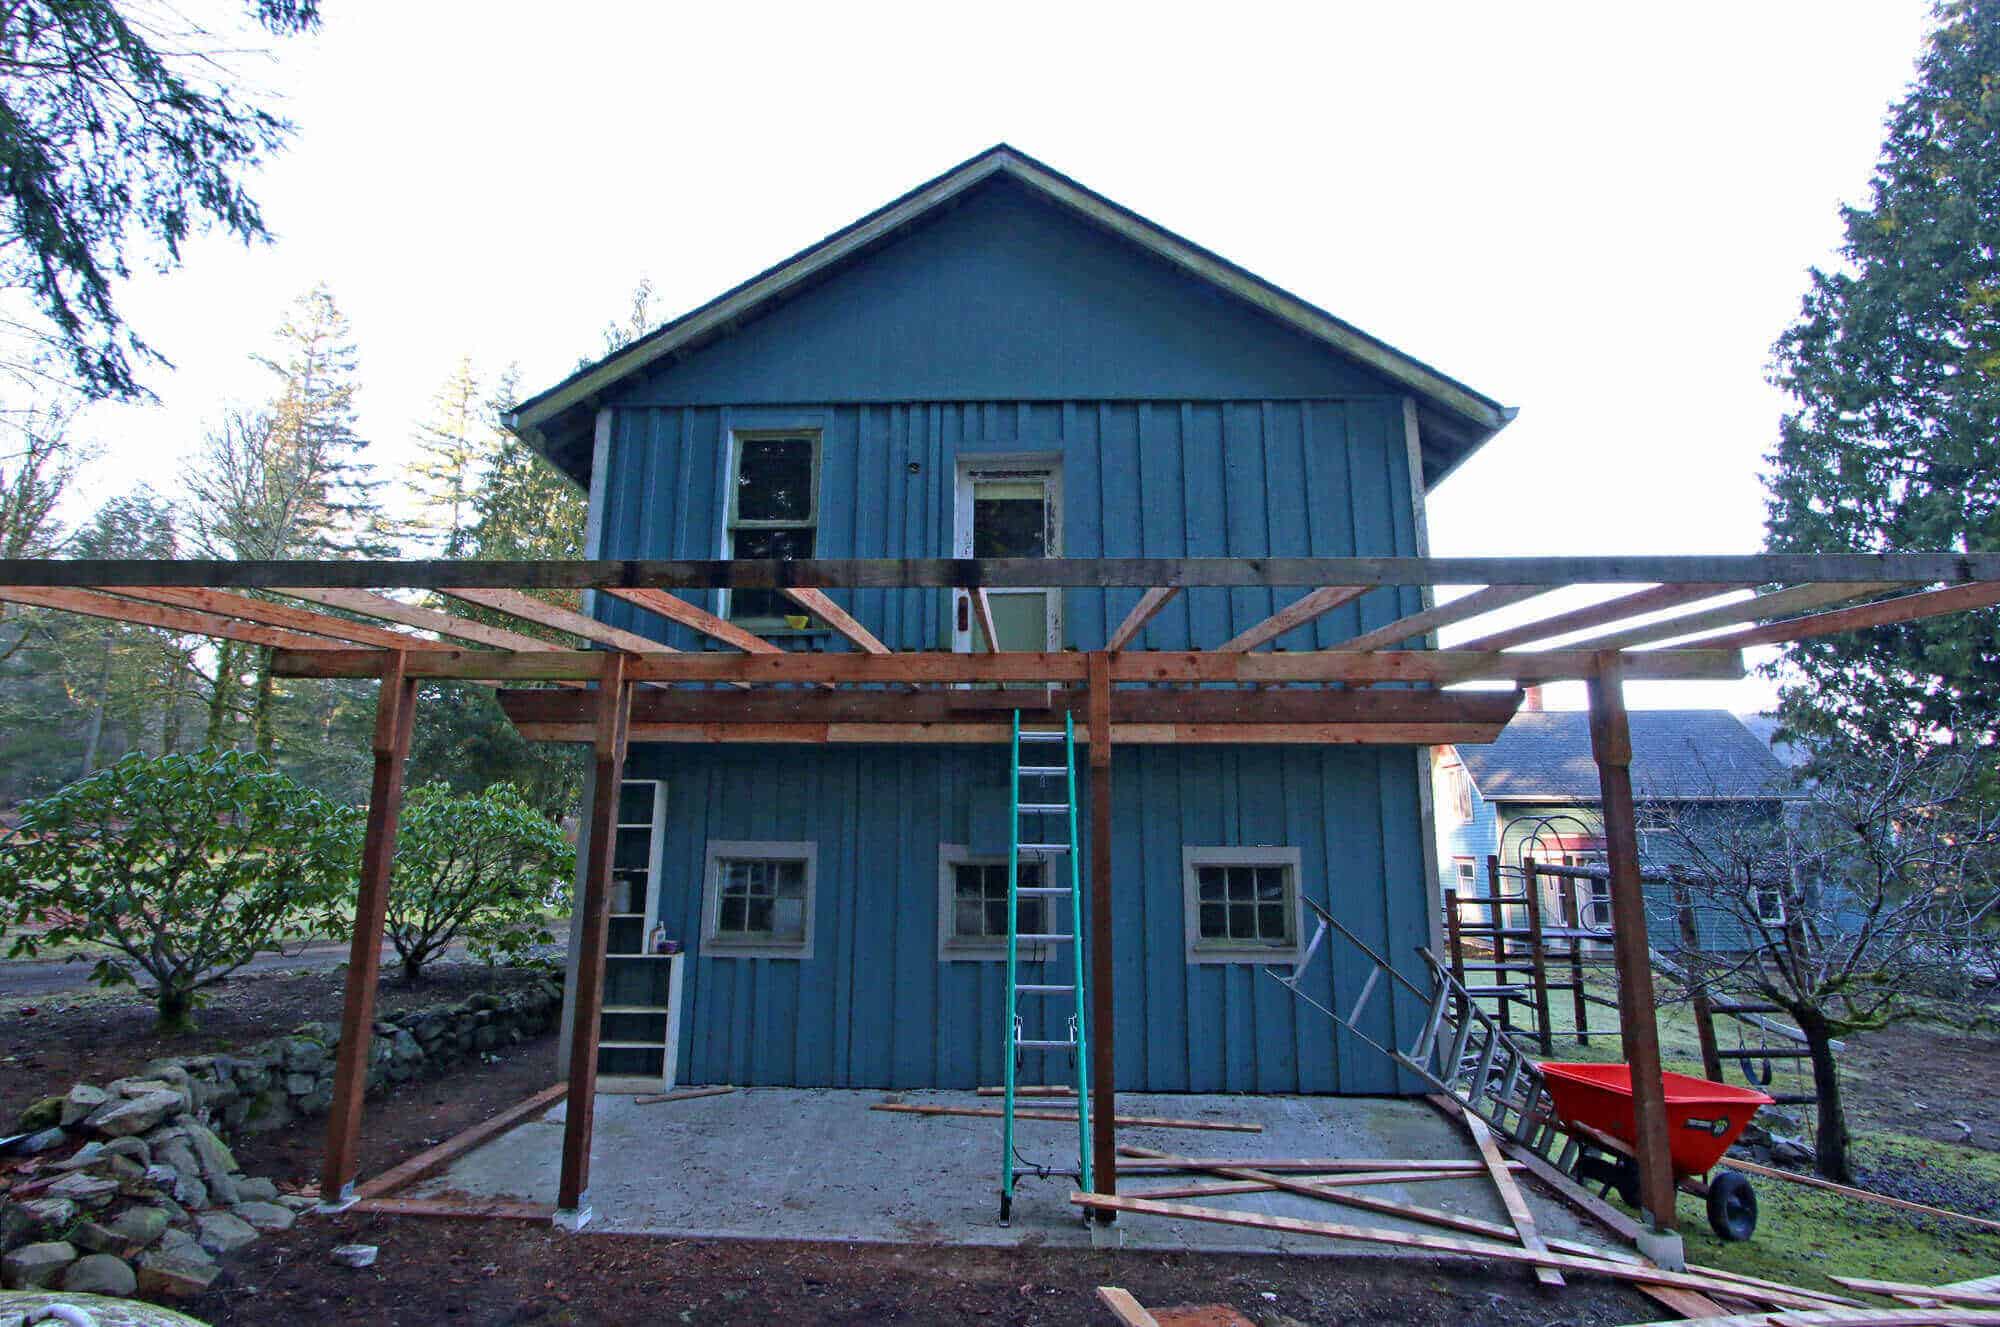
Welcome to the 8th installment! We purchased our 105 year old farmhouse a little over a year ago and have been working on renovating a tiny guesthouse on our property. The guesthouse is 93% complete!! All that’s left are some final touches in the upstairs loft and we have to put the railing on the deck stairs – stay tuned!
Aside from that, everything is done and it’s time to turn our attention to some very important nuts and bolts of the project, like
![]()
That’s a pretty important detail, right? After researching all the options on the market, the choice was obvious:

We have some friends who have built several homes and they’re now strictly using Cadet heaters in their 3200+ square foot home. That’s nearly 3000 sq ft bigger than this tiny guesthouse so we figured if the heaters working well for them, they would certainly do well for a small place like this. Our friends have one in each room and can conserve energy by turning on the heaters only in the rooms they’re currently using.
We also didn’t have the space for a furnace and didn’t want to spend the time and money installing a complex heating system for such a small space that will only be used intermittently. Cadet was the best and obvious choice.
Cadet’s headquarters are right here in our home state of Washington and when you dial their number to speak to someone you get a real person based here in the U.S.. When we called Cadet with questions about their heaters their customer service and tech support were friendly, helpful and were able to make recommendations based on our unique needs and setup. Best of all, Cadet’s heater units are very affordable and, depending on the model, come with up to a 5 year warranty.
Another plus is that all of their heaters are…

We chose three different heating units: One for the main living space, one for the bathroom and one for the kitchen. In that order, here are the units we chose and a few specifications:
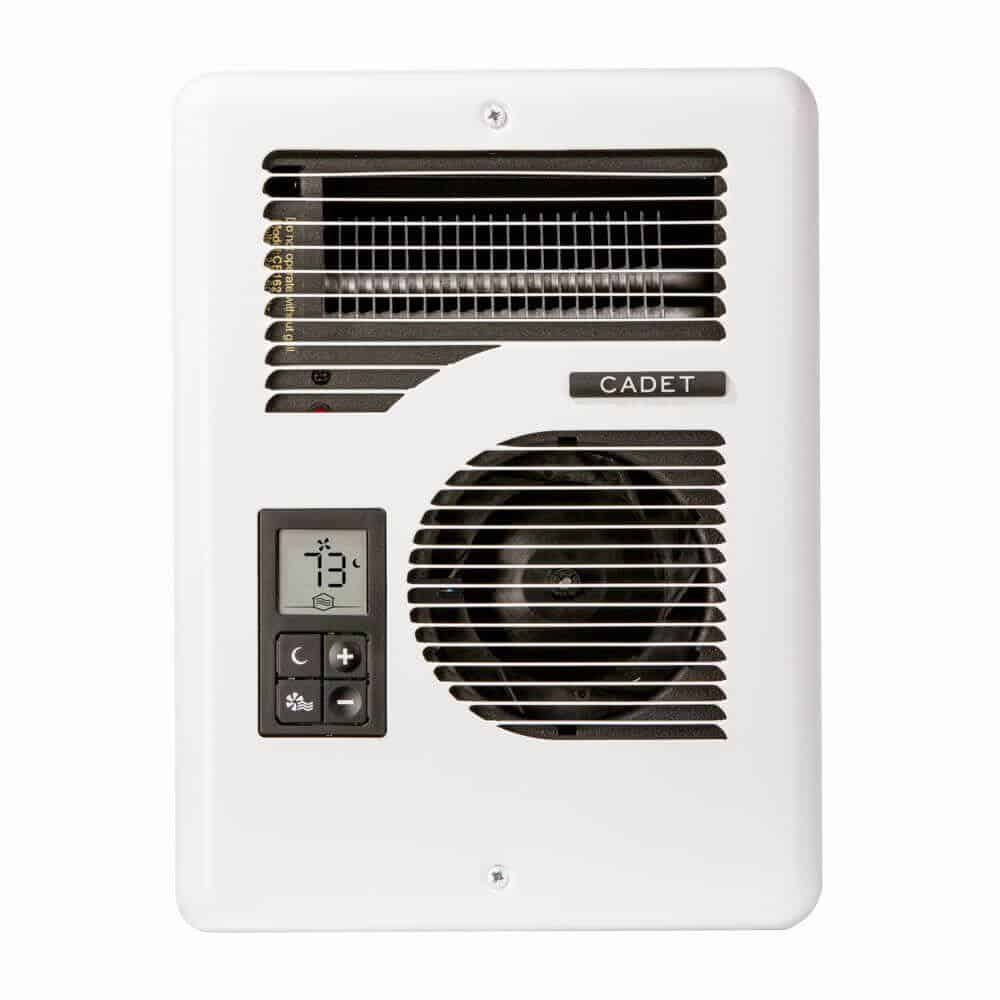
Energy Plus Wall Heater:
- Now with even quieter operation with new motor
- Use up to 30% less energy with automatically adjusting wattage and fan
- Easy, safe install – the smart sensor auto adjusts the heater voltage to match your 120, 208 or 240 volt power supply
- Experience more comfort with precise, consistent temperature control and an auto adjusting fan speed that eliminates wide temperature swings
- Built-in digital thermostat with simple controls, a large digital display, and no complicated programming
- Night or Away button allows you to pre-set a secondary, lower temperature for nights or when you’re out of the room
- Keep the air circulating year-round with the fan-only mode
- Tamperproof settings let you set minimum and maximum temperature points
- 5-year warranty
- ETL listed
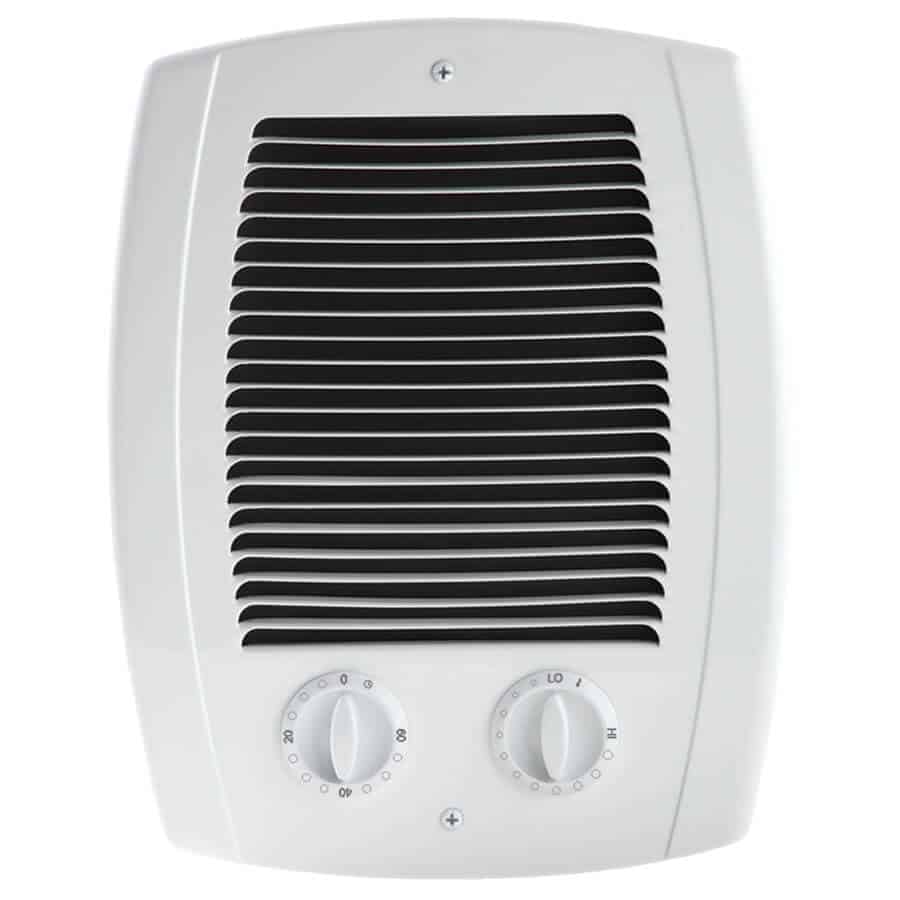
Com-Pak Bath Wall Heater:
- Quick, efficient warmth for the bathroom
- Built-in thermostat and 60-minute auto-timer
- Painted heating element prevents rust in damp bathroom environments
- Low-profile grill blends with any décor
- Includes high-temperature safety shutoff feature
- Multi-volt and multi-watt options available to match your room size
- 3-year warranty
- ETL listed to UL standards
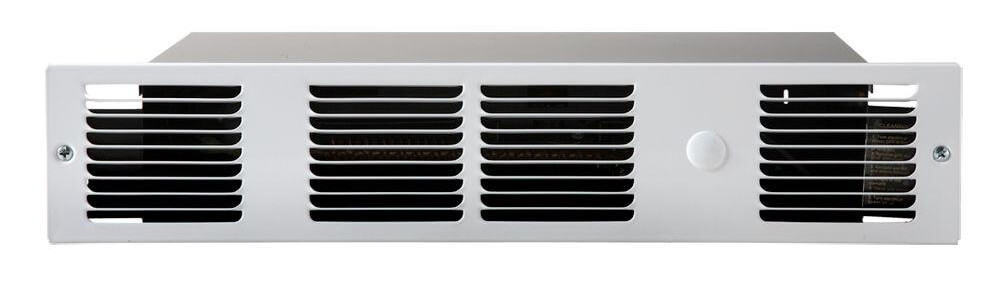
Perfectoe Under Cabinet Heater
- Perfect for kitchens, bathrooms, and stairwells
- Rest easy—includes high-temperature safety shutoff feature
- Neatly fits under cabinets in the toe-kick area
- No sharp edges
- Easy installation
- 2-year warranty
- UL listed
Installing each of the heaters was a breeze.
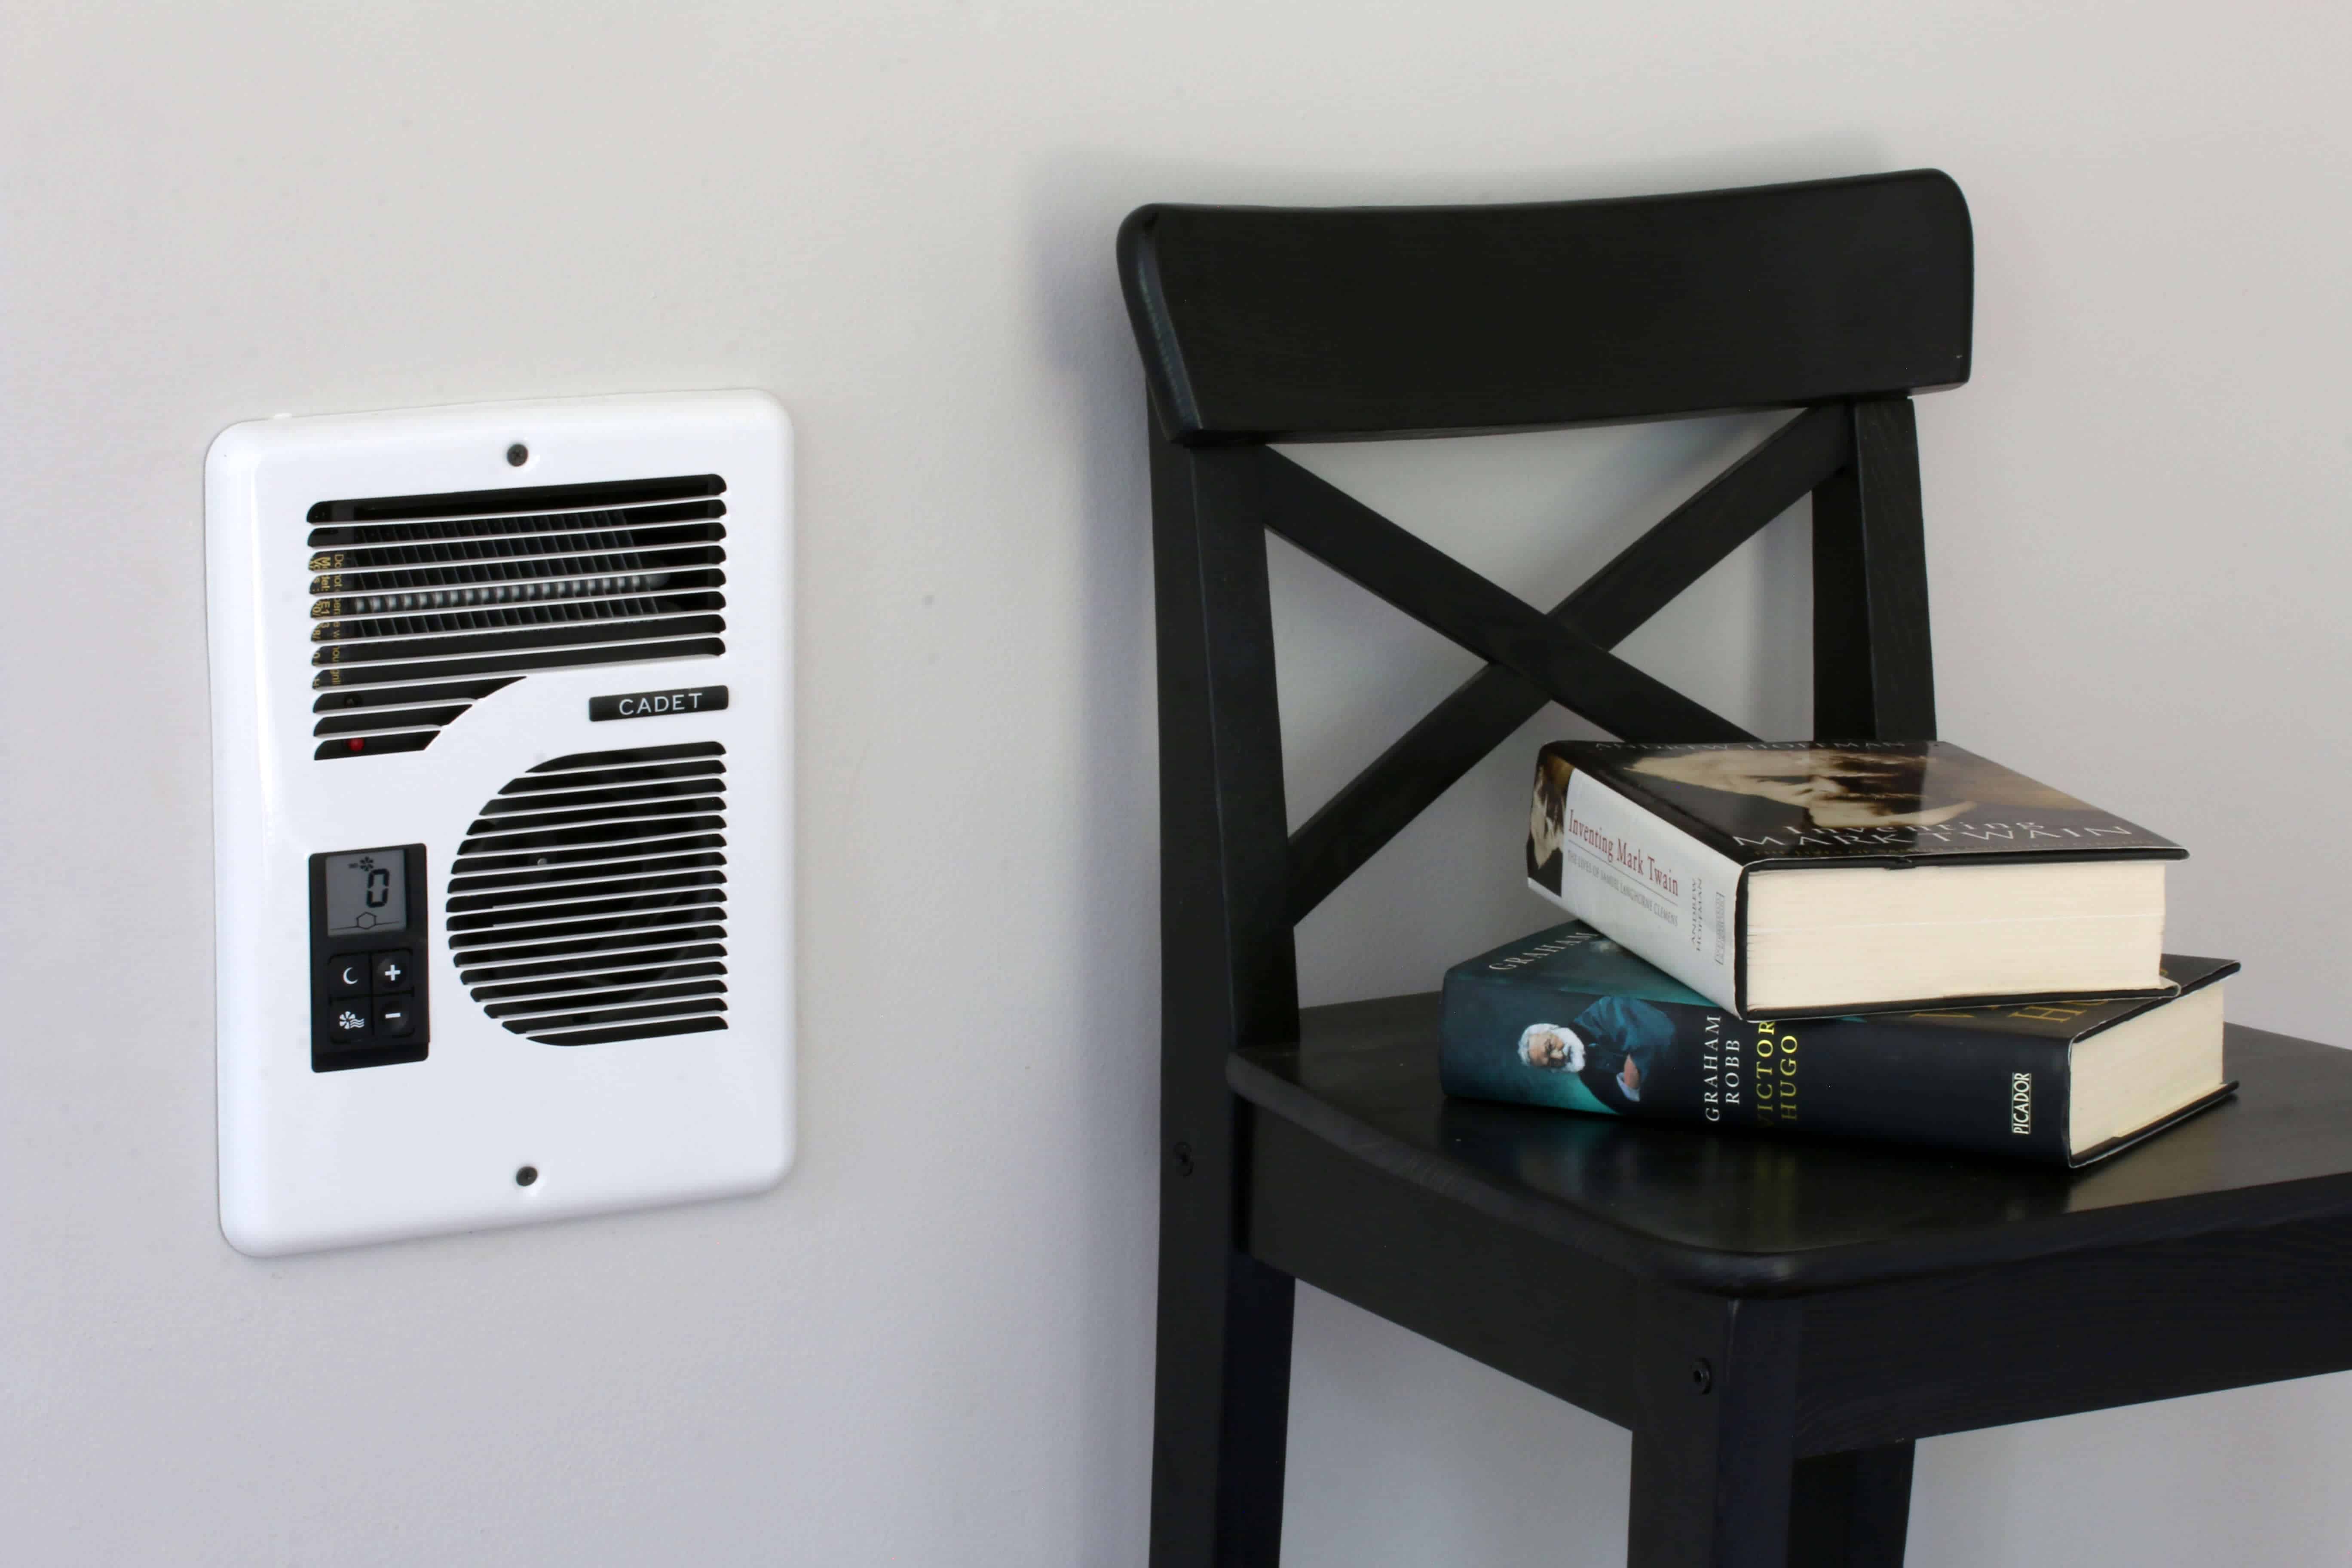
For the main living space we used the Energy Plus Wall Heater. It was simply a matter of cutting a hole into the drywall next to a stud for the heater can, mounting it onto the stud and running the power supply to it. Presto!
The Energy Plus Wall Heater has a built-in thermostat which is really cool. You simply set it to the temperature that you want and it maintains it.
One of the unique features of it is that it varies the fan speed depending on the room temperature (e.g., if you come home and it’s only 50 degrees in side the house and you want it set to 68, the fan runs full speed to get the room up to temperature and then runs at lower speed to maintain the temperature.
It also has a night/away mode so that you can pre-set a secondary lower temperature for sleeping or when you’re away – with a quick push of the button the temperature is already set.


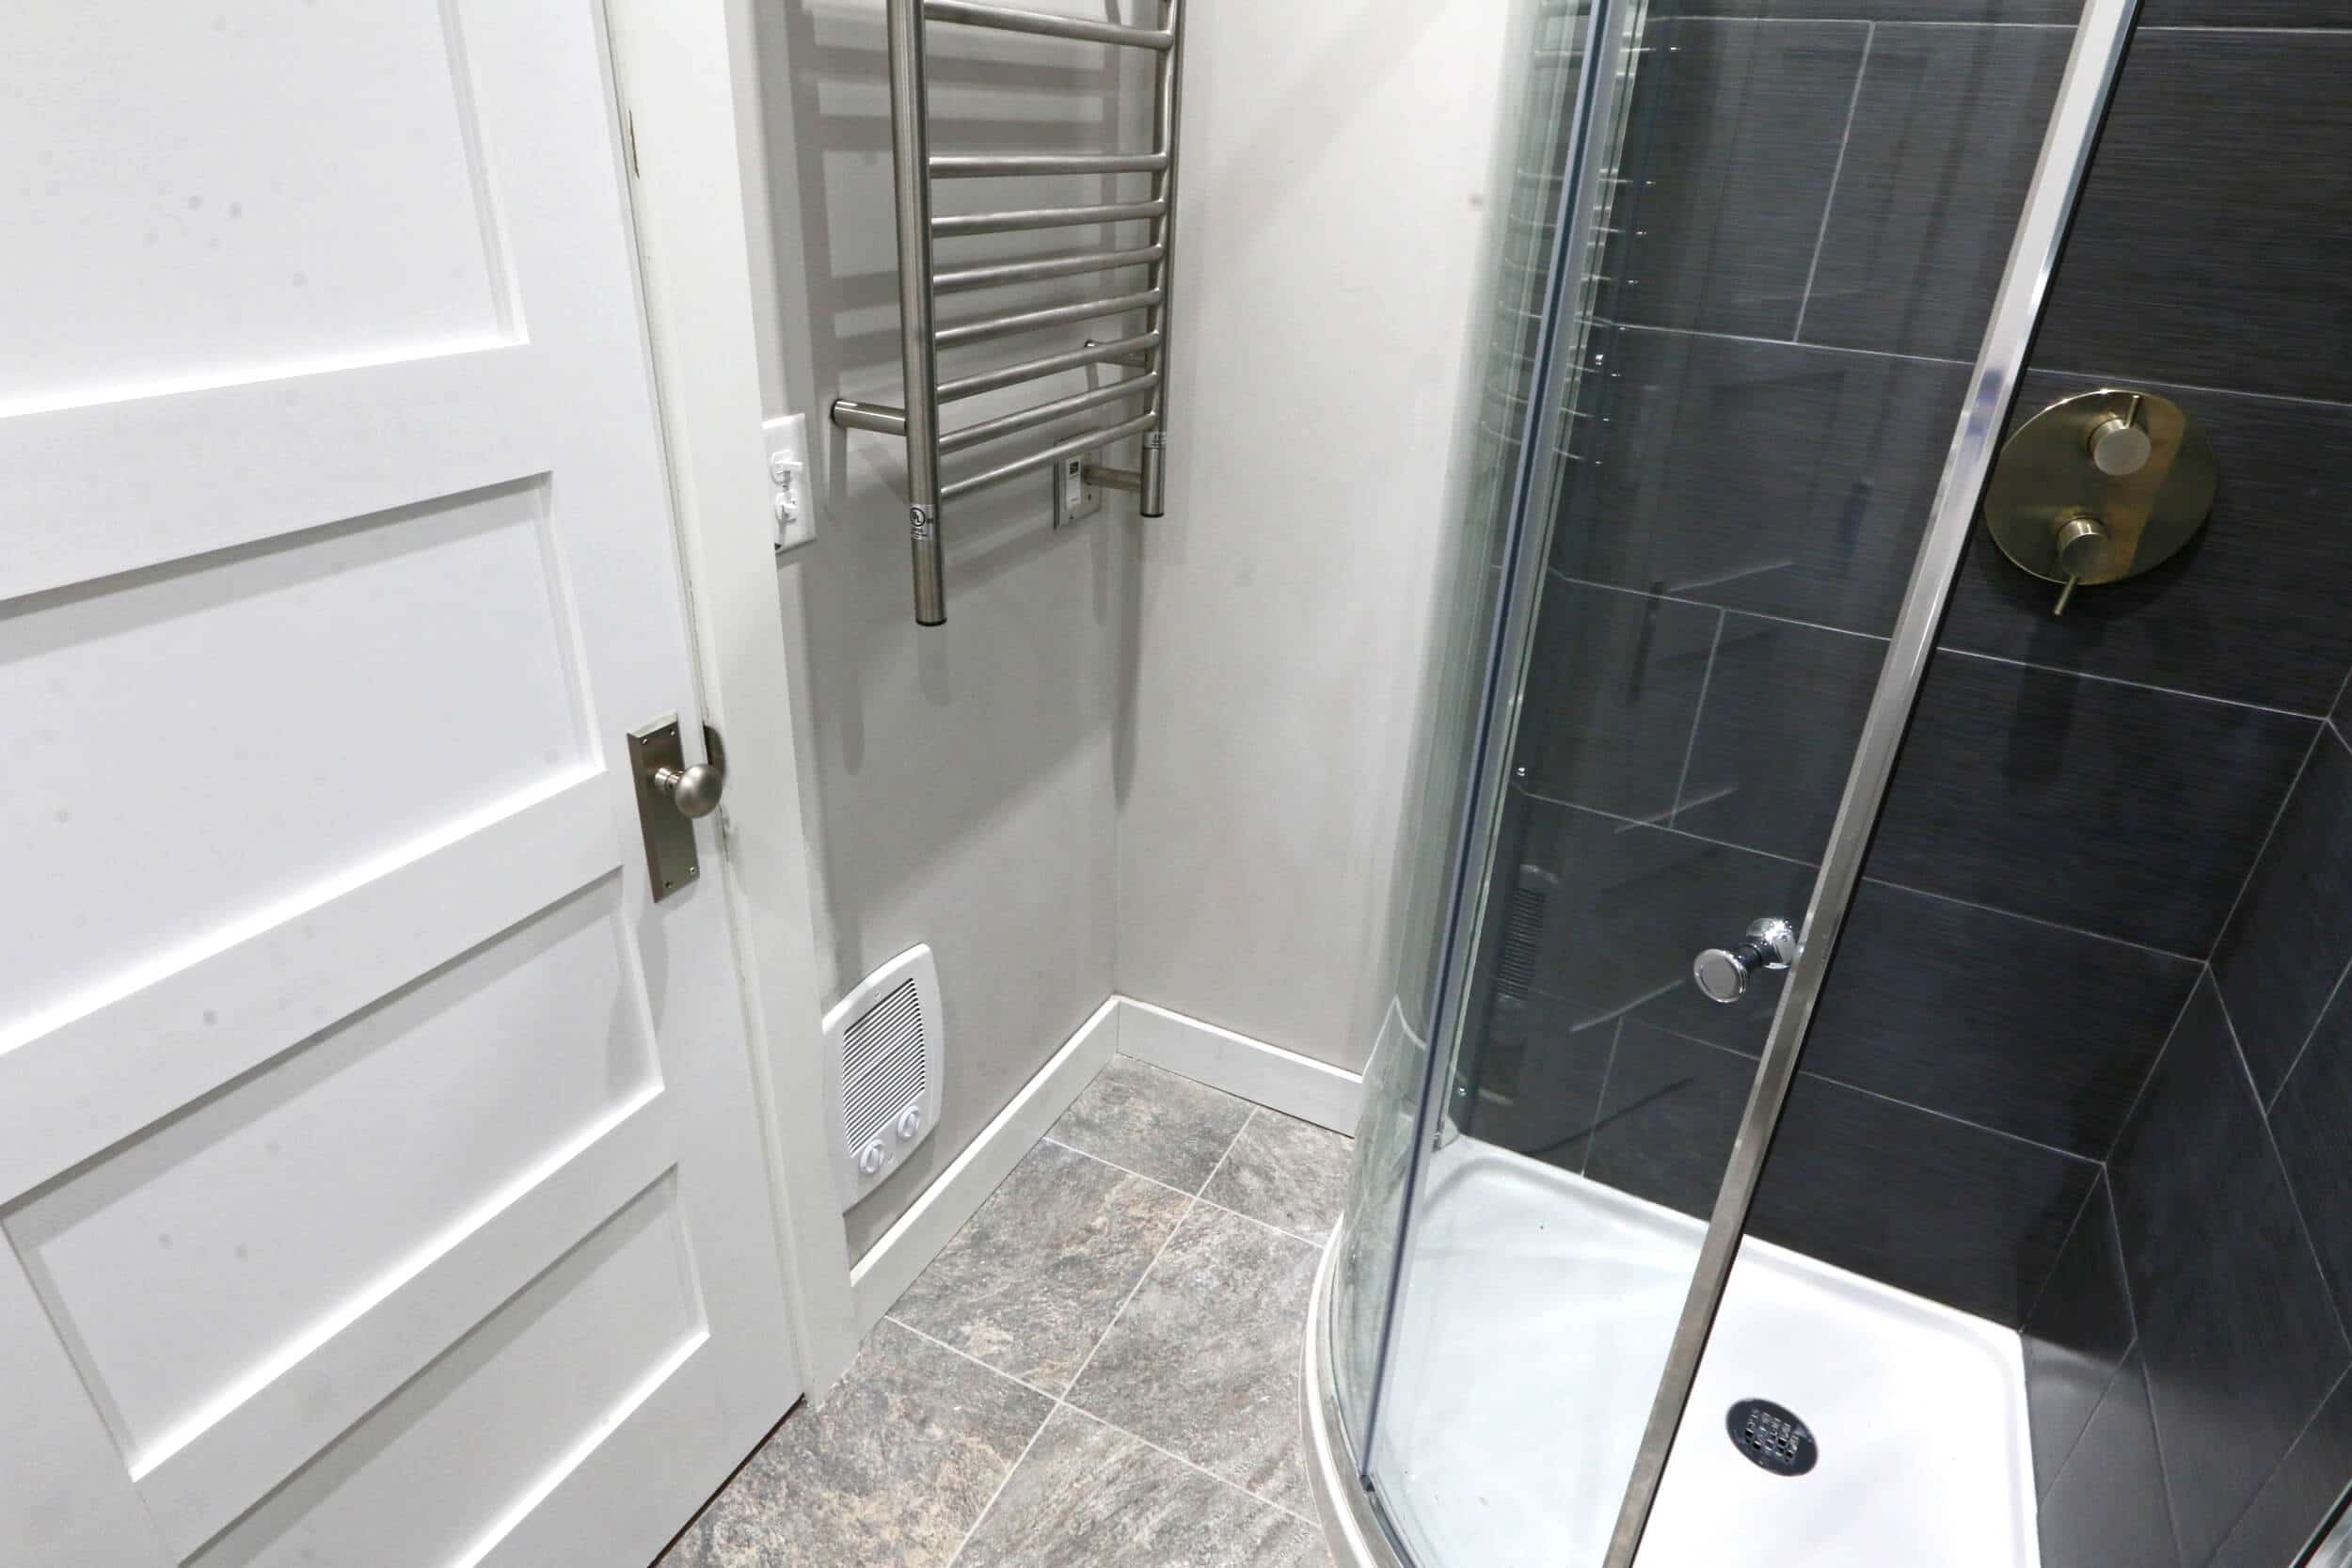
The Com-Pack Bath Wall Heater was equally easy to install – same procedure.
There was only one practical place in this tiny bathroom to put the heater and we had to carve out part of the door trim in order to fit the heater to the stud on that wall and to maximize space allowing for room in that corner for a small bathroom storage rack.
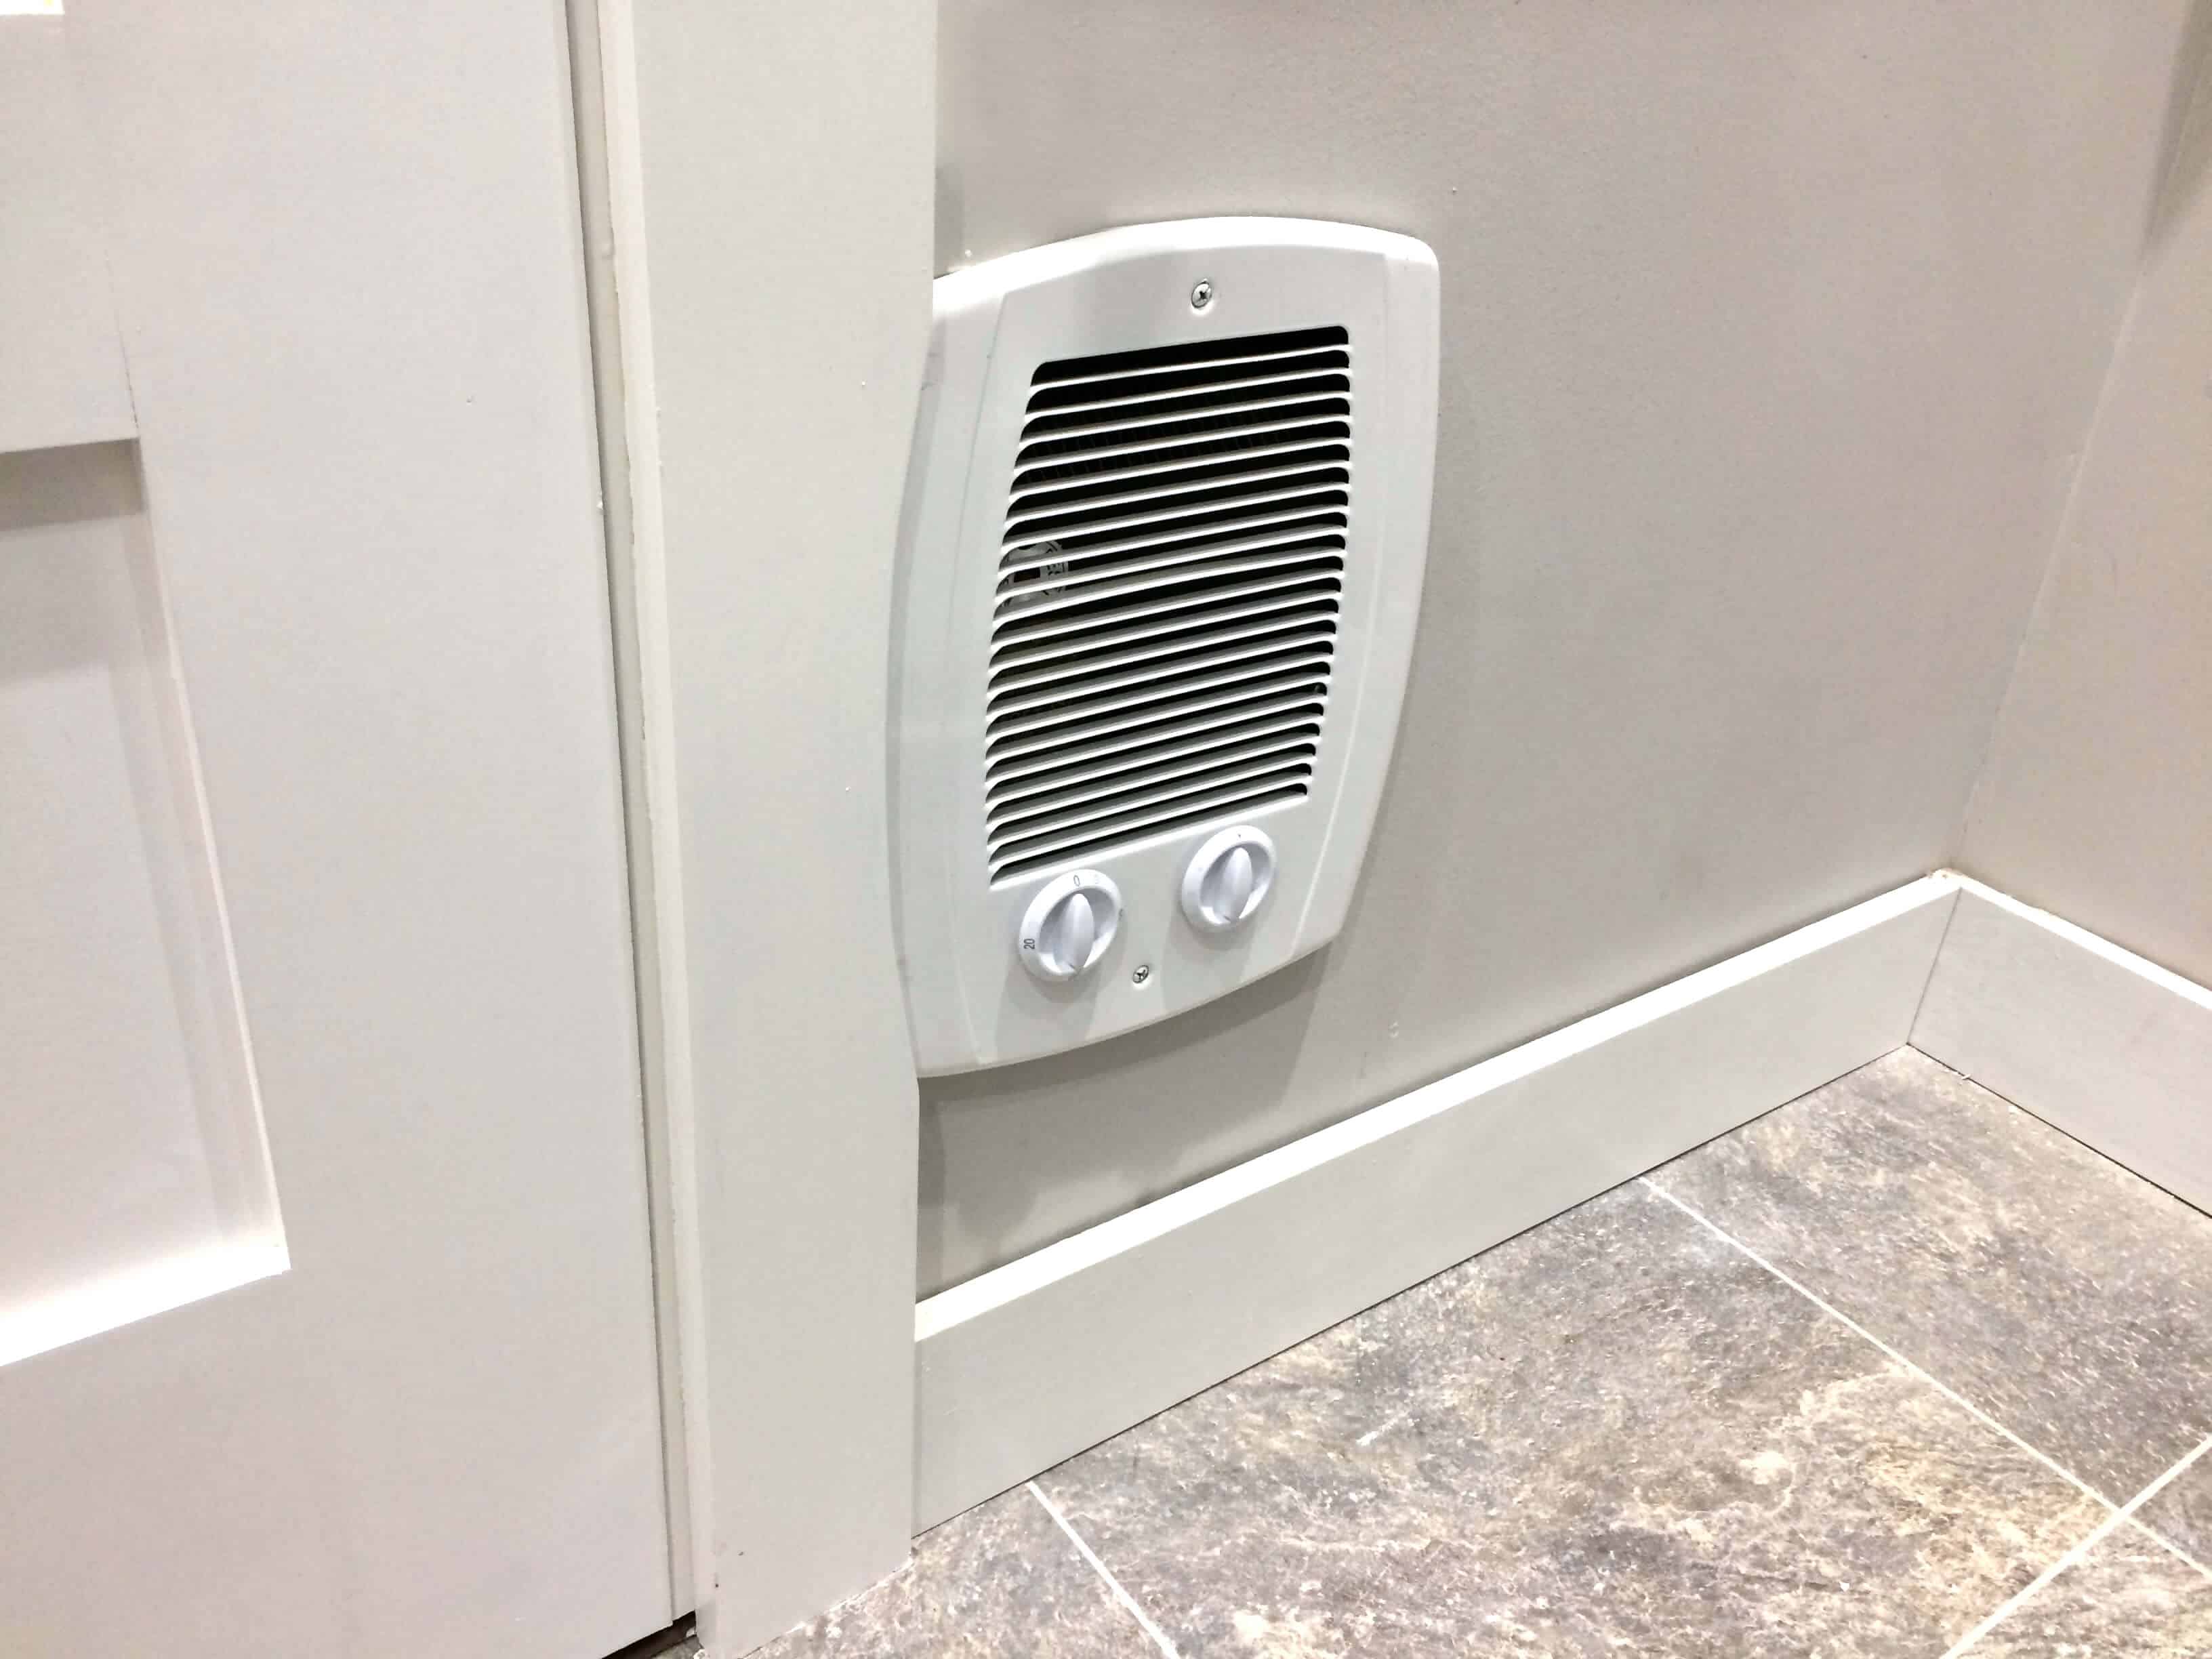
The heater is fairly small and inconspicuous and it fits in well with the look of the bathroom.
It’s a powerful little heater – you feel the effects immediately. A nice feature is the timed on/off switch that ensures that it’s not accidentally left on for too long.
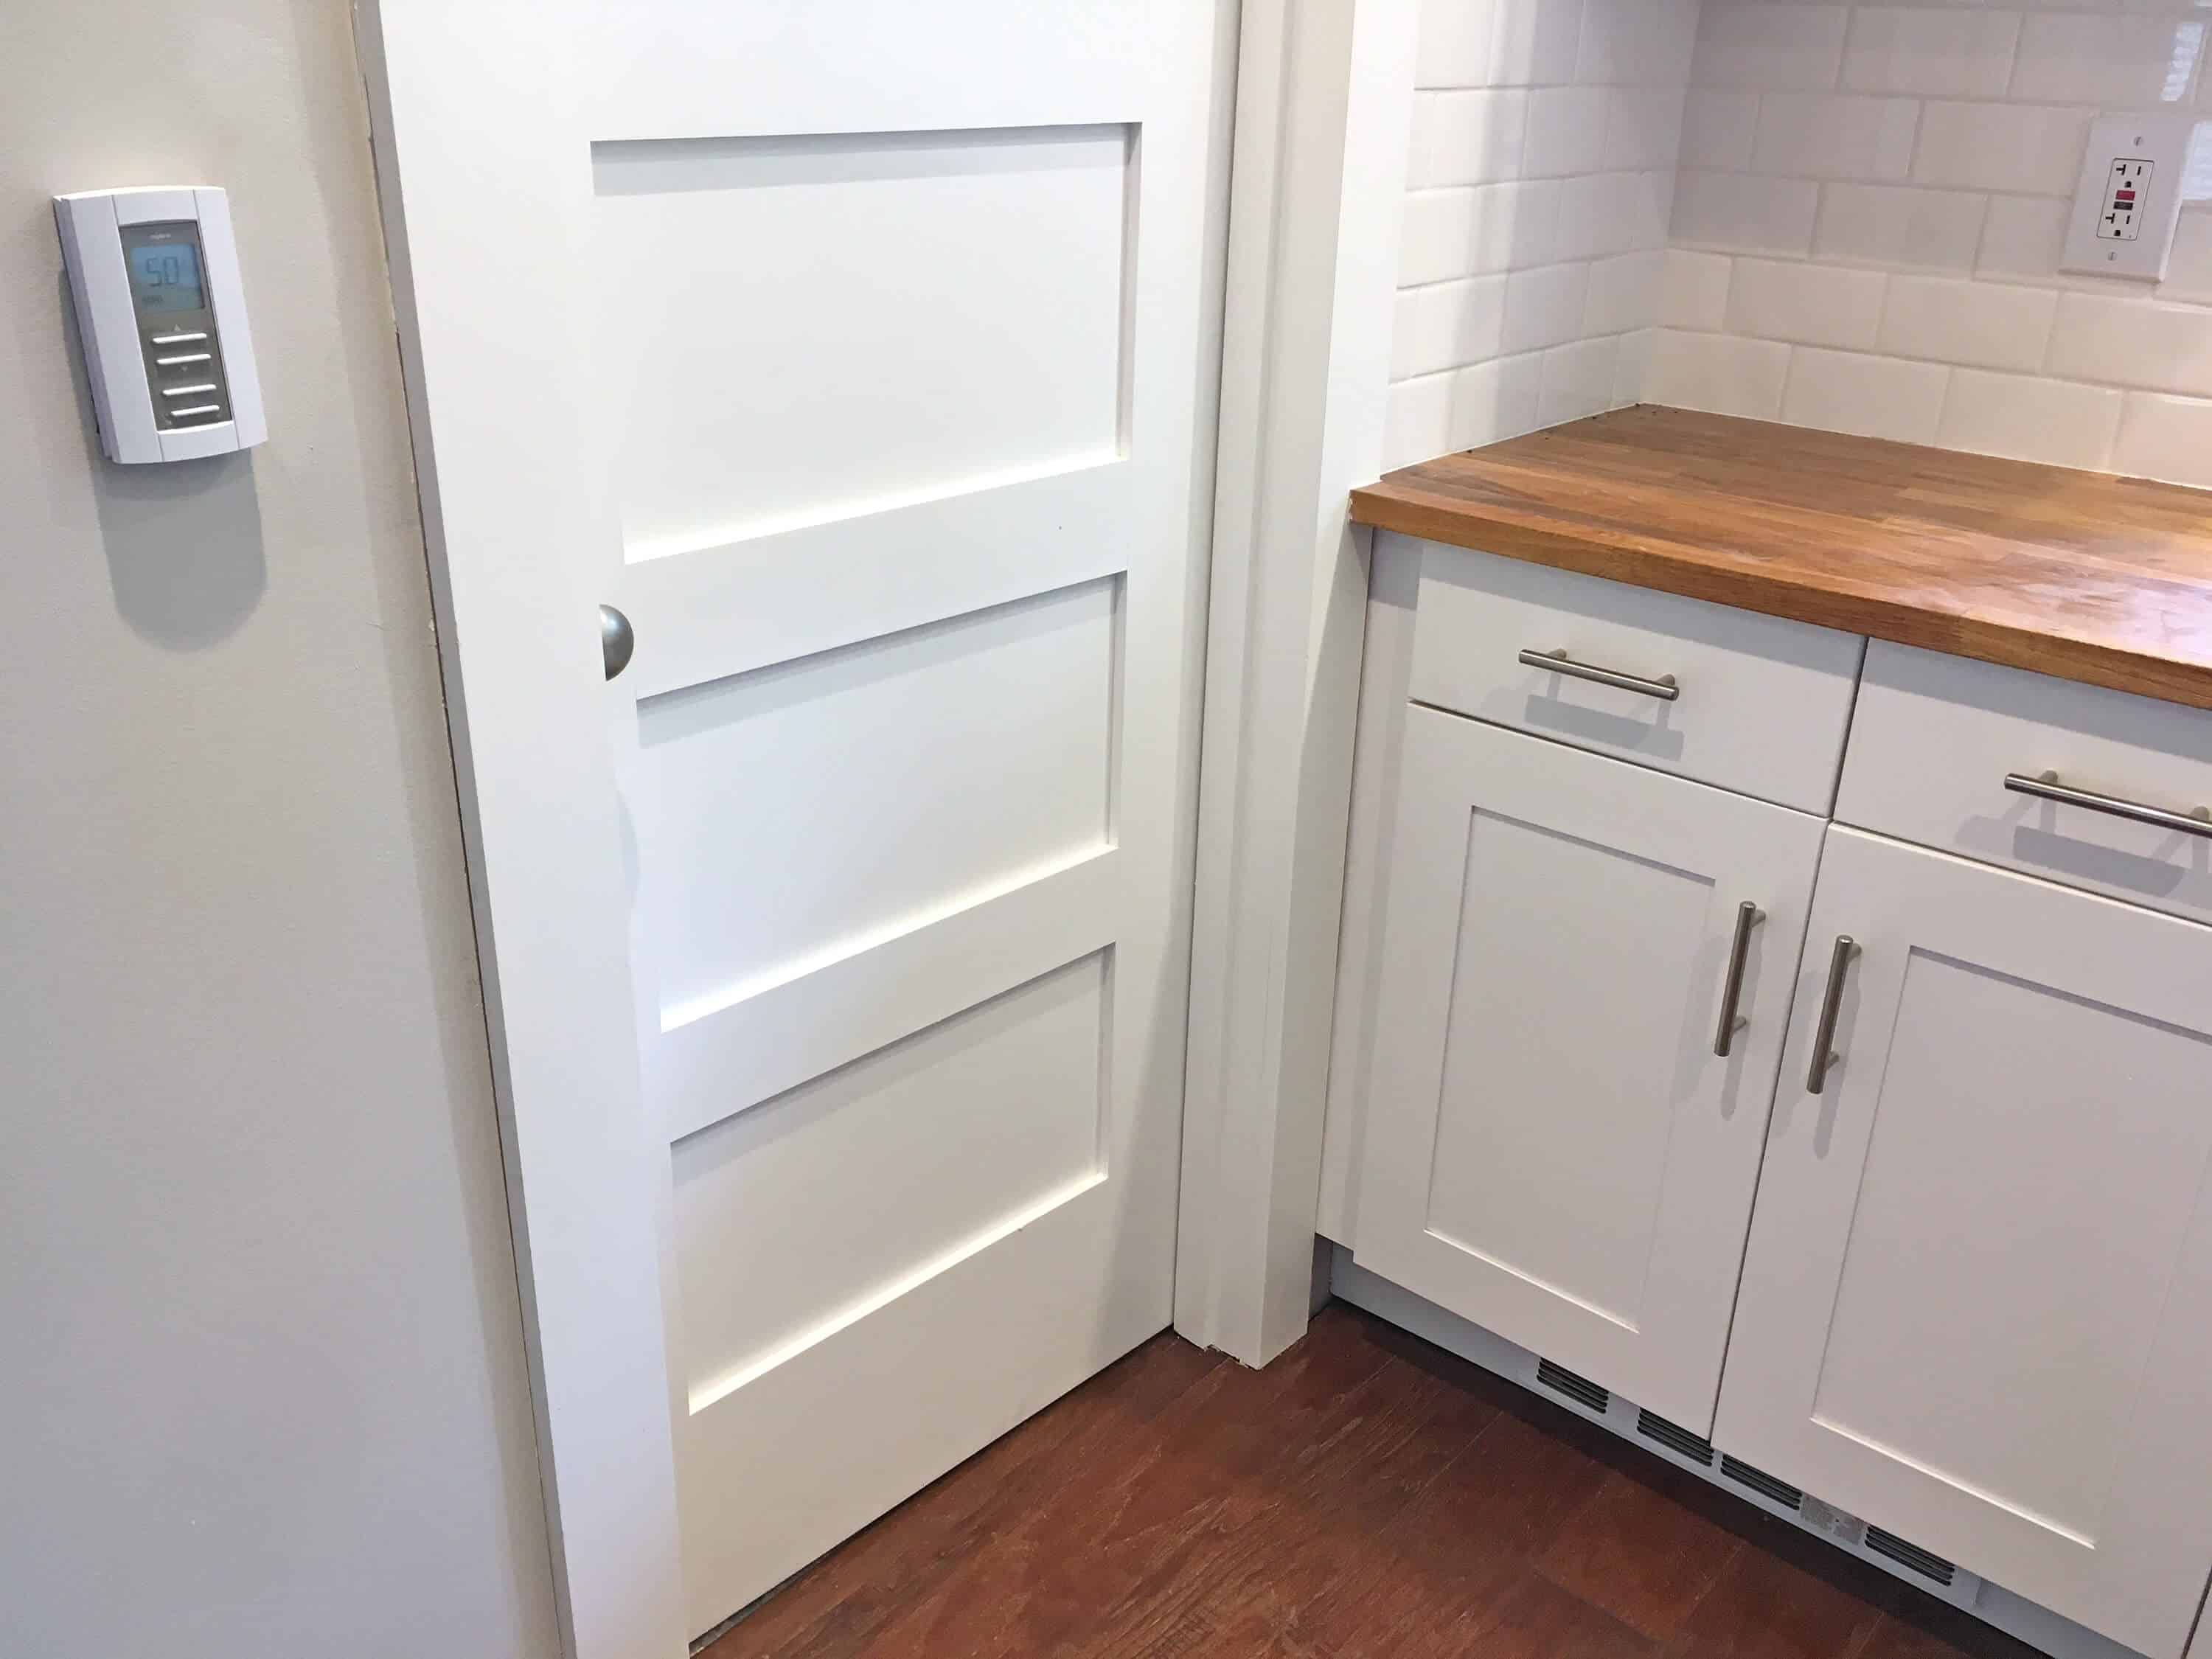
Next we installed the Perfectoe Under Cabinet Heater that’s installed under the kitchen cabinet toe-kick area.
One heater probably would have been enough in this small living unit but all 4 walls are outside walls (the fourth wall backs up to an unheated garage). As well as we tried insulating the walls, with the cold winter we still needed a second heater to keep one heater from constantly running. Rather than use more wall space (what little there is to begin with), we found the perfect solution: A heater than installs in the toe-kick under the kitchen cabinets.
The Perfectoe Under Cabinet Heater is also perfect for bathrooms and stairwells.
We also installed a wall mounted thermostat (the TH114, recommended and sold by Cadet) for the kitchen heater.
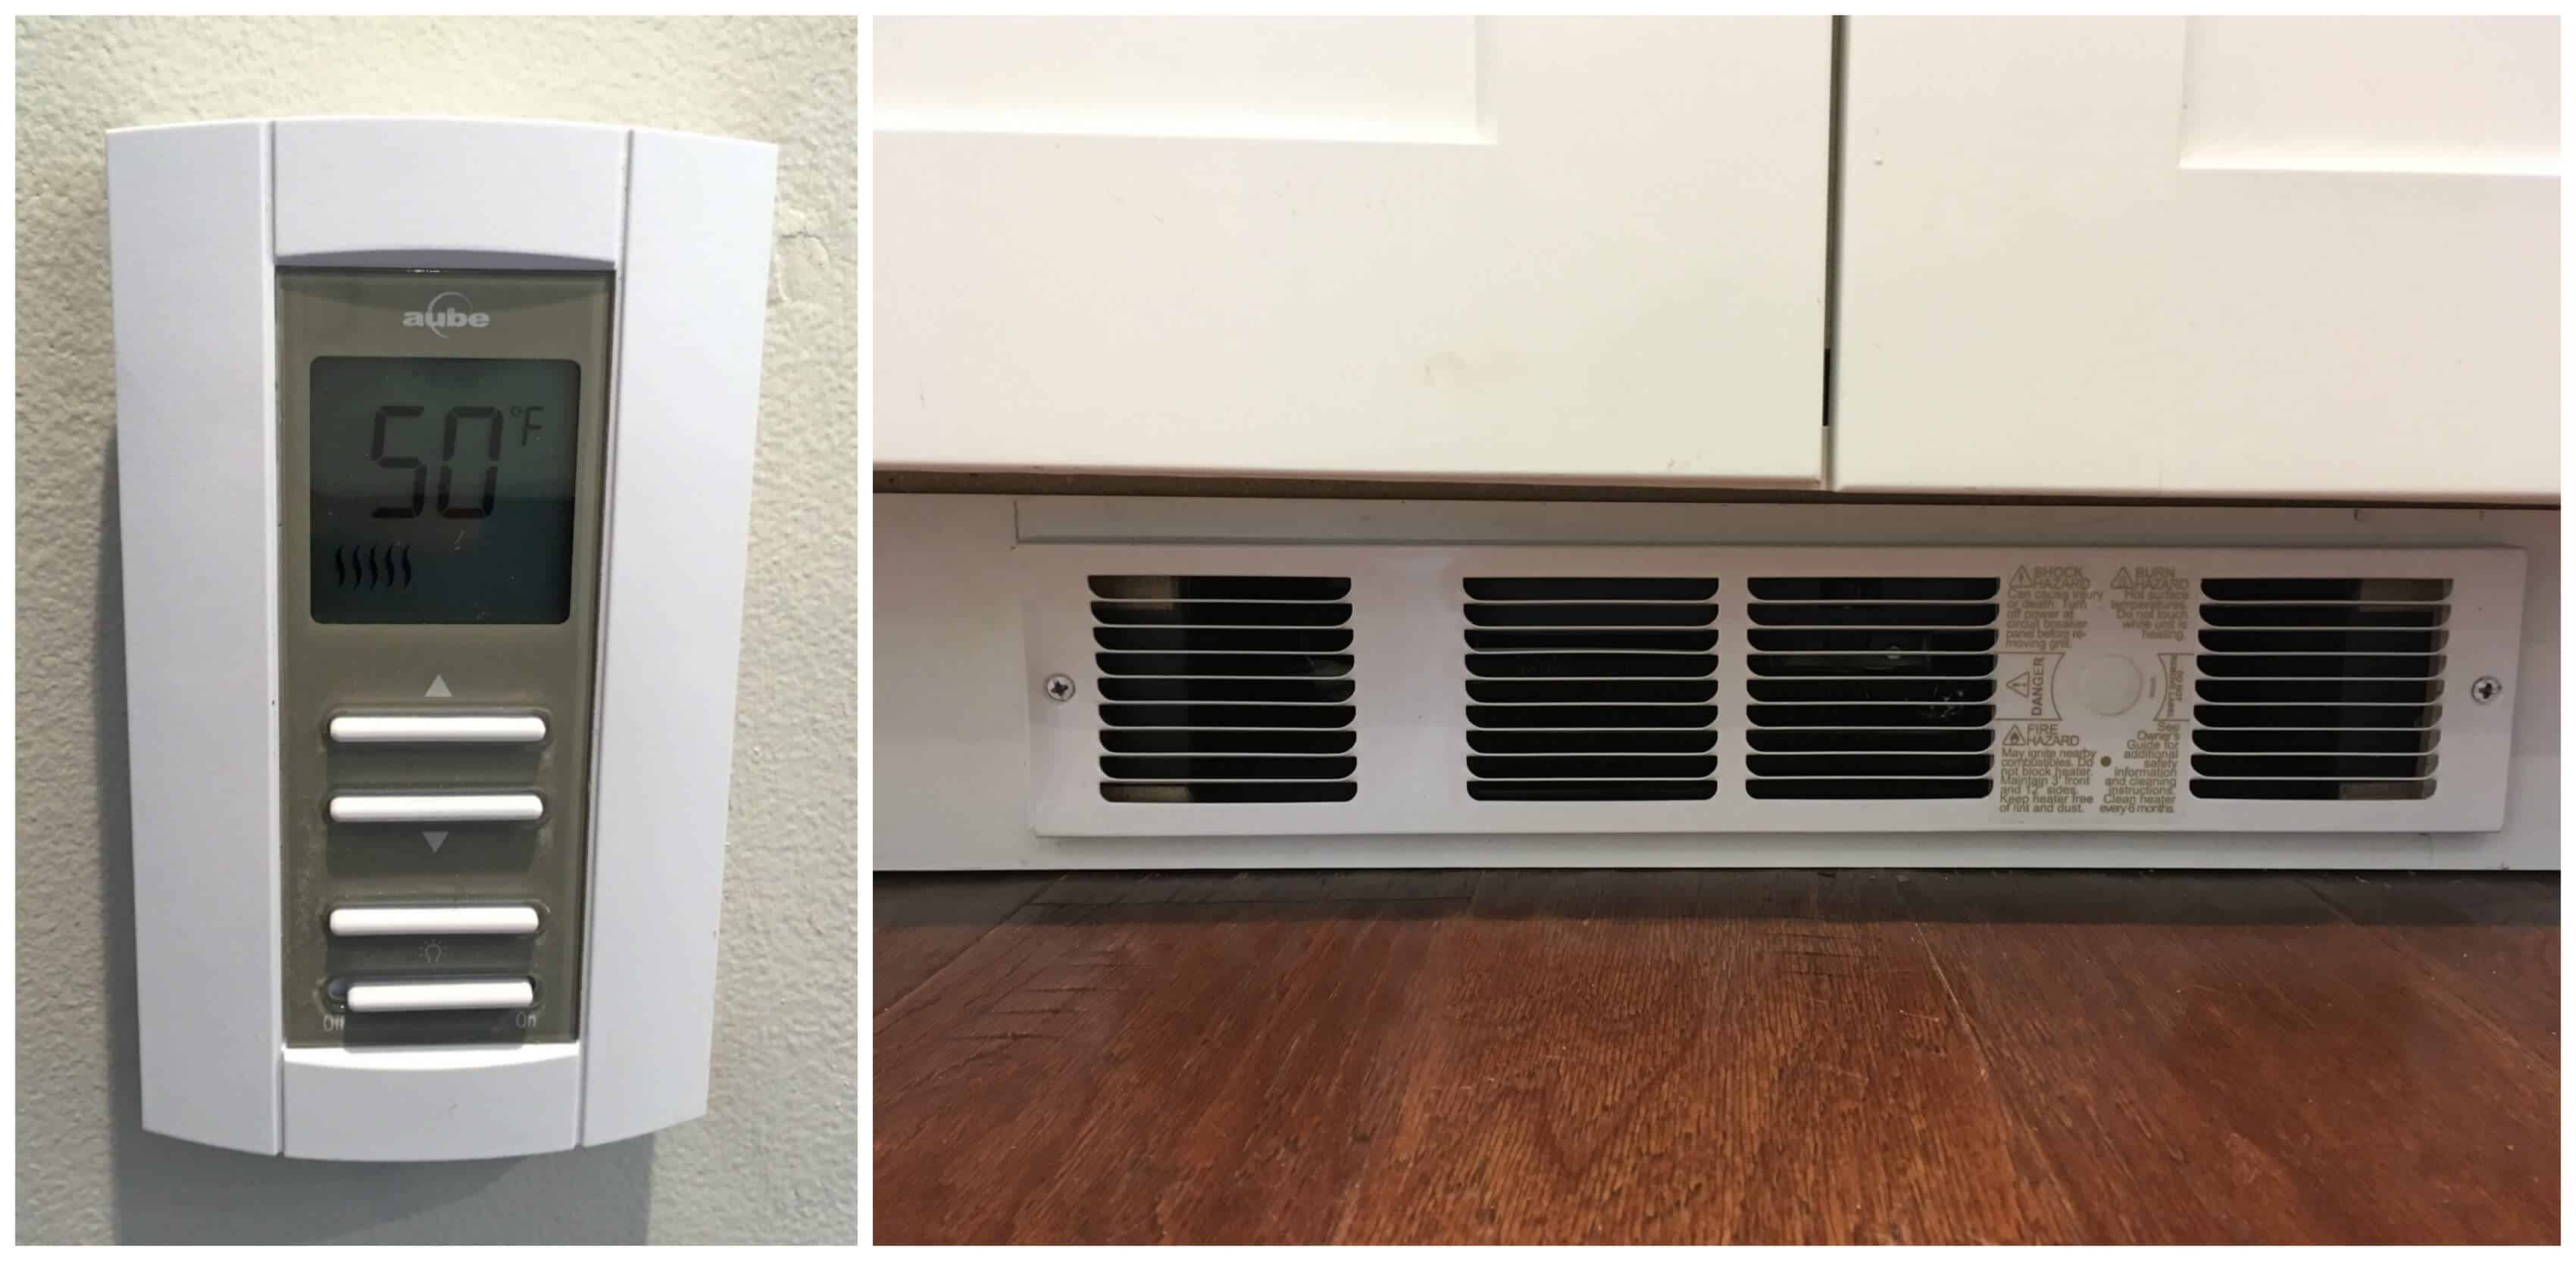
What’s awesome too is that the heater doesn’t stand out at all, it blends in really nicely.
We pre-wired the upstairs loft for a third heater and may still install one. We’re still determining whether the heat rising from downstairs into the small loft will be adequate and it’s looking like it will be.
We’re really happy with and highly recommend Cadet’s heaters – they’re the perfect solution for our guesthouse!
For more information about Cadet and to explore their awesome heating options, visit Cadet.
Thank you to Cadet for partnering with us on this project and to my readers for supporting the brands who make The Daring Gourmet possible!

Hi, I’m Kimberly Killebrew and welcome to Daring Gourmet where you'll find delicious originals, revitalized classics, and simply downright good eats from around the world! Originally from Germany, later raised in England, world-traveled, and now living in the U.S., from my globally-influenced kitchen I invite you to tour the world through your taste buds!


