Authentic Injera (Ethiopian Flatbread)
This post may contain affiliate links. See my disclosure policy.
An authentic Injera recipe, the famous Ethiopian flatbread that’s so perfect for scooping up your favorite Ethiopian dishes and mopping up all of those flavorful juices and sauces. This recipe doesn’t take shortcuts but uses the traditional method for achieving the richest flavor. Whether you choose to use all teff or a combination of flour types, we’ll take you through the process step-by-step to ensure your success!
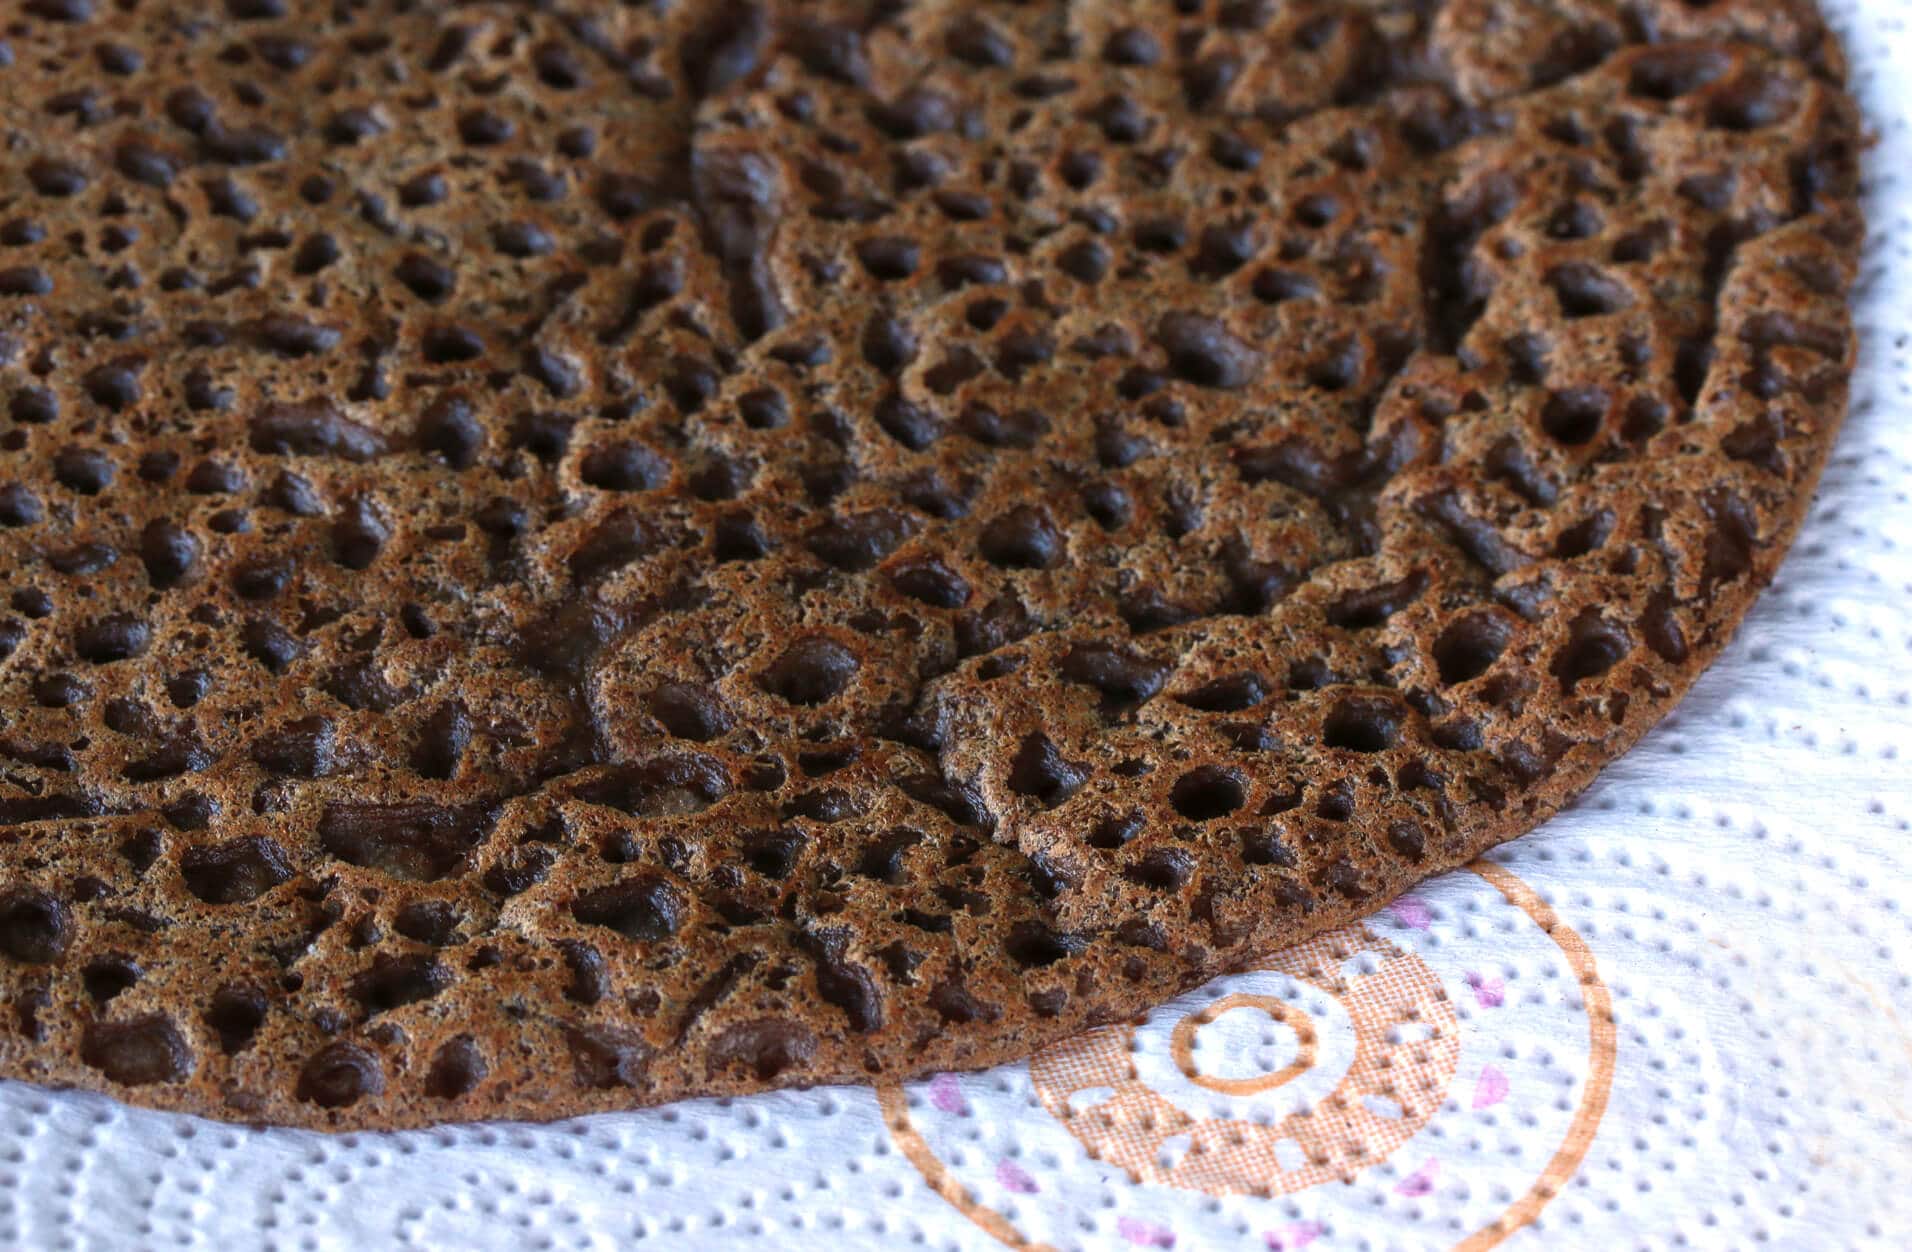
What is Injera?
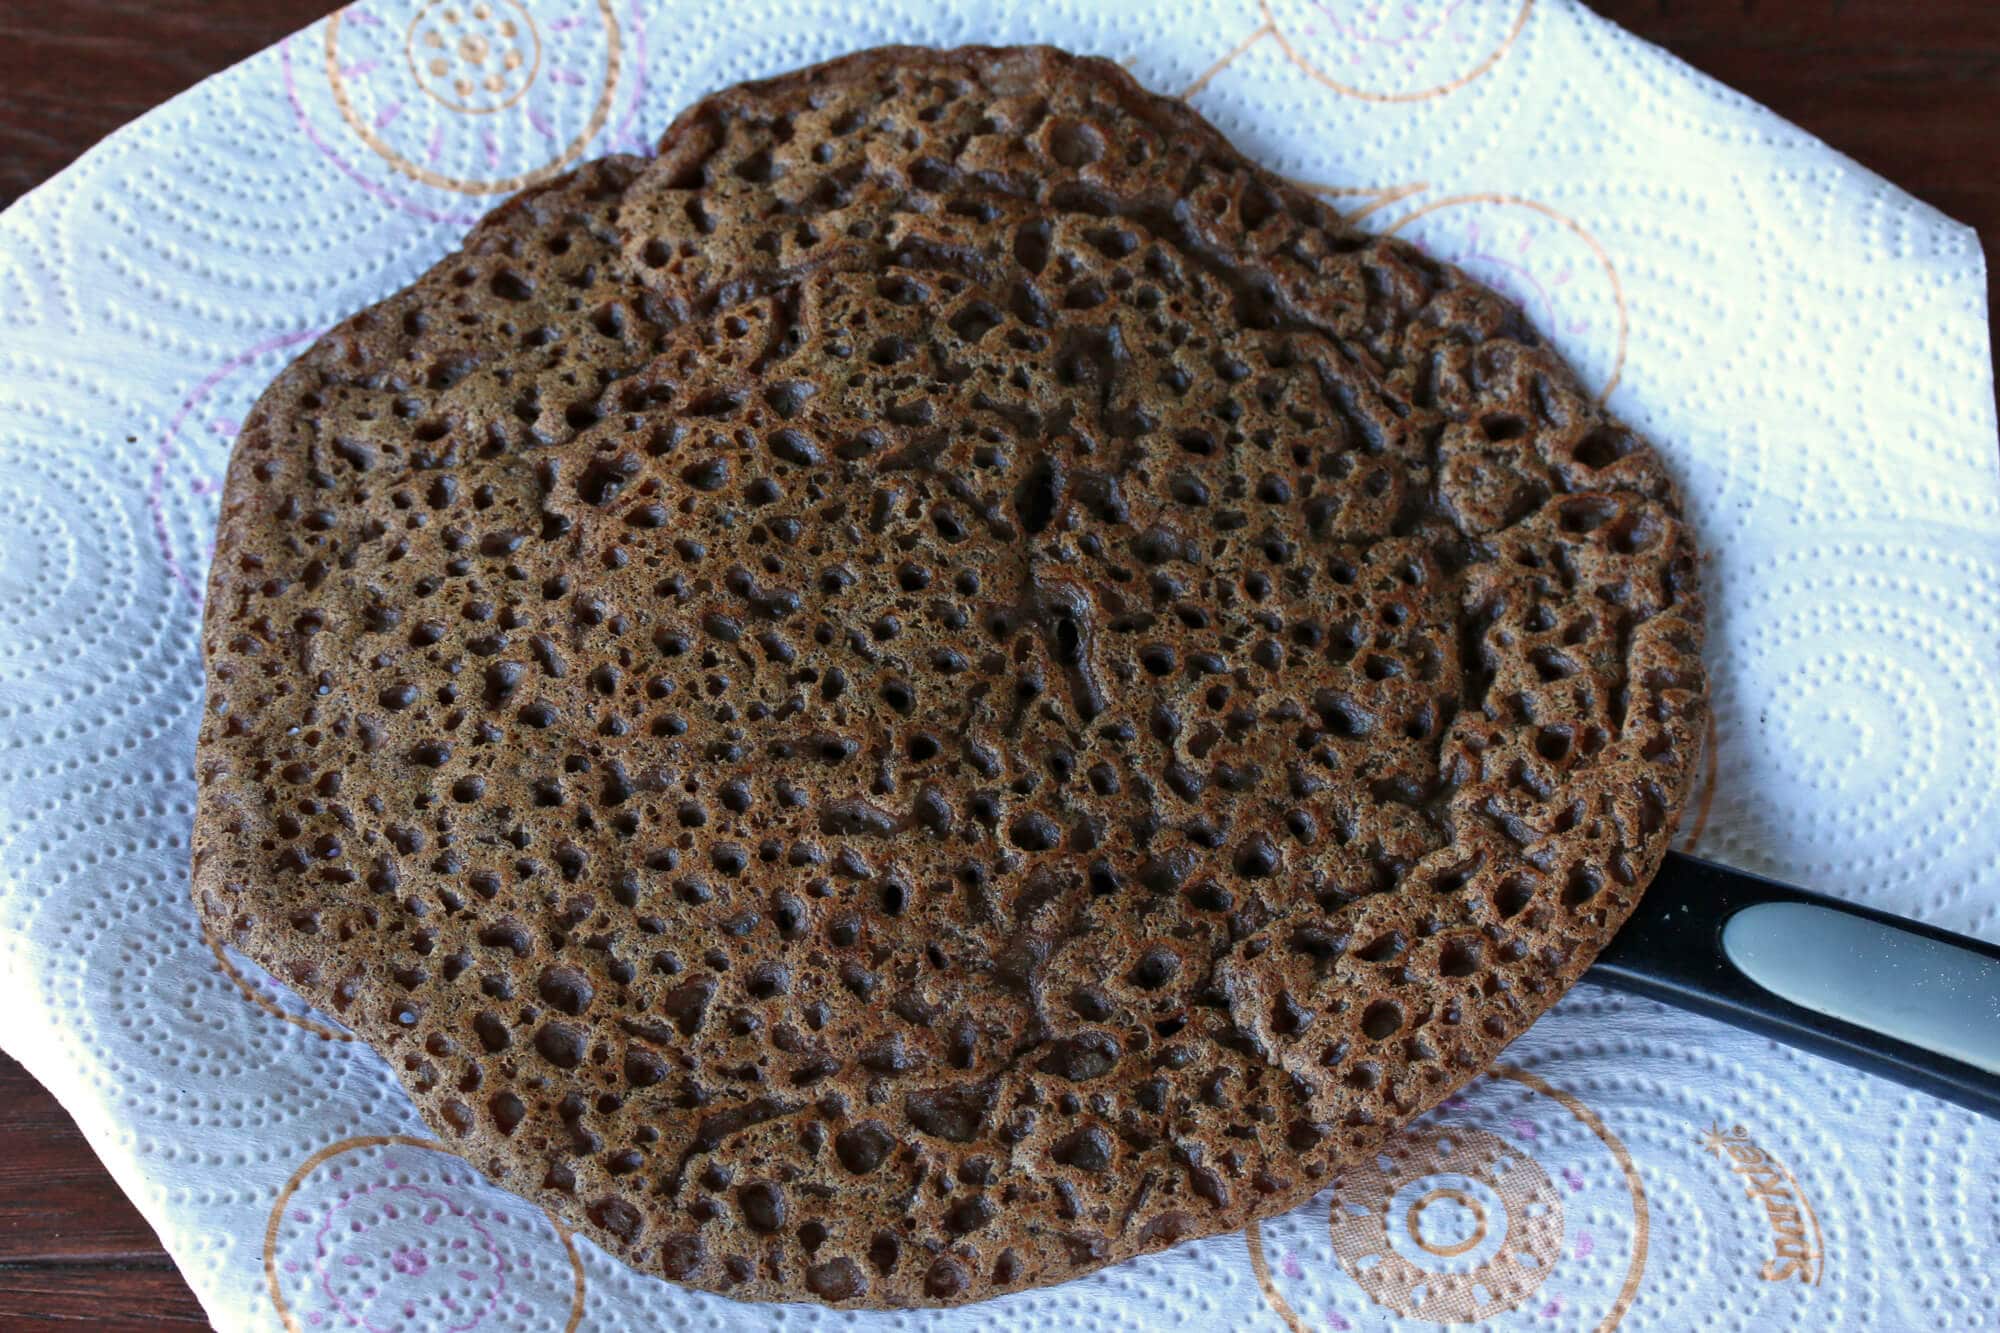
If you’ve ever been to an Ethiopian restaurant – certainly if you’ve ever set foot in Ethiopia – you will have heard of injera. It’s a sourdough flatbread unlike any other sourdough. It starts out looking like a crepe but then develops a unique porous and slightly spongy texture. The thin batter is poured onto the cooking surface, traditionally a clay plate over a fire though now more commonly a specialized electric injera stove, and the bottom remains smooth while the top develops lots of pores which makes it ideal for scooping up stews and sauces.
And that’s exactly how injera is used, as an eating utensil. And as a plate. And often in place of the tablecloth. A variety of stews, vegetables and/or salads are placed on a large piece of injera and guests use their right hands to tear portions of the injera which are used for gripping the food. The porous texture of the injera makes it ideal for soaking up the juices.
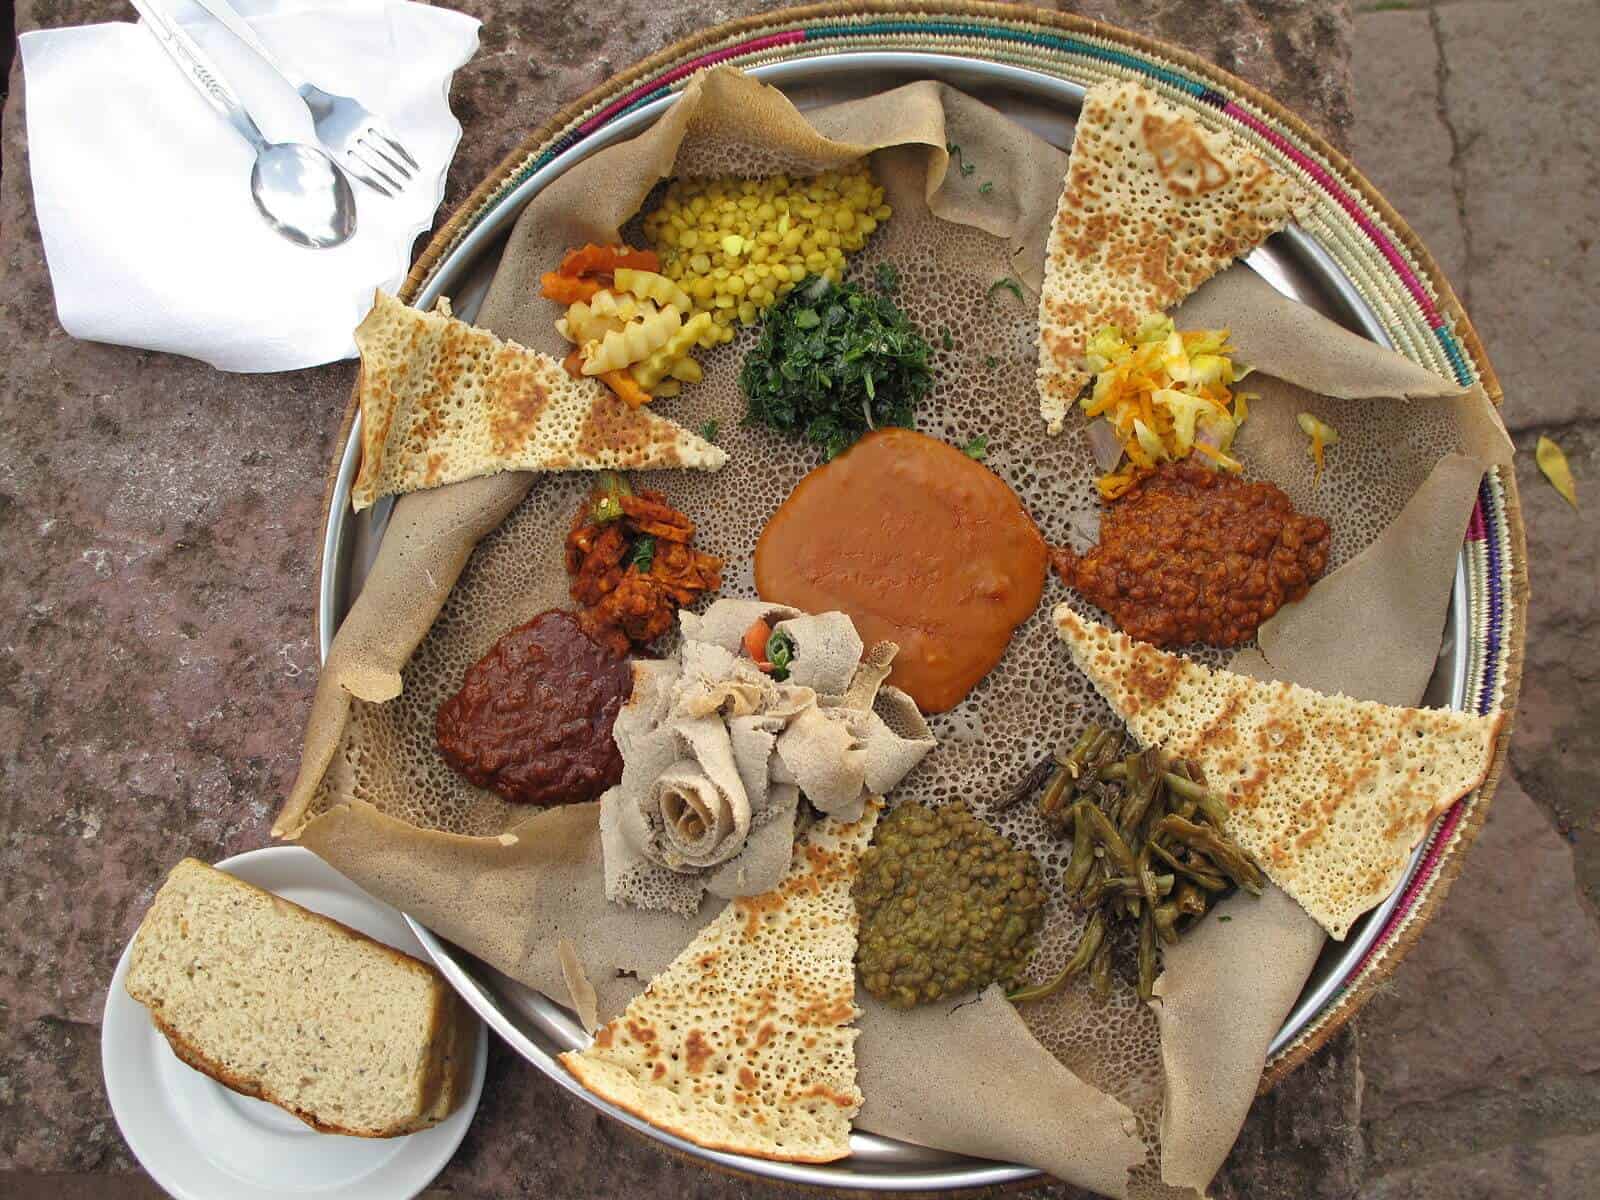
What is Teff?
Injera is traditionally made out of teff flour, the world’s tiniest grain and also one of the earliest domesticated plants having originated in Ethiopia and Eritrea (where injera is also widely consumed) between 4000 and 1000 BC. Its production is limited to only areas with adequate rainfall though so it’s relatively expensive for most African households. As such, many will replace some of the teff content with other flours like barley or wheat. For those who can afford it, injera made entirely of teff flour has the higher demand.
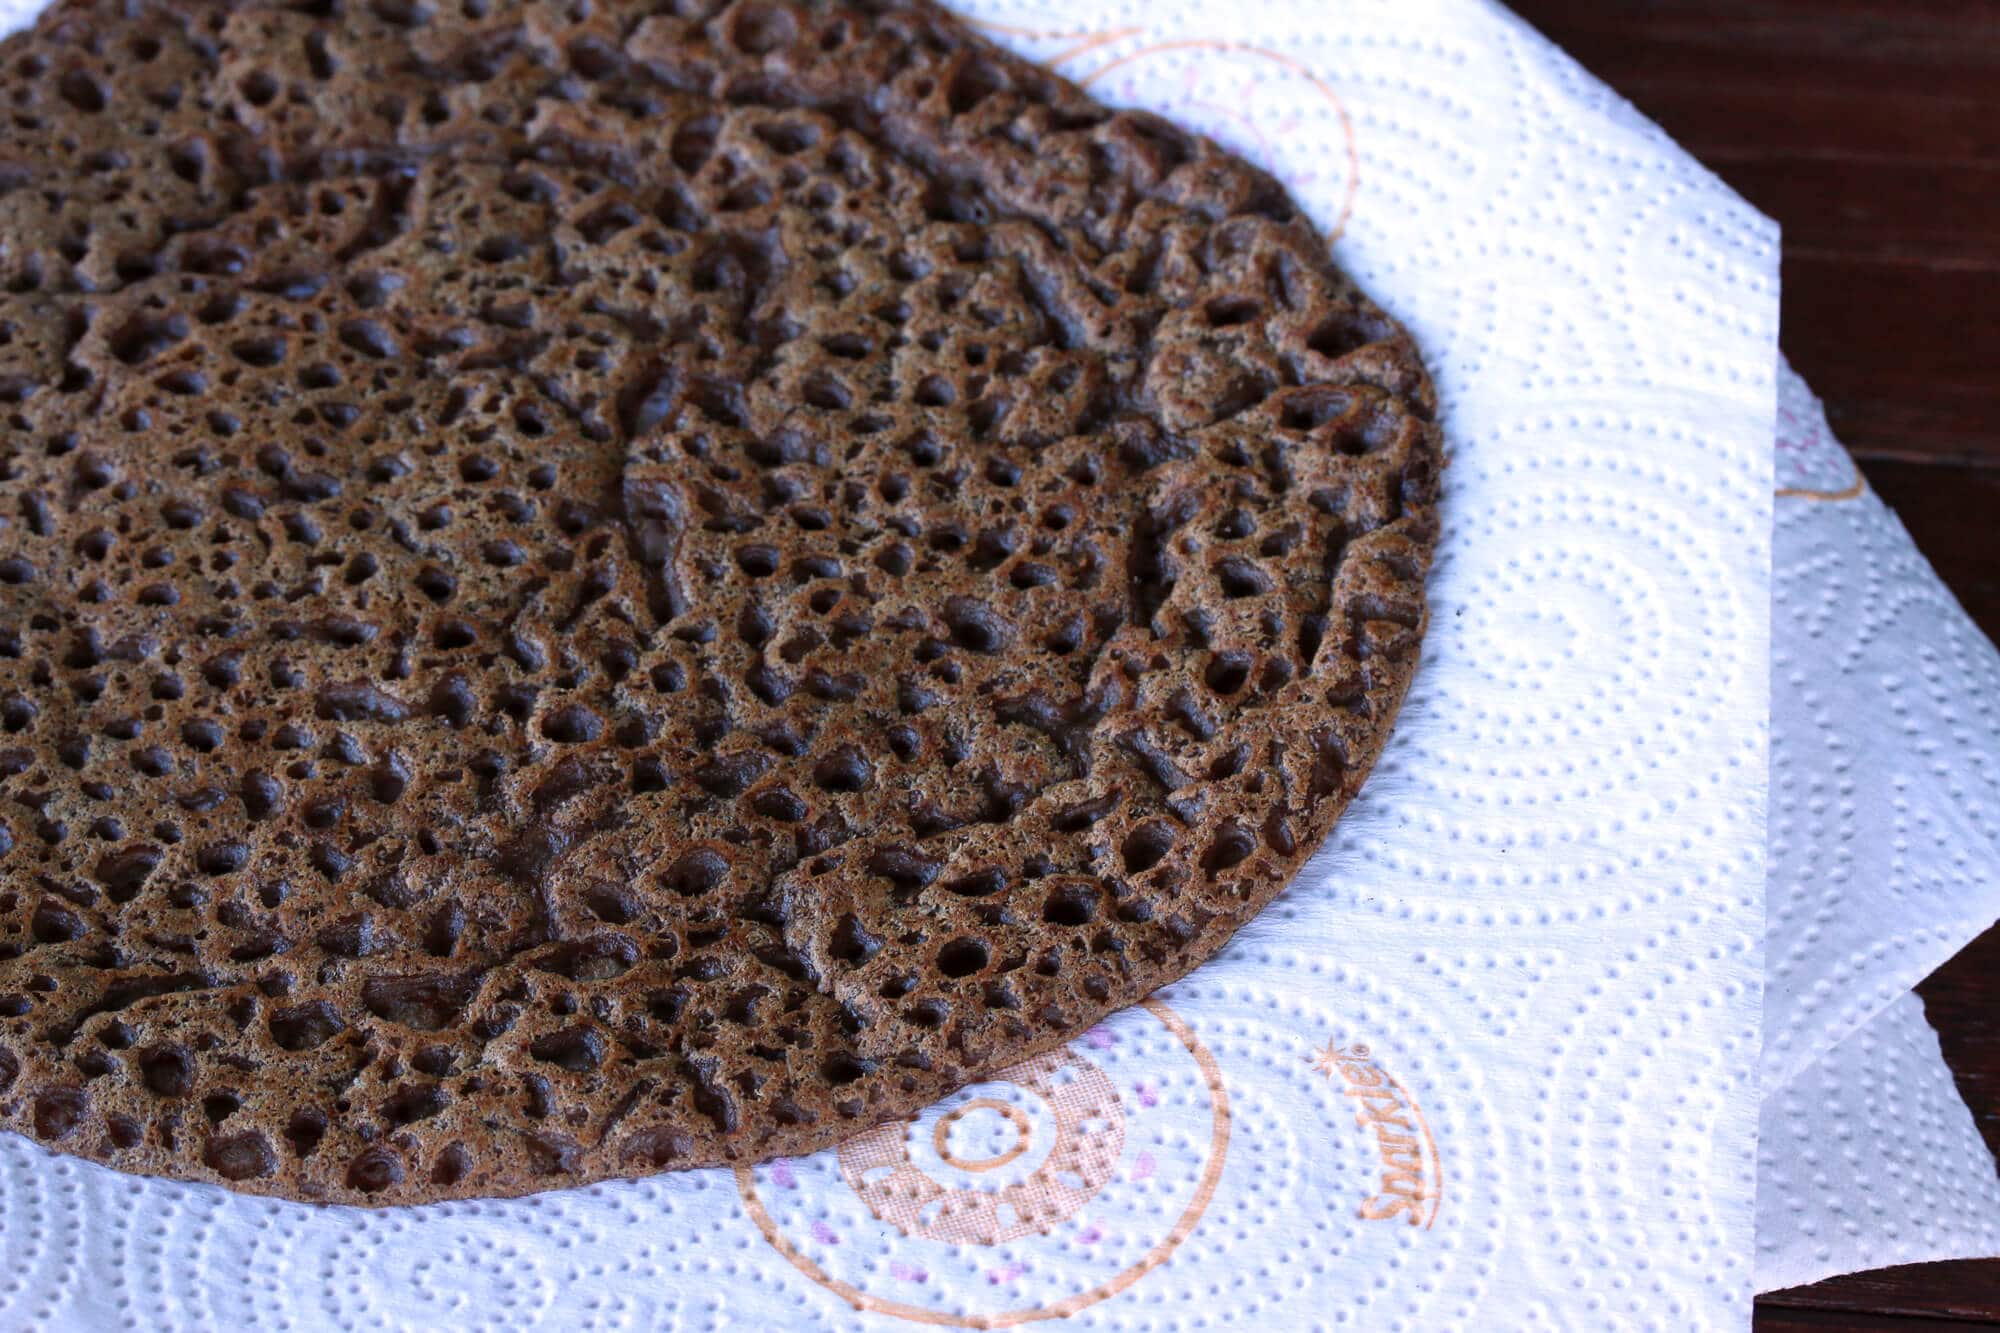
There are different varieties of teff ranging from white/ivory to red to dark brown. In Ethiopia white is generally preferred and will also produce a 100% teff injera that is a lighter in color than what is shown in the first photo and preparation photos. I’m using 100% dark teff flour which produces a very dark injera with a deeper flavor.
The challenge is that if you’re looking for a specific type of teff and like to grind your own grains, most manufacturers don’t differentiate the teff type on their package labeling. It’s mostly an aesthetic preference though and for most baking I do with teff it really doesn’t matter either way. With the injera it will make a difference in the color though if that’s an important factor to you. On Amazon you can purchase both Ivory Teff and Brown Teff.
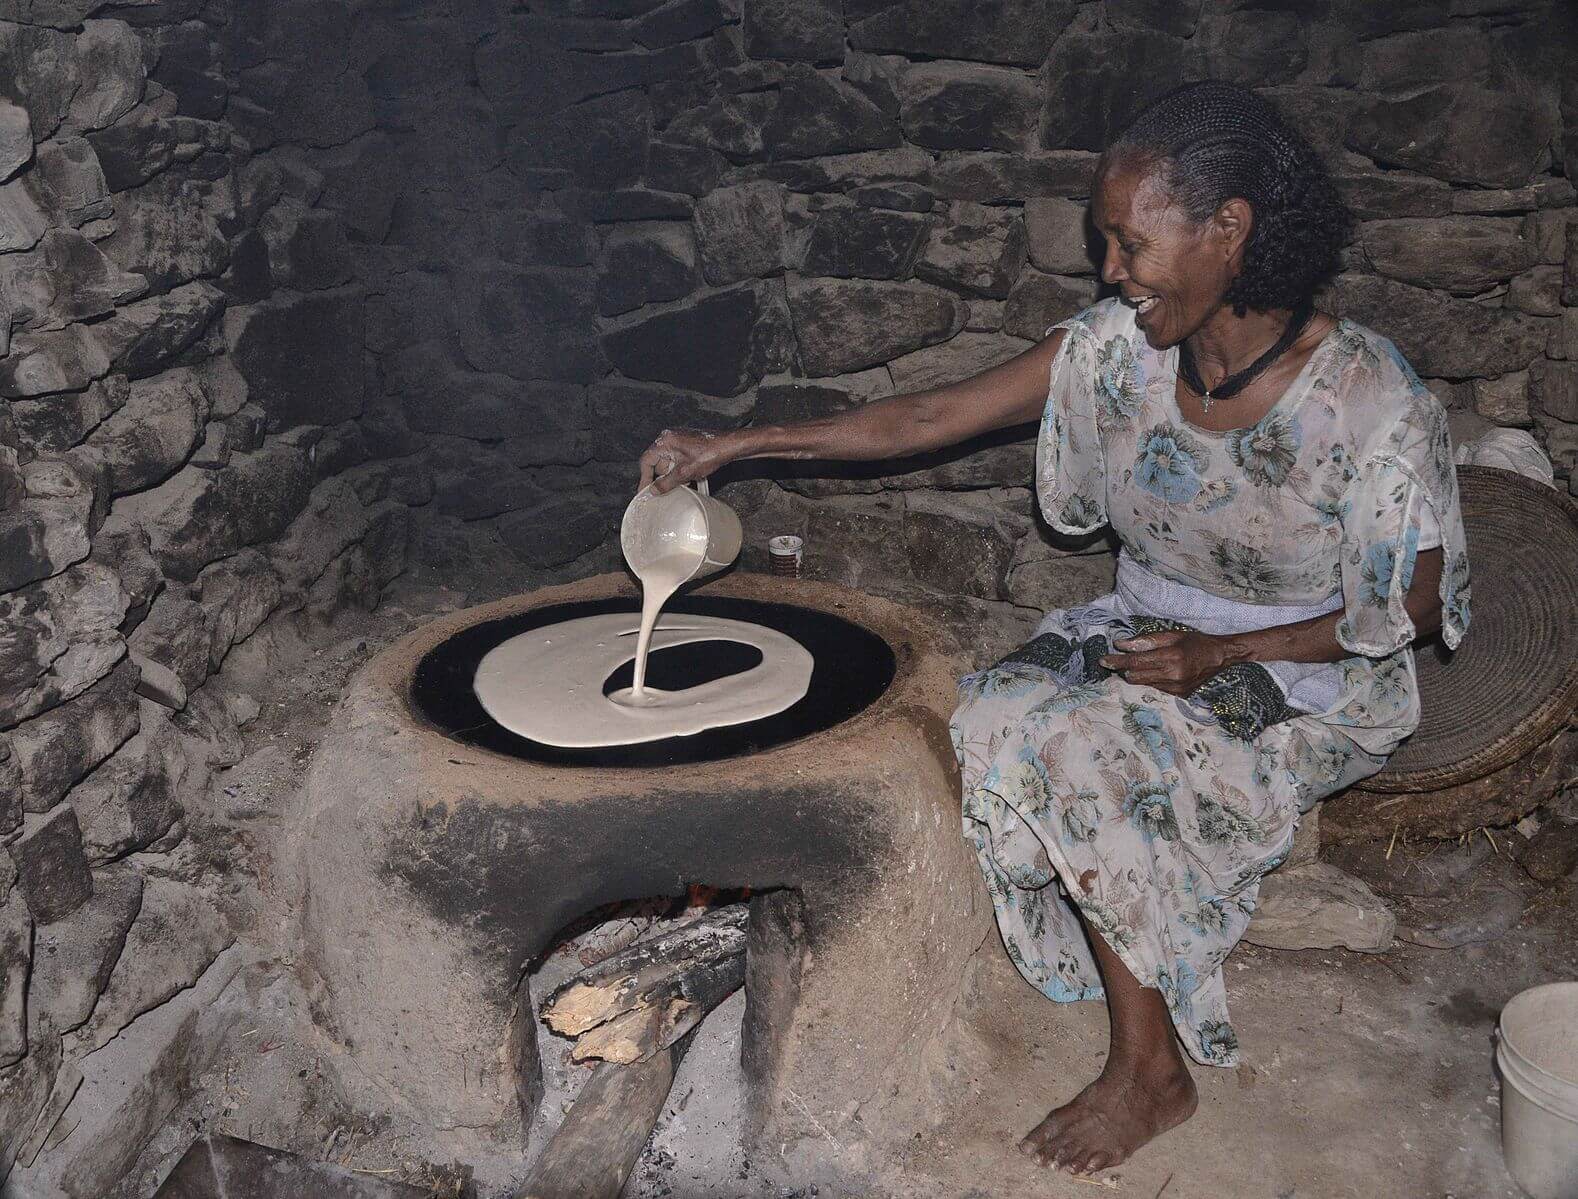
Traditionally a clay plate, a mitad, placed over a fire is used for making injera. More commonly now specialized electric injera stoves are used. But unless you’re making injera constantly, a simple non-stick pan on the stovetop will do the job.
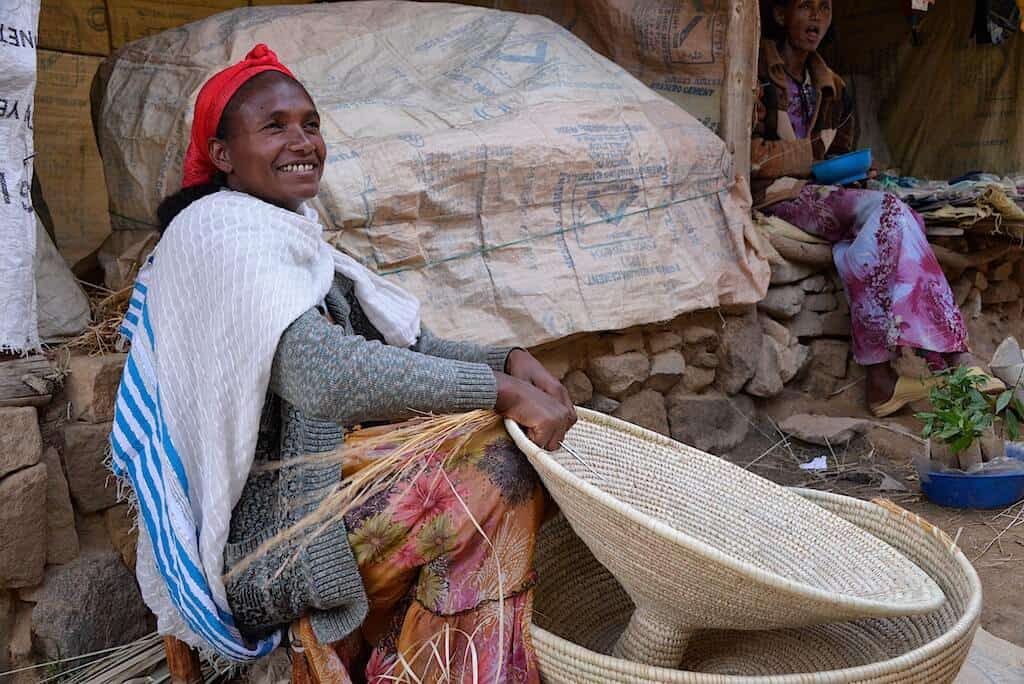
A special woven basket, called a mesab, in which the freshly made injera are placed.
What to Serve With Injera
Injera is the traditional accompaniment to Doro Wat, Ethiopia’s famous spicy chicken stew, and together these constitute the national dish of Ethiopia. Injera is likewise commonly served with Sega Wat, the delicious beef version of Doro Wat as well as Misir Wat, a popular vegetarian dish made with red lentils. Injera is a great “neutral” and versatile side to serve with any of your favorite Ethiopian dishes.
Authentic Injera Recipe
Let’s get started!
And I don’t mean short-cut, one-day, cutting corners injera. I mean the real deal – authentic injera.
IMPORTANT NOTE before we begin: Both the texture and color of the injera will vary greatly depending on what kind of teff you use (dark or ivory) and whether or not you’re combining it with other flours. Gluten-based flours (e.g. wheat and barley) will yield a much different texture than 100% teff. In the pictures and recipe below I’m using 100% dark teff, something you will not find in restaurants and will look different than what most are accustomed to, but is traditional to Ethiopian home cooking.
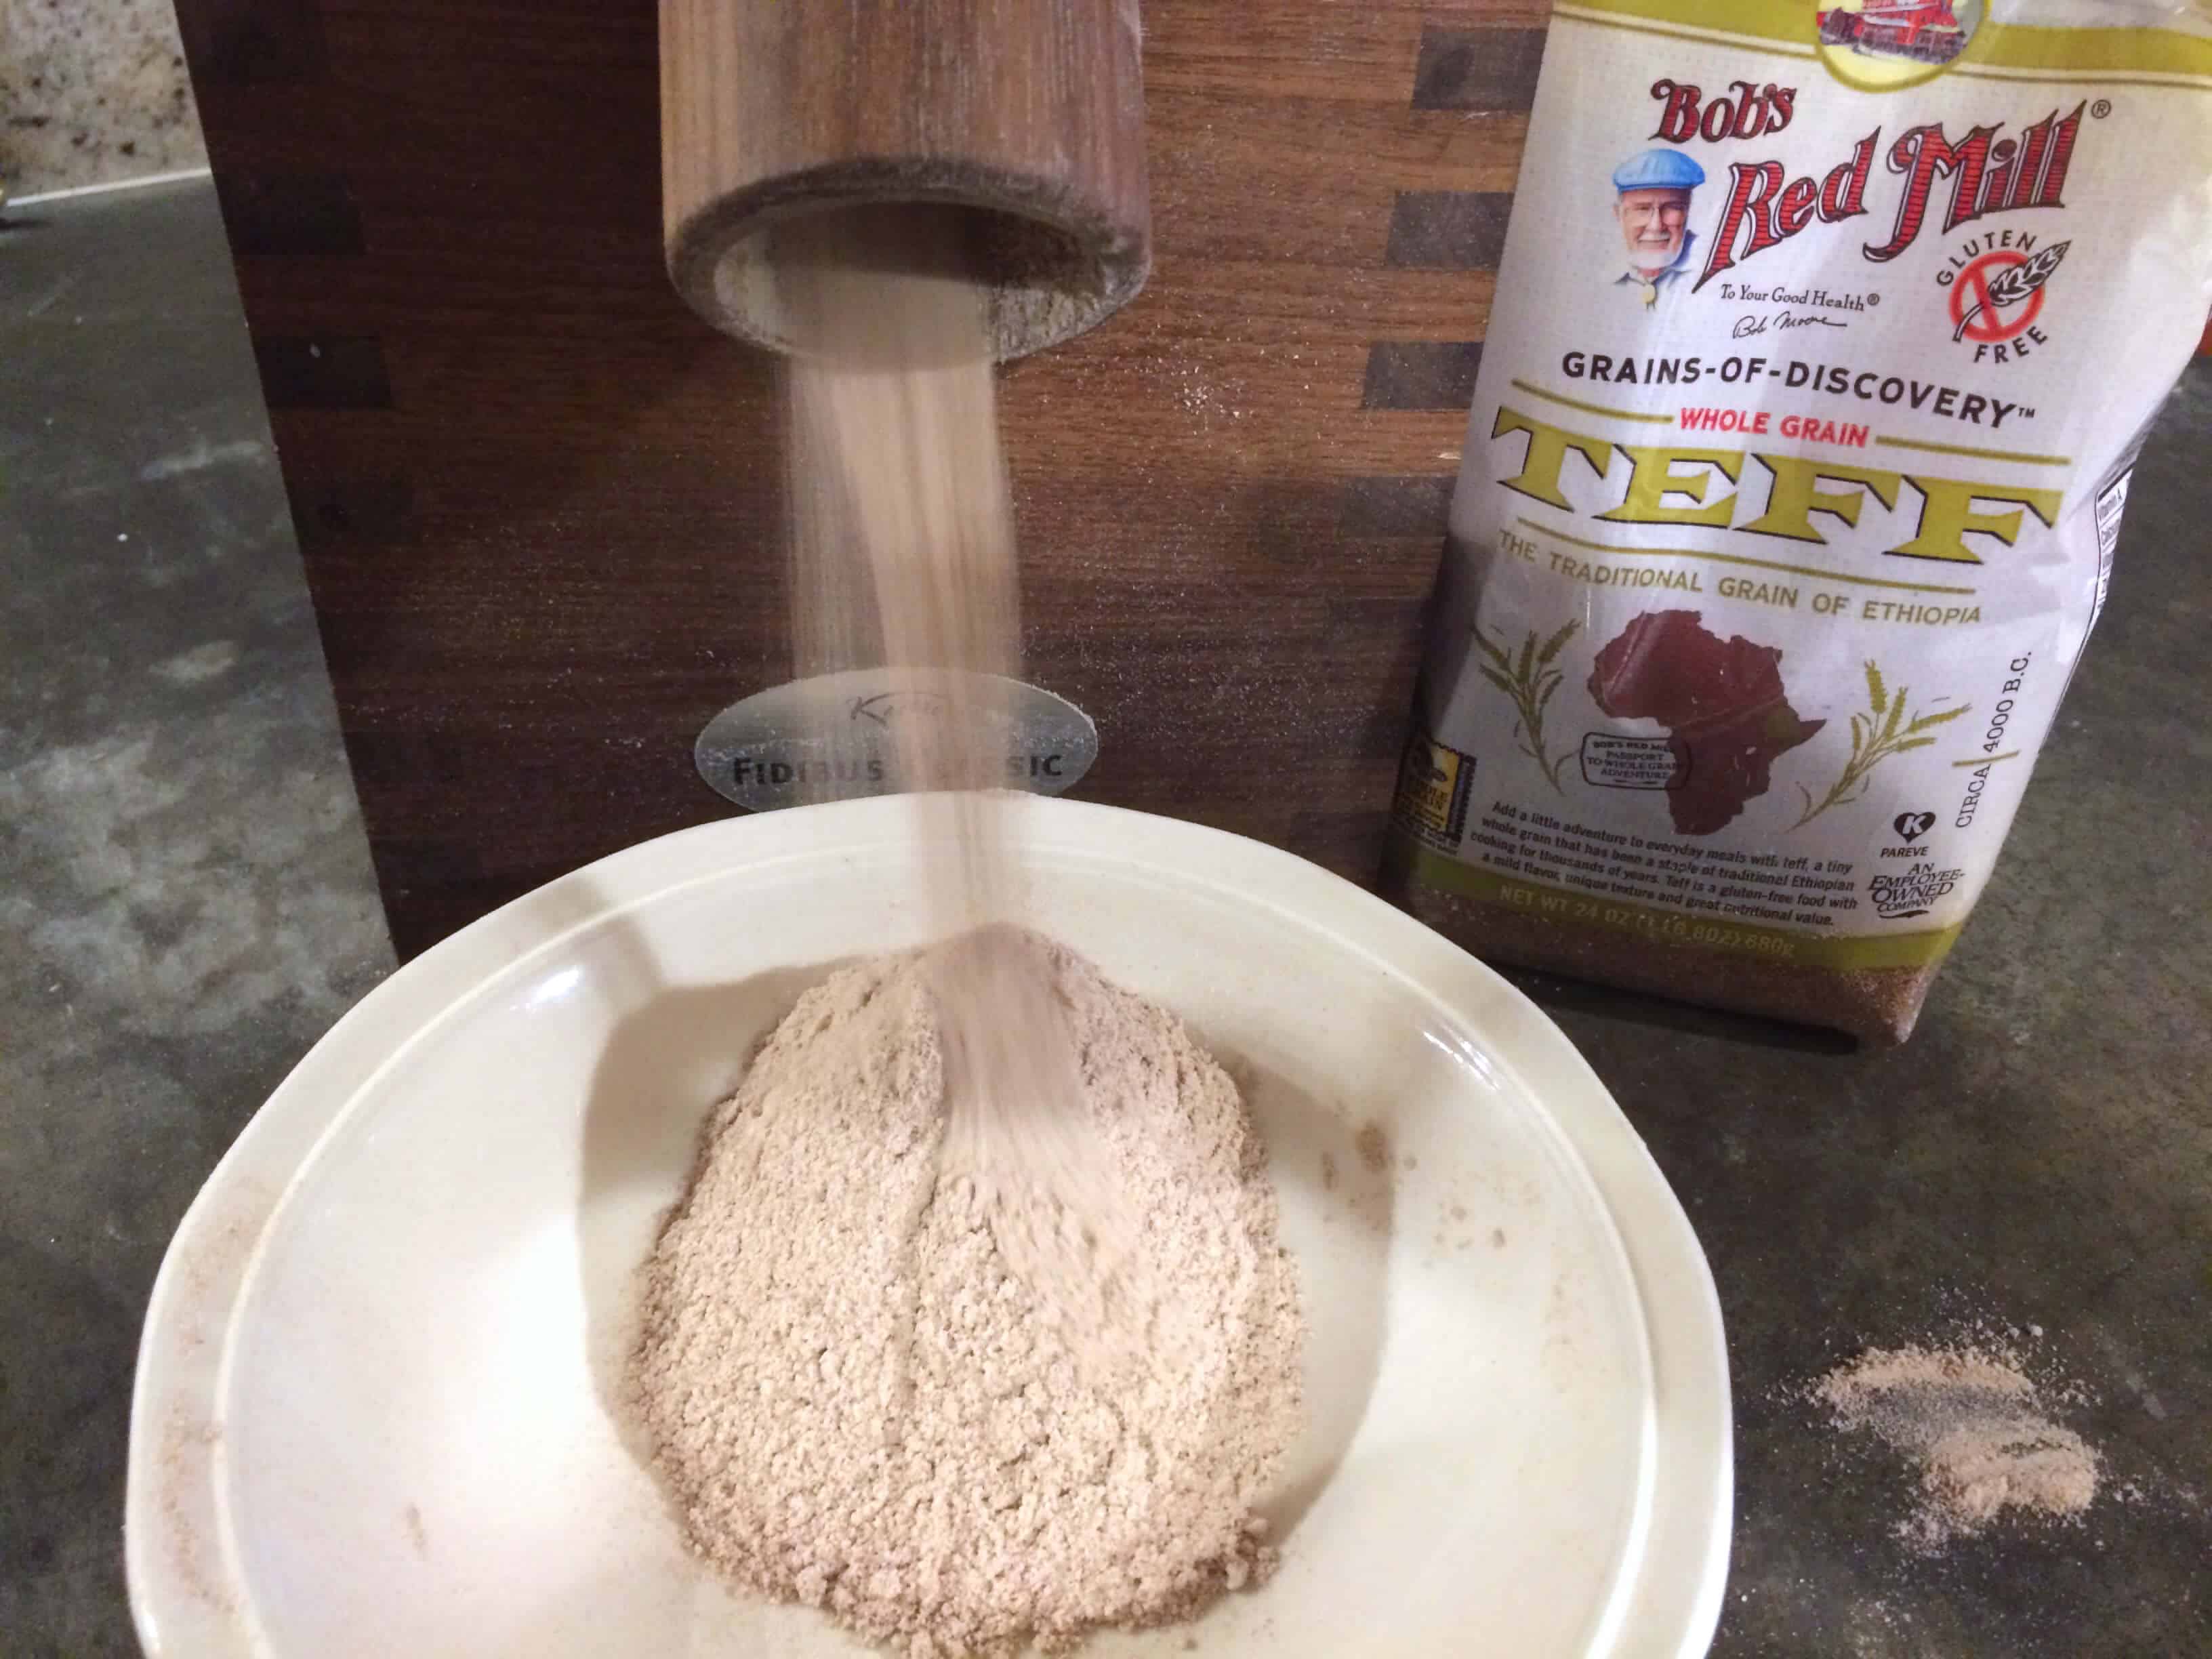
You can buy pre-ground teff flour or grind your own. I like to grind my own grains because 1) the flour has far more nutrition because it’s fresher and the oils haven’t oxidized and 2) I have more control over the texture of the flour.
I use and LOVE my German-made KoMo Classic Grain Mill. It comes with a 15-year warranty. It’s a stone-grinding mill and you can grind grains as finely or as coarsely as you like. It’s an awesome piece of machinery and it’s just downright gorgeous!
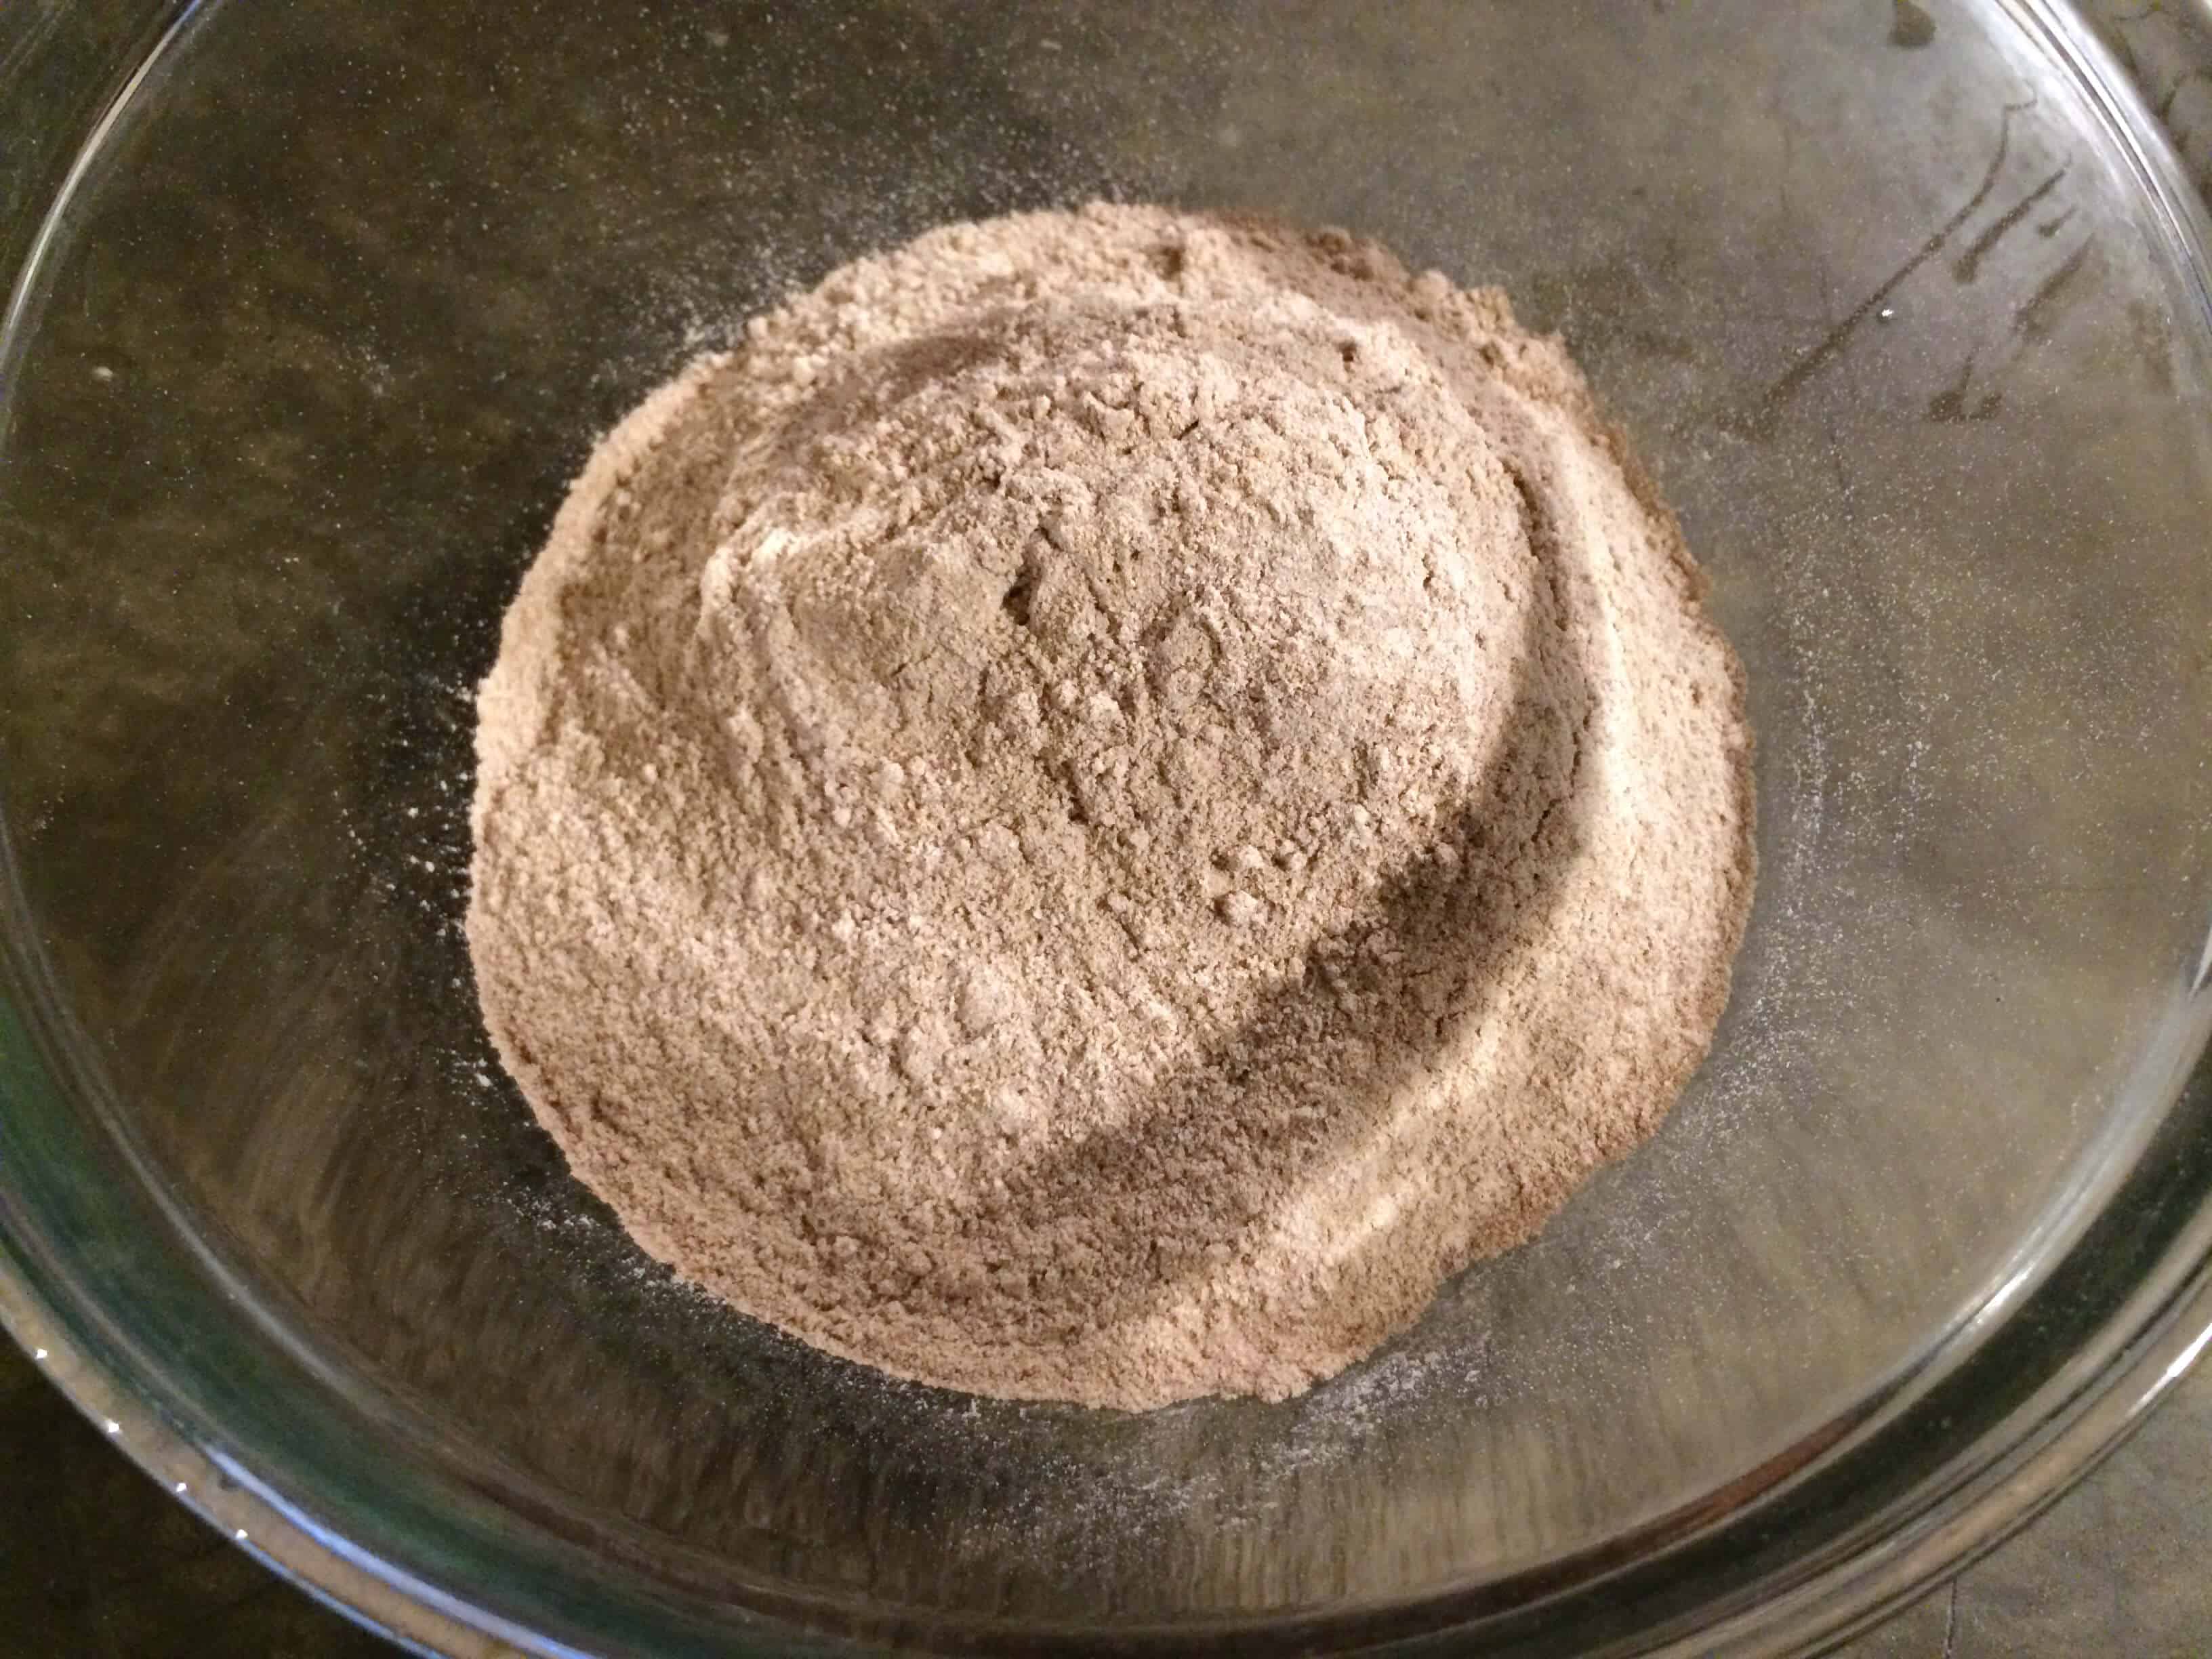
Whether you’re grinding your own flour or using pre-ground, you’ll need 2 cups of flour. I’m using all teff flour, and mine happens to be dark teff flour which will produce a very dark injera with a deeper flavor.
As mentioned above, using 100% teff flour is traditionally considered the most desirable (it also happens to be naturally gluten-free), but you can substitute part of it with other flours such as wheat or barley.
However, if you’re new to making injera I recommend substituting a portion of teff with barley or wheat flour as 100% is more challenging to work with.
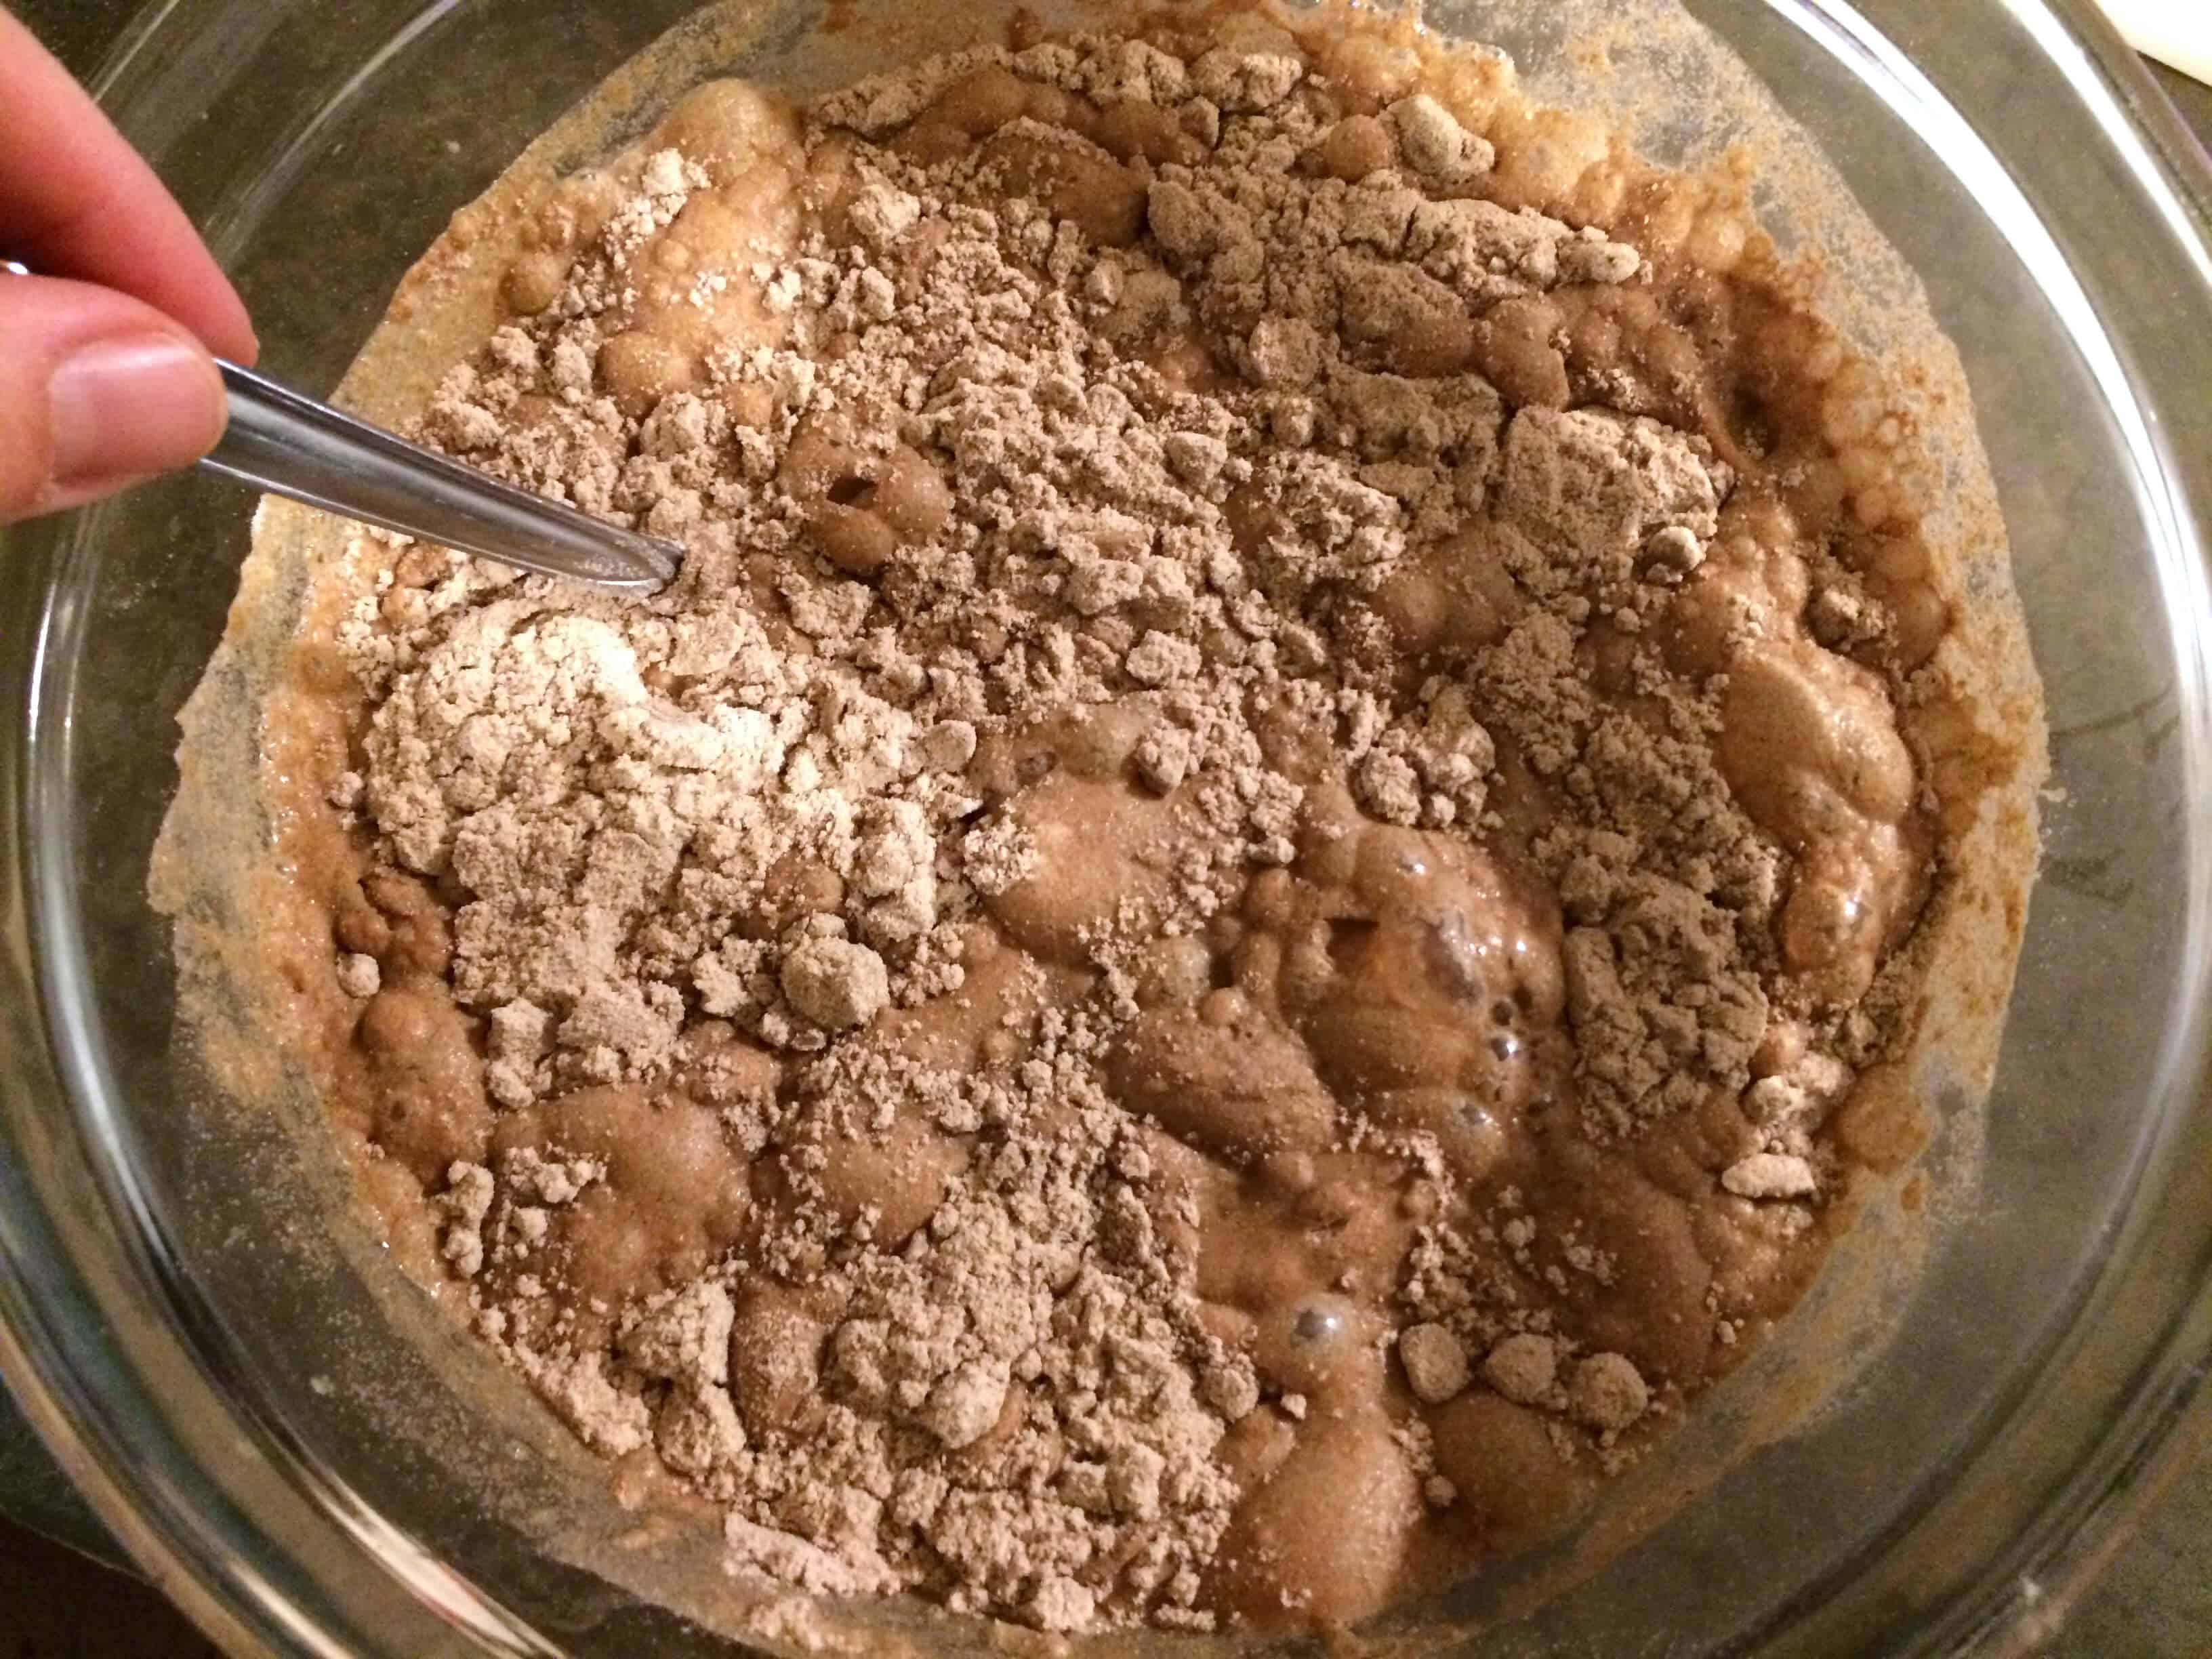
Stir in 3 cups of distilled water (and the yeast if you’re using it).
I made two versions to show you the difference – both are identical but in one of them I added some commercial yeast (left) and the other one I didn’t (right). What that does is prevent the formation of wild yeast because the commercial, store-bought yeast dominates.
Loosely cover the bowls with plastic wrap so that air can still get in (but no critters can) – cheesecloth is also a great option. Let it sit undisturbed at room temperature for 5 days. You don’t have to let it ferment that long but at least 4 days is ideal and longer it ferments the deeper the flavor will be.
Note: Depending on what kind of flour you’re using, you may need to add a little more water if the mixture is becoming dry.
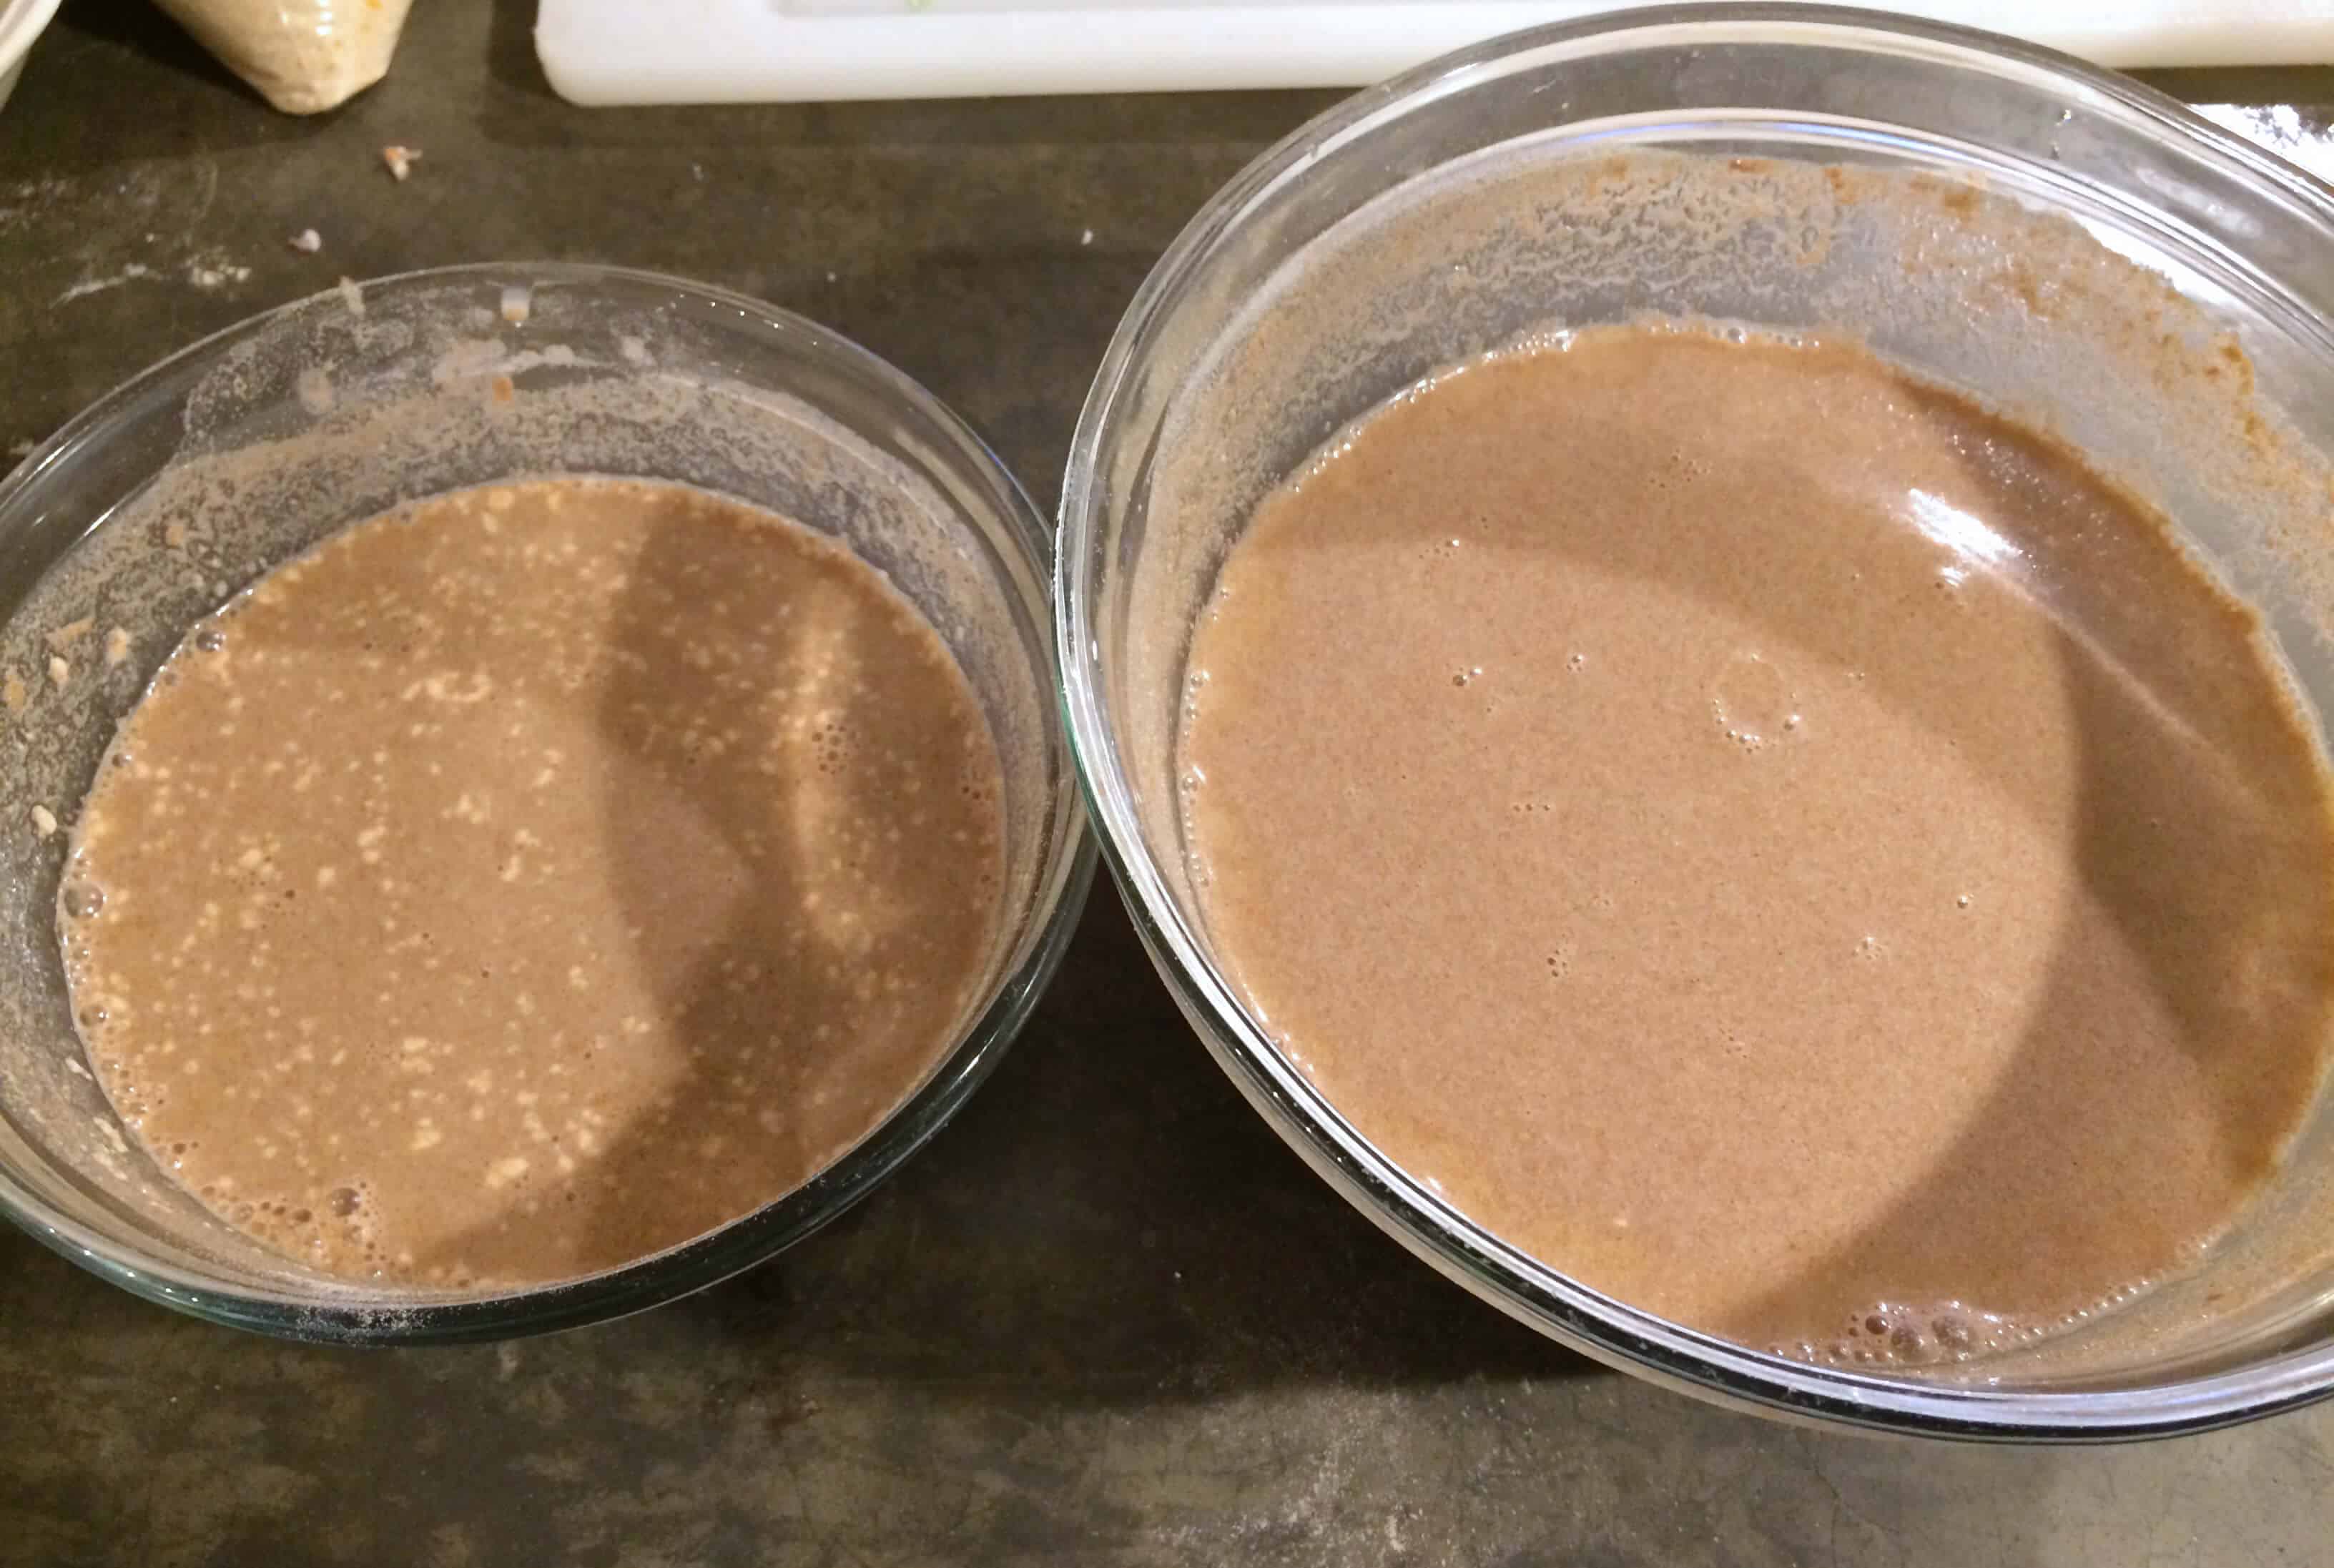
After 4-5 days both versions will be fizzy when you jiggle the bowl.
Notice the difference between the mixture prepared with commercial yeast (left) and the wild yeast mixture (right). The version made the traditional way allowing wild yeast to form is not only much darker in color, it has a film of aerobic yeast on top that you may initially think is mold but it isn’t. If your batter forms actual mold on it it will need to be discarded.
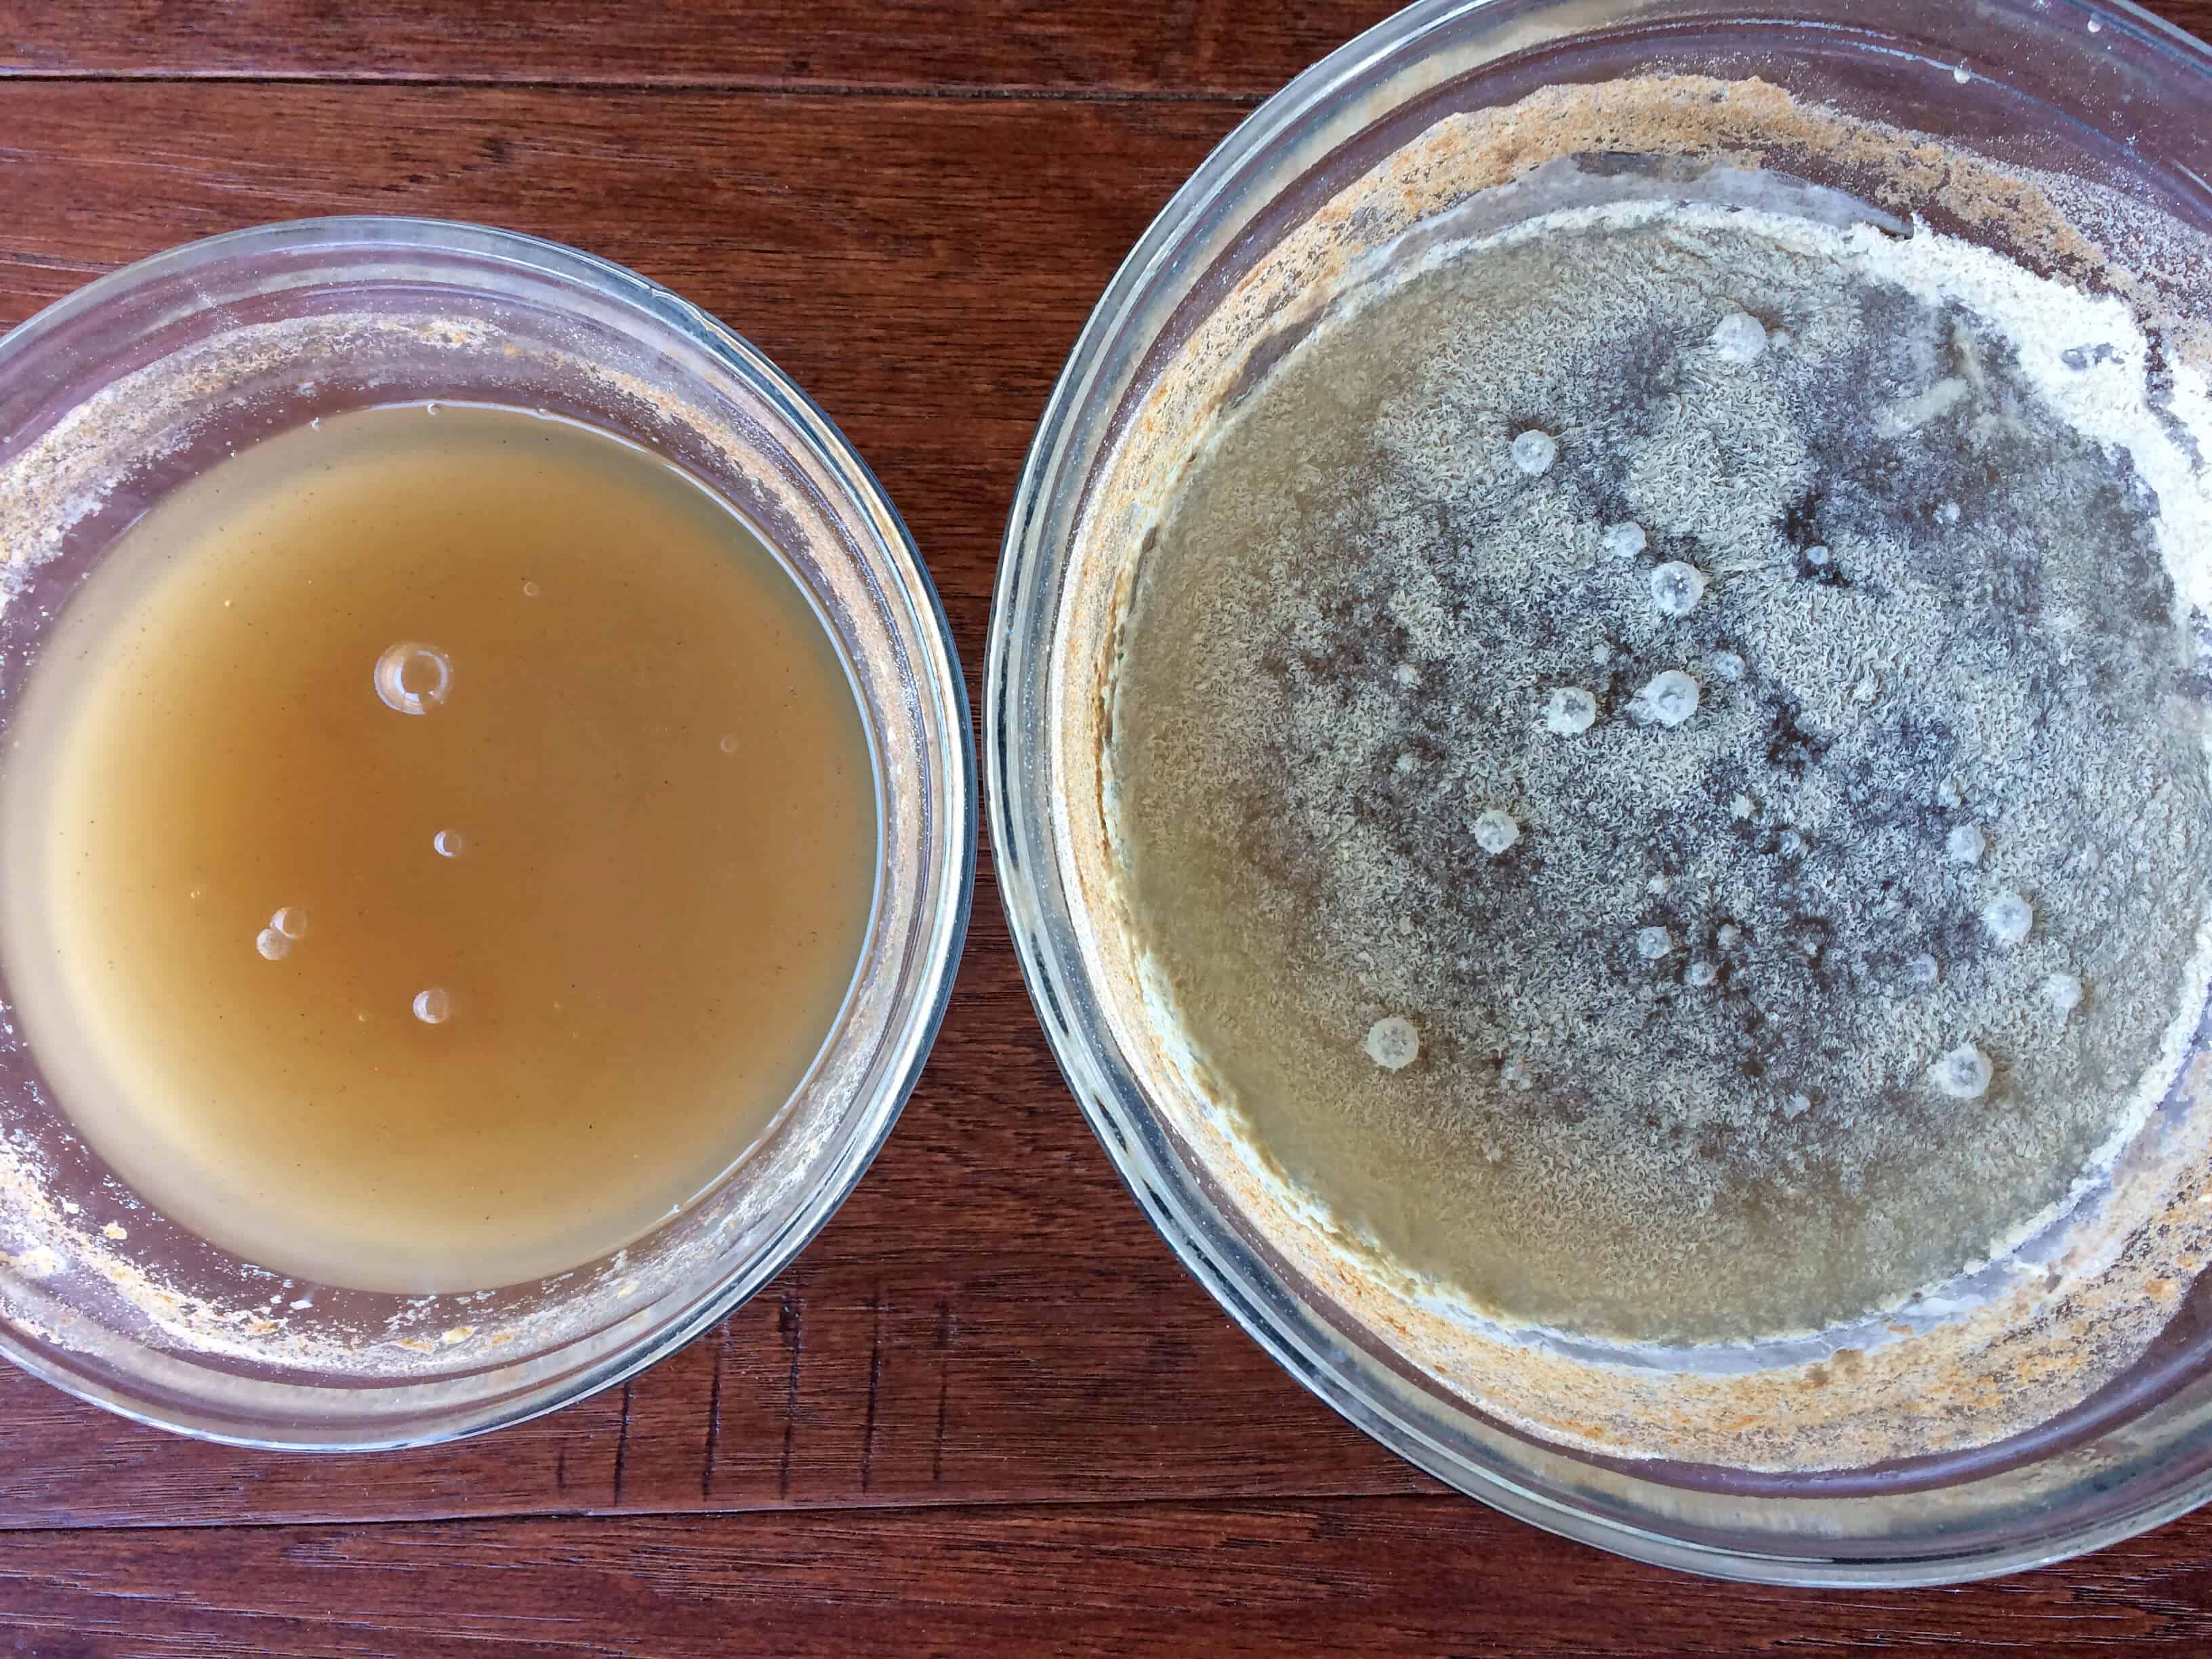
It looks disgusting, I know. Like why would I eat this? But rest assured it’s perfectly normal. That isn’t mold, it’s aerobic yeast caused by the fermentation process. Going the traditional route of relying on wild yeast – a naturally fermented product – over commercial yeast results in an injera with a richer and more complex flavor. It’s the way injera has been made and enjoyed for centuries. Again though, if your batter forms actual mold on it, it will need to be discarded.
We’re simply going to discard this top layer and use what’s underneath. So pour off the top layer and as much of the liquid as you can.
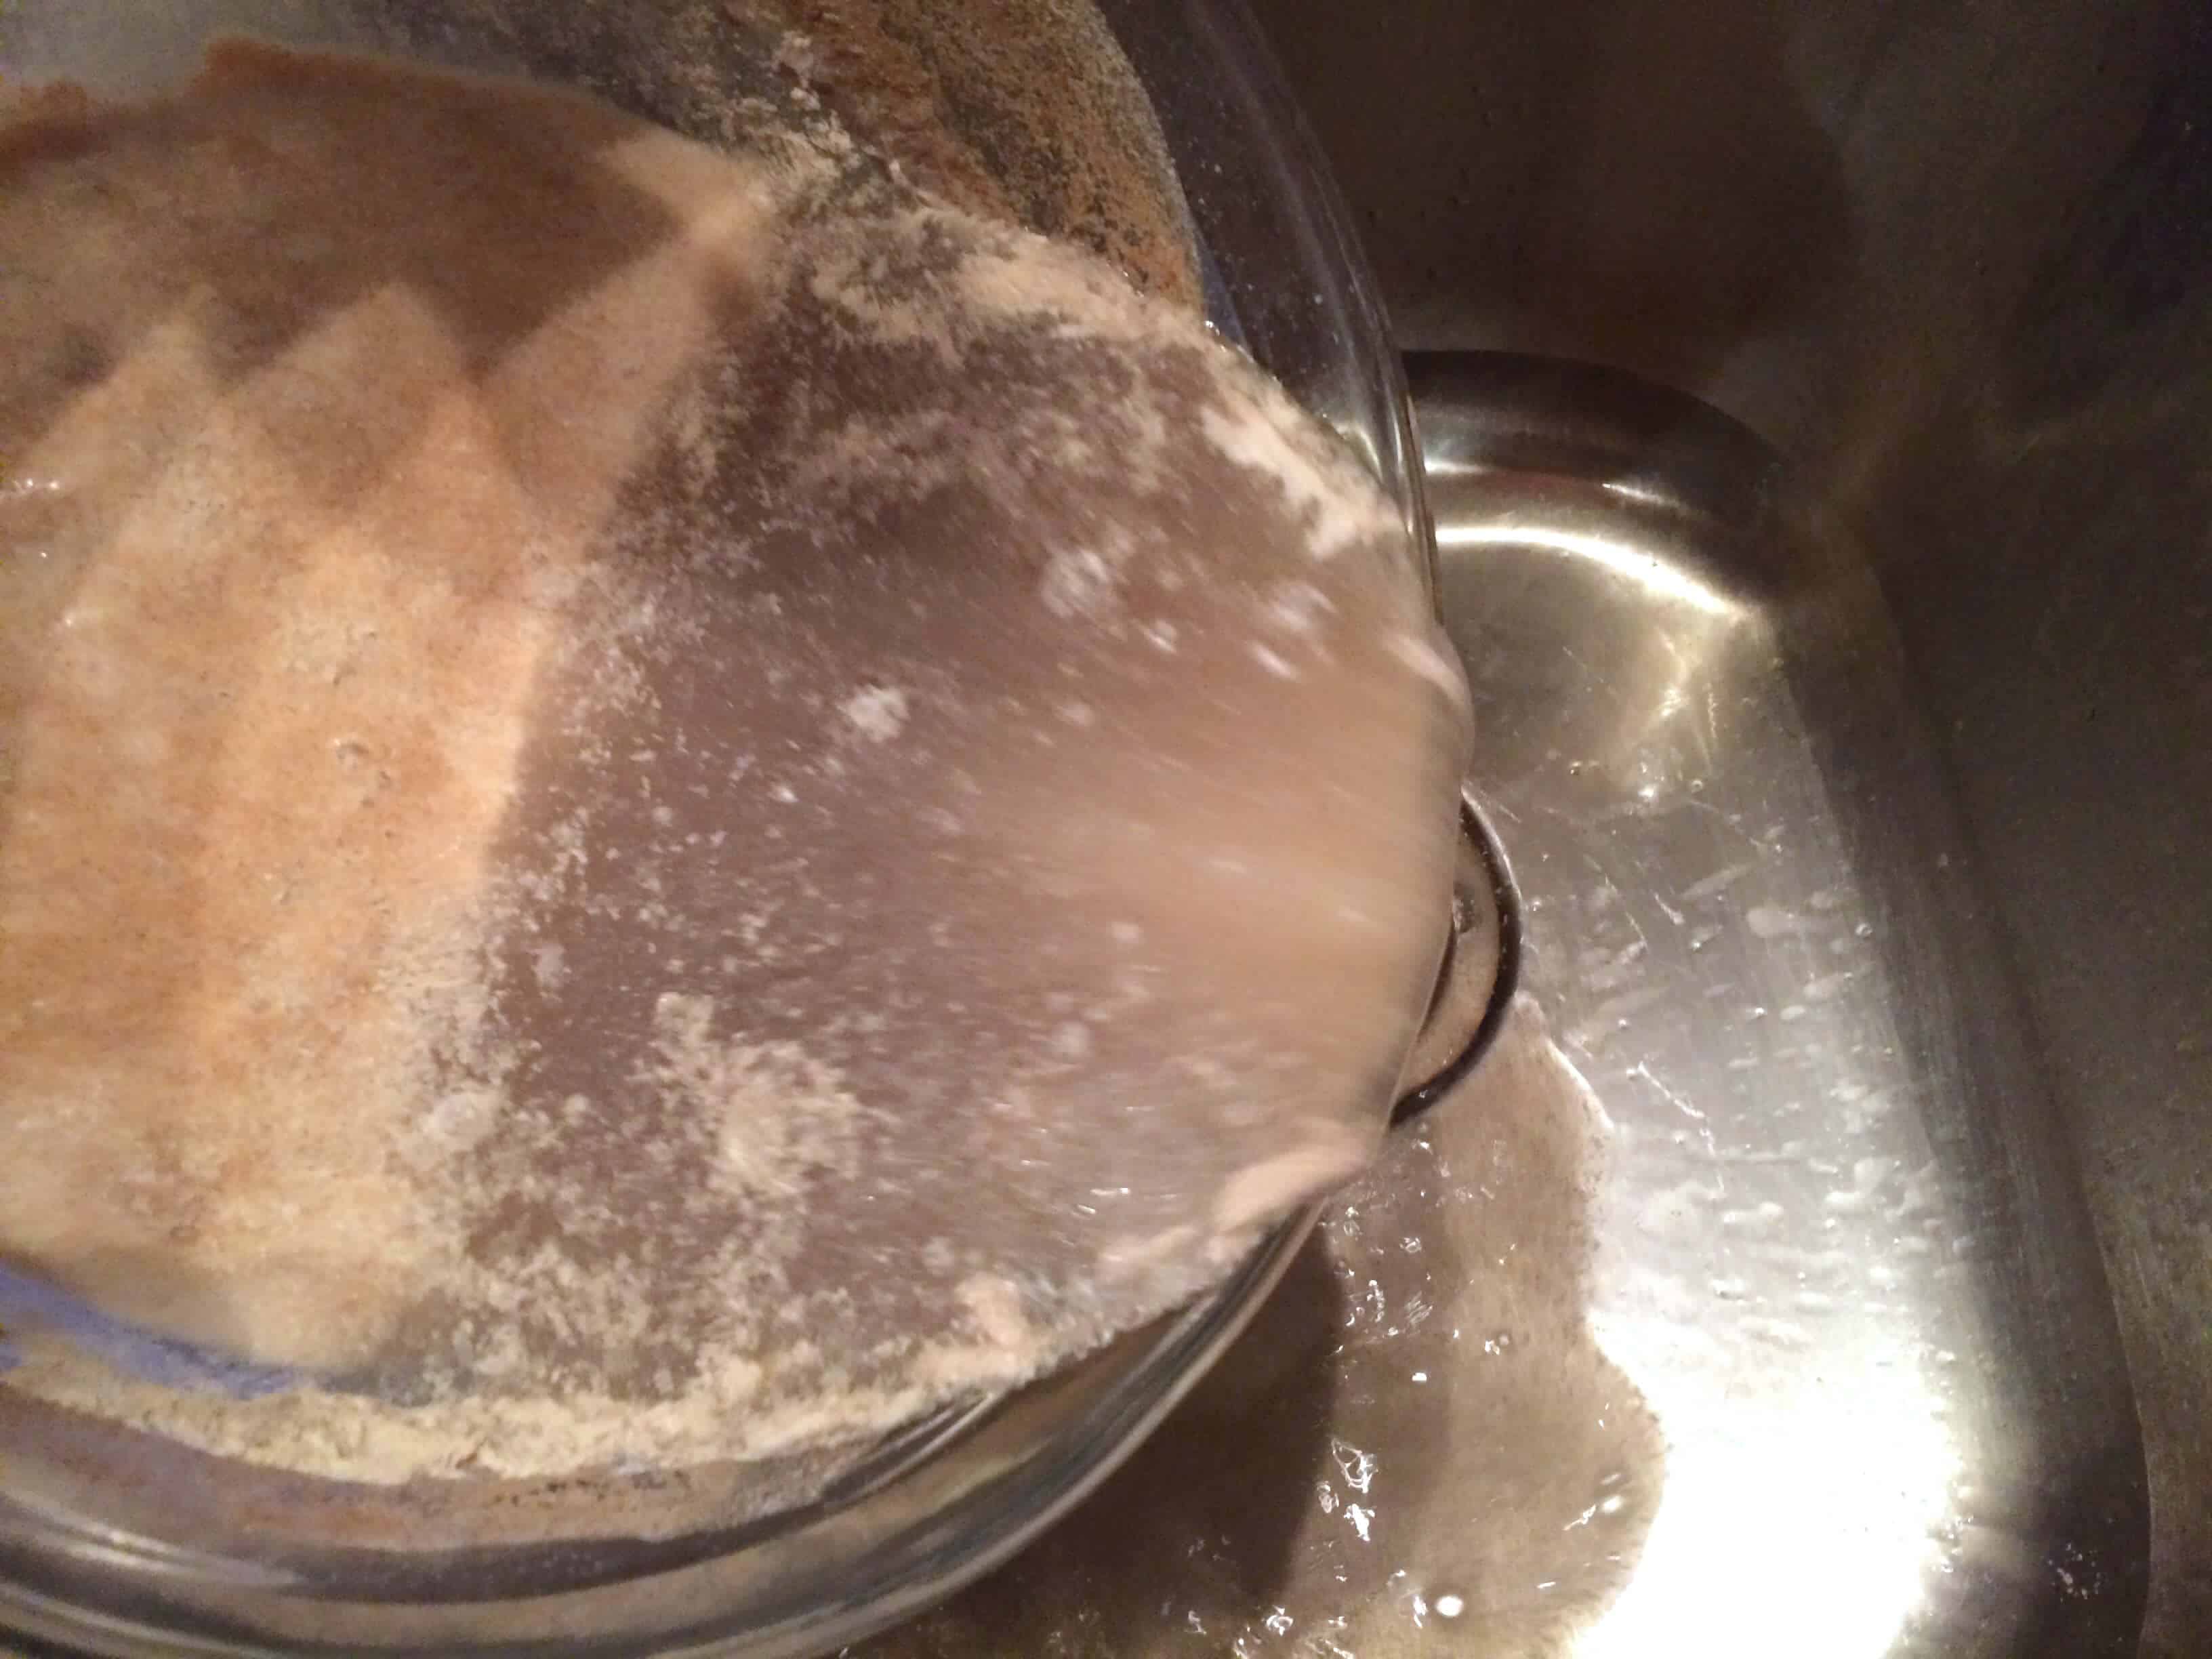
You’ll be left with a clay-like batter. Give it a good stir.
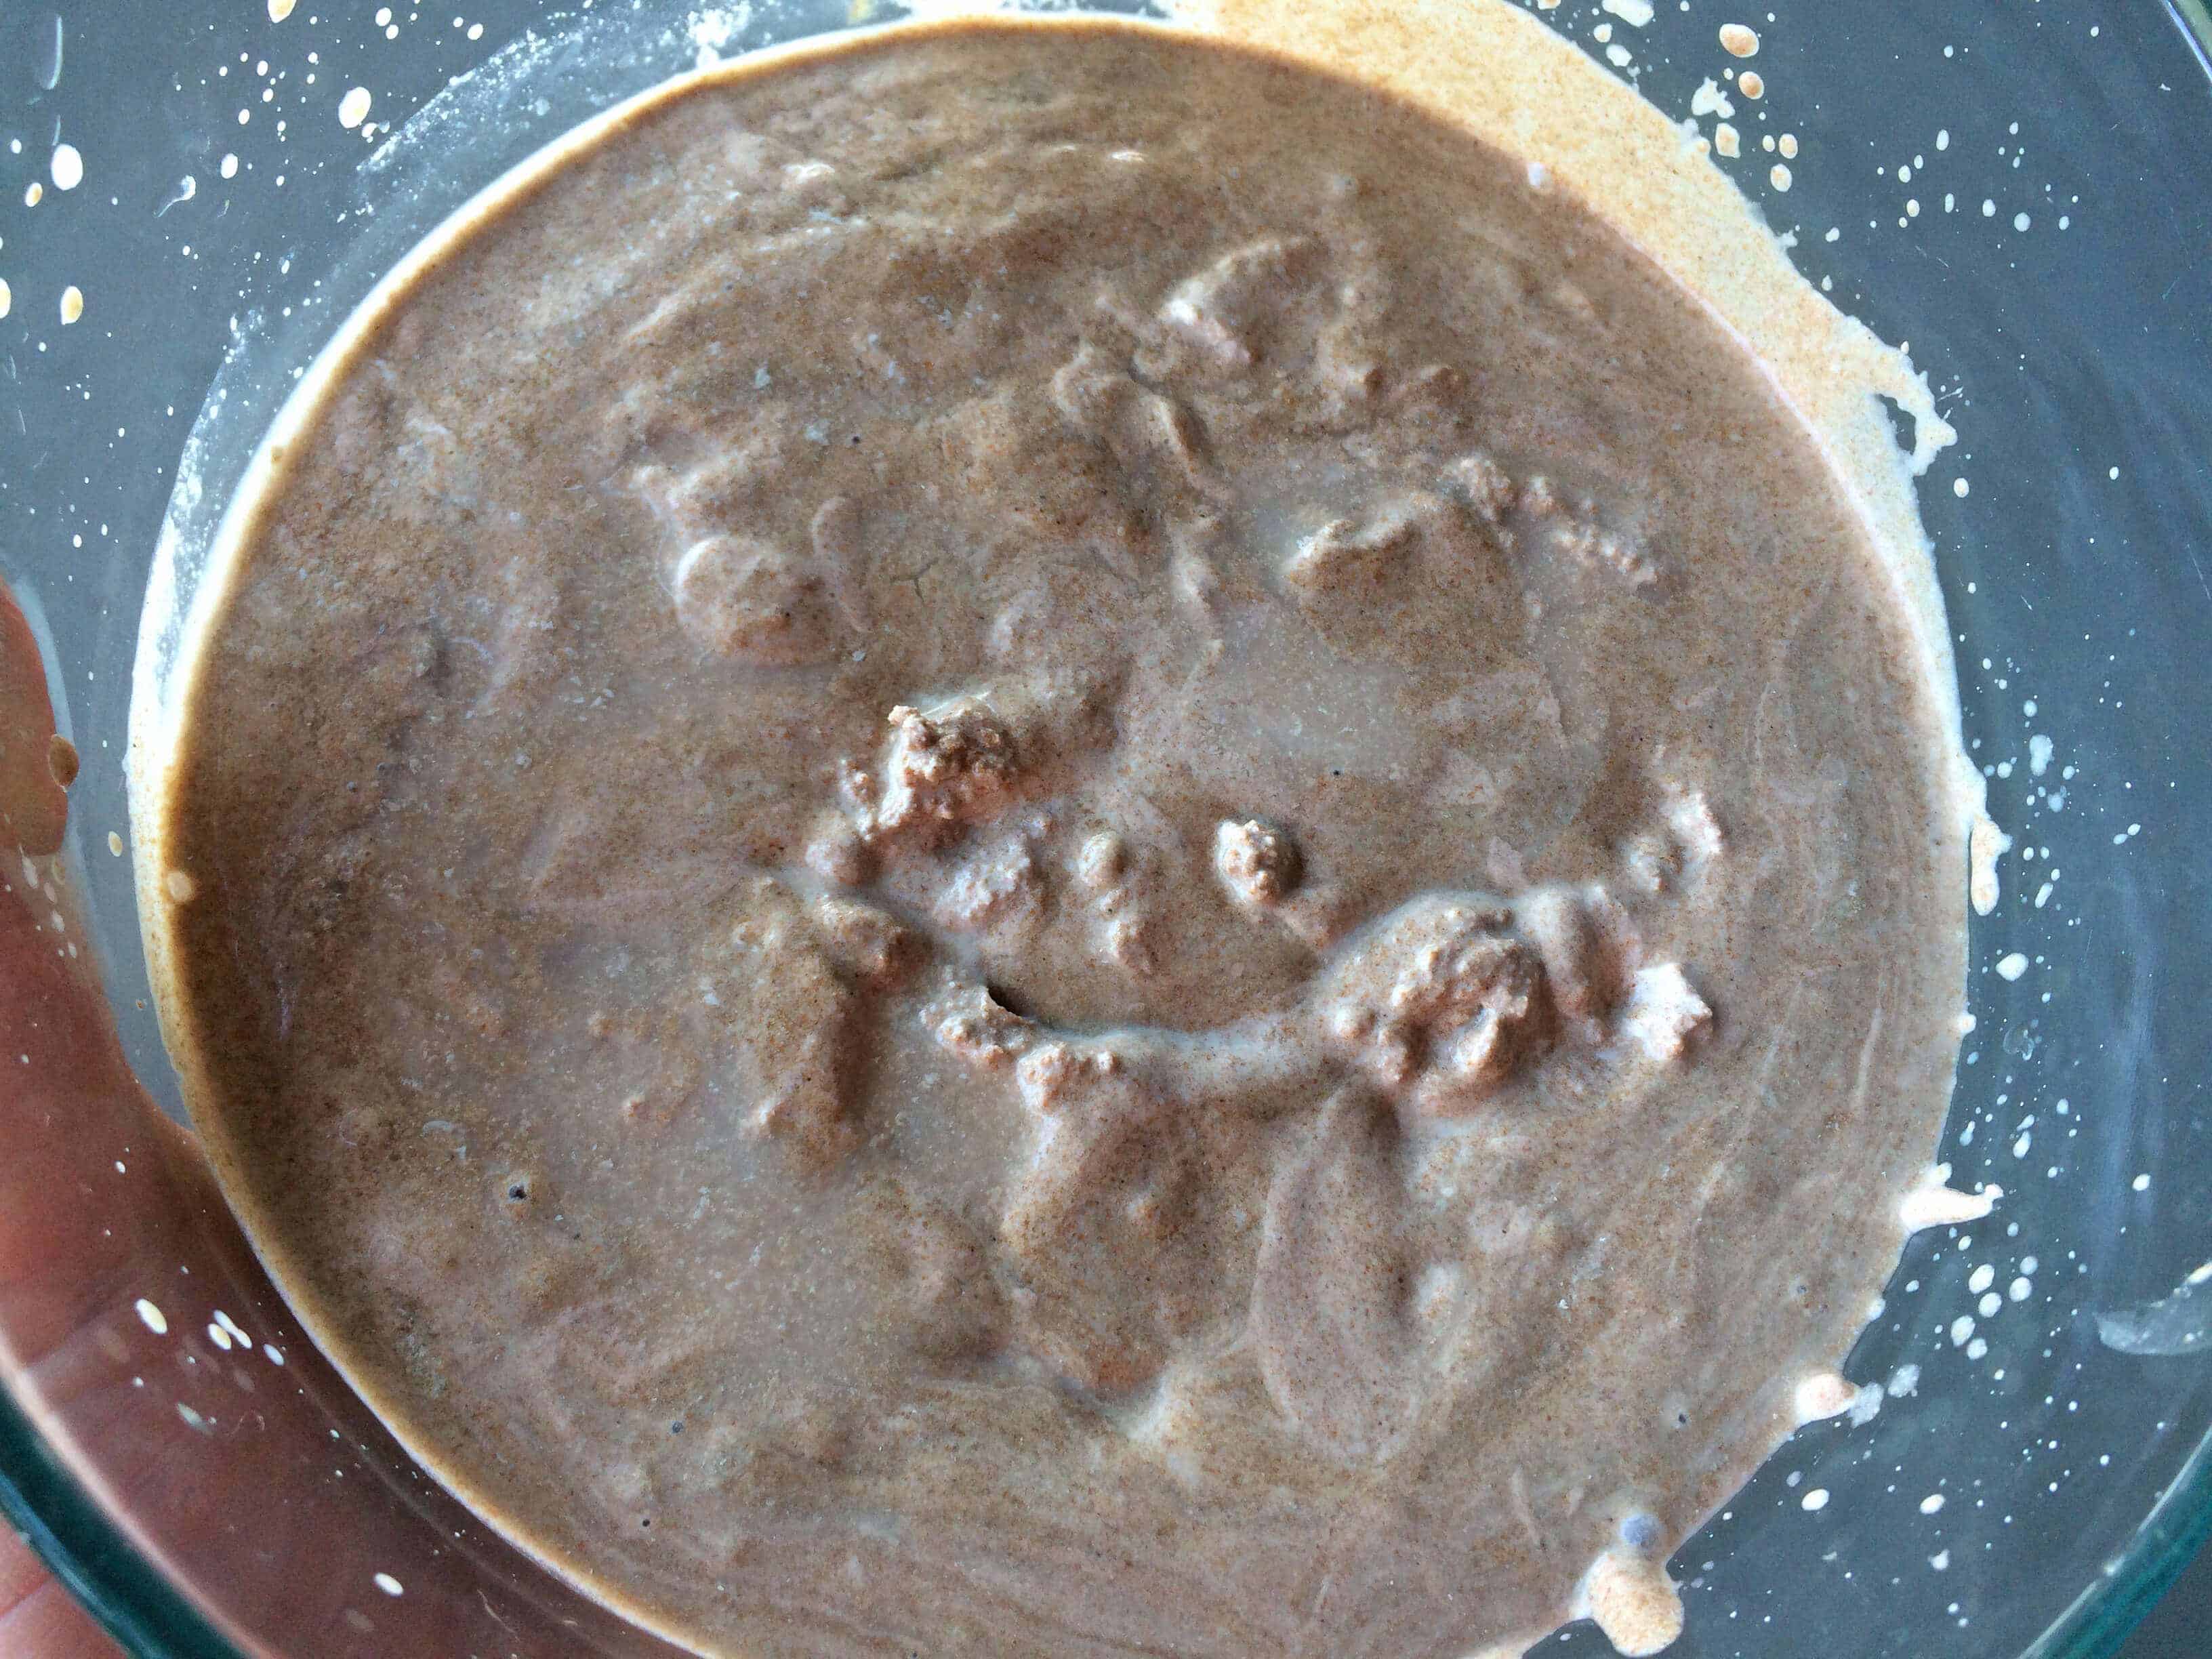
Bring 1 cup of water to a boil in a small saucepan. Scoop 1/2 cup of the fermented teff batter and stir it into the boiling water until the mixture is thickened. This will happen pretty quickly.
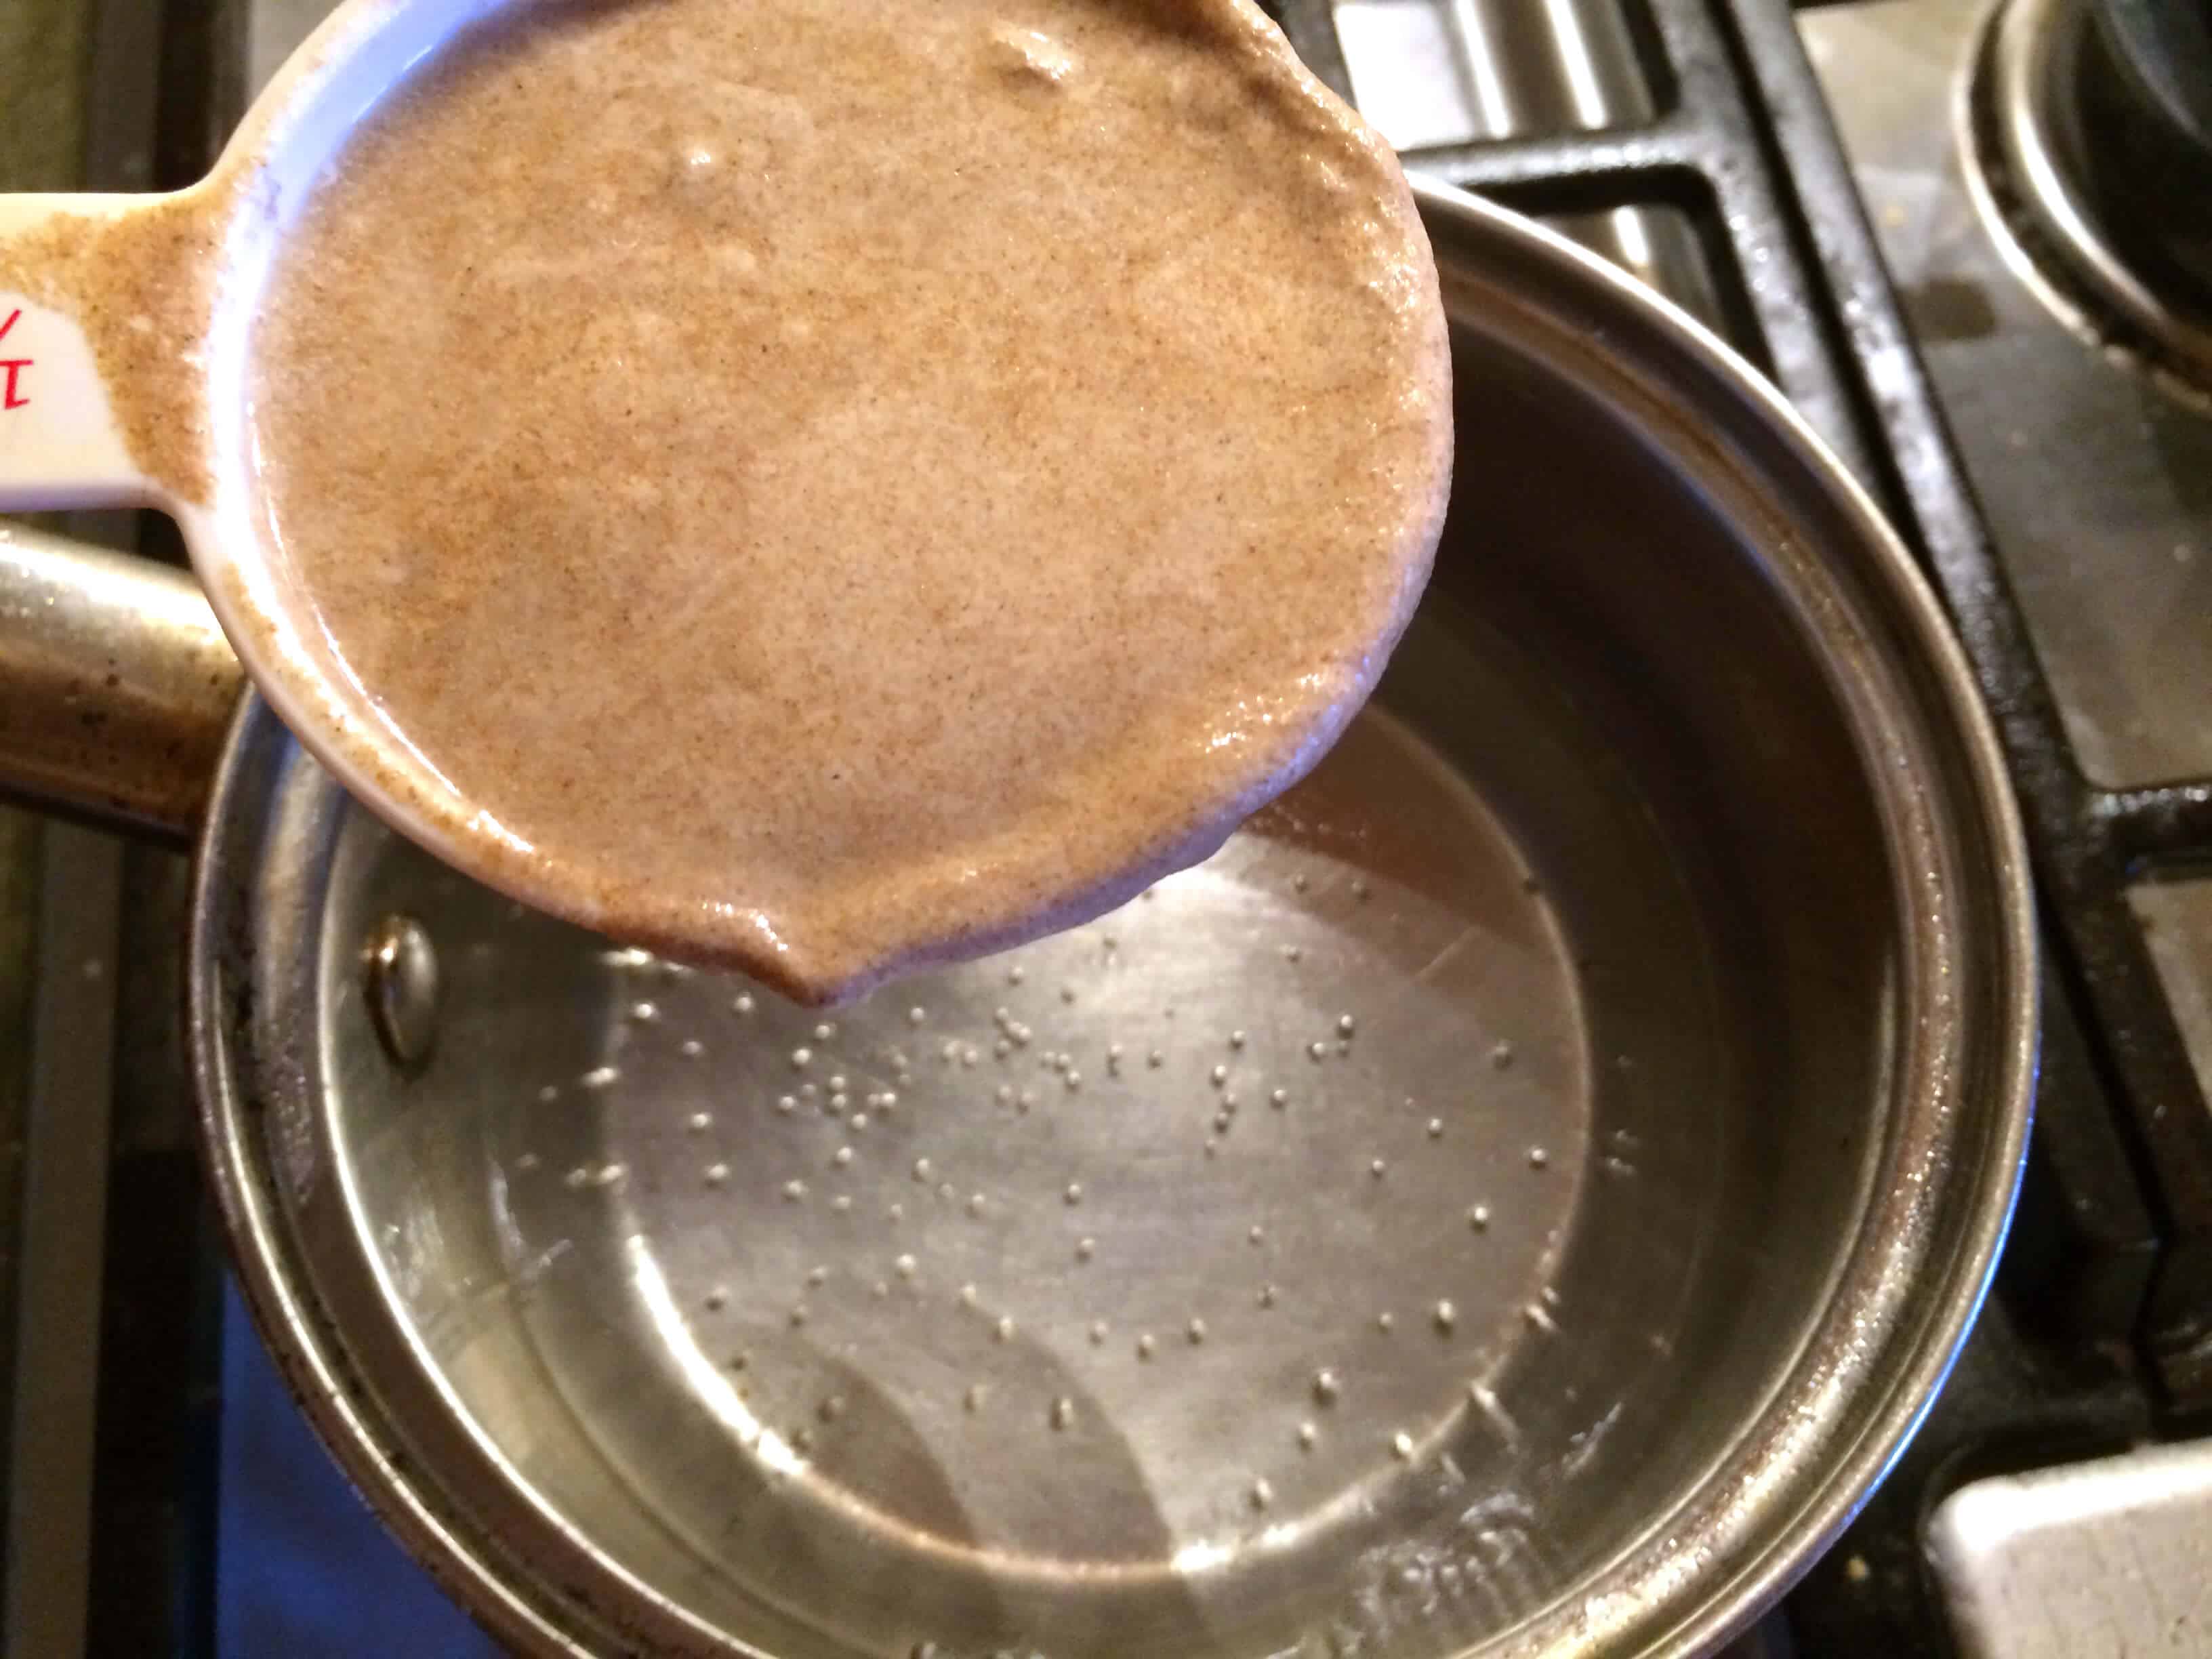
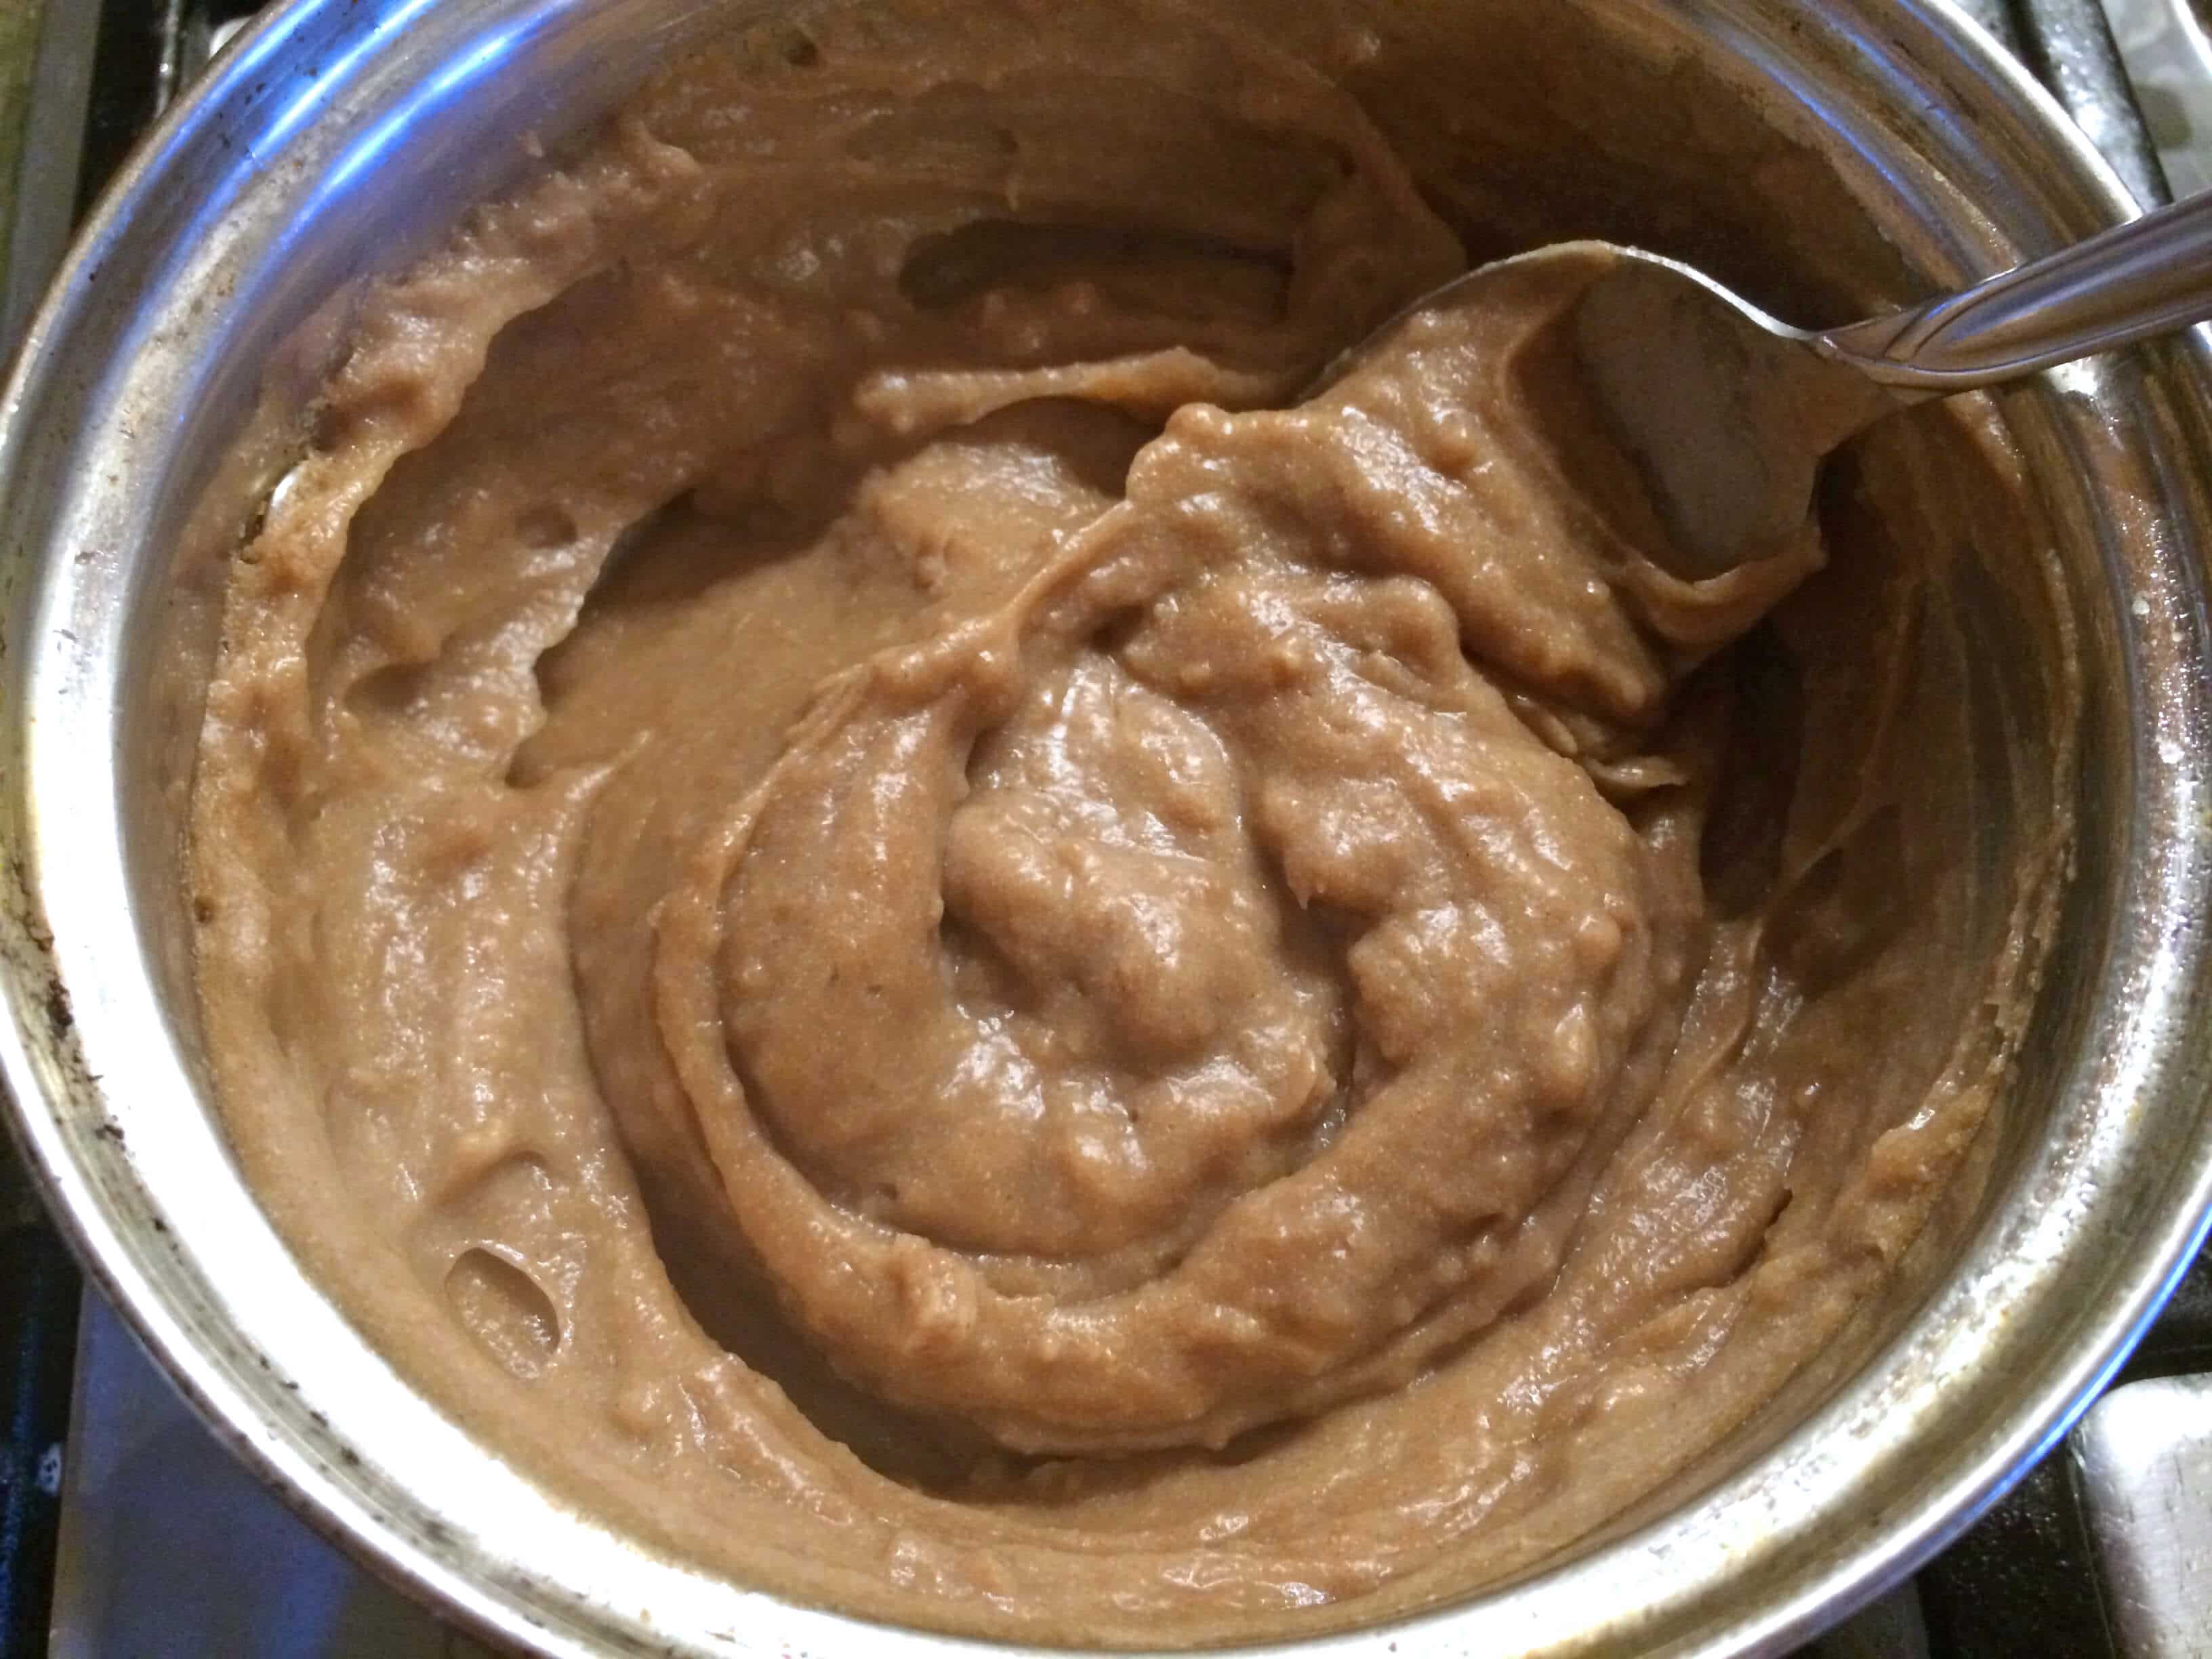
Stir the cooked/thickened batter back into the original mixture.
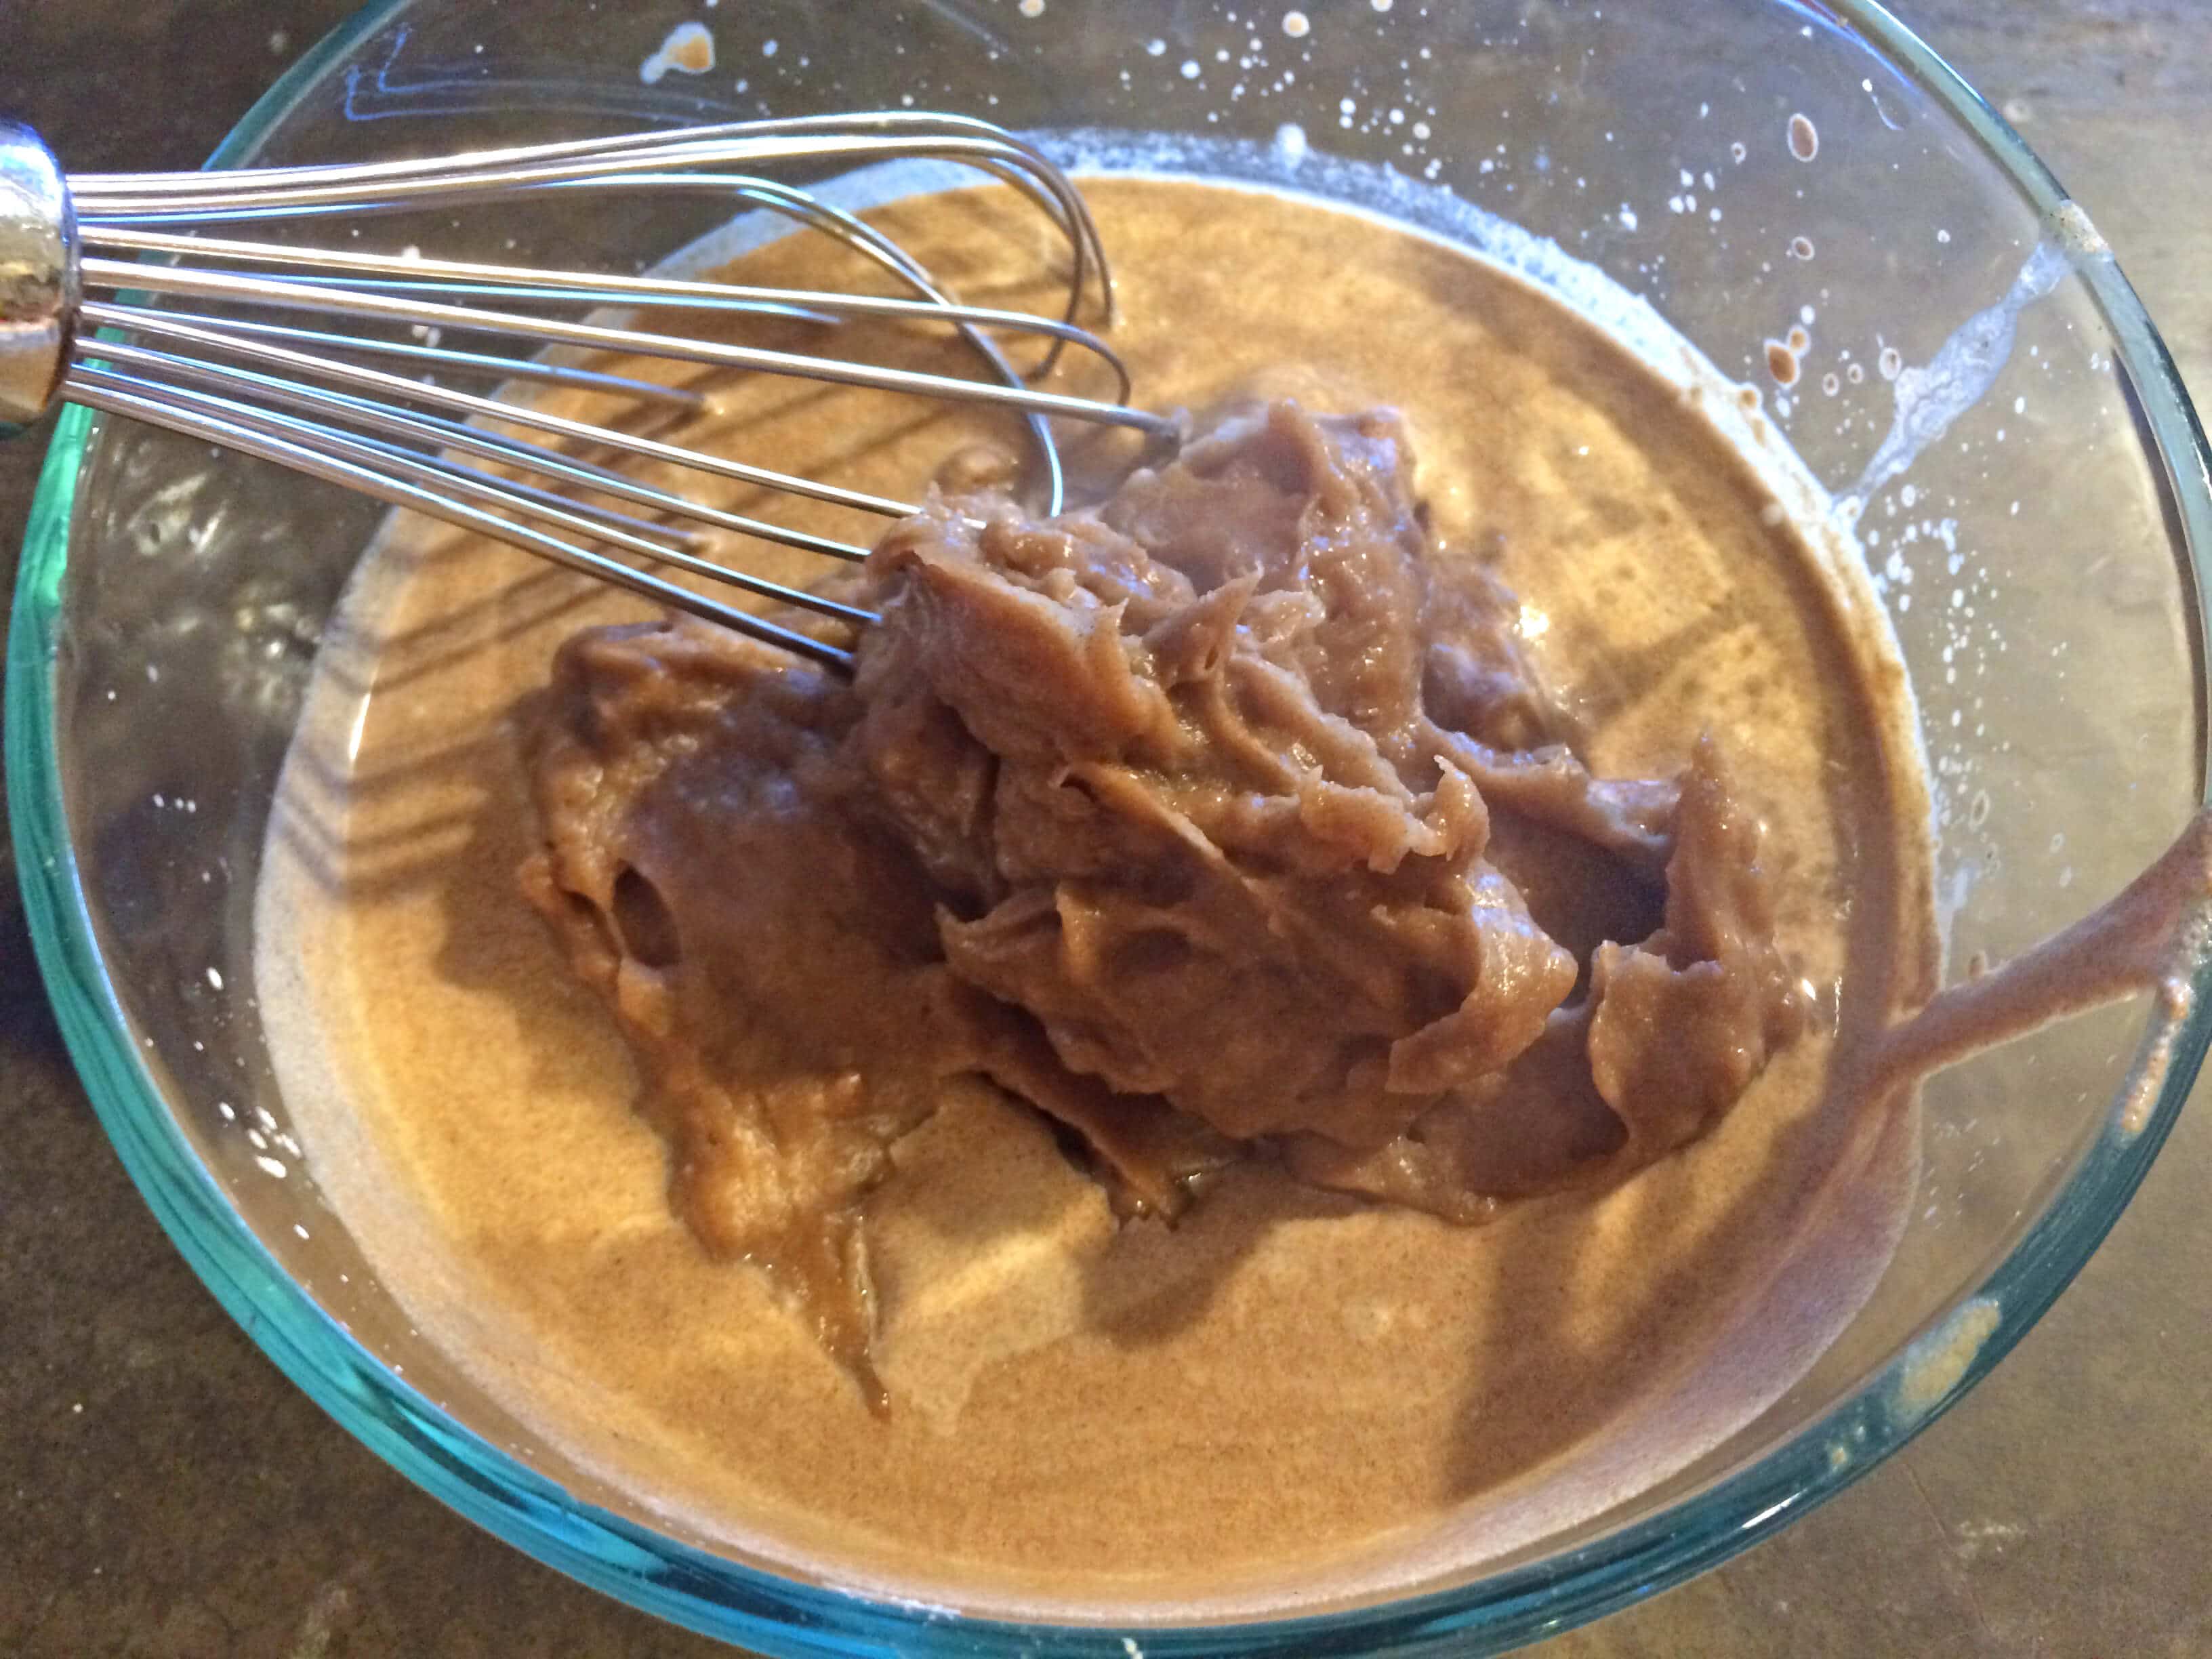
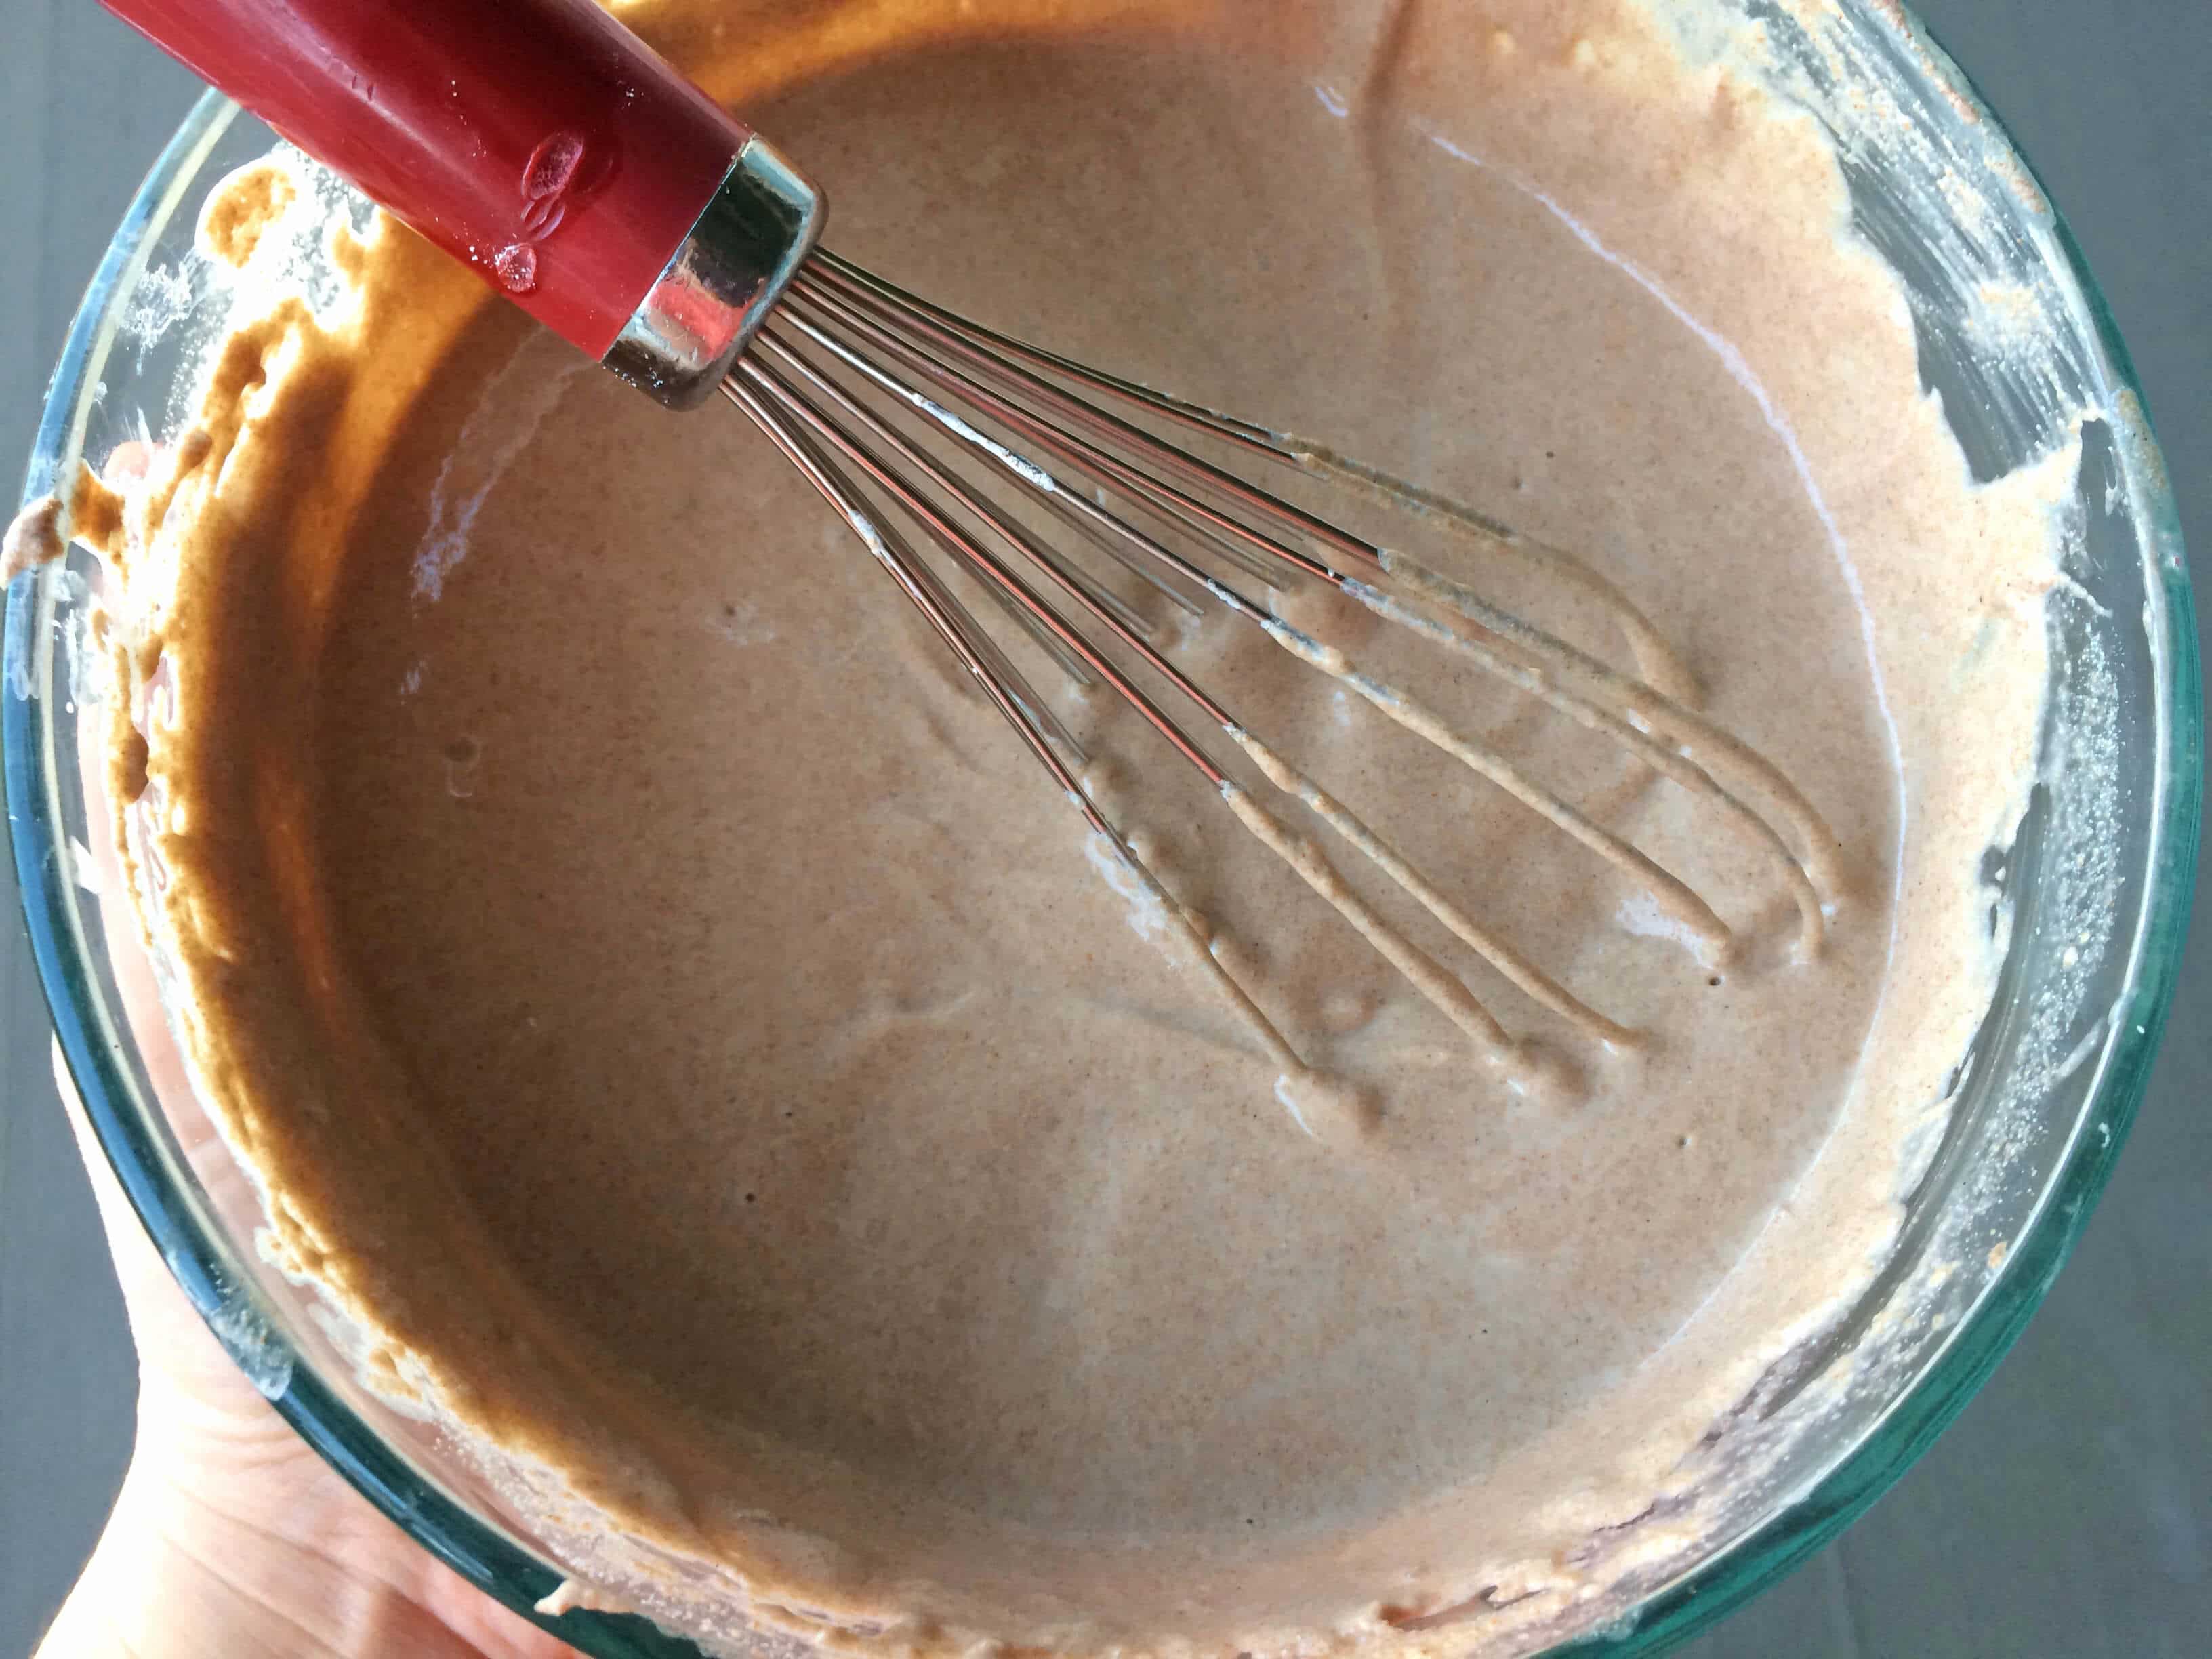
Add some water to the batter to create roughly the consistency of crepe batter. I added about 2/3 cup of water though this will vary from batch to batch. The batter will have a sweet-soured nutty smell.
Heat a non-stick pan on medium. Depending on how good your non-stick surface is, you may need to very lightly spray it with some oil.
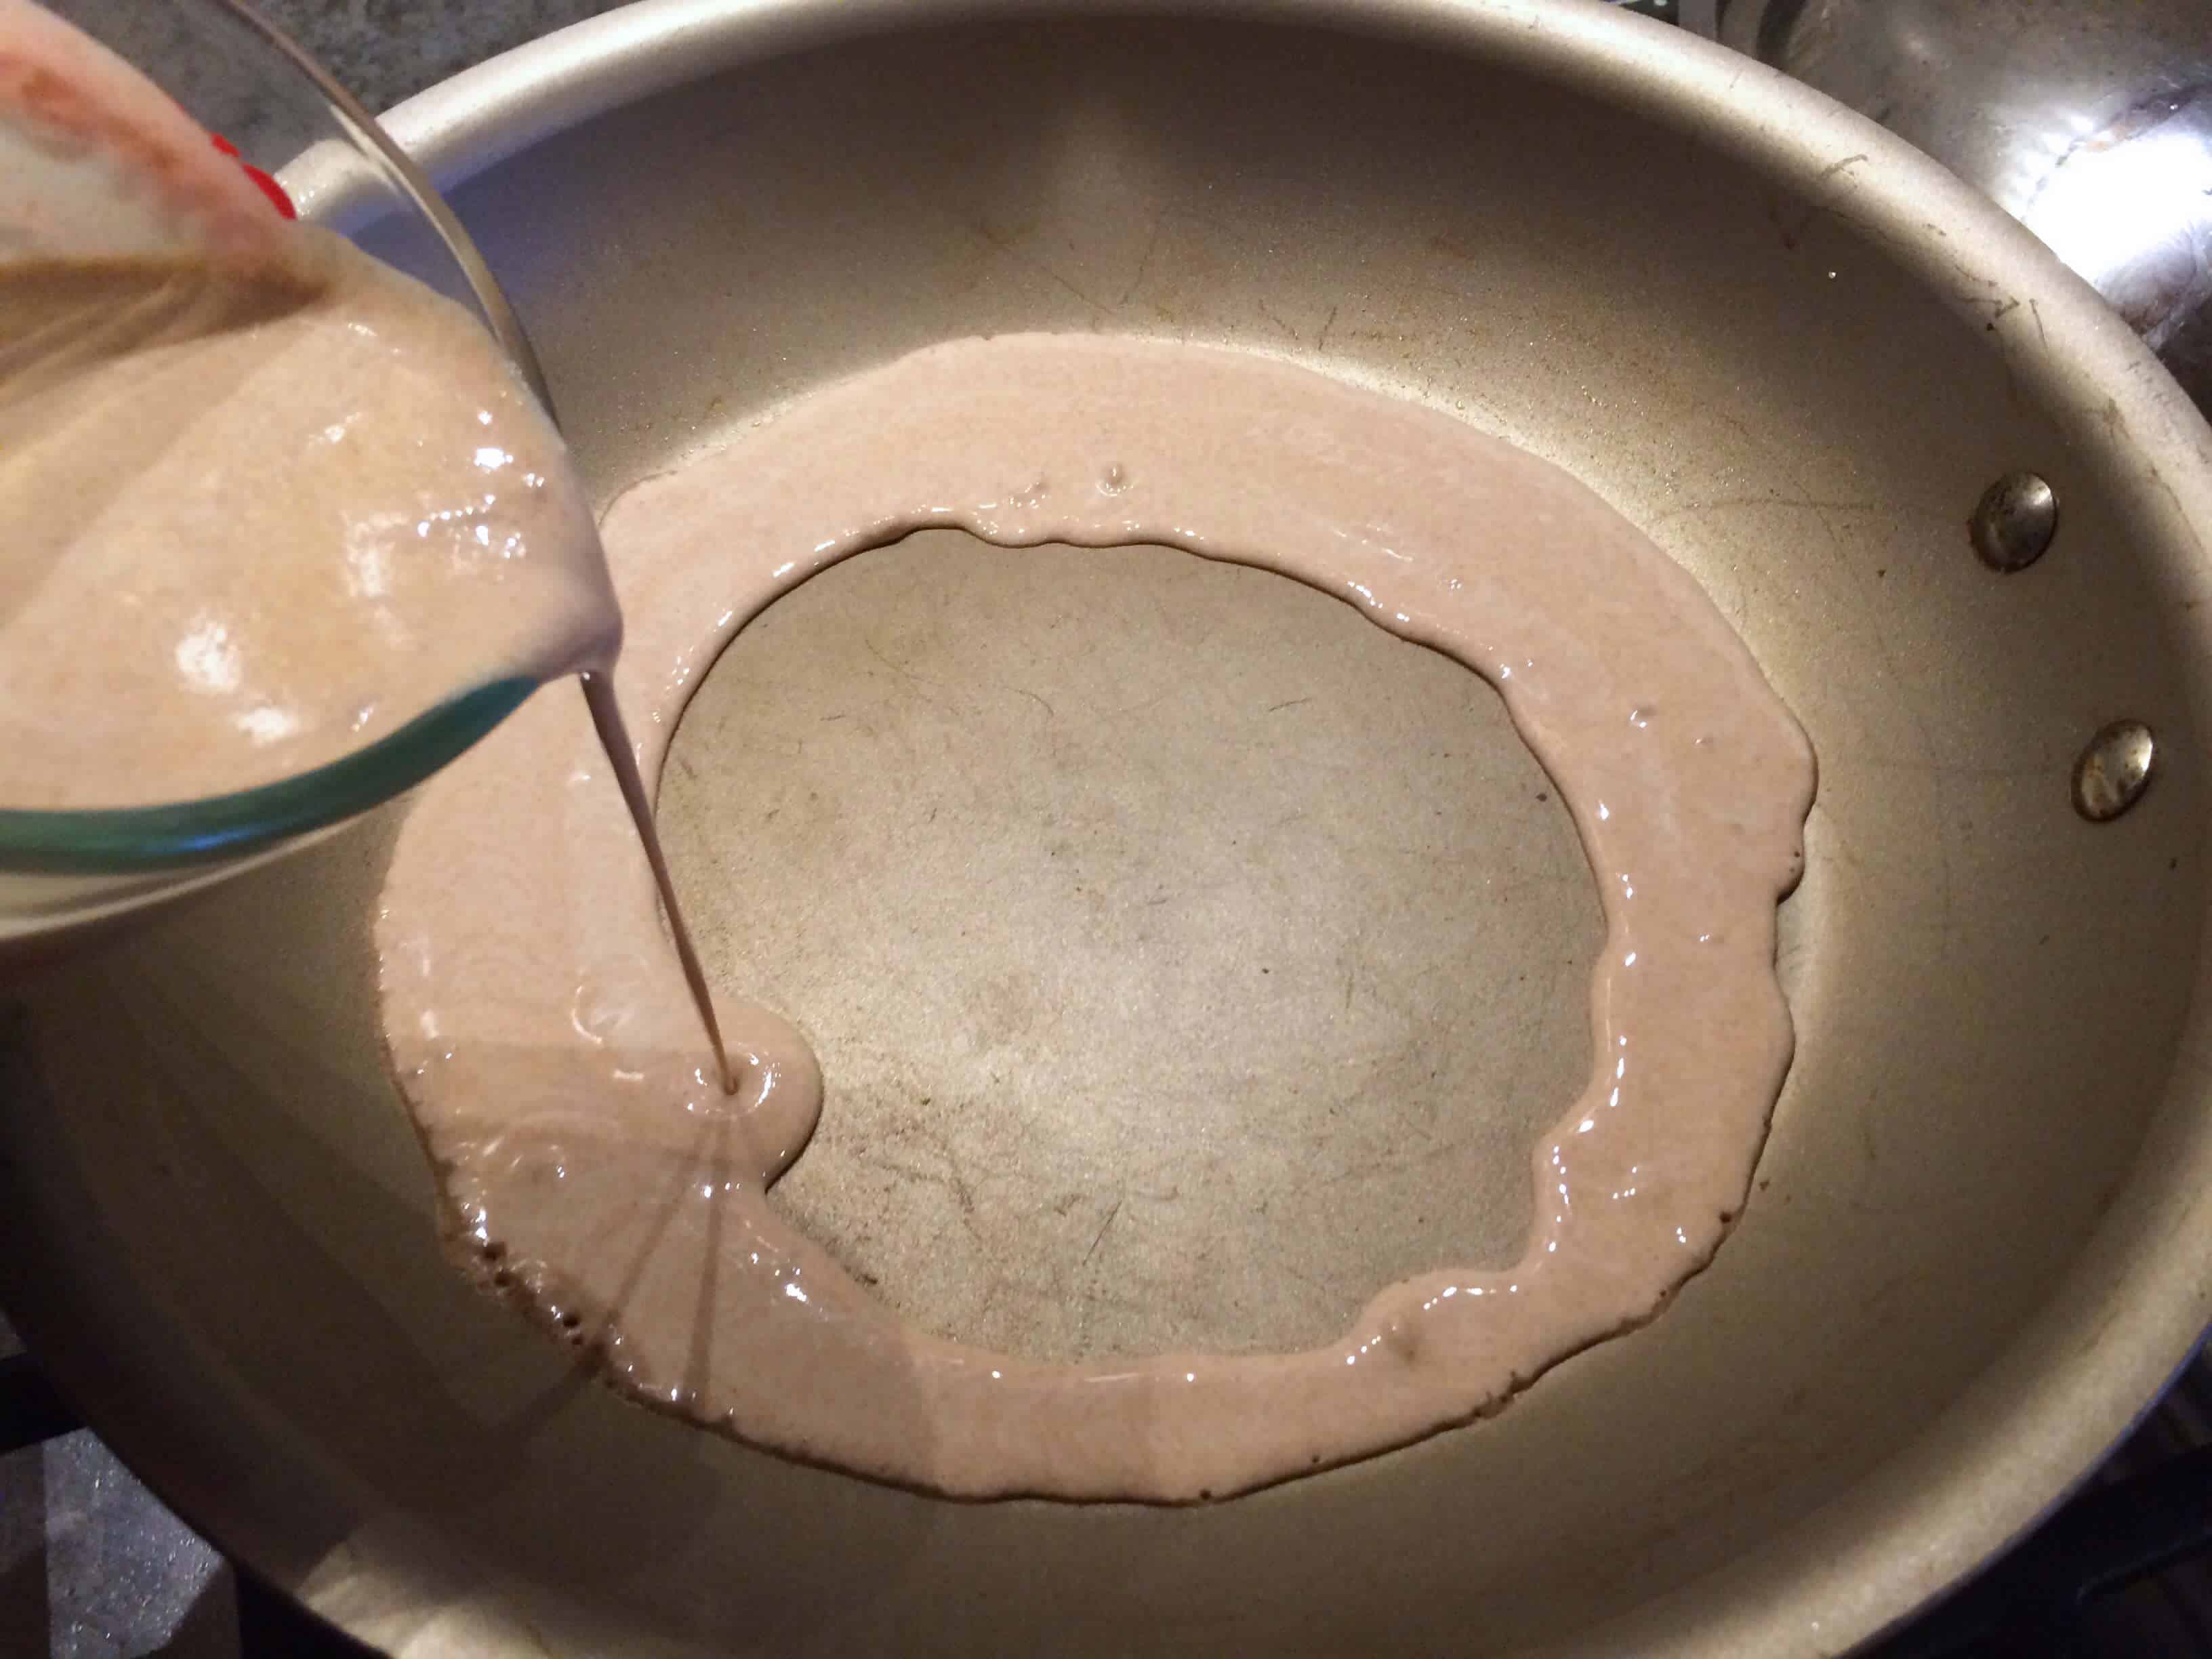
Coat the surface of the pan with a thin layer of injera batter. It should be thicker than making a crepe but not as thick as a pancake.
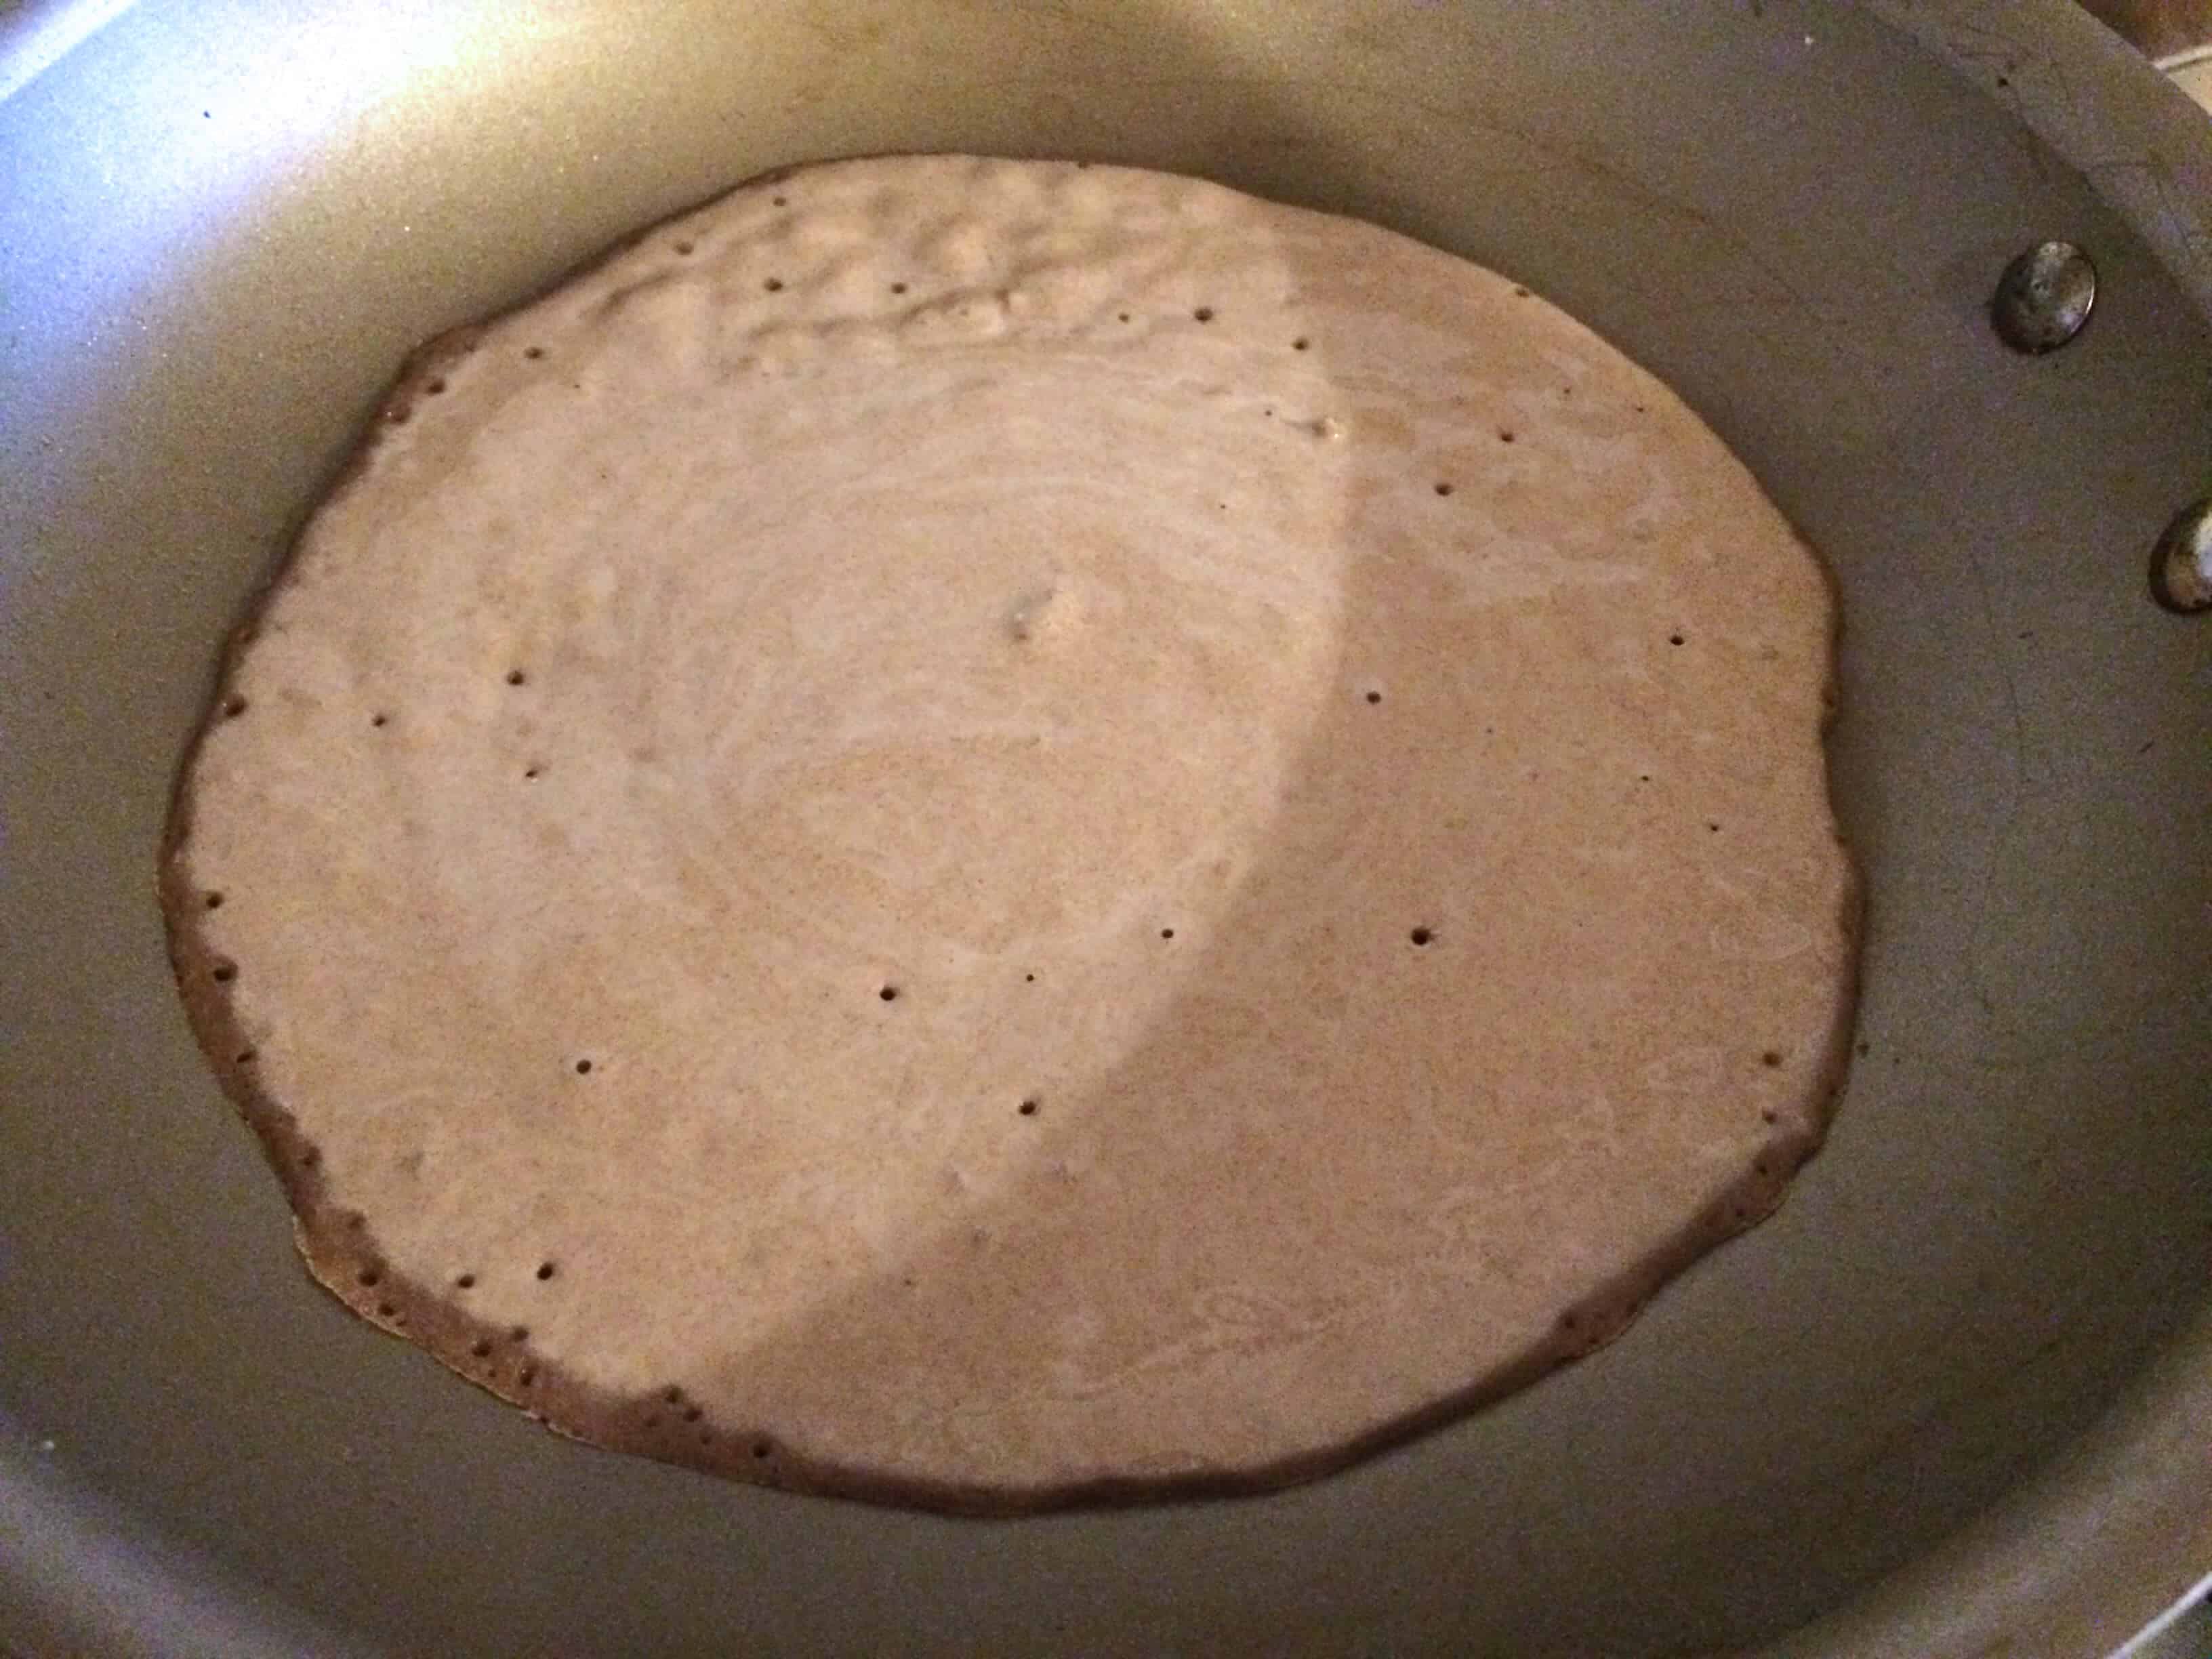
Continue to cook – bubbles will form, allow them to pop. Then cover the pan with a lid and turn off the heat to let it steam cook for a couple more minutes or so until cooked through. Be careful though, if you the injera cooks too long it will become gummy and soggy.
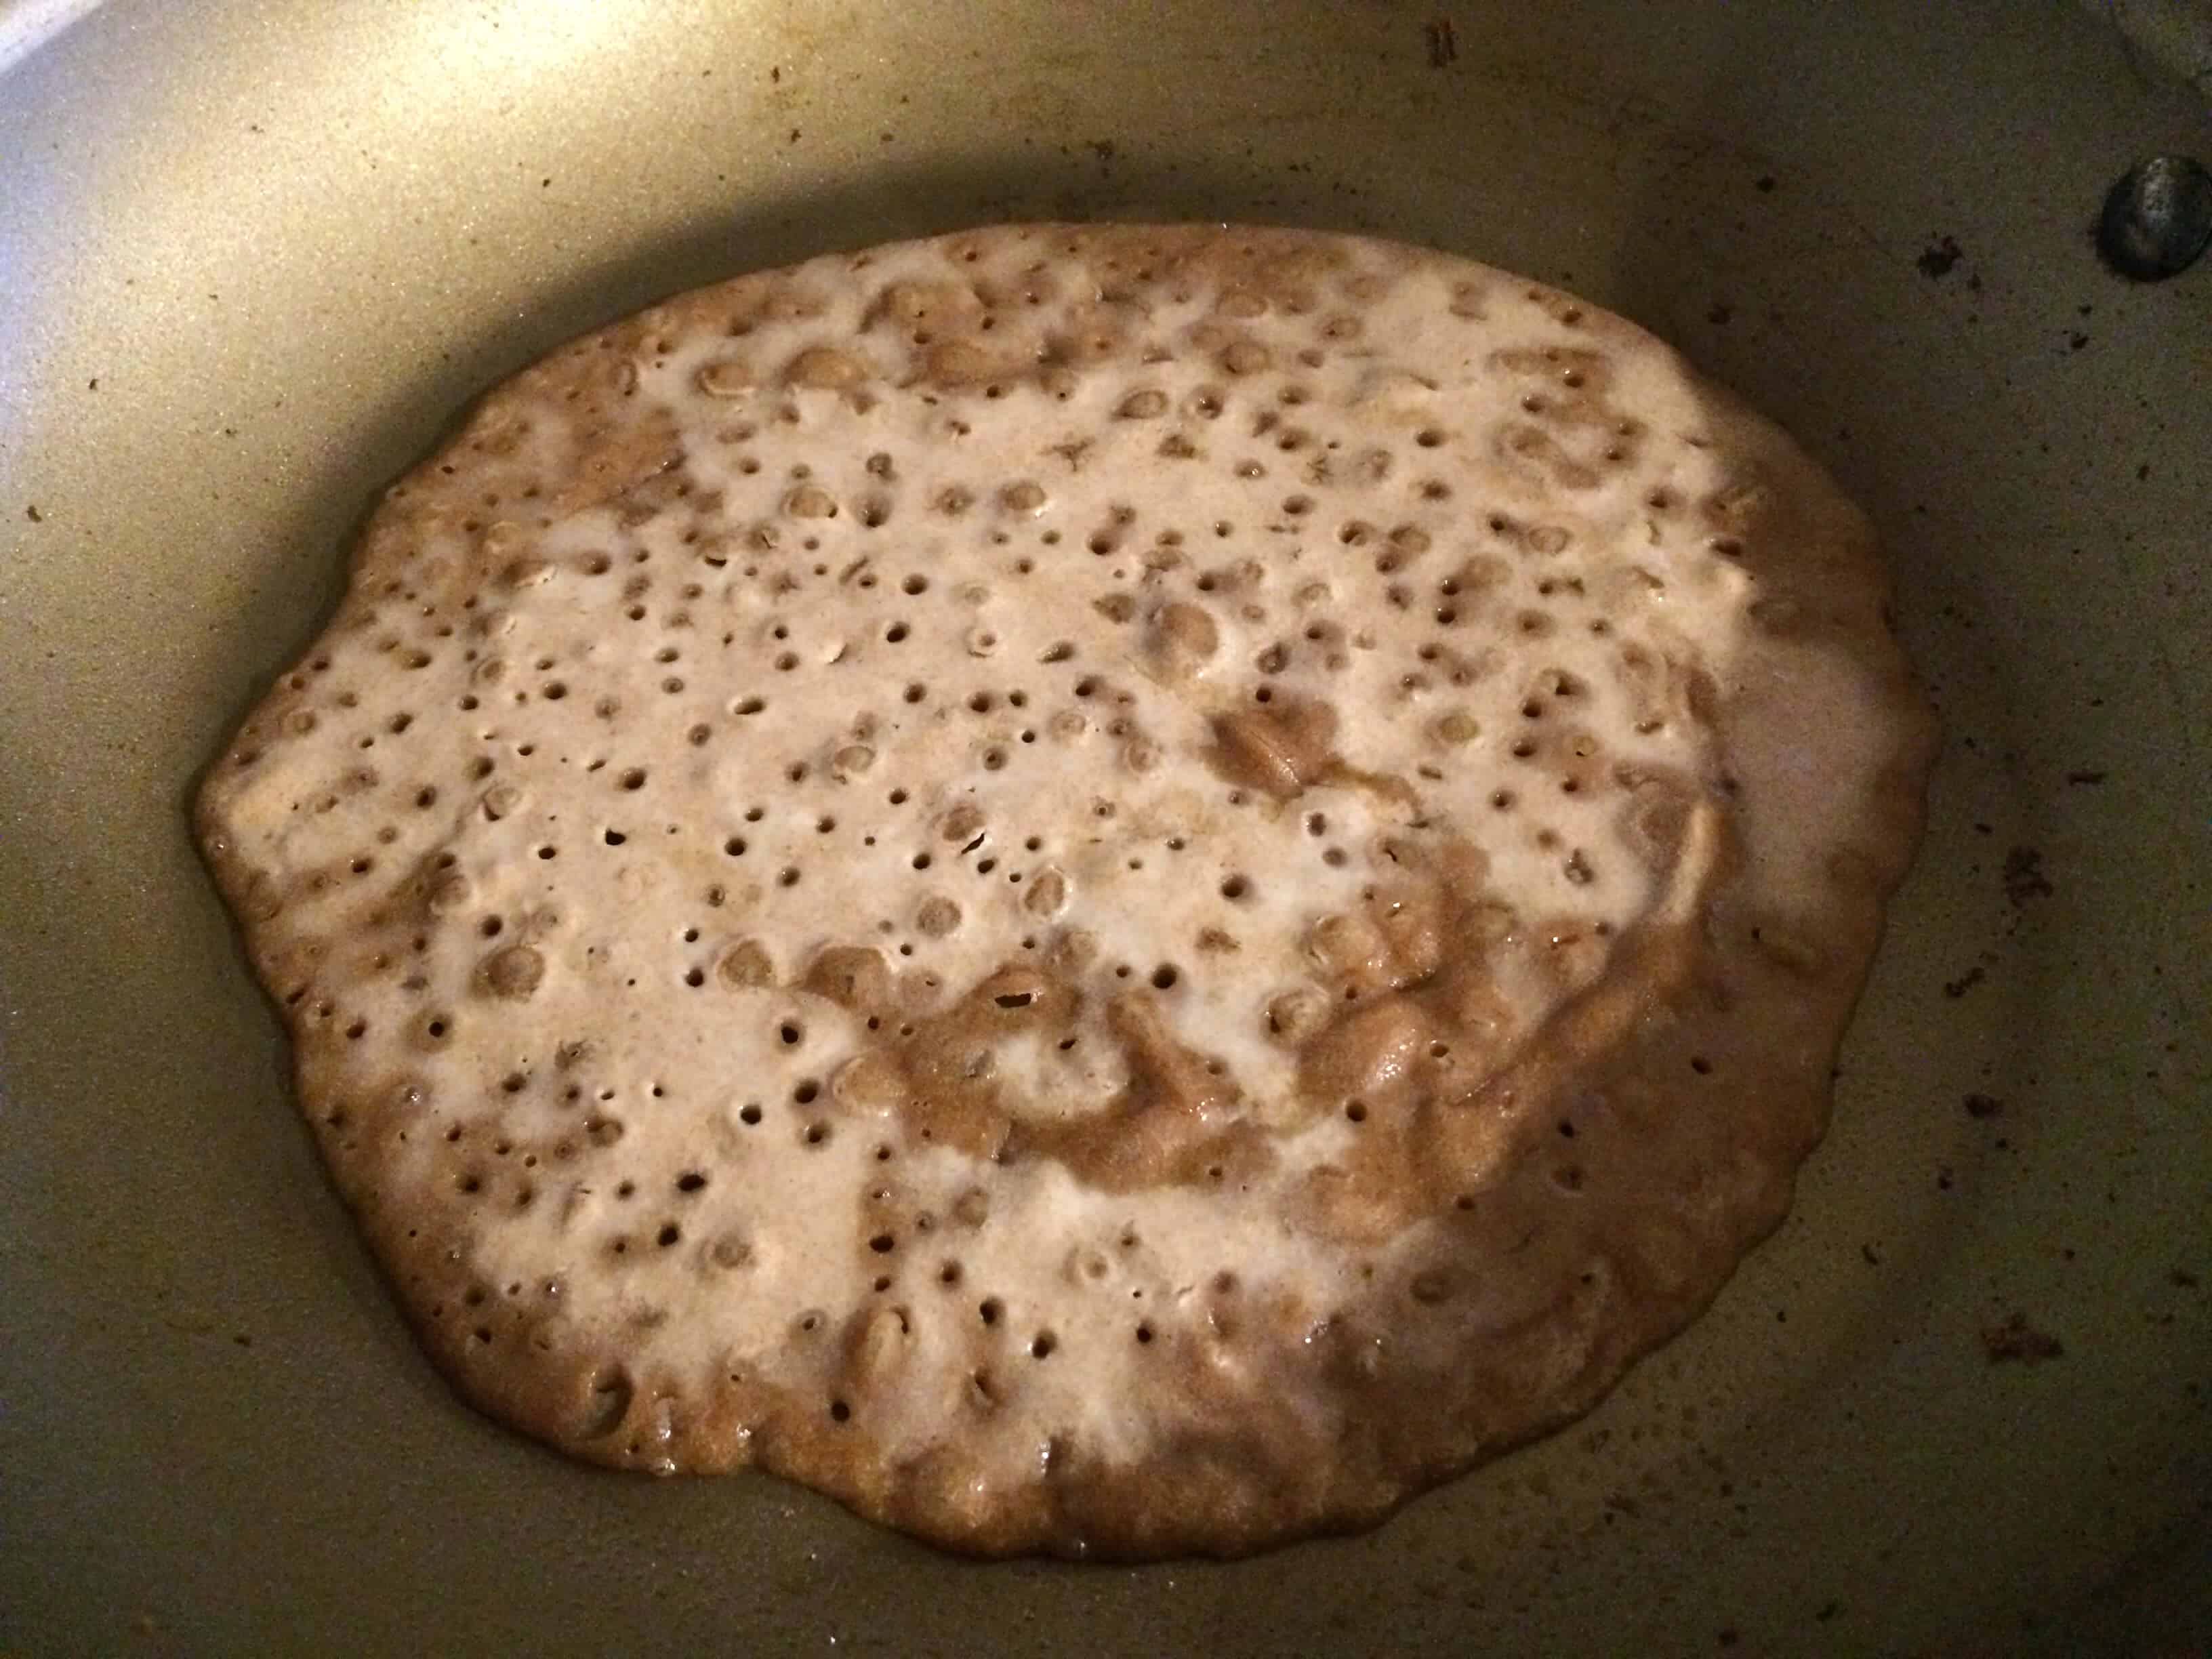
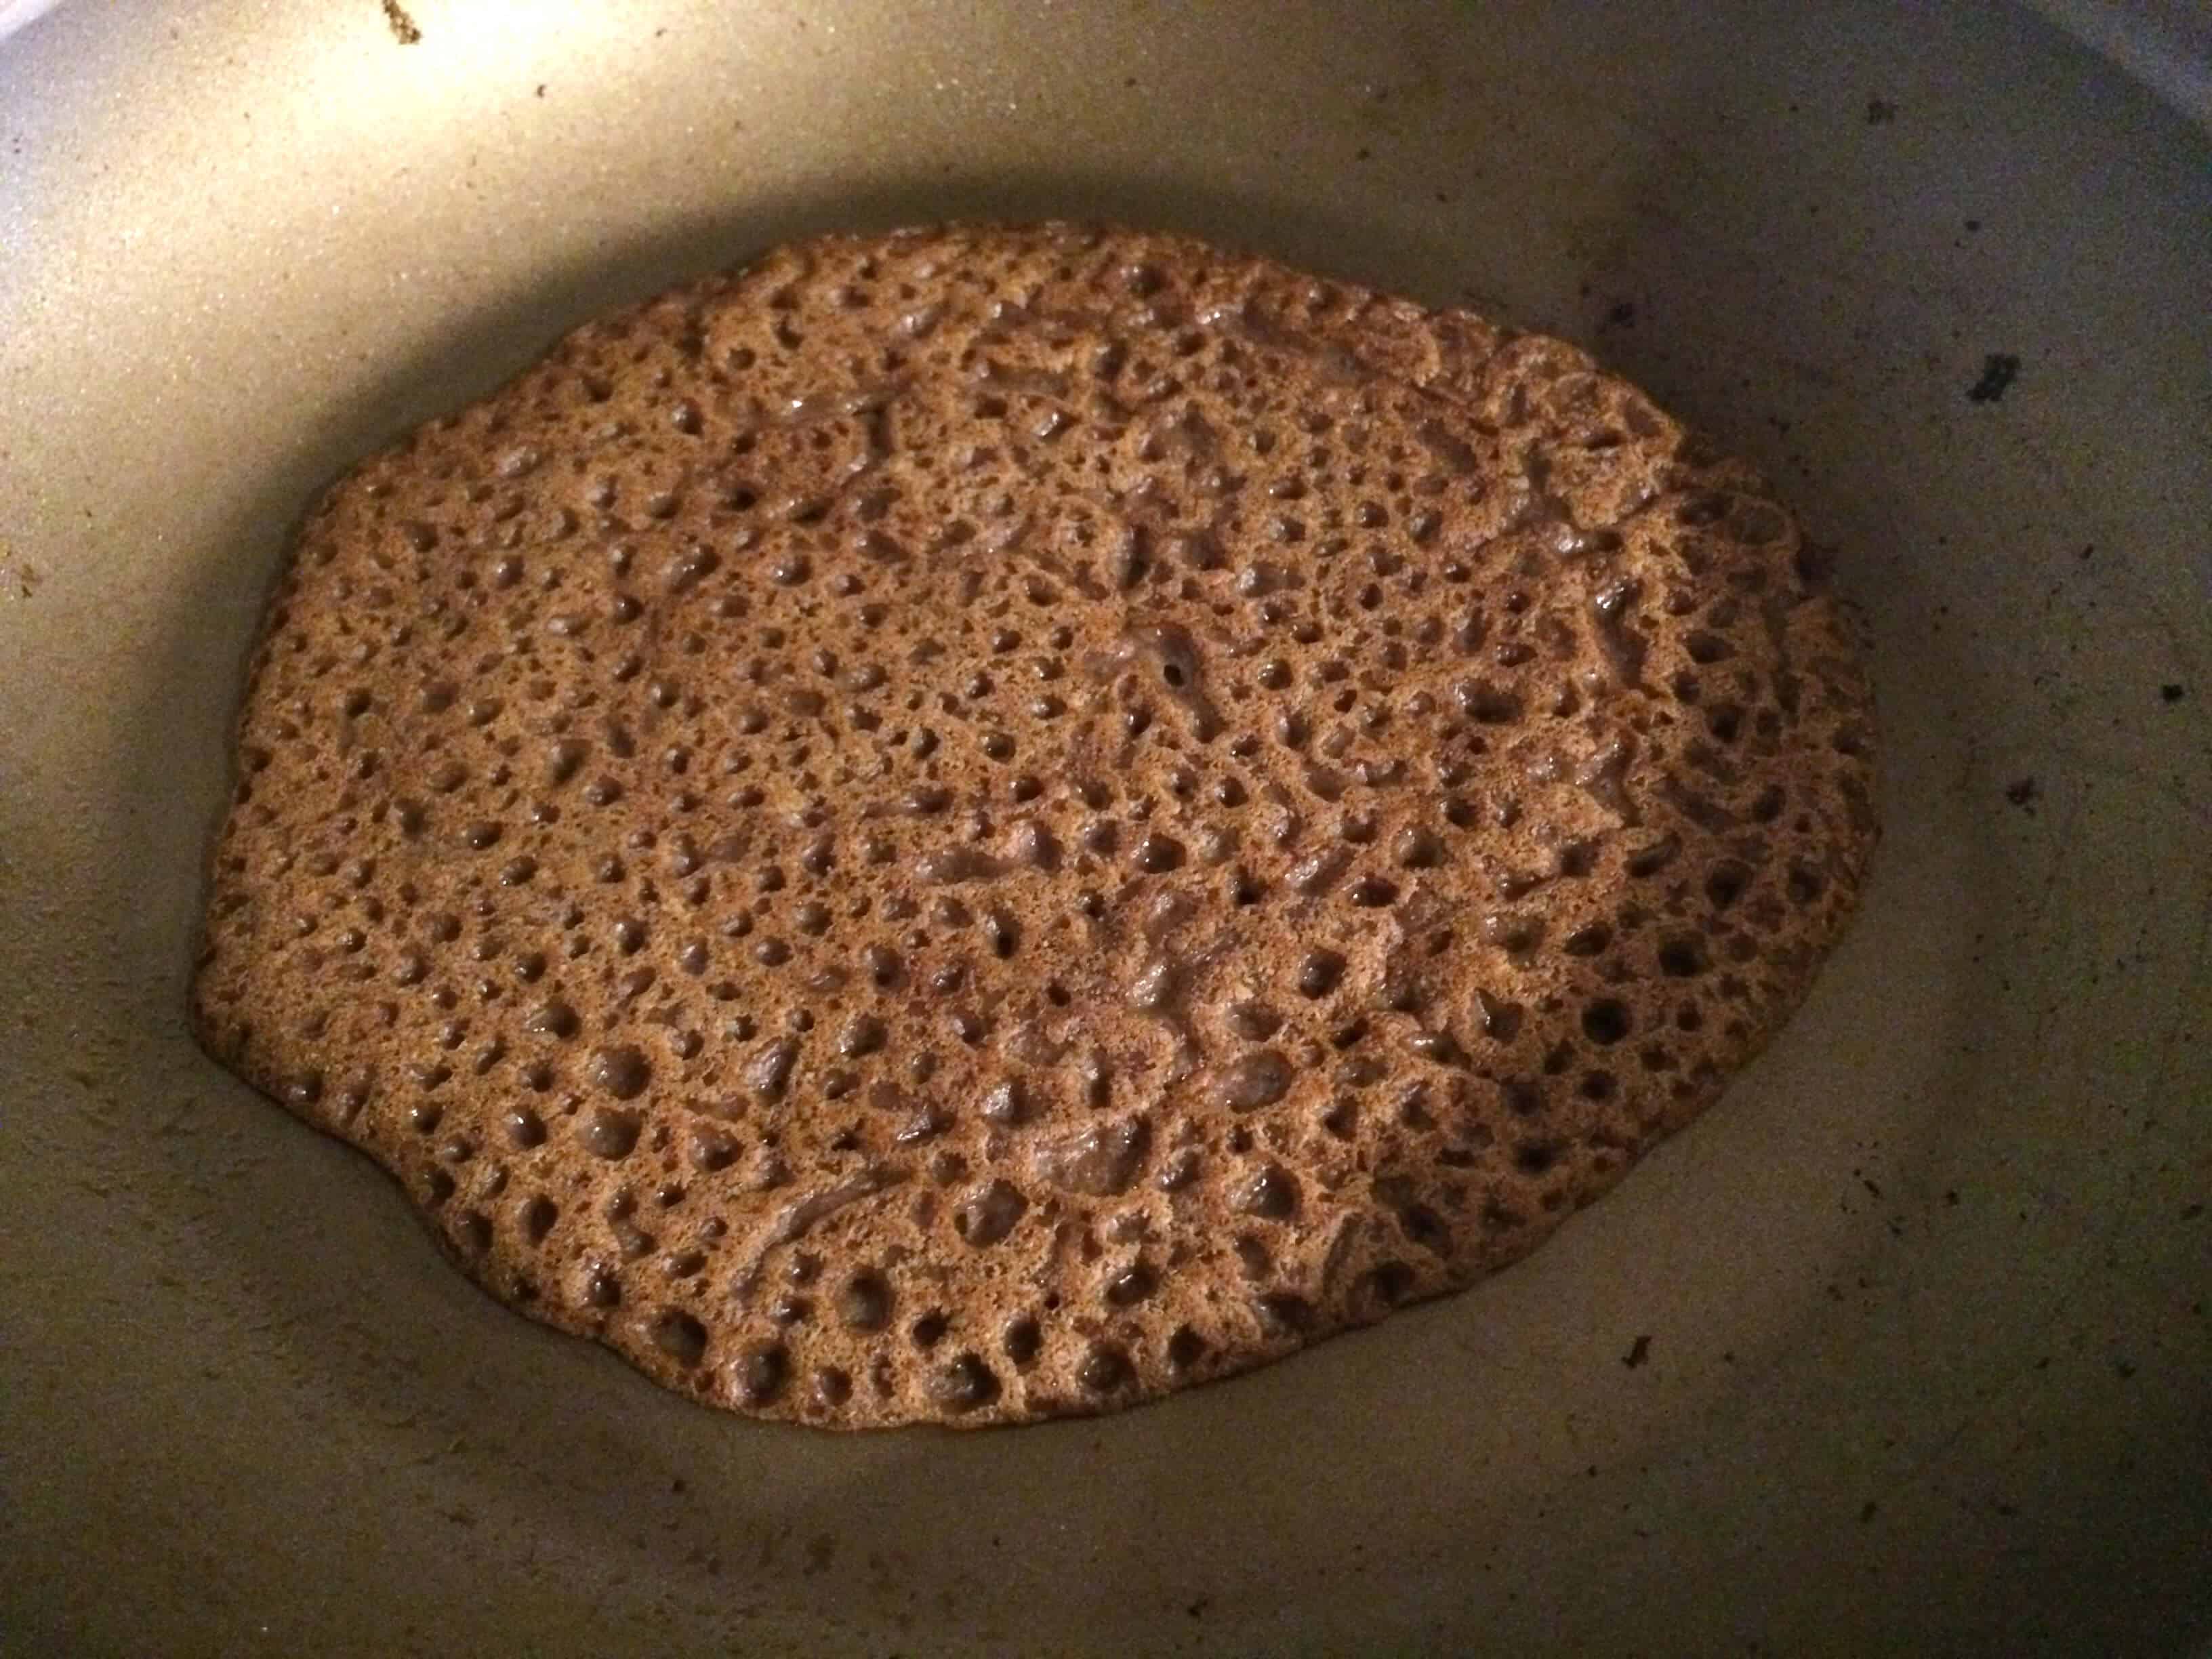
Remove the injera and repeat.
Serve your homemade injera with any of these authentic Ethiopian recipes: Doro Wat, Sega Wat, Misir Wat, and Gomen.
Enjoy!
For more flatbread recipes from around the world to try my:
Save This Recipe
Authentic Injera (Ethiopian Flatbread)
Ingredients
- 2 cups teff flour, brown or ivory , or substitute a portion of it with some barley or wheat flour (note: teff is gluten free)
- Note: If you’re new to making injera I recommend using a combination of teff and barley or wheat as 100% teff is more challenging to work with.
- 3 cups distilled water (fluoride and chlorine will both interfere with the fermentation process)
- Note: This method involves wild yeast fermentation. See blog post for details about using commercial yeast as a starter (you’ll use about 1/4 teaspoon dry active yeast)
Instructions
- *See blog post for detailed instructions*NOTE: Using mostly or all teff (which is the traditional Ethiopian way) will NOT produce the spongy, fluffy injera served in most restaurants which are adapted to the western palate and use mostly wheat, sometimes a little barley, and occasionally a little teff added in.
- In a large mixing bowl, combine the flour and water (and yeast if you're using it). Loosely place some plastic wrap on the bowl (it needs some air circulation, you just want to keep any critters out) and let the mixture sit undisturbed at room temperature for 4-5 days (the longer it ferments, the deeper the flavor). (Depending on what kind of flour you're using, you may need to add a little more water if the mixture is becoming dry.) The mixture will be fizzy, the color will be very dark and, depending on the humidity, a layer of aerobic yeast will have formed on the top. (Aerobic yeast is a normal result of fermentation. If however your batter forms mold on it, it will need to be discarded.) Pour off the aerobic yeast and as much of the liquid as possible. A clay-like batter will remain. Give it a good stir.
- In a small saucepan, bring 1 cup of water to a boil. Stir in 1/2 cup of the injera batter, whisking constantly until it is thickened. This will happen pretty quickly. Then stir the cooked/thickened batter back into the original fermented batter. Add some water to the batter to thin it out to the consistency of crepe batter. I added about 2/3 cup water but this will vary from batch to batch. The batter will have a sweet-soured nutty smell.
- Heat a non-stick skillet over medium heat. Depending on how good your non-stick pan is, you may need to very lightly spray it with some oil. Spread the bottom of the skillet with the injera batter – not as thin as crepes but not as thick as traditional pancakes. Allow the injera to bubble and let the bubbles pop. Once the bubbles have popped, place a lid on top of the pan and turn off the heat. Let the injera steam cook for a couple or so more minutes until cooked through. Be careful not to overcook the injera or they will become gummy and soggy. Remove the injera with a spatula and repeat.
- IMPORTANT NOTE: Both the texture and color of the injera will vary greatly depending on what kind of teff you use (dark or ivory) and whether or not you’re combining it with other flours. Gluten-based flours (e.g. wheat and barley) will yield a much different texture than 100% teff. In the pictures and recipe below I’m using 100% dark teff, something you will not find in restaurants and will look different than what most are accustomed to, but is traditional to Ethiopian home cooking. Make your injera according to what you prefer.
Nutrition
Images of serving platter and woman cooking courtesy Maurice Chédel and Rob Waddington via CC licensing
Originally published on The Daring Gourmet February 7, 2017


Is it possible to inoculate teff flour with a well-fed wheat sourdough starter and then proceed with a shorter fermentation?
Hi Kimberly,
Since my time in Ethiopia during 1985/86 I have been trying to find a recipe for Injera that works for me. I ate it daily when living in Addis but still miss it after all these years. Your recipe seemed to be working fine until it came to the cooking. The texture looked just as I remembered it but when cooked it not only stuck to the pan but became a gooey mess. I used 100% white Teff. Tried again but same result. I suspect that I may have the pan heat wrong because the injera is browning underneath but not cooking on the top, despite having a good seal between pan and lid. The reason I suspect temperature is that the first Injera came out of the pan without sticking but was not quite cooked right through – all the rest were brown underneath, gooey on top and stuck firmly to the pan. So my question for you is: How can you tell if the pan is at the correct temperature? Is there a test I can do for the heat?
How do you know if the yeast forming is mold or yeast? In the photo the bluish color looks like it could be mold.
mold has lots of hair. like a rug. yeast isnt hairy. both can be quite colored
Hi! This looks like a great recipe thank you! I have been very keen on trying Injera and because my daughter has coeliacs disease and cannot eat gluten, am wanting to make it with solely teff. I bought some teff but have just noticed that it doesn’t seem to have the same consistency as what you are using in your pictures… it is tiny little grains as opposed to flour-like consistency. Will this work in injera or do I need to find the flour?
Thank you.
Hi Aimee, yes, what you have are the teff grains and you need teff flour to make the injera. Depending on what kind of blender you have you may be able to blend the teff grains into flour.
Hi Kimberly.
This looks like an adventure in cooking. I have a gluten intolerance. Is it helpful to substitute a gluten free flour mixture for part of the teff flour, or is it the gluten that makes the process easier?
Thanks.
Leeana
That’s a good question, Leeana. I’m not sure that substituting some GF flour instead of using all teff will make it any “less” challenging, but not having tried it I can’t say for sure. If you give it try please let us know how it goes!
The flour doesn’t make the process easier, just more affordable. It will make the end result a little bit softer and a little less sour, but I would think any substitute flour would have the same result.
How long do you wait between adding the boiled mixture + water and putting it on the pan to cook? How do I know when it’s ready to put on the pan to cook it?
Hi Holly, there’s no wait, just proceed immediately to the pan.
Hi, i tried making this recipe this week and the first 3 days everything seemed to be going well, the yeast started foaming on top, then on day 4 it started to turn a blueish colour at the edge but seemed okay, then this morning i noticed one white furry patch, i guess this means i need to start over
That can happen if things aren’t properly disinfected! For your next batch, make sure the bowl, utensils and other things are extra clean. Some people bake their things to kill extra bacteria, but there are other methods. I hope your next try will be better ♡
Hi,
I’ve never had injera – does this process produce a flexible bread – one that could be used for a taco/wrap – or is it brittle? I would not be using wheat as I am avoiding gluten. Thanks!
Hi Tess, it’s fairly flexible so yes, it can be used for a taco or wrap.
Thank you. Is it possible to keep extra batter in the refrigerator, or must it all be cooked at once?
Hi Tess, you can keep some in the fridge for an additional day or two.
I tried this recipe using 50% teff and 50% all-purpose wheat flour. I fermented it for 5 days using activated yeast. At the when I poured out the extra water I didn’t really have a clay like batter, it was a bit more runny. Putting it in the boiling water did help thicken it a bit and when I returned it to the bowl the consistency looked Ok, but added a little more water which I think was a mistake because then it went very runny.
I used a large non-stick frypan and for the first one it was quite hot and followed the instructions to cover it and remove from the heat. But it went very soggy and it went straight in the bin. The second attempt I had the pan less hot and followed the same steps of covering and removing from heat after bubbles had formed. It looked better but was still too soft to get it out of the frypan without destroying it. The third attempt I left it on the heat for about 30seconds or so after covering it before switching off the heat. This one seemed to work ok and aftwards I was able to remove it and it had the right texture. But I think I fermented it too long as the smell/taste was very strong and took away from the food.
Next time I may try 100% teff and ferment for 2-3 days and see if that works better.
Hi!! It took quite a bit of scouring to find your post, and I’m so happy I did, as I am eager to give this another go. I’m using a method displayed by Feven Geles on YouTube, but her ingredients are adapted for her climate and elevation and I’d like to try all teff first. Not that you need my life story, lol…my question is this: can I make the starter and keep it like a sourdough starter, feeding each day and skimming the anaerobic yeast from the top? Is there any benefit from lactic acid development, as in sourdough starter? Thank you!!
I made the batter with teff flour only and the fermentation went well. i covered the bowl with a kitchen towel and left it on a kitchen cupboard. i wasn’t quite sure how to get the right texture- if i put too much batter into the pan, it got very soft but unstable, if i spread it too thinly, it became more like crêpes. anyway it worked out better when I didnt switch the stove off while covering the pan with a lid.
all in all i am really happy it worked out, thank you for the great descriptions!
I’m so glad they were a success, Kathrin, thank you for the feedback!
I tried too. Fermentation seemed to go well. The first night I cooked the injera in a lightly oiled cast iron skillet. I thought it was a failure and ended up flipping it, but once flipped I saw the sponge-like quality. It sat in the pan till the next day and actually tasted pretty good. I stuck the rest of the batter in the fridge in a sealed container. When I cooked one up the following day I needed to pour off liquid again. I wondered if i should have thickened it again but skipped that step as it seemed to be an okay thickness. I used a higher heat based on blog comments. I ended up with big bubbles that never popped. I covered it and turned it off. It began to scorch at the bottom and stick. I added a bit of avacado oil and got it to flip but it was mushy in the middle and a little burned too. Wondering if I should try the rest of the batter but do anything different. Like maybe not such a high heat? Or try thickening it up and watering it down? Or is there something else? Or did I spoil the fermentation already? It still has the sourdough flavor.
1. I’ve never seen seen an injera recipe that uses the boil & return method. What is this step for?
2. Can you use the liquid that you pour off for the boiling and thinning water? Or do you discard bc it would make the whole thing more sour? Seems a shame to waste (though all of the biotic activity in the boiled part will be killed.
Thanks!
I’m also wondering this, as I haven’t seen this method in other recipes.
I followed the recipe to the T and got the fermentation right. But when it came to cooking it no bubbles formed at all and I ended up throwing the bread away. Would you know what I might have done wrong? Maybe too much batter in the pan? Shame, but I only did half of the recipe as I wanted to try it out first.
Once you make the boiled dough and mix it in, you need to let it sit for a couple hours until it starts forming bubbles (btw you can totally skip this whole process of boiling dough by adding sparkling water once you have gotten rid of the 4 day old water because it forms the bubbles you’d save yourself work and effort).
My favorite meal. My mouth filled with water. It has been a while since I left my country Eritrean didn’t enjoy it well.