Pickled Green Beans (Dilly Beans)
This post may contain affiliate links. See my disclosure policy.
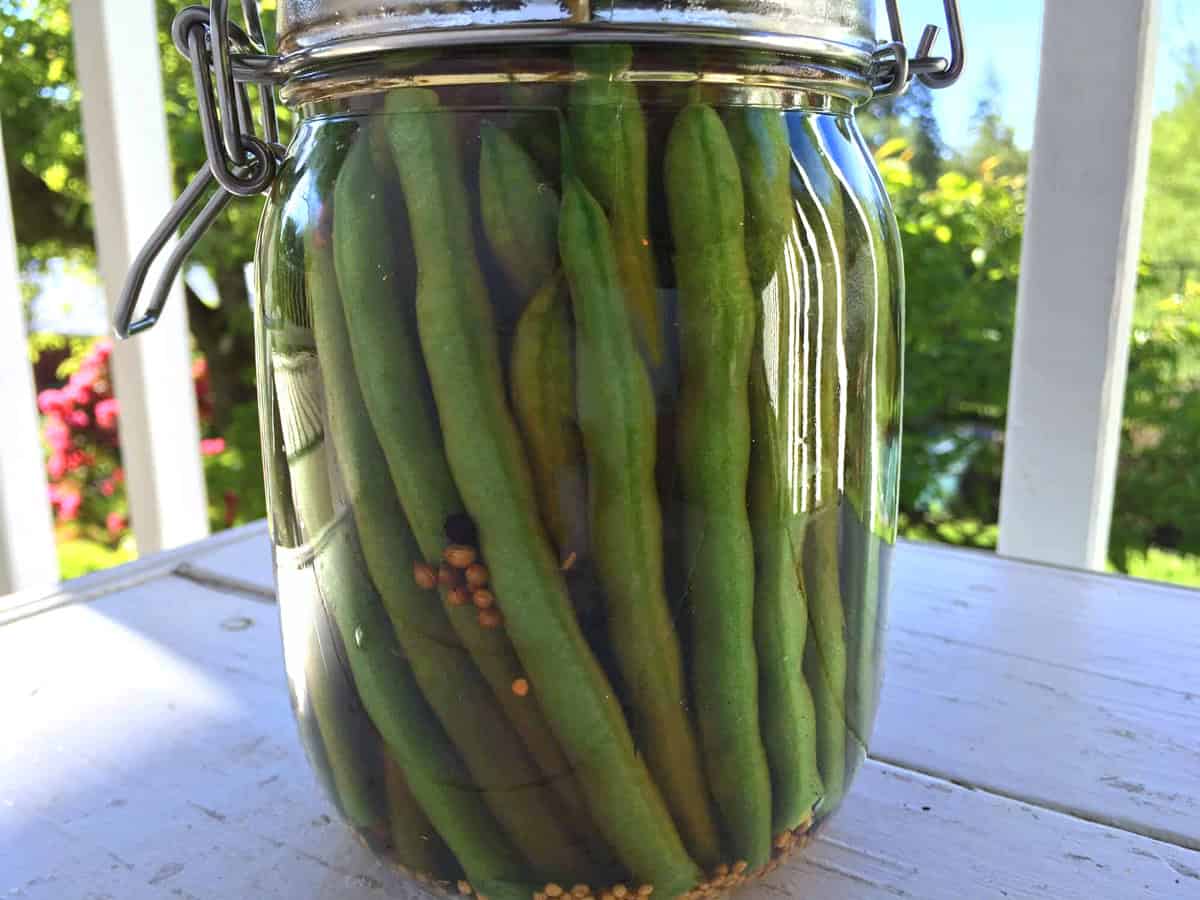
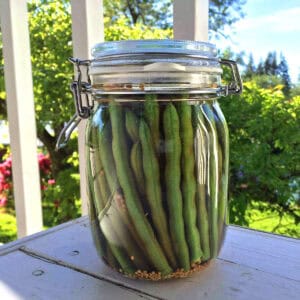
Few things compare to the satisfaction of pulling some chilled pickled green beans out of a jar, dripping with a flavorful salty brine, and biting into them to hear that resounding snappy “crunch.” This easy pickled green beans recipe is made with a delicious vinegar-based brine packed with pickling spices, garlic, and dill. Also known as Dilly Beans, they are quite simply a pure delight!

I’m an avid gardener and among several dozen vegetable varieties that I grow each year, I grow at least a dozen different green bean varieties (just check out my post on How to Cook Green Beans to see the “bean” portion of my garden). This last season alone I harvest over 80 pounds of fresh green beans! One of my favorite ways to use them is to make pickled green beans. They’re the perfect wholesome snack. Also known as dilly beans, they’ve been a beloved classic for generations. Because they’re just so good! And if you’re looking for the perfect hostess gift that is sure to elicit a smile, bring along a jar of these homemade pickled green beans!
Pickled Green Bean Ingredients & Variations
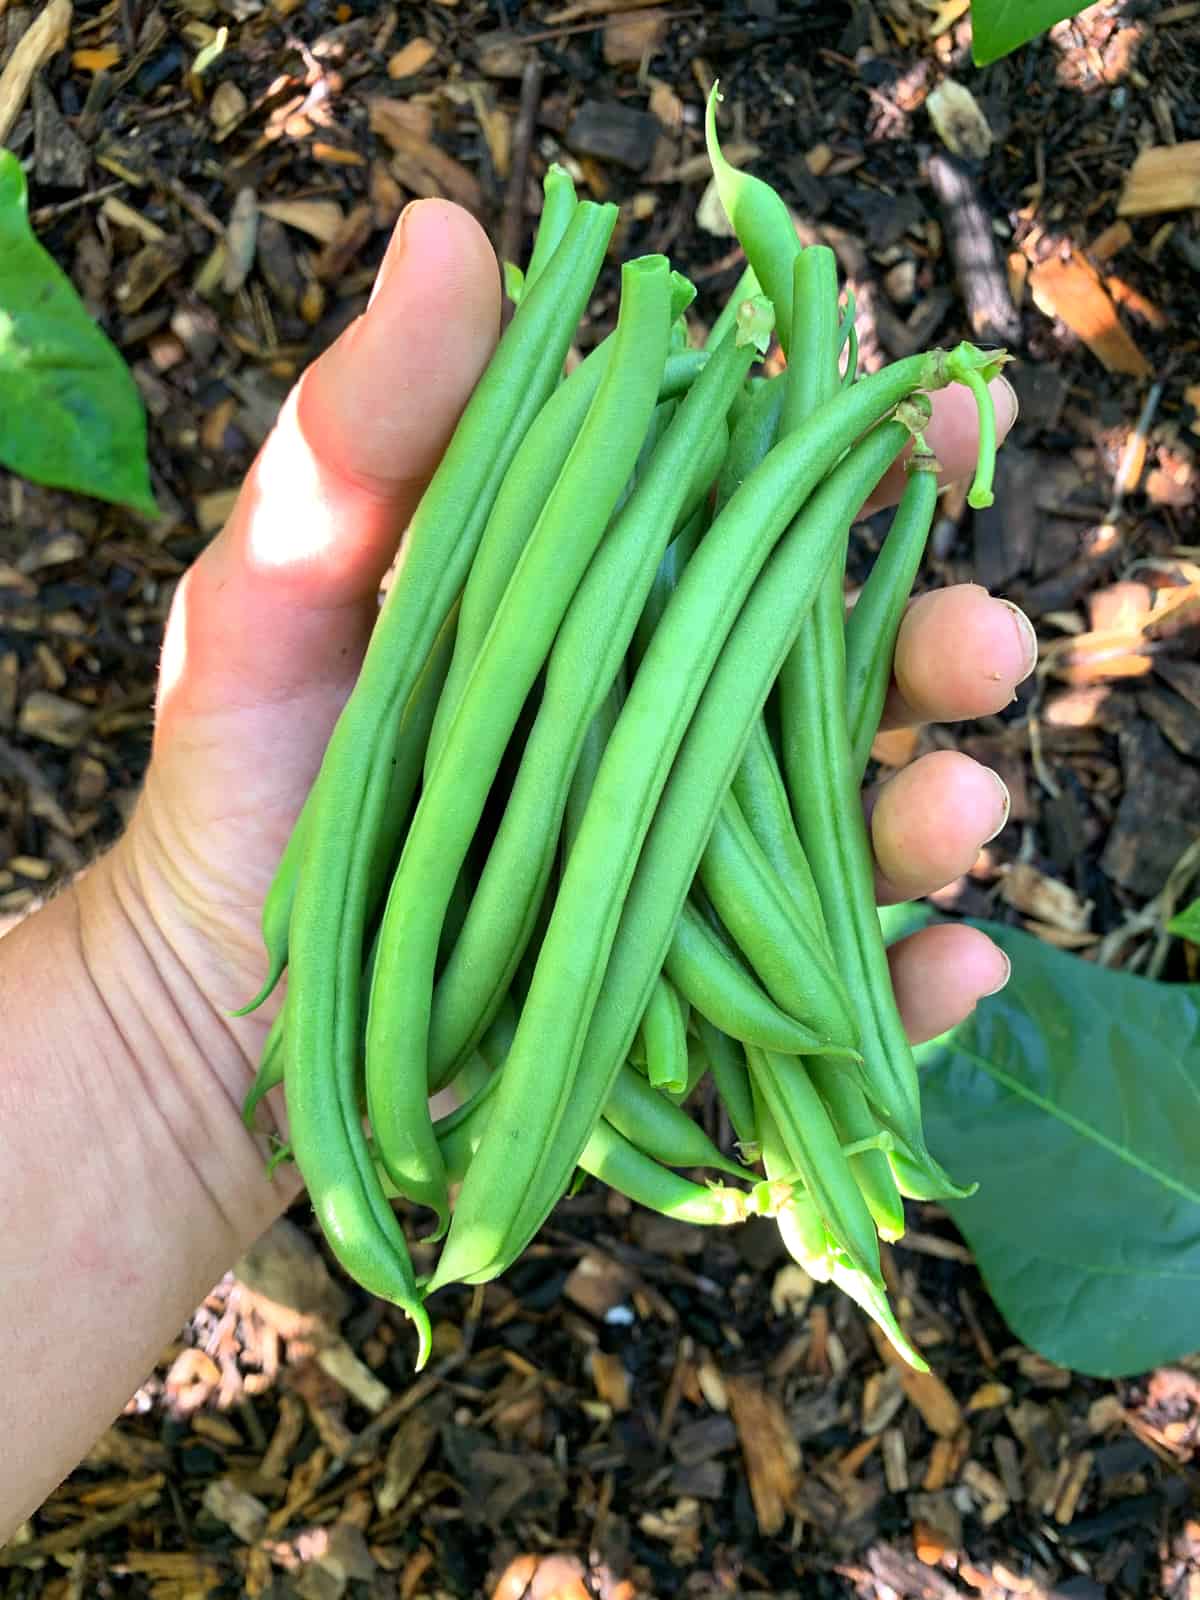
- Fresh Green Beans: Start by using the freshest green beans you can find. They should be very firm – not soft, floppy or wrinkled. You can use any variety of green bean but they’re best if they’re about equal in length just so they can fit into the jar nicely.
- Garlic: Use fresh garlic and peel the cloves. You can leave the cloves whole, cut them in half, or slice them, whichever you prefer.
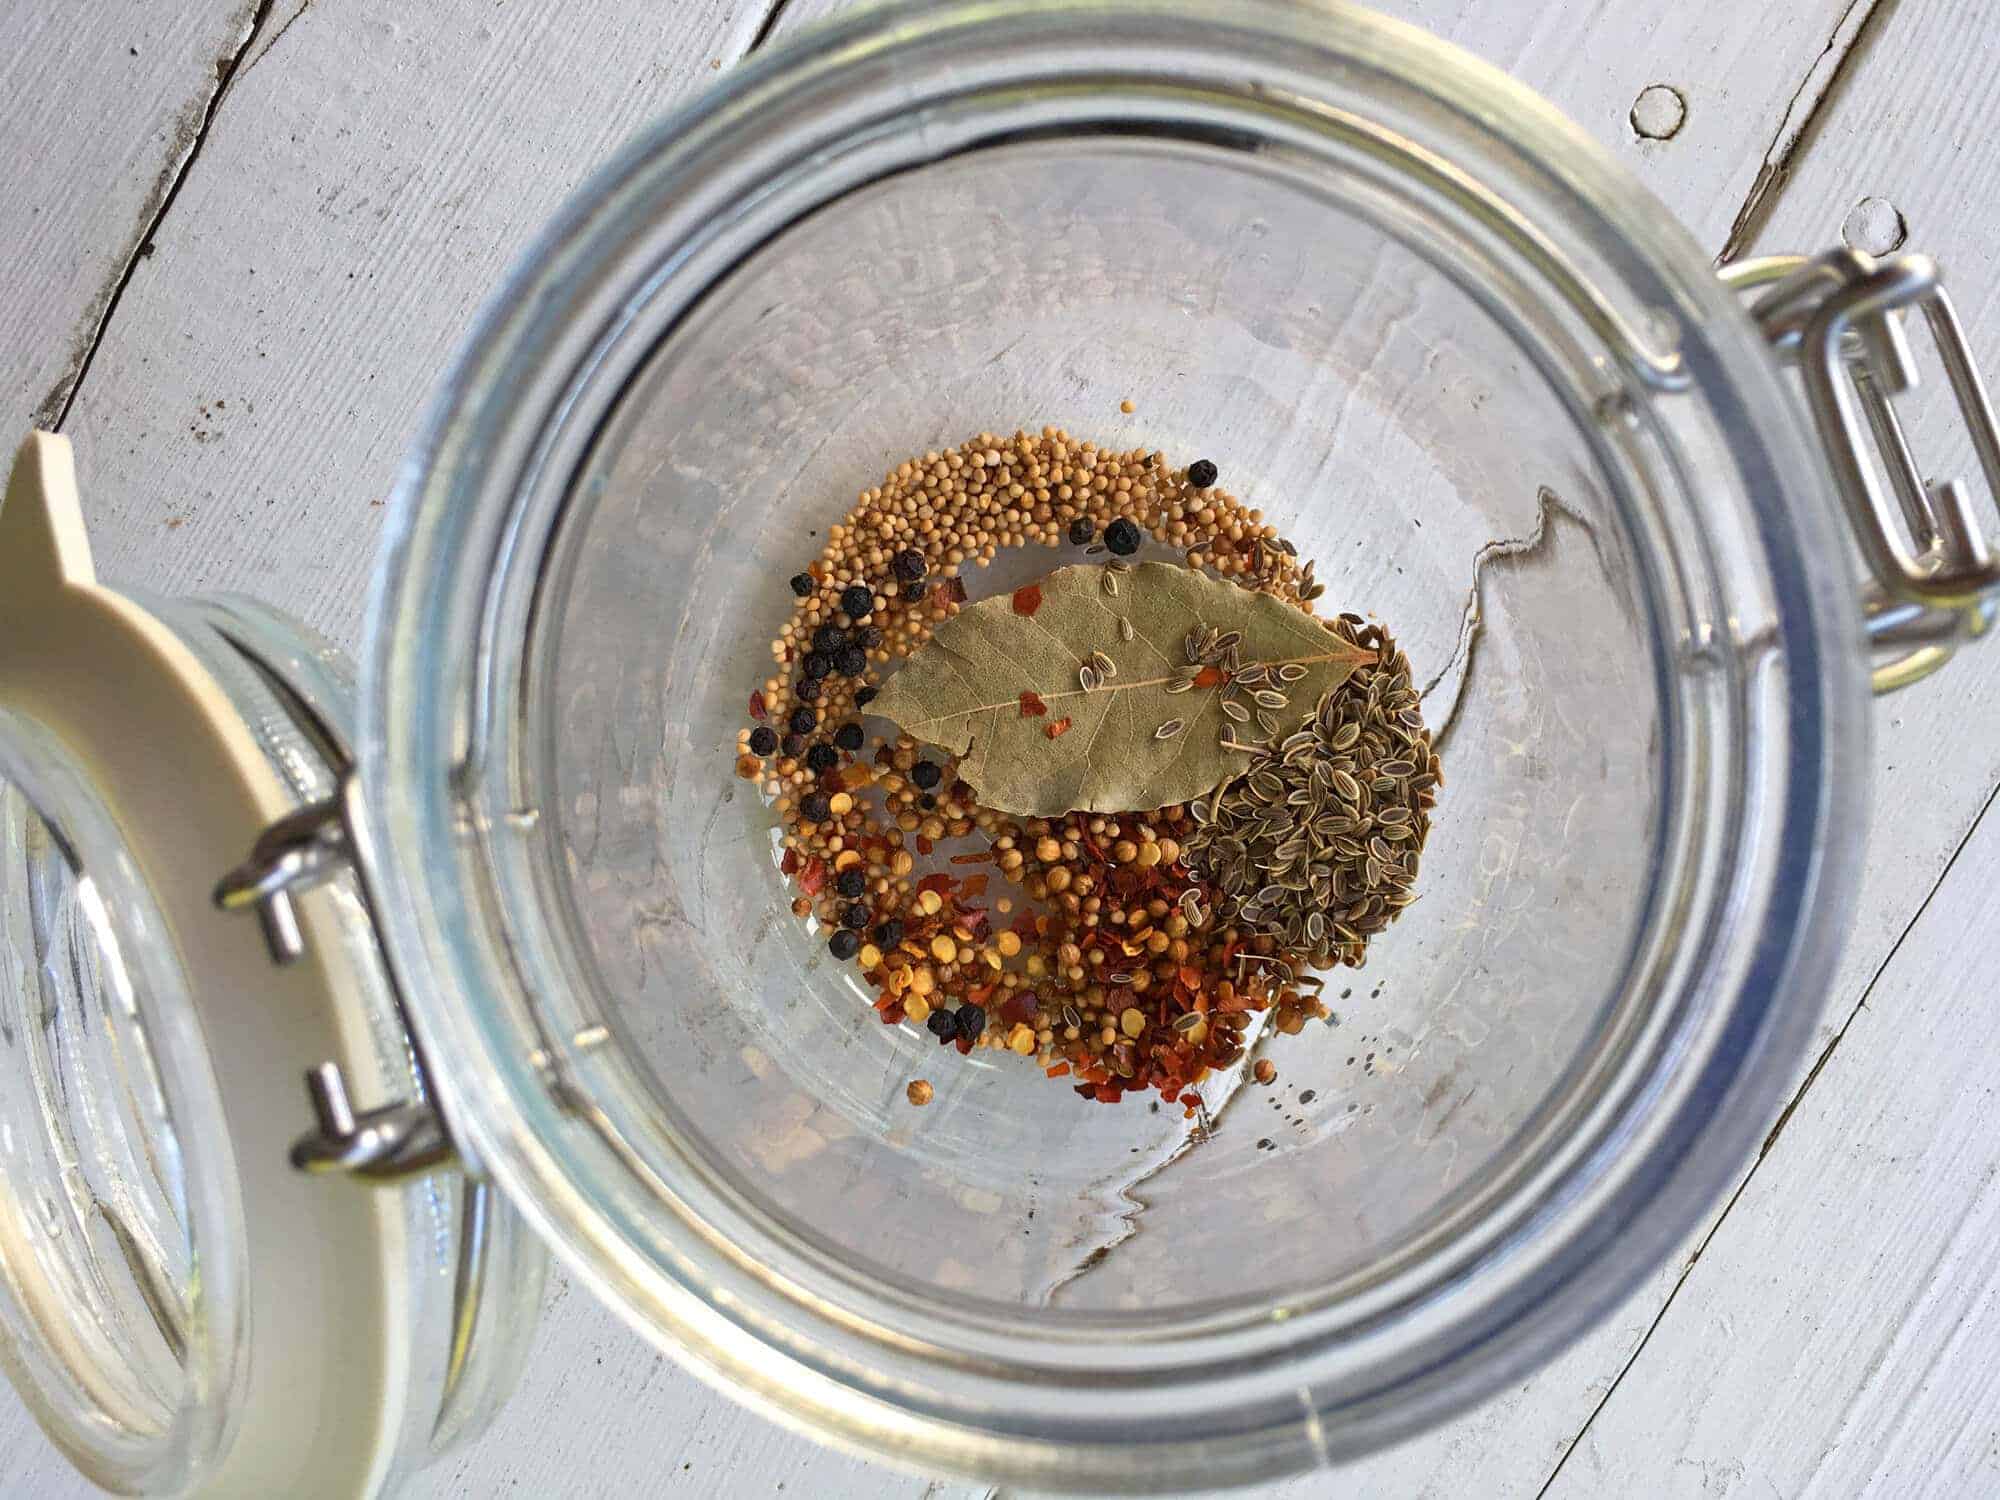
- Pickling Spices: My favorite flavor profile for these dilly beans is to include coriander seeds, yellow mustard seeds, dill seeds, red pepper flakes, black peppercorns, and a bay leaf. For added dill flavor I love to add some fresh sprigs of dill. They add a whole separate flavor component to the dill seeds. I recommend using both if you can. To change things up you can also try different flavor profiles by adding spices like cloves, cinnamon, allspice berries and cardamom. And if you like a bit of heat you can either increase the amount of red pepper flakes or you can add some red chili peppers, jalapenos or habanero peppers to the jar before pouring in the brine.
- Vinegar: I like to use a combination of white vinegar and red wine vinegar but if you only have one or the other, or white wine vinegar instead of red, that’s fine.
- Salt and sugar: These add flavor and balance. If you prefer your sweeter pickled green beans feel free to increase the sugar.
Pickled Green Beans Recipe
Let’s get started!
Make sure to select the freshest green beans you can find. Wash them and then trim the stem side of the beans, leaving the other side intact.
Add the spices to the bottom of a large jar.
Pack the beans, cut stem side down, as tightly as you can into the jar.

Press some sprigs of fresh dill down in between the beans.

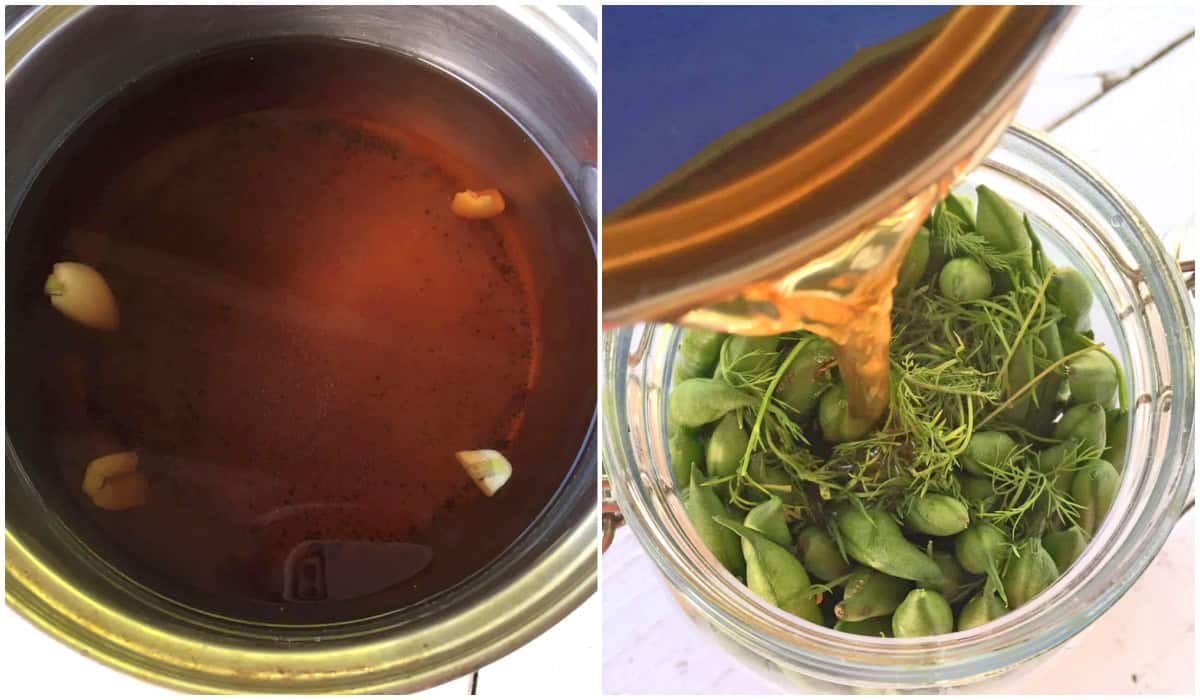
Now it’s time to make the pickling brine. Add all the brine ingredients into a small saucepan and bring to a boil. Boil for 2 minutes.
Pour the boiling brine over the beans.
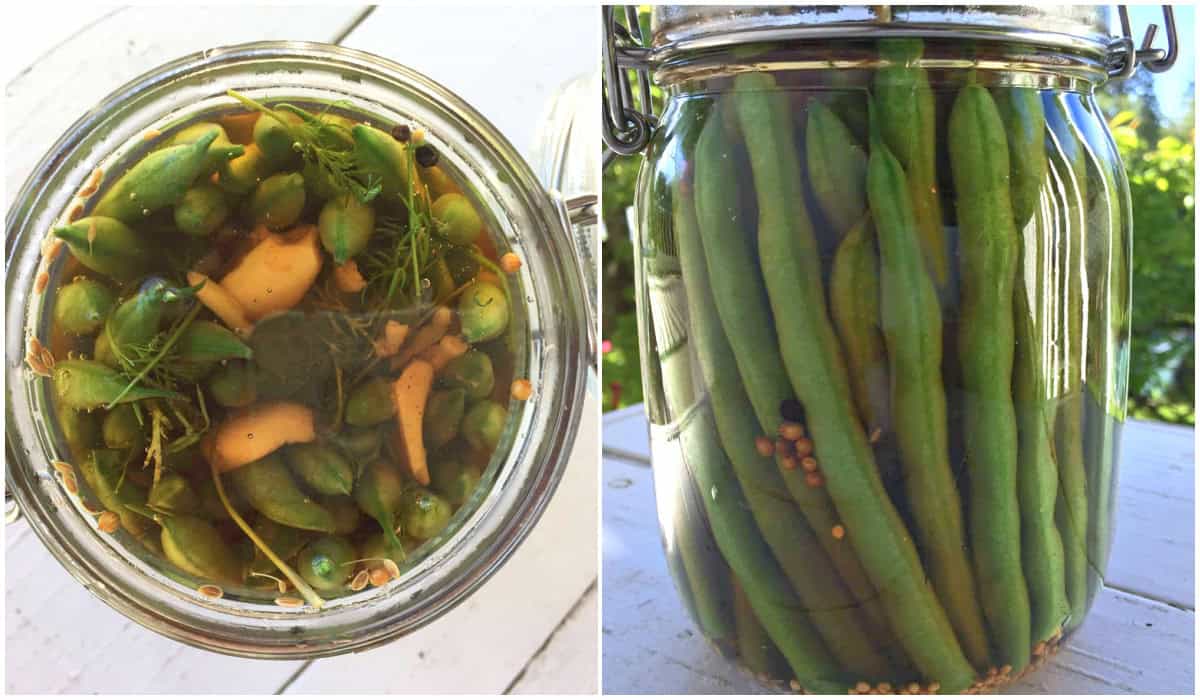
Top off with more pickling brine if needed to ensure the beans are fully immersed under the brine.
Gently tap the jar against the counter a few times to remove all the air bubbles.
Let the jar cool to room temperature. Store the pickles in the refrigerator. The pickles will improve with flavor as they age — wait at least 4 days before cracking them open. They’ll keep in the fridge for up to 2 months.
Storage & Canning
Pickled green beans will keep in the fridge for up to 2 months and are best consumed within that time. If you’d like to store them even longer, they can be canned using the water bath canning method: Put the beans and brine in sterilized canning jars, wipe off the rims, place the lids on the jars and screw on the rims. Process for 10 minutes. Remove the jars and let them sit undisturbed until fully cooled, then store in a cool dark place where they will keep for up to a year. The beans will still have some crisp to them but won’t be crunchy like the refrigerator pickled green beans.
Enjoy!
For more pickled vegetable recipes be sure to try my:
- Pickled Carrots
- Pickled Pepperoncini Peppers
- Pickled Beets
- Pickled Okra
- Pickled Jalapenos
- Giardiniera
- Pickled Asparagus
- Pickled Red Onions
- English Pickled Onions
- Pickled Banana Peppers
- Pickled Peppers
- Pickled Turnips
- Refrigerator Pickles
- Bread and Butter Pickles
- Sauerkraut (technically fermented, not pickled, but it’s a must make regardless!)
Save This Recipe
Pickled Green Beans (Dilly Beans)
Ingredients
- 8 ounces very fresh green beans , washed and stems trimmed but leave the other side intact
- 1 teaspoon whole coriander seeds
- 1 teaspoon whole yellow mustard seeds
- 1 teaspoon dill seeds
- 1/4 teaspoon red pepper flakes
- 1/4 teaspoon whole black peppercorns
- 1 bay leaf
- 4 sprigs fresh dill
- For the Pickling Brine:
- 1/2 cup white vinegar
- 1/2 cup red wine vinegar (can use all white vinegar if preferred)
- 1/2 cup water
- 1 tablespoon cane sugar (paleo: use coconut sugar)
- 1 teaspoon sea salt
- 1 large clove garlic , quartered
Instructions
- Place the spices in the bottom of a large jar. Pack the beans, cut stem side down, as tightly as you can into the jar. Press some sprigs of fresh dill down in between the beans.
- To make the pickling brine: Add the brine ingredients into a small saucepan and bring to a boil. Boil for 2 minutes. Pour the boiling brine over the beans. Top off with more pickling brine if needed to ensure the beans are fully immersed under the brine. Gently tap the jar against the counter a few times to remove all the air bubbles.Let the jar cool to room temperature. Store the pickles in the refrigerator. The pickles will improve with flavor as they age. Wait at least 4 days before eating them. They'll keep in the fridge for up to 2 months.This recipe can be doubled, tripled, etc.
- For Canning: Dilly beans are best consumed within a couple of months, but if you want to store them even longer you can also can them: Use canning jars, seal the jars and process them in a water bath canner for 10 minutes. The beans will still have some crisp to them but won't be crunchy like the refrigerator pickled green beans.
Nutrition
Originally published on The Daring Gourmet August 18, 2017

Hi, I’m Kimberly Killebrew and welcome to Daring Gourmet where you'll find delicious originals, revitalized classics, and simply downright good eats from around the world! Originally from Germany, later raised in England, world-traveled, and now living in the U.S., from my globally-influenced kitchen I invite you to tour the world through your taste buds!


I have a question about the Dilly beans recipe…is that for one jar?
Hi Jerrie, yes. I’m using a quart-sized jar. But you can divide that into two smaller jars if you prefer. The recipe can also be doubled, tripled, etc.
Made these, 4 jars..they were fantastic! Great pickle flavor. My grandson ate the whole jar in one day. We just picked beans today. Will be making more tomorrow.
Thanks for a great and easy recipe
I’m so glad they were a hit, thank you Mary Anne!! <3