How To Can Cherries, Dehydrate Them & Use The Pits
This post may contain affiliate links. See my disclosure policy.
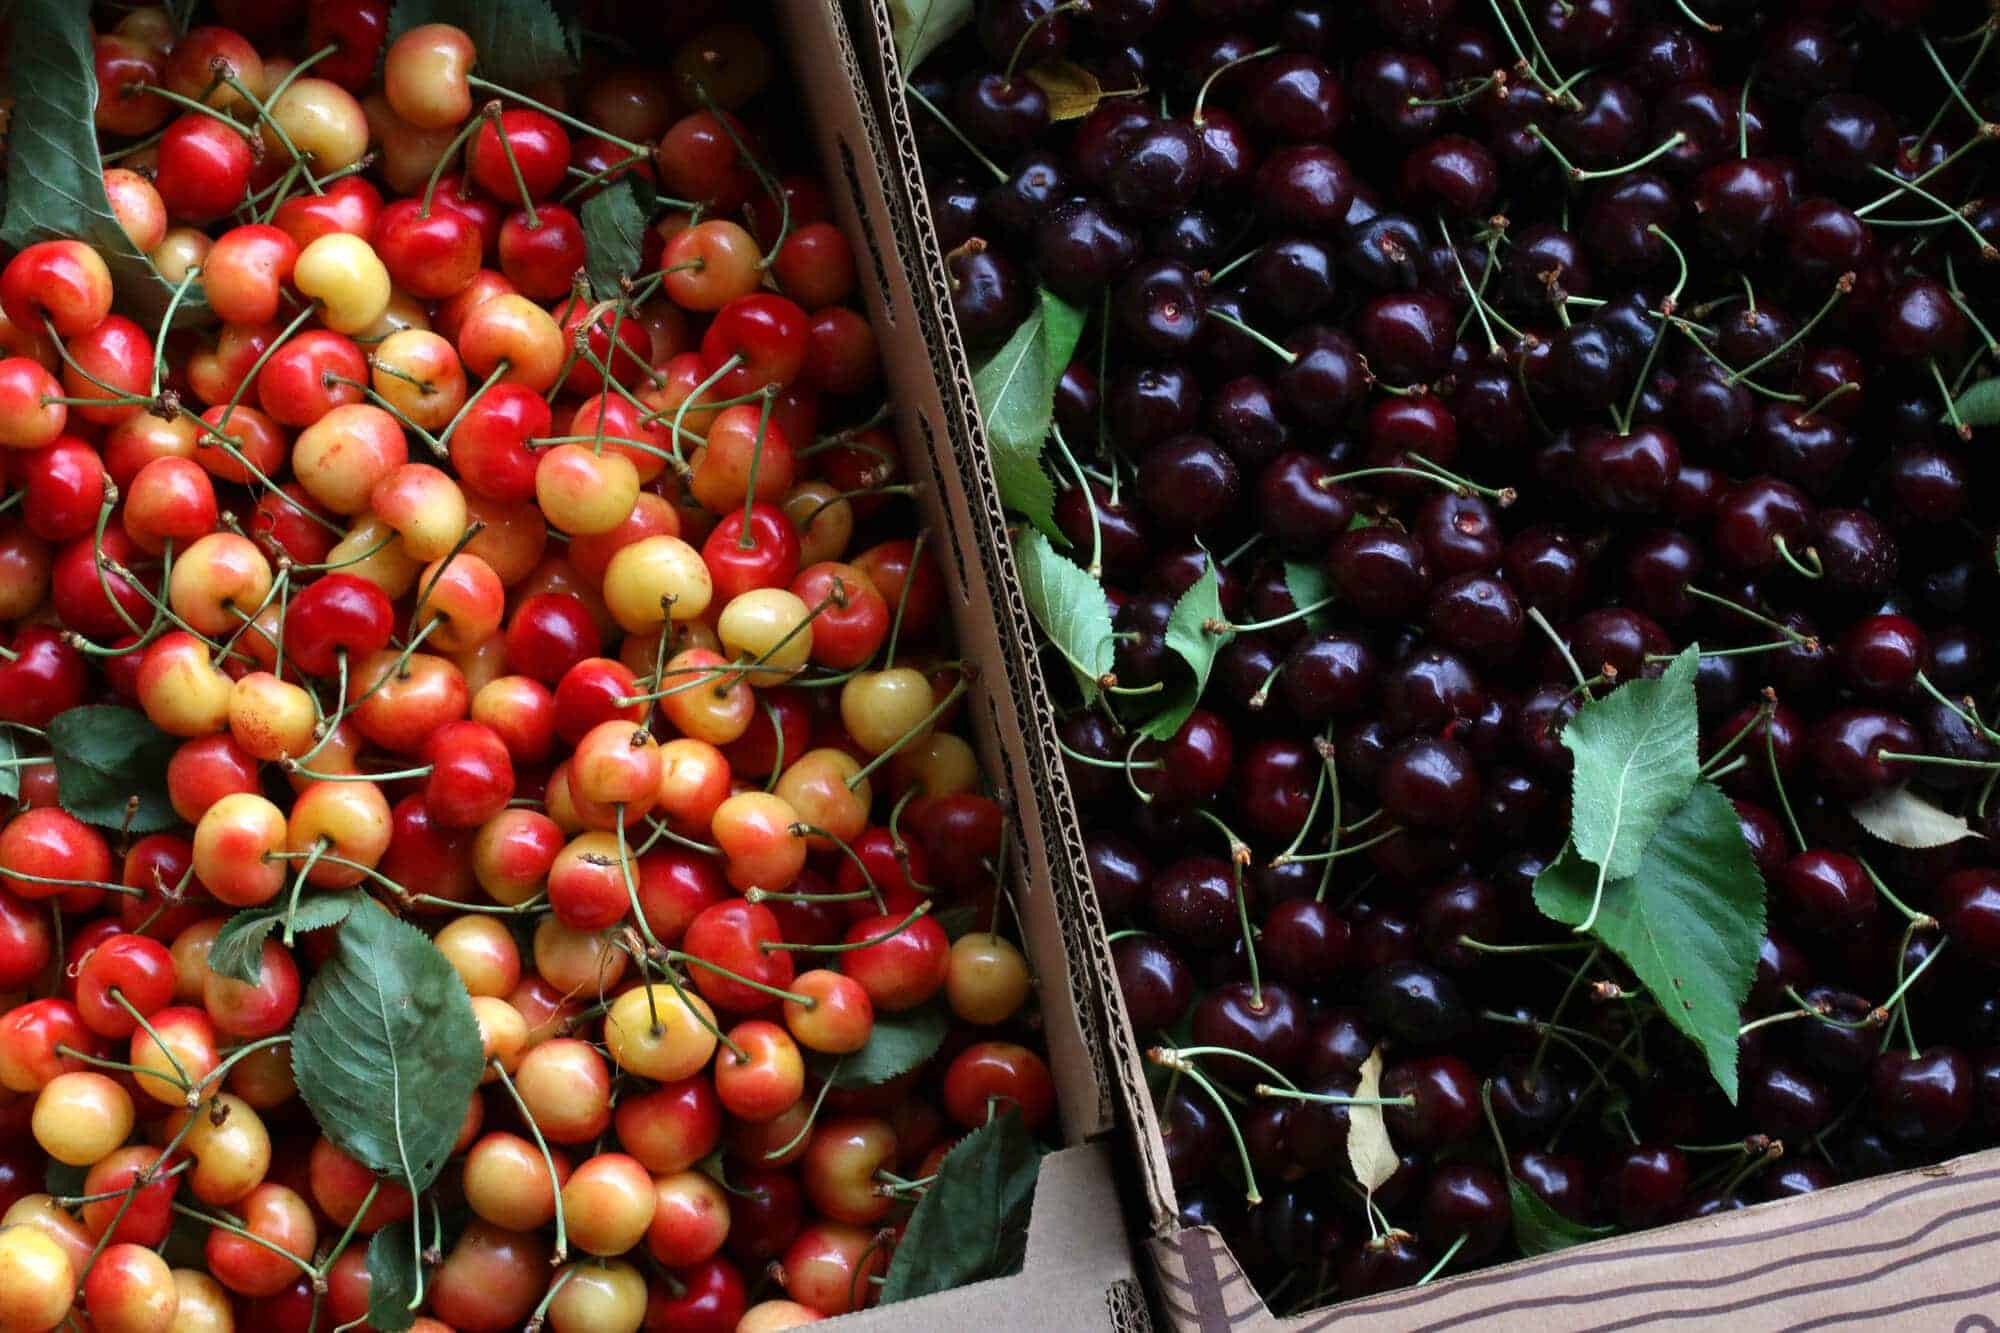
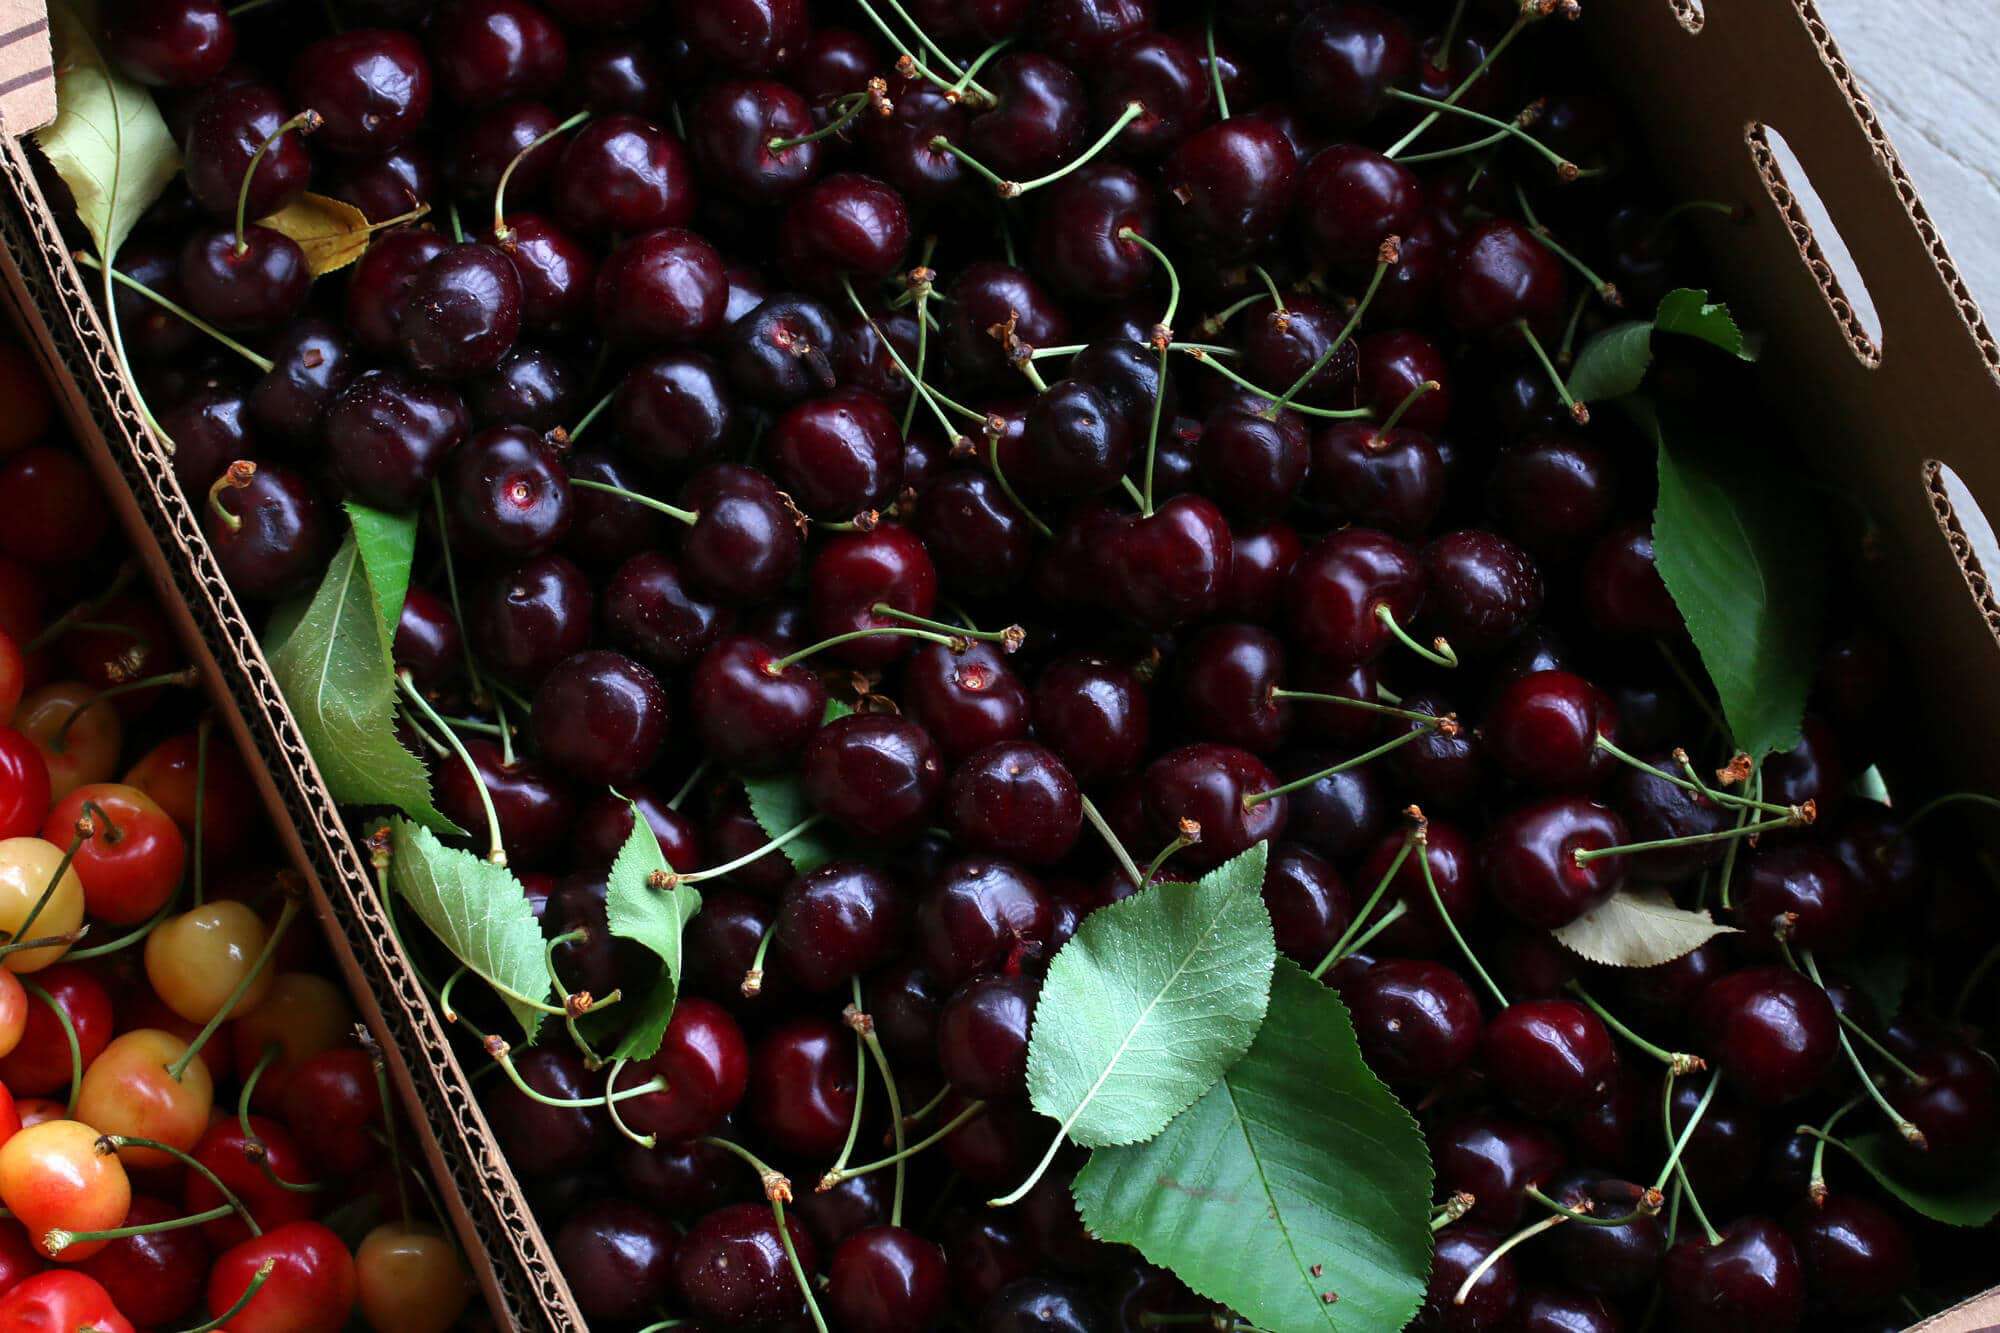
It’s cherry season! And that means bounteous harvests of gorgeous, plump, juicy globes of sweetness.
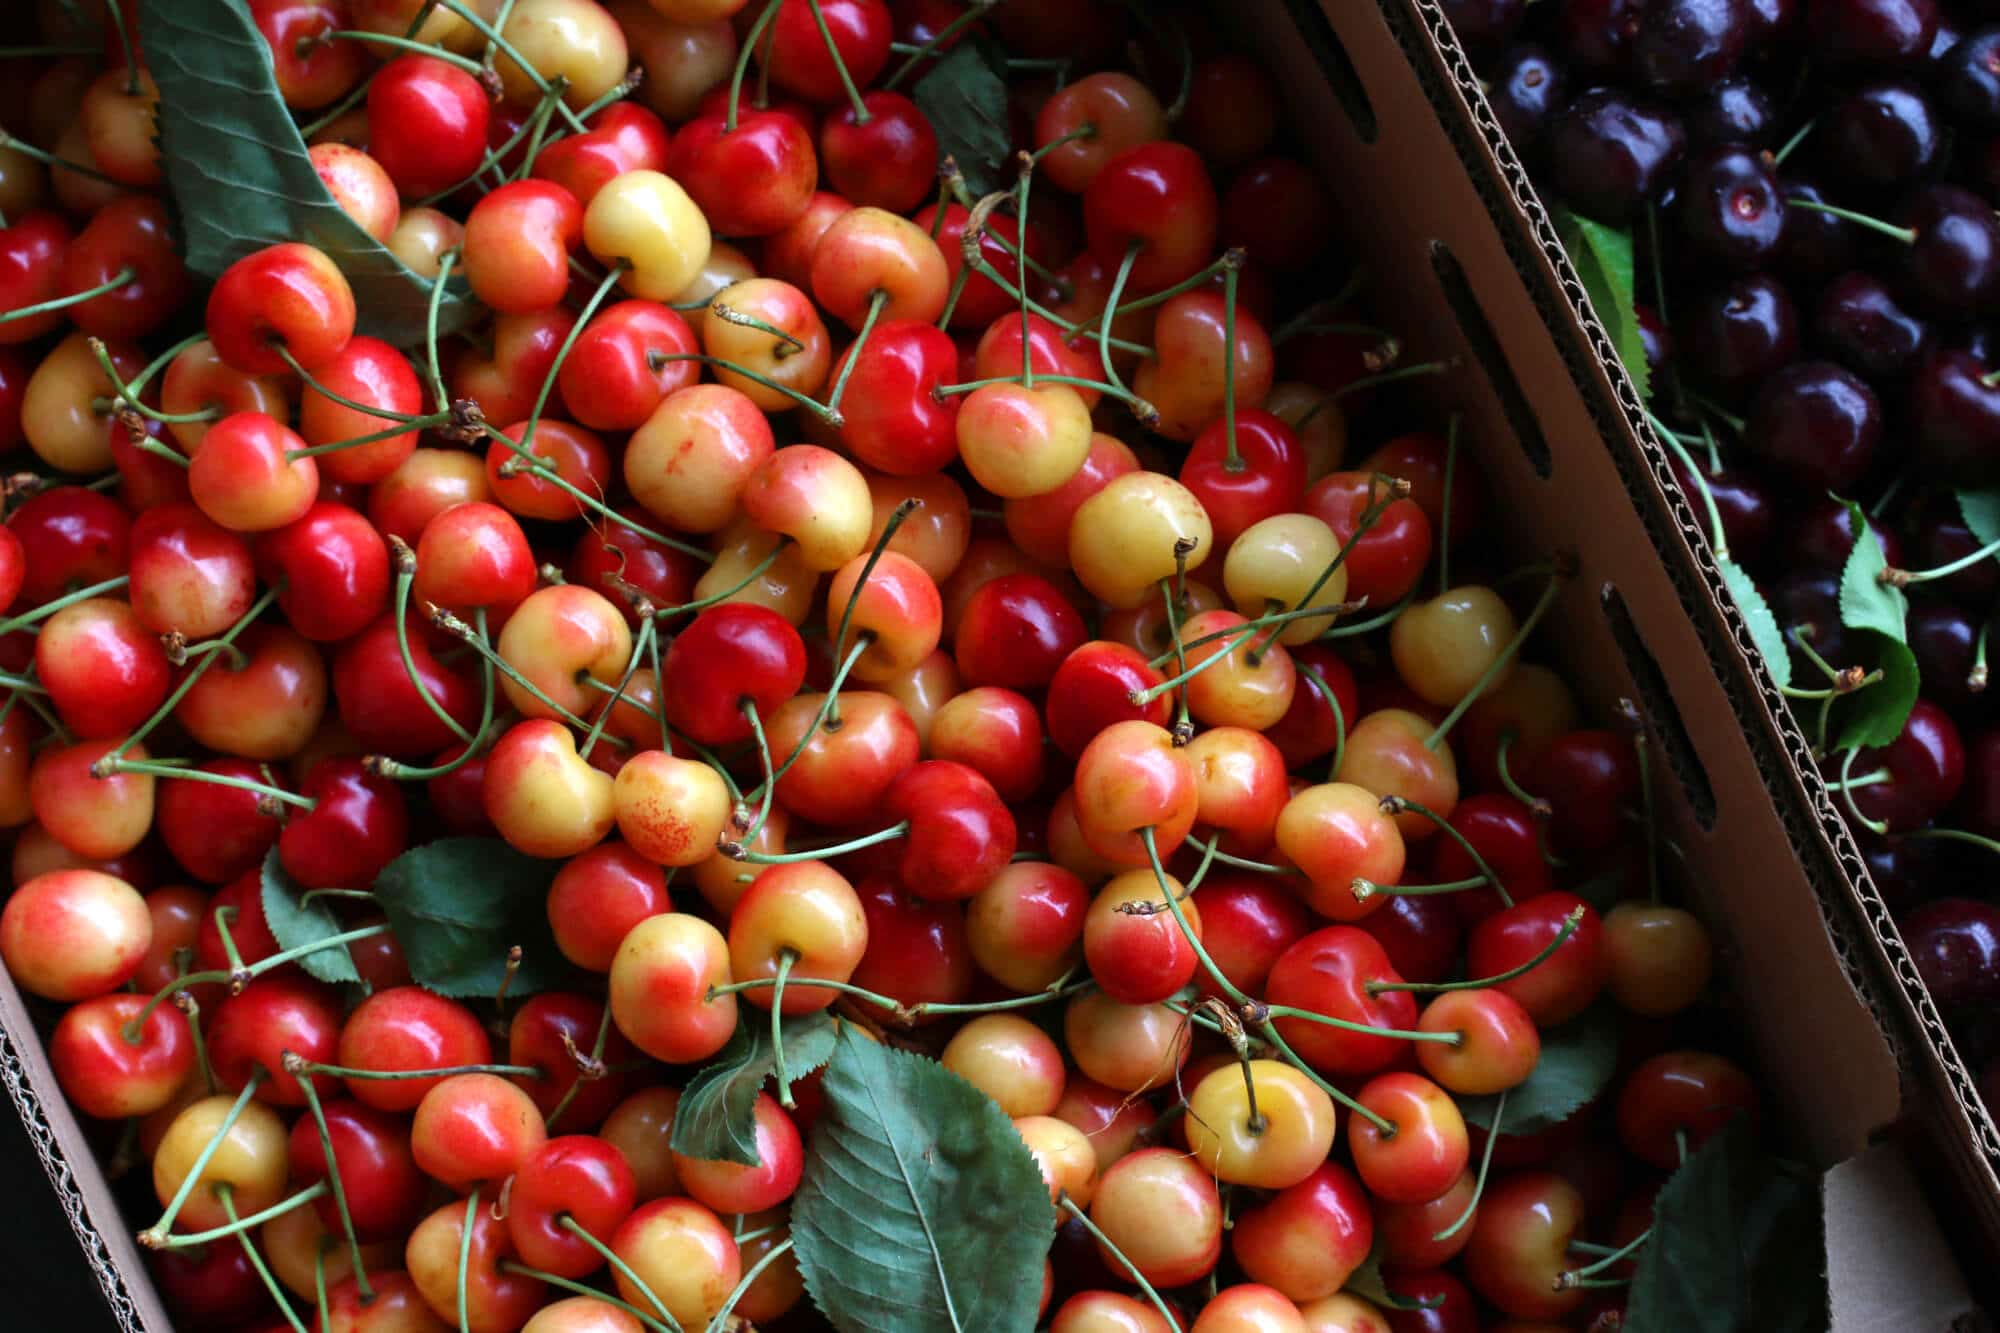
We picked up two bulk loads of Washington cherries, a combination of Rainier and Bing, 80 pounds total!
I’ve been preparing them several ways: Canning, dehydrating, freezing and making jam and chutney. Next time I may try some cherry pie filling, too (without the red fool coloring, of course). So I have lots of cherry products now to put to use in cooking and baking.
What are your favorite ways to enjoy cherries?
As you can imagine, with 80 pounds of cherries I’ve been quite busy! And I’ve been walking around with stained fingers galore and having to explain myself every time I flash my fingers when I pull out my credit card at a store or sign a document. I guess I should be wearing latex gloves, but they just feel kind of inhibiting.
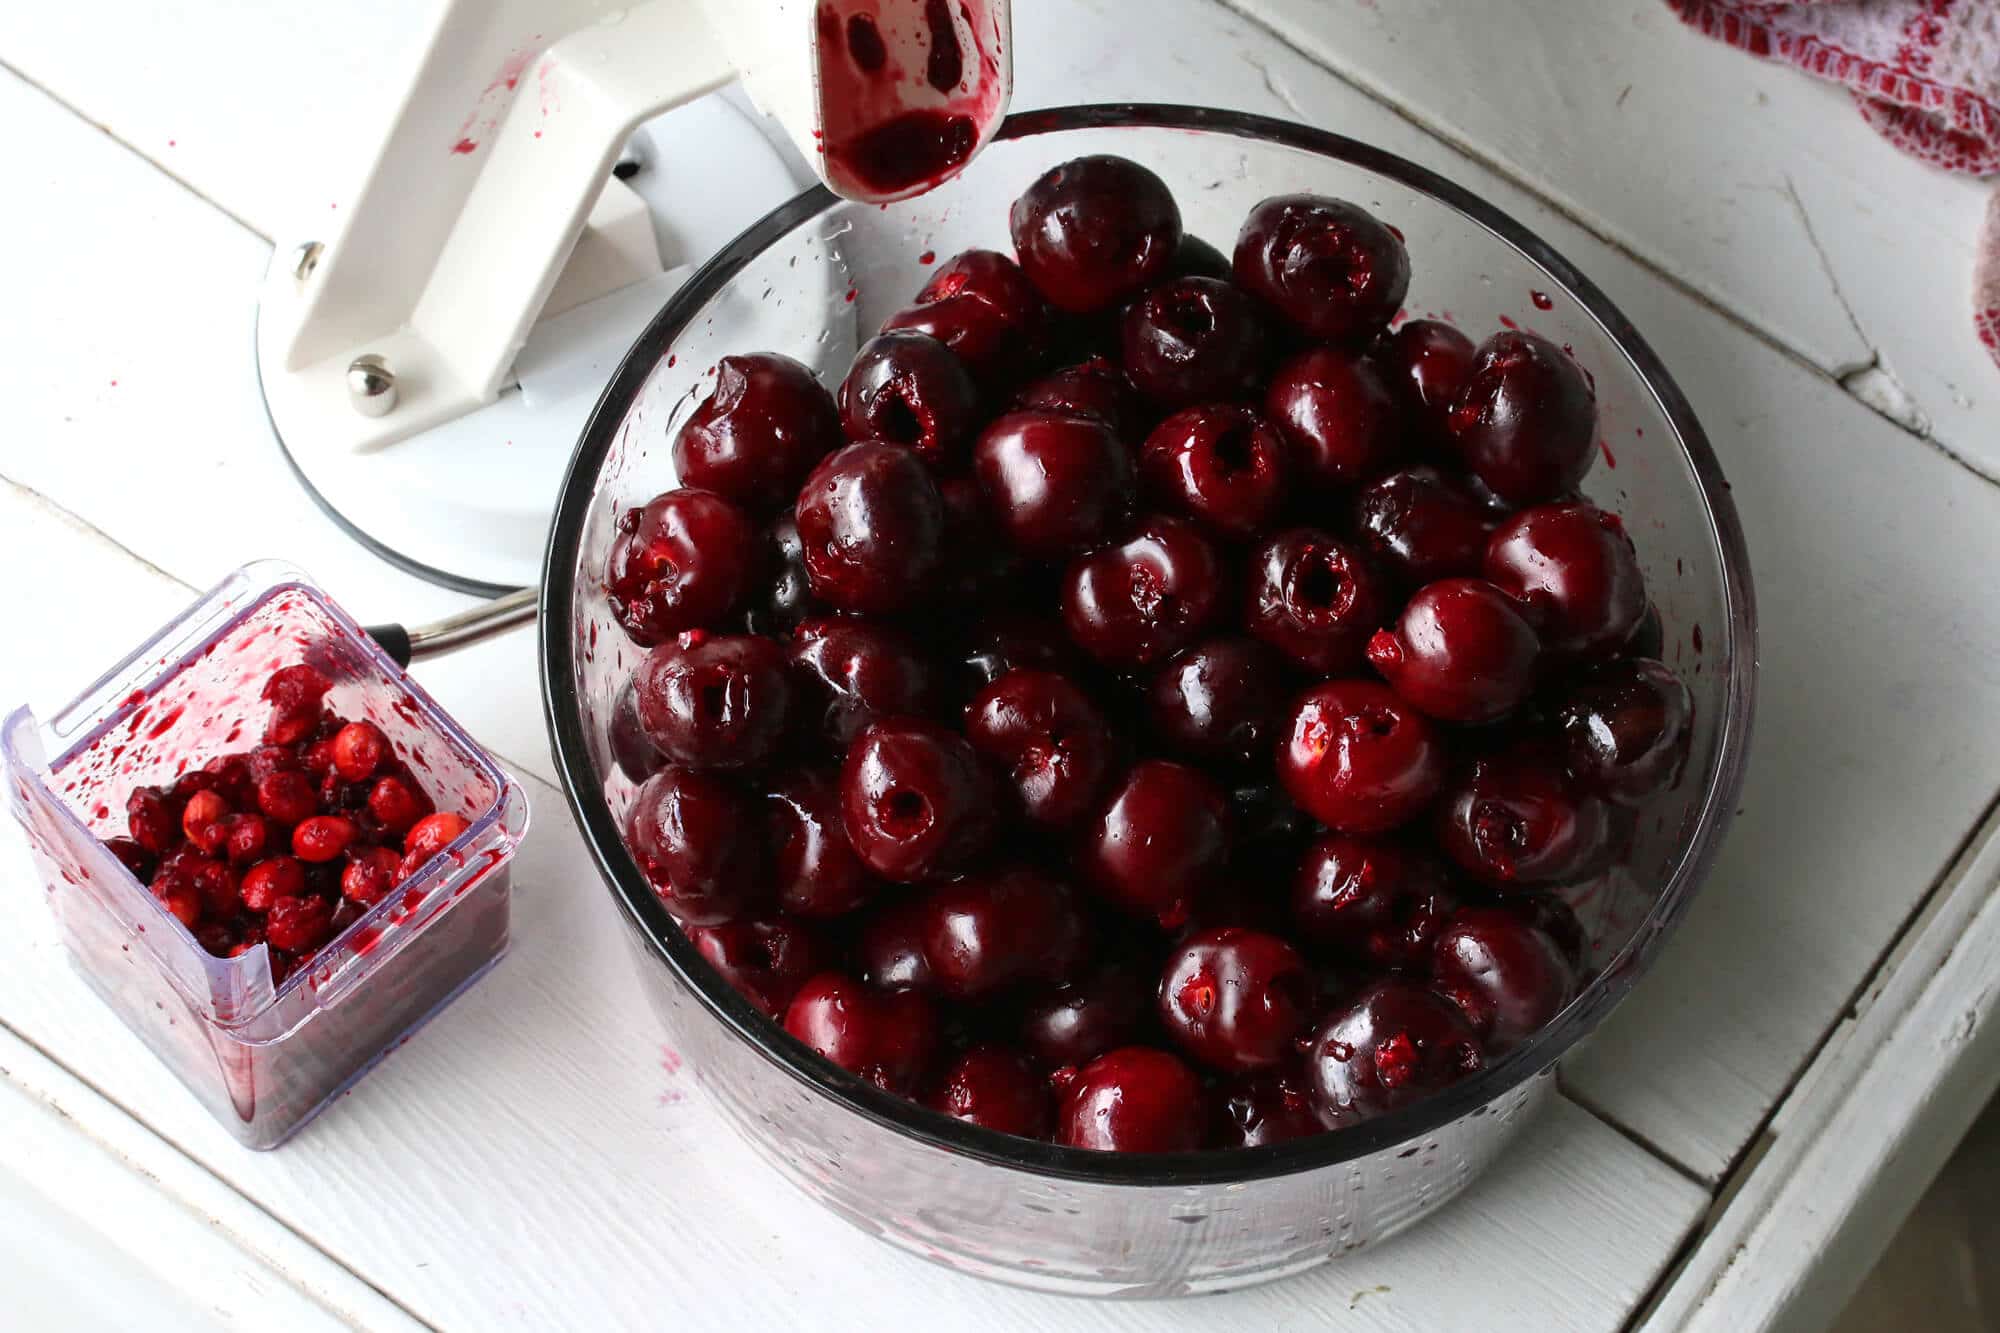
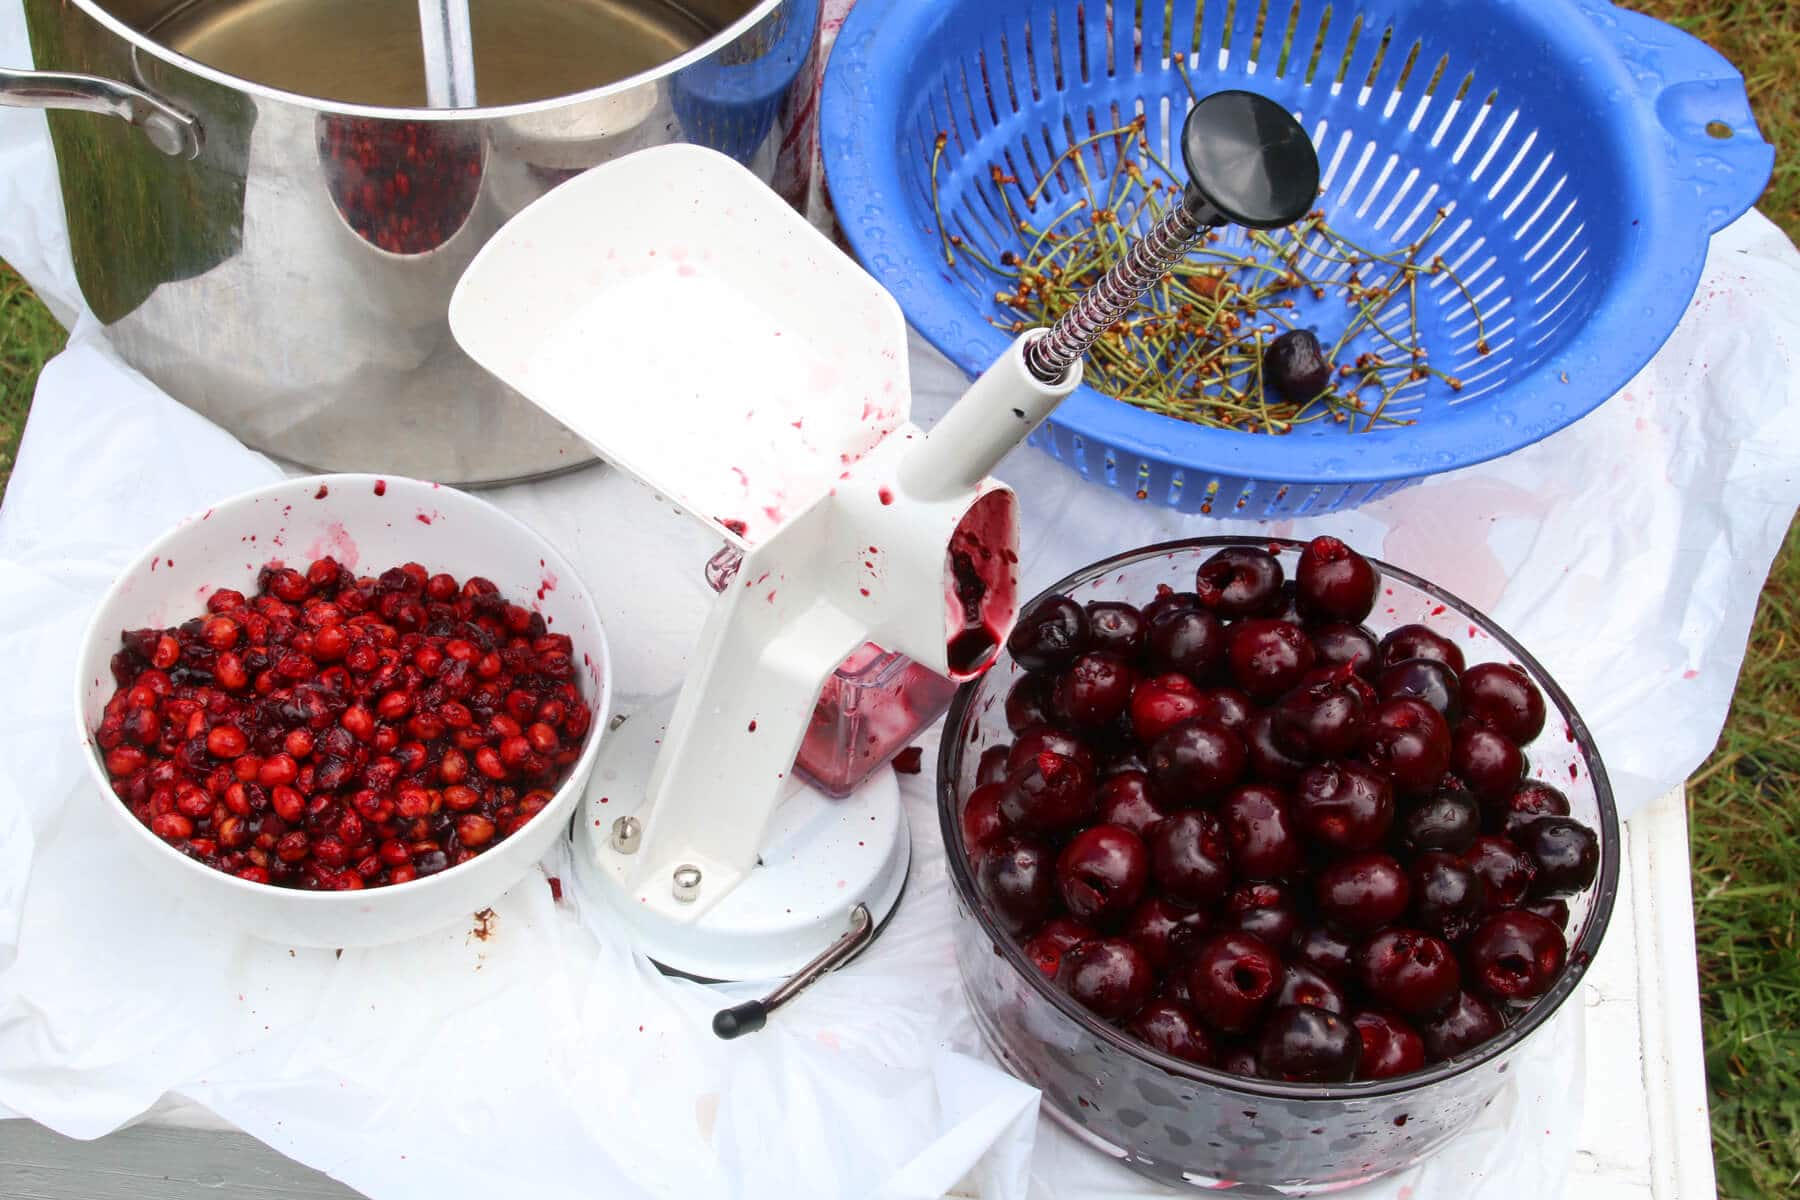
With that many cherries to process, the the most invaluable tool by far is a good cherry pitter. Specifically, one that pits cherries quickly in succession. I researched the various cherry pitters on the market and have been happy with the one I chose: The Norpro Deluxe Cherry Pitter.
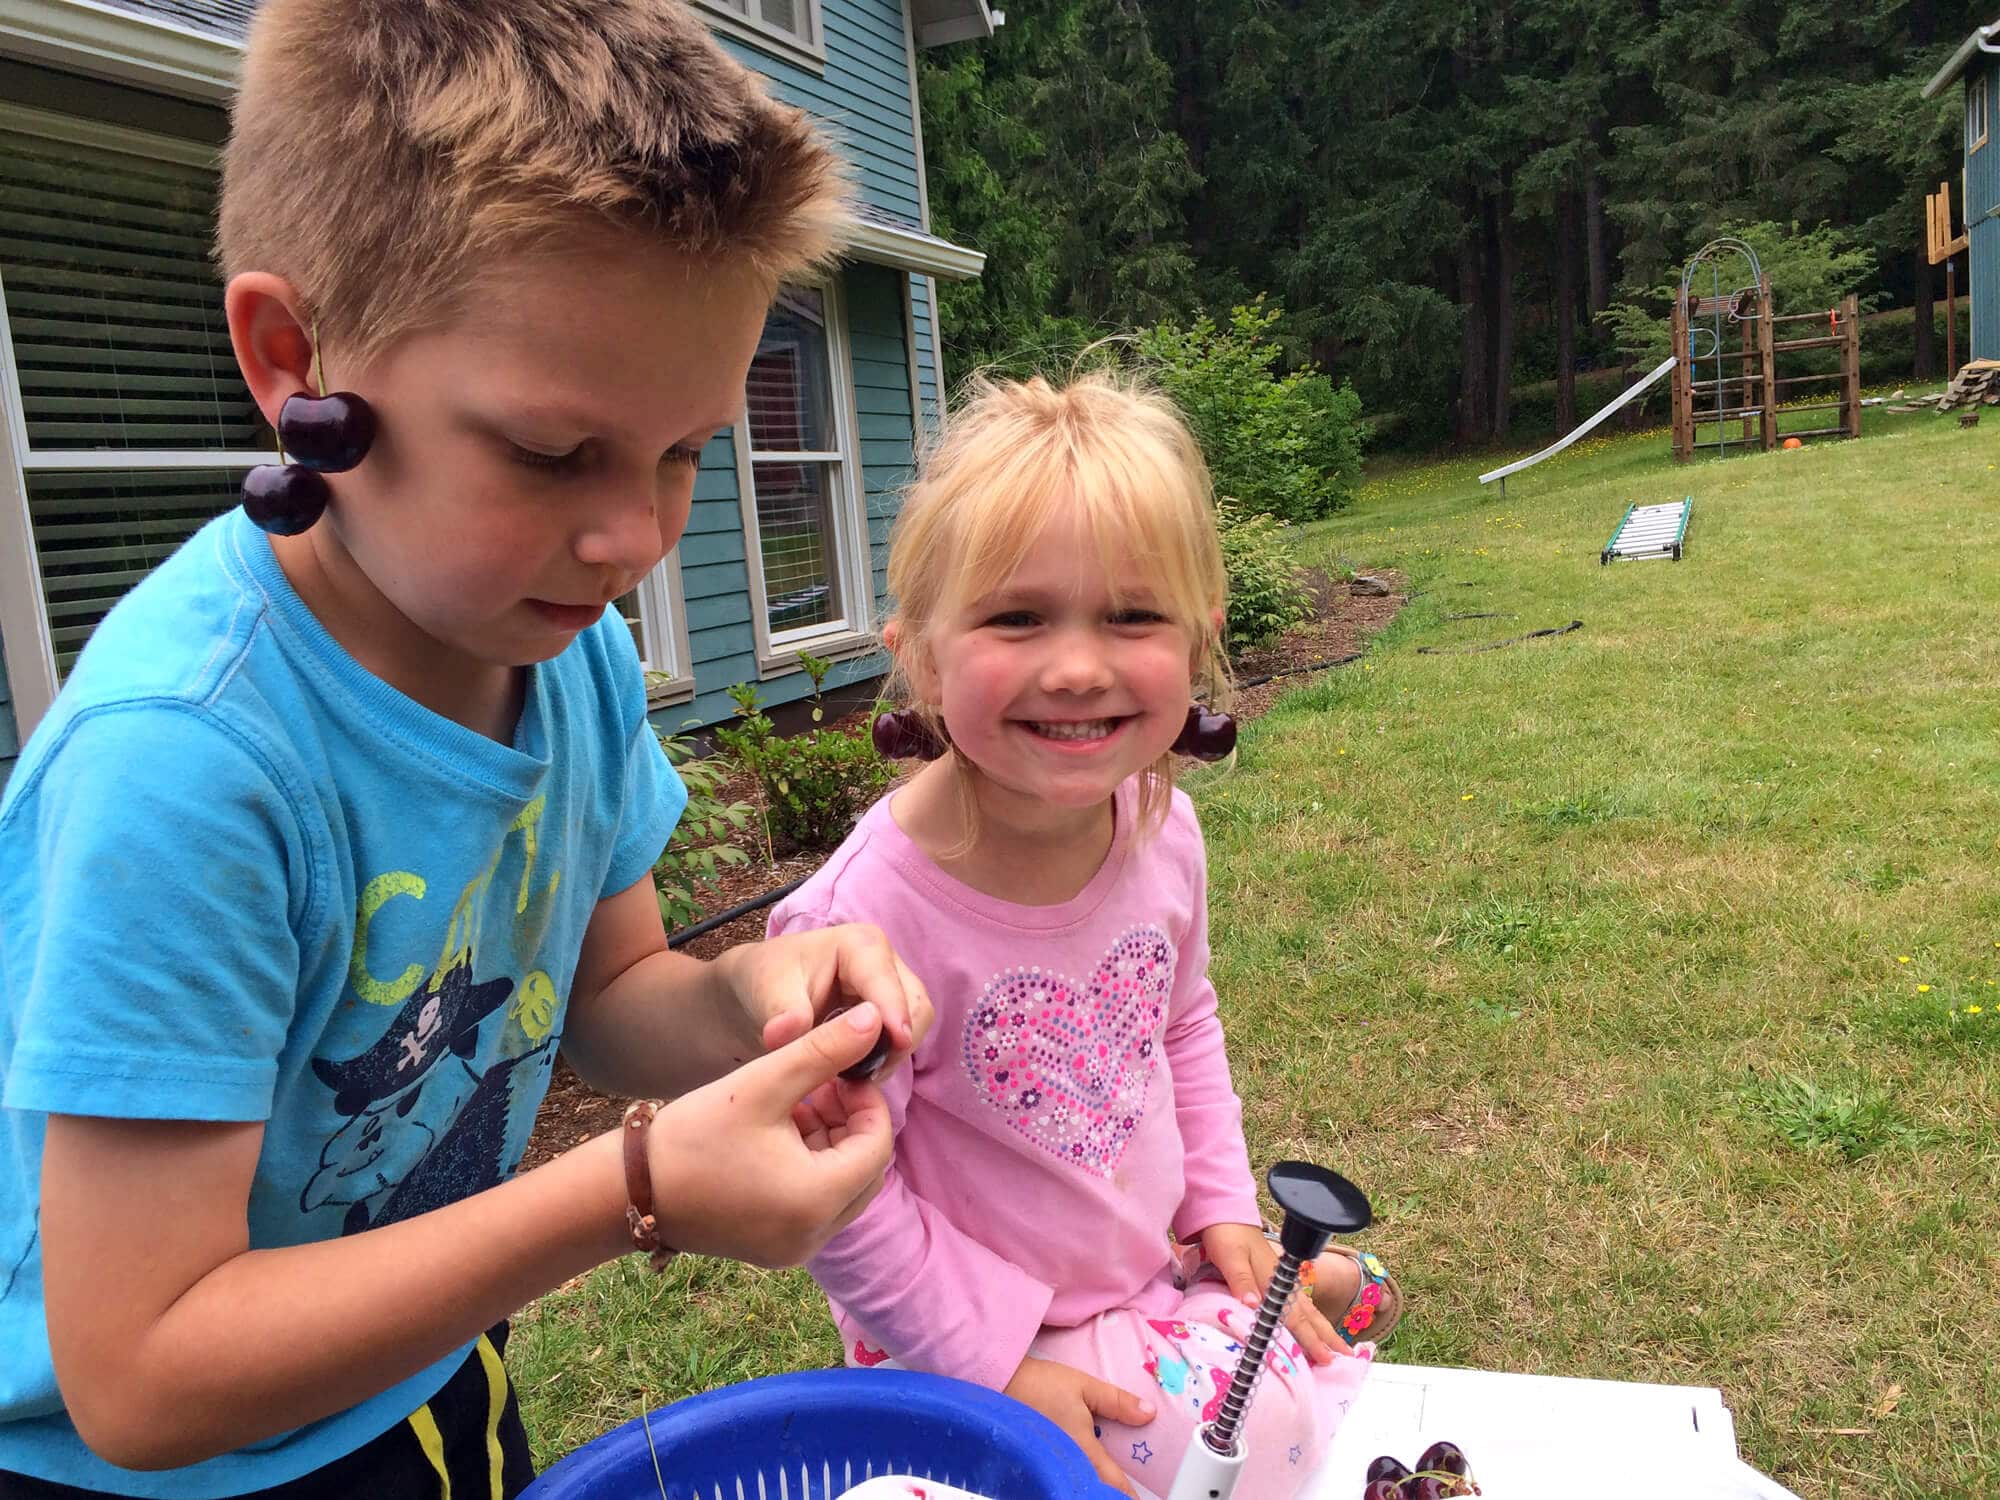
My kids were eager to help out and as I rapidly pressed down on the gismo to pit the cherries they steadily worked to pull off the stems and load them into the pitter. All the while we wore cherry “earrings” (no cherry-pitting session is complete without them) and ate a bunch while we worked.
Whichever cherry pitter you go with, they will all miss some pits occasionally. Even commercially canned cherries come with a warning that the batch may contain pits. And I’ve noticed that the larger the cherry the higher the rate of missed pits because there’s more surface area (the pitter is a metal rod that pushes through the cherry and if the cherry is large it can go through one side of the cherry and leave the pit on the other). So you’ll need to take the same precaution with home-canned cherries as the store-bought ones: Bite down carefully.
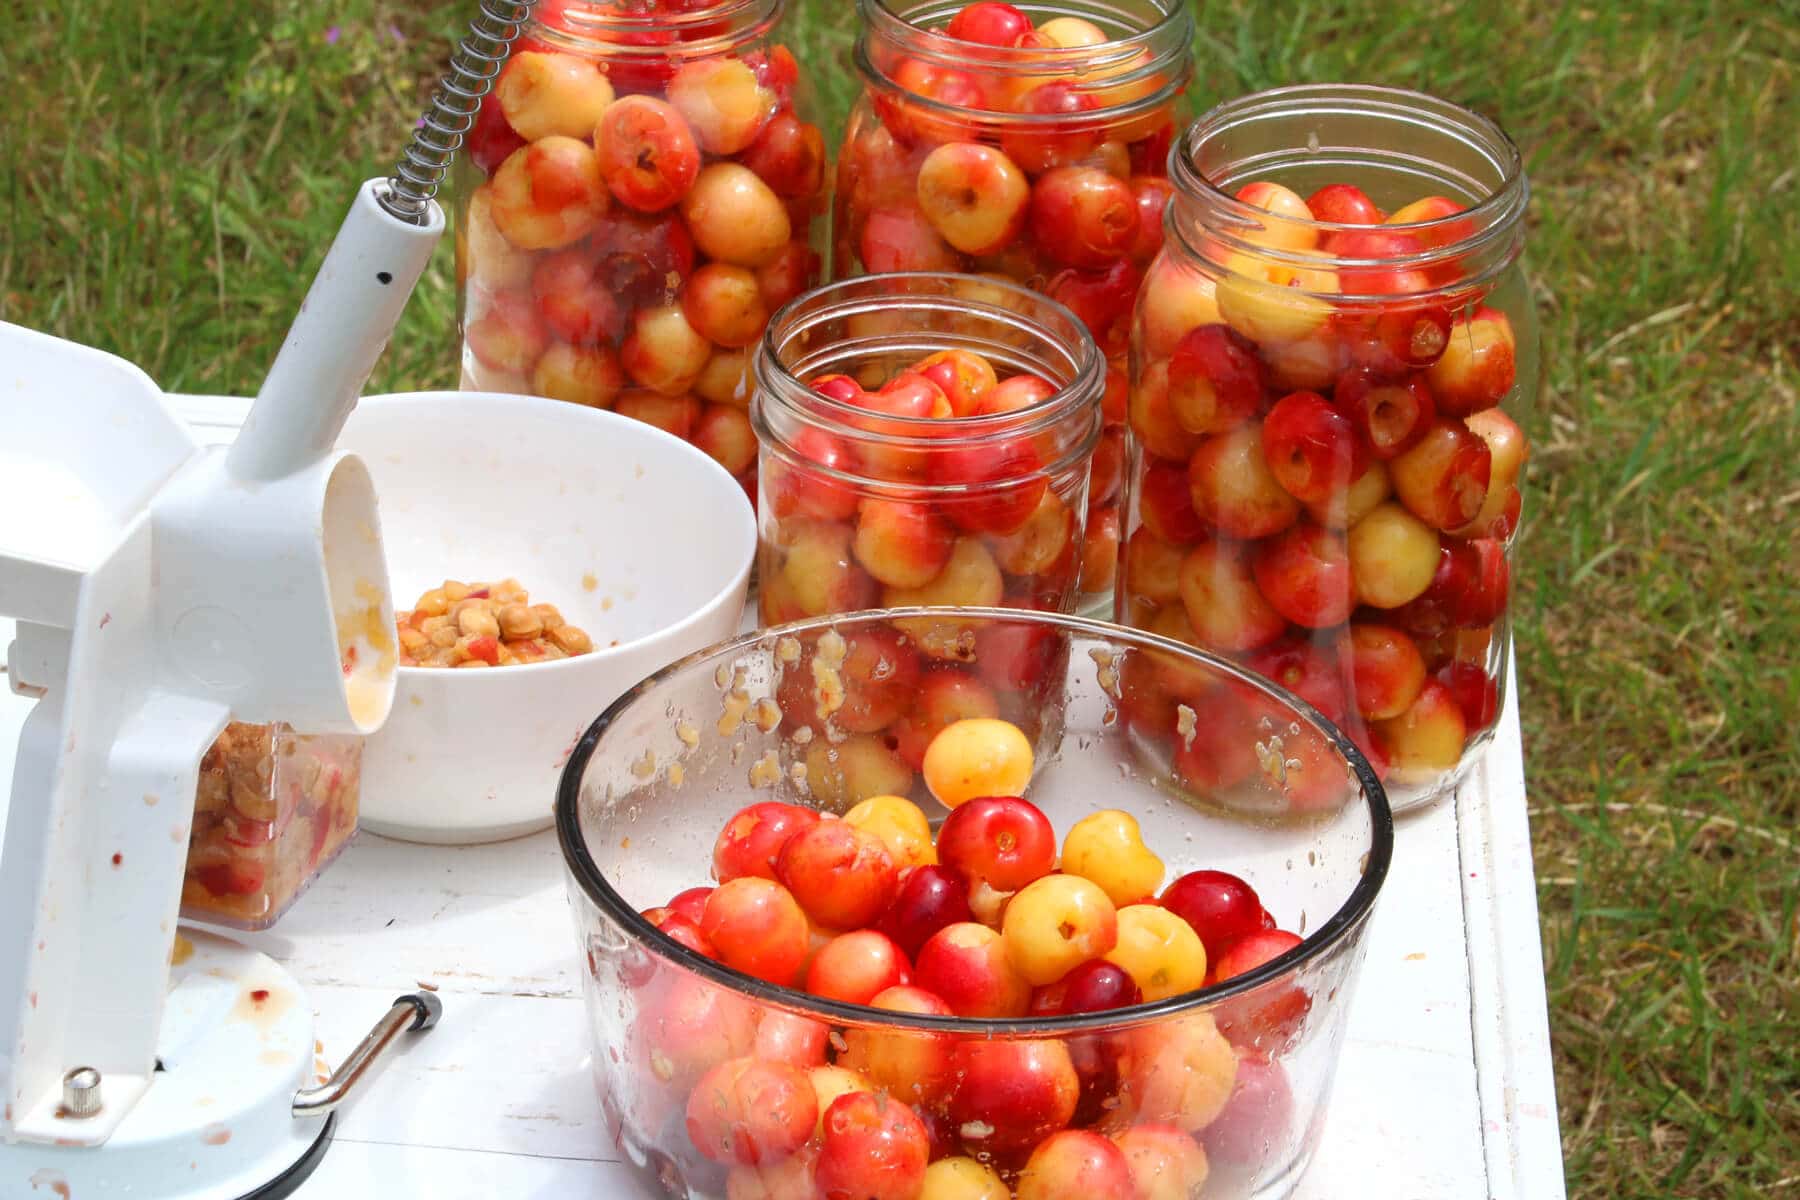
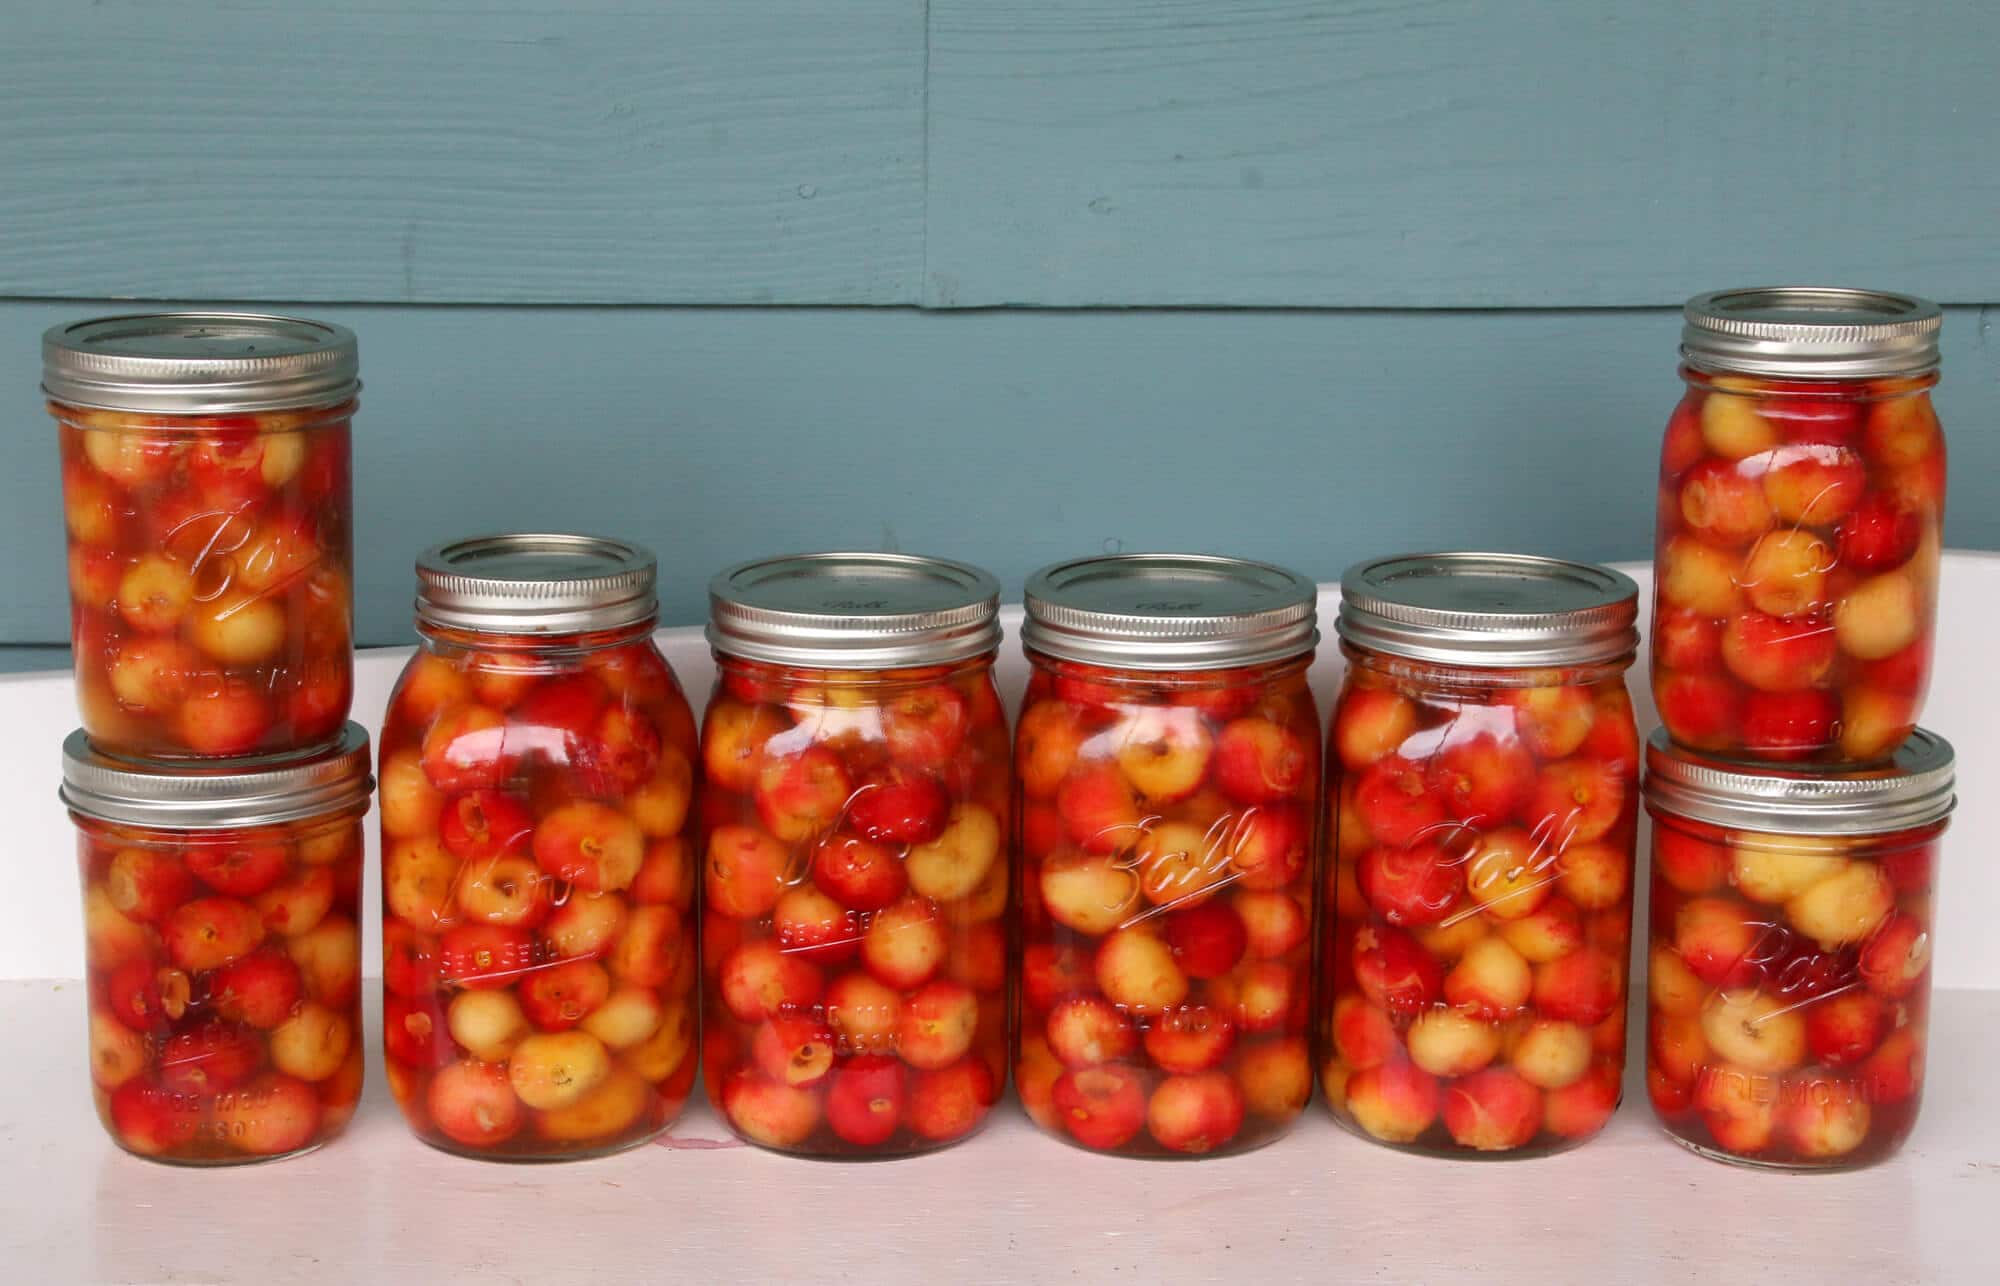
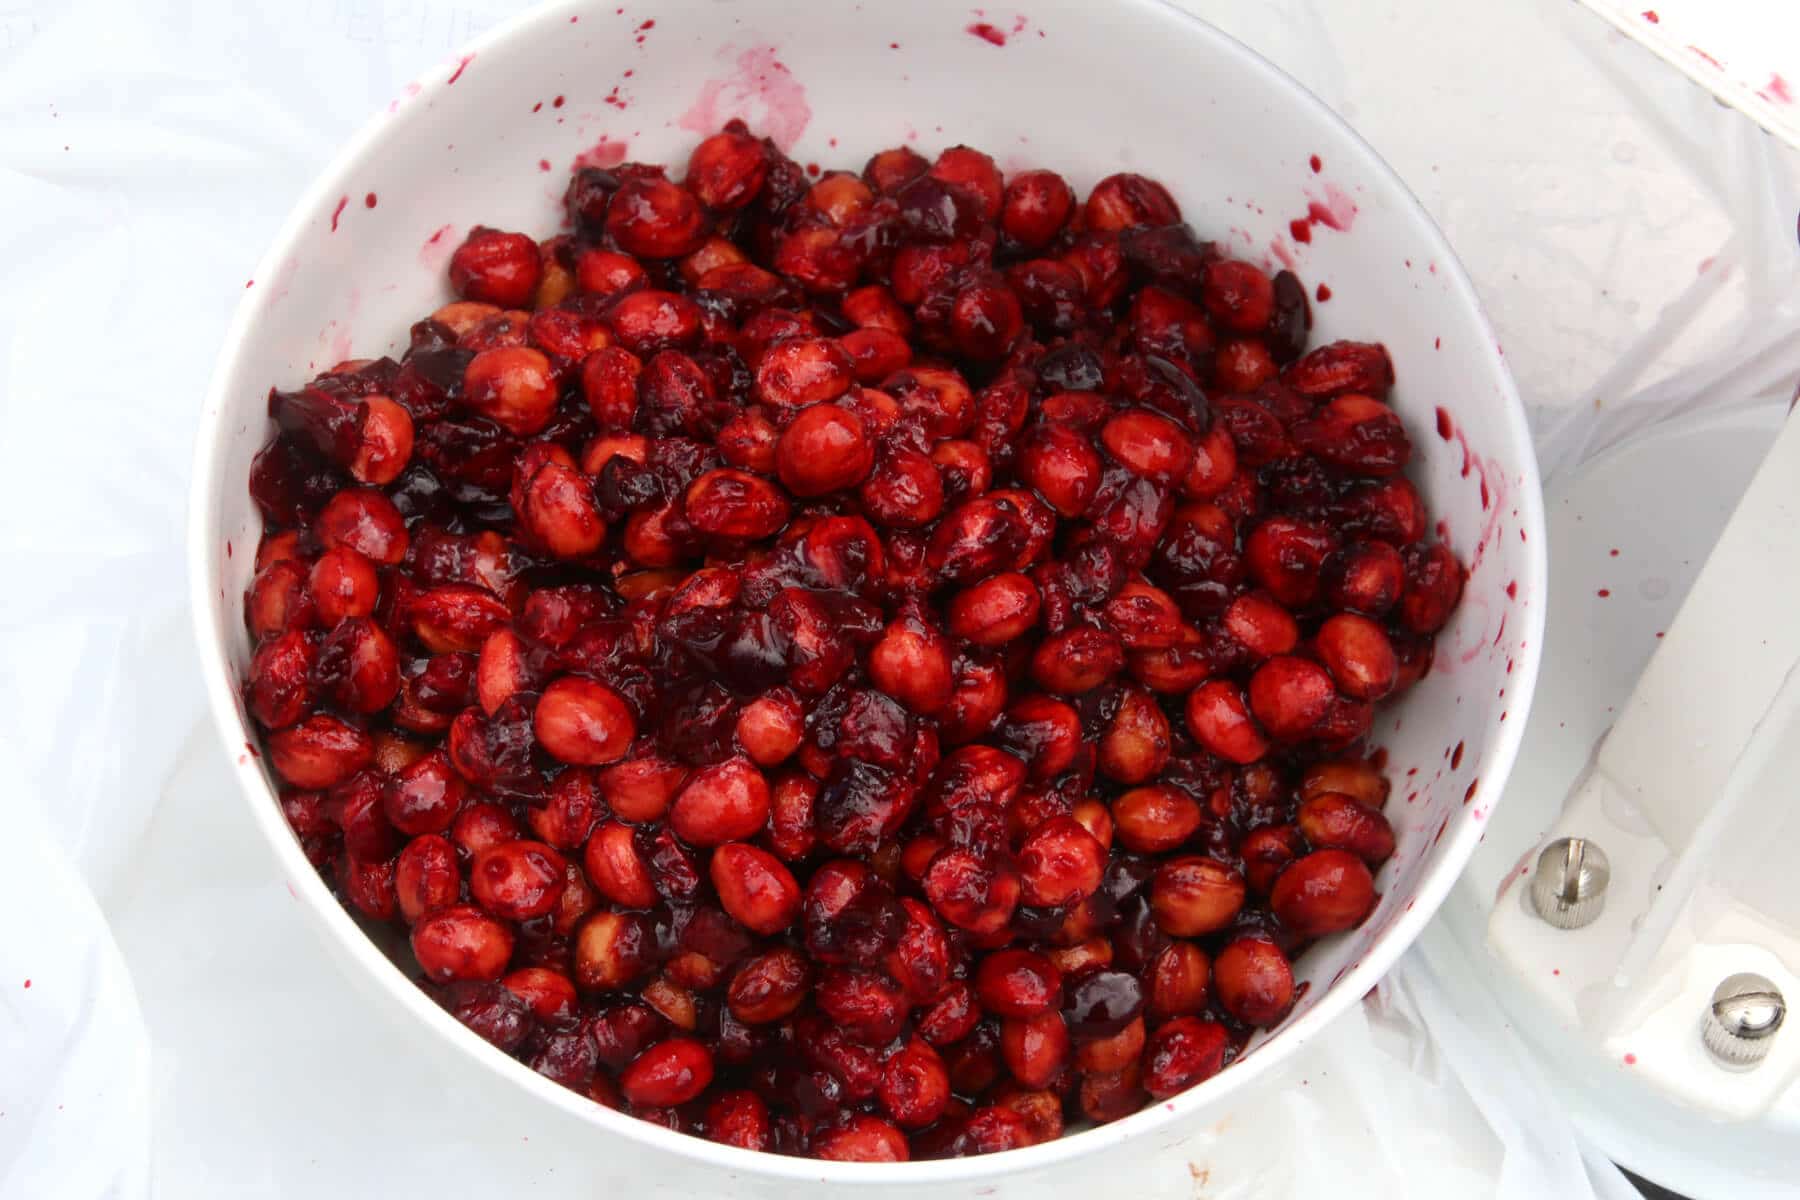
Canning cherries is super duper easy, there’s very little to it.
As a rule of thumb you’ll need roughly one pound of cherries per pint jar.
All you’ll need are fresh cherries, sugar, a large pot, a good cherry pitter, canning jars (for canned cherries I usually use quart-sized jars), canning lids and rims, and a canner with accessories. Give the jars a good boil to sterilize them and wash the lids and rims.
Be sure to select the freshest cherries available and discard any wrinkled ones.
Wash them thoroughly and remove the stems.
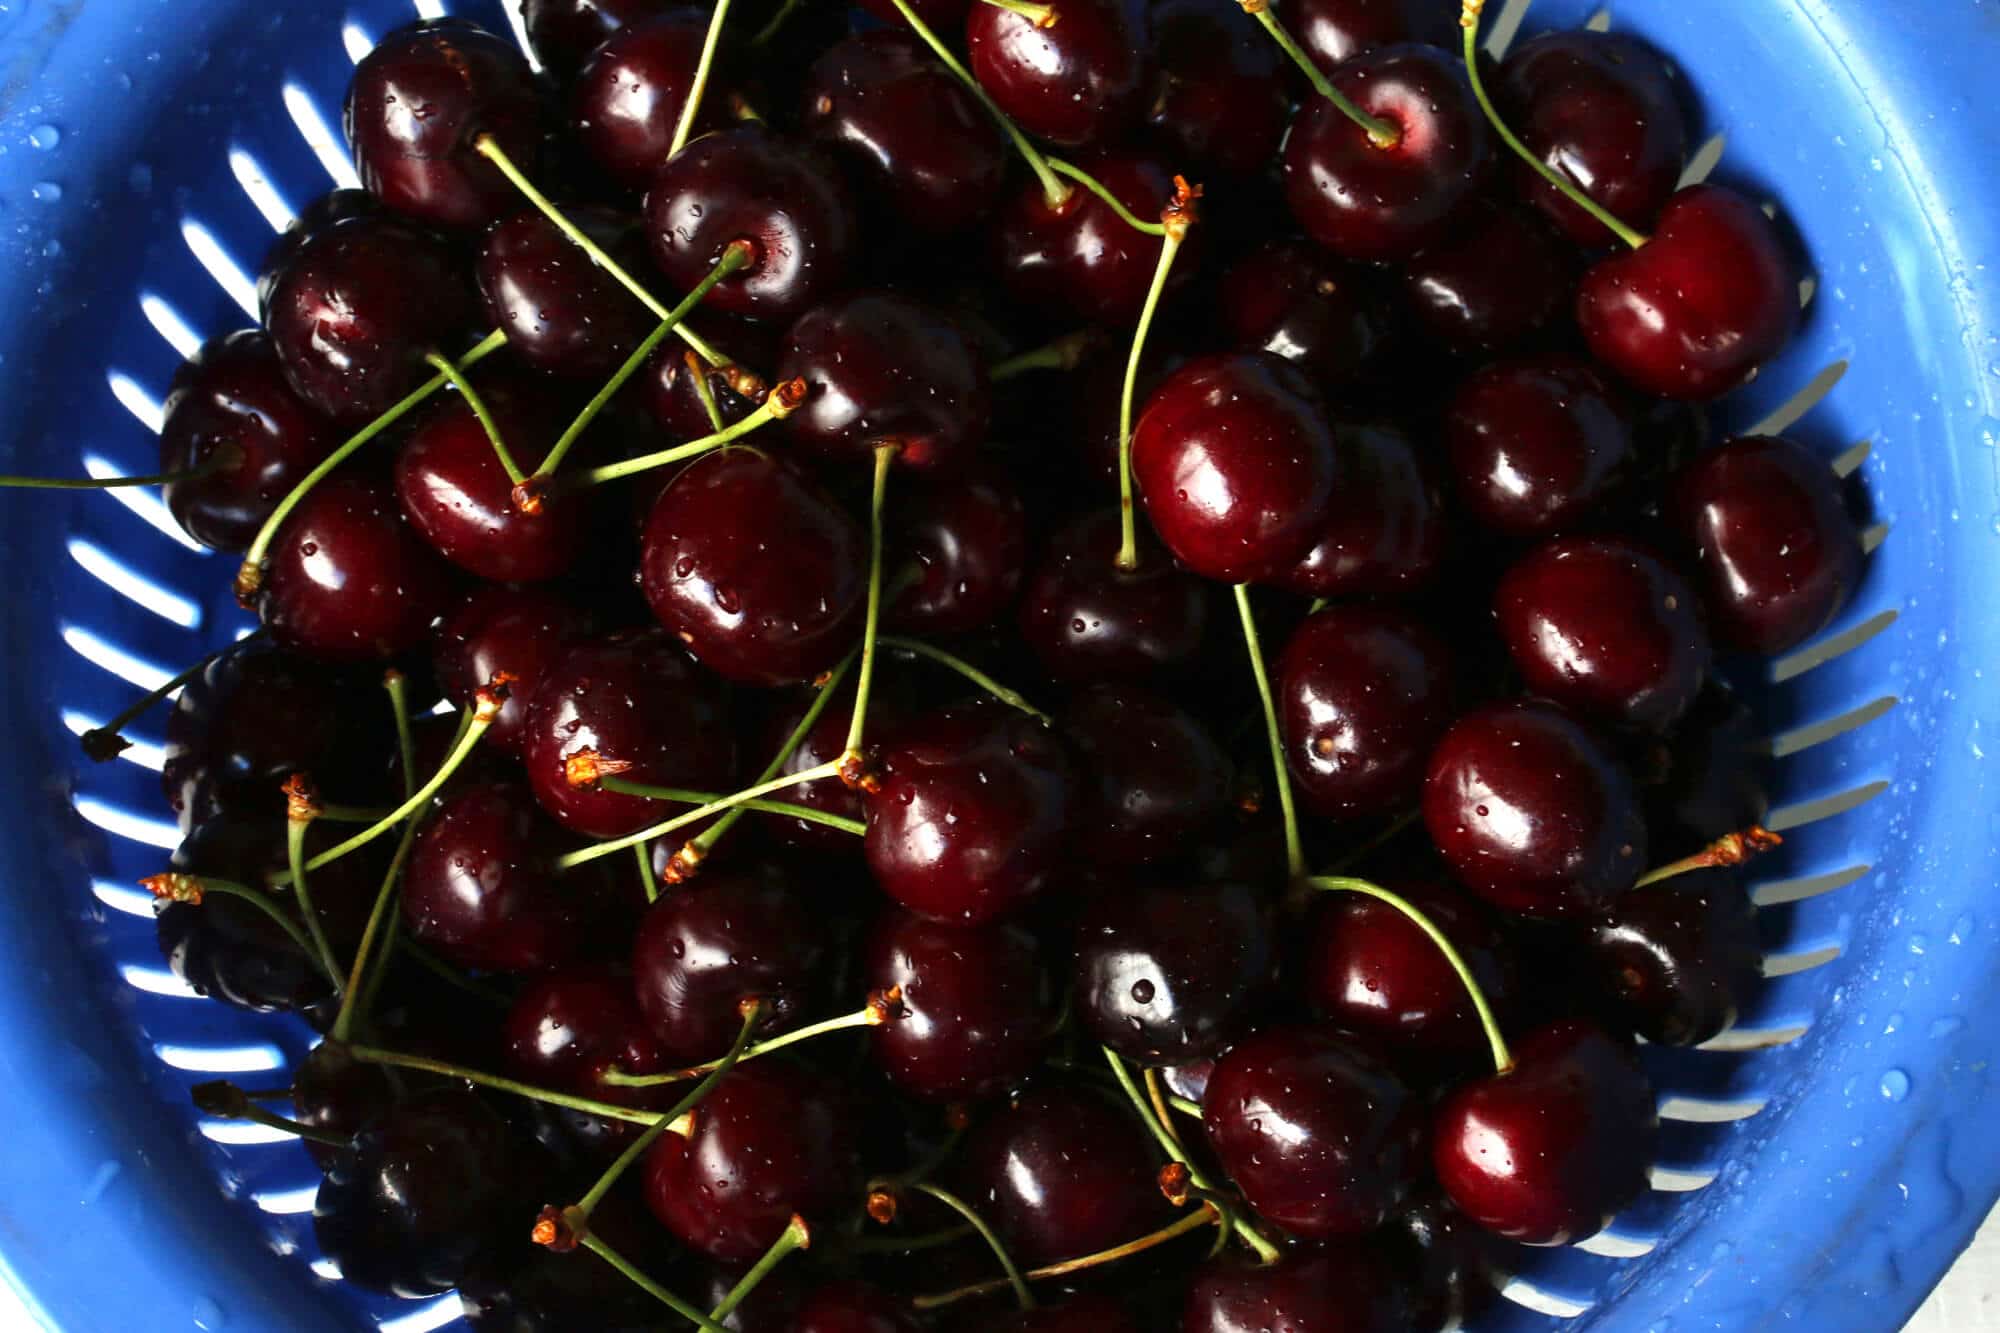
Get a good cherry pitter and pit the cherries.
A pitter that can handle large quantities and pit cherries quickly in succession is key, otherwise you’ll feel like throwing in the towel before you’ve made much of a dent in the batch.
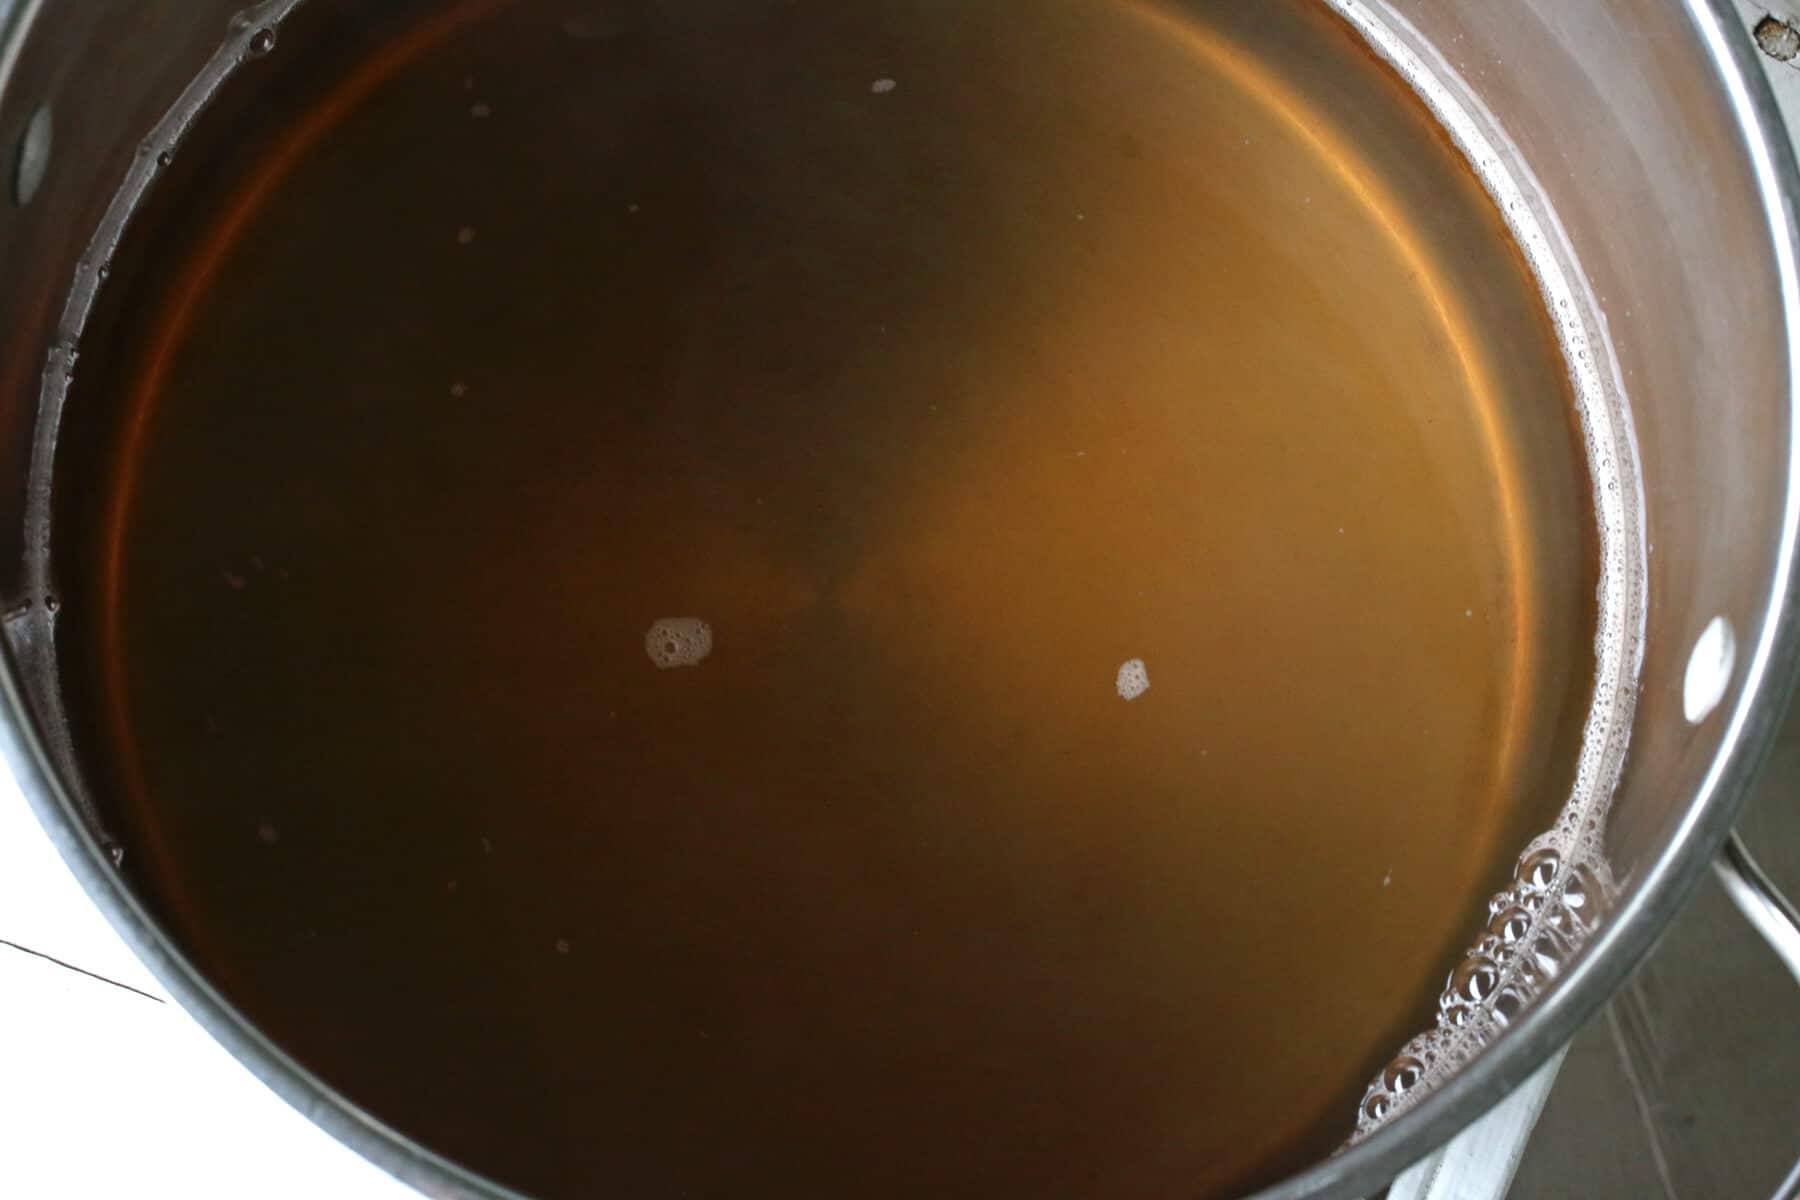
The syrup is super easy to prepare – it’s simply boiling sugar with water. And you can choose whether you want a heavy, medium or a light syrup. I personally always go with light because 1) I avoid using a lot of sugar in general and 2) it makes the cherries more versatile (for example, if I want to use them in a savory dish).
Ball suggests a ratio of 4 1/2 cups of sugar to 10 1/2 cups of water for a light syrup but that’s even more sugar than I like. According to OSU’s extension services you can use as little as 3/4 cup sugar to 6 1/2 cups water.
So when making a light syrup I usually go with about 1 1/2 cups sugar to 6 cups water and that yields about 6 pint jars of banned cherries.
If you prefer a medium syrup you can use 3 cups of sugar to 6 cups water and for a heavy syrup use 4 cups of sugar to 6 cups of water.
Simply combine the water and sugar in a stock pot and bring to a boil. Let the sugar dissolve completely then remove from the heat.
Have your sterilized jars already filled with the pitted cherries.
Now they’re ready for the hot syrup (note: the syrup doesn’t have to be scalding hot when you add them to the cherries because you’re going to process them in a water bath anyway).
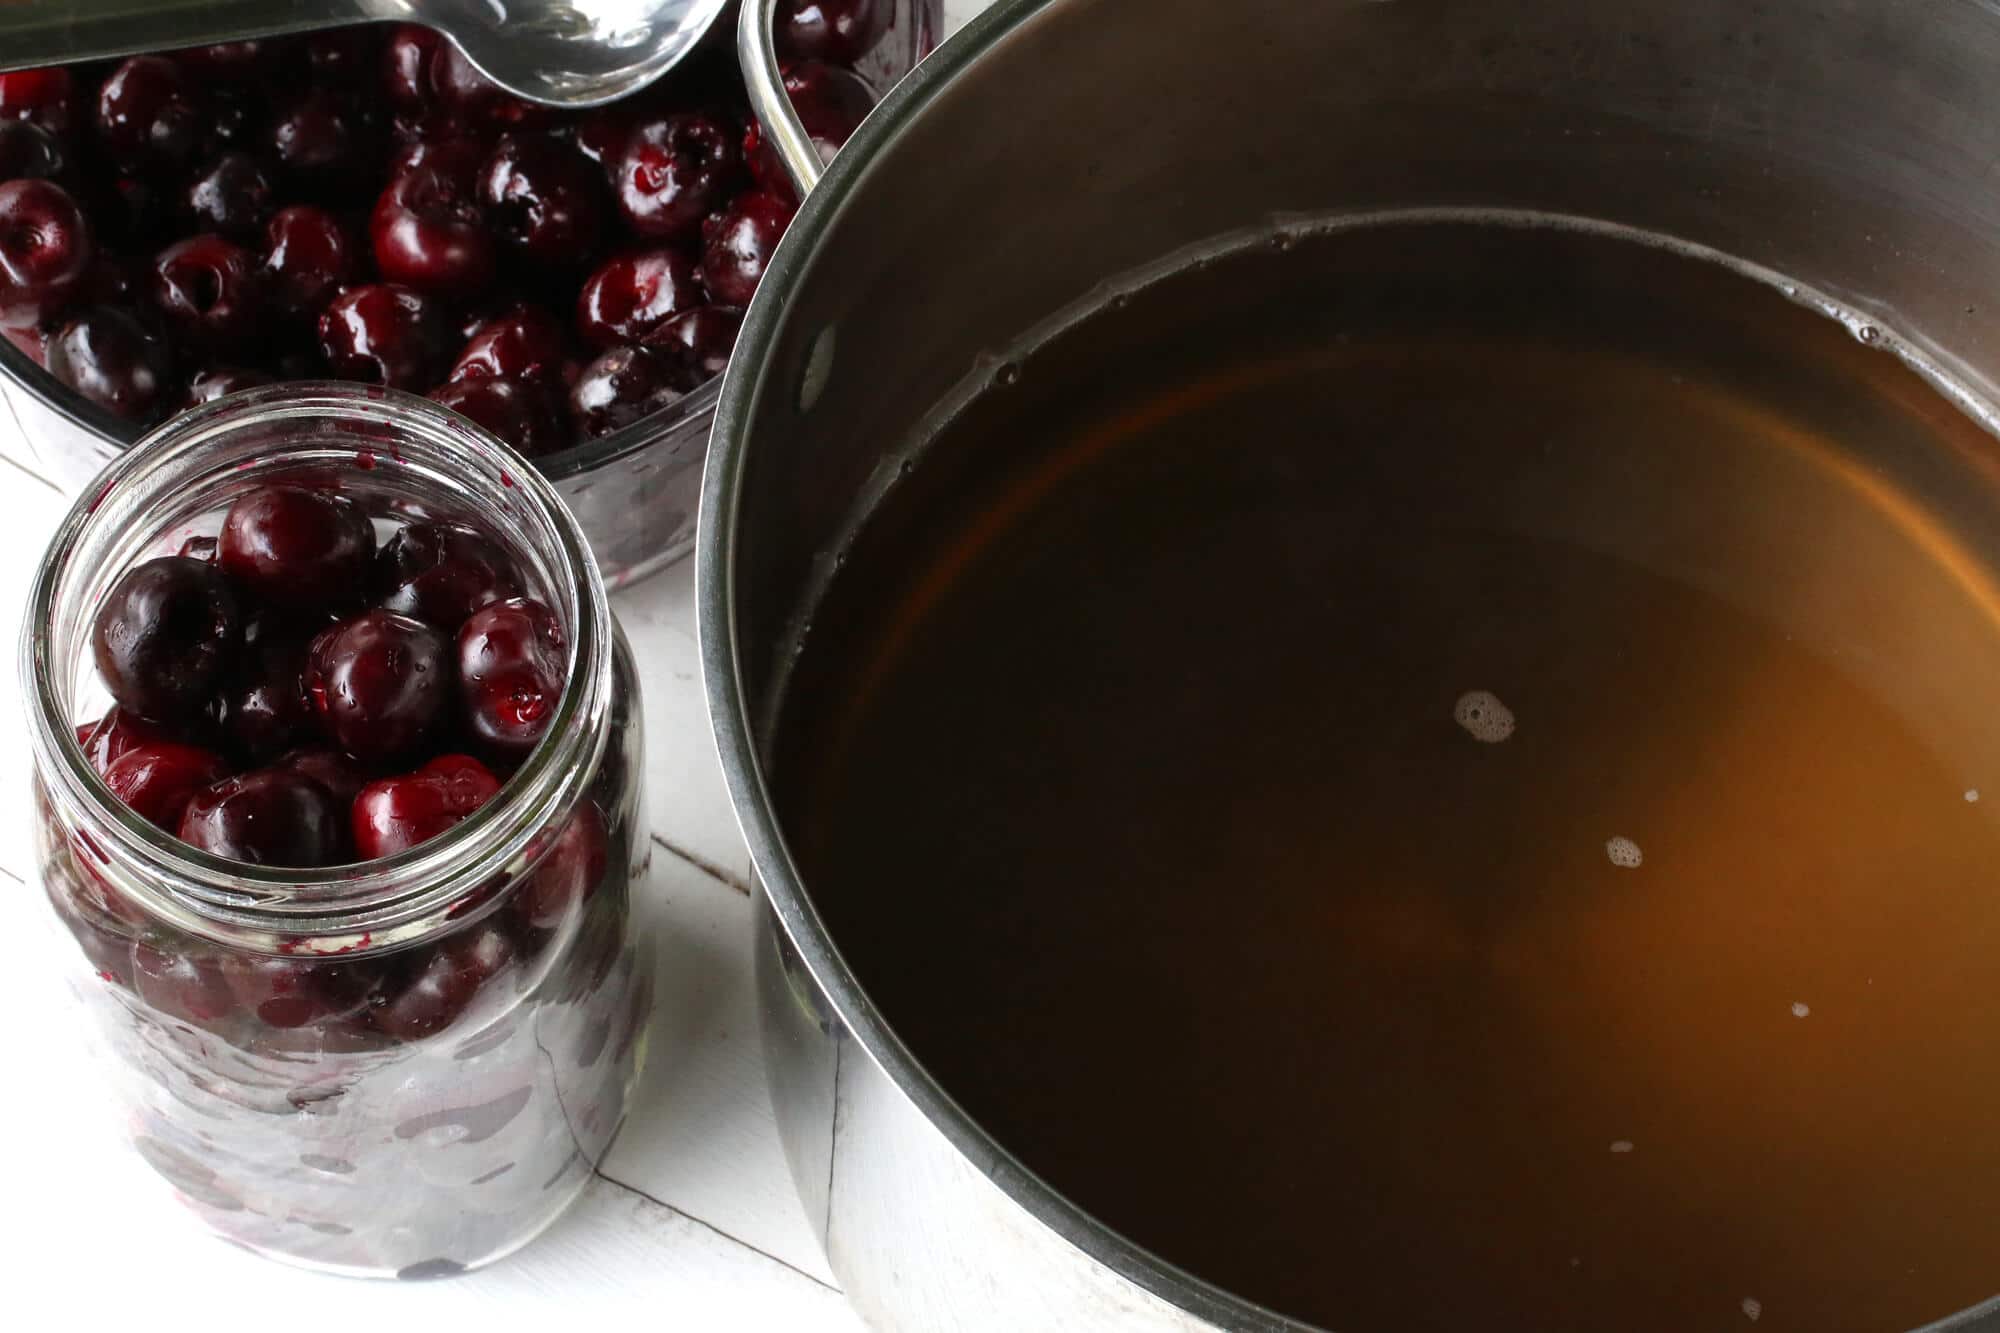
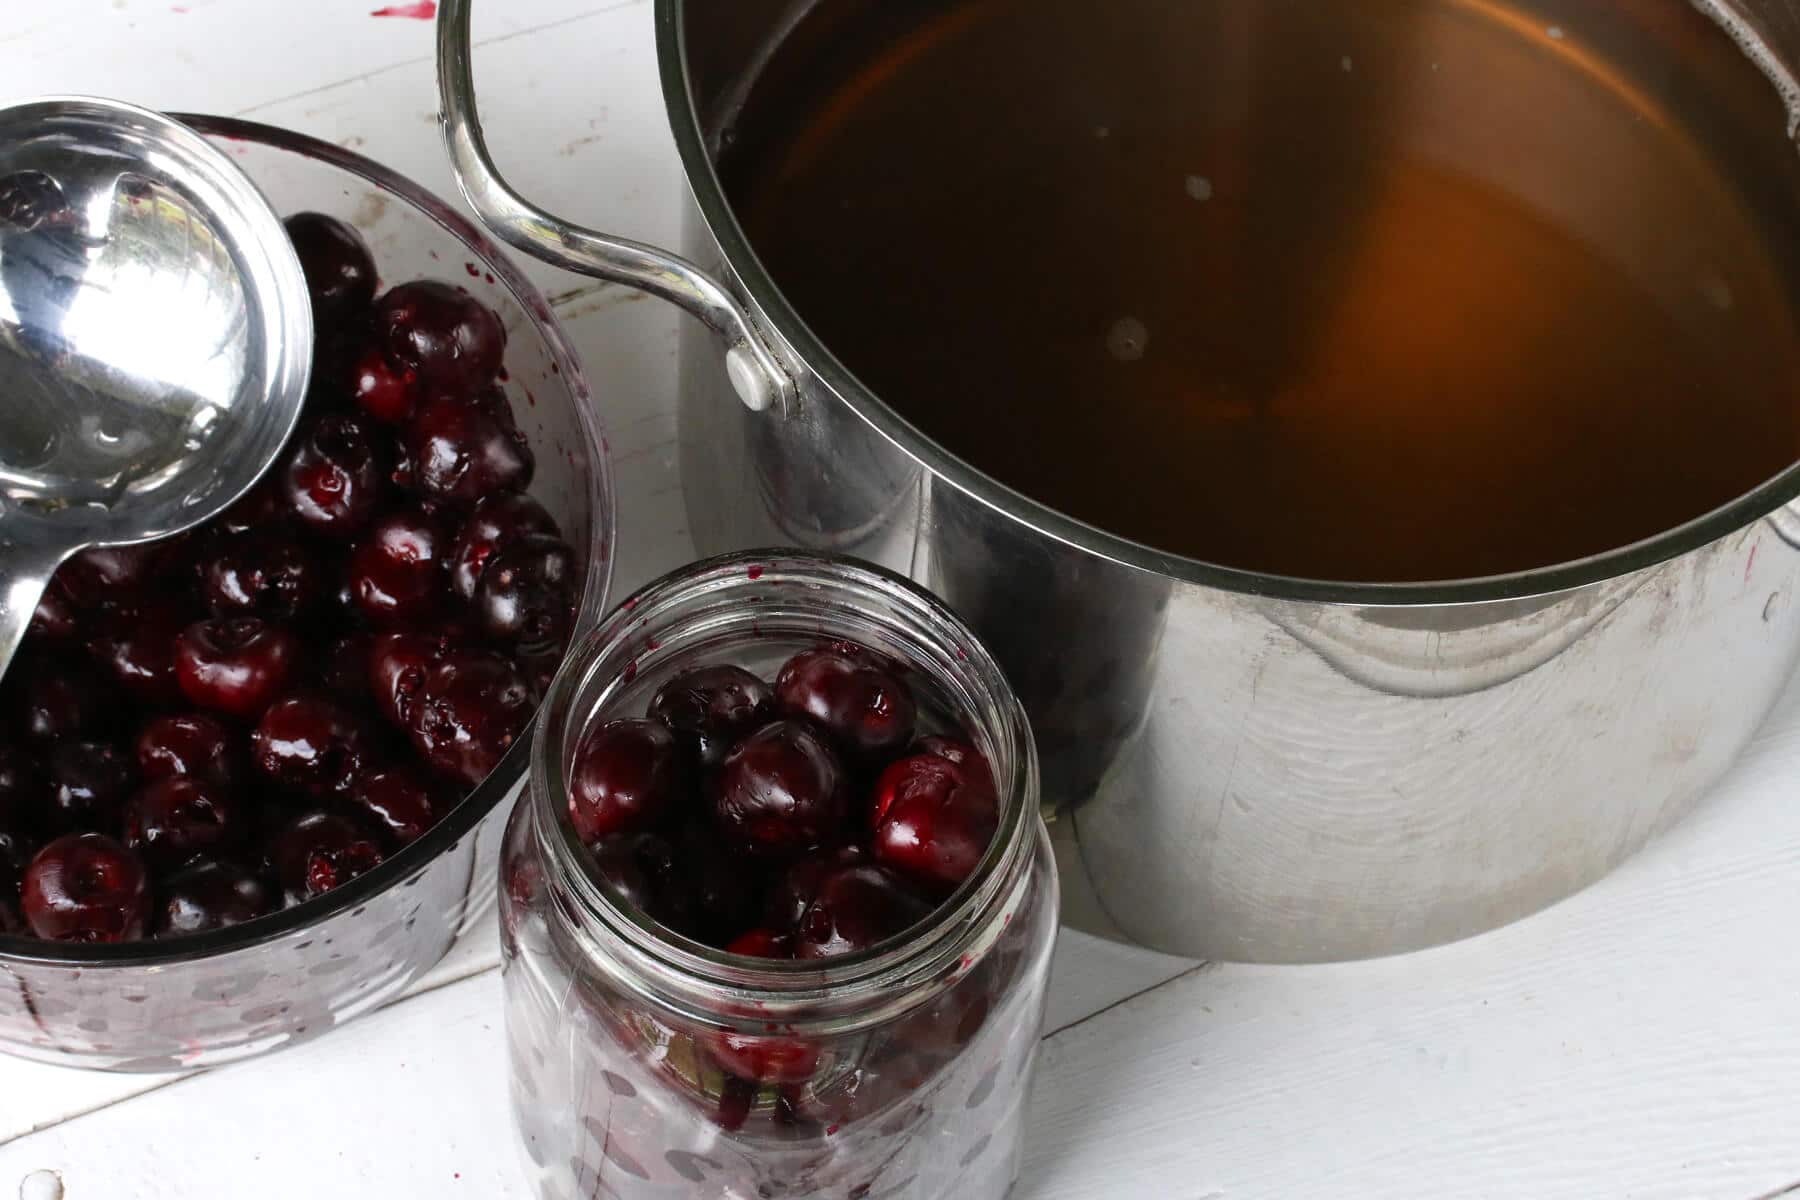
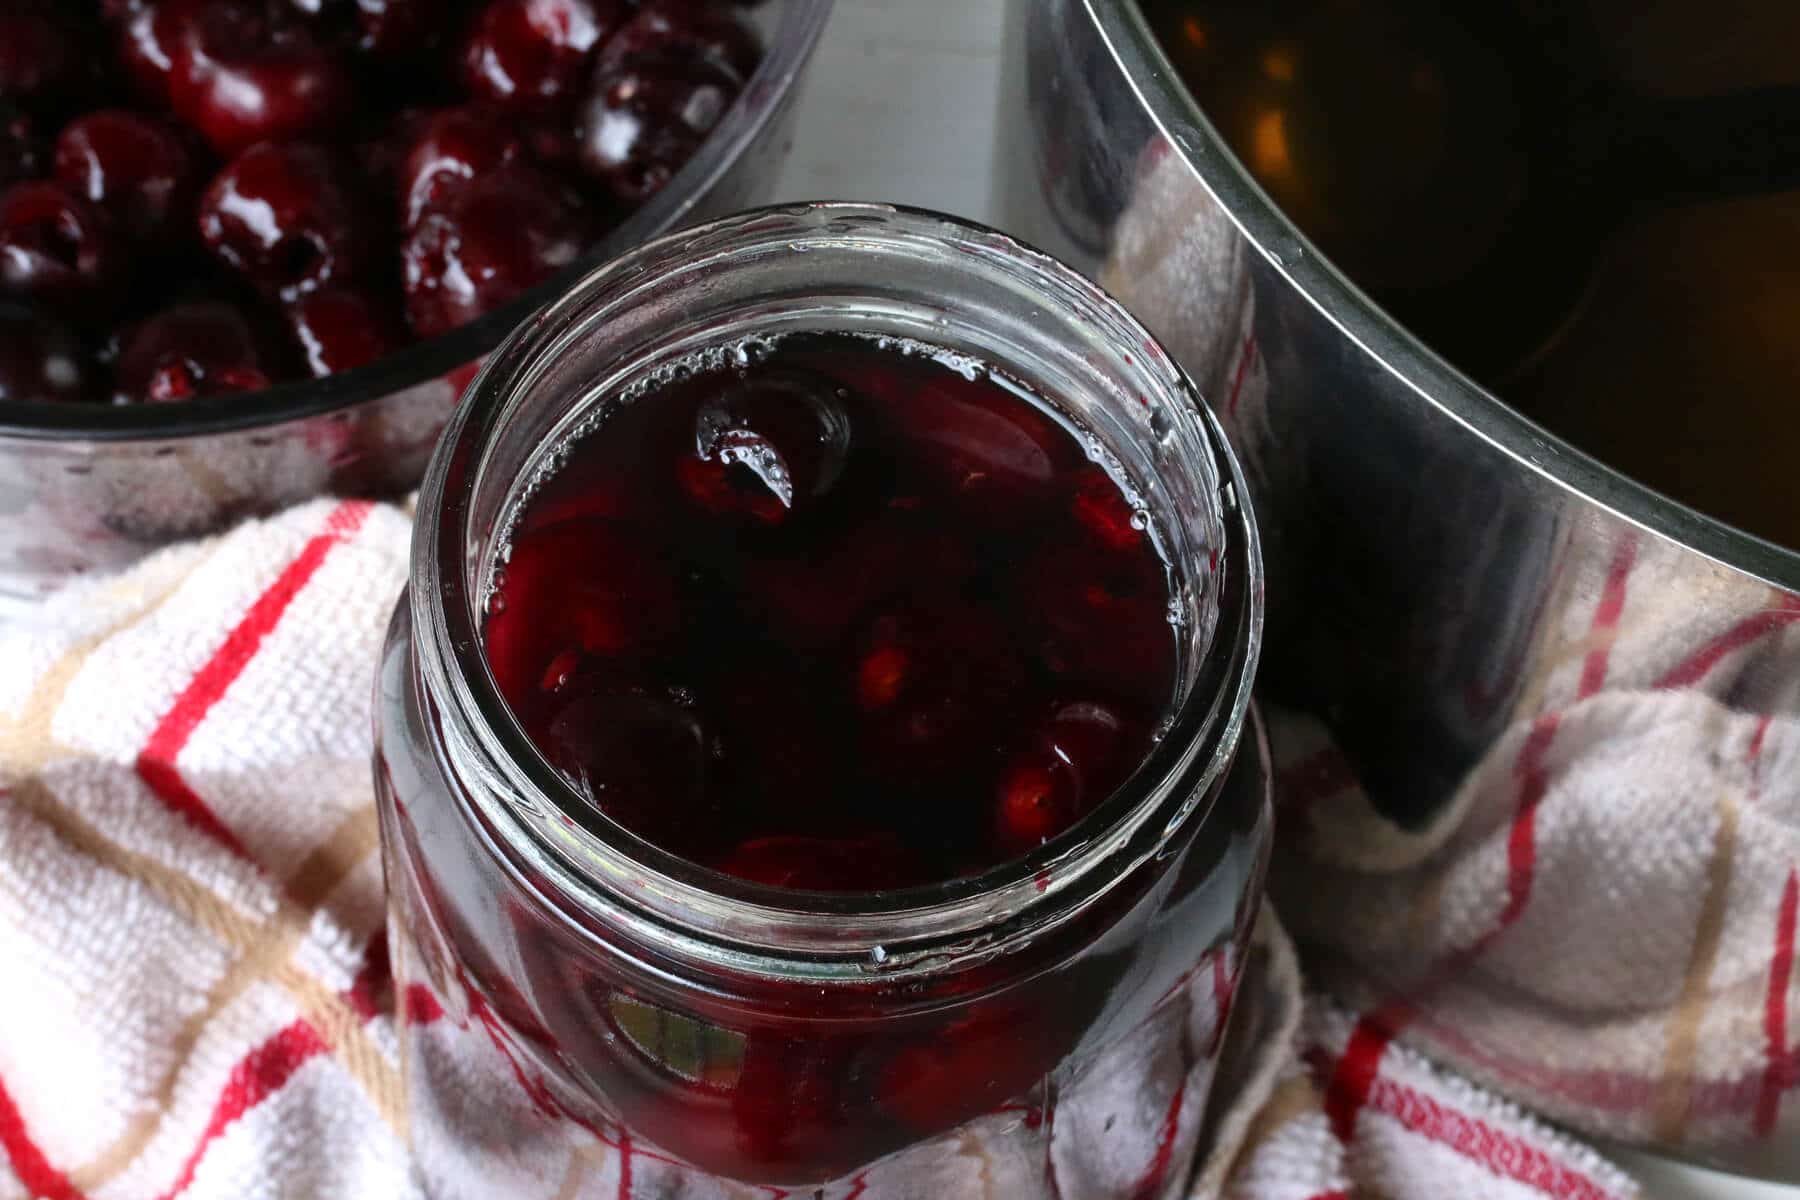
Pour the syrup over the cherries leaving 1/2 inch headspace from the top.
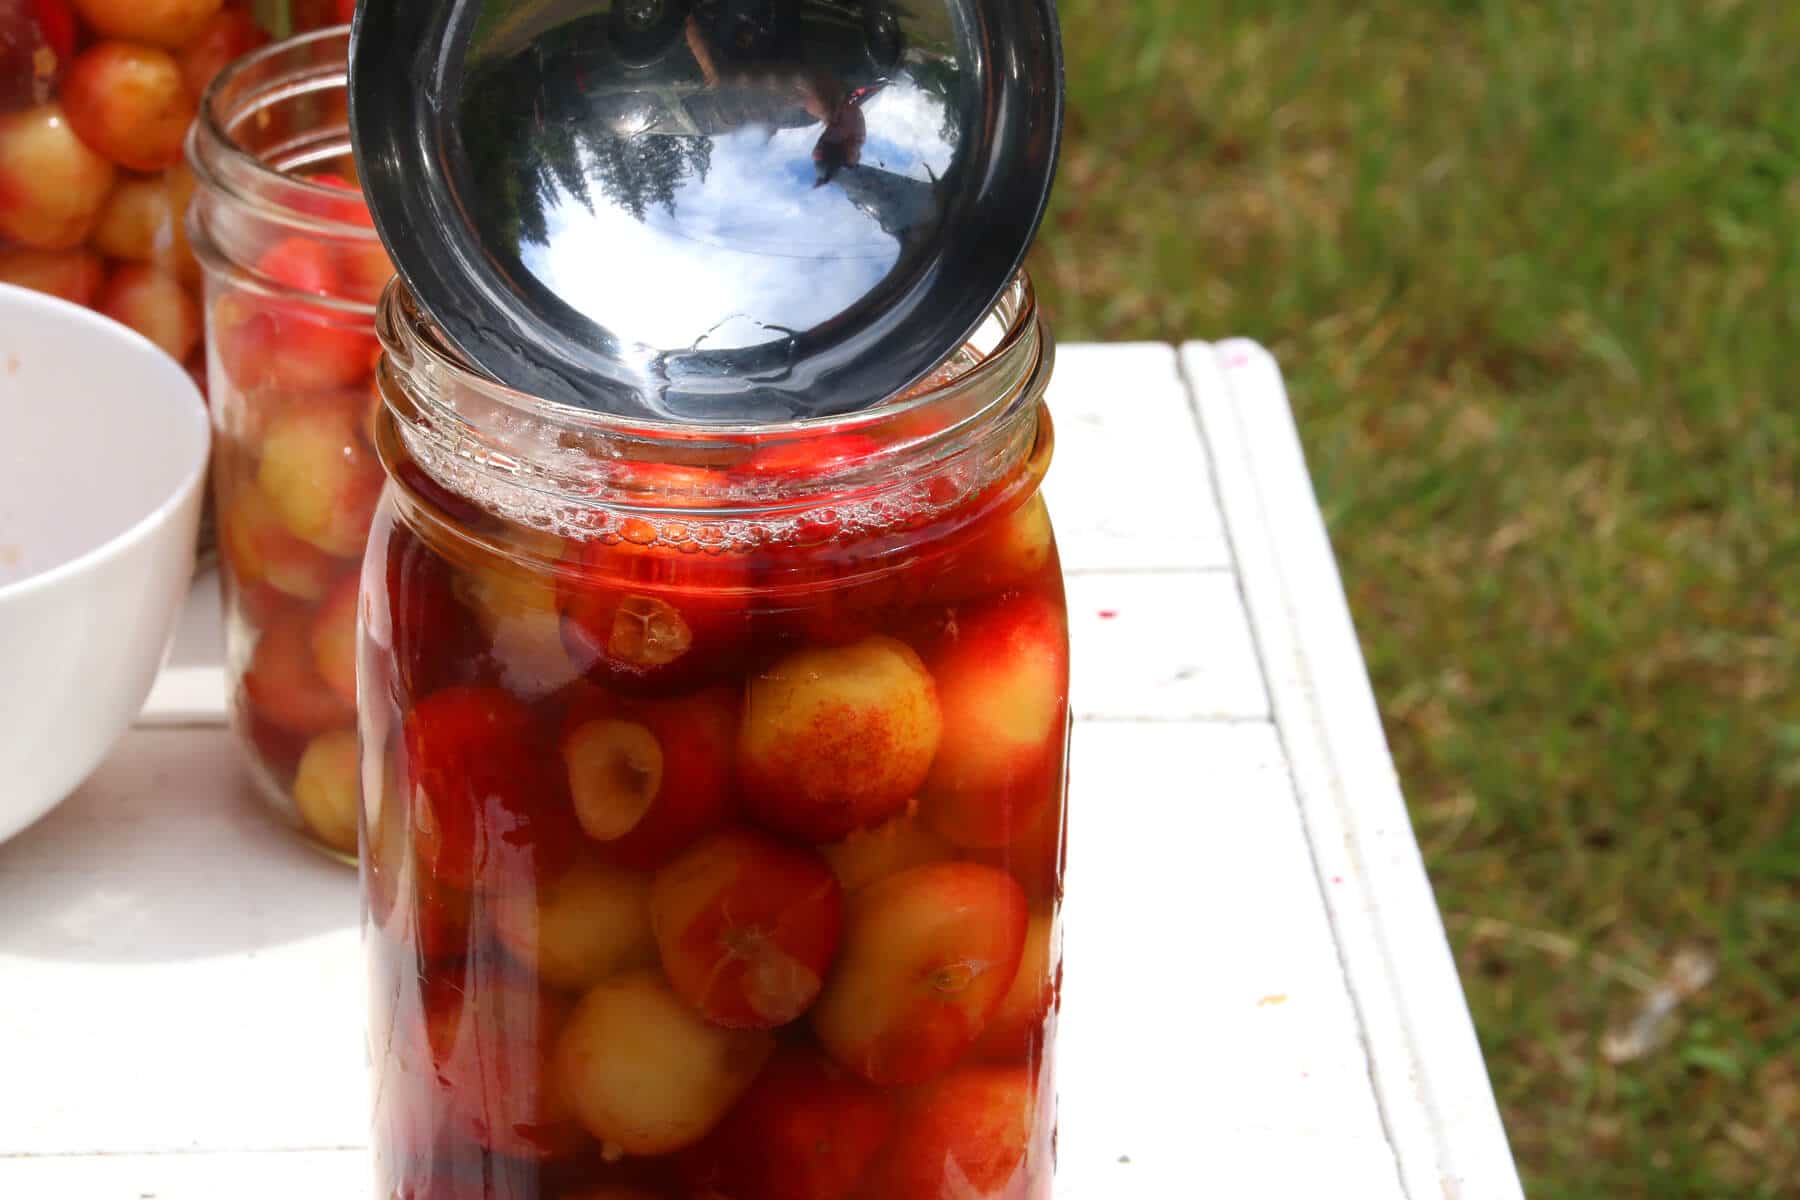
Wipe the rims with a clean, moist towel.
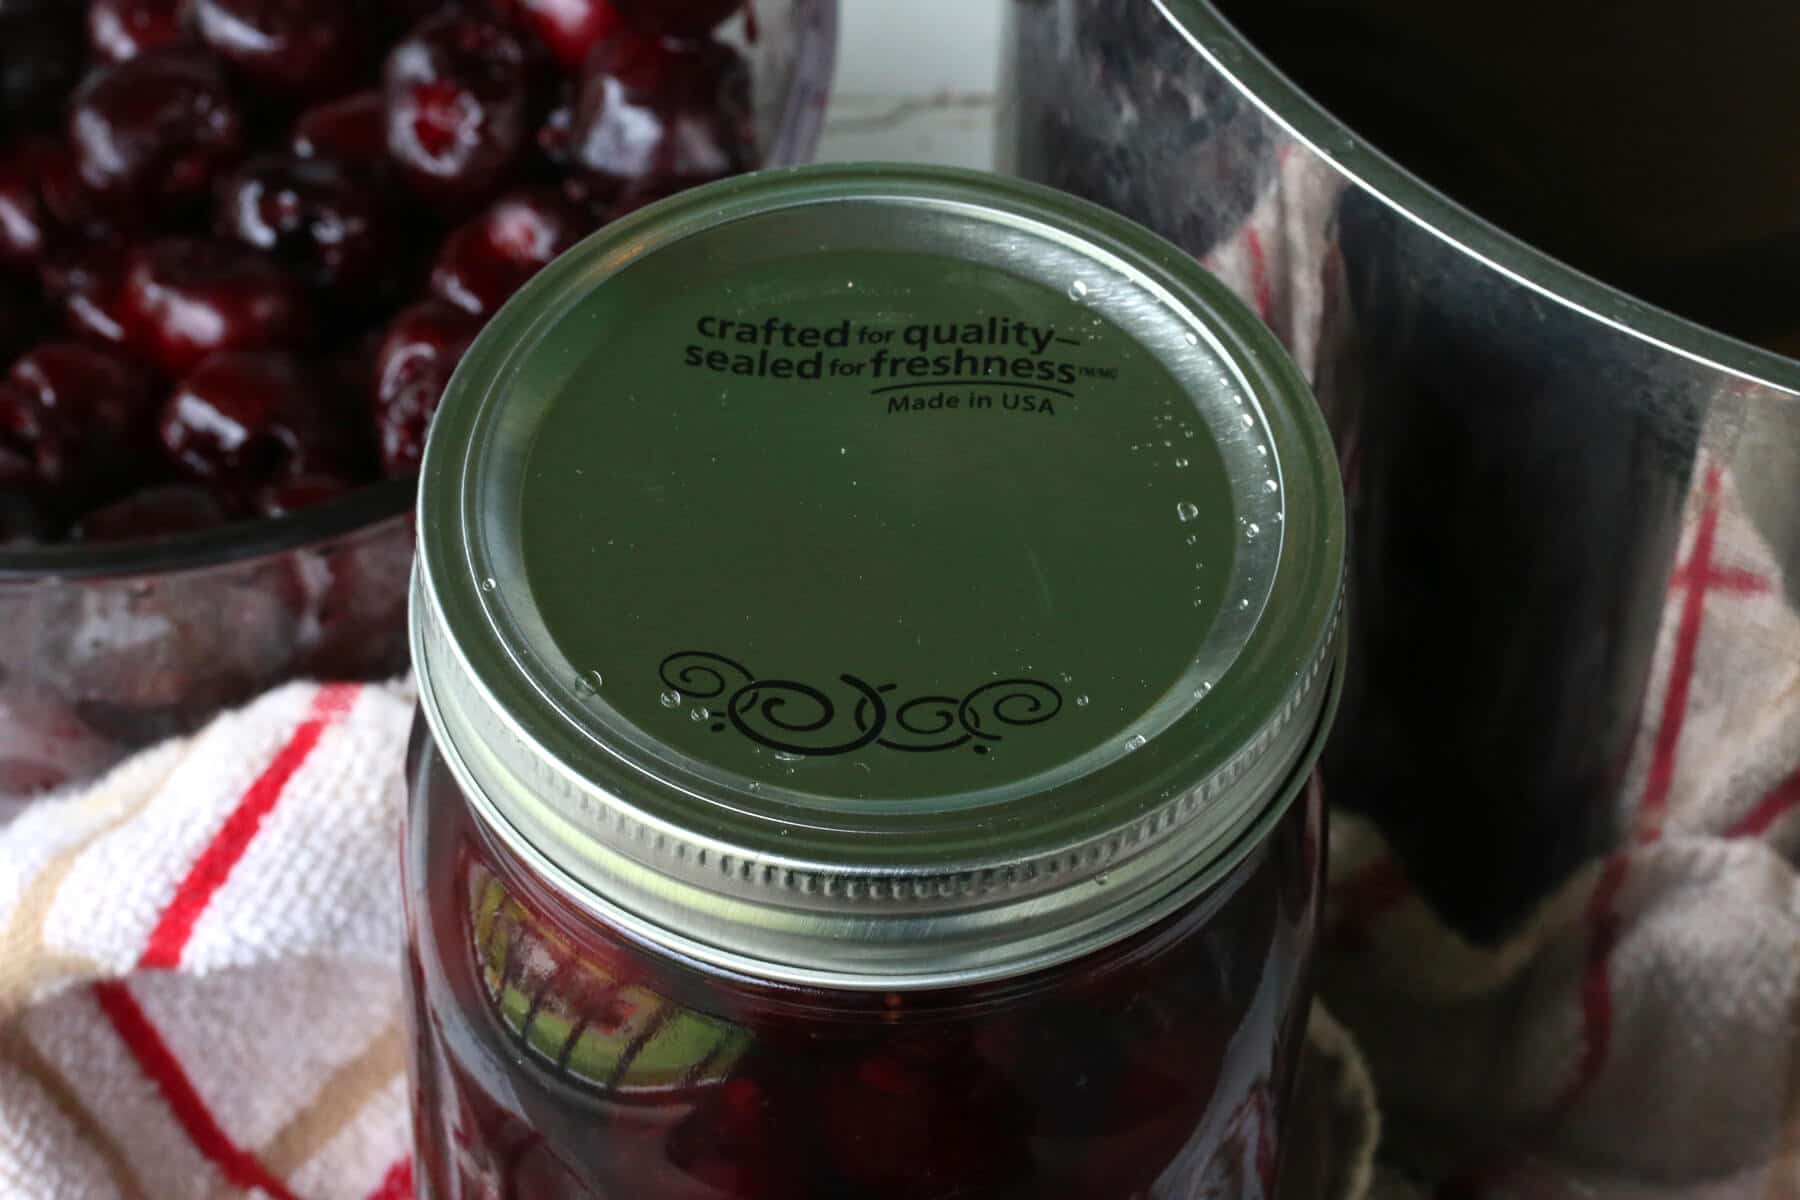
Place the lids on the jar and screw shut.
Tap the jars to remove any air bubbles.
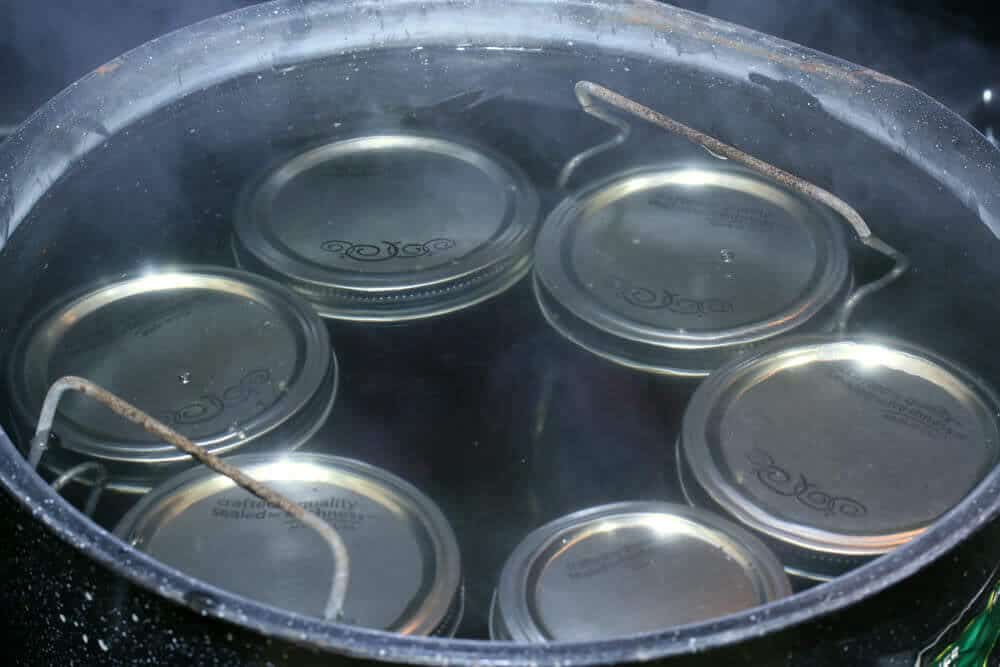
Bring a canning pot to a boil and place the jars inside. Return to a boil and then boil for 15 minutes (20 minutes if you at an elevation greater than 1000 feet).
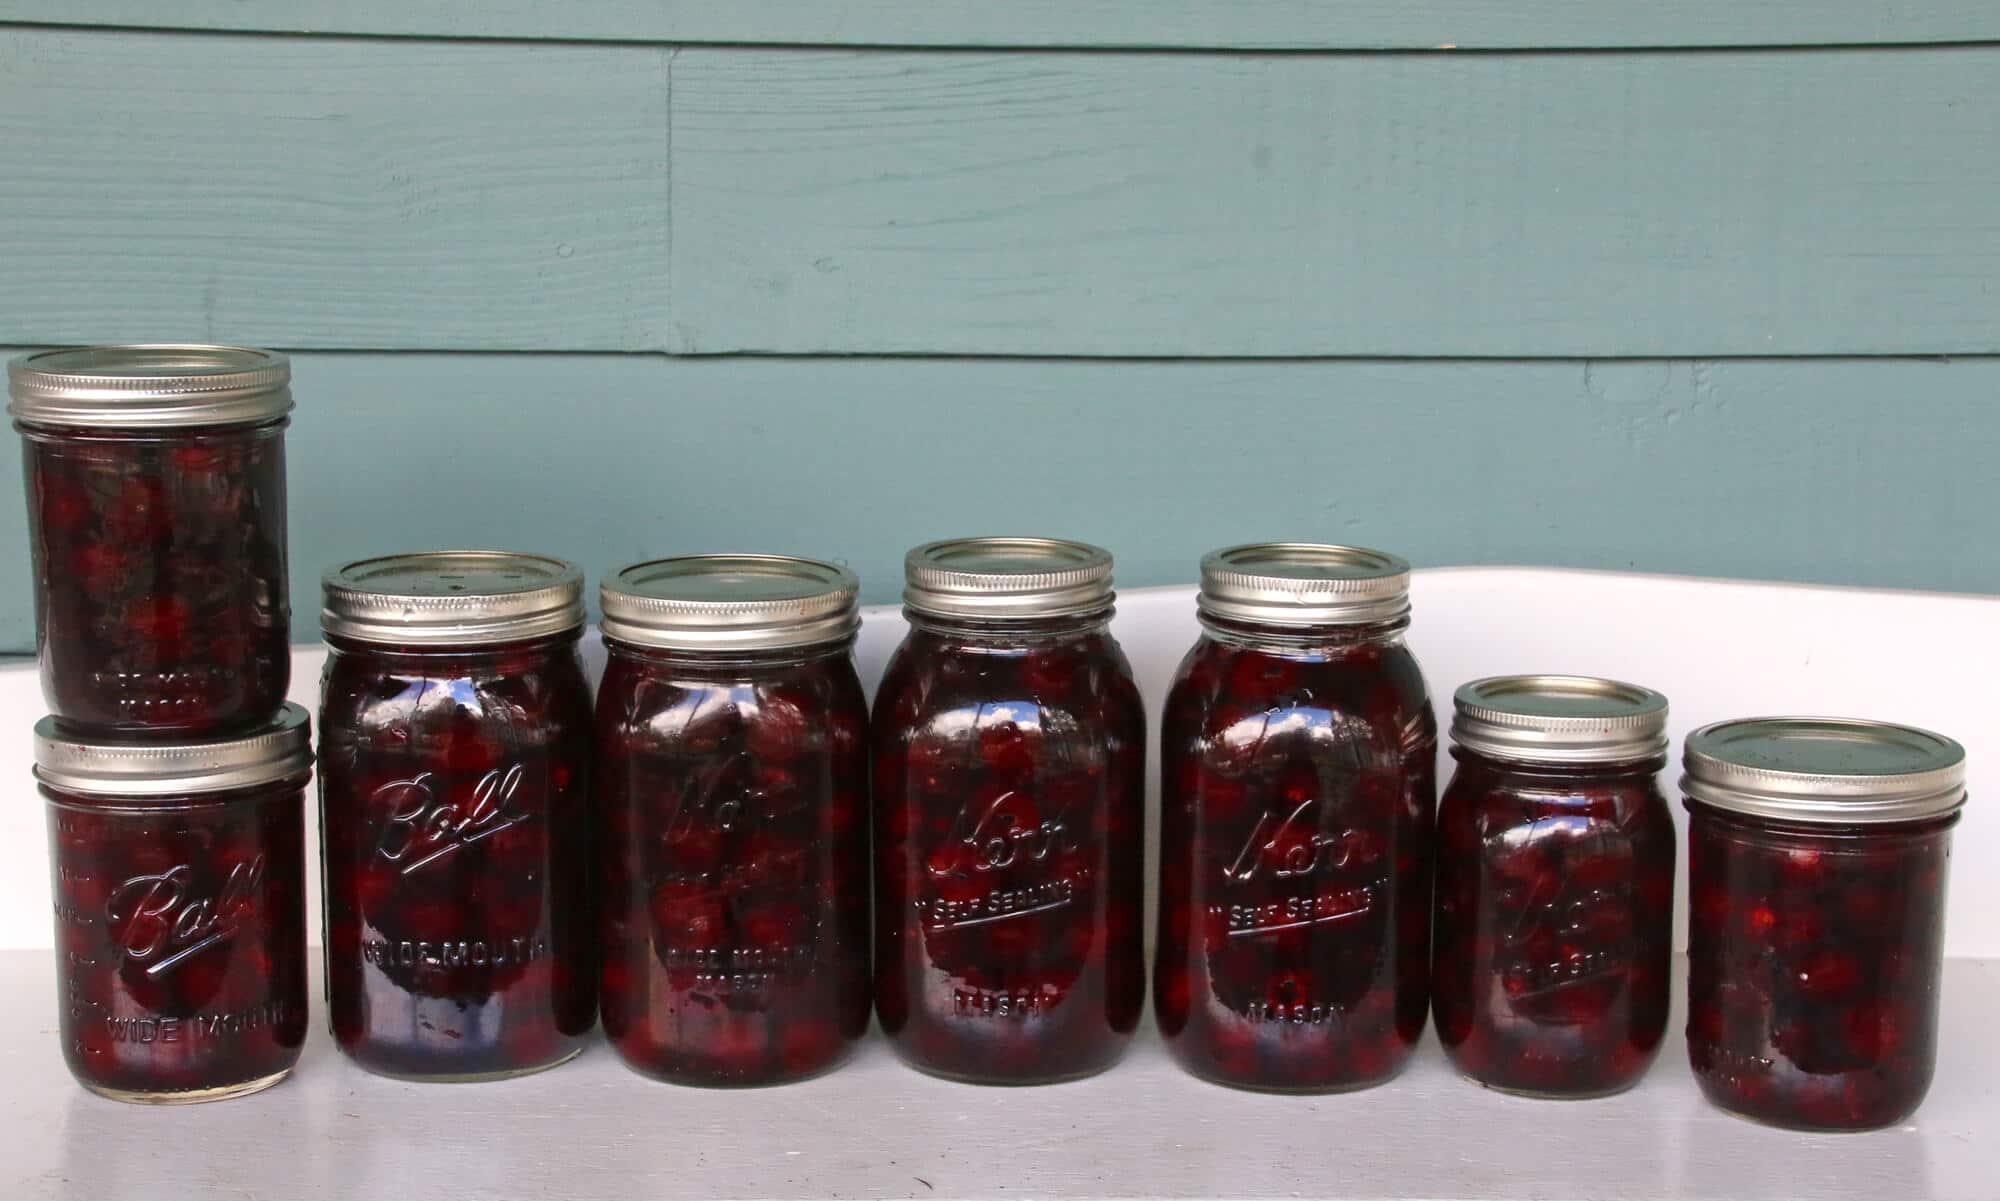
Remove the hot jars and leave them undisturbed for 24 hours. If the jars are sealed properly the pressure will suck the lids down and you’ll hear them pop. If you’re able to push the lids down they have not sealed properly – keep those jars stored in the refrigerator and eat them within a week or two.
A great canning kit that has everything you’ll need is this enamel-on-steel canning kit from Granite Ware.
And that’s it! So simple and you’ve preserved yourself the taste of Summer cherries that you can enjoy all the year long!
Keep them stored in a dark, cool place for at least one year.
Another great way to preserve cherries is to dehydrate them.
They’re terrific for snacking, adding to cookies, cakes, muffins, granola, etc.
I’m using an old hand-me-down dehydrator that does a great job for this purpose and you can pick up some good, inexpensive dehydrators on the market. This dehydrator from Presto, for example, comes with very high ratings for around $35.
To dehydrate cherries simply stem, wash and pit them and then lay them out on the racks of the dehydrator so they’re not touching each other. You want to make sure they get adequate airflow between them.
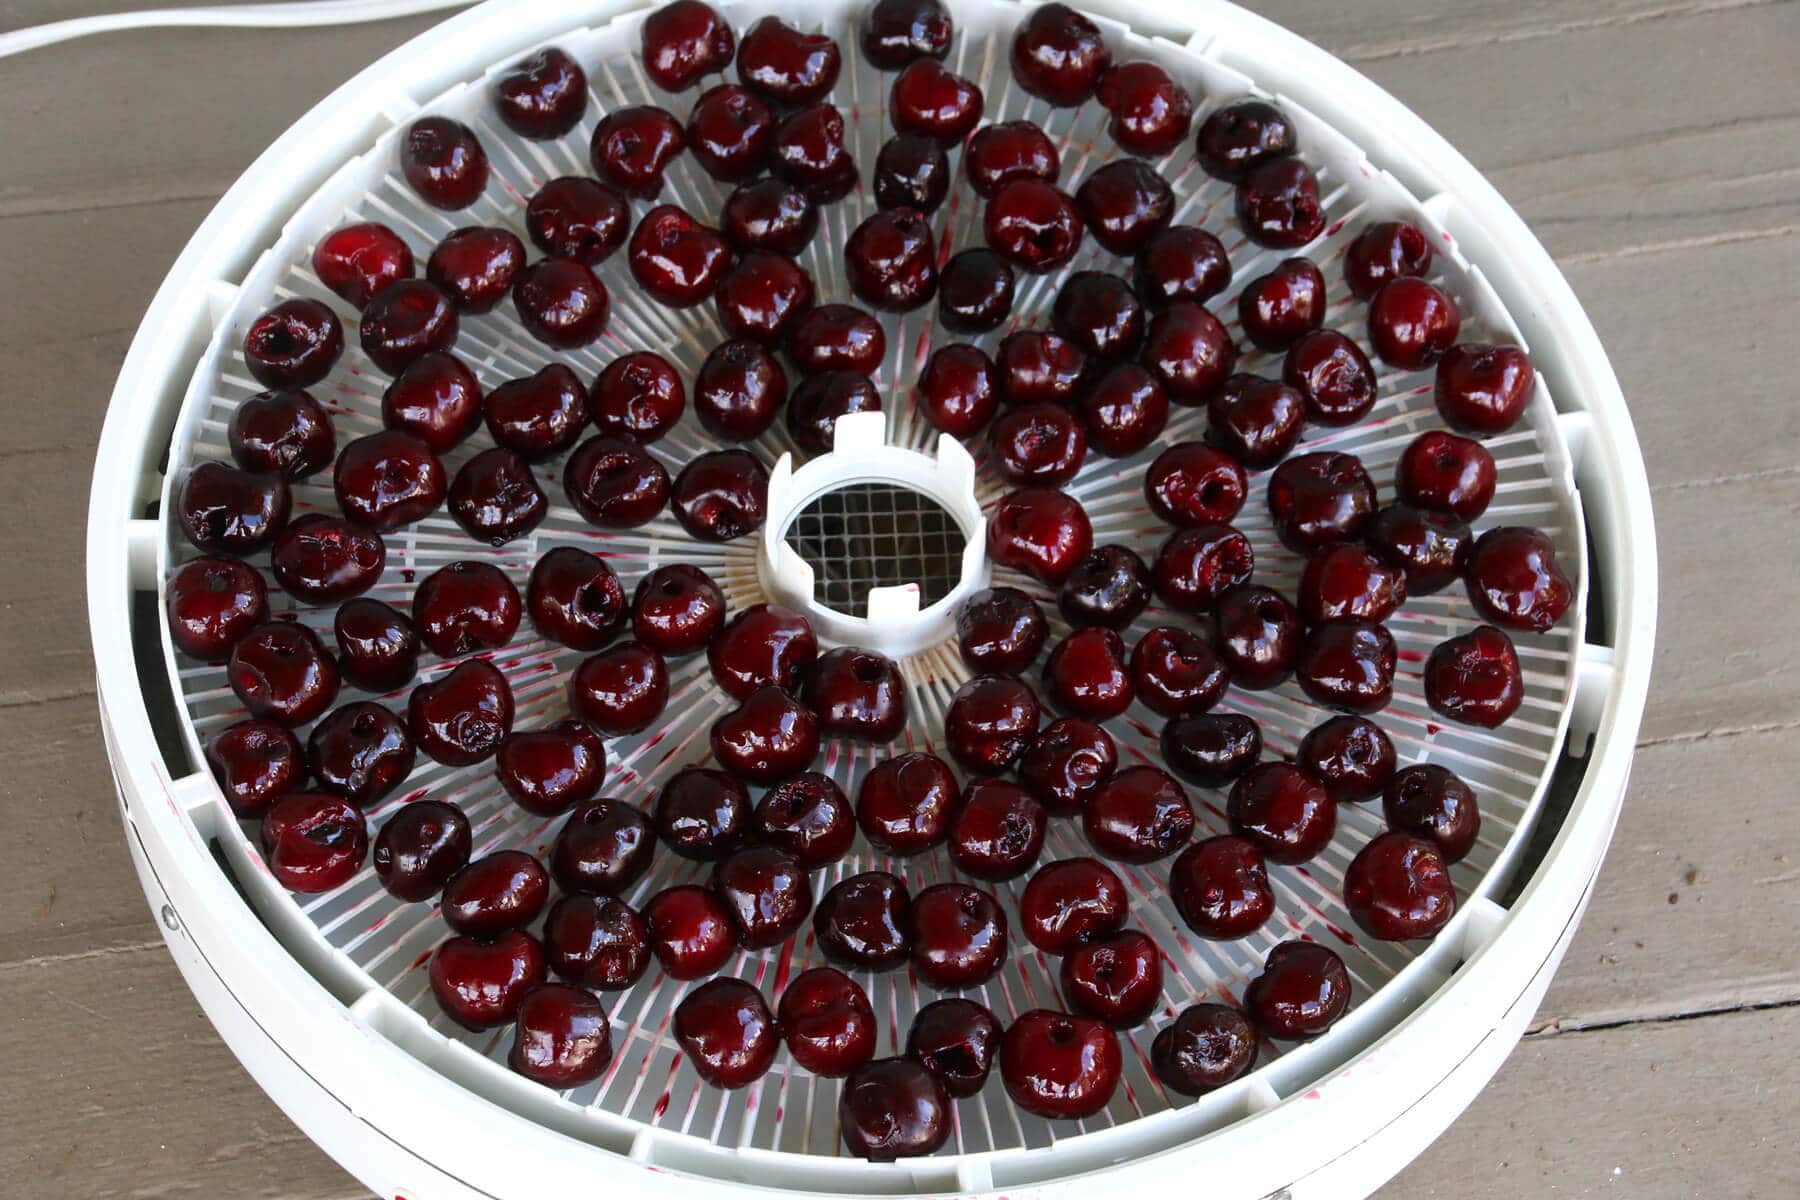
How long the cherries need to dehydrate will vary depending on the size and moisture content of the cherries. This batch of mine took about 12 hours at 155 degrees F.
They’re done when they’re shriveled and no longer squishy in the centers. They’ll be firm and leathery but not hard.
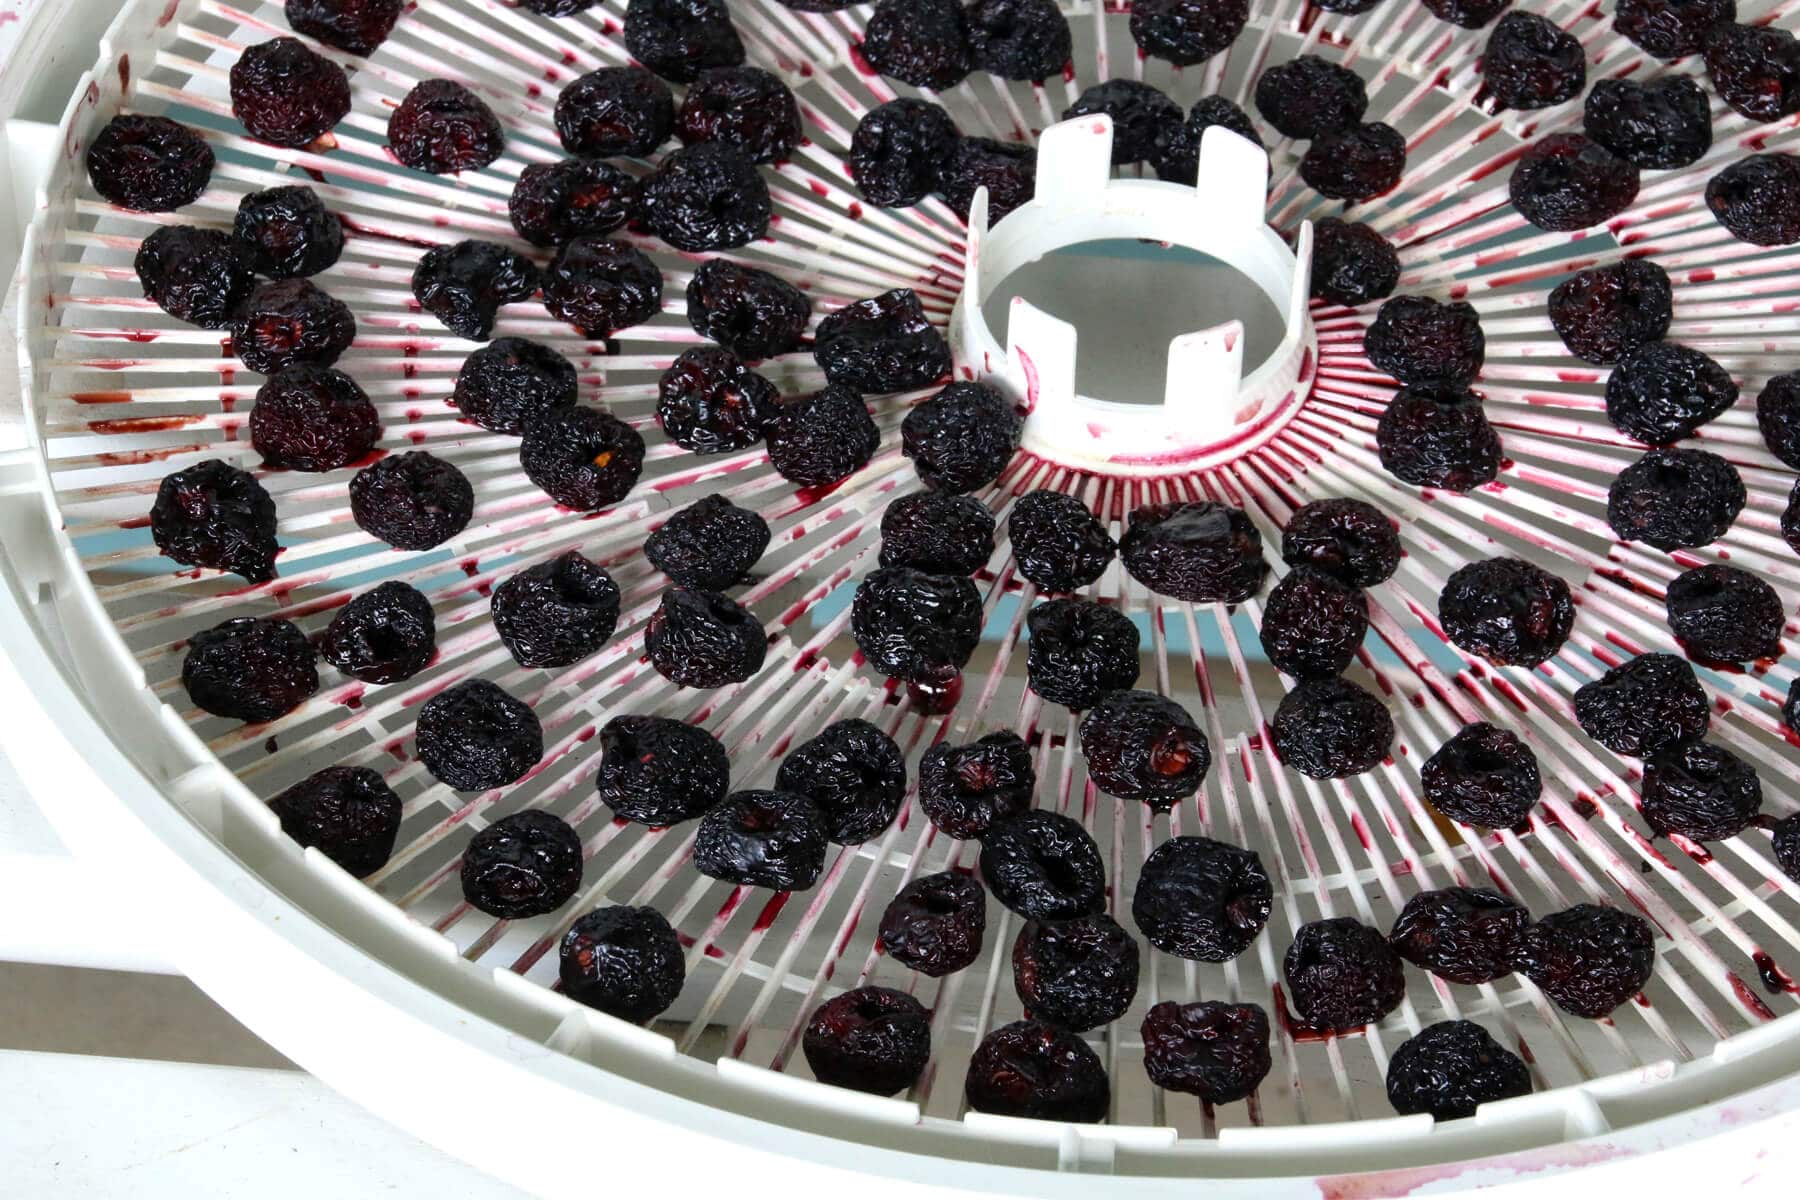
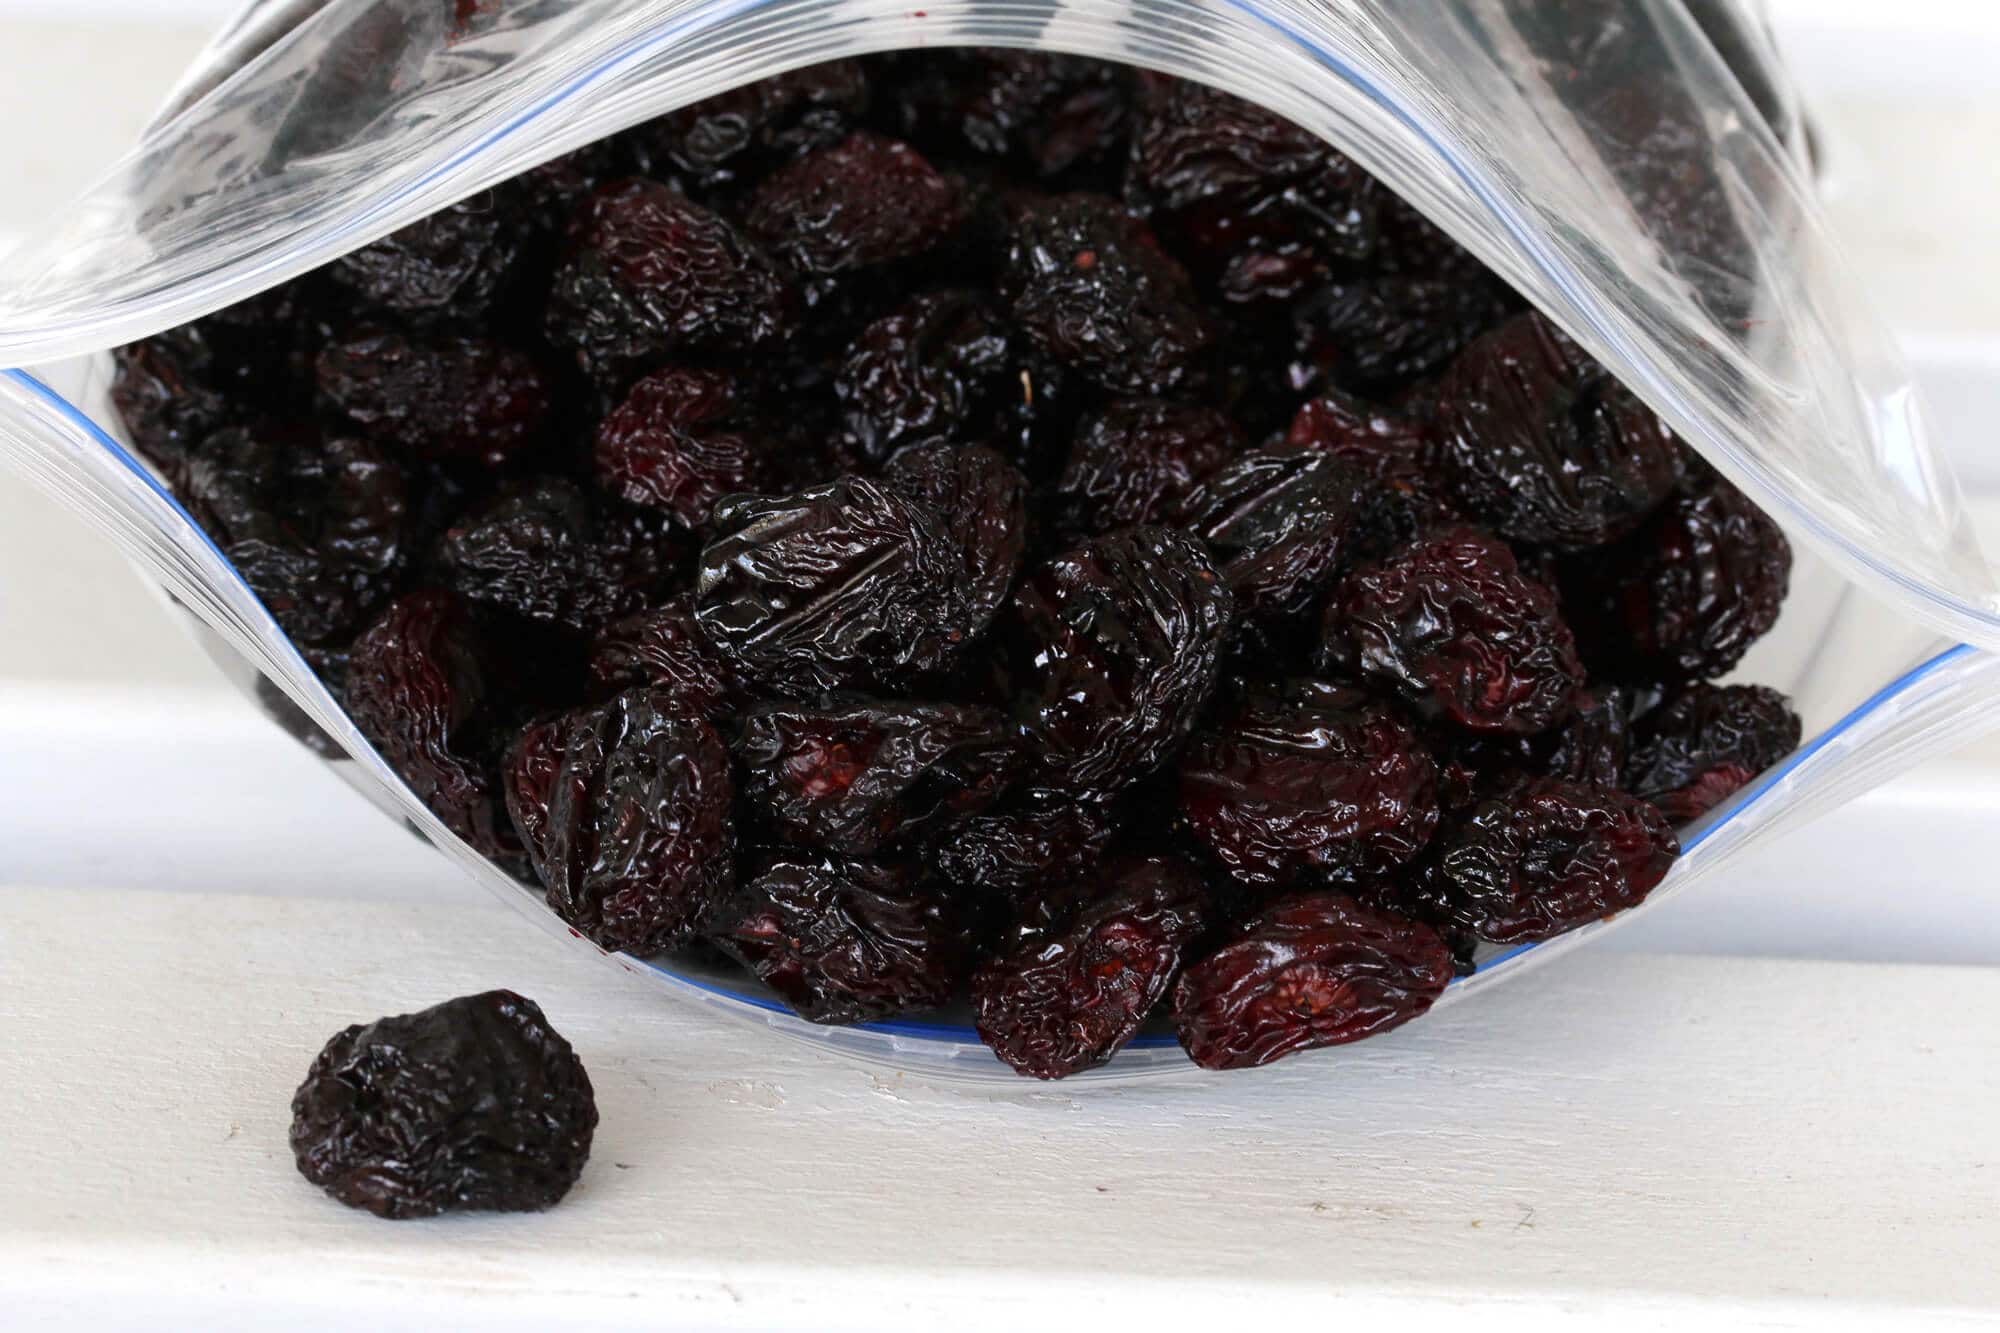
Store them in an airtight container or heavy ziplock bags in a cool place. Refrigeration is recommended in hot, humid areas.
They also freeze well.
And now….
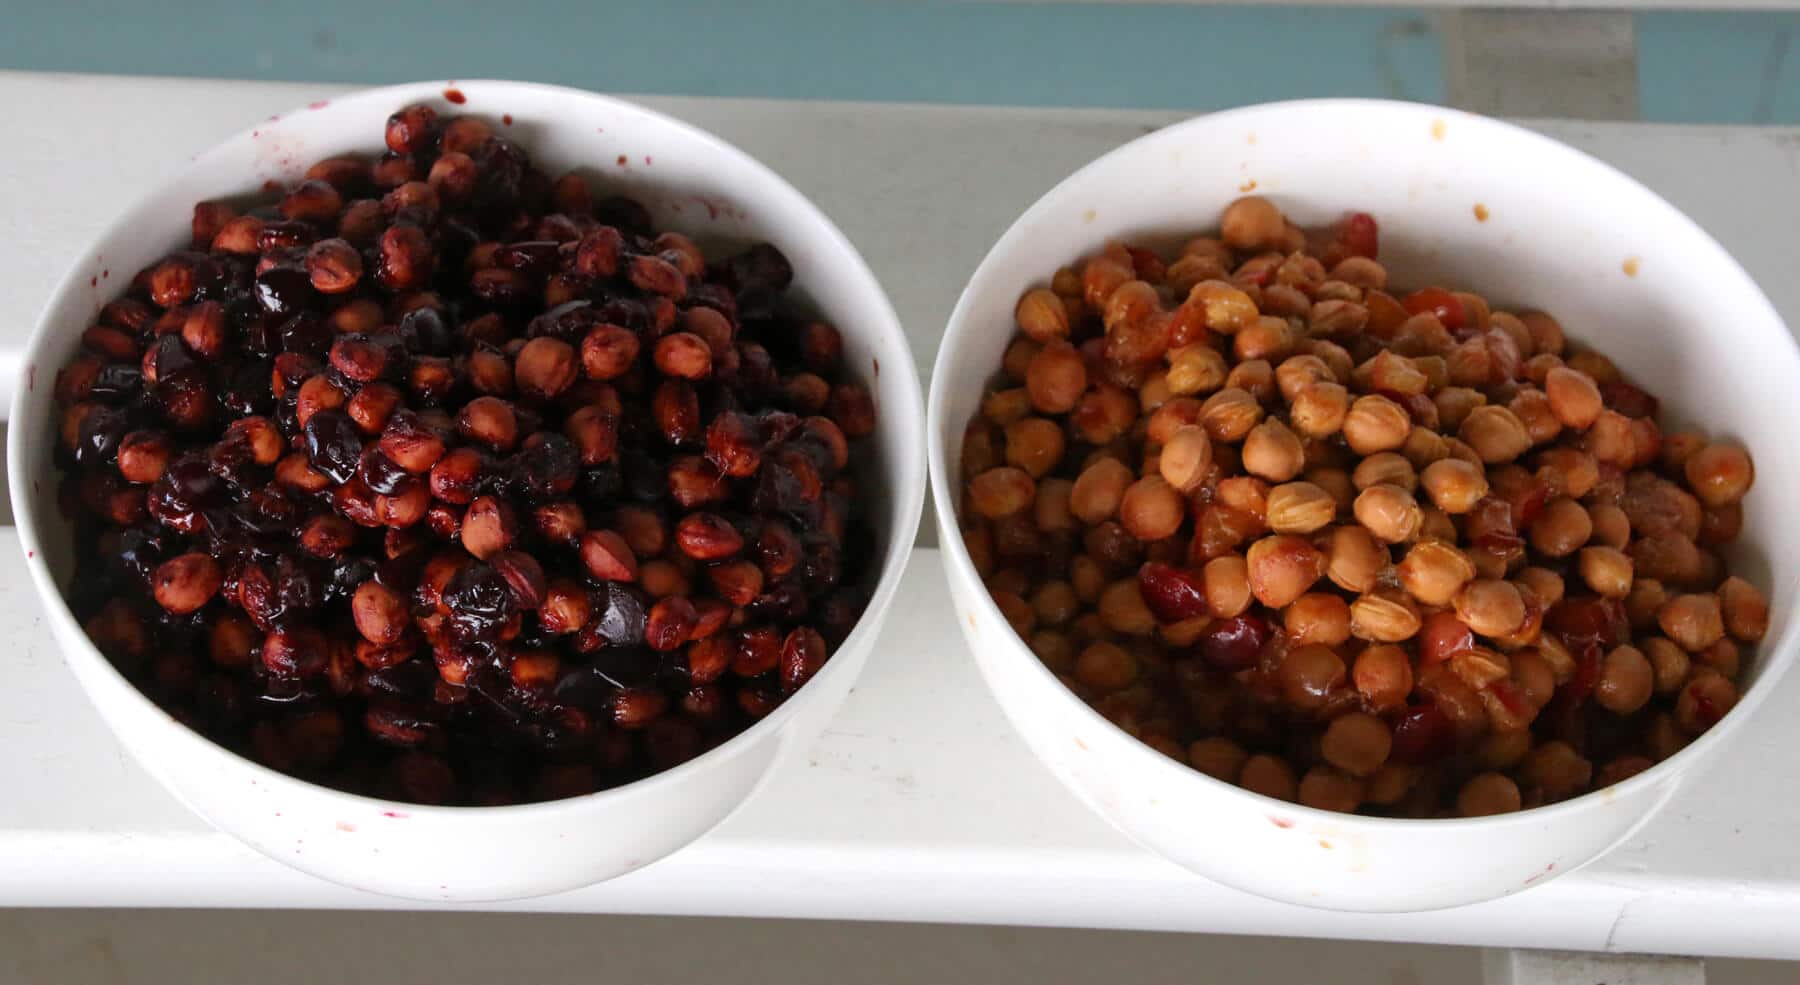
What about all those pits?? You’ve worked so hard to get so many, SURELY there’s something useful you can do with them, right? Right!
I’ve come across some interesting ideas for using cherry pits like cherry pit syrup. I’m leery about using cherry pits for anything you’re going to ingest. The reason being the inside of the pits contain a very poisonous compound called amygdalin (also found in apricot, peach and plum pits) that is converted to cyanide in the gut. It takes about 0.1 grams to kill a 150 pound human. A single cherry pit contains roughly 0.17 grams, so depending on the size of the pit and the person, eating just a single crushed cherry pit could be enough to kill someone or at least do significant harm. Even if the cherry pits are boiled whole to make syrup, I’d rather not take the risk of some of the toxins leaching out of a cracked pit.
But there are other, non-edible, ways to put cherry pits to great use.
Cherry pits are superior to beans or rice as heat conductors and have been used in therapeutic pillows for years. Have you ever seen those before? This small one below that’s meant to be wrapped around the back of your neck sells for nearly $35.
So….save the pits and make your own!!
About 30-40 pounds of cherries will yield enough pits for one pillow. If you don’t have enough pits after one round just hang on to them until the next season and add more to them (I’ll show you below how to prepare the pits).
Grab some sturdy cotton material like denim from a fabric store, cut two squares or two rectangles (depending on what you’re using it for), sew up three sides, fill the bag with the cherry pits and sew up the last side. You’re done!
Cherry pit pillows can be used hot or cold: Heat them up in the microwave or place them in the freezer. Use cherry pit pillows for sore muscles, as a heating pad or to place in your bed to keep it warm.
Here’s how you prepare the pits:
You’ll need to get them cleaned up first.
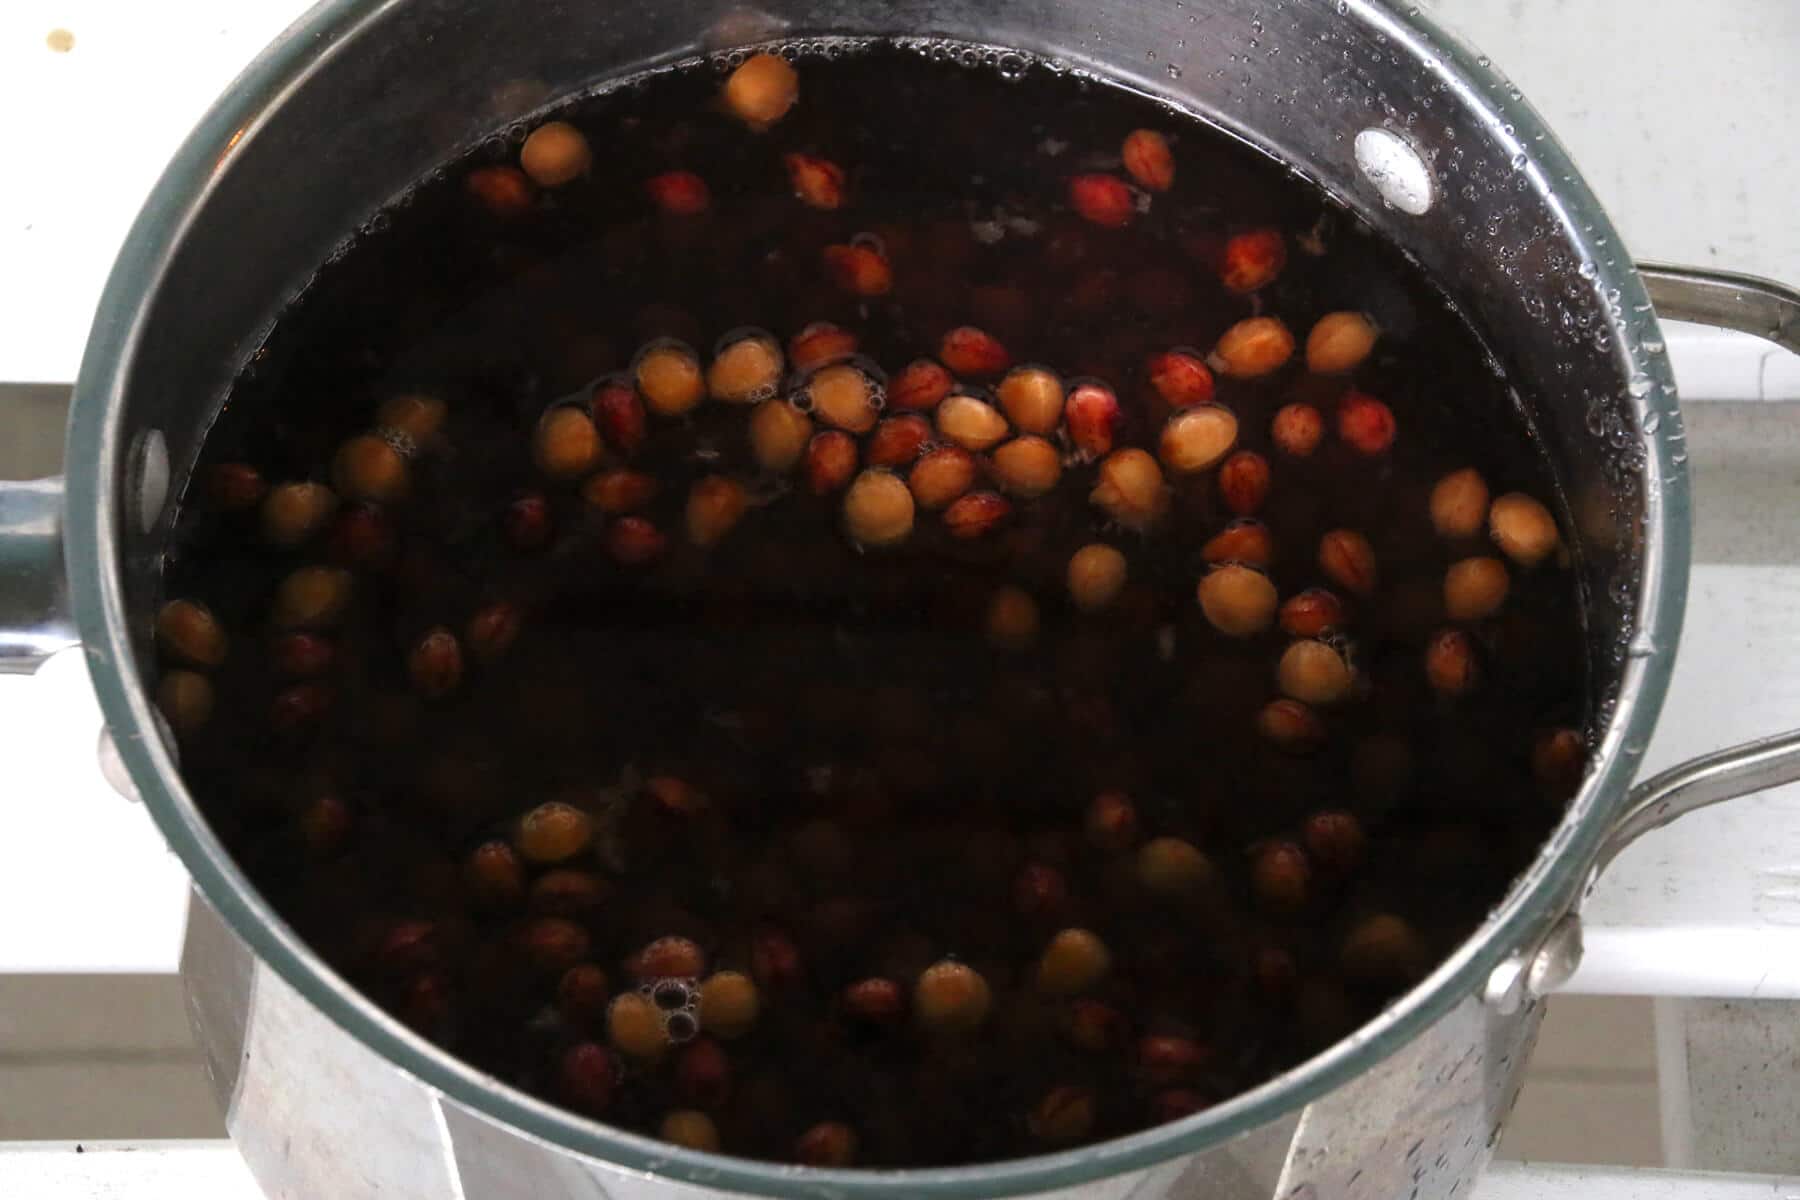
Place them in a colander and rinse them thoroughly with water, using your fingers to remove as much of the fruit pulp as you can.

Then place them in a pot of water and boil for about 30 minutes.
Let them sit to cool and the rest of the pulp will float to the top which you can then remove. You may need to work the pits a little more with your hands to remove any remaining, stubborn pulp.
Rinse and drain the pits in a colander.
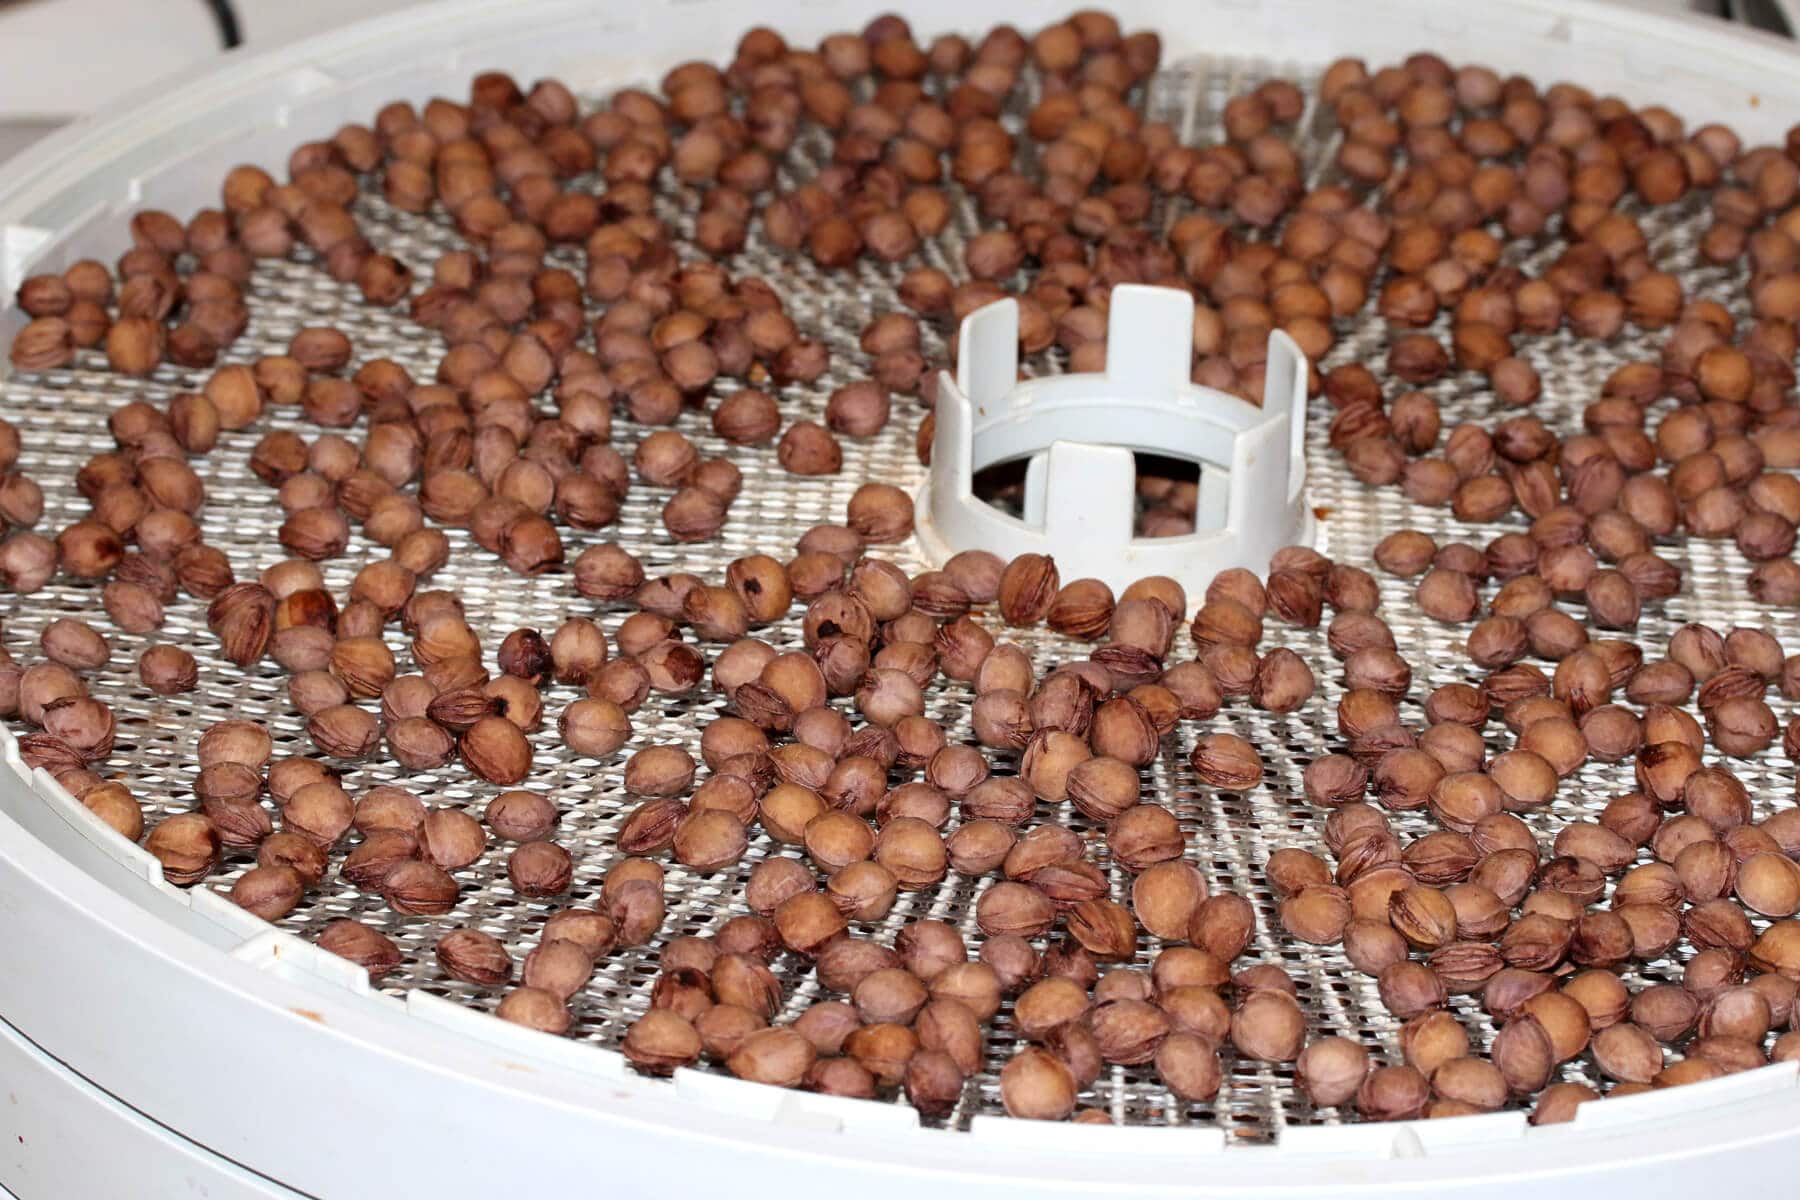
Spread the pits out on the racks of a dehydrator or on a baking sheet in the oven (if using an oven stir occasionally for air flow) and dry them for a few hours. Then store them until ready to use.

Hi, I’m Kimberly Killebrew and welcome to Daring Gourmet where you'll find delicious originals, revitalized classics, and simply downright good eats from around the world! Originally from Germany, later raised in England, world-traveled, and now living in the U.S., from my globally-influenced kitchen I invite you to tour the world through your taste buds!


I will have to try some of your Cherry ideas next year. My husband made some cocktail cherries for his drinks – Manhattans (I’m not much of a drinker so I don’t know what other drinks you would use the cherries for). He was not fond of the jarred cherries with who-knows-what they used to get that bright red color. He made a few jars of them this year and he loves them. The pitting of the cherries was a long process. So I may just order your pitter from Amazon. Thanks again for all the information you share with us. I’m always passing your name out to anyone looking for a recipe ❤️
Thank you so much for the feedback, Maureen, and for referring others to my site, I really appreciate that! <3
Thanks for the tip on cleaning cherry pits! I made a pillow last year and spent forever trying to scrub them. I think I read somewhere that you could leave them in dirt outside for a while and then bugs would get all the pulp off. Seems clever but impractical.
I found it helpful to store the pits in vinegar while I collected them so they wouldn’t get moldy. That way if it takes you a week or two to eat/process the cherries you can clean the pits all at once later.
Thank you for your article. My first attempt at making cherry preserves didn’t go too well. And, I’ve been having one heck of a time trying to clean these cherry pits. Maddening!
I’ll be putting the pits in a pot to boil and clean the last bit of pulp-remains off of them.
My friend – Laura gave me a cherry pit pillow for a gift and I treasure it. I hope to make my own for gifts. A lot of work goes into this.
Yes, maddening is exactly right ;) I skipped cleaning the pits this time around, I just didn’t have the patience – maybe next year! The cherry preserves – if they don’t “set” properly you can always have another go at it by bringing it all back to a boil again and adding pectin. Keep in mind though it can take at least a couple of days before it sets. Alternatively you don’t have to use pectin at all and just add some lemon juice, let the preserves boil until they reach 220 degrees F and then can them. As in this recipe (different fruit, same principle): https://www.daringgourmet.com/strawberry-rhubarb-jam/
Such great ideas! Totally love everything in this post.
WOW! I have not seen that cherry pitter and I bet it was amazing compared to the single ones that you use like a gun. Also, your kids are adorable and I want a big bag of those dried cherries. I’m loving everything about this post!
I used a Norpro pitter for the first time yesterday and I thought it was great. Once I got used to the process, I tried to go fast. Didn’t work as well. I found a slower but steady pace that allowed the cherry to fall off the pitter rod was actually more efficient. So relax and enjoy. I pitted pie cherries, which are smaller. I found they tended to roll into the correct spot to be pitted without a lot a help, but some will need a little coaxing. My pitter has a suction cup on the bottom, did not work very well but it’s no problem to hold the pitter down on the table with one hand and and work the plugger at the same time. The downward force is not enough to be destabilizing. However, there is a model with a C vise instead. If I had known that, I would have bought that one. But I’m still happy with the one I have and glad that I bought it.