How to Save Kale Seeds
This post may contain affiliate links. See my disclosure policy.
Learn how to save kale seeds in this step-by-step pictured tutorial. The process is very simple and when stored properly the seeds will remain viable for up to several years!

Why Save Kale Seeds?
So you’ve successfully grown healthy, gorgeous kale plants and you would like to be able to repeat that year after year. How do you preserve that DNA and replicate your success? You save the seeds from your prize plants.
Provided your kale variety is open-pollinated, also referred to as heirloom (in other words, not a hybrid variety), then you can collect the seeds and use them to grow new plants that will look like their parent. The advantage of collecting seeds from open-pollinated varieties is that those plants will slowly adapt to your specific growing conditions and climate and they will improve year after year. So in the process of saving seeds you not only save money, you also end up with stronger, healthier plants. So learning how to save kale seeds is worth the little time and effort it takes.
When Kale Goes to Seed
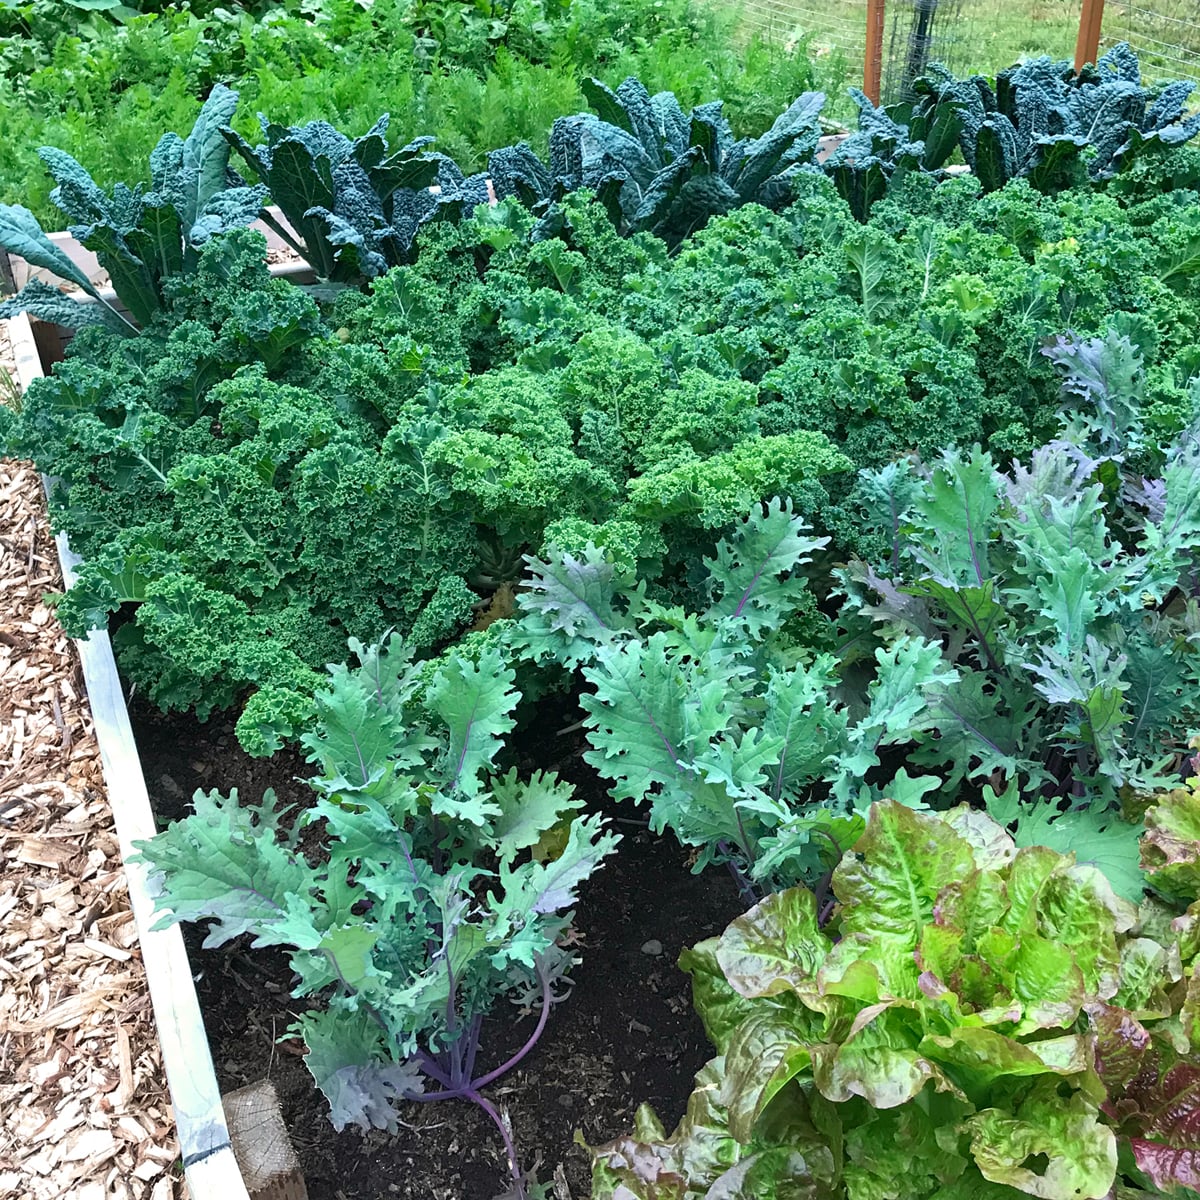
Most people grow kale as annuals but kale plants are actually biennial, meaning they have a two year life cycle. During their first year they focus their energy into producing leaves. During their second year their energy is channeled into reproduction at which point foliage growth slows down and they focus on producing seed.
When I plant mine in the spring I let them overwinter until the following spring when they perk up and briefly continue providing a supply of healthy greens until I’m ready to replace them with new kale plants. But I always leave a few of the old plants so I can save some seeds. When left to grow the kale plants will go to seed that second year. And this is your golden opportunity to collect and save seeds for future plantings.
If you’re going to let your kale plants go to seed there are a couple of things to keep in mind:
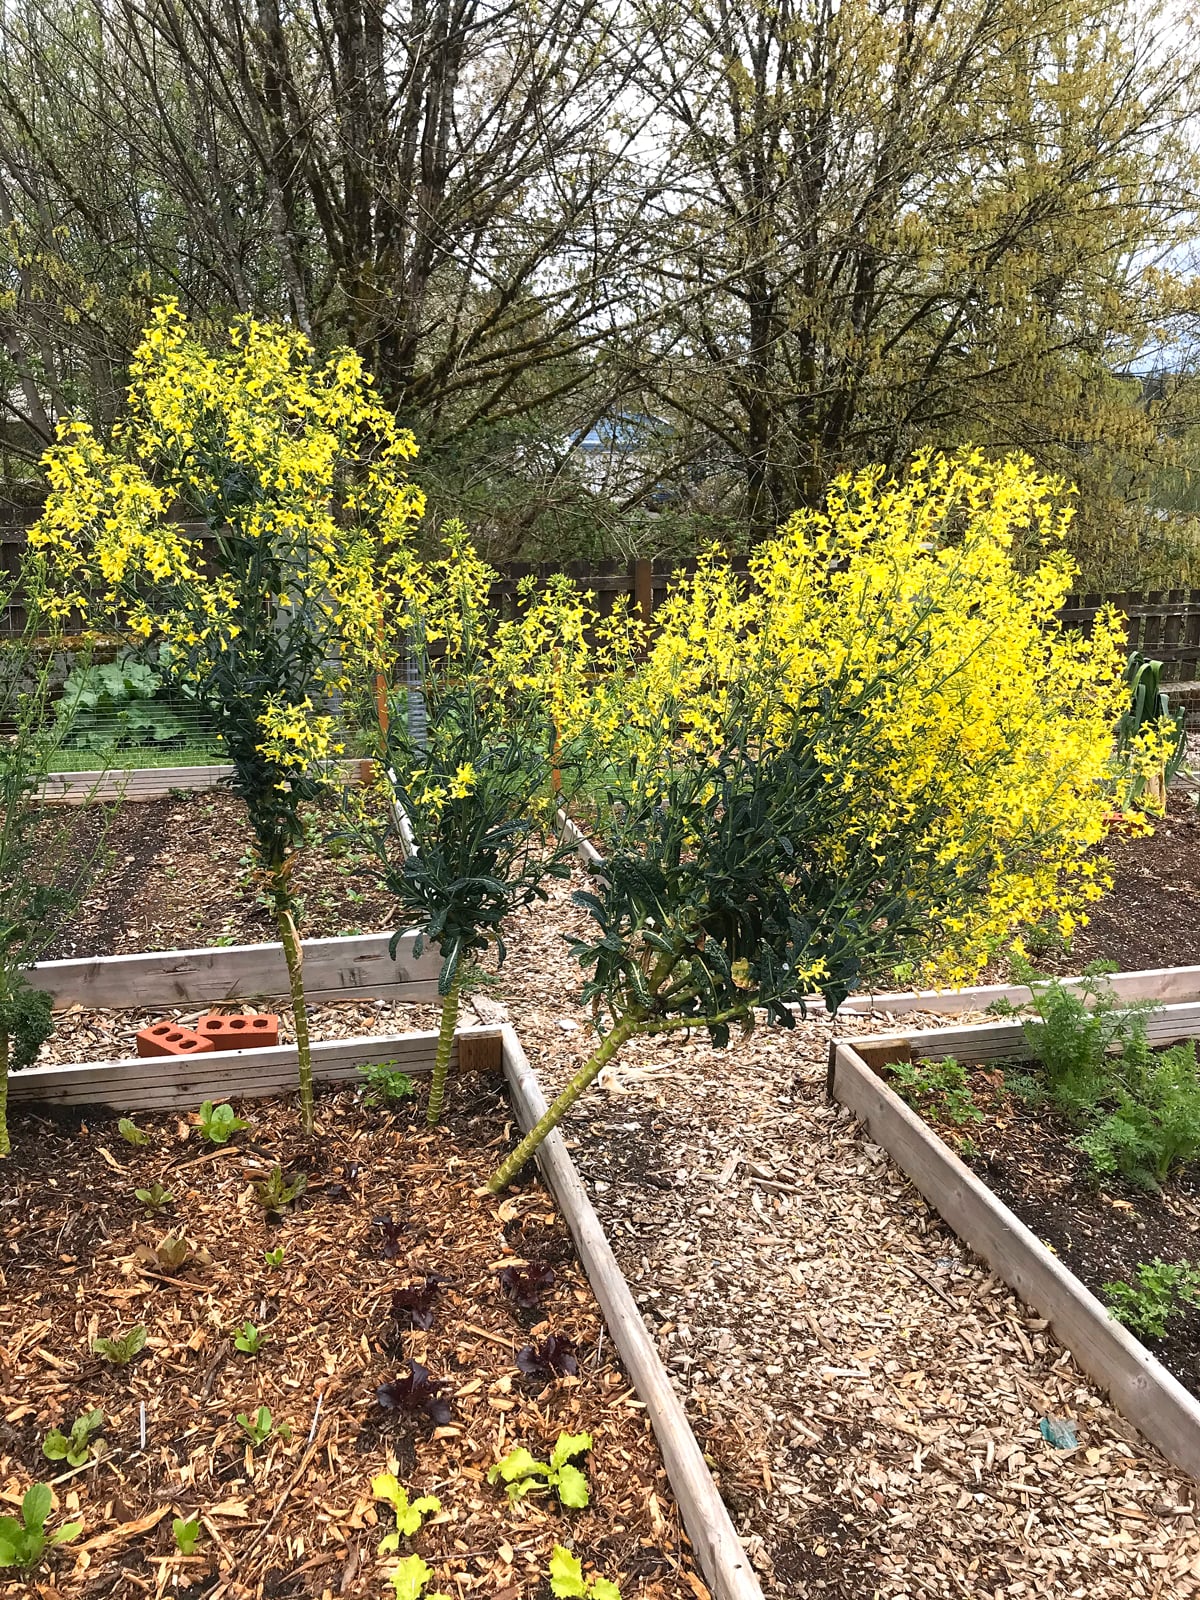
1) They get huge and unsightly. The flowers are pretty but once those fall off and are replaced with pods, the plants look like gigantic weeds from another world and will often bend over from the weight of the seed pods, getting in the way of your garden paths and creating a visual blemish on your otherwise beautifully manicured garden. So with that in mind let that guide where you choose to plant the kale plants you wish to harvest for seed the following year.
2) They get huge. I know I already said that in point #1 but the emphasis this time isn’t the visual intrusiveness but rather the massive yield of seeds. One plant will produce A LOT of seeds. And by a lot I mean that a large kale plant will give you thousands of seeds. So keep that in mind if you’re wondering if you need to keep your entire row of kale plants and have to deal with point #1.
Let’s discuss the changes your kale plant will go through during its second year until its ready for you to harvest the seeds.
Flower Buds to Blossoms
As your kale plant goes to seed the first step will be to form flower buds which will develop into yellow blossoms.
These yellow blossoms are not only edible, they’re delicious. They’re sweeter than the kale leaves and are also a visually beautiful addition to your salads. (And remember that your kale plant is going to produce more seeds than you’ll know what to do with so don’t be afraid to feast on some of those yummy blossoms!)


From Blossoms to Seed Pods
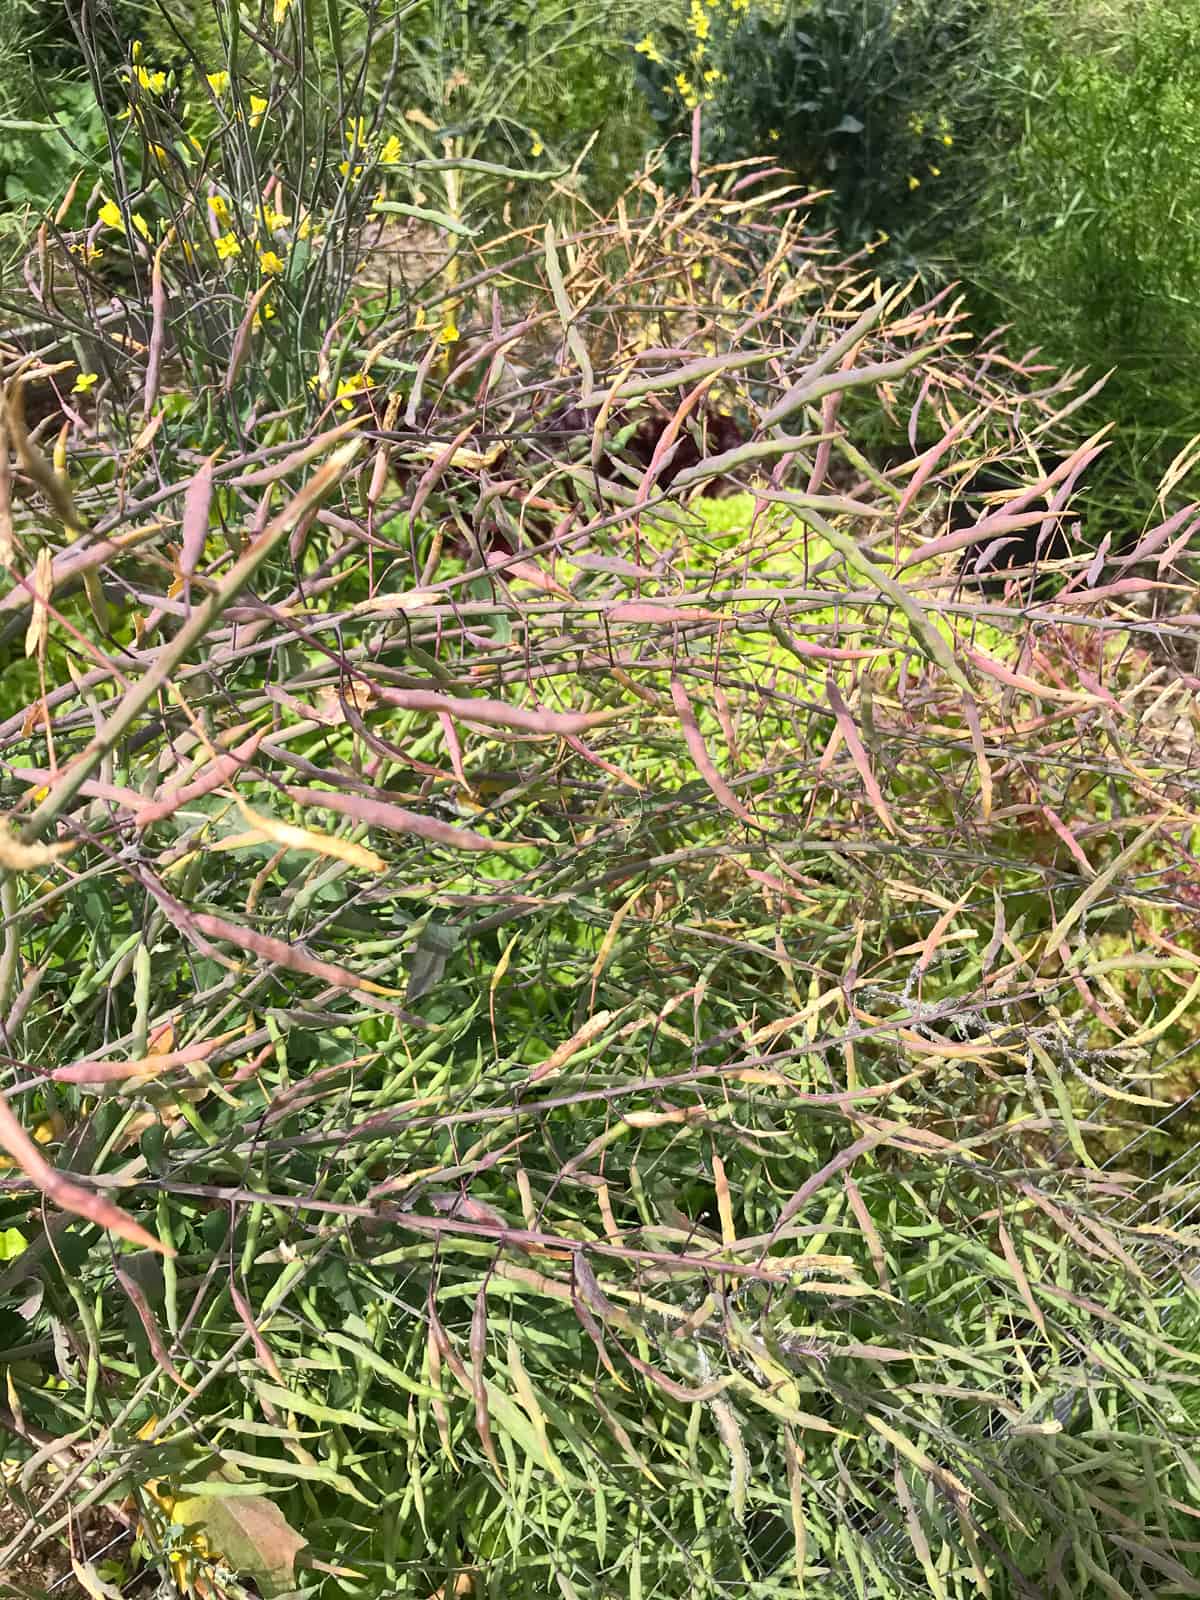
In time those kale flowers will drop and long skinny seed pods will take their place. This is the “unsightly” stage of the process mentioned earlier. And unfortunately this stage lasts a long time as the seed pods grow, mature, and dry out.
How to Save Kale Seeds
It will take the pods a while to develop, mature, and begin to dry. As they mature they will go from bright green to a purple and/or yellowish brown hue.
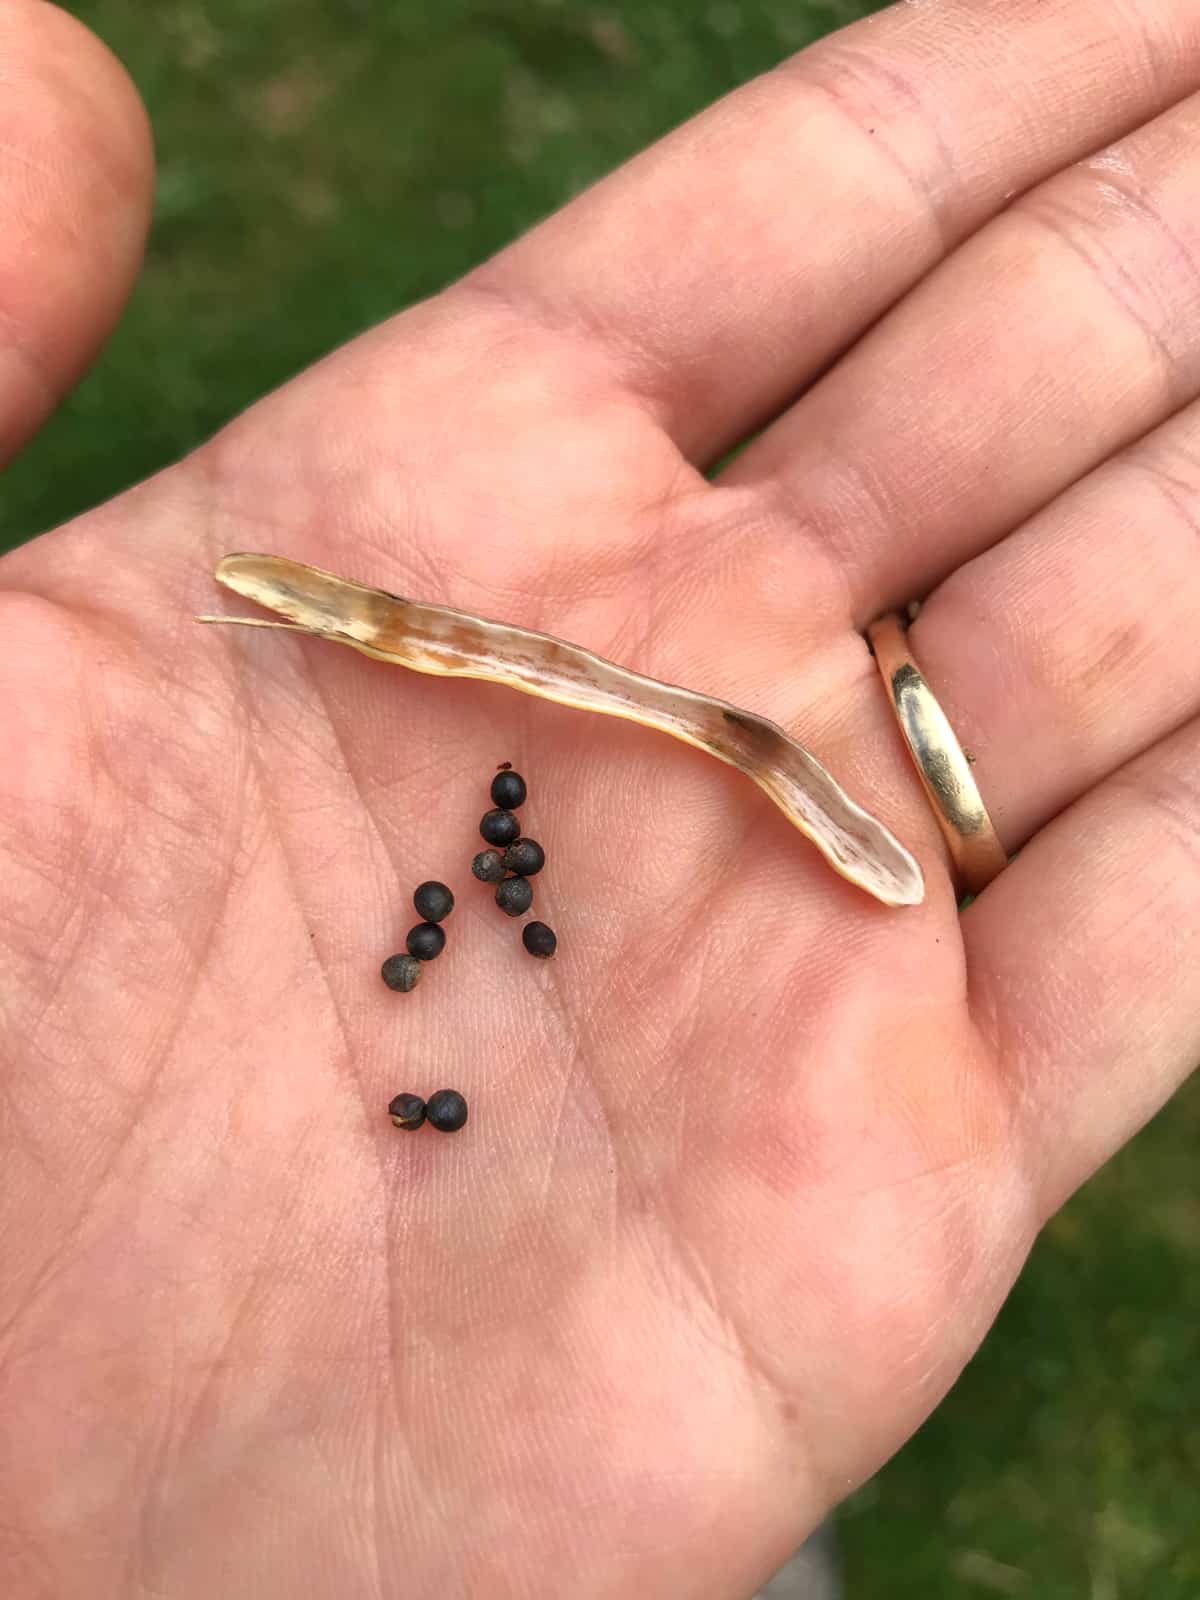
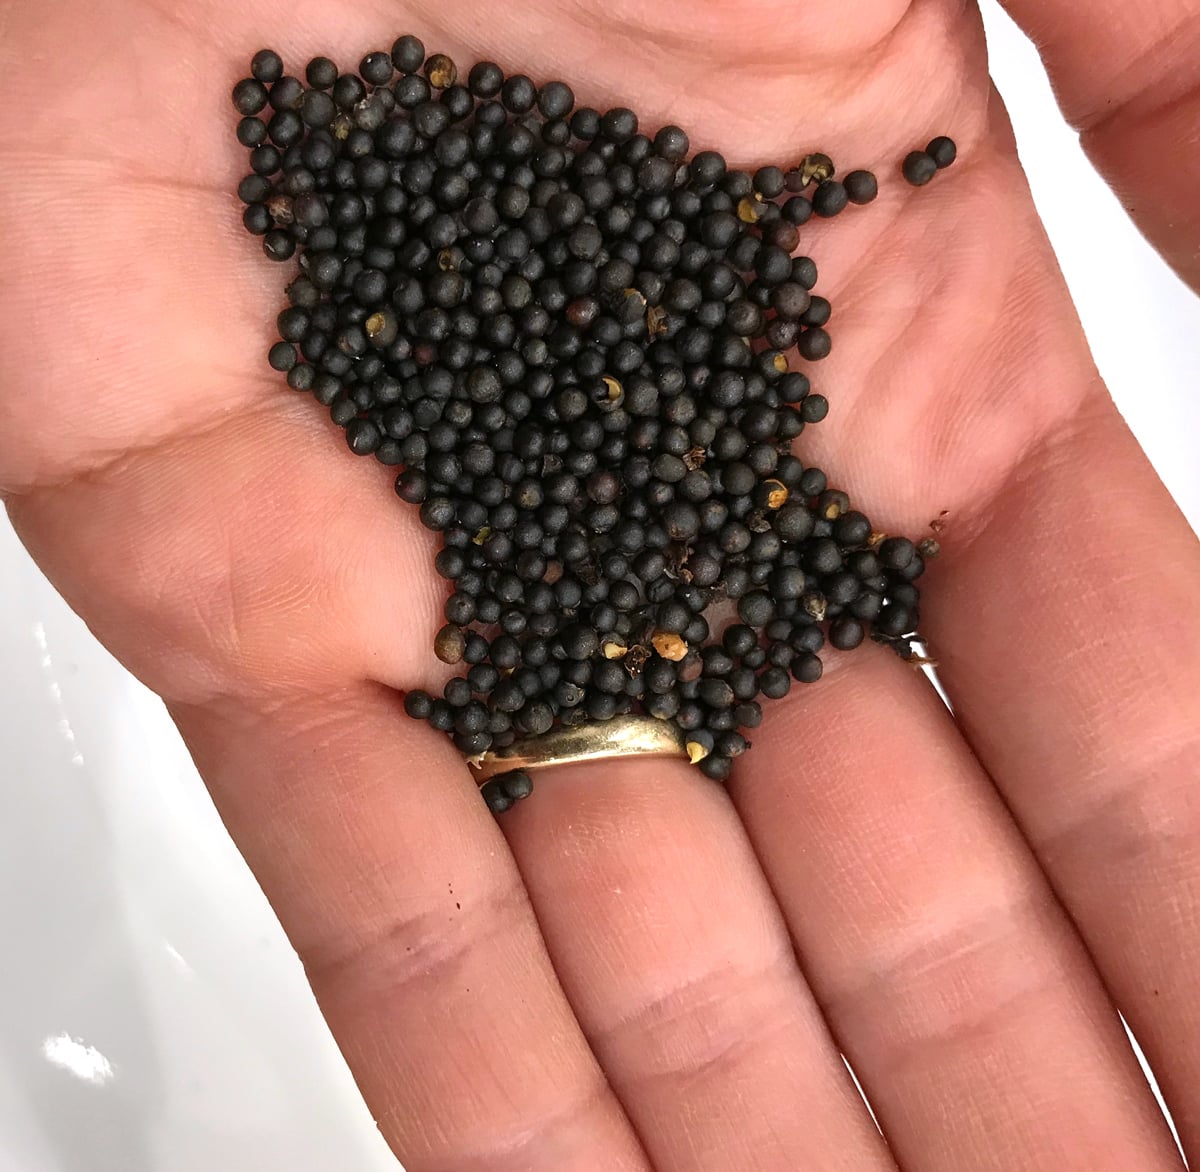
Another key indicator of readiness is the color of the seeds inside the pods: When they’re mature they will be very dark, almost black.
Timing is key to harvesting the seeds because if you harvest them too early the seeds won’t be mature, but if you wait too long the pods will burst open and drop the seeds onto the soil (which means hundreds of tiny kale plants on the horizon!).
When the pods are ready you have a couple of choices: Harvest individual pods or cut down the entire stalk to harvest the mother lode.
If you look closely at the picture below you’ll see that a few of the pods have already burst open and dropped their seeds while a few are still green. Not all of the pods will dry out at the same rate. This is normal.
How do you determine when to cut down the stalk? When the majority of the pods (over half) have gone from green to a purplish or yellow hue and the seeds inside are very dark, almost black, it’s time to cut down the stalk and set it aside to dry for a few days to a week or two. If you’ve had a very dry season a few days will do the job. If you’ve had rain recently then give the pods time to dry out. That will make separating the seeds from the pods much easier.

Once the pods are dried out you can grab around the individual stems and pull towards you to remove all the pods along the stem. I then take a handful of seed pods and rub them between the palms of my hands over a bowl. The seeds will easily fall out and you can then discard the empty seed pods. Alternatively you can place the pods in a brown paper bag and shake vigorously to release the seeds.
Once you’ve removed the seeds from the pods leave the seeds in the bowl (or spread out on a baking sheet if you have a lot of them) to dry for a couple of weeks to ensure there is no moisture whatsoever before you store them.

How to Store Kale Seeds
Store your seeds in paper envelopes or plastic ziplock bags. Either way I strongly recommend adding food safe silica gel packs to your seed bags to ensure that they remain dry. Keeping your seeds dry is absolutely critical for preventing mold and keeping them viable.
Store your seeds in a dark, cool place. Kept dry, dark and cool, your seeds have the potential to remain viable for up to several years.
At the time of this article, I’m using seeds that I saved three years ago and still have a near 100% germination rate.
Enjoy your seeds!
Be sure to also check out my tutorials on:
- How to Save Kale Seeds
- How to Save Tomato Seeds
- How to Save Asparagus Seeds
- How to Save Pea Seeds
- How to Make Worm Tea

Hi, I’m Kimberly Killebrew and welcome to Daring Gourmet where you'll find delicious originals, revitalized classics, and simply downright good eats from around the world! Originally from Germany, later raised in England, world-traveled, and now living in the U.S., from my globally-influenced kitchen I invite you to tour the world through your taste buds!


Thank you for the concise information on saving these seeds, along with photos. I should have learned this years ago, but it’s not too late. I love Lacinato kale and it grows really well for me.
Thank you, Kathy, I’m so glad it was helpful. I love Lacinato kale also, it’s my favorite variety.
Thank you! I have let my kale plants go to seed. Loved the yellow flowers as did the bees from my hives. I didn’t know the blossoms were edible so thanks for that info as well.
You’re welcome, Carole, I’m glad it was helpful!