Canning Baked Beans or Pork and Beans
This post may contain affiliate links. See my disclosure policy.
Canning baked beans gives you the convenience of being able to enjoy homemade right off the shelf! Just open the jar, heat it up, and enjoy! And unlike store-bought canned baked beans, this doesn’t have any of the junk ingredients. Canned in a pressure canner, your baked beans or pork and beans will keep for up to a year.
Be sure to also try our Homemade Canned Chili Con Carne!
Pressure canning can definitely be an intimidating thing for anyone who has never tried it, but once you get the hang of it there’s really nothing to it. And a large canner holds quite a bit, so I like to make a large batch so that I can have multiple jars of these homemade canned baked beans on hand. Canning baked beans is easy and is a satisfying accomplishment!
Don’t worry if the consistency of your baked beans is soupy after cooking them, the beans will continue to absorb the liquid after going through the pressure canning process and sitting in the jars for a few days.
If you prefer canning Pork and Beans” instead, which very similar but with a little less sugar and generally no molasses, simply reduce the amount of brown sugar to a 1/4-1/3 cup and either eliminate or only add a little molasses. You still have the option of cooking the beans on the stove or baking in the oven.
Canning Baked Beans Recipe
Let’s get started!
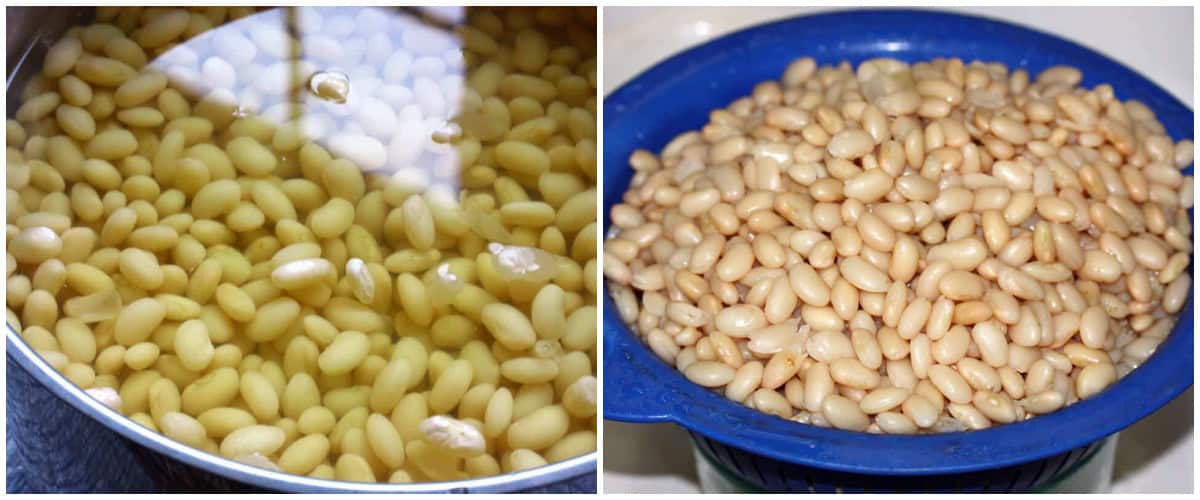
Rinse the beans and rapidly boil them in unsalted water for 2 minutes. Then turn off the heat, cover and let soak for 1 hour. Drain and discard the liquid. Return the beans to the pot with 6.75 quarts of water and bring to a boil, the immediately drain again – this time reserving the liquid. Set aside the beans and liquid.
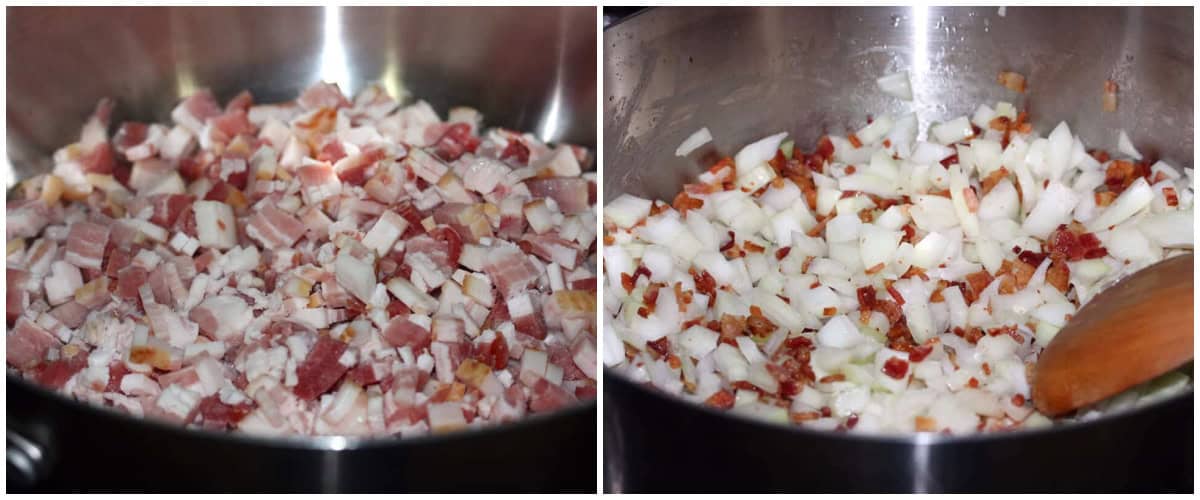
In a very large stock pot (at least a 10-quart pot) fry the bacon until crispy then drain the fat. Draining the fat is essential for the bottles to seal when you pressure can them.
Add the onions and cook until soft and translucent. Add the garlic and cook for another couple of minutes.
Add all remaining ingredients, including the beans and their liquid.
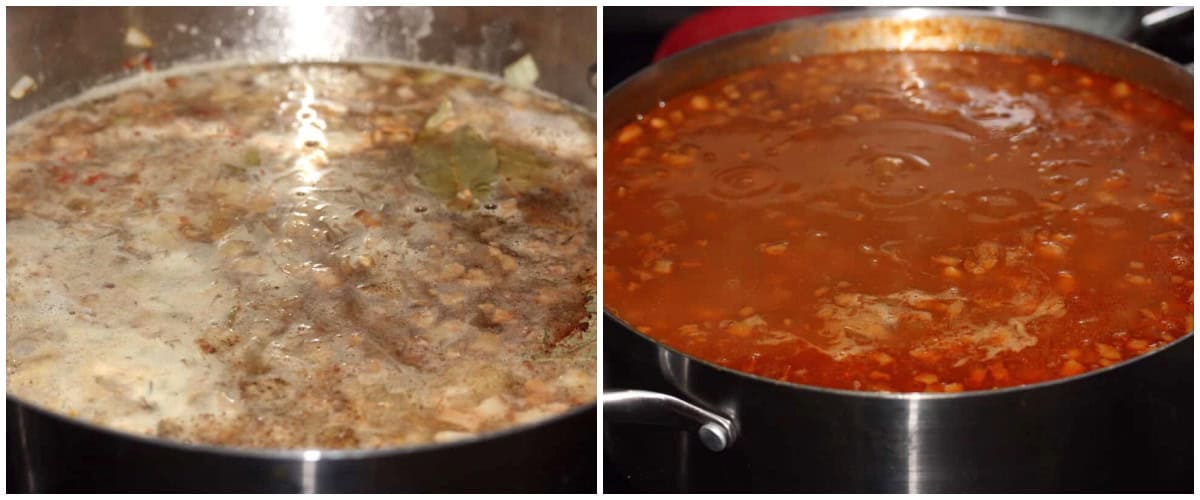
You have two options for cooking the beans: 1) Cover and bake at 350 degrees F for 3-4 hours, stirring once or twice. If needed, add a little water while cooking to keep the beans “soupy”. (Be sure to use an oven-safe lid or cover tightly with foil), or 2) Cover and simmer on low-medium on the stovetop for 60-90 minutes or until the beans are soft (depending on how old the beans are they may require longer). Keep in mind though that the beans will continue to cook in the pressure canner so don’t let them get mushy.
I recommend at least a 10 quart stock pot. Mine was 8 quarts and as you can see it’s nearly filled to the brim!
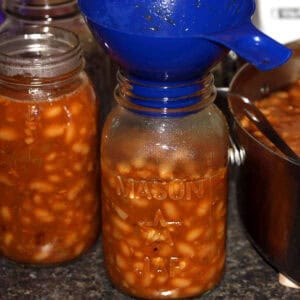
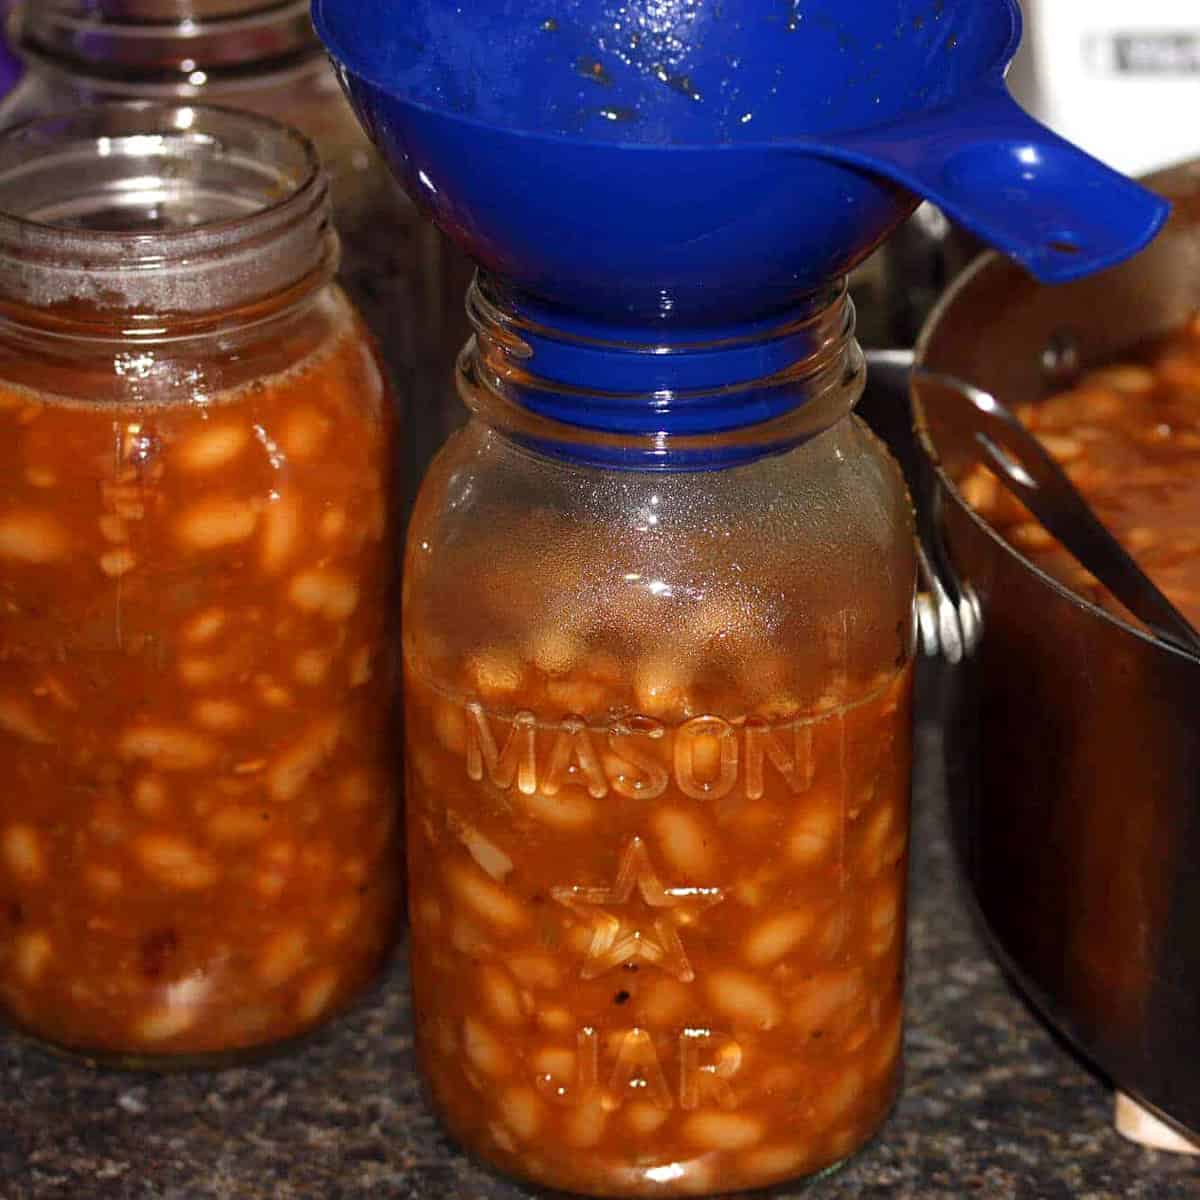
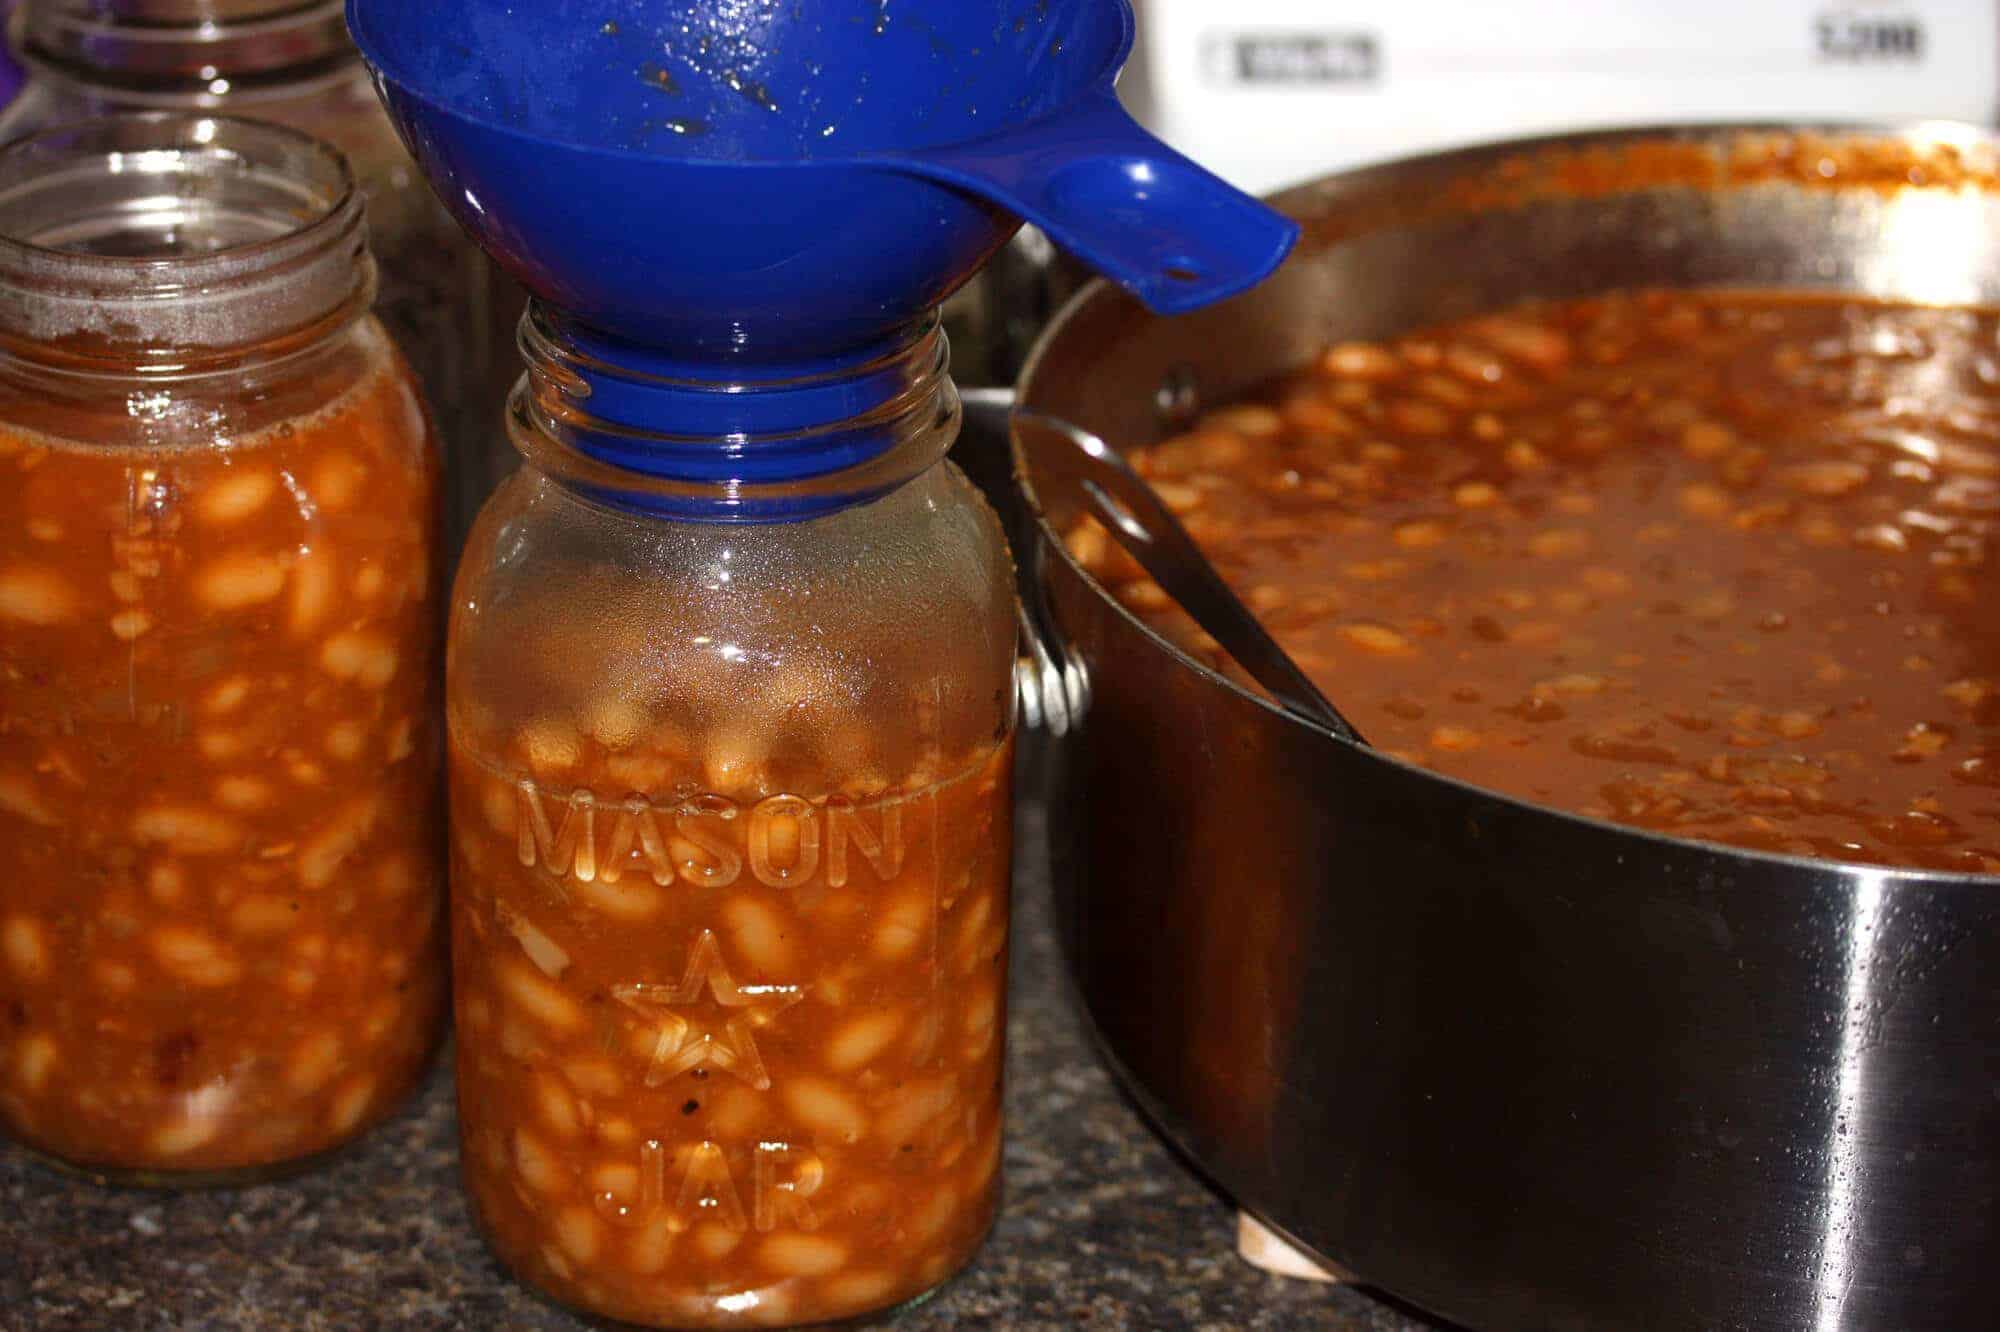
Pack into hot, sterilized canning jars leaving 1 inch of head space and cover jars with seals and rims. Follow your canner’s instructions and process at 10 lbs pressure: Quart jars for 75 minutes, pint jars for 65 minutes. (Adjust for altitude as needed.) I’m using my Presto 23-quart Pressure Canner and Cookerwhich is still going strong after several years.
Per your canner’s instructions, remove pressure canner from heat and allow the pressure to release on its own. Remove jars and place them on a kitchen towel on the counter top and let them sit undisturbed for 24 hours. Jars are sealed when the jar lids are depressed.
For best storage, store in a dark and relatively cool place (though room temperature is fine). Shelf life is at least 1 year.
Save This Recipe
Canning Baked Beans or Pork and Beans
Ingredients
- 3 pounds dried navy or white beans
- 3/4 cup molasses
- 1/4 cup apple cider vinegar
- 3 tablespoons kosher salt
- 2 tablespoons ground dry mustard
- 1/2 cup ketchup
- 1 cup brown sugar
- 3 large yellow onions , chopped
- 2 tablespoons Worcestershire sauce
- 1 teaspoon black pepper
- 1 1/2 pounds bacon , diced
- 3 bay leaves
- 5 cloves garlic , minced
- 1/2 teaspoon ground cloves
Instructions
- Rinse the beans and rapidly boil them in unsalted water for 2 minutes. Then turn off the heat, cover and let soak for 1 hour. Drain and discard the liquid. Return the beans to the pot with 6.75 quarts of water and bring to a boil, then immediately drain again - this time reserving the liquid. Set aside the beans and liquid.
- In a very large stock pot (at least a 10-quart pot) fry the bacon until crispy then drain the fat. Draining the fat is essential for the bottles to seal when you pressure can them. Add the onions and cook until soft and translucent. Add the garlic and cook for another couple of minutes. Add all remaining ingredients, including the beans and their liquid.
- You have two options for cooking the beans: 1) Cover and bake at 350 degrees F for 3-4 hours, stirring once or twice. If needed, add a little water while cooking to keep the beans "soupy". (Be sure to use an oven-safe lid or cover tightly with foil), or 2) Cover and simmer on low-medium on the stovetop for 60-90 minutes or until the beans are soft (depending on how old the beans are they may require longer). Keep in mind though that the beans will continue to cook in the pressure canner so don't let them get mushy.
- Pack into hot, sterilized canning jars leaving 1 inch of head space and cover jars with seals and rims. Follow your pressure canner's instructions and process at 10 lbs pressure: Quart jars for 75 minutes, pint jars for 65 minutes. (Adjust for altitude as needed.)Per your canner's instructions, remove pressure canner from heat and allow the pressure to release on its own. Remove jars and place them on a kitchen towel on the counter top and let them sit undisturbed for 24 hours. Jars are sealed when the jar lids are depressed.Note: the consistency may be soupy initially but the beans will continue to soak up liquid as they sit.
- For best storage, store in a dark and relatively cool place (though room temperature is fine). Shelf life is at least 1 year.Makes about 7 1/2 quarts or 15 pints.
Notes
Nutrition





I wish to use 8 oz ball jar. What time should I pressure can these smaller jars
Same as pints
I made this recipe once before and loved the flavour of the beans. I didn’t get many jars so I decided to double the recipe. As I’m stirring away wondering why there seems to be SO much a memory comes floating back to me…the first time I halved the recipe! Hahaha. I don’t think I’ll run out of beans for quite some time, even after giving a bunch away!
Haha, that’s hilarious, Sadie! Well, having some backup food on hand isn’t a bad thing – happy canning and happy eating! :)
I made these several months ago and they are wonderful. Planning on making a double batch this weekend as we are almost out.
Can i make this without a presser cooker?
Hi Deborah, do you mean pressure canner? If you’re just eating it and not canning it, it doesn’t need to be run through the pressure canner (but you’ll need to cook it longer until the beans are soft). If you’re planning on canning it for long-term storage then yes, you must use the pressure canner to ensure the food is safe to eat.
I am making these now and they seem really watery what can I do about that?
That’s normal, Denise. The dried beans are only “blanched” at this point and they will continue to cook and expand/swell as they’re pressure canned.
they turned out great my family loved them!!
Wonderful, Denise, thanks so much for letting us know!
I think you have a typo in your recipe. Shouldn’t the 6.75 quarts of water be 6.75 pints?
After I distributed the beans into 7 quart jars and covered them with the liquid I had slightly over 13 cups of liquid left, approximately half of the water added.
The beans were OK but much more like pork and beans and not Boston Baked.
I agree, I tried this yesterday and they are very watery. Hope they taste great!
Agree that the recipe has too much liquid. My beans seemed to be taken from the Egyptian pyramids as they cooked for 7 hours on stove before being tender enough to process. However the liquid never thickened? Soupy but tasty. Canned 10 pints jars, 1.5 cups of beans in each 3/4 cups of liquid, for 75 minutes and put about six cups of beans in the oven. Still had 10 cups of liquid left over. Just decided now to process the remaining liquid in the canner. It can juice up the beans later. I’m sending beans out to family and starting from scratch. Hey, family has to eat the flops along with the greats. This recipe is a flop. Next week I’m soaking my beans overnight, halving the liquid and adding as needed while beans simmer. Packing as above. The liquid has a great flavor.
4 10 19
Can you halve this recipe? It might be too much for ouR FAMILY.
THX
I have no idea what Laurie is saying. Can someone translate please? Thanks
Look up videos on canning dry beans. Not approved by National Canning Institute . . . but it works. A lot simpler than soaking beans overnight or cooking for hours on the stove. Just add dried beans to the jar and the liquid mixture. You have to know how much liquid the beans will absorb during canning. So with this recipe, you would be wise to boil or soak your beans (plumped up) and after discarding the extra, then add the 6 & 3/4 Cups water, etc and skip the stove top or baking time. Beans come out plenty soft after an hour of pressure canning without the baking/stove cooking.
I can bean but can them dry add the onions to hot tomato sauce and can for same amount of time. No need for a huge stock pot. Works great. Thanks for the extra spices I’ll try that.
Thanks for the tip, Laurie, I’ll have to try that!
Can I use the 4oz jars for this recipe? How much would this reduce the time required in the pressure canner? I like to can “sample sizes” of various recipes, then put several in a basket to give out as gifts to family and friends. I hand write the recipes on decorative cards to include in the basket. Everyone always enjoys them.
To be canned, it has to be far soupier than actual baked beans are. Heat can’t sterilize through extra dense food at home canning temps. You’d be at risk for botulism for true Boston baked beans. National Center for Home Food Preservation states in their recipe it must be “soupy.” What I’m wondering about is the amount of meat in here – which must process longer than beans, 75 min for pint, 90 min for quart. I thought rule was you process for whatever component required the longest time: there’s a lot of meat in here compared to the NCHFP recipe, but times are same.
I agree. Always can the the component requiring the longest time!
Are these qtys. Correct? This came out like soup. Way too much liquid.
I make my baked beans in an instant pot do I change the cooking time because it continues to cook when pressure canning.
Hi Rita, you’ll still want to cook the beans until they’re soft but not so soft that they’re mushy.
Do you have to use meat? I.e can you make without bacon or salt pork ?
Hi Steph, you don’t have to use meat, simply omit it.
Hello, by adding the meat should you pressure cook it 90 minutes?
Hi Gert, no, the pressure cooking time remains the same.
Is this a tested recipe?