The Micro-Dwelling Project: Part 2
This post may contain affiliate links. See my disclosure policy.
Welcome to Part Two of The Micro-dwelling Project! If you didn’t catch the first installation, here it is: The Micro-dwelling Project Part I. This series features our complete renovation of the small guesthouse on our historic 104 year old property to convert it into a modern, efficient and beautiful dwelling!
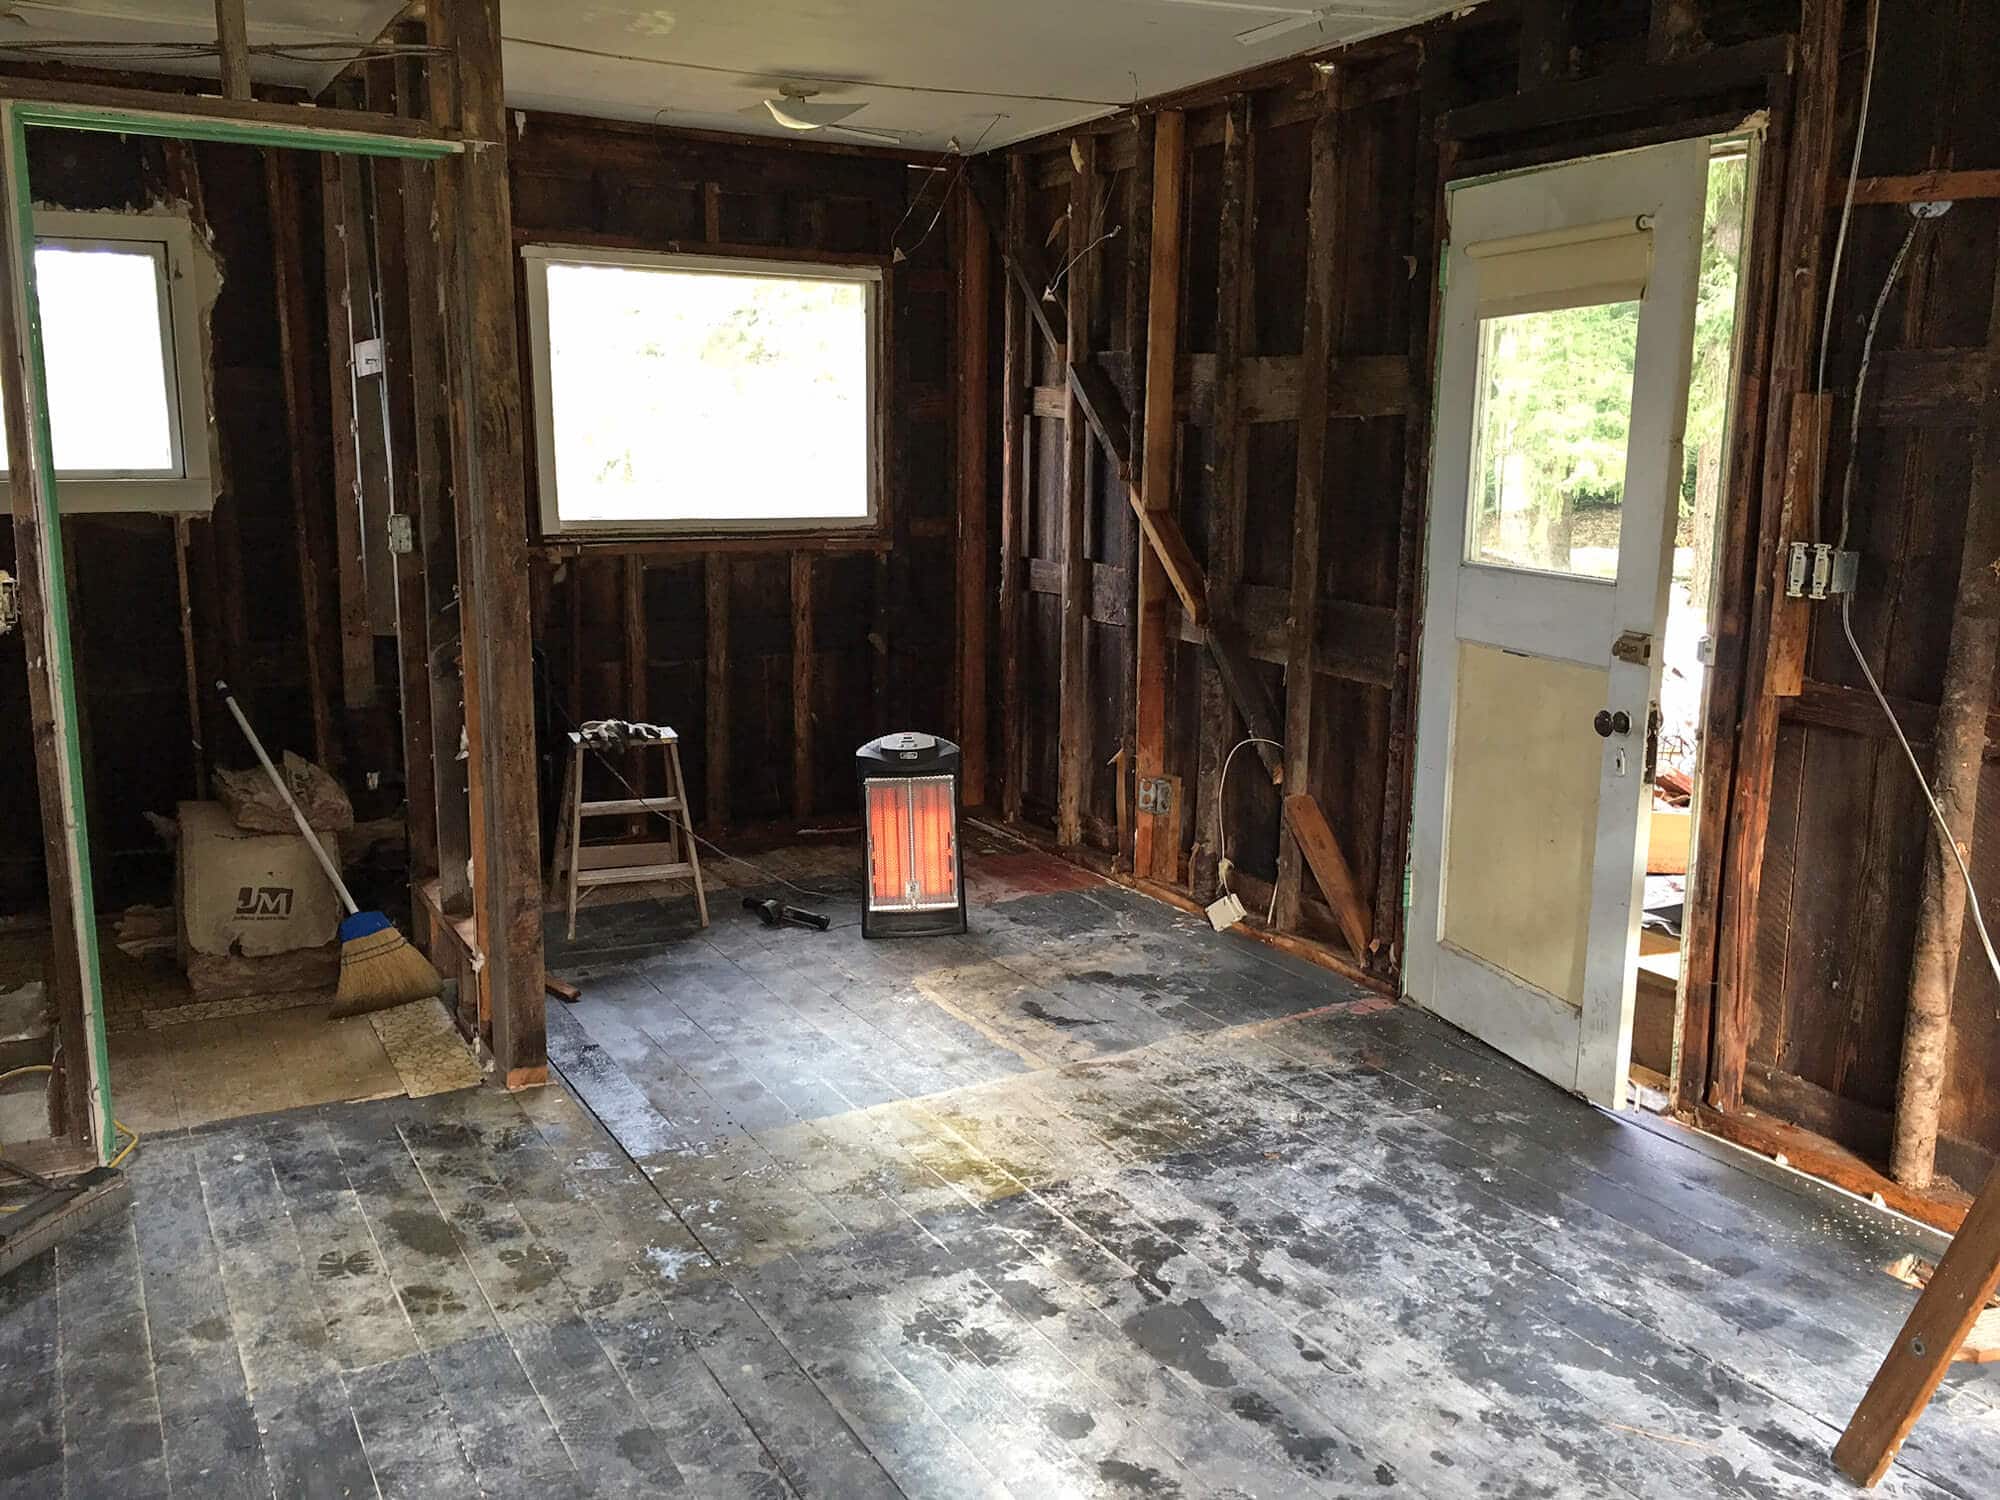
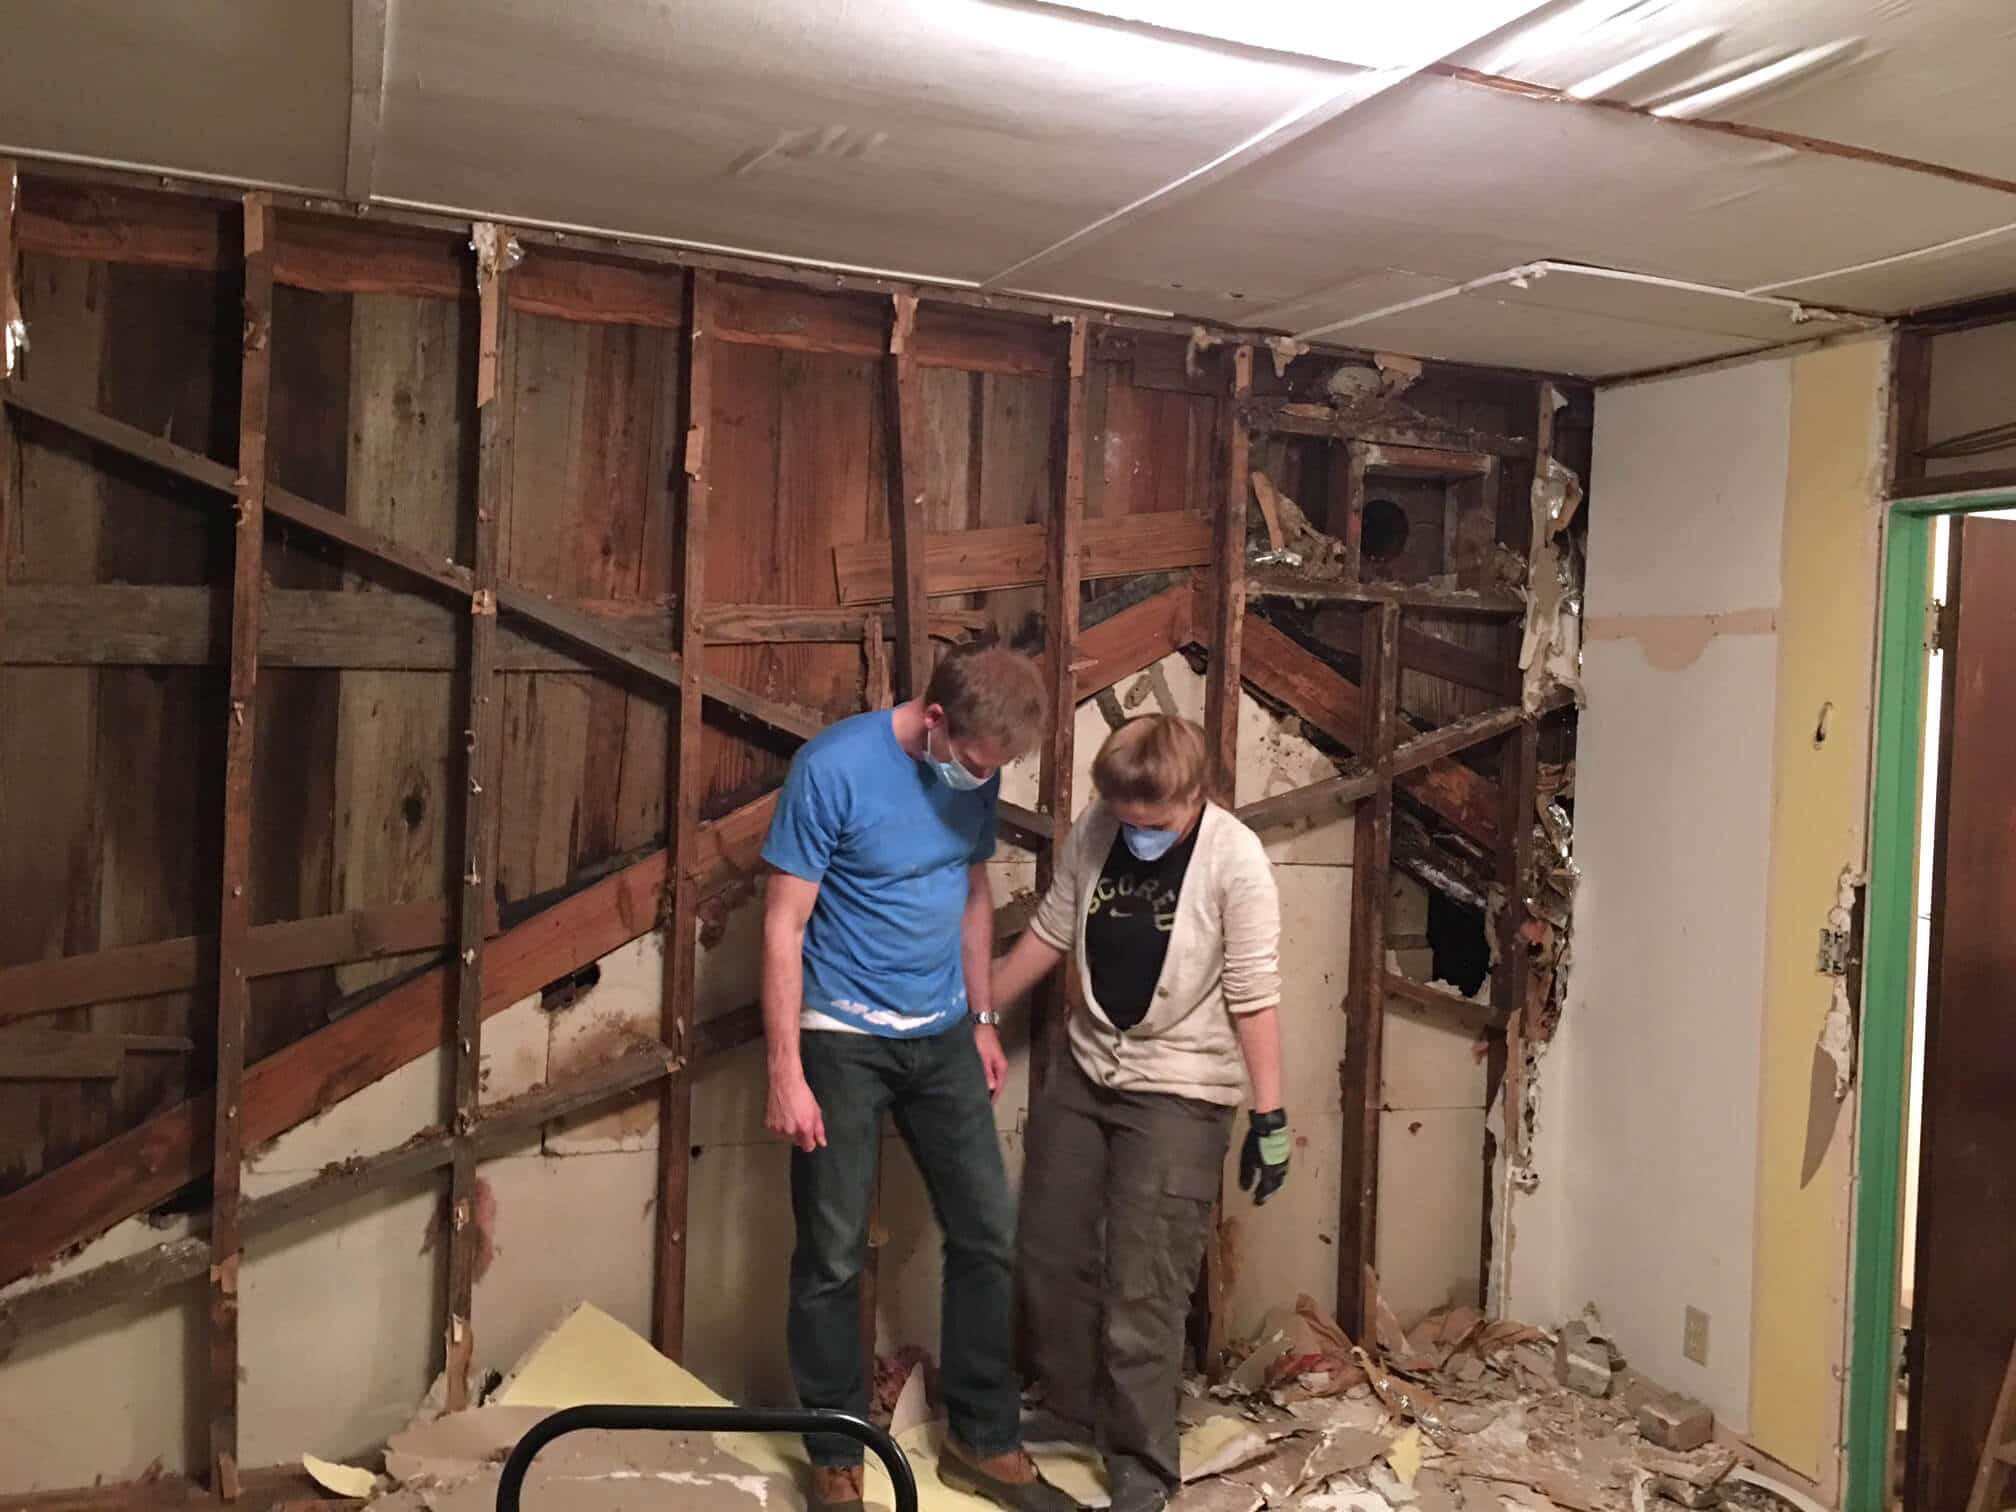
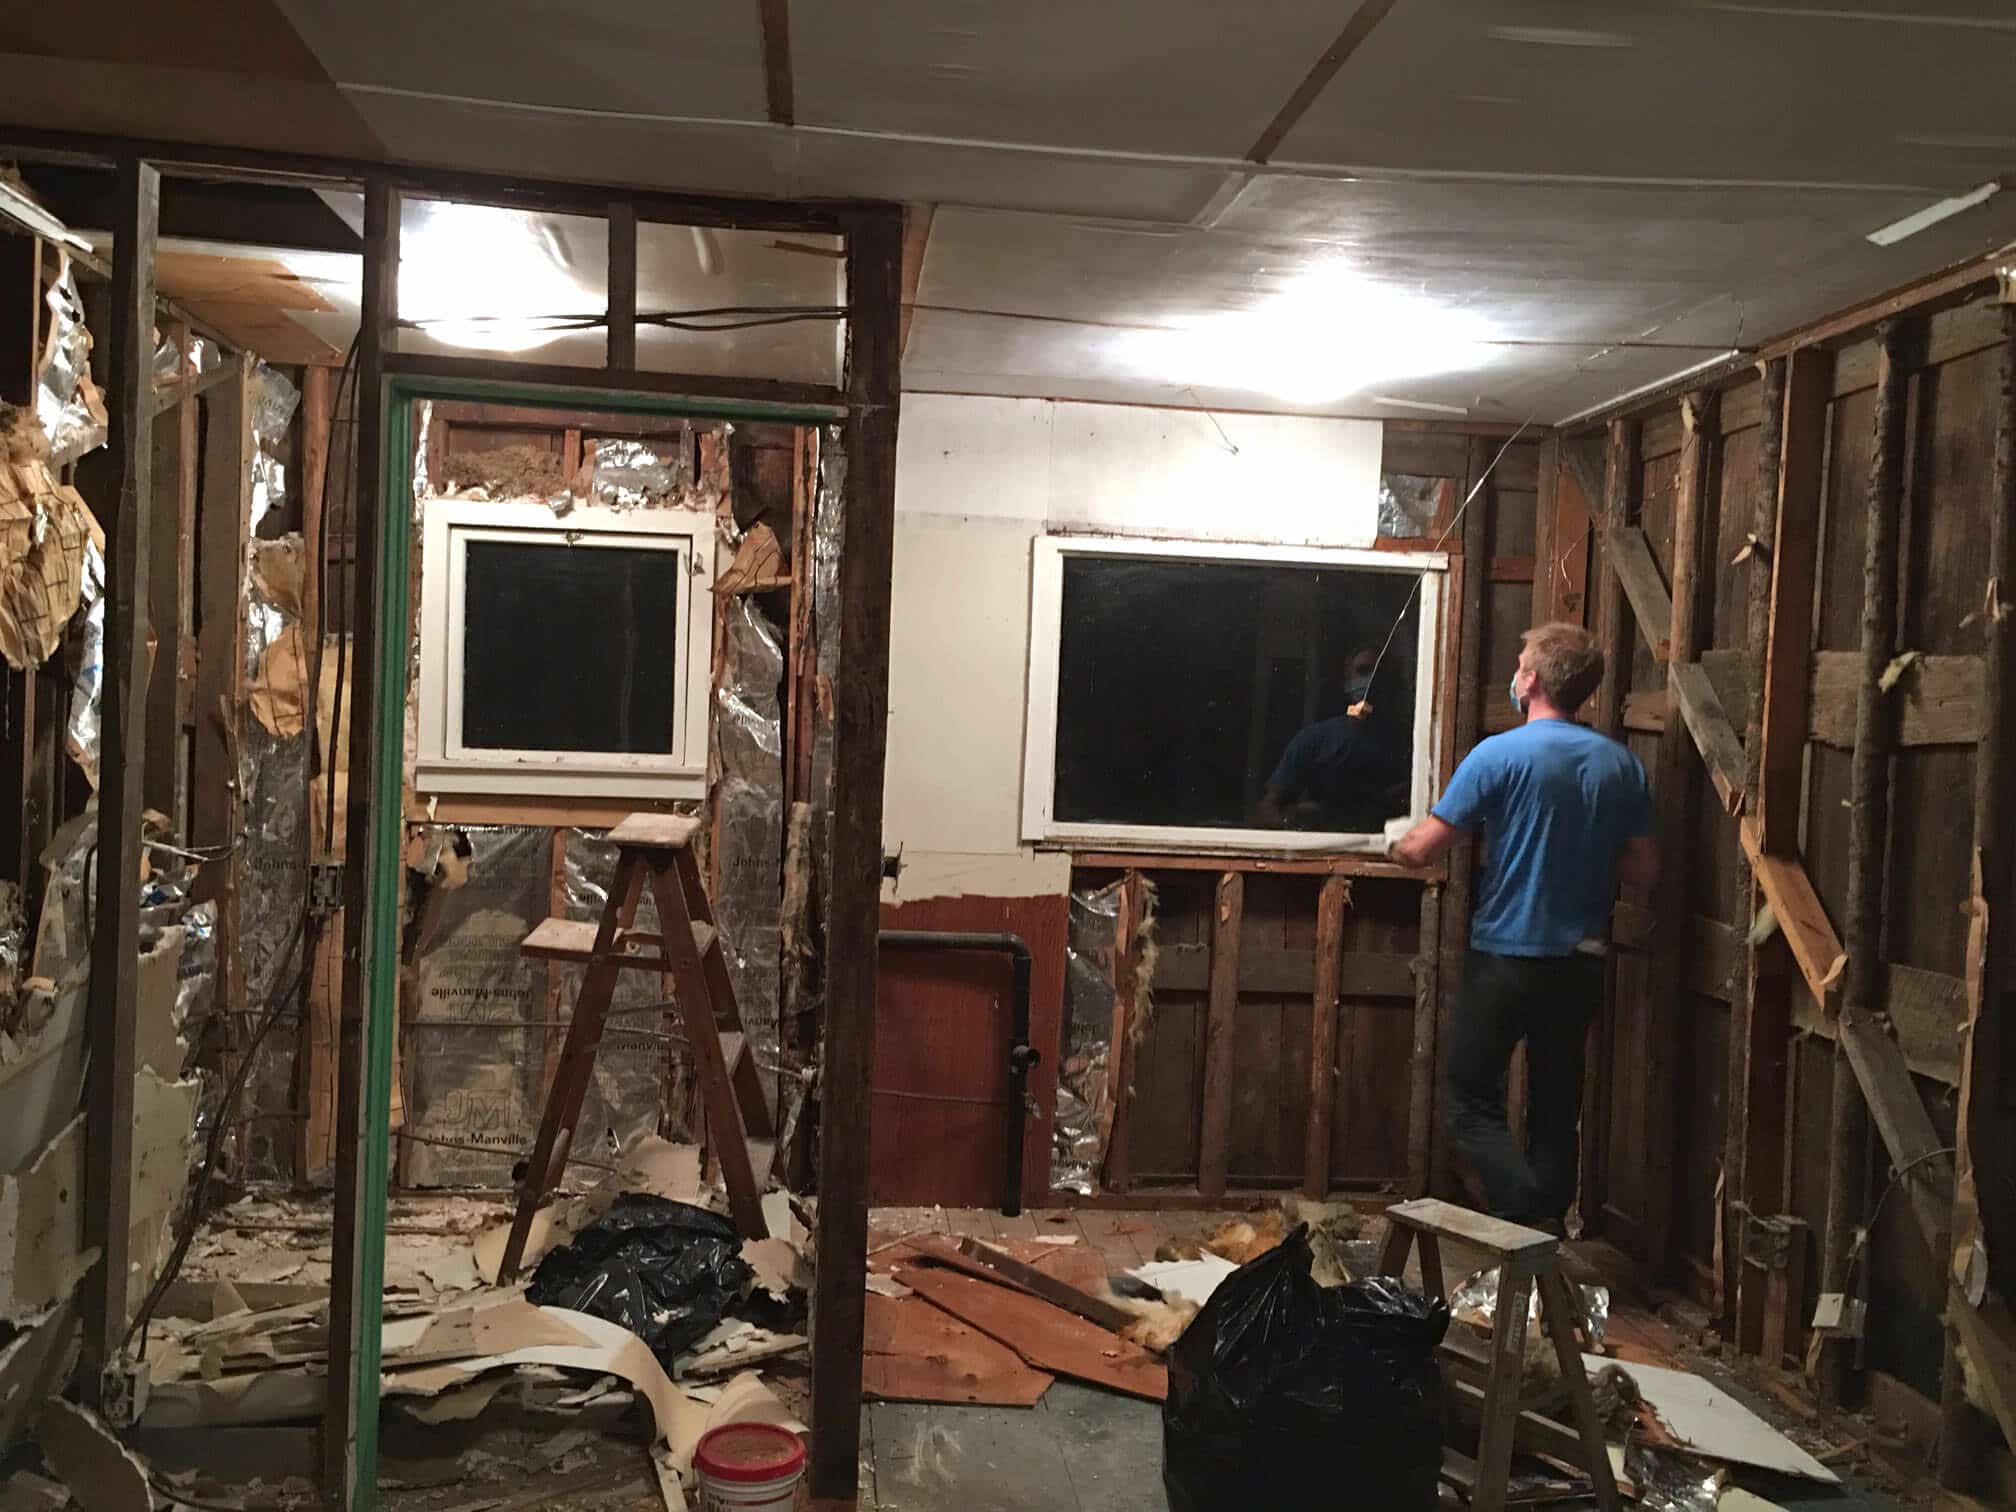
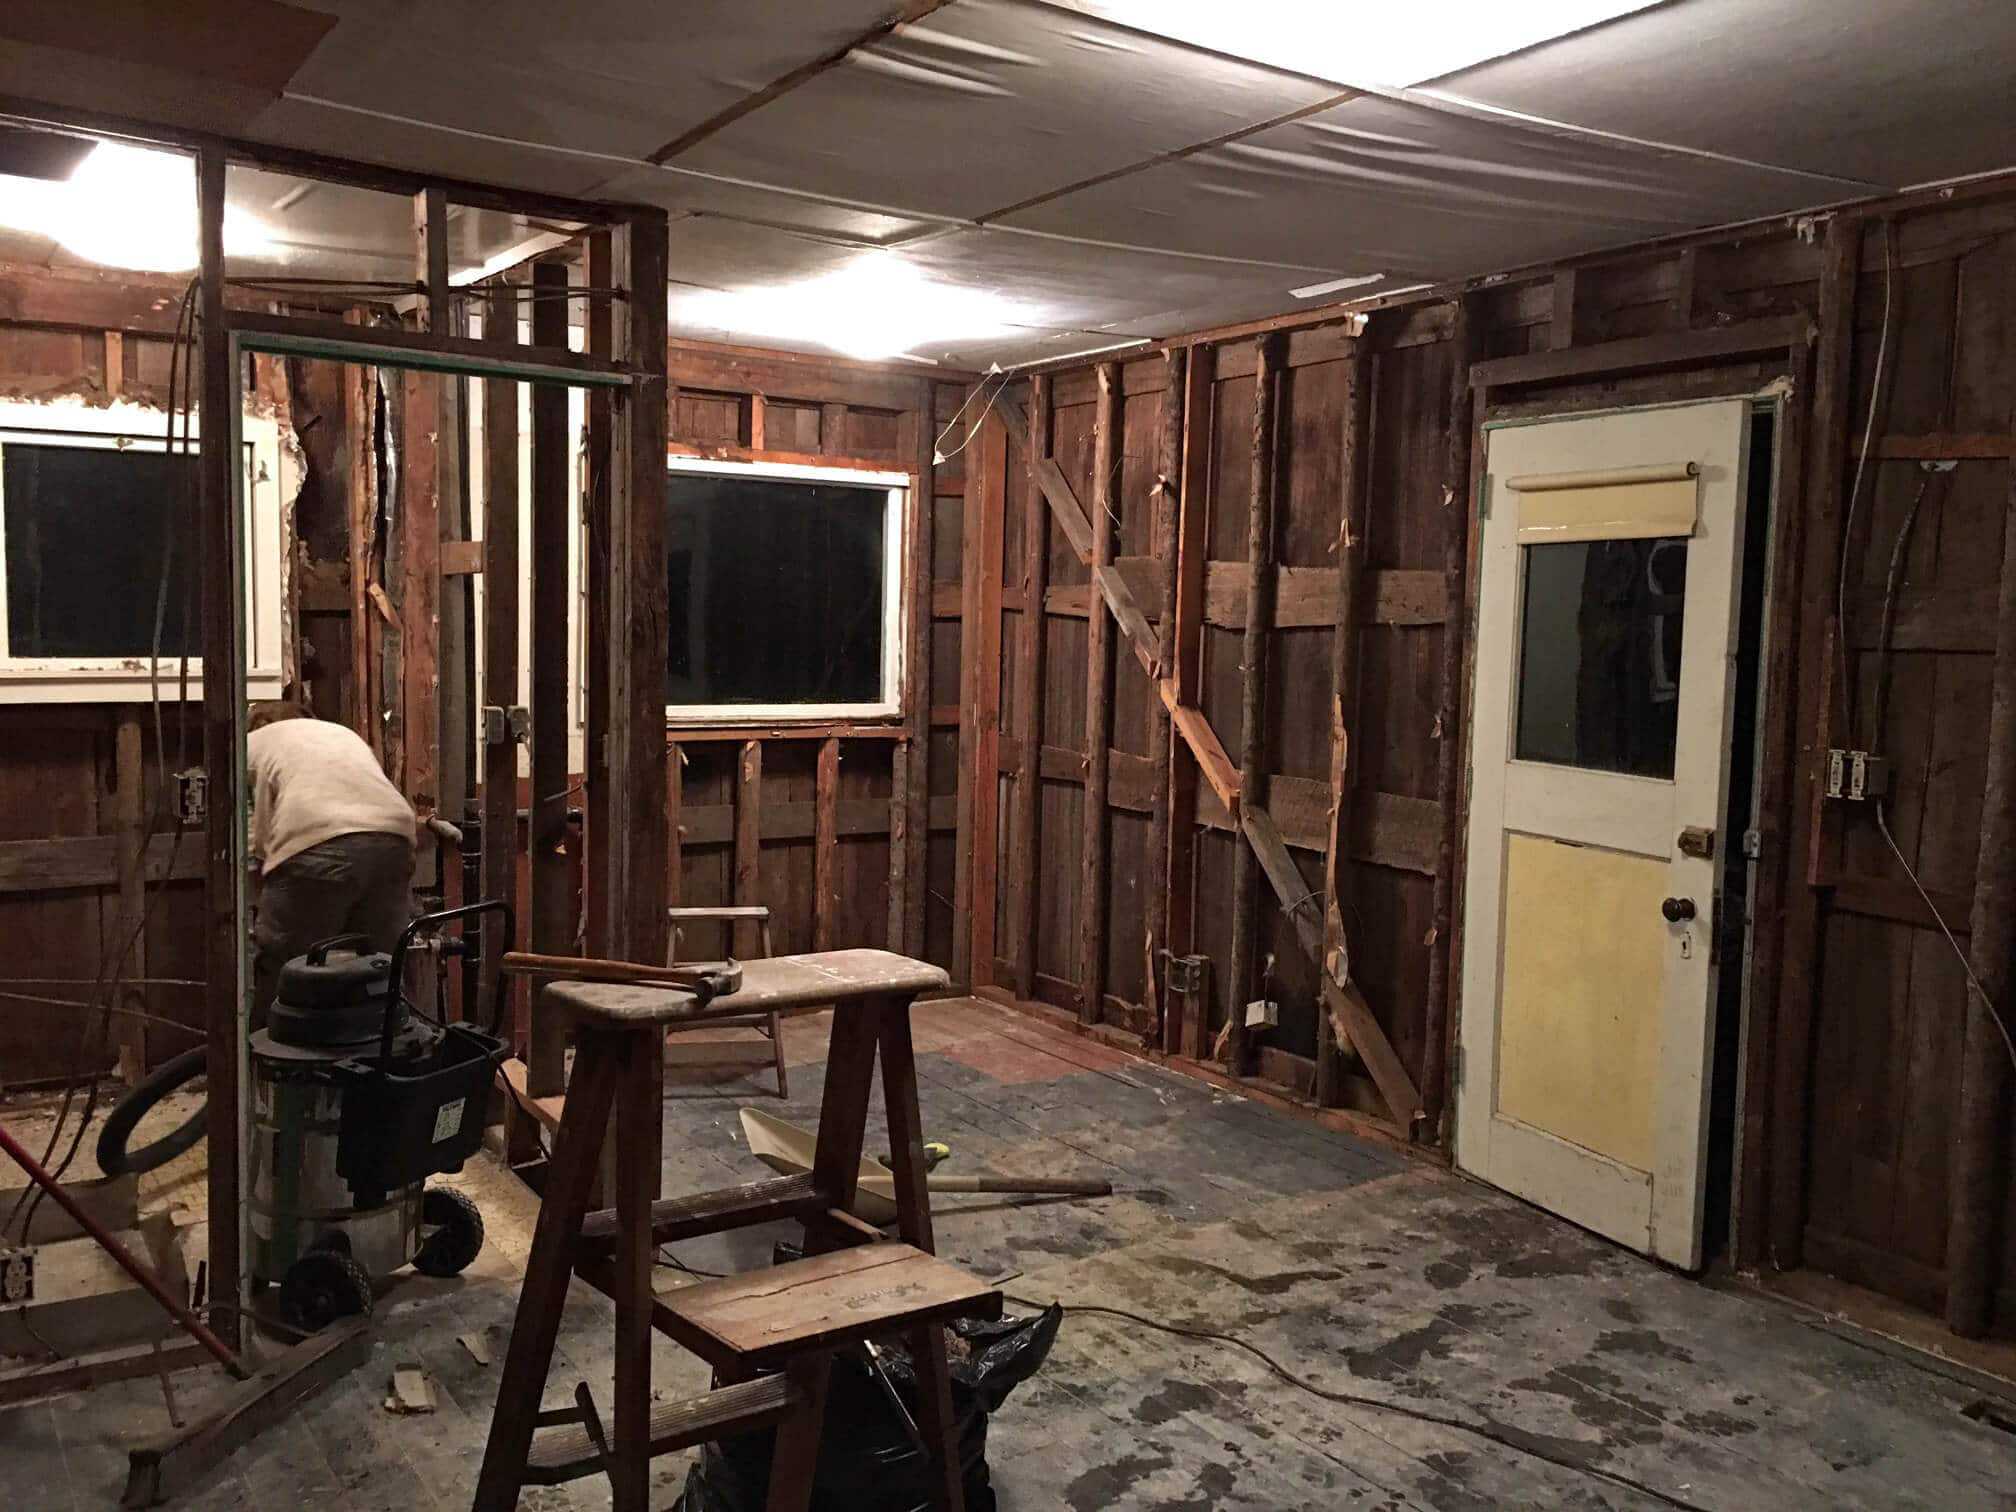
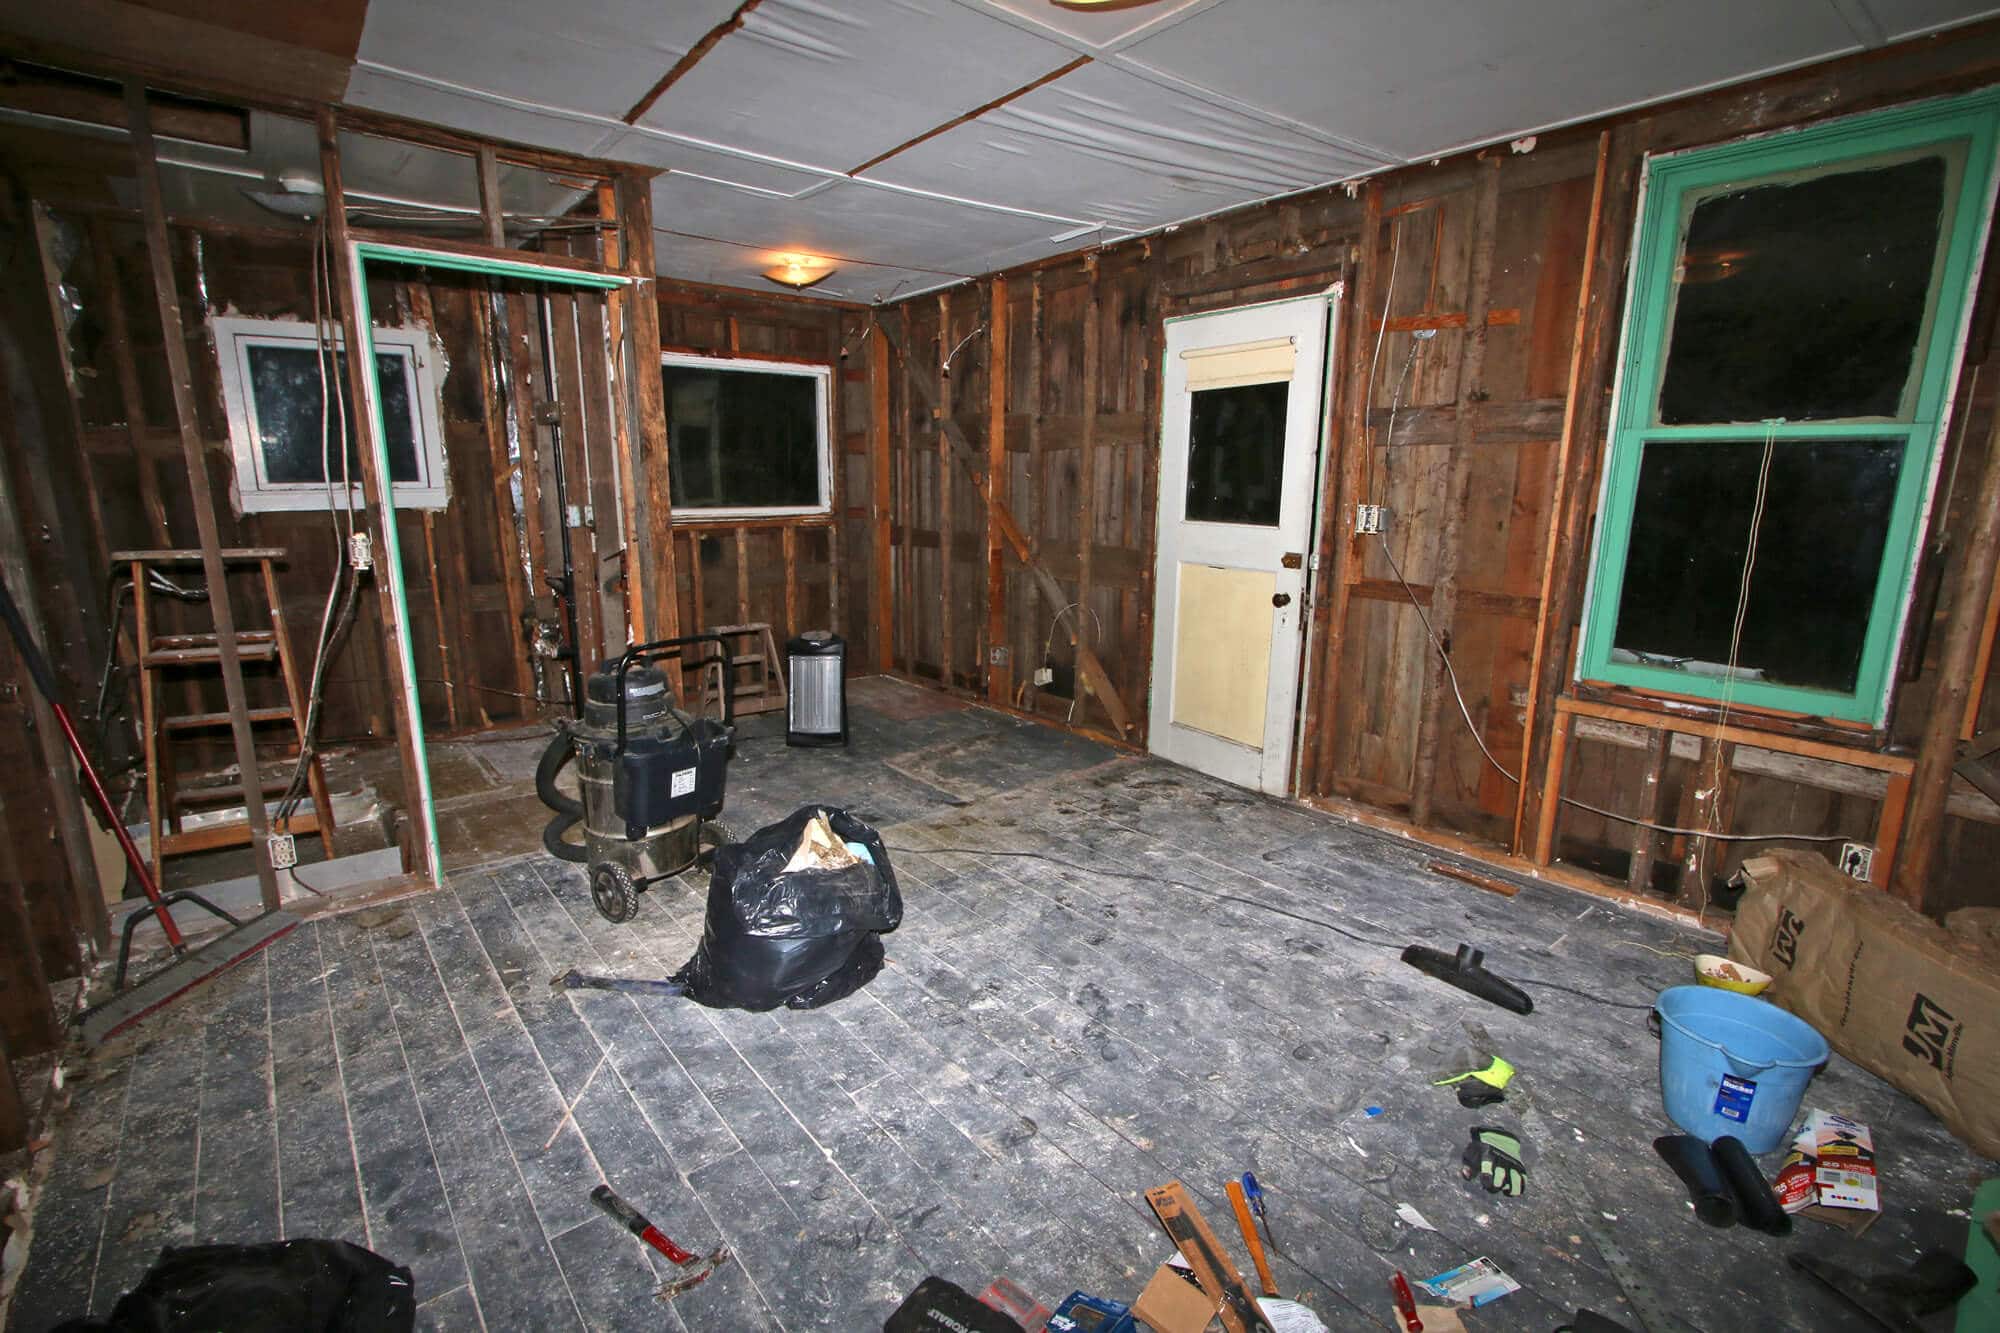
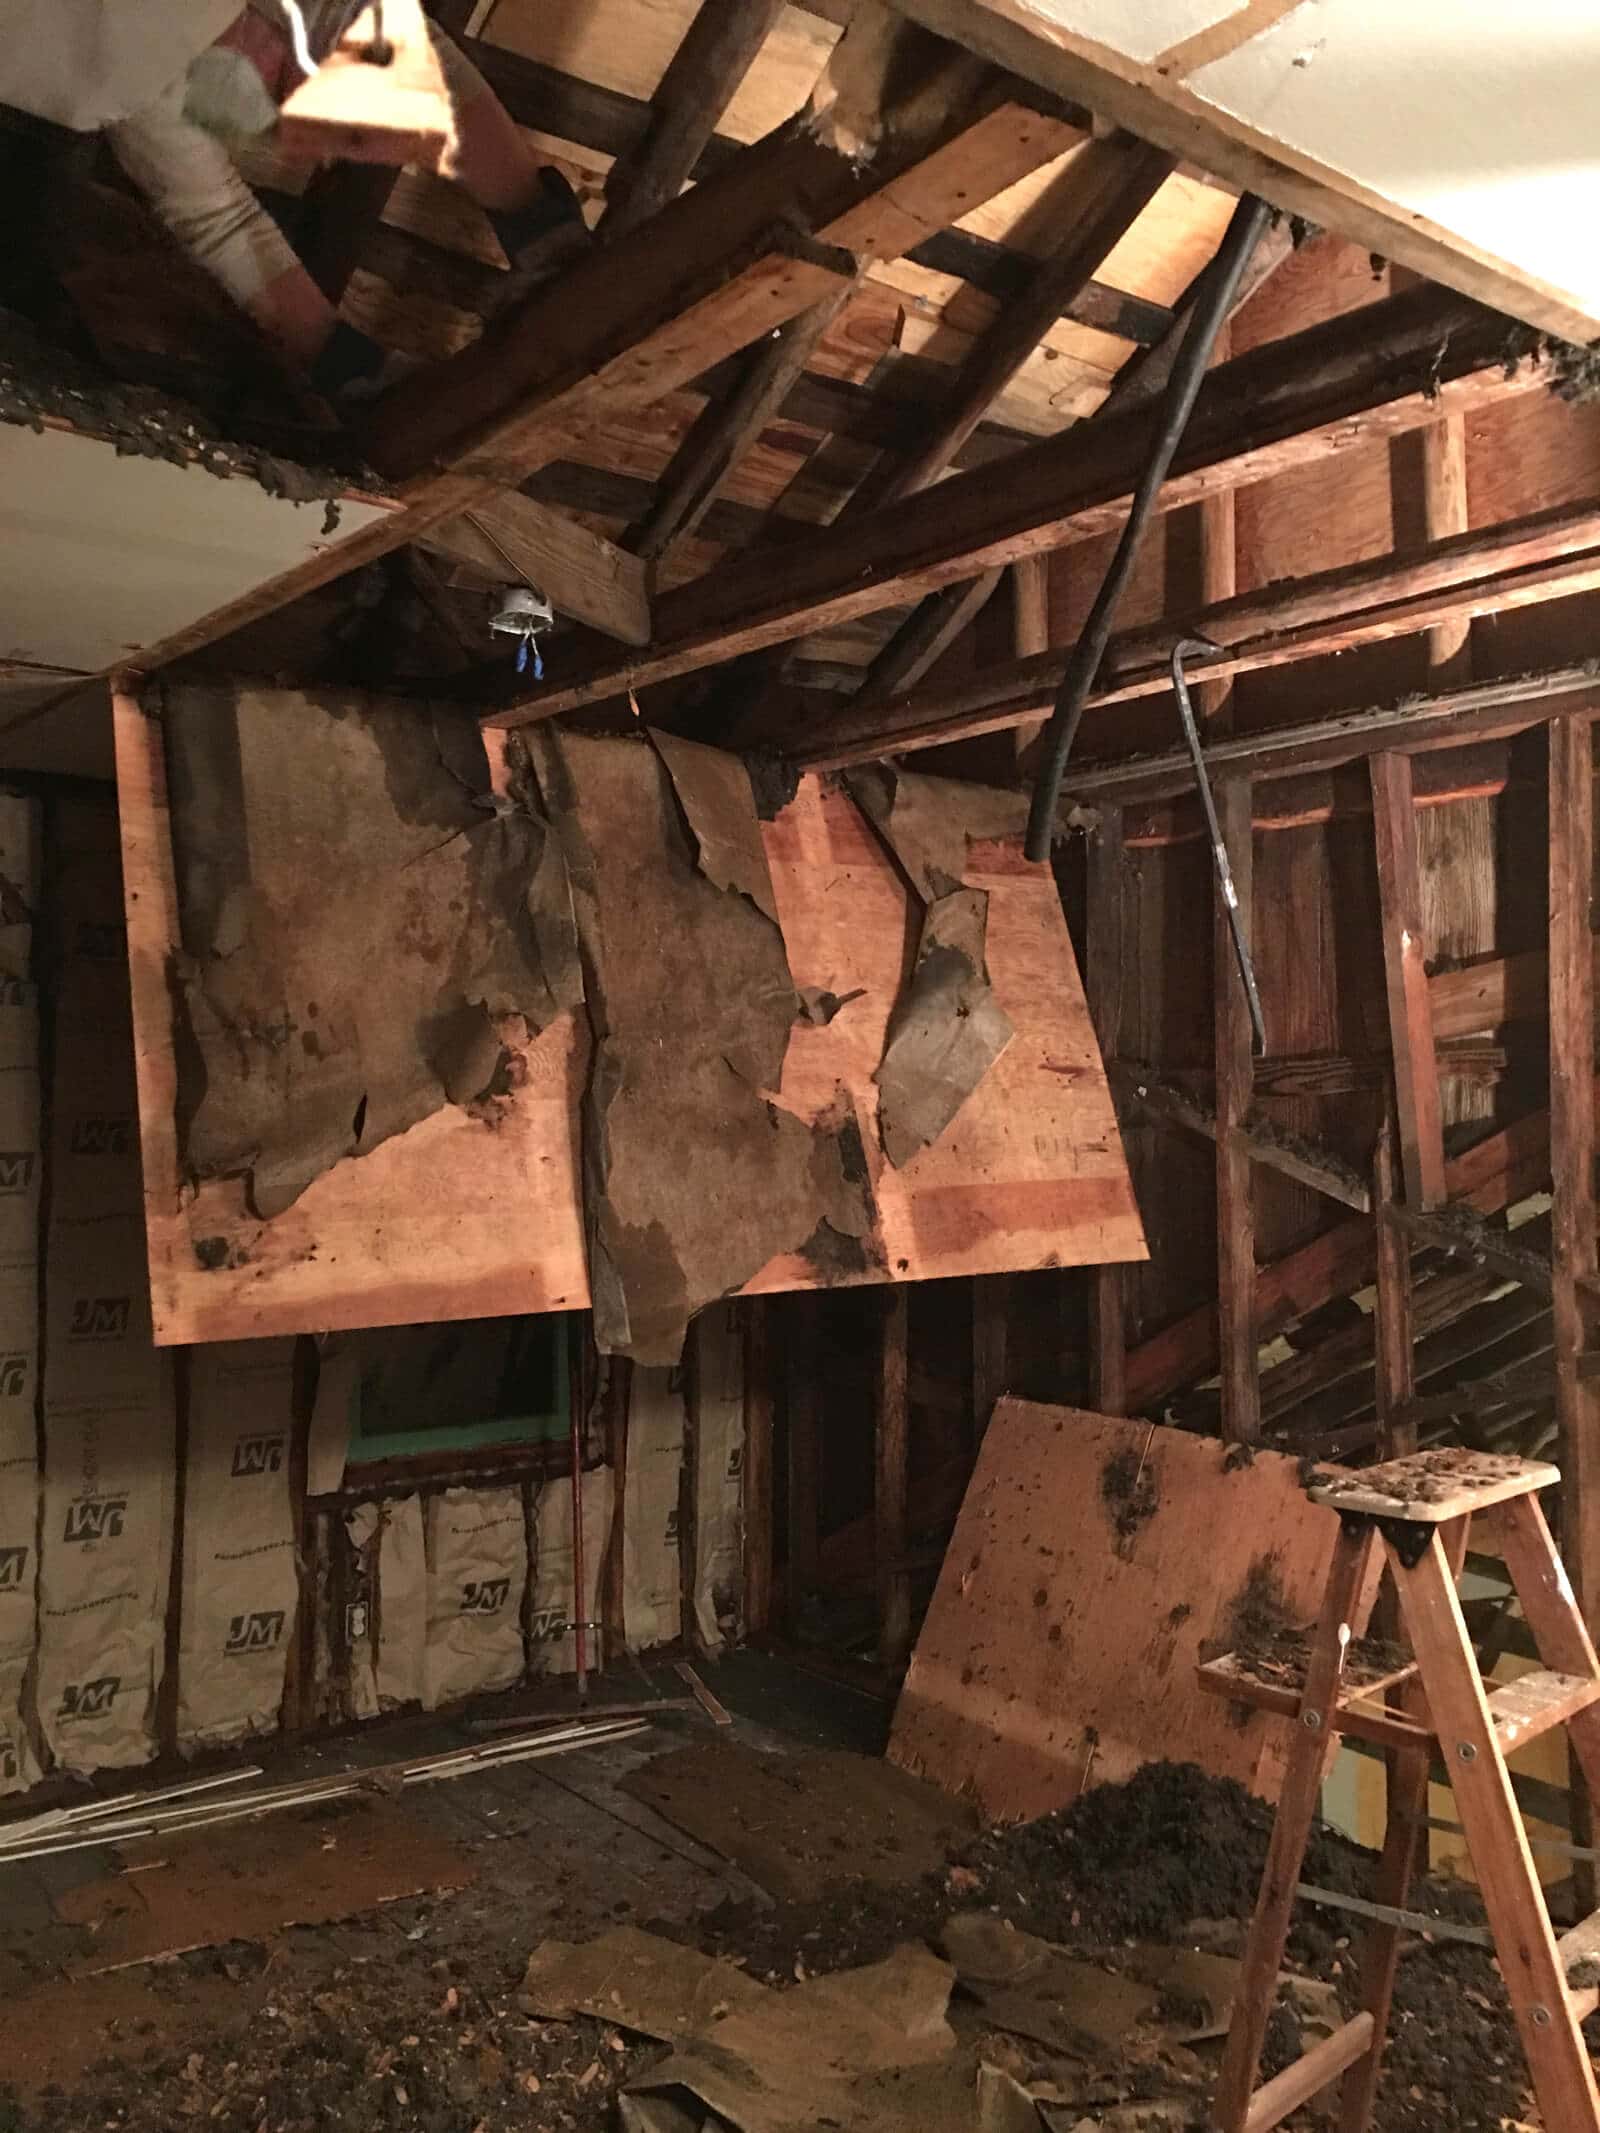
Well, it’s now down to the barest of bones (the ceiling is now gone, too) and boy, it’s looking rough!
Had we realized the amount of work this was going to involve (and unbelievably gross stuff we found behind the walls, ewww!!), we probably wouldn’t have done it, or at least not for a loooong time. So it’s a good thing we went into this blindly :) But now that we’ve made it this far we’re really glad we did and there’s no turning back now until we’ve created something beautiful!

What an adventure it was getting to this point!
How much would someone have to pay me to do it again? That’s a hard one. And my husband and brother would fully agree.
Let me take you through the process up to where we are now.

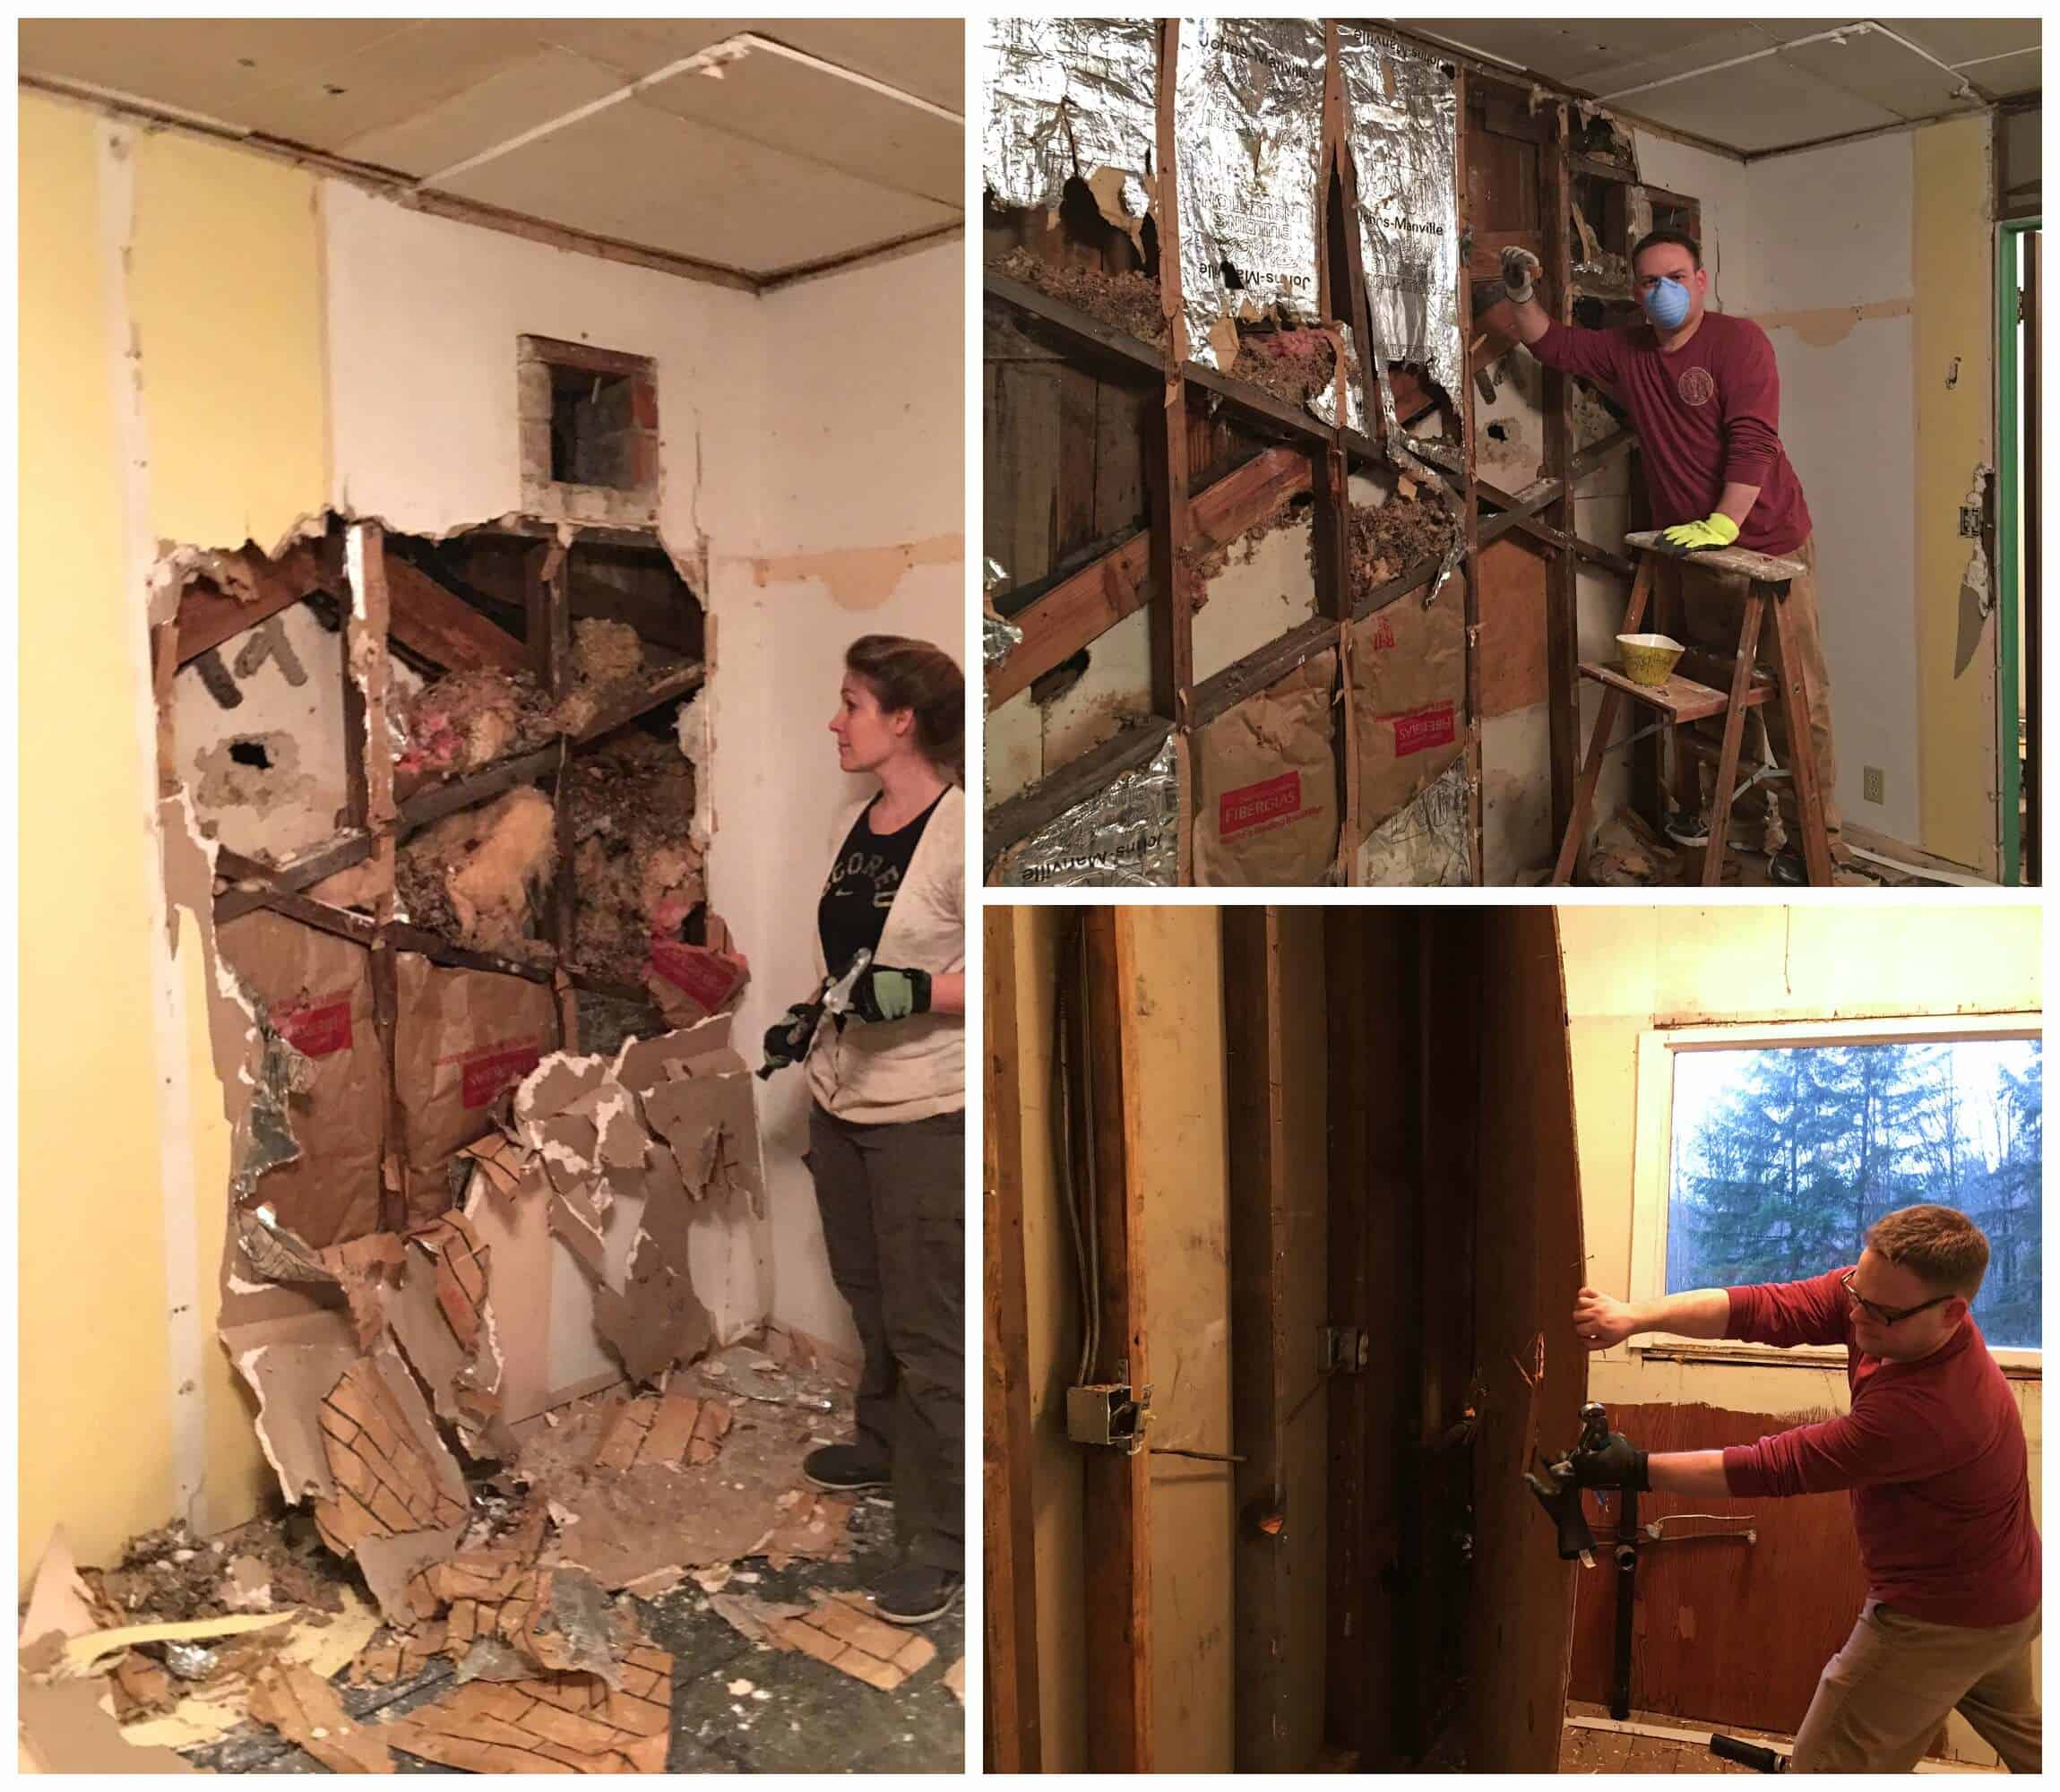
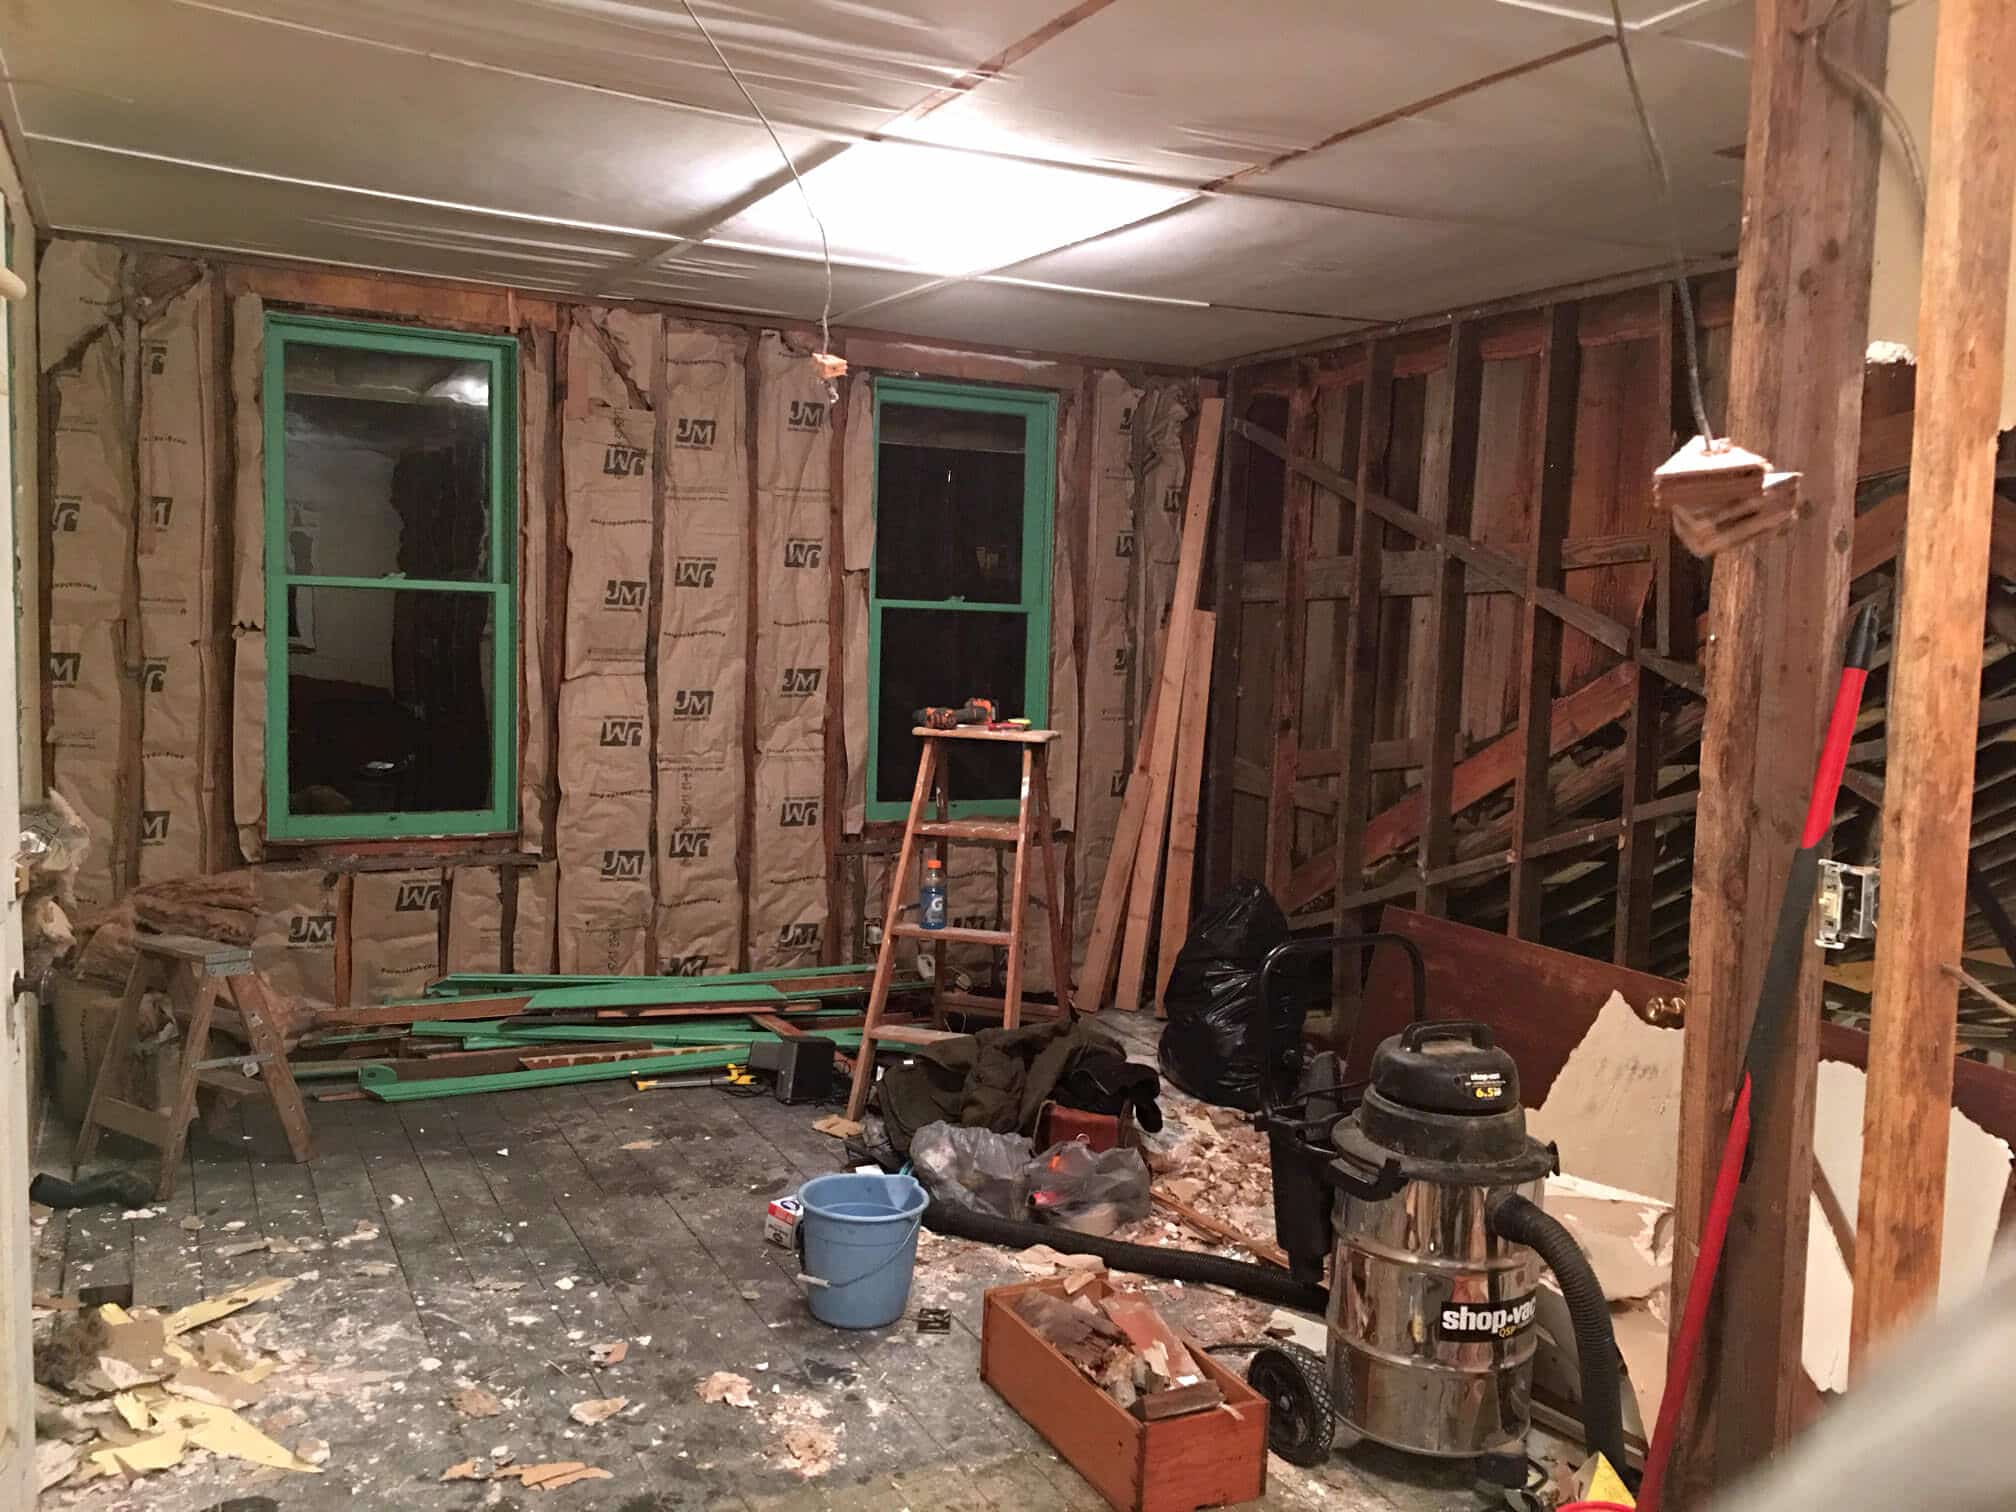
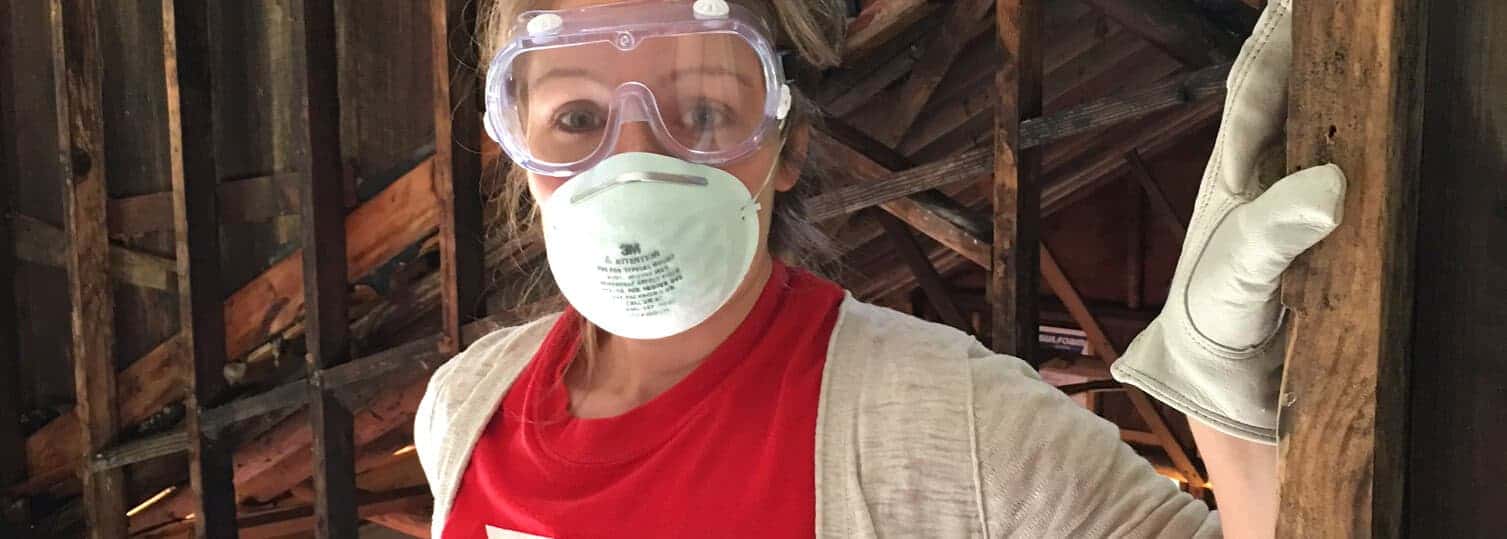
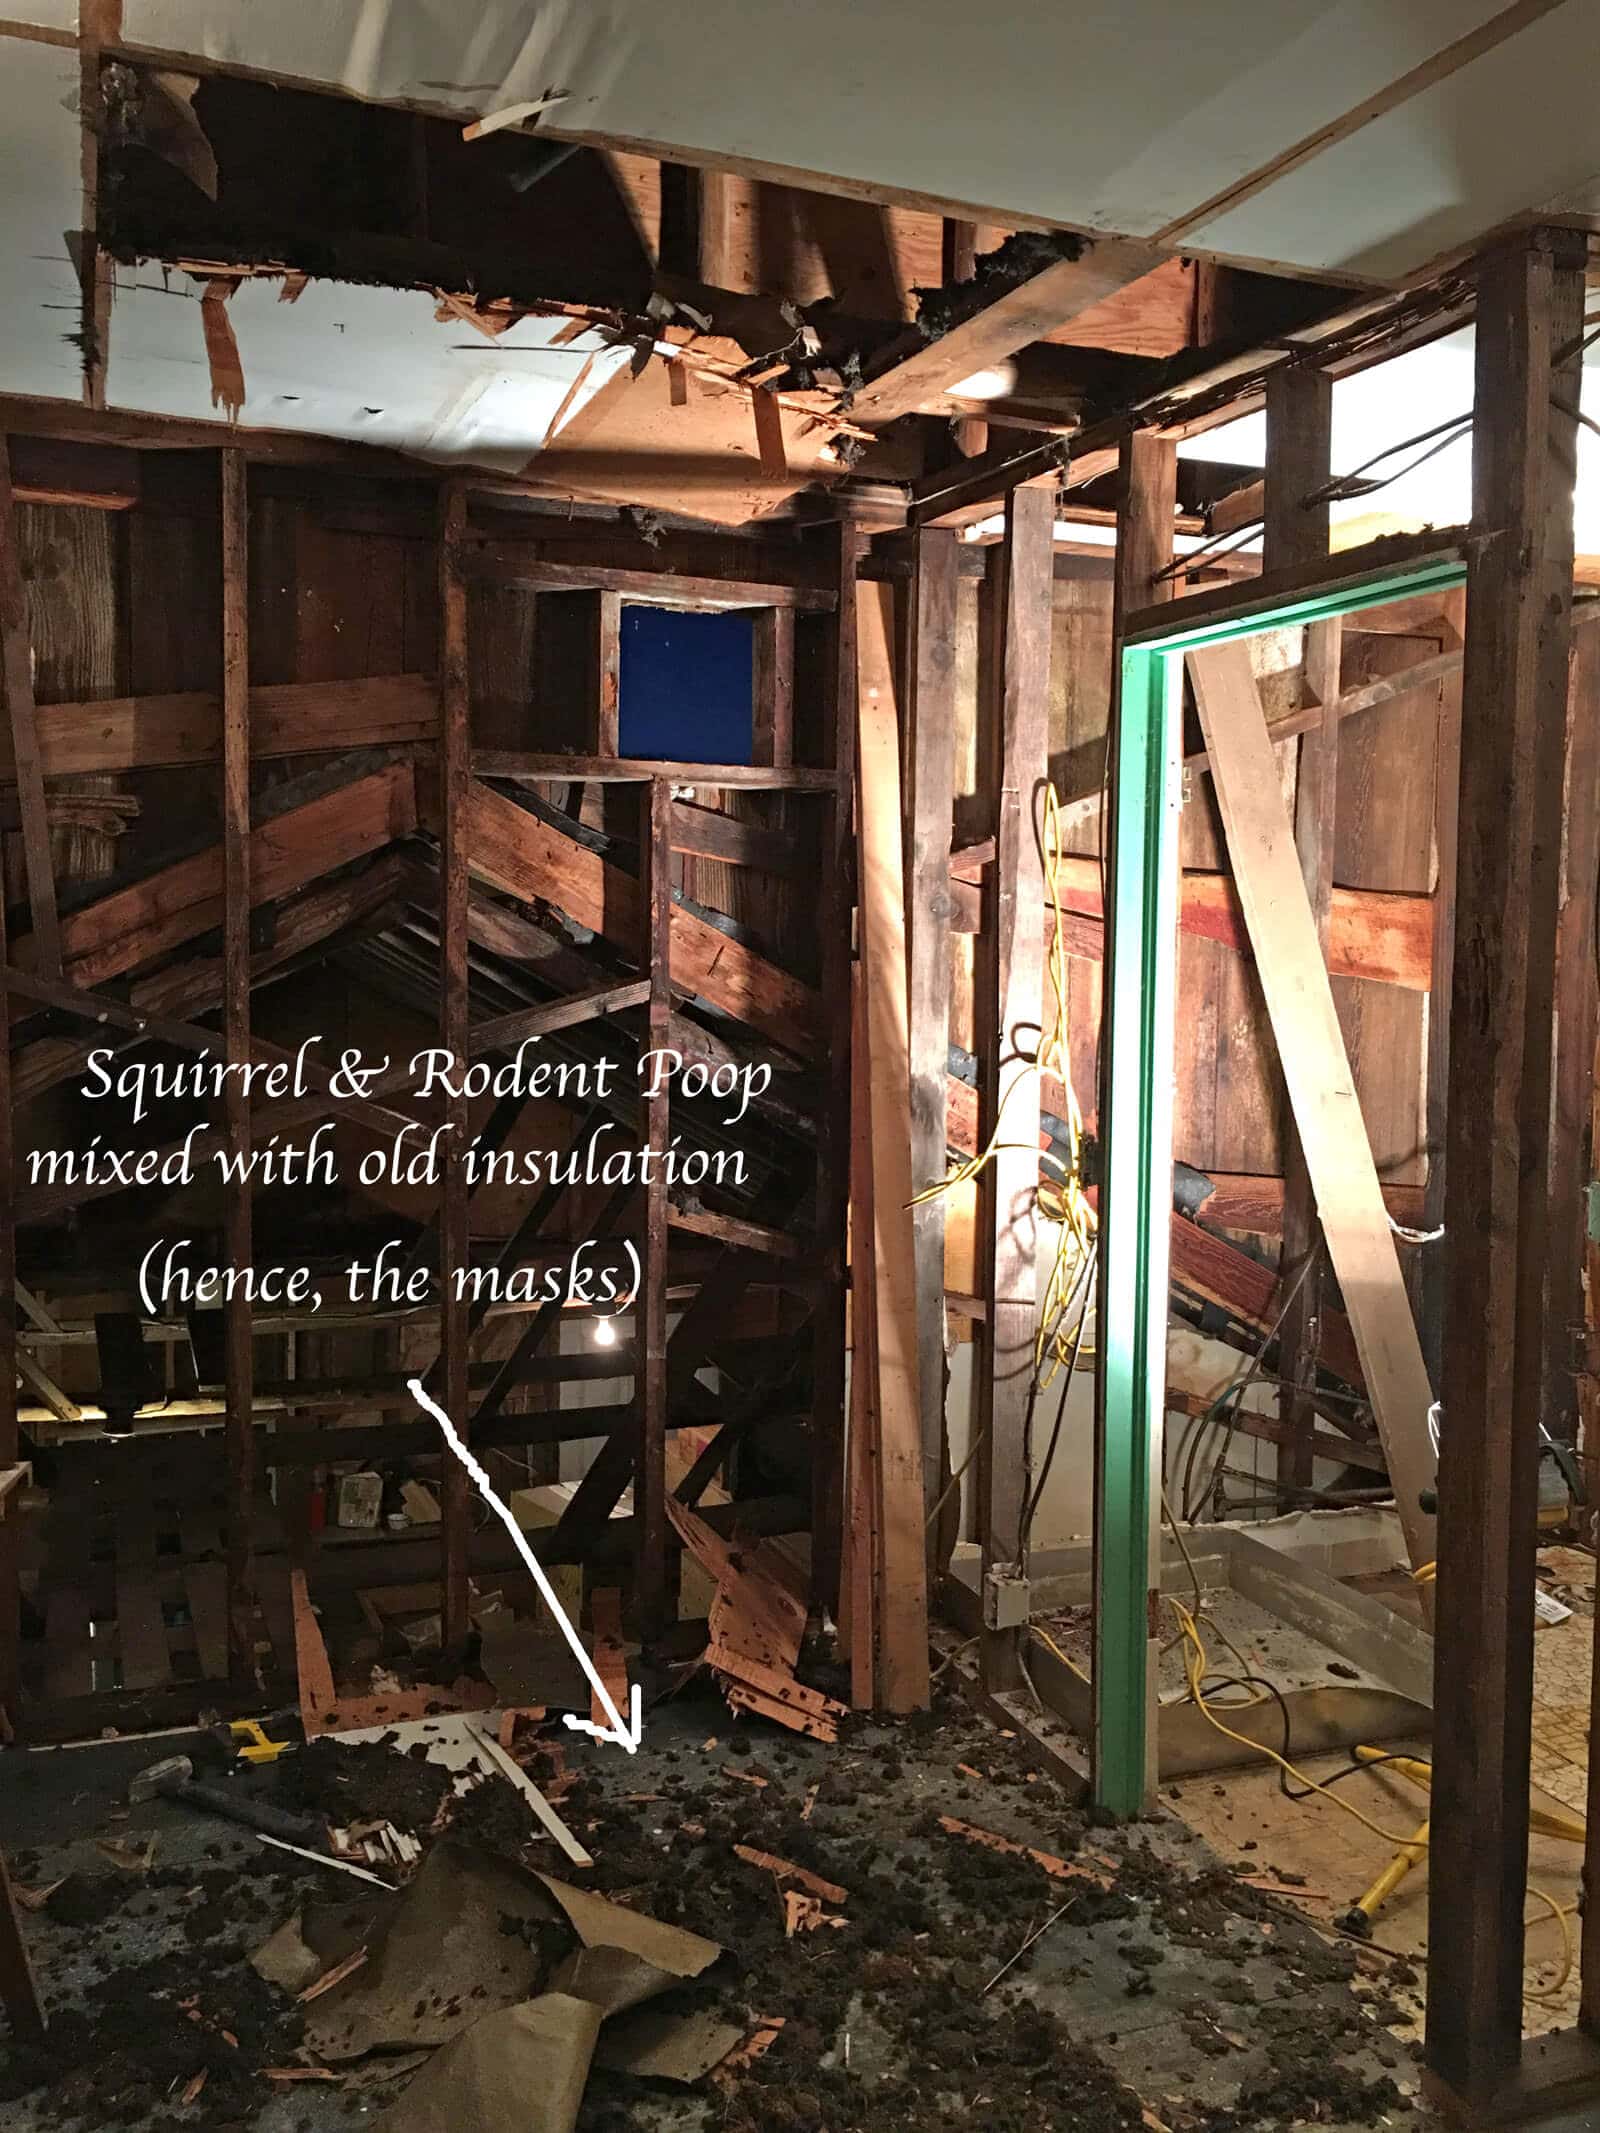
We never would have guessed what was behind these walls. The old insulation was soaked with old squirrel urine, squirrel poop and mountains of hazelnut shells. My brother and I undertook this task together. Yeah, we had to gather it all up by hand (wearing gloves of course, and masks) and stuff it into garbage bags. We had about 7 or 8 huge black garbage bags full of squirrel-infested insulation.
Not to mention old insulation used to be made with this awful fiber glass stuff and those microscopic shards cut right into the gloves and burrowed themselves into our hands and fingers. Not fun!
Guess what else we found? Termites. But fortunately the nests were old with no signs of life. Whew!
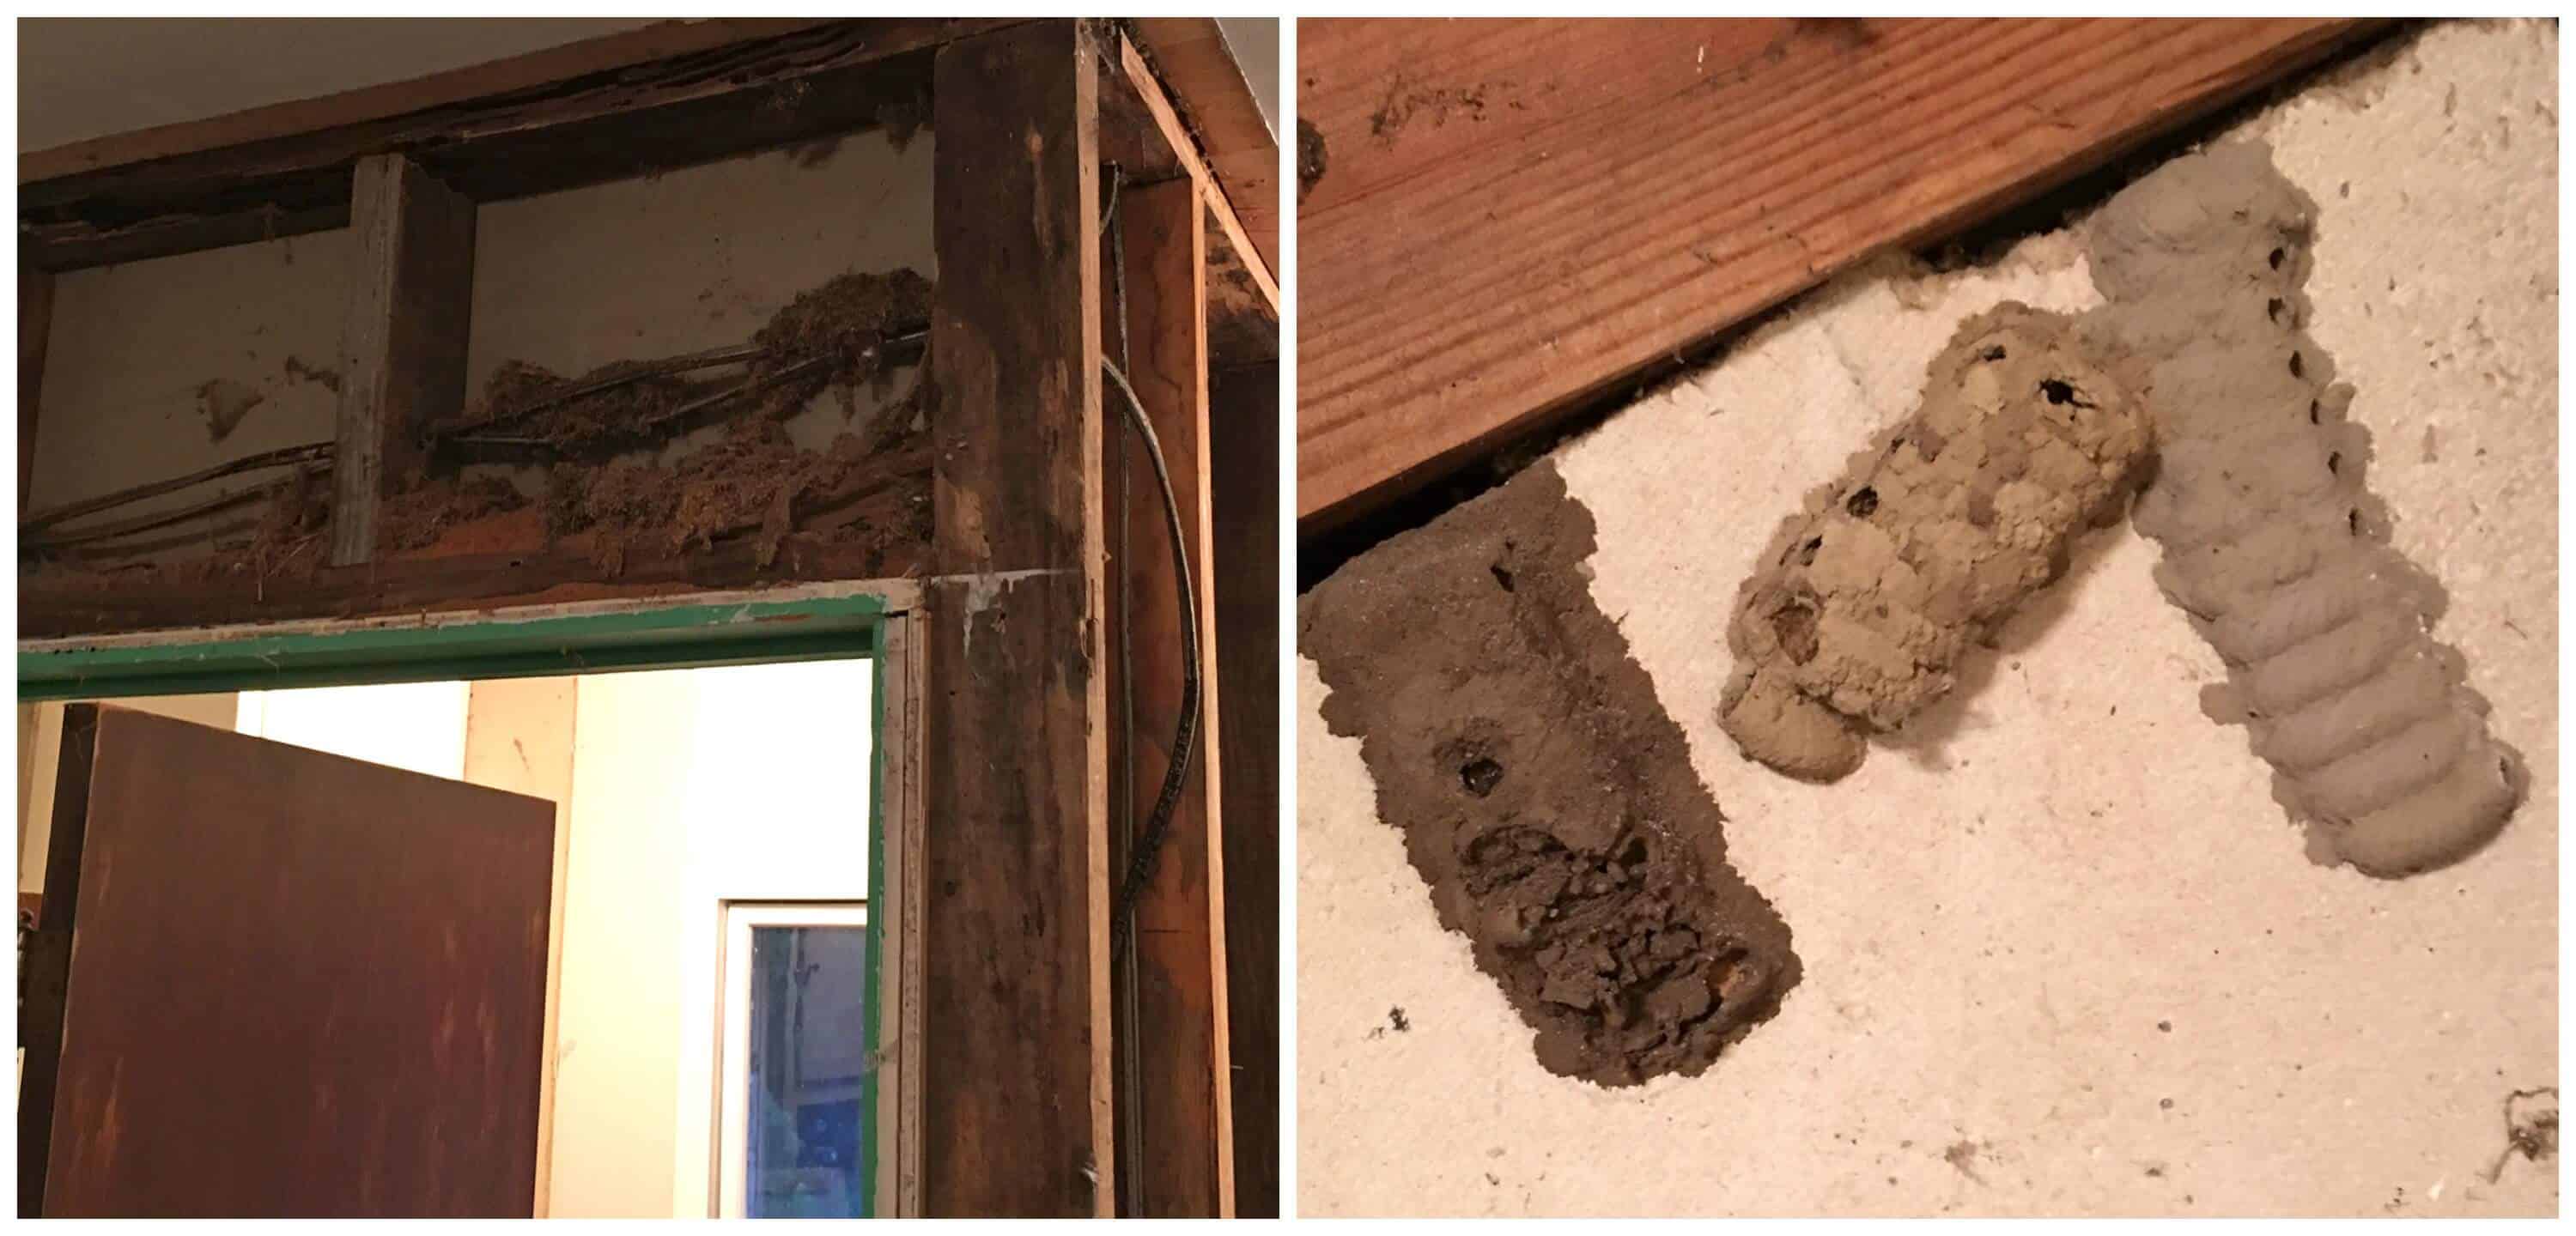
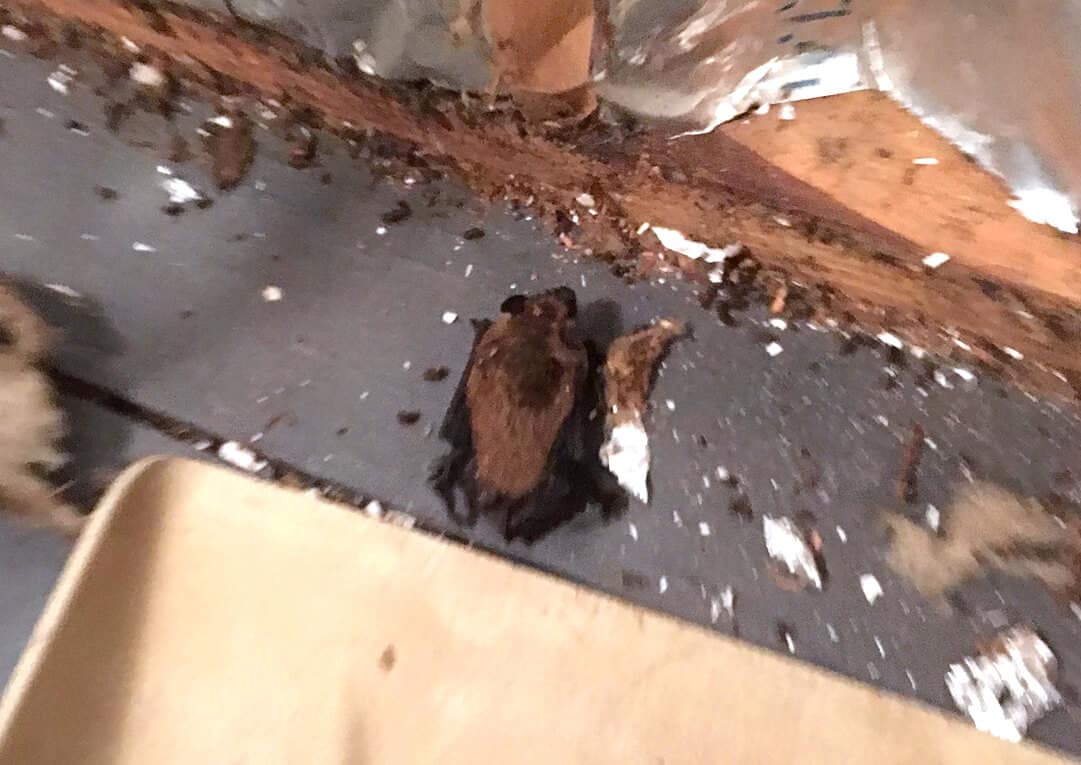
We even found a live bat! It flew out the door and kept trying to come back in so we shut it.

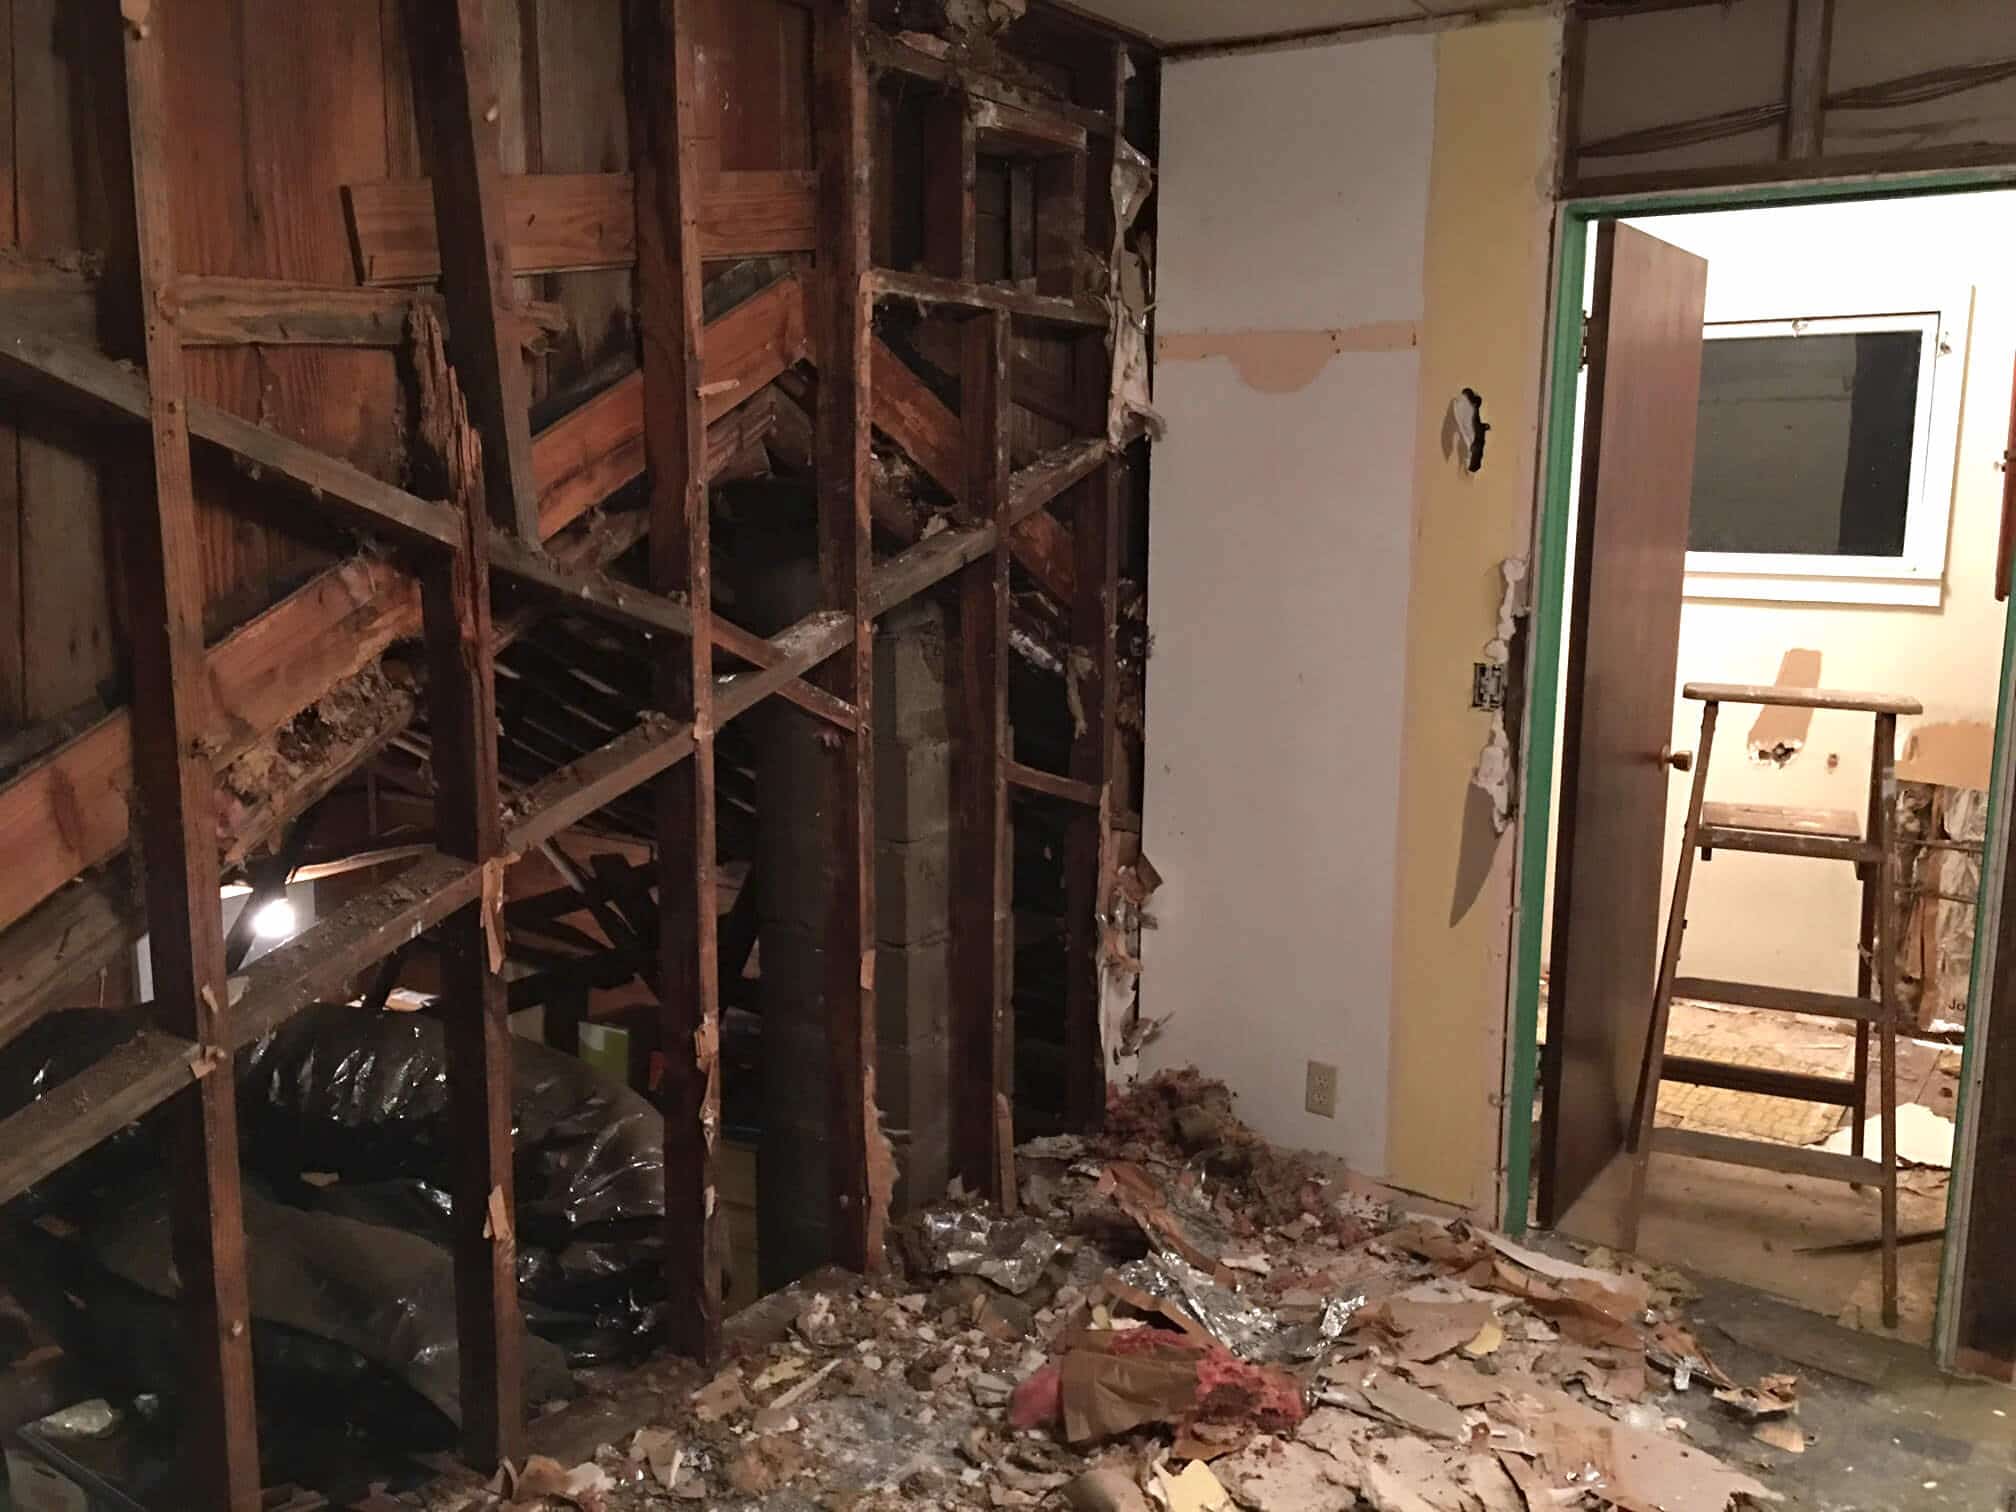
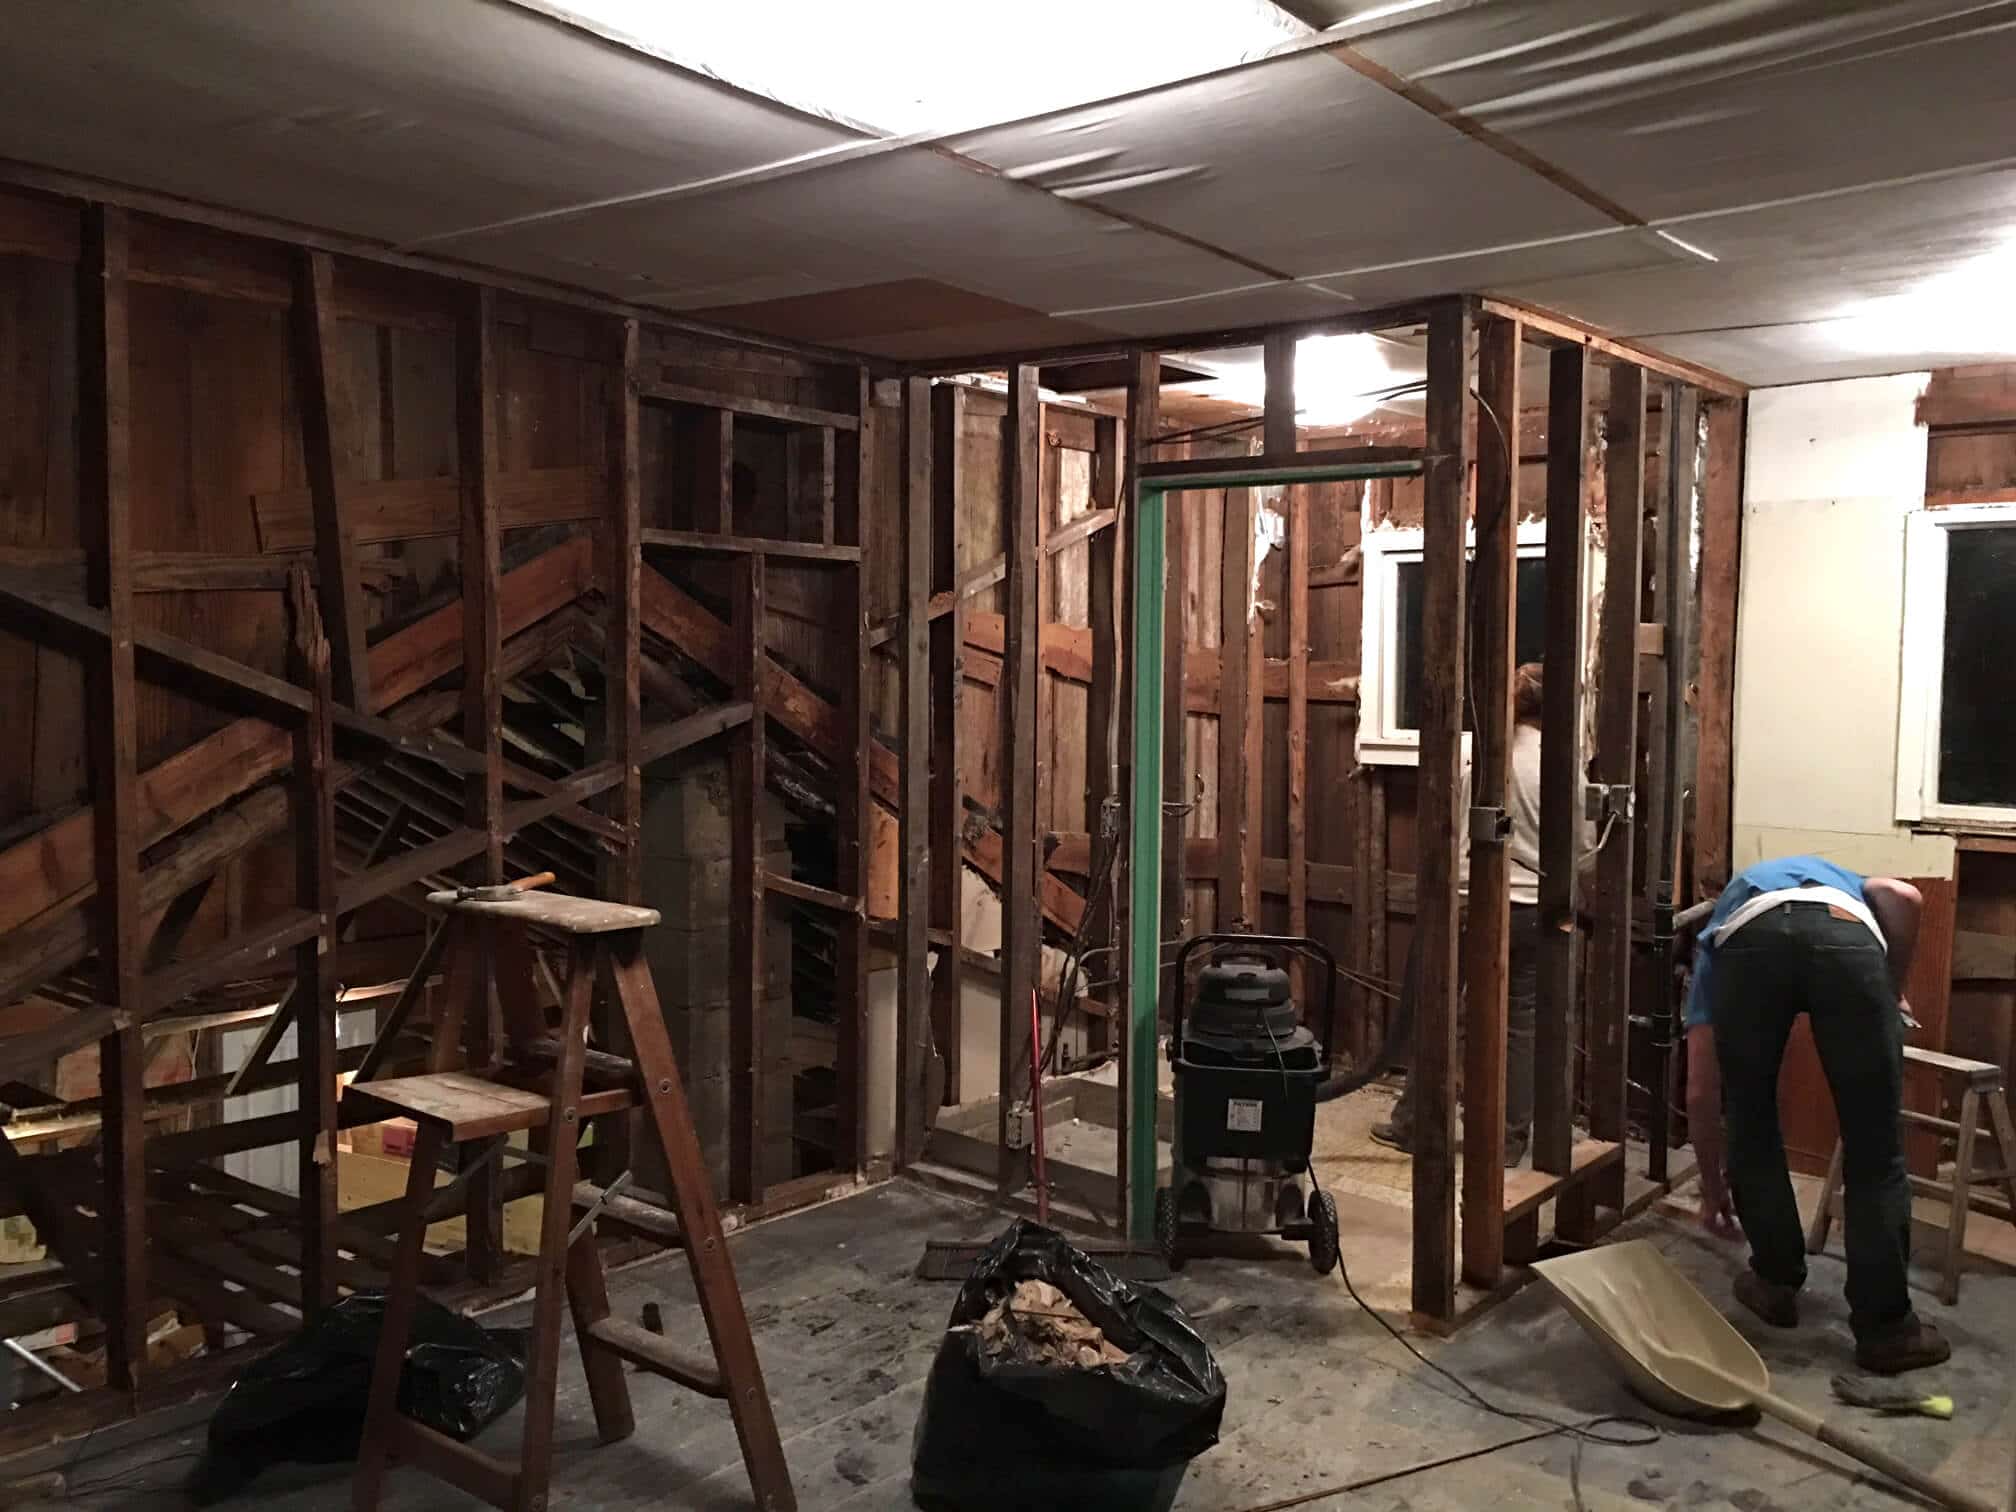
As disgusting as everything was behind the walls the route we had to take was clear: This remodel required a COMPLETE GUTTING. We had to just go ahead and rip every last shred of everything out down to the bare bones.
Old rusty nails were everywhere!
And my brother and I both had a very unpleasant close encounter with them.
A nail went right through the bottom of my shoe and out through the top – luckily it was on the side of my shoe and just barely missed my pinky toe!
My brother had a nail go all the way through his shoe in between his toes!
Man, we lucked out! It still gives me chills just thinking about it, ugh!
I couldn’t stand the thought of going to bed with all of that nasty infested insulation lying around even though we’d be making a huge mess again the next day (it’s the Swabian German in me). So we cleaned it all up.
Let me just say that our huge Shop-Vac has been absolutely indispensable. I don’t know what we’d do without it.
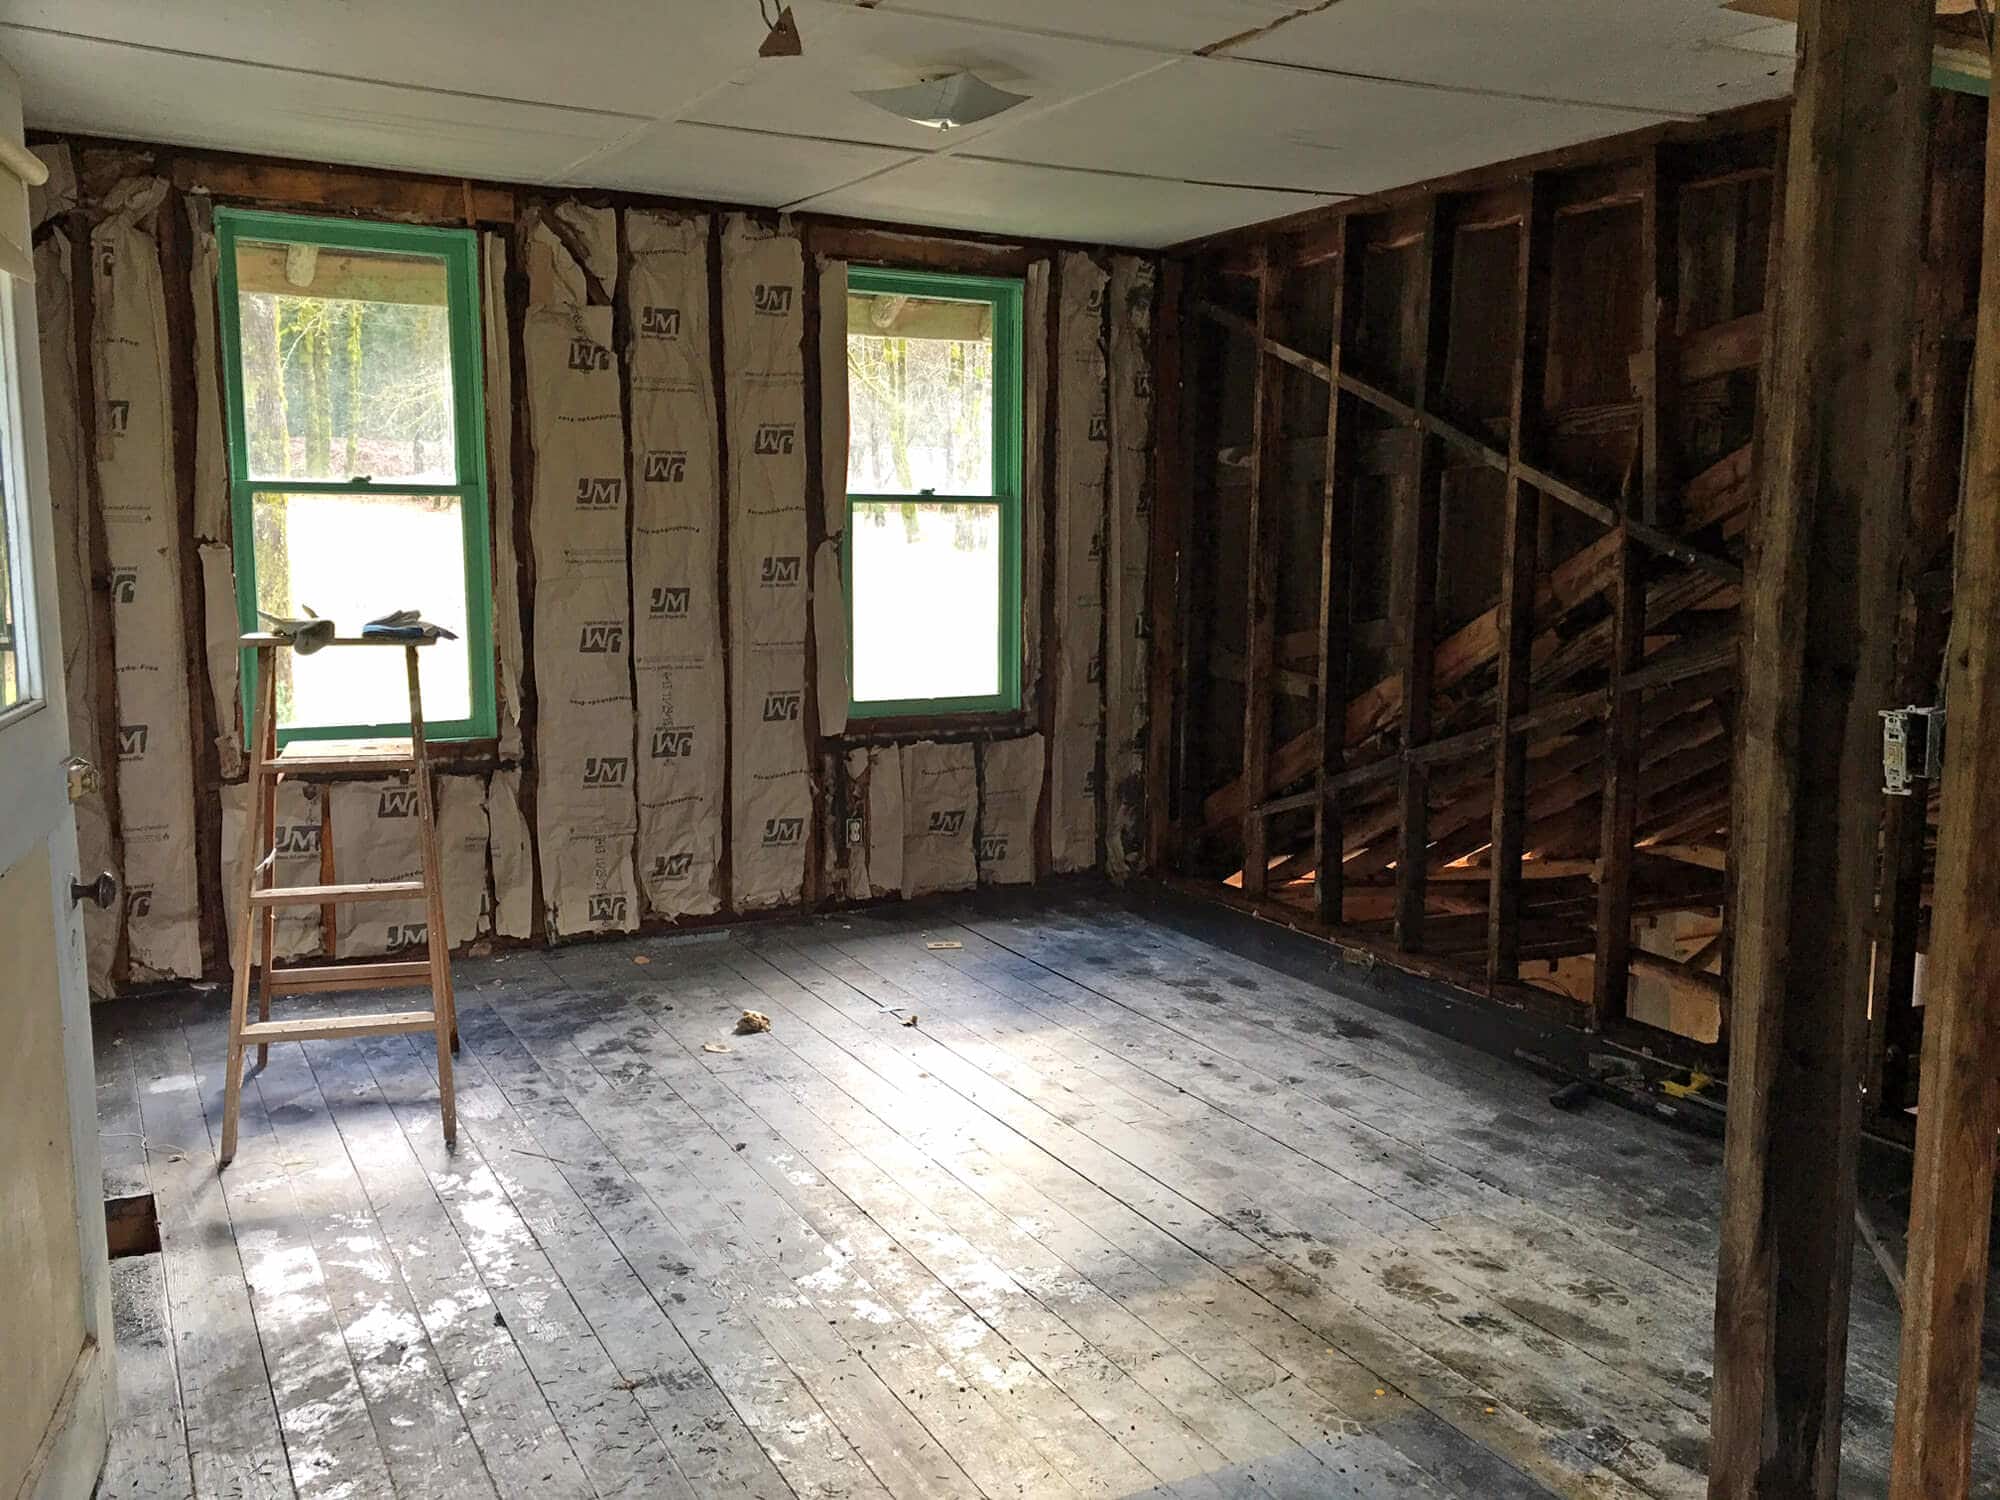
With the place picked up we looked around. We thought we were done with the excavating and the next step would be new wiring, insulation and drywall. And then I noticed something.

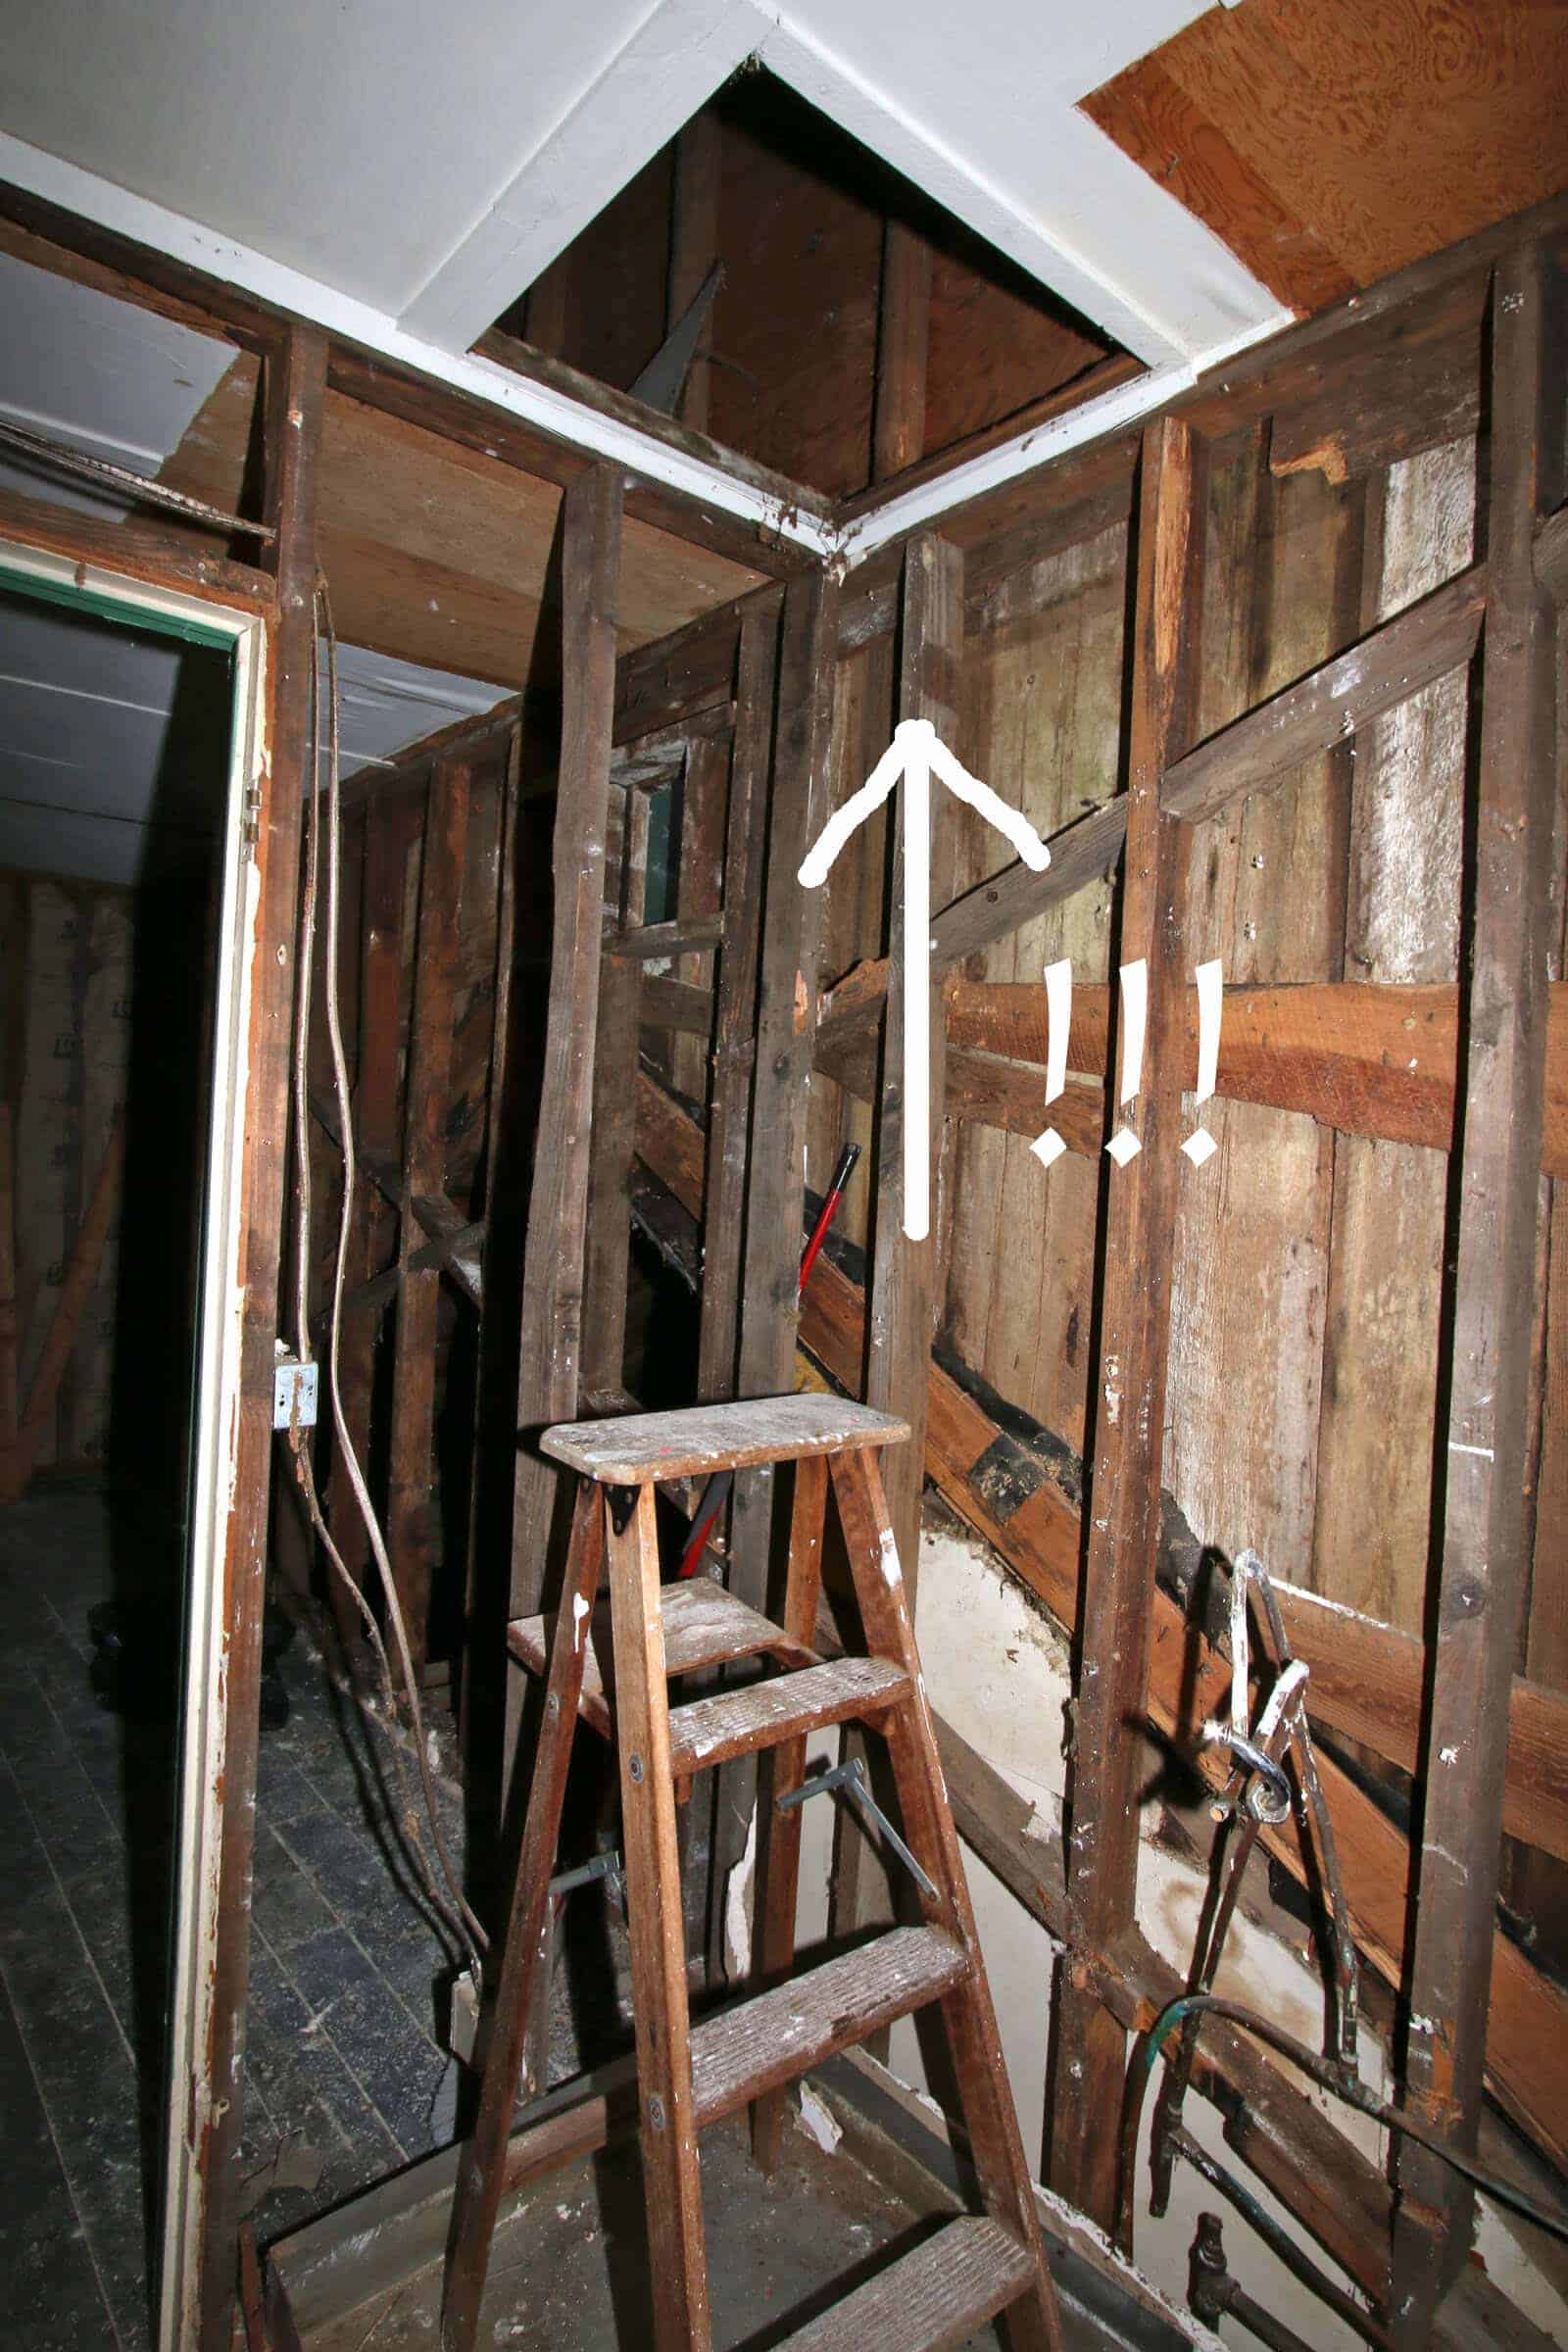
An opening in the bathroom ceiling above the old shower that went up to the attic space. Todd had already been up there but I hadn’t. My brother and I poked our heads through into the attic. Inspiration STRUCK! I looked at both of them, my eyes wide open with excitement.

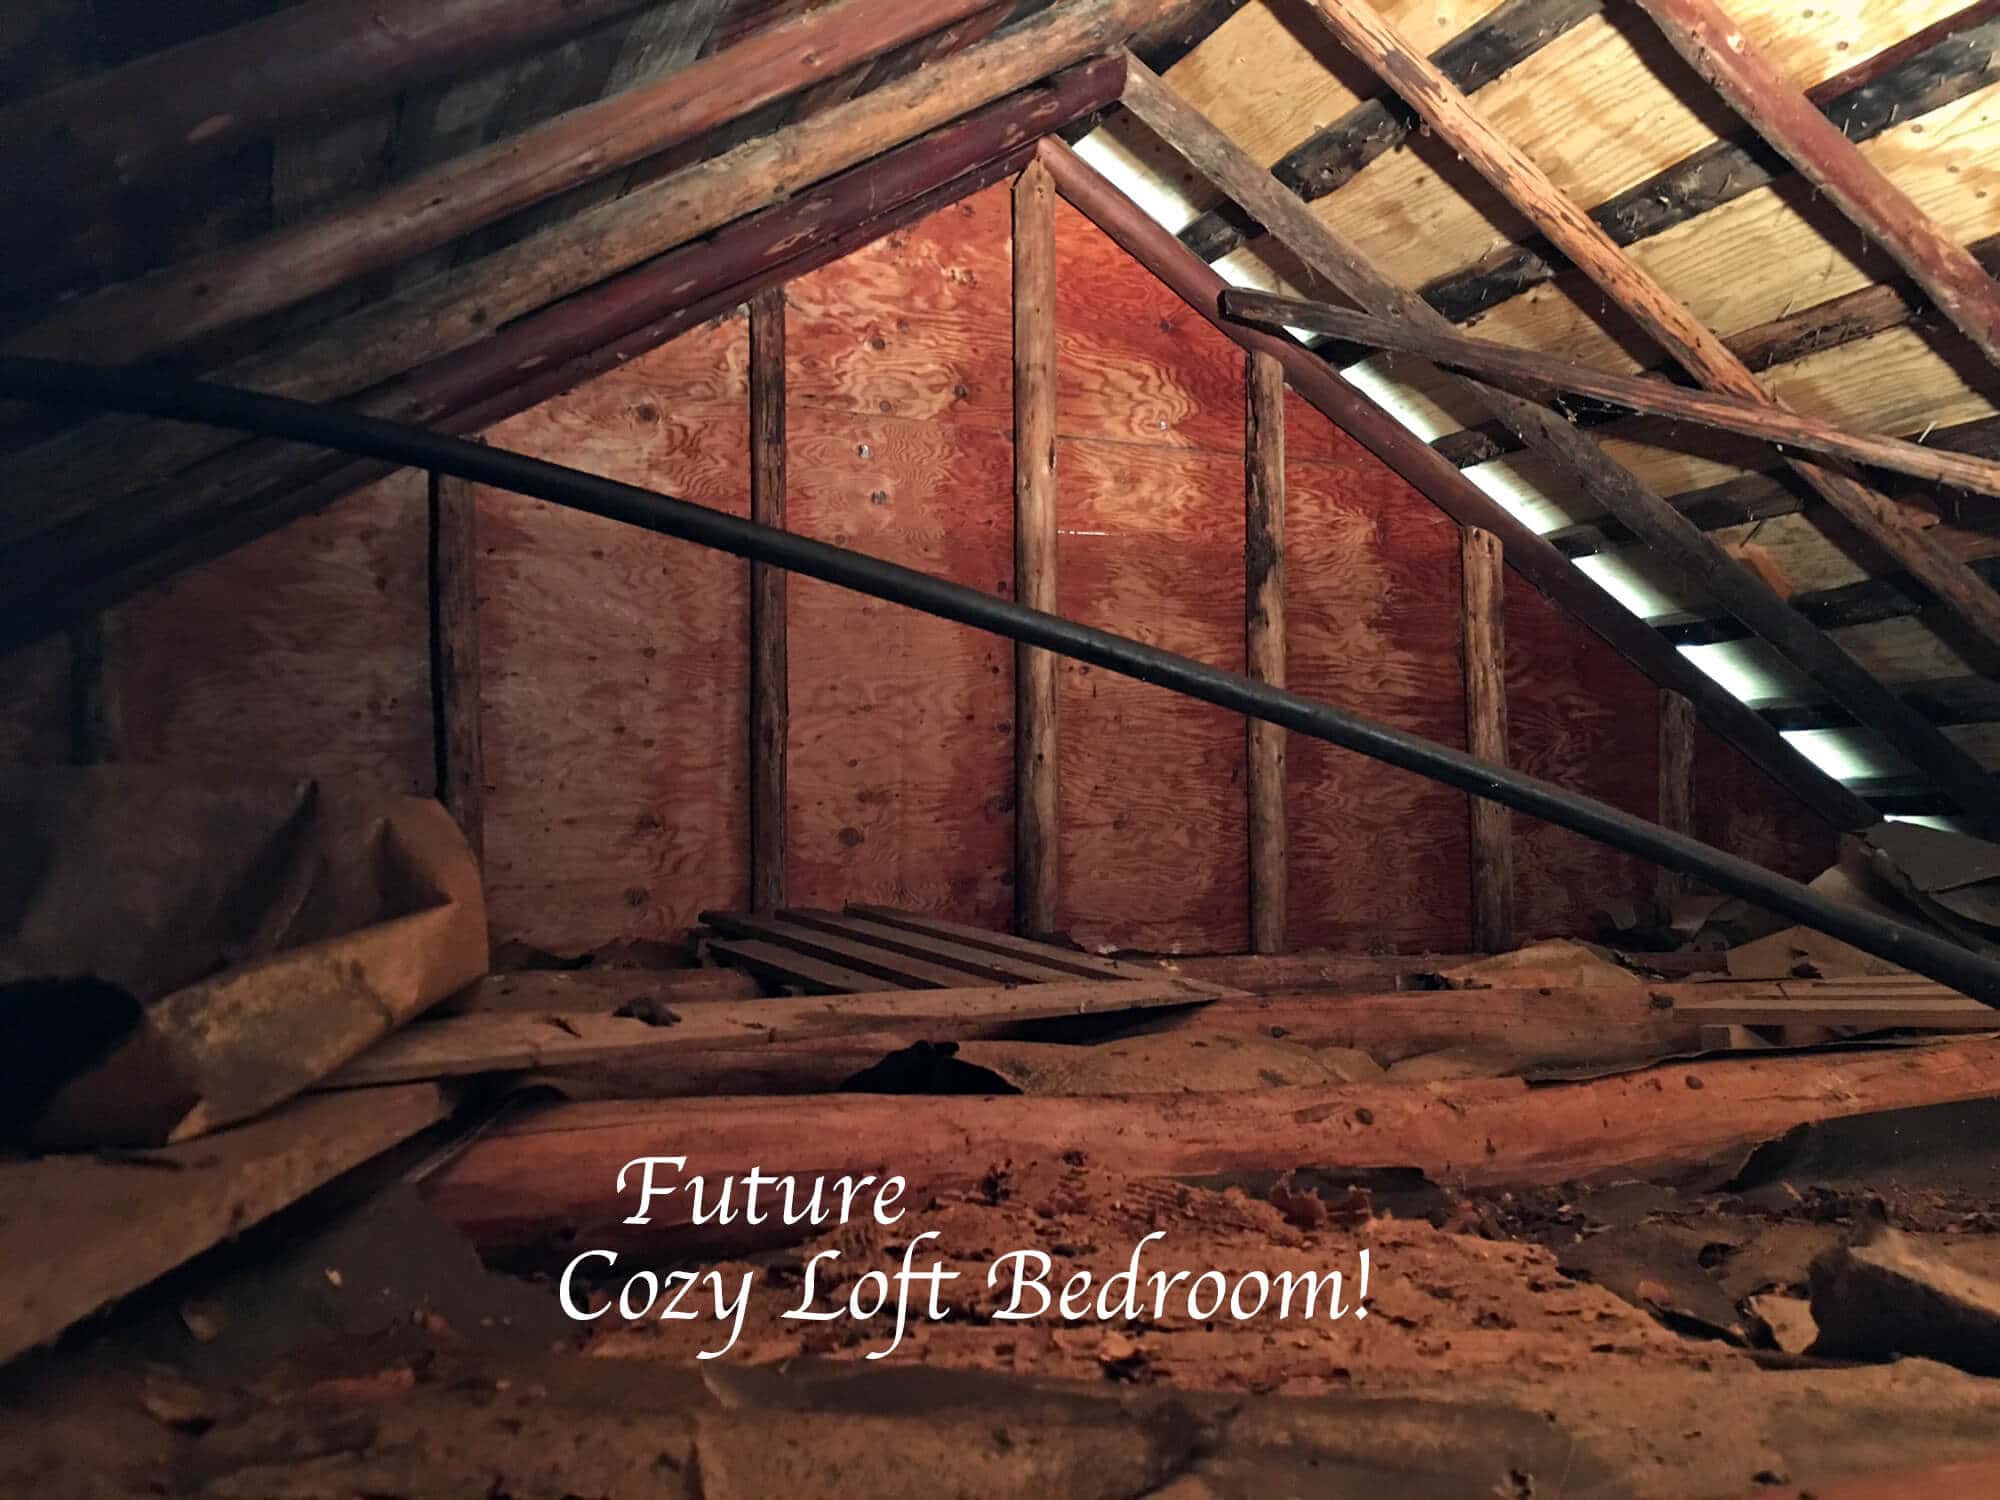
Can’t you just picture it? A super cozy A-framed loft bedroom with wood-paneled ceilings and just big enough for a low queen-sized bed in the center and maybe two small nightstands on either side. And maybe put in a window in the center above the bed for natural light.
The entrance to the loft would either be a nice ladder mounted to the wall going up to the loft or a small, artsy spiral staircase.
Plus it would add another 100+ square feet to the place and that way the bed could be out of the way instead of having to resort to a sleeper sofa or daybed downstairs.
We’re super excited about the idea!
We only had one reservation….

Our original plan was to just put new drywall over the existing ceiling. Why? For one, because the current ceiling wasn’t drywall, it was these awful huge plywood boards that were impossible to get out. You try yanking on them and they just split and splinter. The kitchen walls were the same way. The second reason is that the upstairs was full of more loose insulation caked with squirrel and who-knows-what-else kind of urine and poop. Tearing down the ceilings meant that all of that would be cascading down on our heads!
Goggle time.
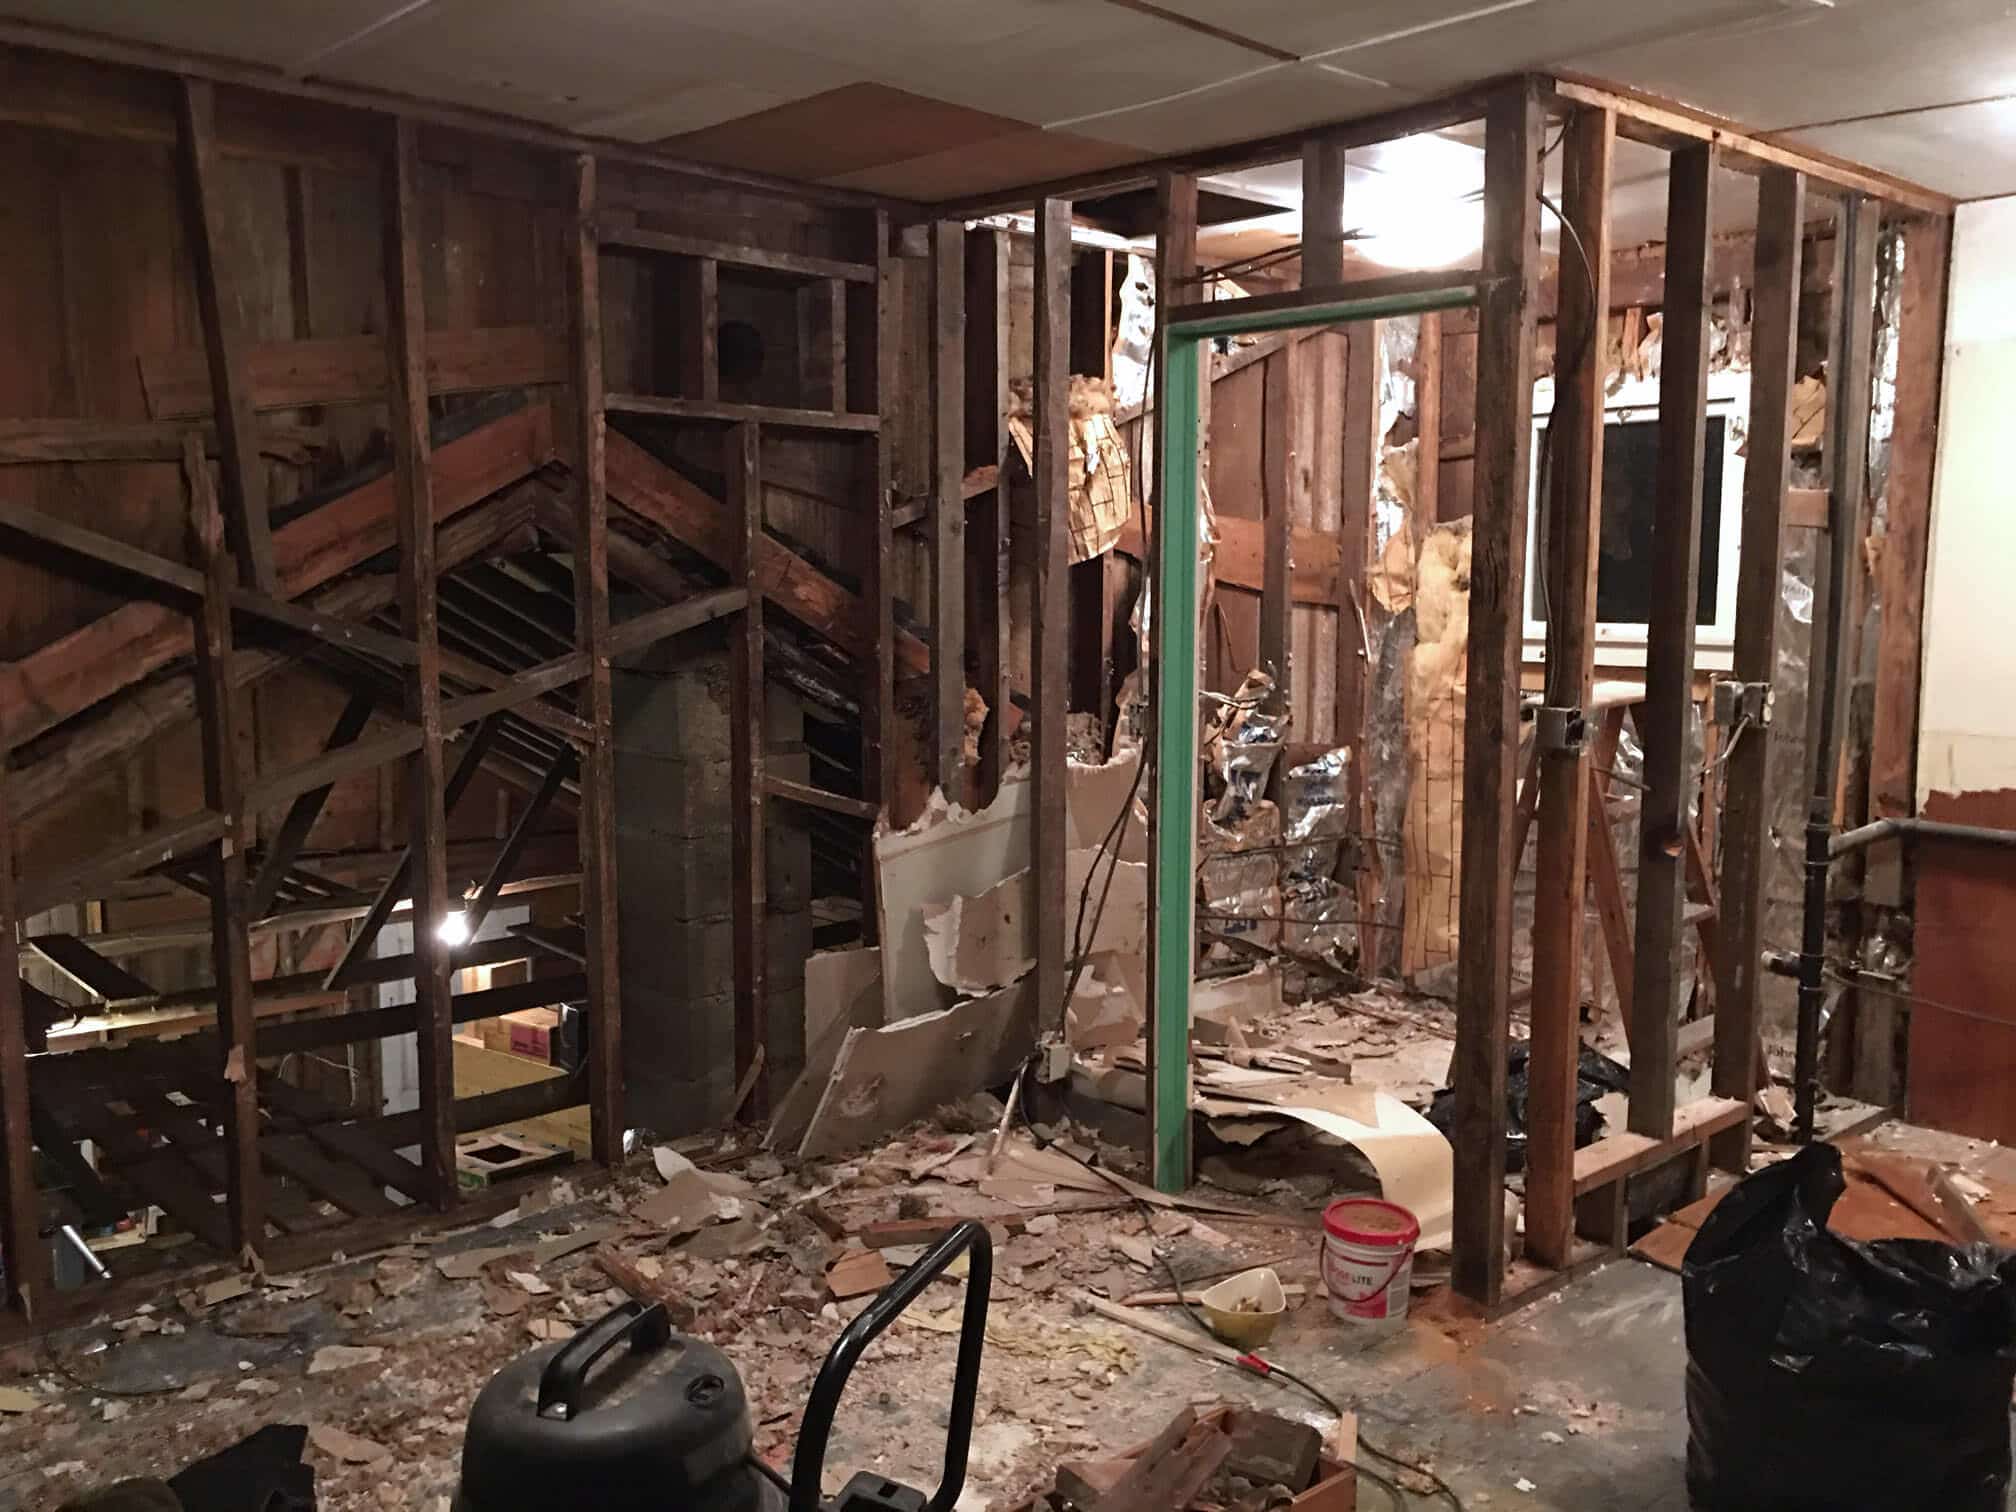
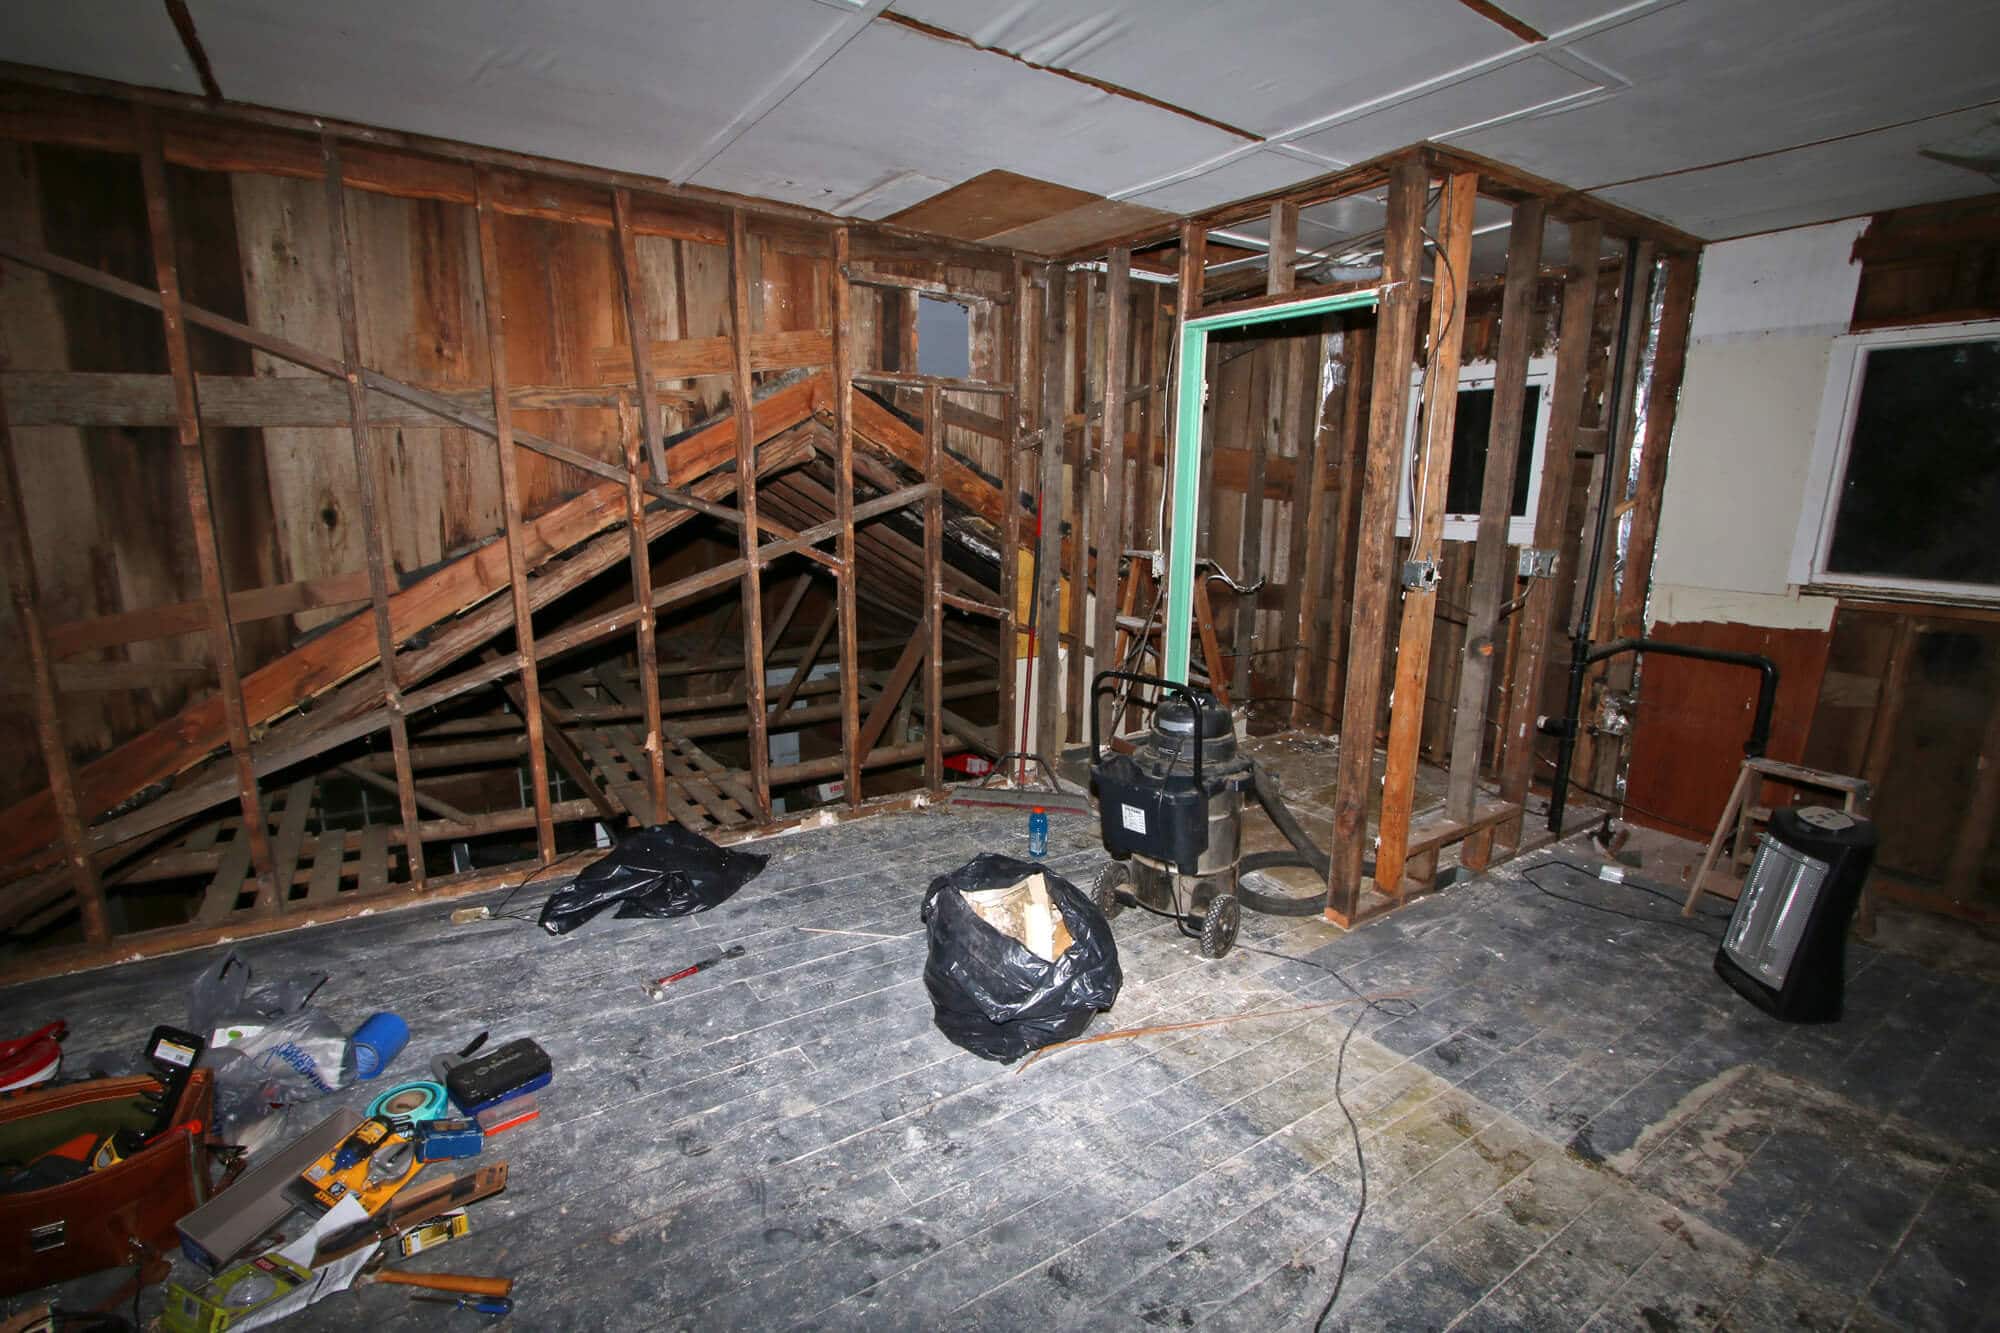
My brother had the first go at the ceiling. With those plywood boards it was hard to even find a place to get a grip on them. And once we did the wood would just splinter. And of course as soon as it started opening up, all of that disgusting poop and urine-infested stuff came cascading down on us!
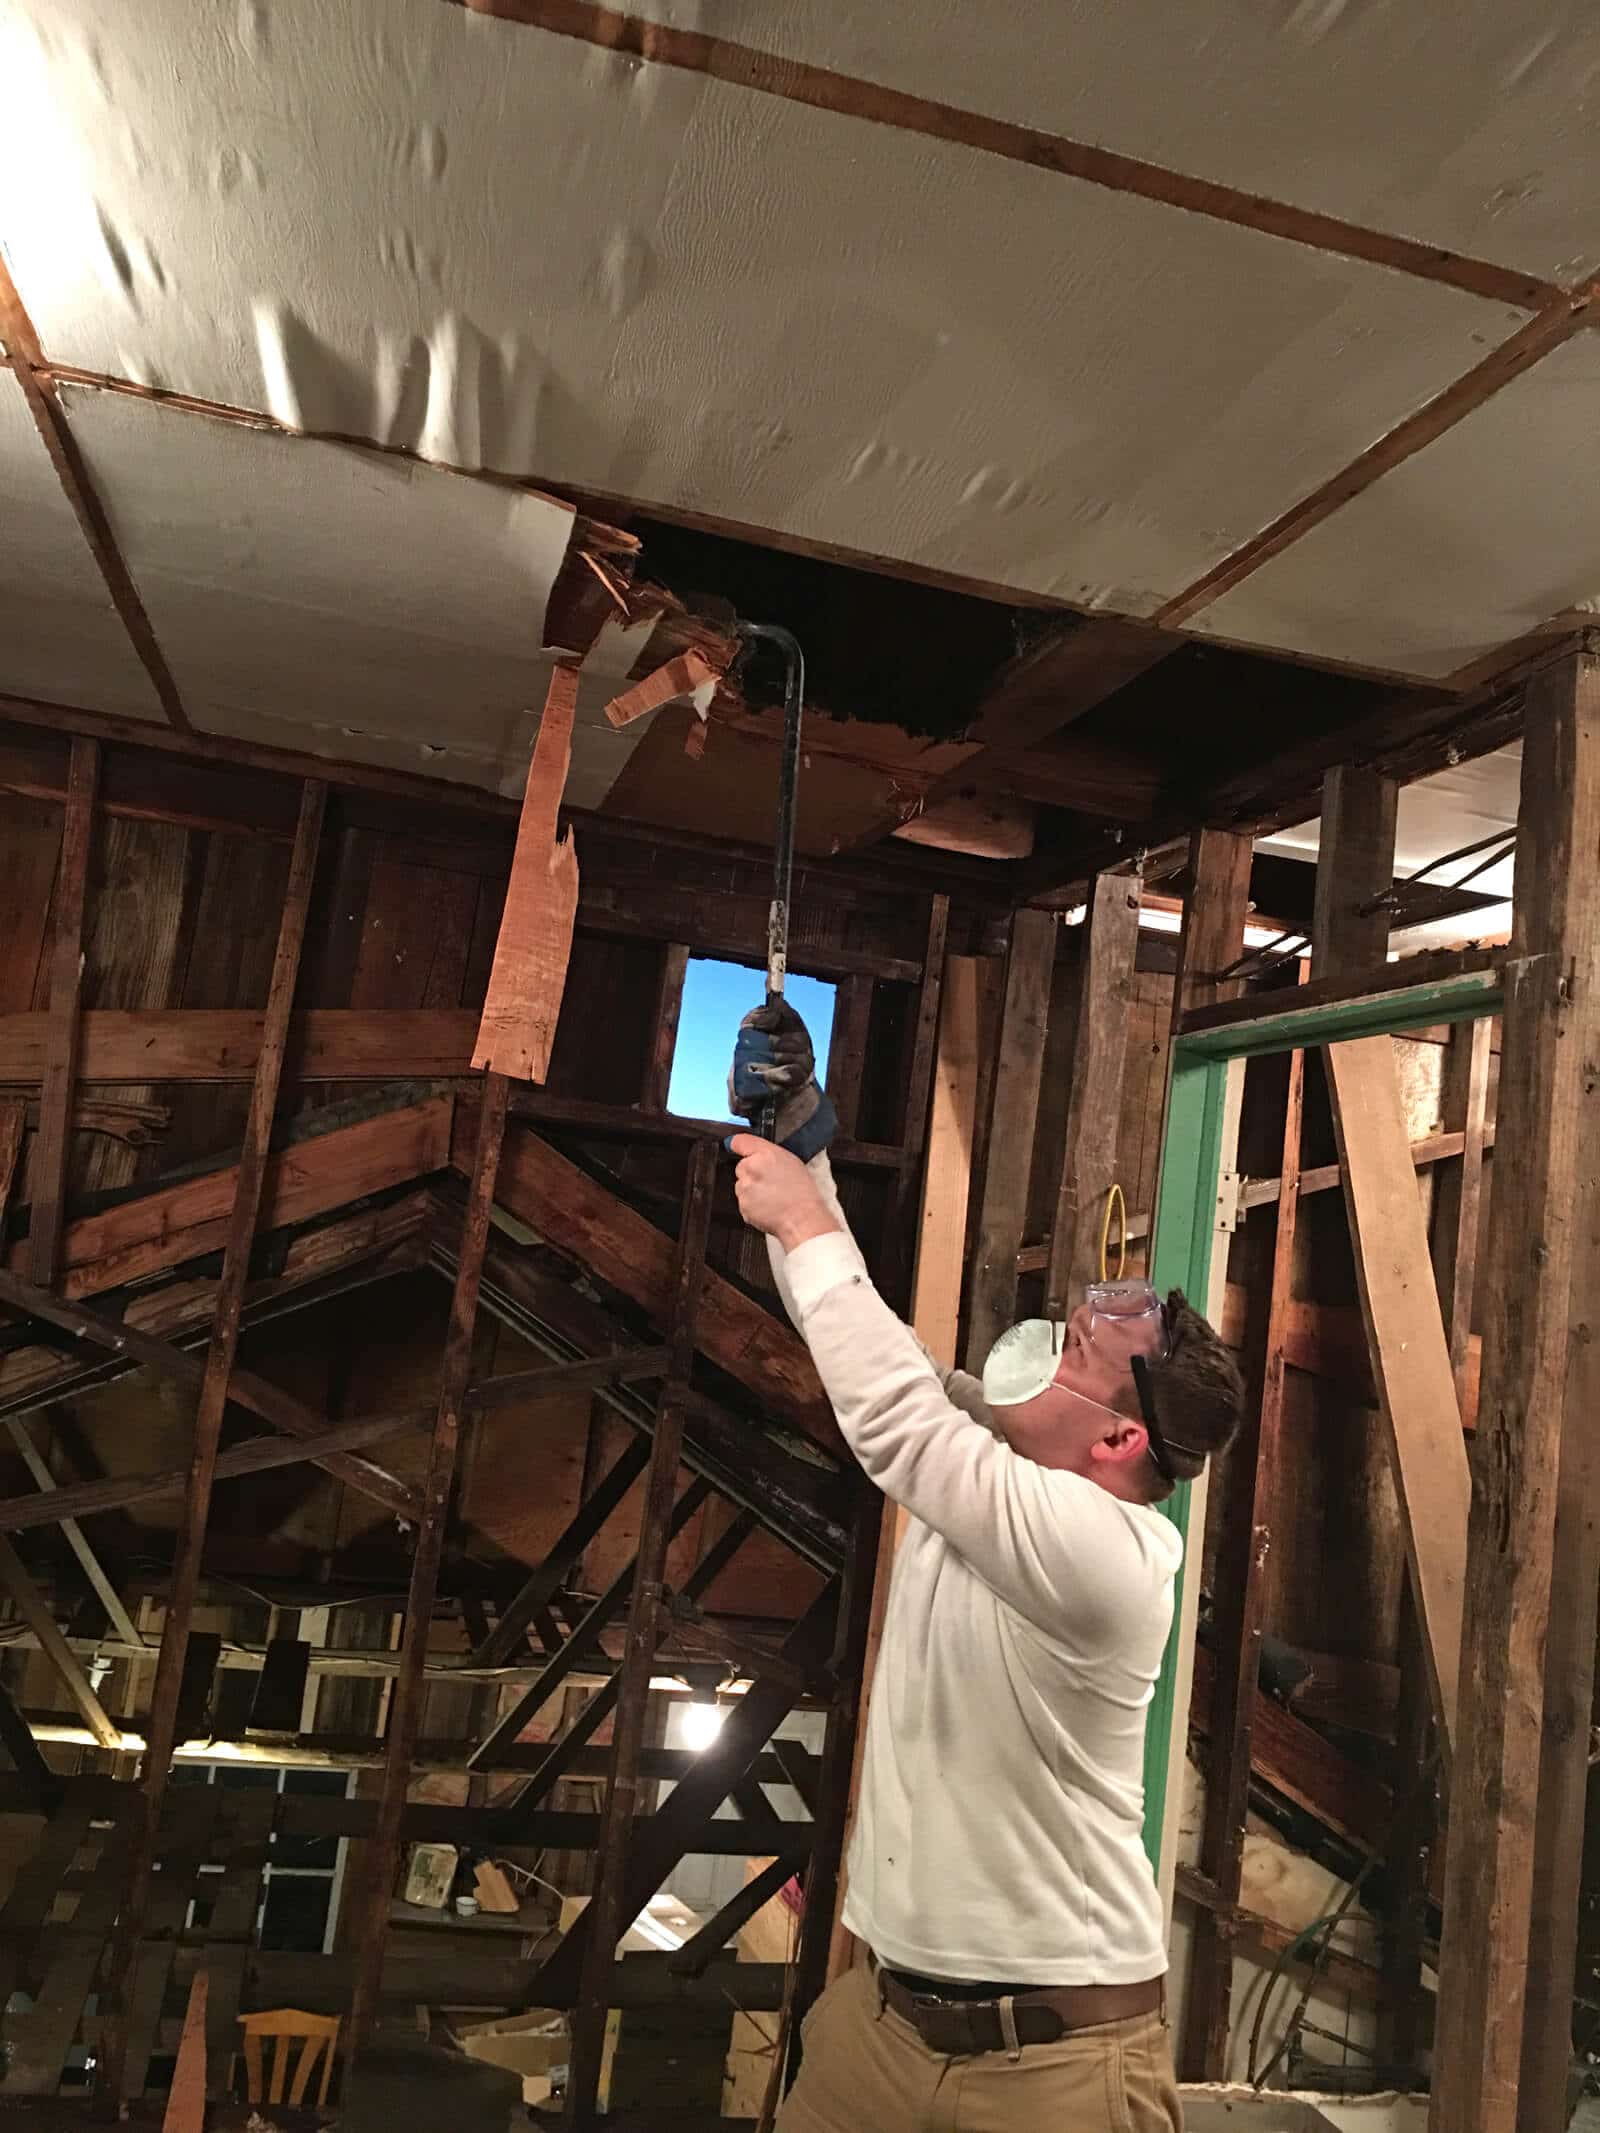
It would have taken hours to chip away at those awful plywood ceilings.
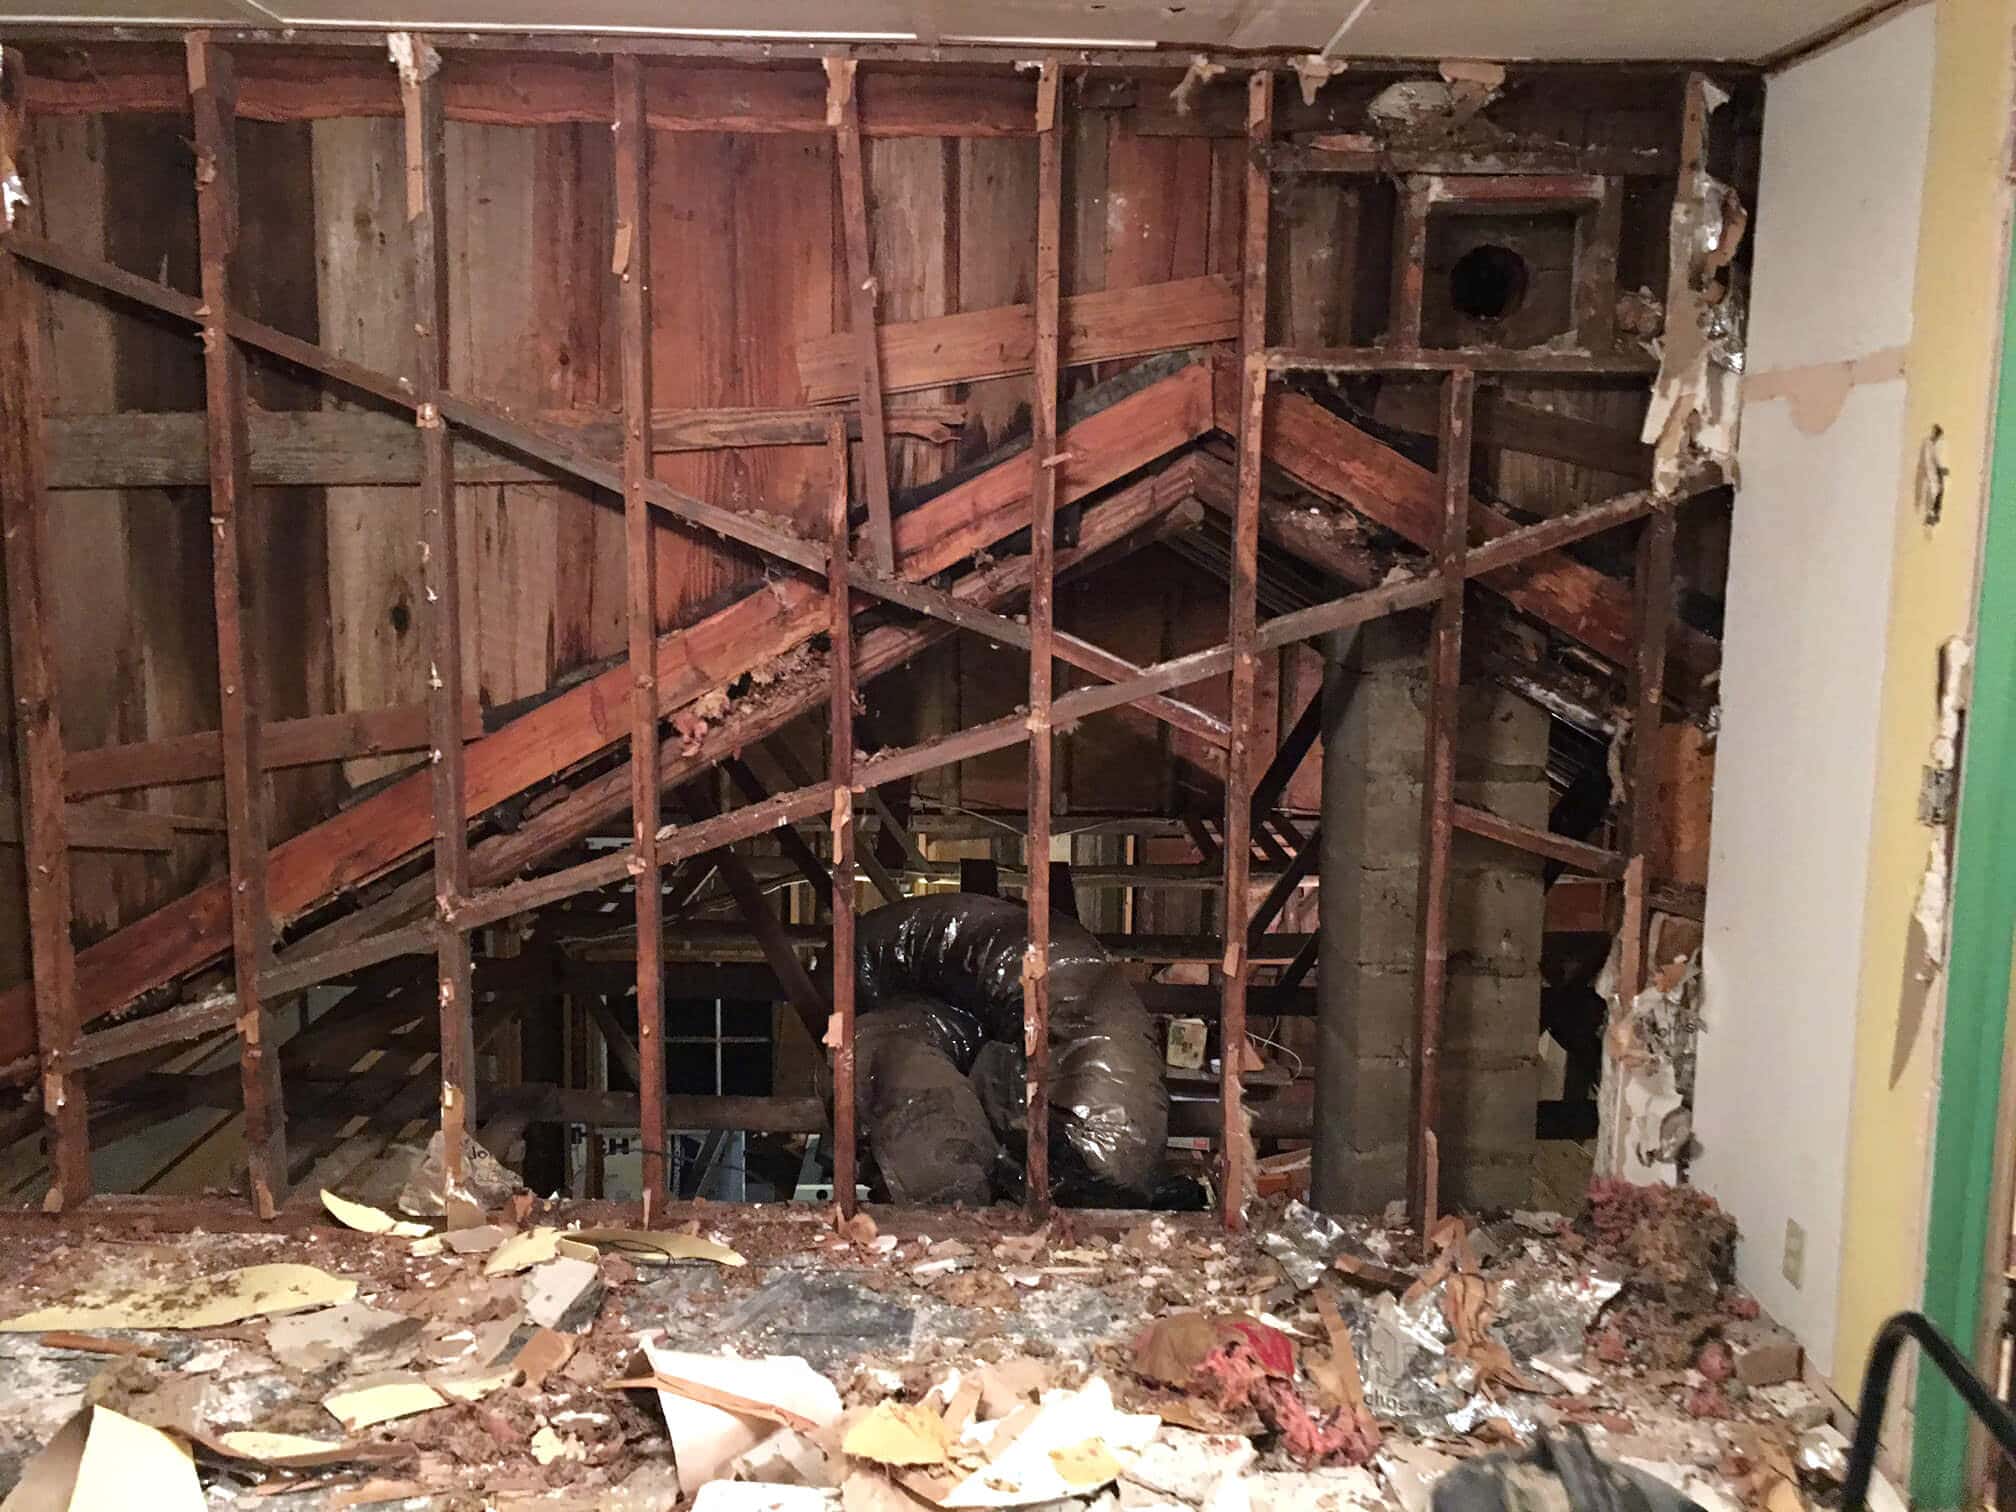
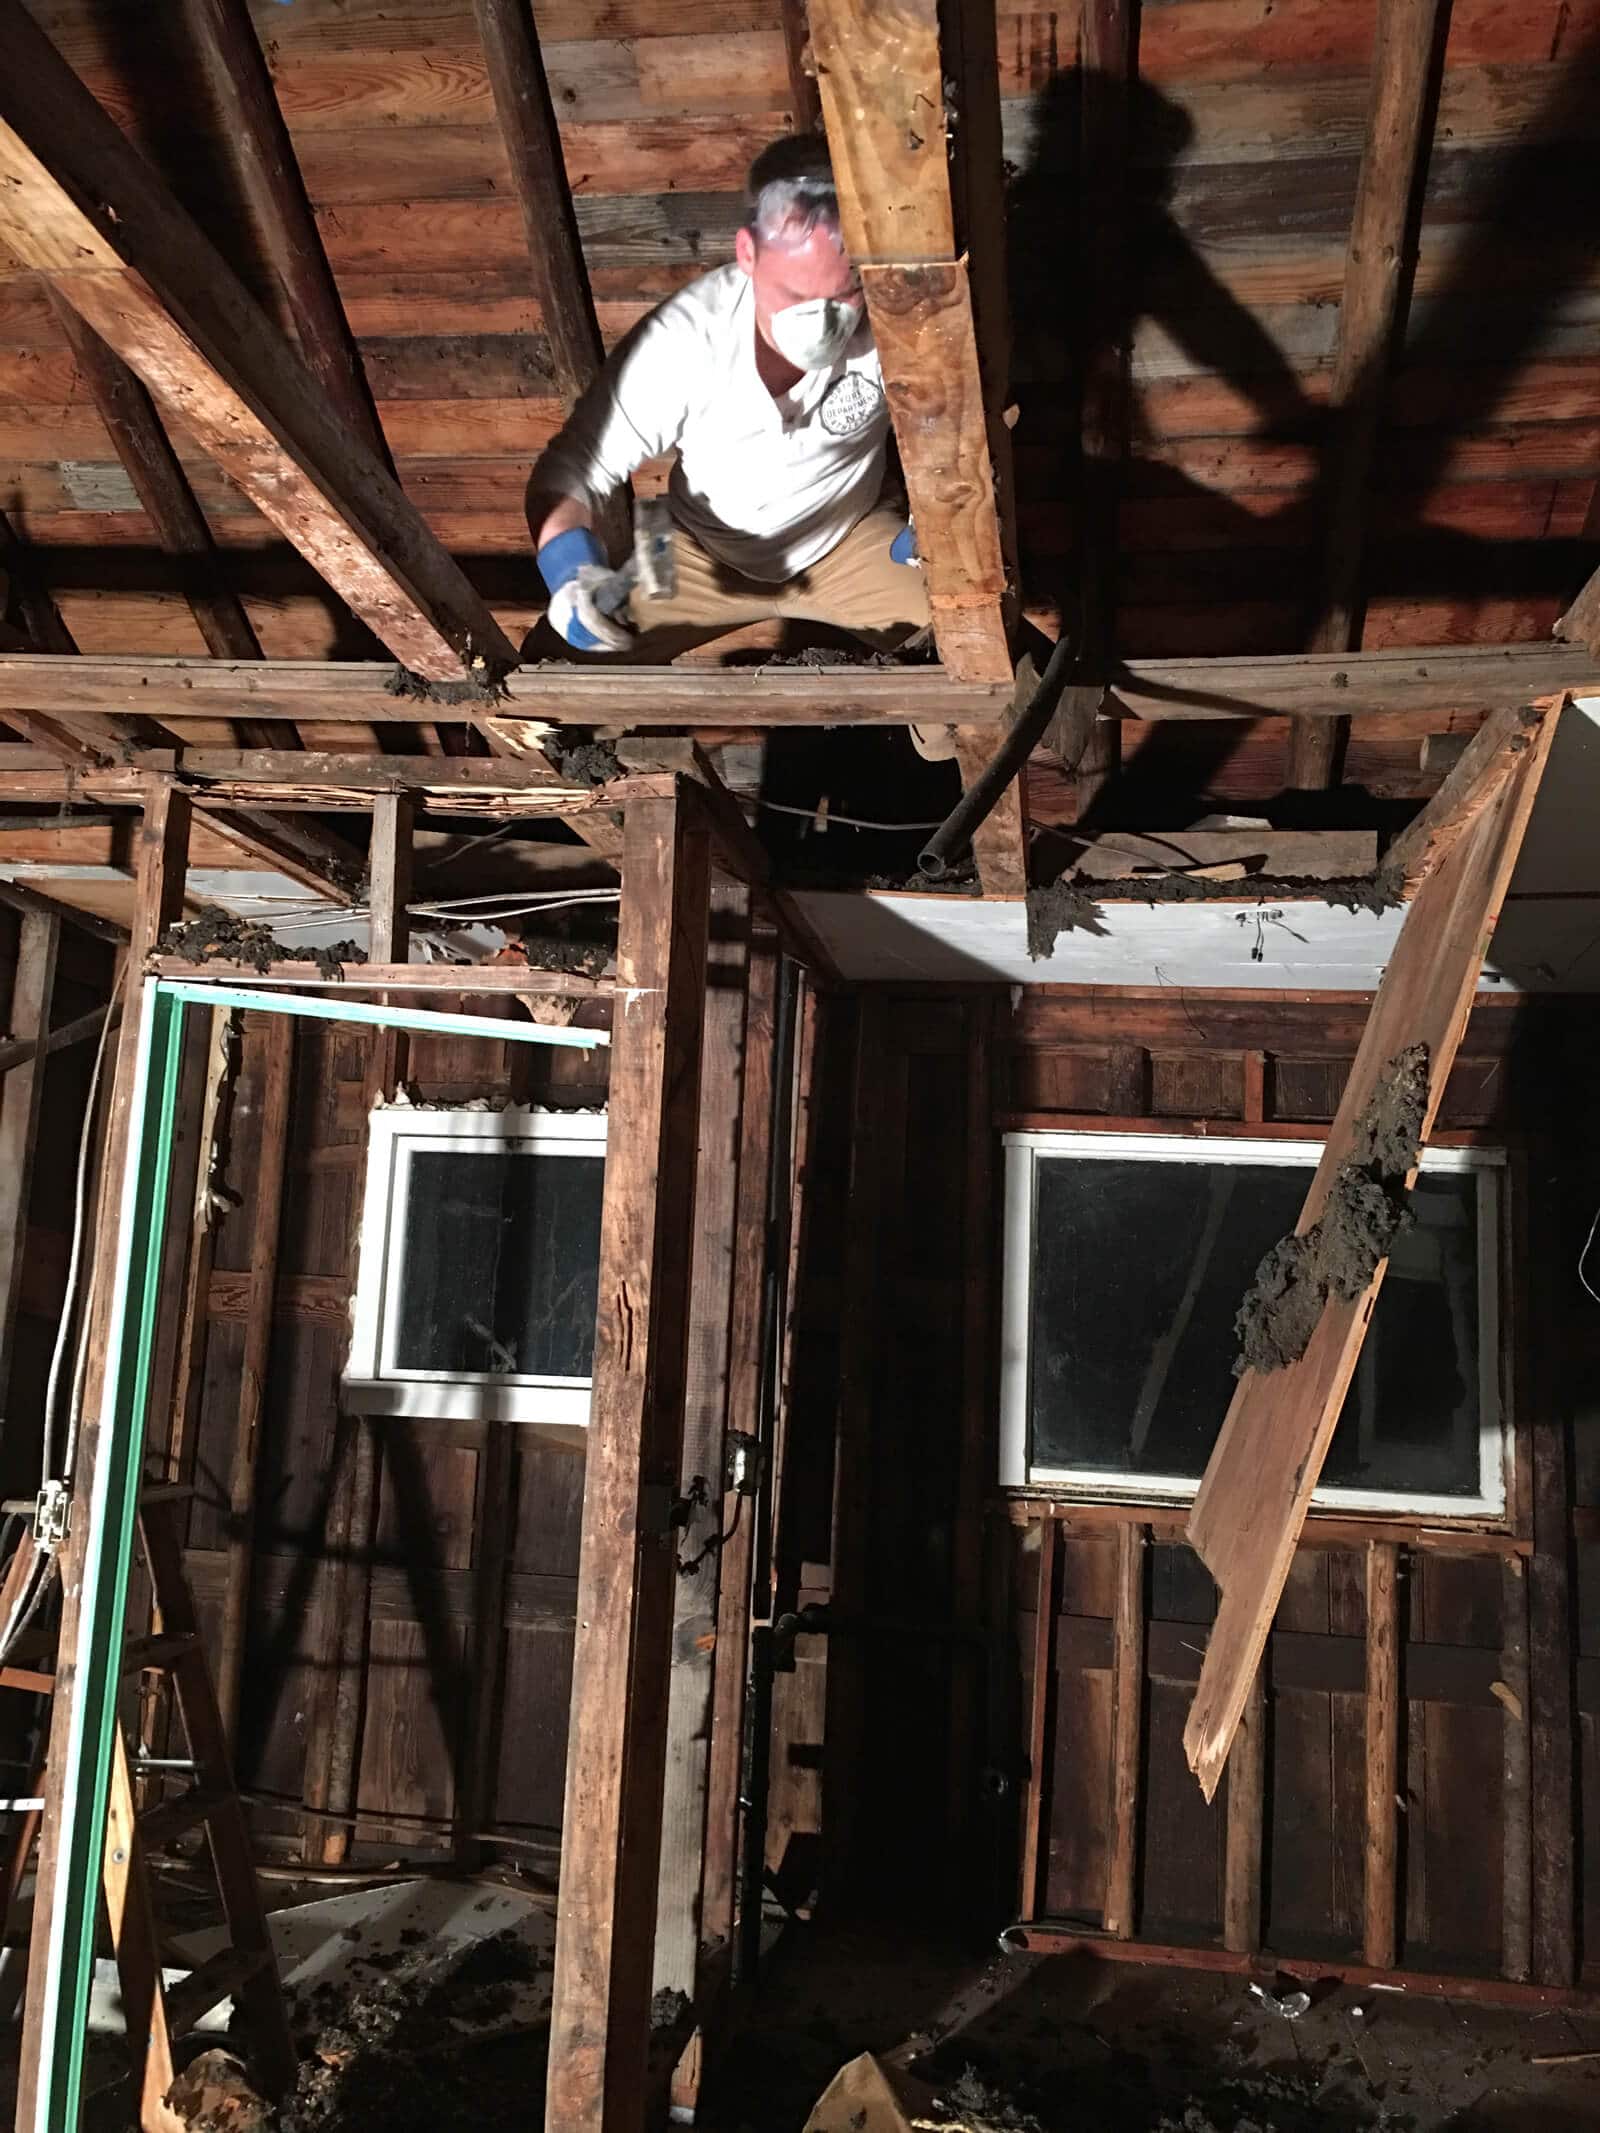
My brother volunteered for a heroic task.
He climbed up onto to the ceiling beams from upstairs in the attic (they were wobbly – they’ll need reinforcing for the bedroom) and grabbing onto two of the beams at a time, he would swing and kick down on the ceiling boards.
It was scary but it worked really well!

Todd and I stood beneath ripping out the boards that remained partially hanging and cleaning up all the nasty stuff that came down with them.

I can’t even tell you how happy we are that the worst is over! The walls and ceilings – what was behind and above them – were just awful, awful!! One consolation though is knowing how much we would have had to pay a contractor to do all of that for us. I shudder to think.
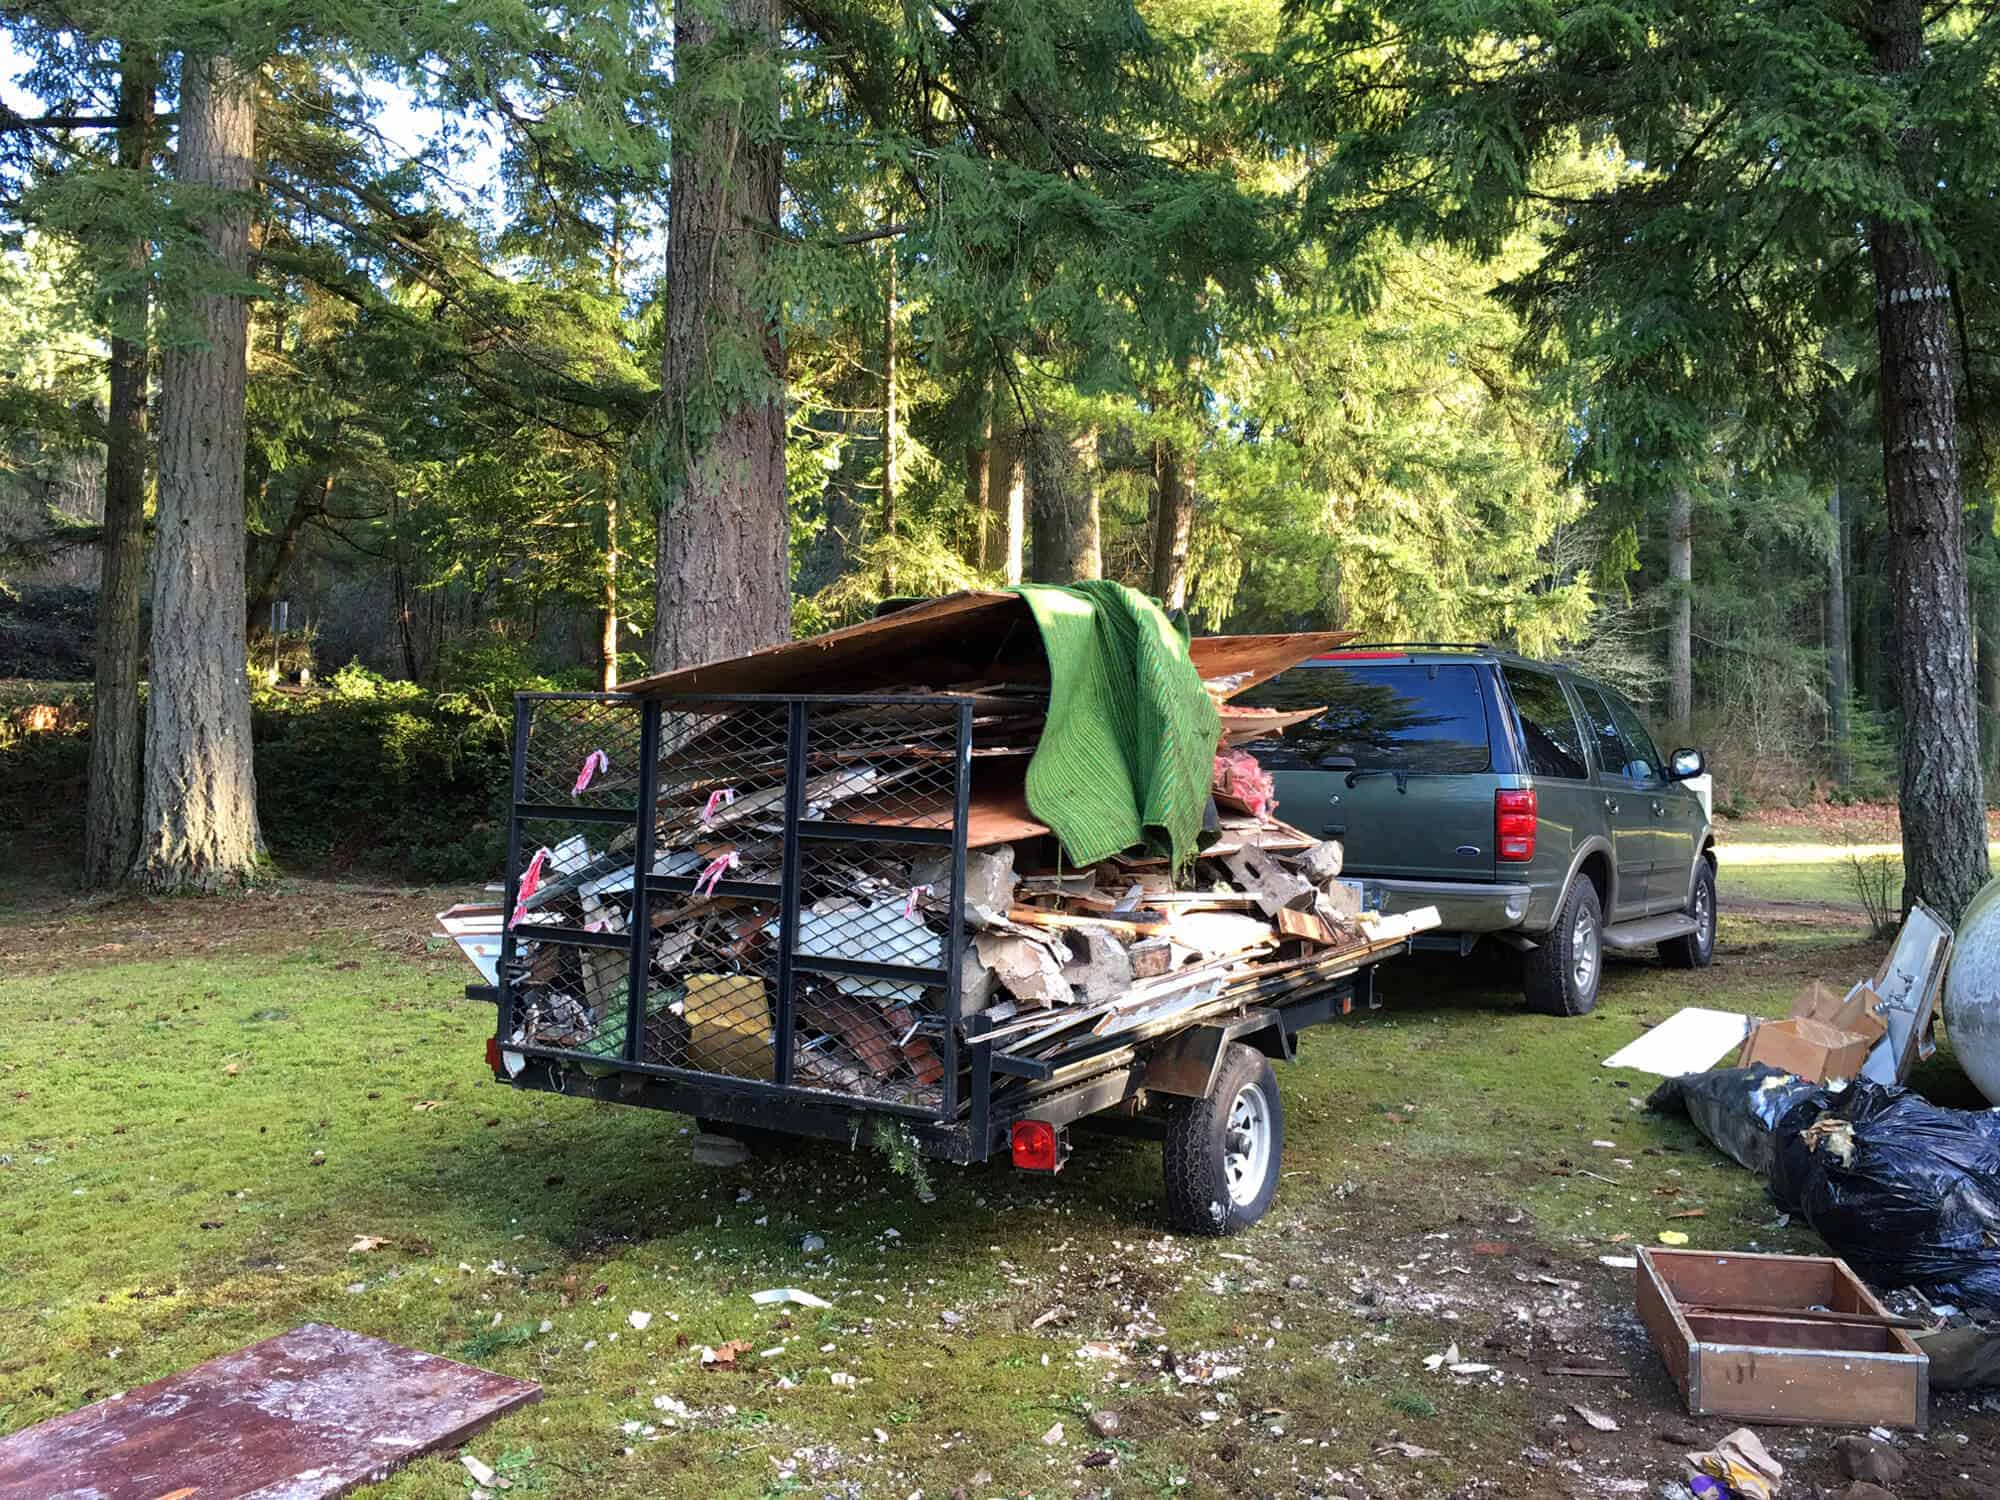
Now that everything was ripped out, we had a TON of stuff (very literally a ton – a ton and a half to be exact) to haul off.
Yeah, our place was looking mighty redneck for a few days! It was embarrassing! And this wasn’t even all of it – this was before the ceiling excavation.
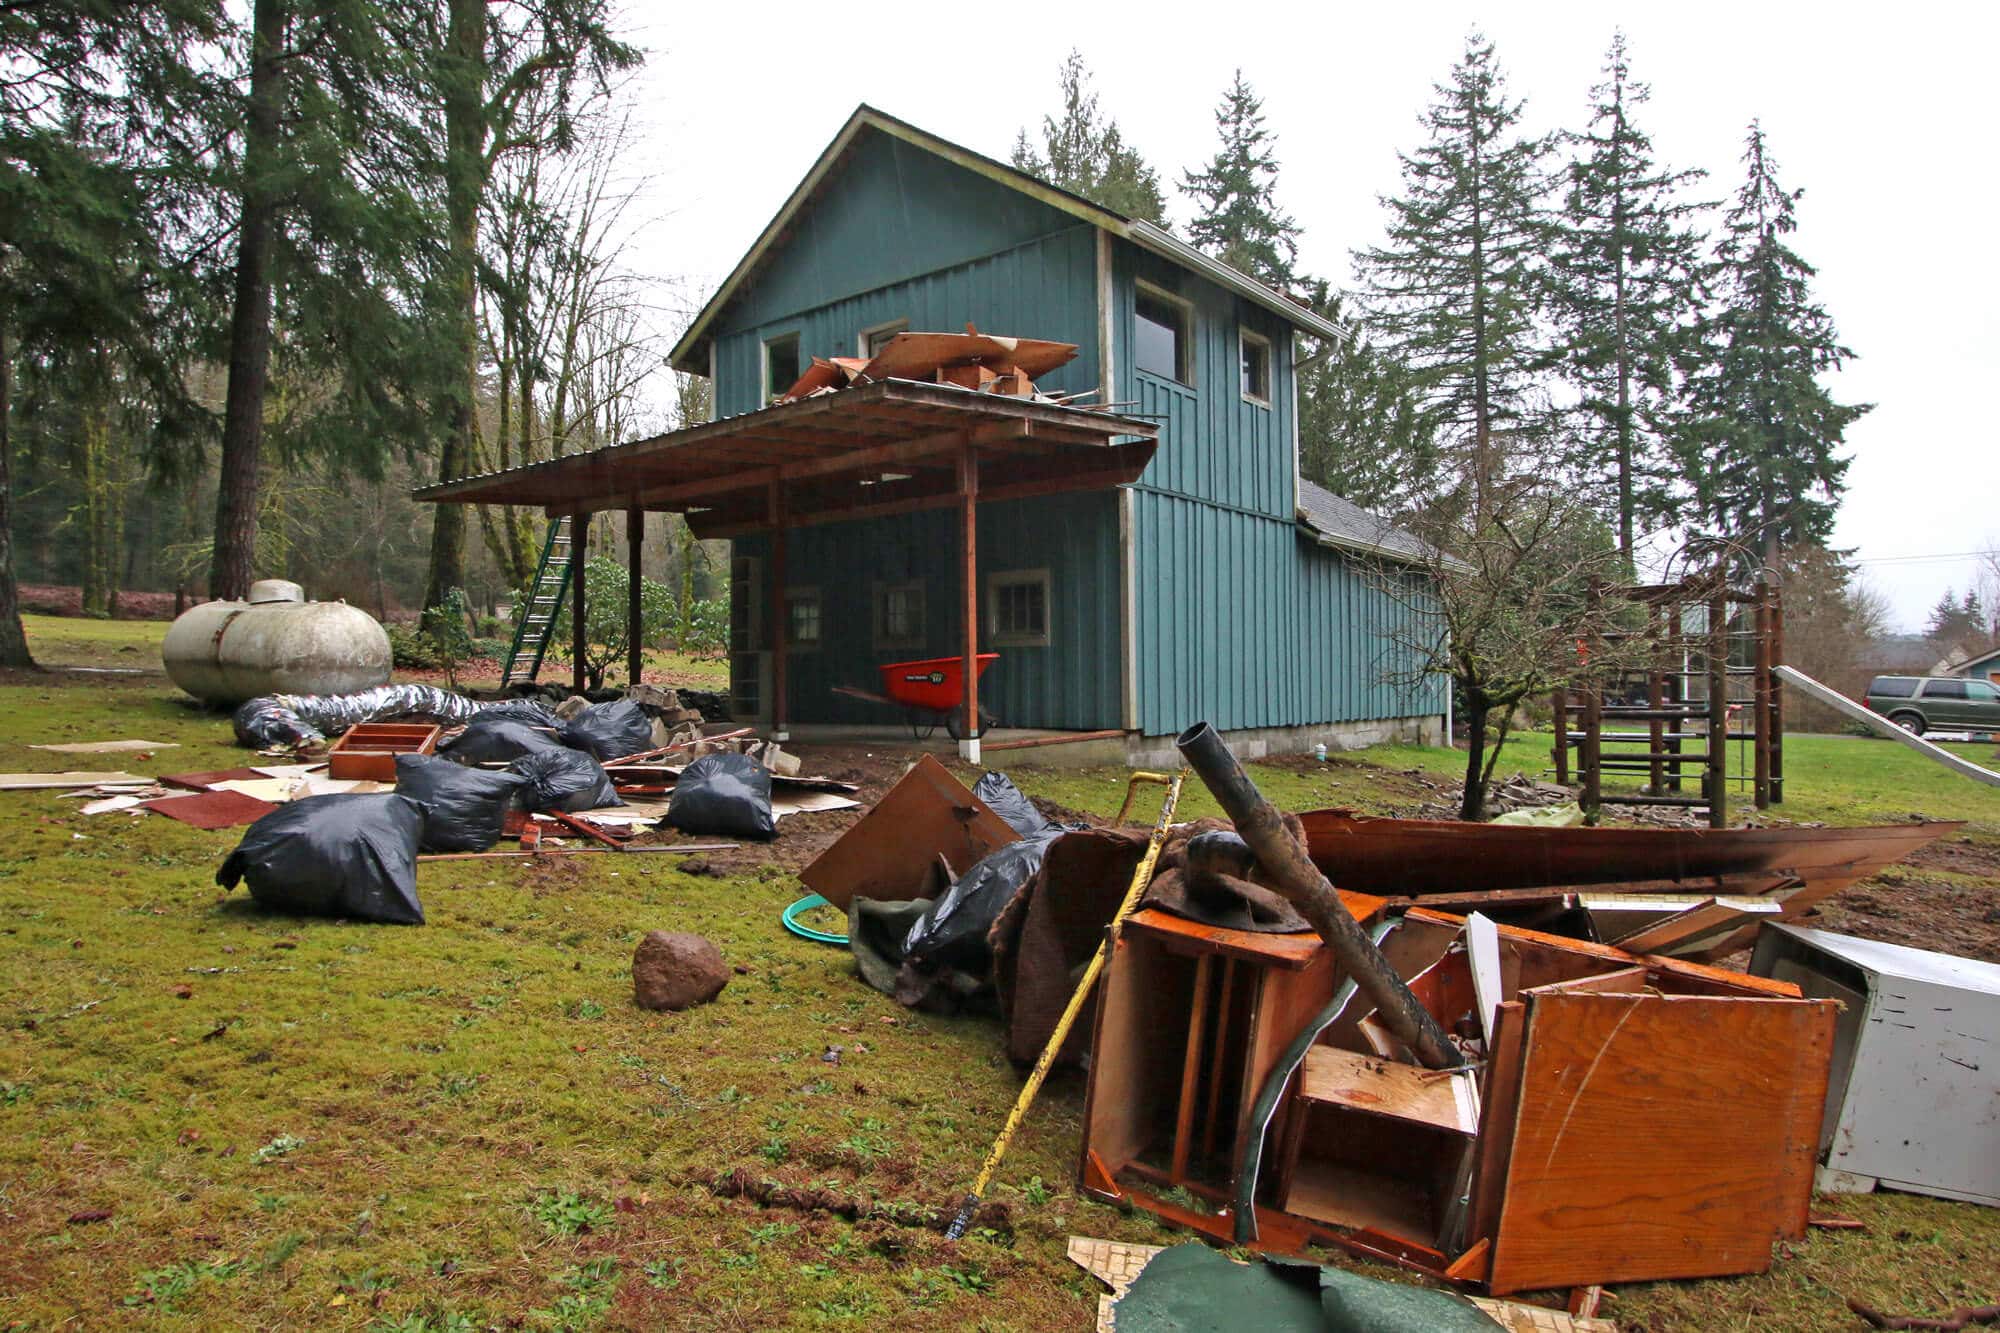
Something I didn’t even mention, see those cinder blocks on the ground in front of the red wheel barrow and by the swing set? Those are just a portion of the old chimney we had to rip down. It was leaking inside of the garage and into the guesthouse unit and the entire weight of the chimney was being supported by a rickety wood makeshift platform in the garage. It was no longer serving any useful purpose (there wasn’t even still a fireplace or anything left in the garage) and it was nothing more than a hazard. So down it came and then we had to patch everything back up.


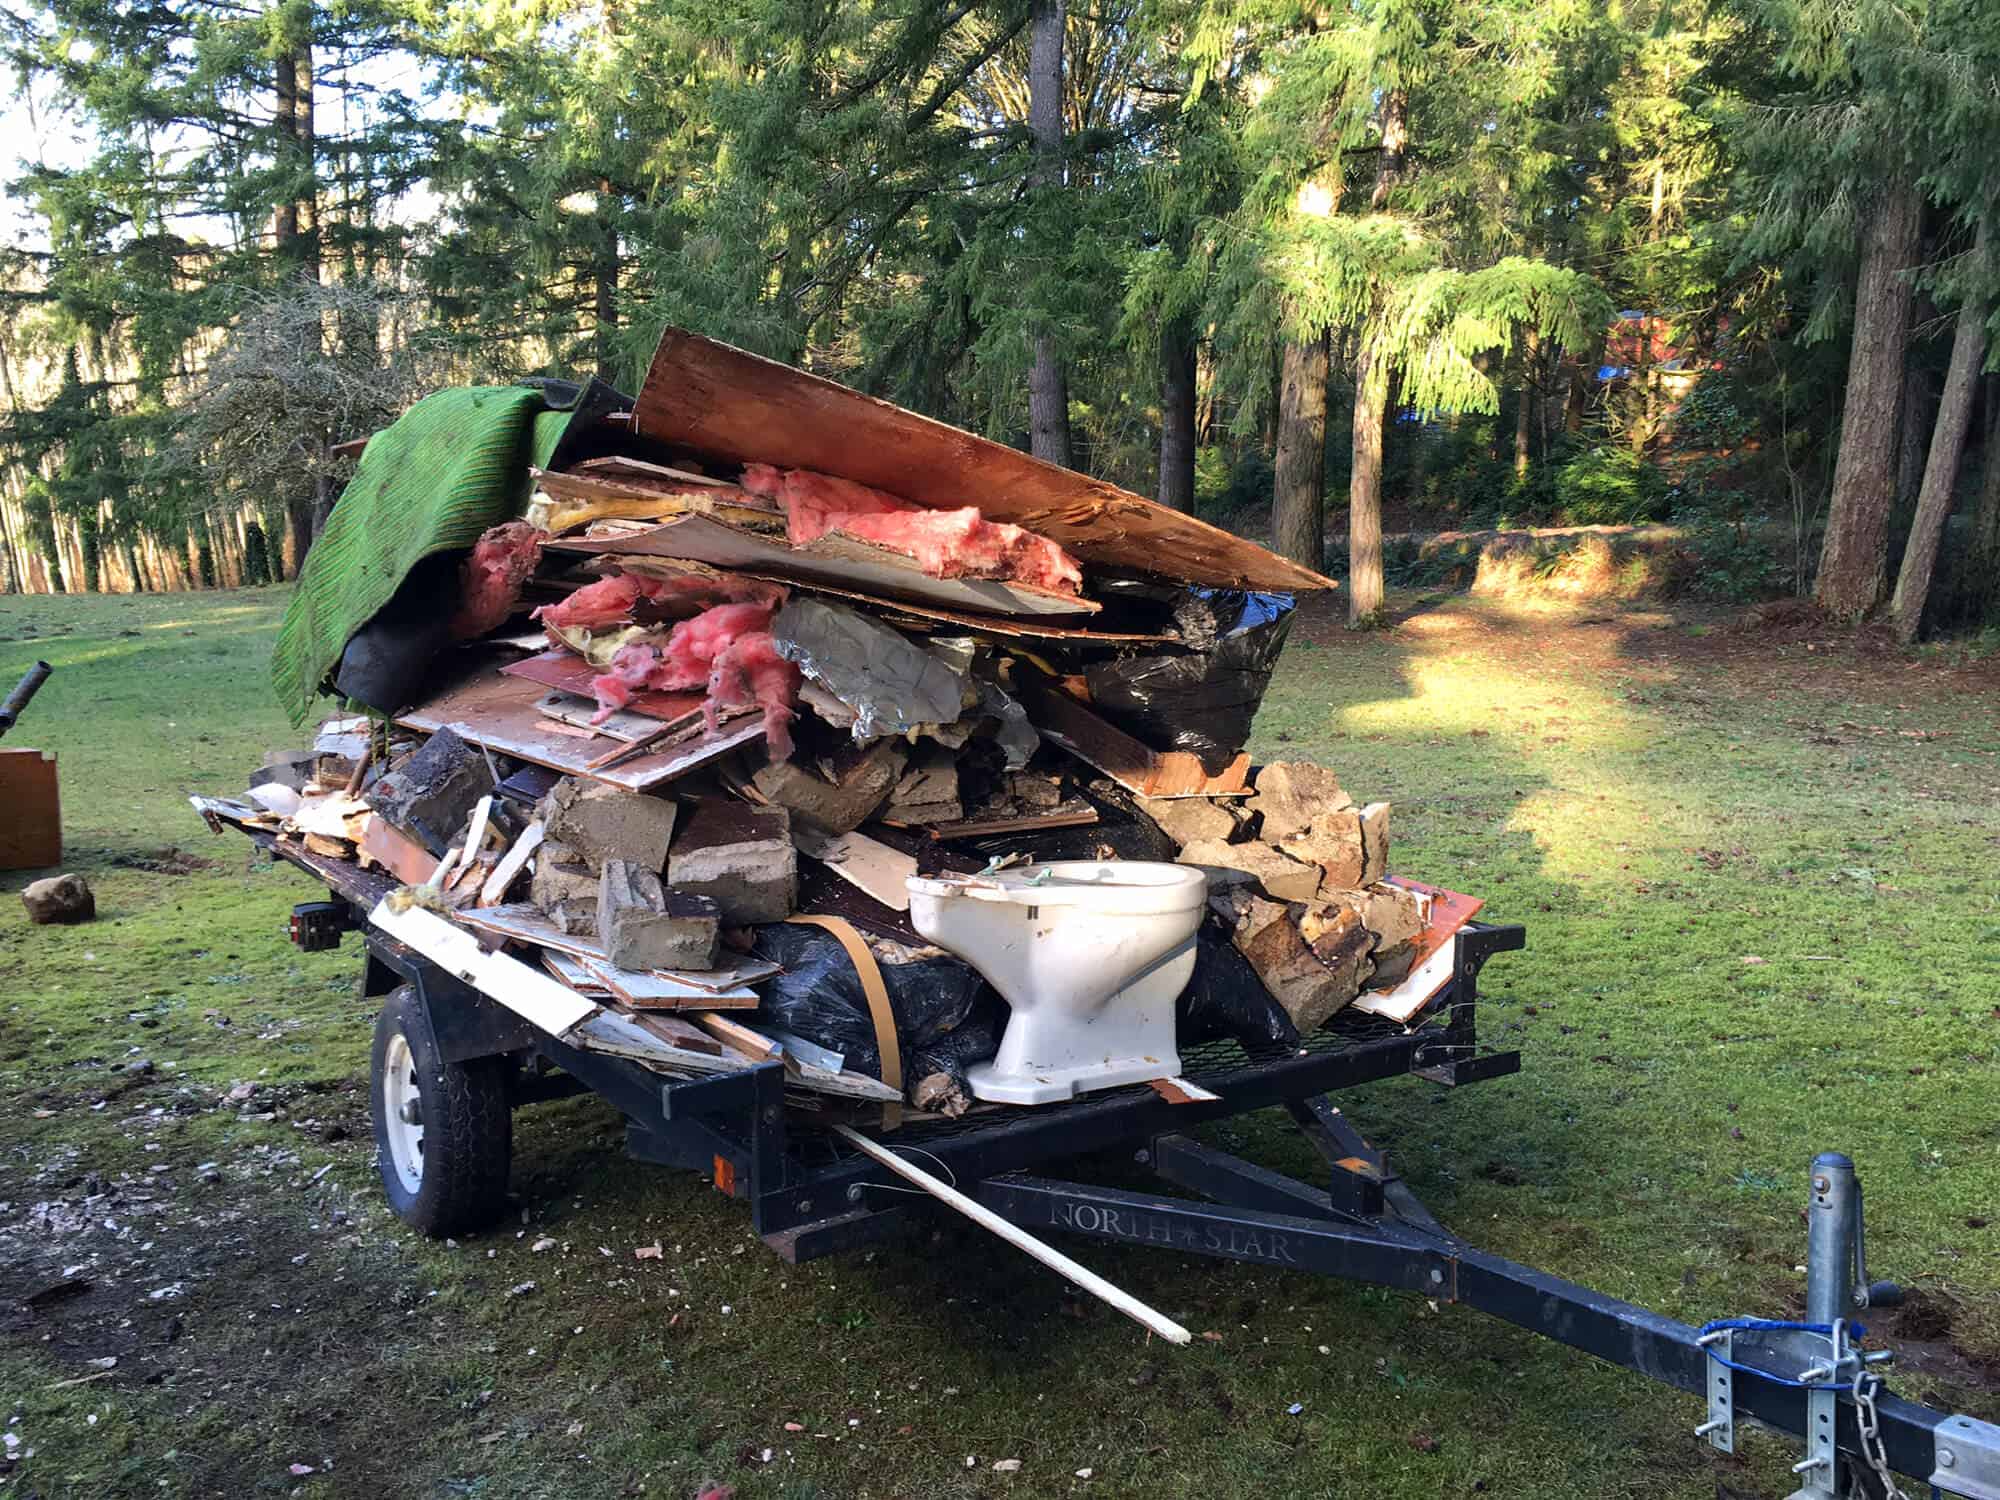
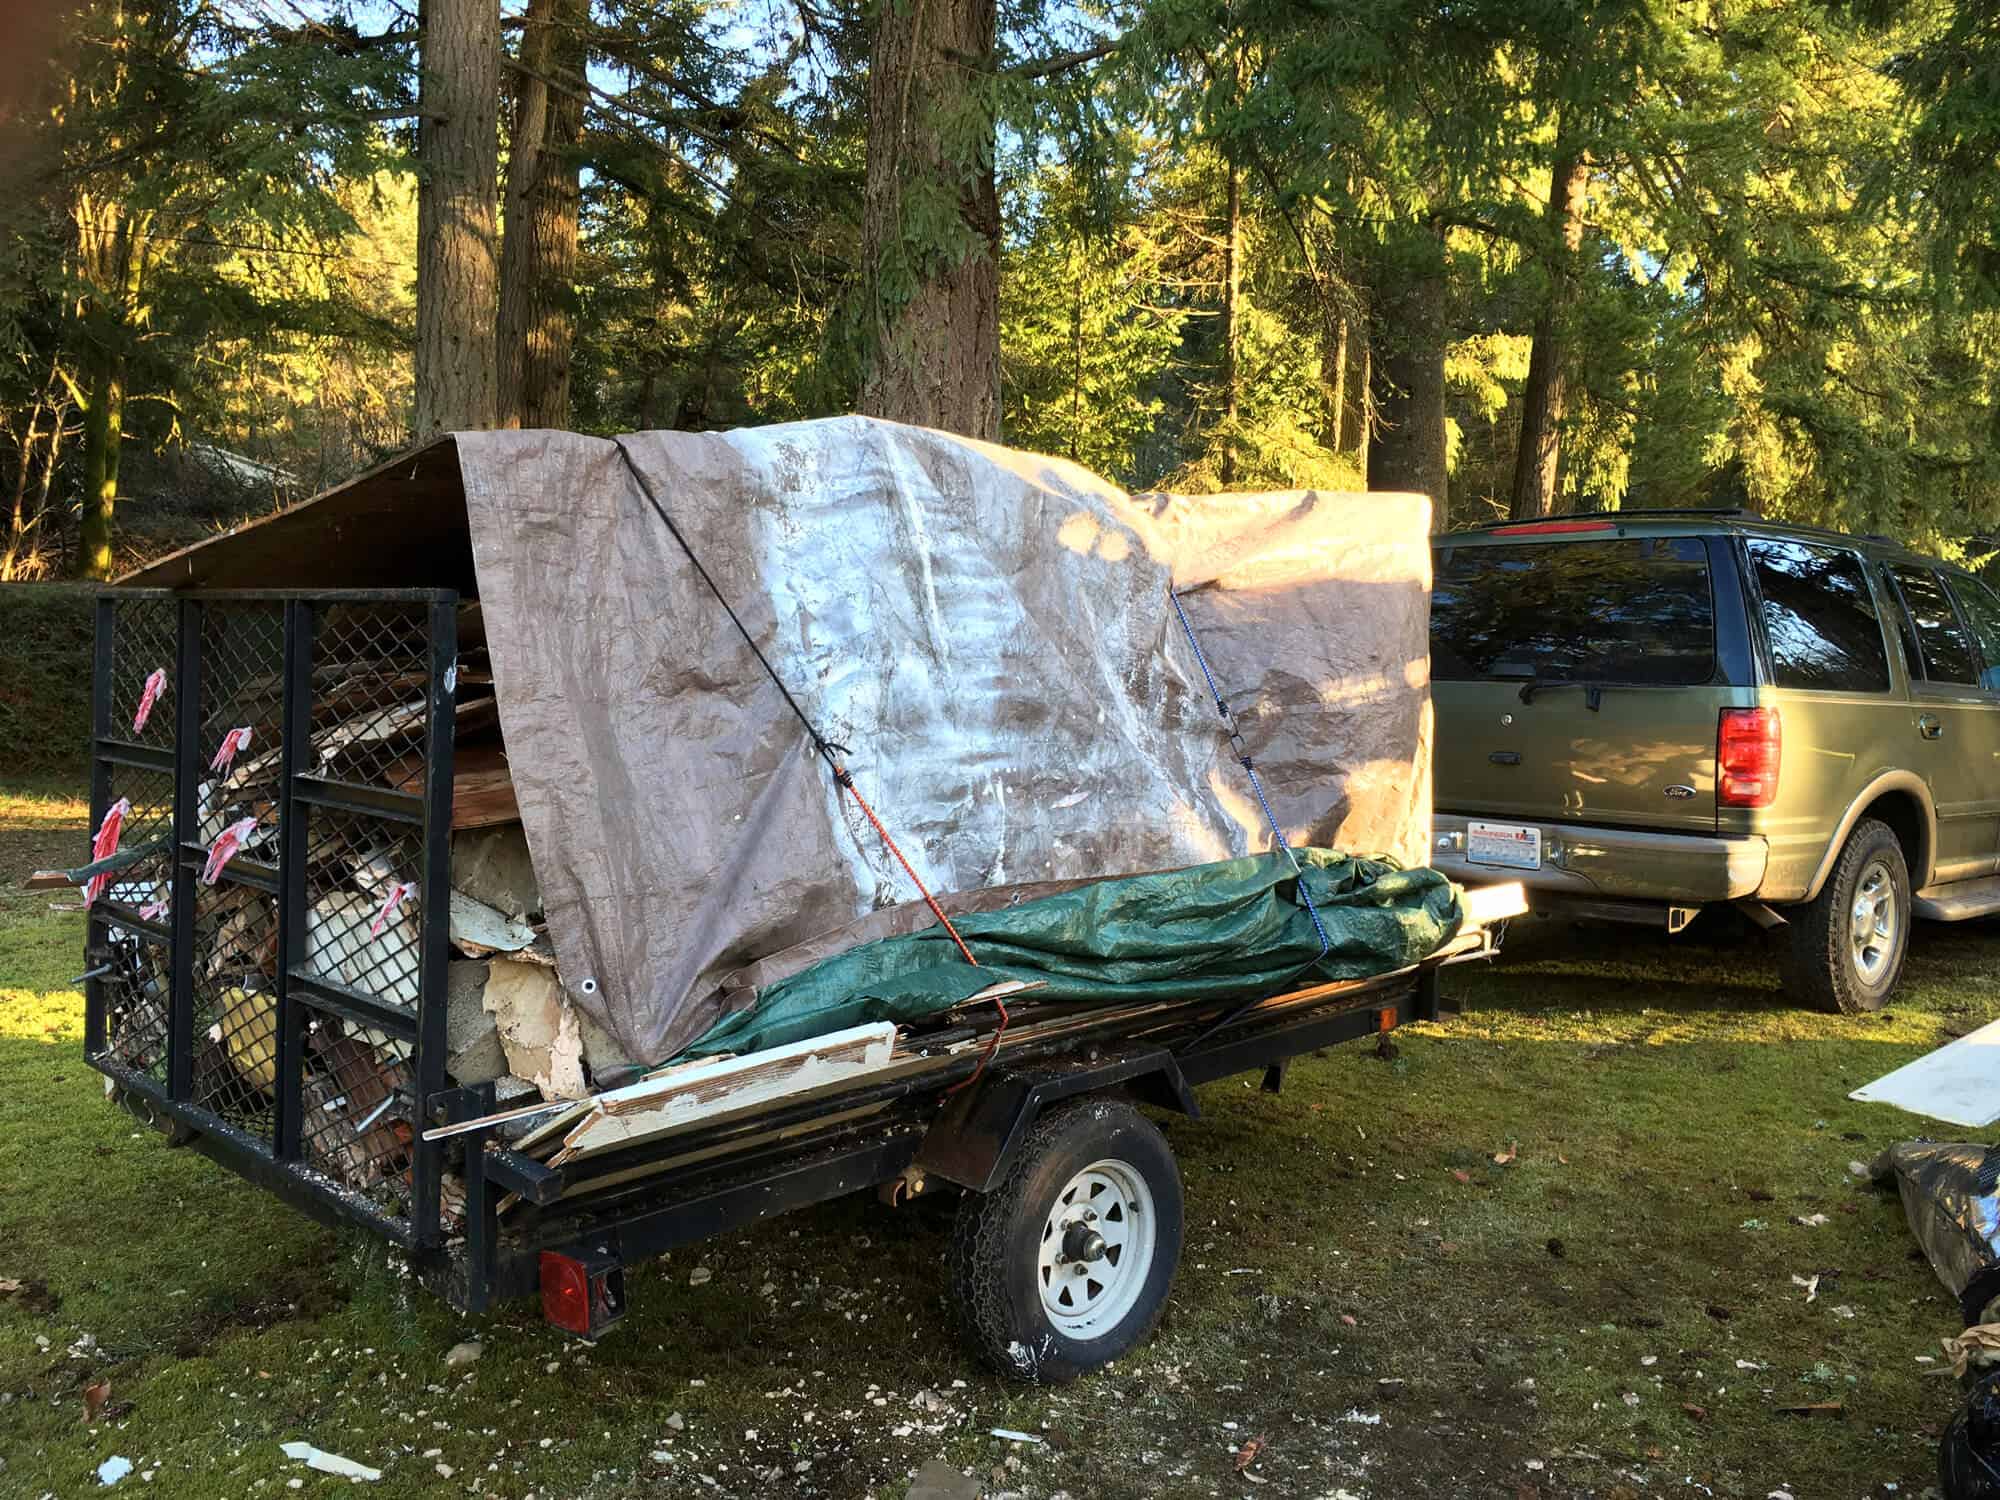
Having a trailer with sides sure would have made things a lot easier, but this was all we had to work with and so we made do, shoving boards in diagonally along the sides to create a bit of a supporting platform, putting the smallest, heaviest things on the bottom and larger, flatter things on top to weigh everything down. Todd and I did all of this together as well as unloading it at the dump.
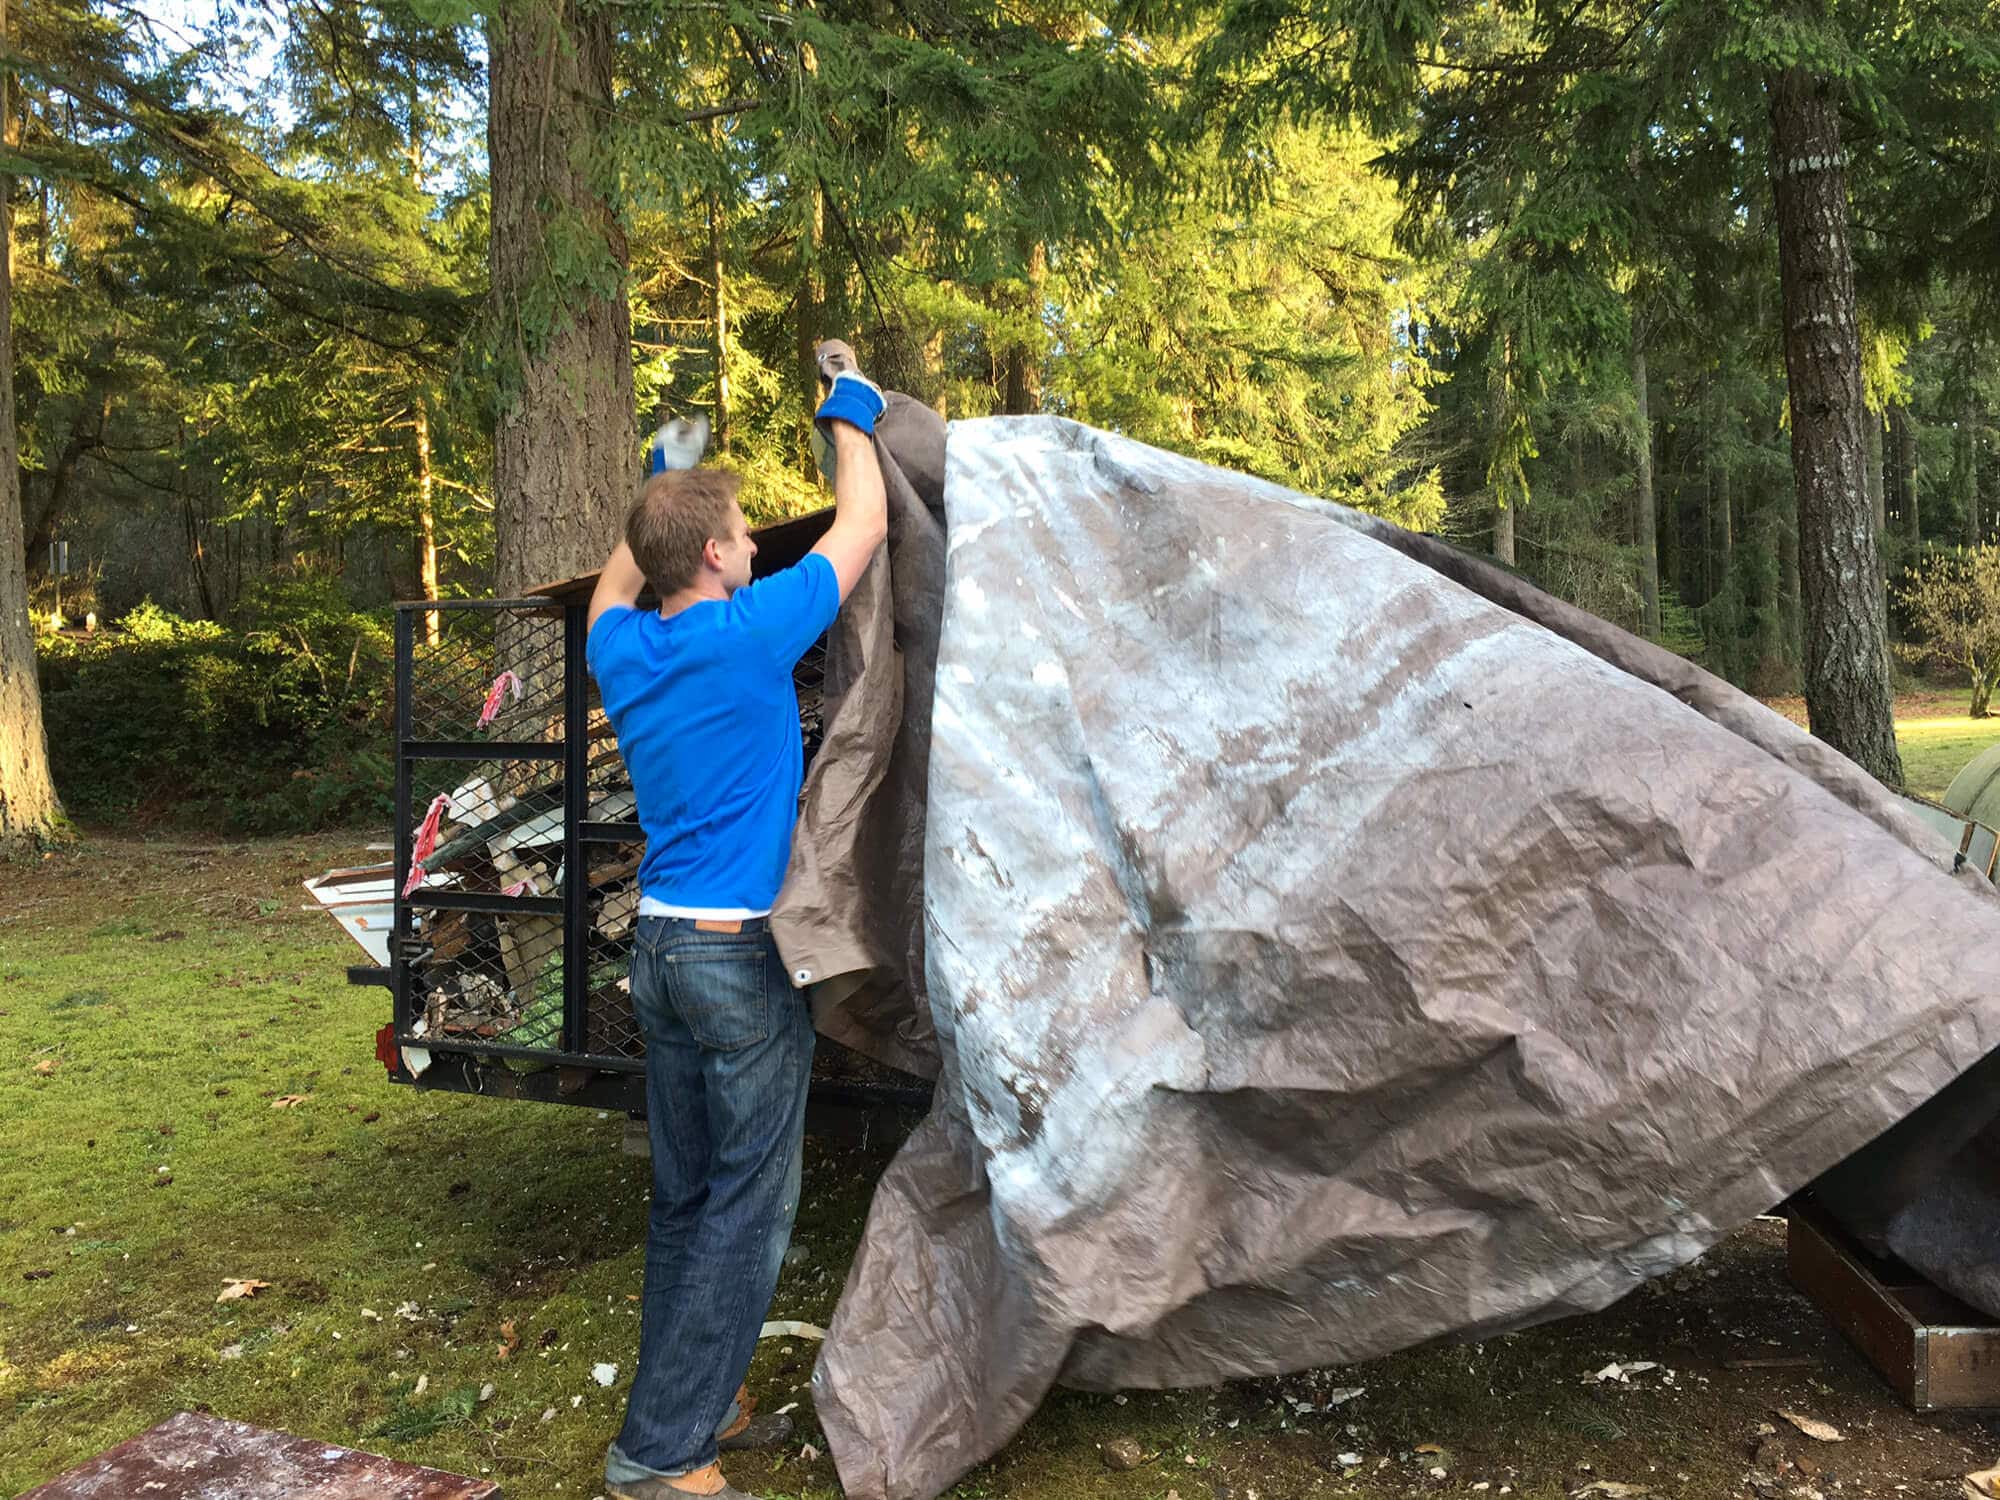
We bungee-chorded everything down and drove reeeeally slowly to the dump a few miles away. We got there 10 minutes to closing and the woman very sternly told us that we had 10 minutes. Todd and I jumped out of the car and like lightning just started grabbing and throwing, grabbing and throwing. The two of us emptied 1 1/2 tons of heavy junk in 14 minutes. It was a good workout but man, my arms were killing me the next day!
(Note to self: Must start lifting weights again.)
Dumping nearly 1 1/2 tons of garbage cost us $208.11.

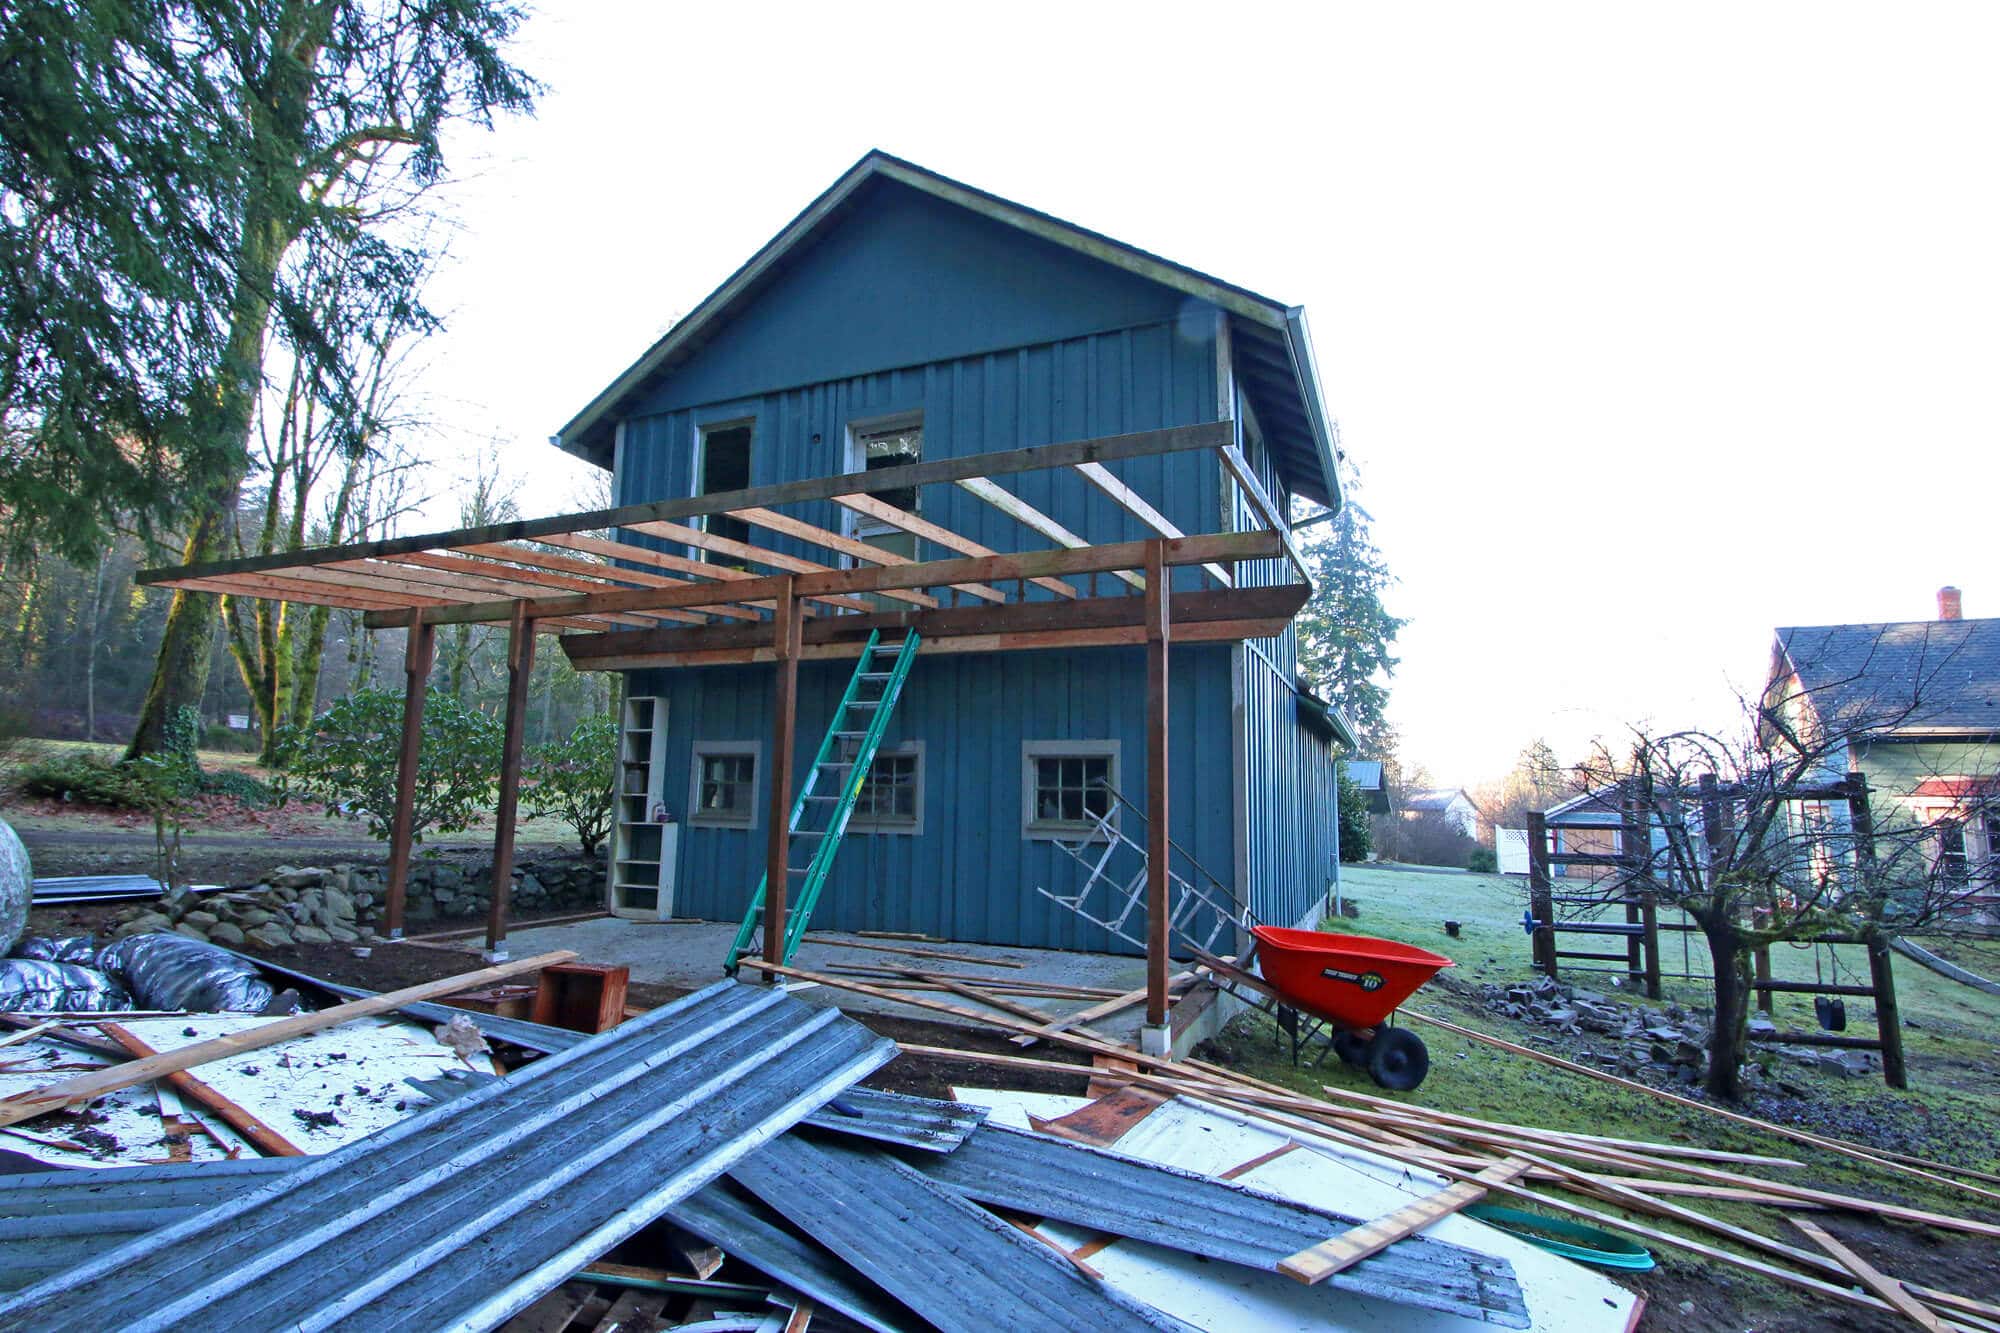
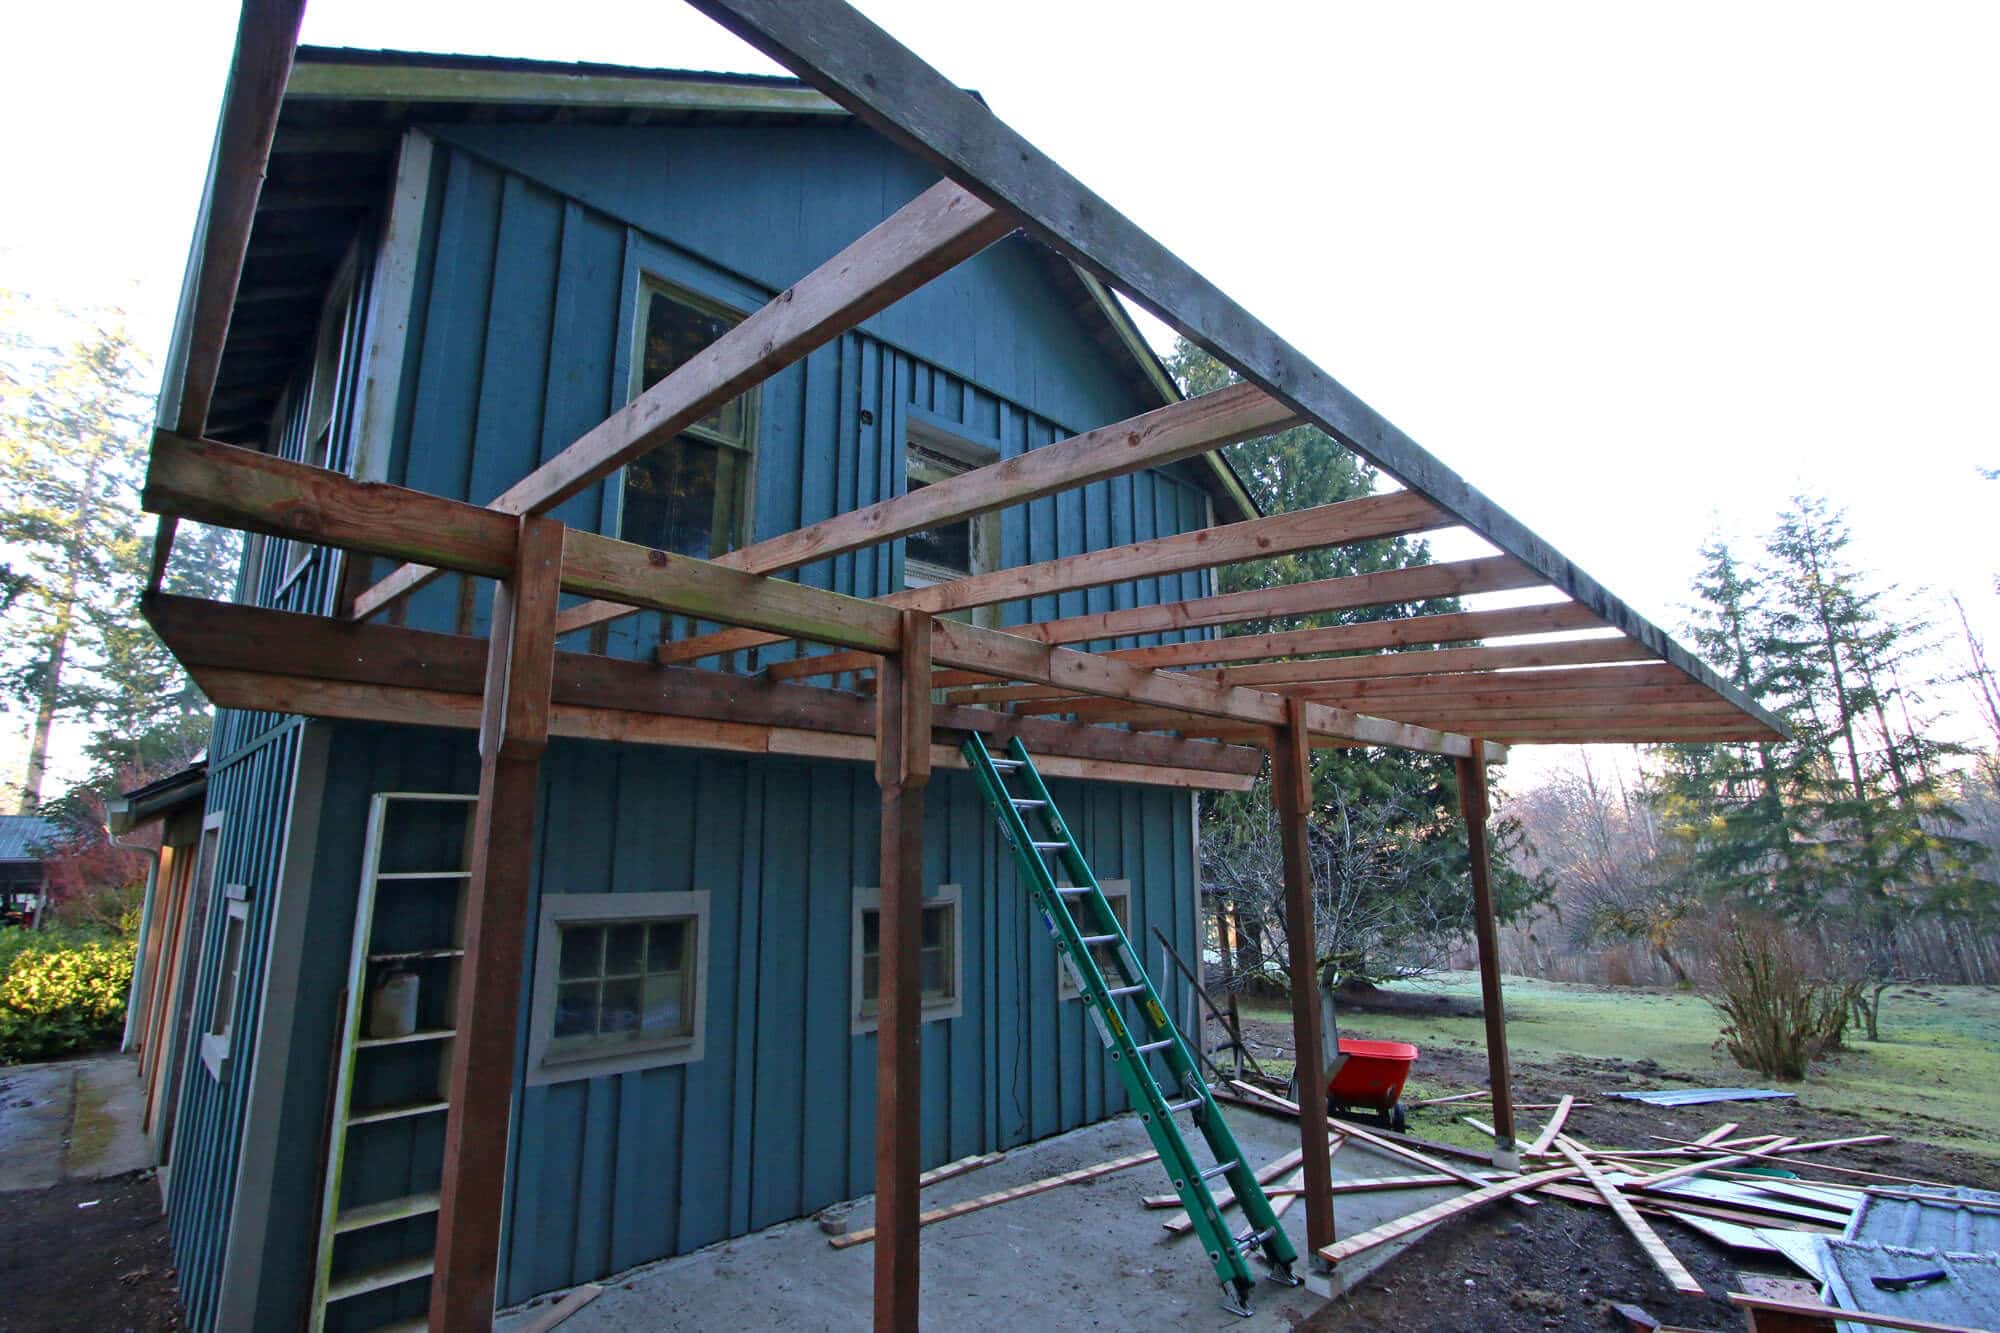
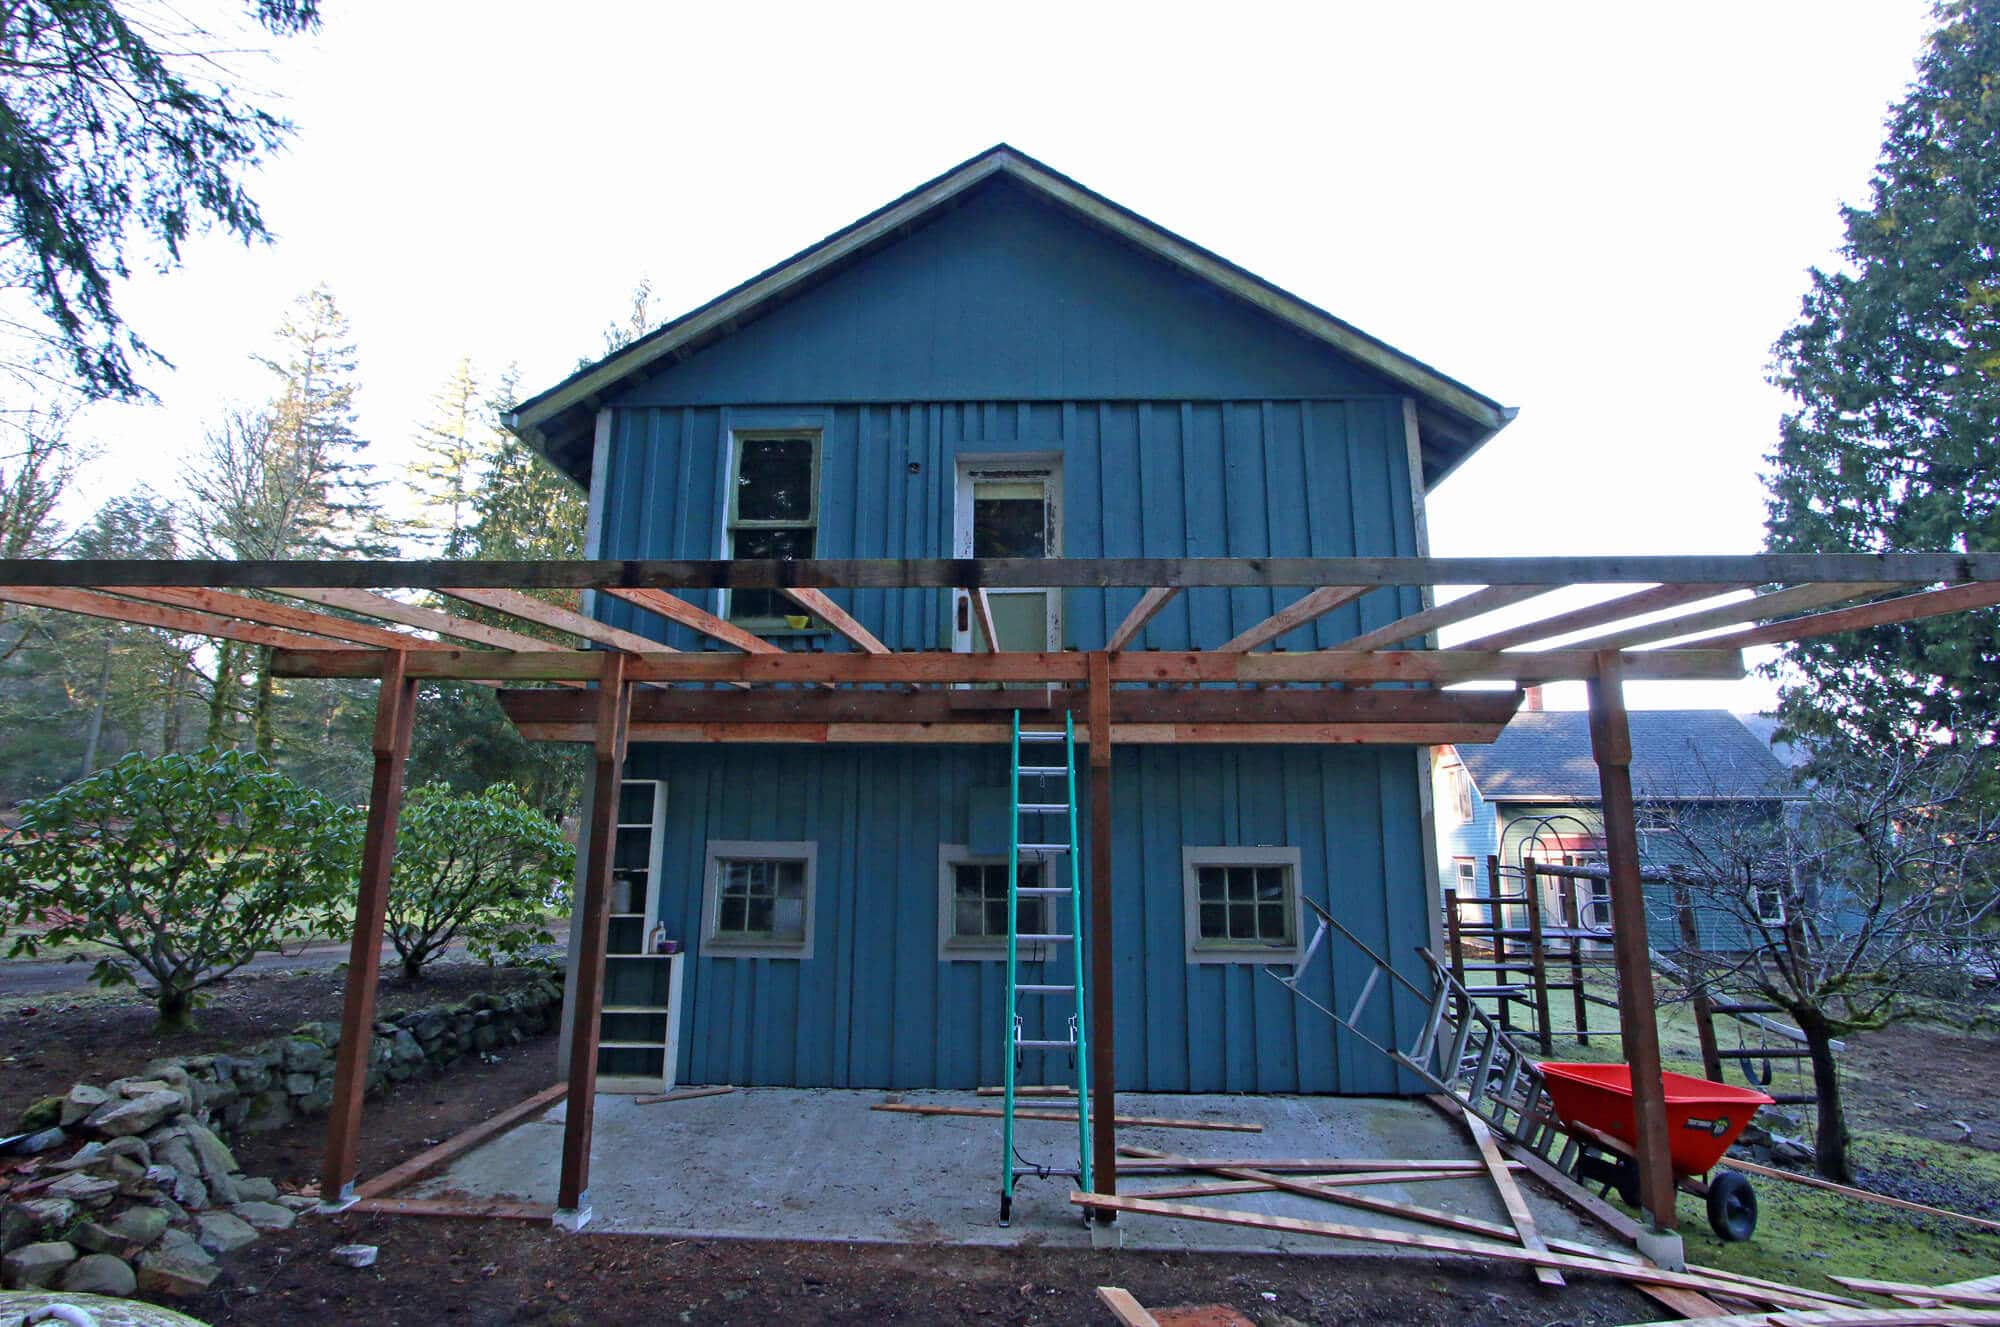
Before we can carry heavy beams and drywall up into the guest unit we have to build the deck, so everything else is on hold until that is done.
We’ve already torn off the metal roof that was in place. Next we’ll be taking everything down but the wood joists and then build the deck from there.
We’re hoping to have it done within a week.
See y’all next time for the third installation of The Micro-dwelling Project!

Hi, I’m Kimberly Killebrew and welcome to Daring Gourmet where you'll find delicious originals, revitalized classics, and simply downright good eats from around the world! Originally from Germany, later raised in England, world-traveled, and now living in the U.S., from my globally-influenced kitchen I invite you to tour the world through your taste buds!


Kimberly, You’re not done yet. When you start to use your big deck, you will find that it has all disappeared under your tables, chairs and BBQ furniture. Plus the people who need some place to stand and move around during the parties. Not to worry, just a bit more work…..ring, as in surround,the deck with a cantilevered seat, table and BBQ furniture support structure connected to the wall of the house by some wire cables and turnbuckles for adjustment. You could support it from underneath, but a few overhead wires would be practically invisible and so much more modern.
Hi Malcolm, that sounds really cool! We could have built a bigger deck but since it’s just a small guesthouse on our property we decided to stick with a more average-sized deck (still relatively big for such a tiny living unit though). Your idea sounds pretty awesome though! We’ll see what happens down the road and how often the deck gets used – maybe we’ll decide something like you’re suggesting after all :)