The Micro-Dwelling Project Part 3: Are We There Yet?
This post may contain affiliate links. See my disclosure policy.
Here we are with Part 3 of this project of transforming the tiny guesthouse on our historic 1912 property.
I can relate to the unrelenting whining that comes from the back seat of many a family car: “Are we there yet???”
It’s been feeling like we’re NEVER going to get there!
It wasn’t until we got to the point of finally putting in some drywall that things have started feeling more hopeful.
The three of us – Todd and I and my brother – have continued pounding away on this structure. Between the three of us we represent the following professions: Doctor, marriage & family therapist and attorney. You’ll note that none of those have anything to do with any of the skills involved in a project like this. Before starting this project our knowledge base of home remodeling was ZERO and we had exactly ZERO experience doing anything like this. Well, Todd put in laminate flooring. Once. In a postage stamp-sized condo dining room.
This project has taken a lot of determination to say the least. We’ve utilized a lot of “how to” videos online and have scoured through a lot of online DIY forums.
The prognosis: We’re getting there, slowly but surely!

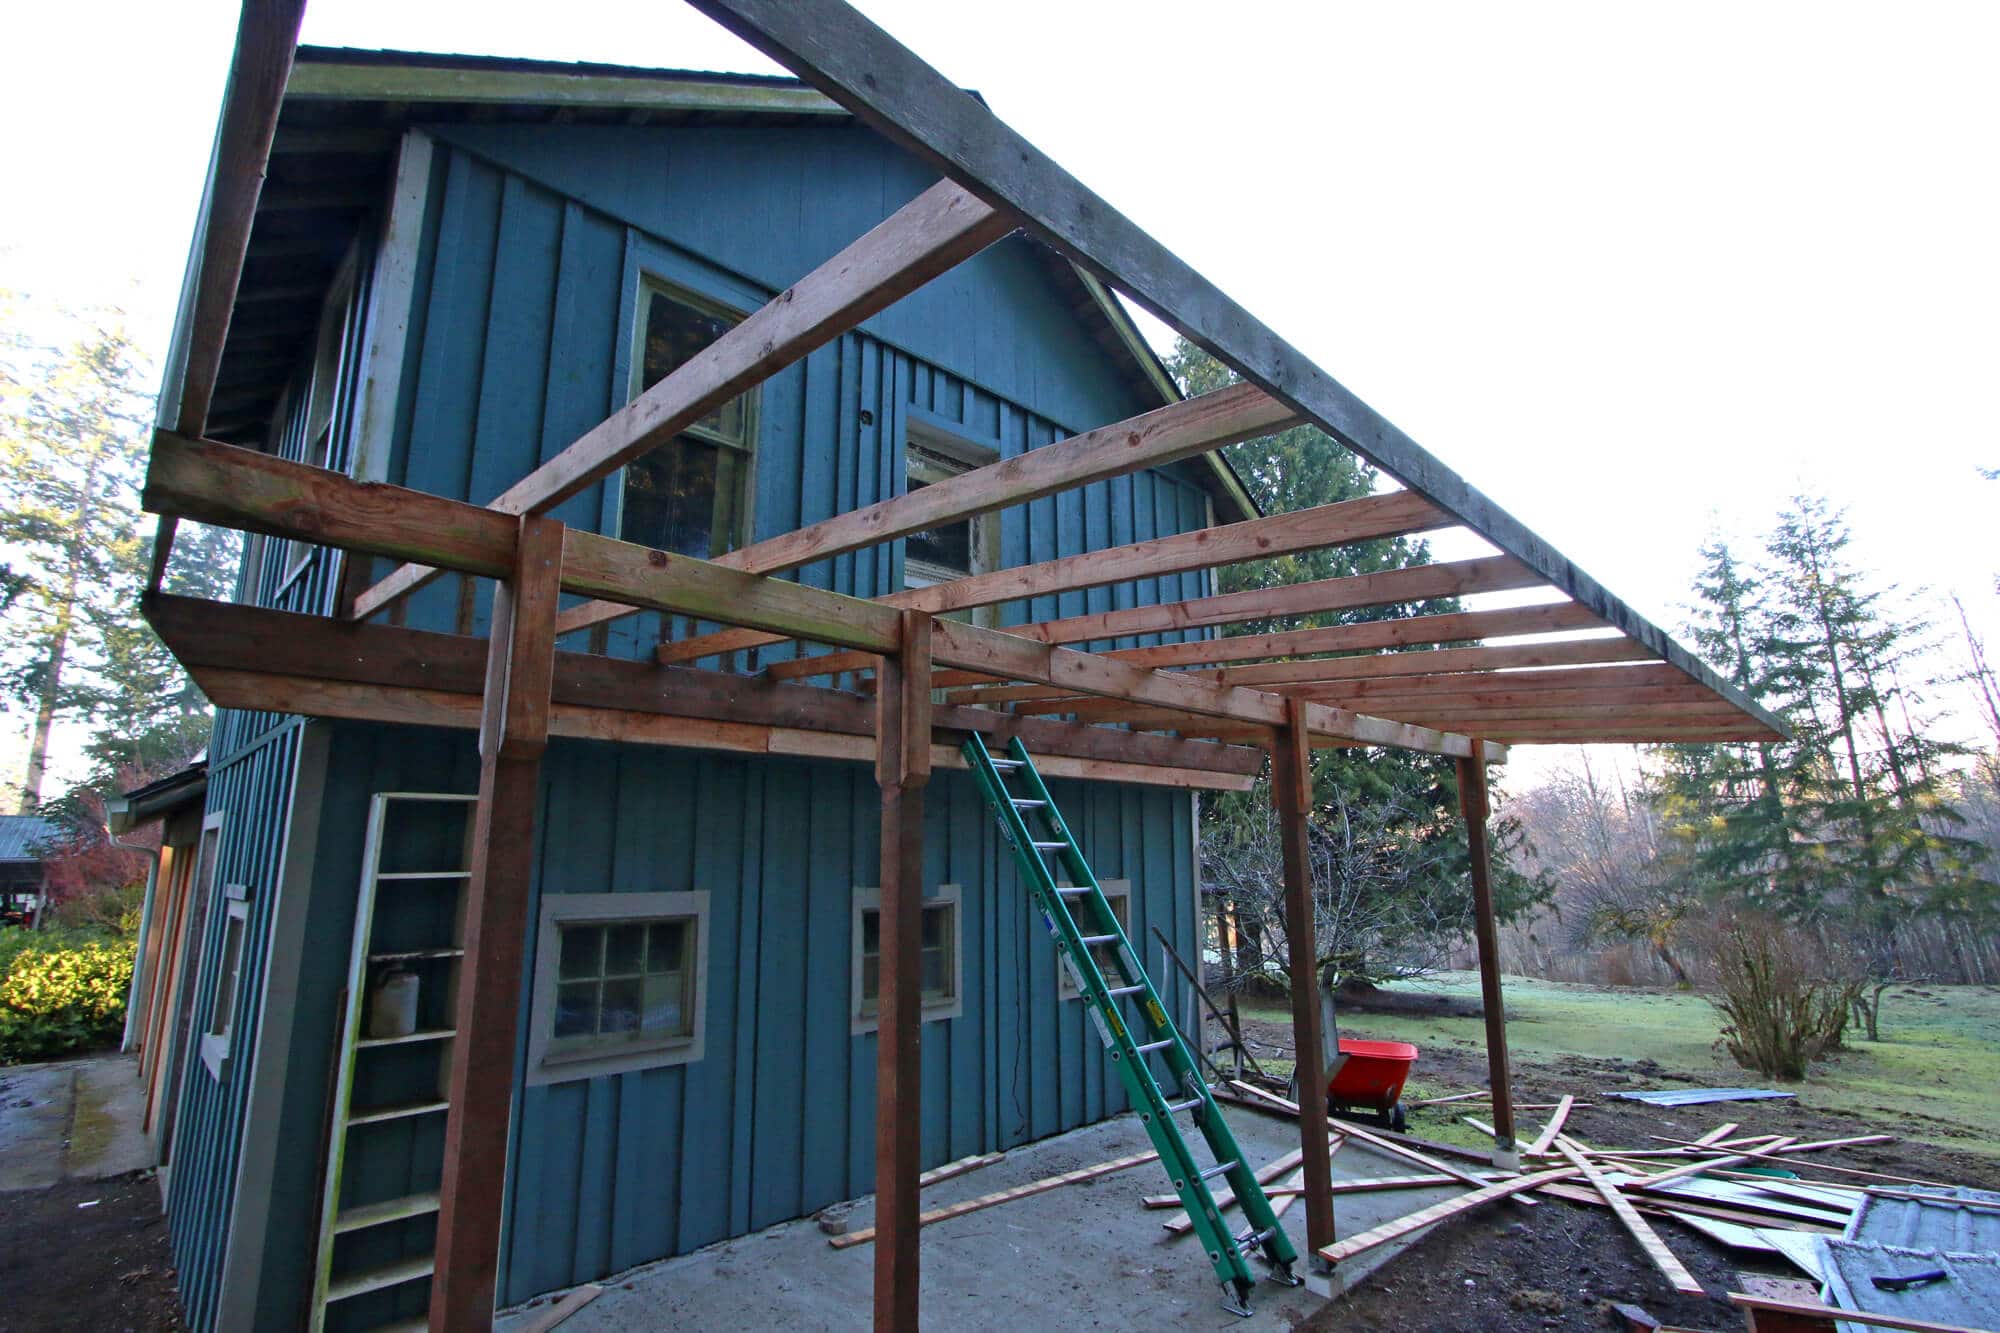
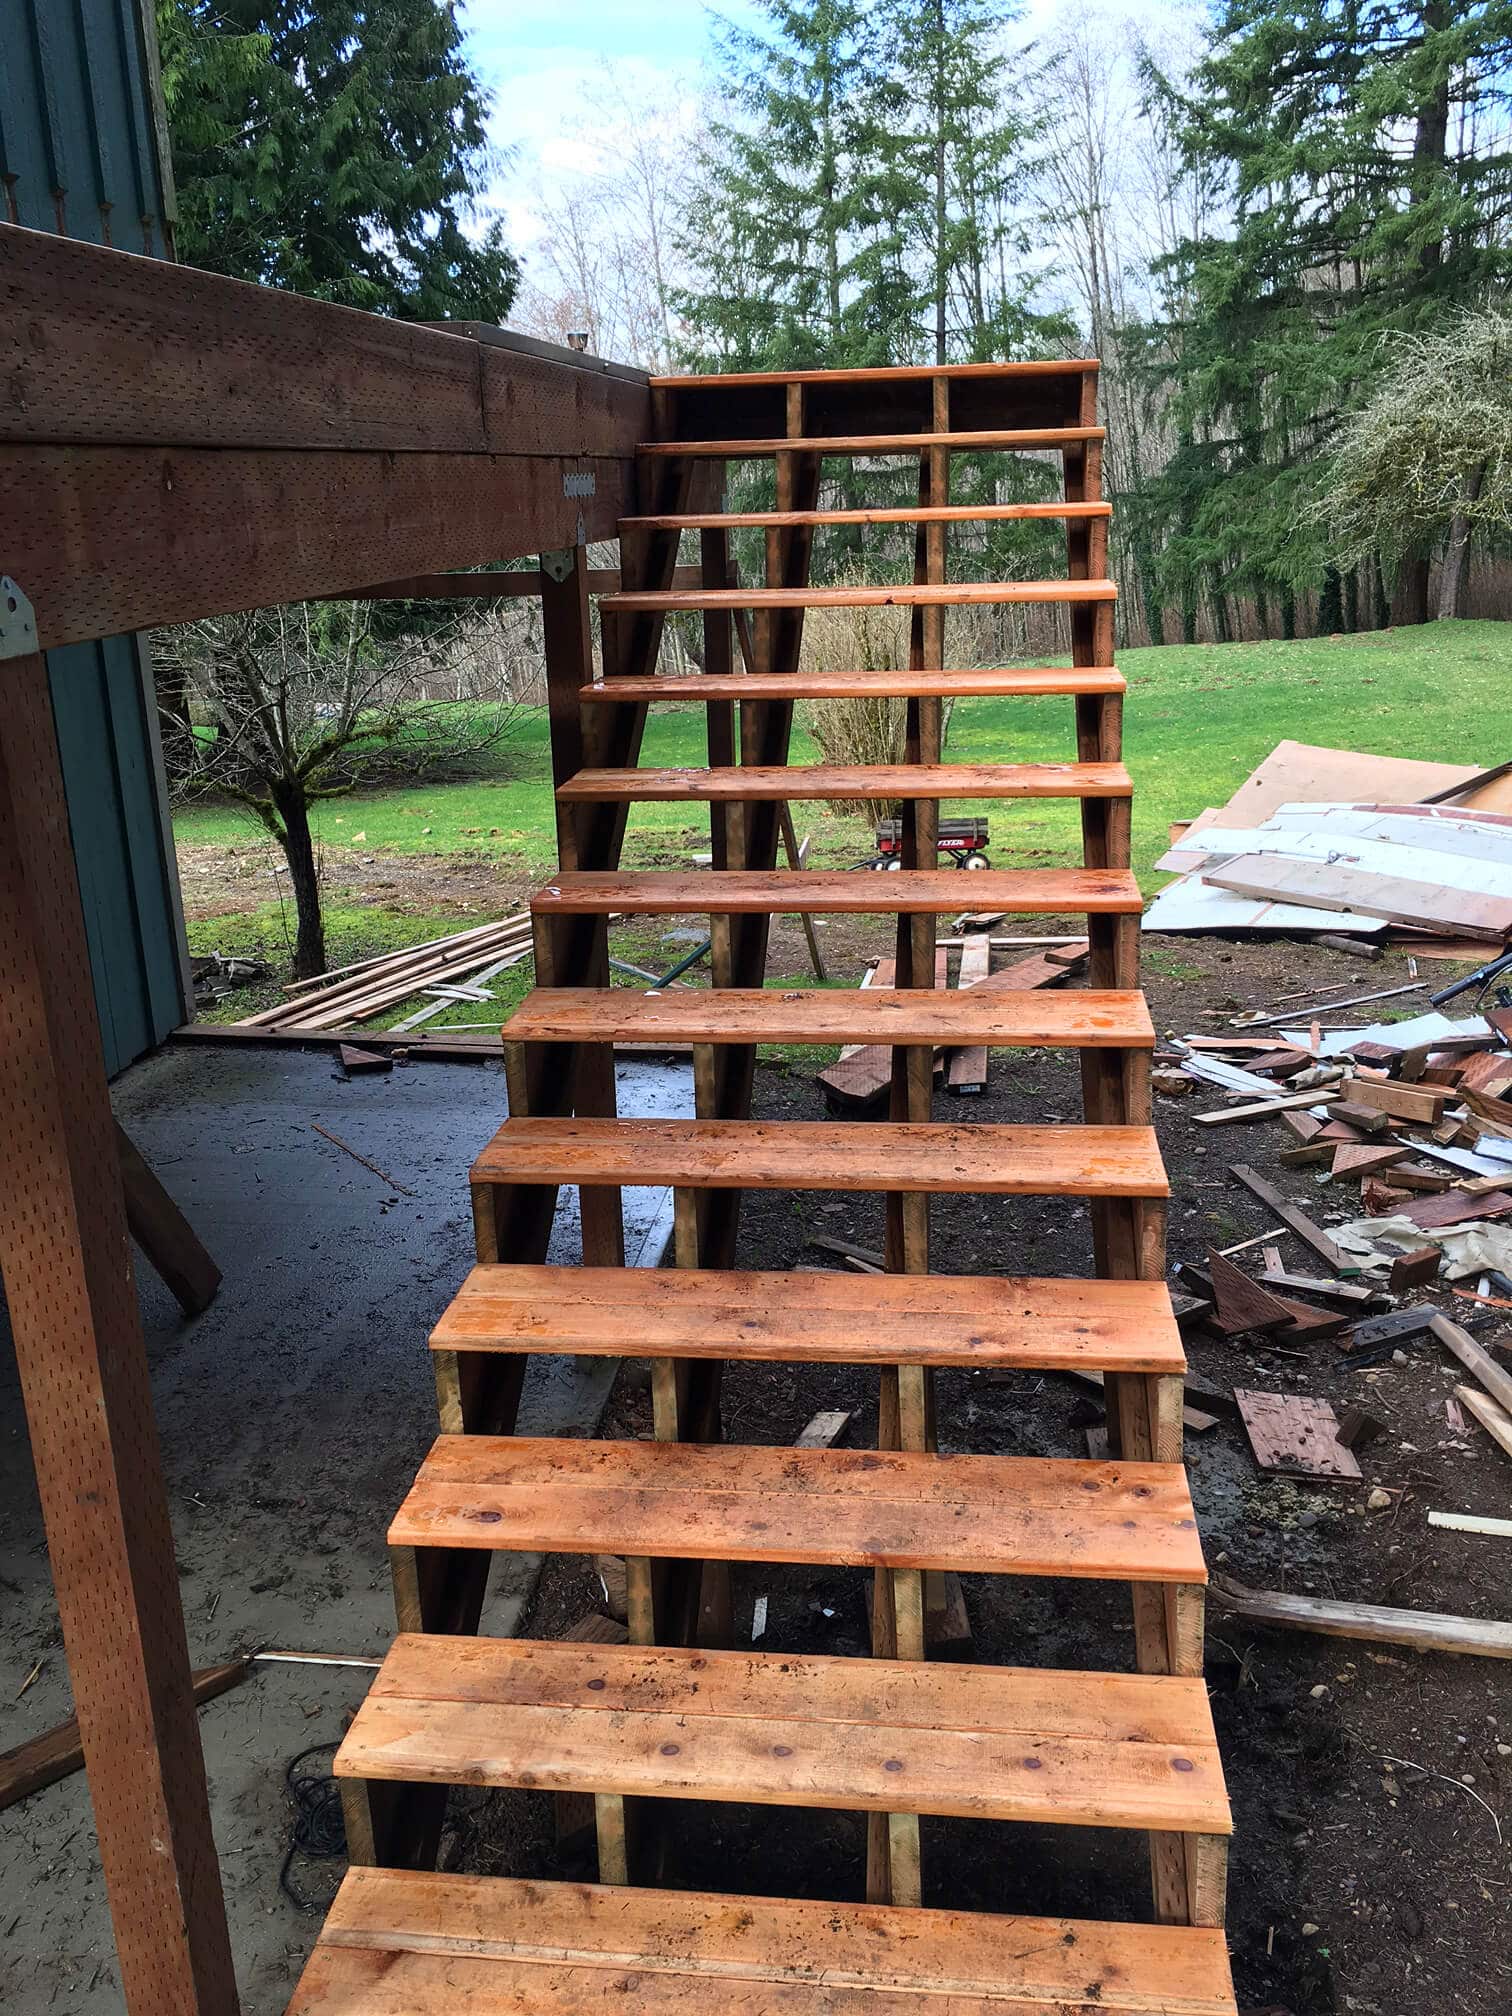
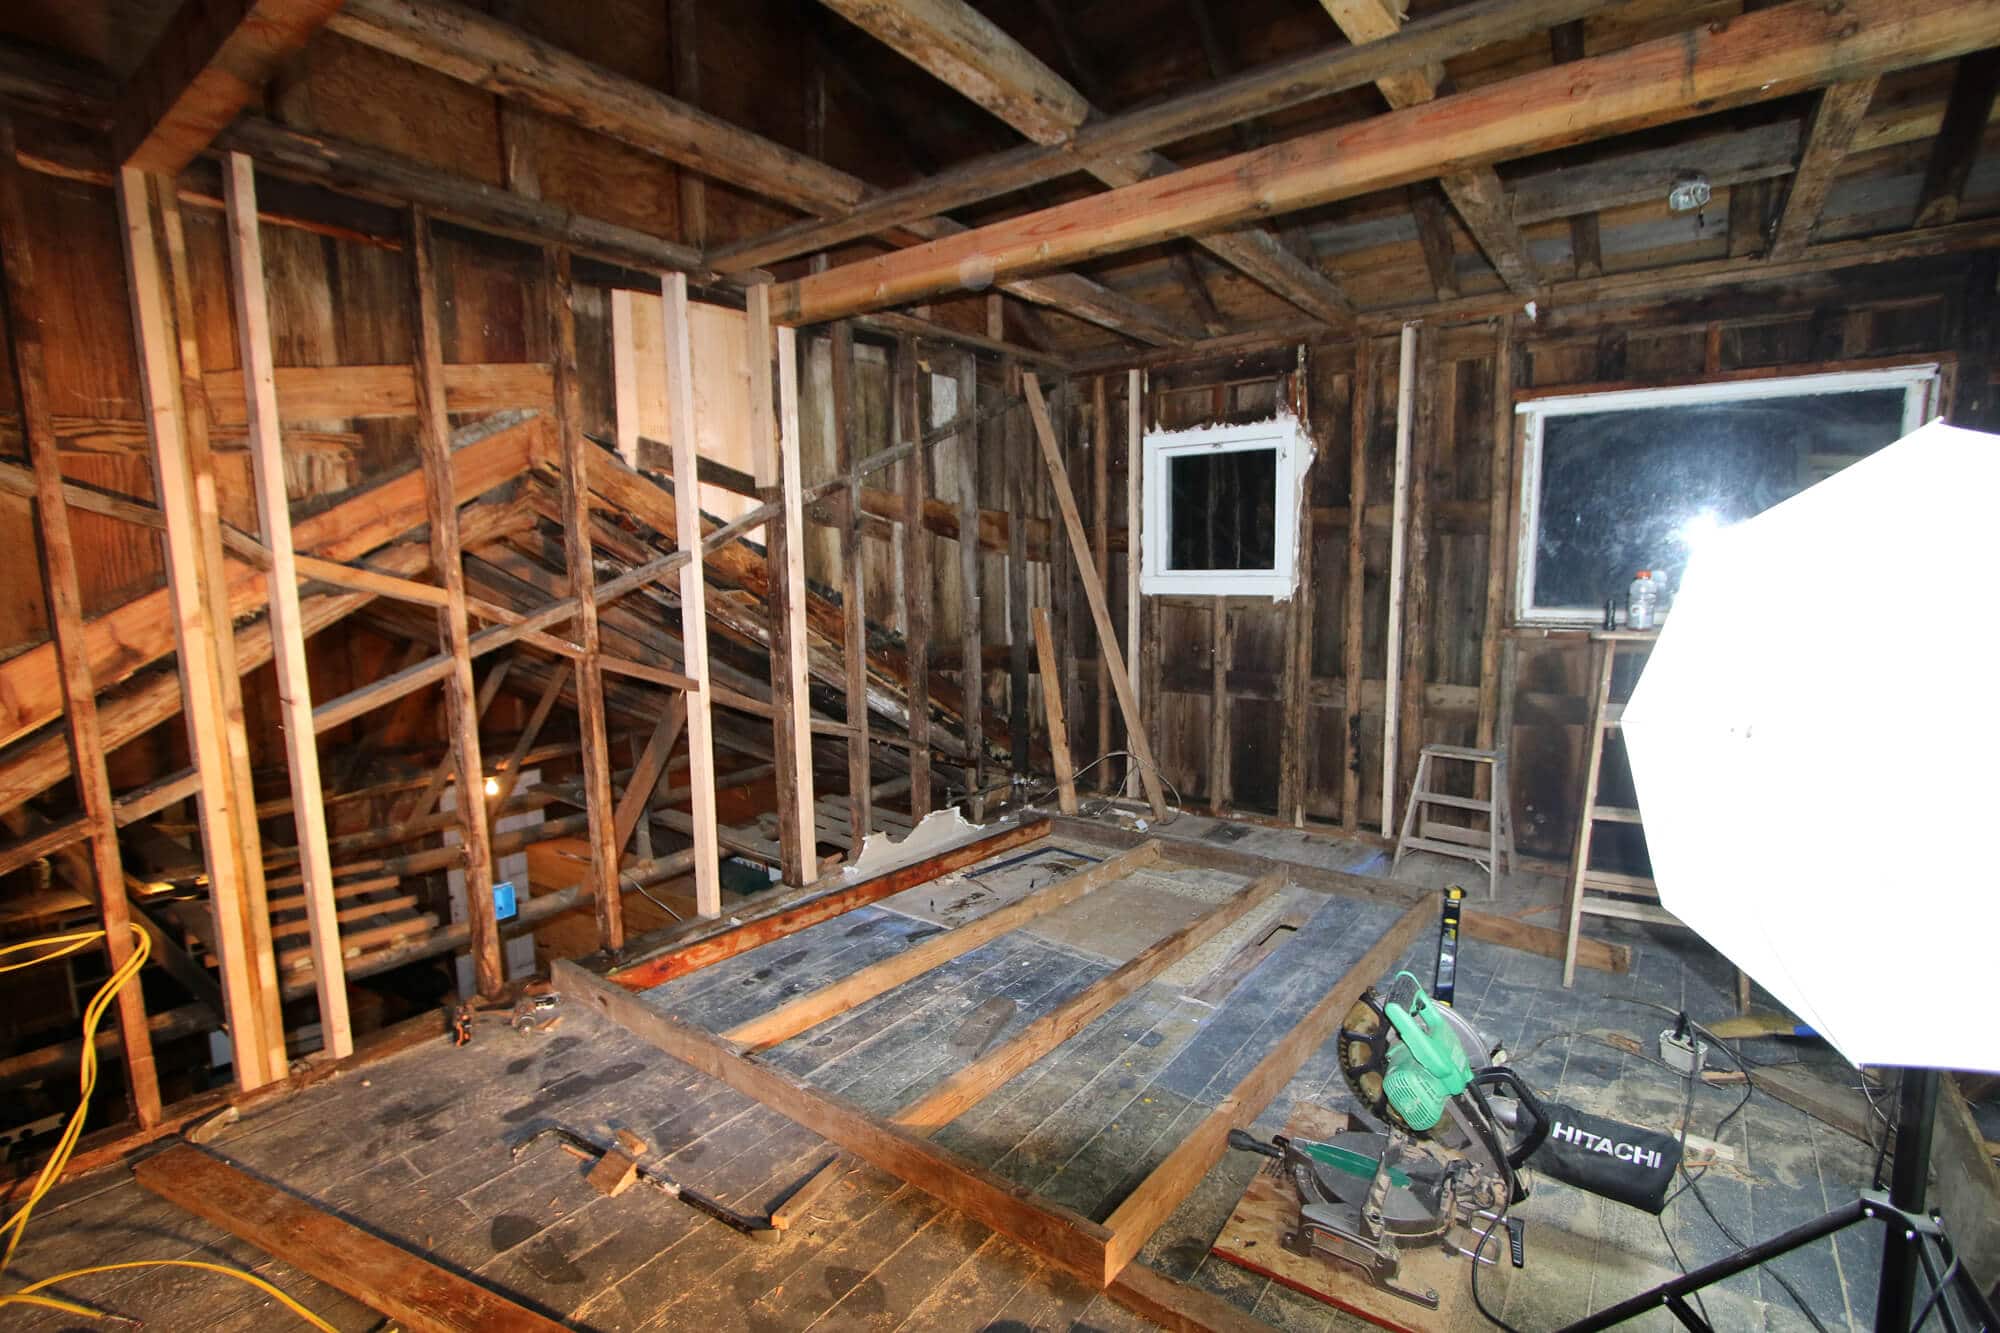
Since the demolition we talked about in Part II of this project, the next step was to get the stairs done so we could carry heavy materials up there. We’ll finish the rest of the deck very last.
The most common options for deck materials in this area are cedar, pre-treated wood and composite decking. Cedar looks nice, is rot resistant but is moderately expensive and has to be treated on a regular basis (ie, high maintenance). Pre-treated wood is fairly inexpensive, is rot resistant and doesn’t require as much maintenance (initially) but it’s less attractive than cedar. Then there’s composite decking which is low maintenance and lasts indefinitely but it’s even more expensive than cedar and how attractive it is lies in the eye of the beholder. There are also some other more exotic wood options that we considered like tiger wood, which is very low maintenance and rot resistant, but it’s also very expensive and sometimes you just have to draw the line somewhere. We went with cedar. Middle of the road in price (at least here in the NW where its readily available), attractive if you maintain it, and not overly high maintenance.
We ripped of the metal roofing sheets to reveal the large wooden structure below. We removed the entire structure except for the existing support posts and started from scratch.
The deck isn’t going to be as large as the previous roof structure, but it’s still a pretty large deck relative to such a small living space and it will provide plenty of room for a BBQ, table and chairs.
The finished deck will come out to where that middle support beam is in the pic below.
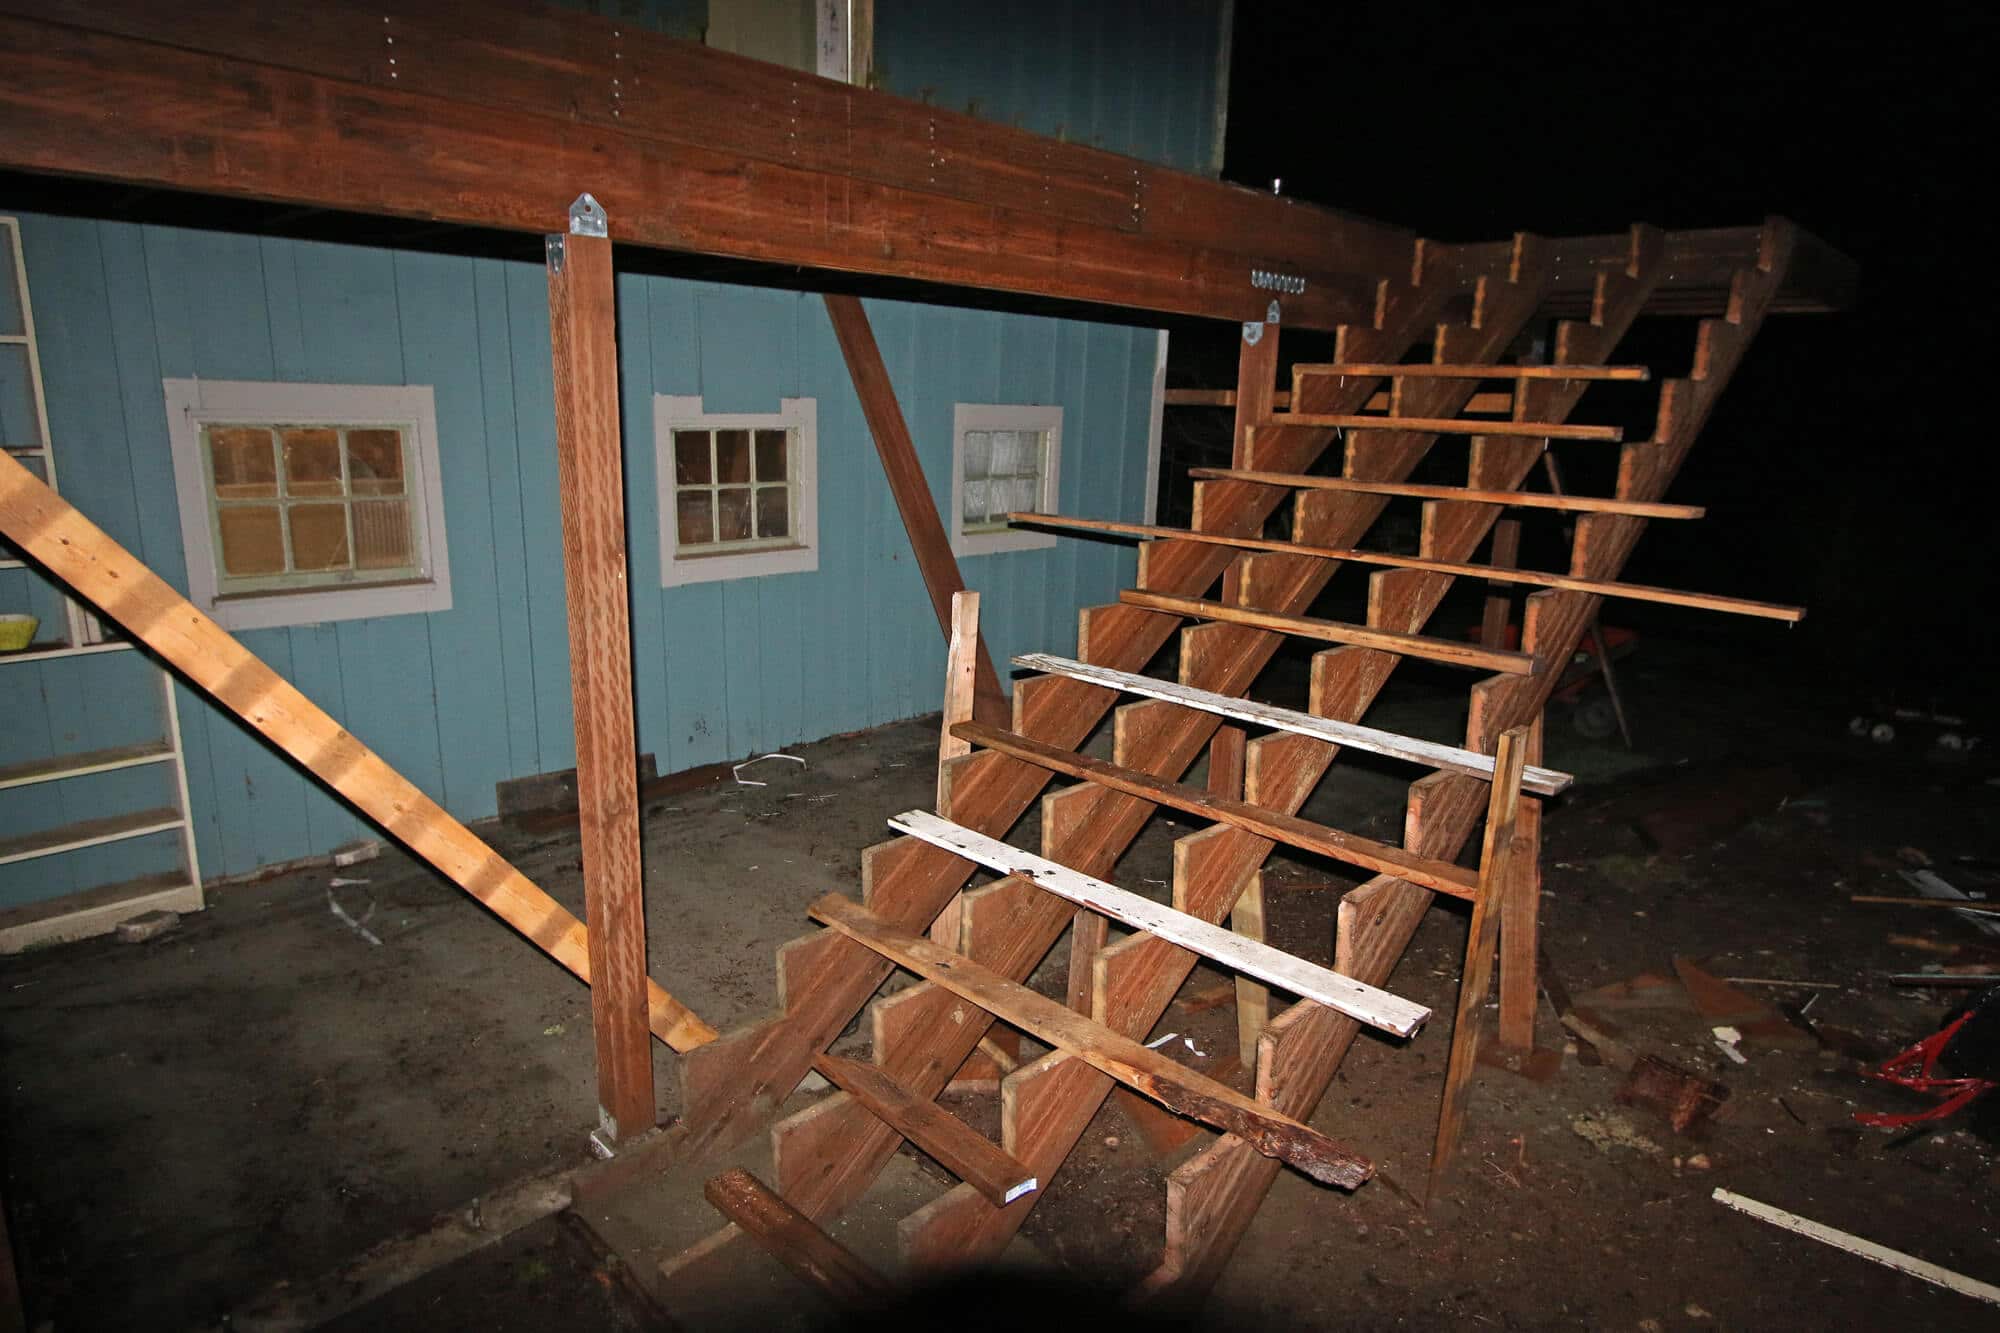
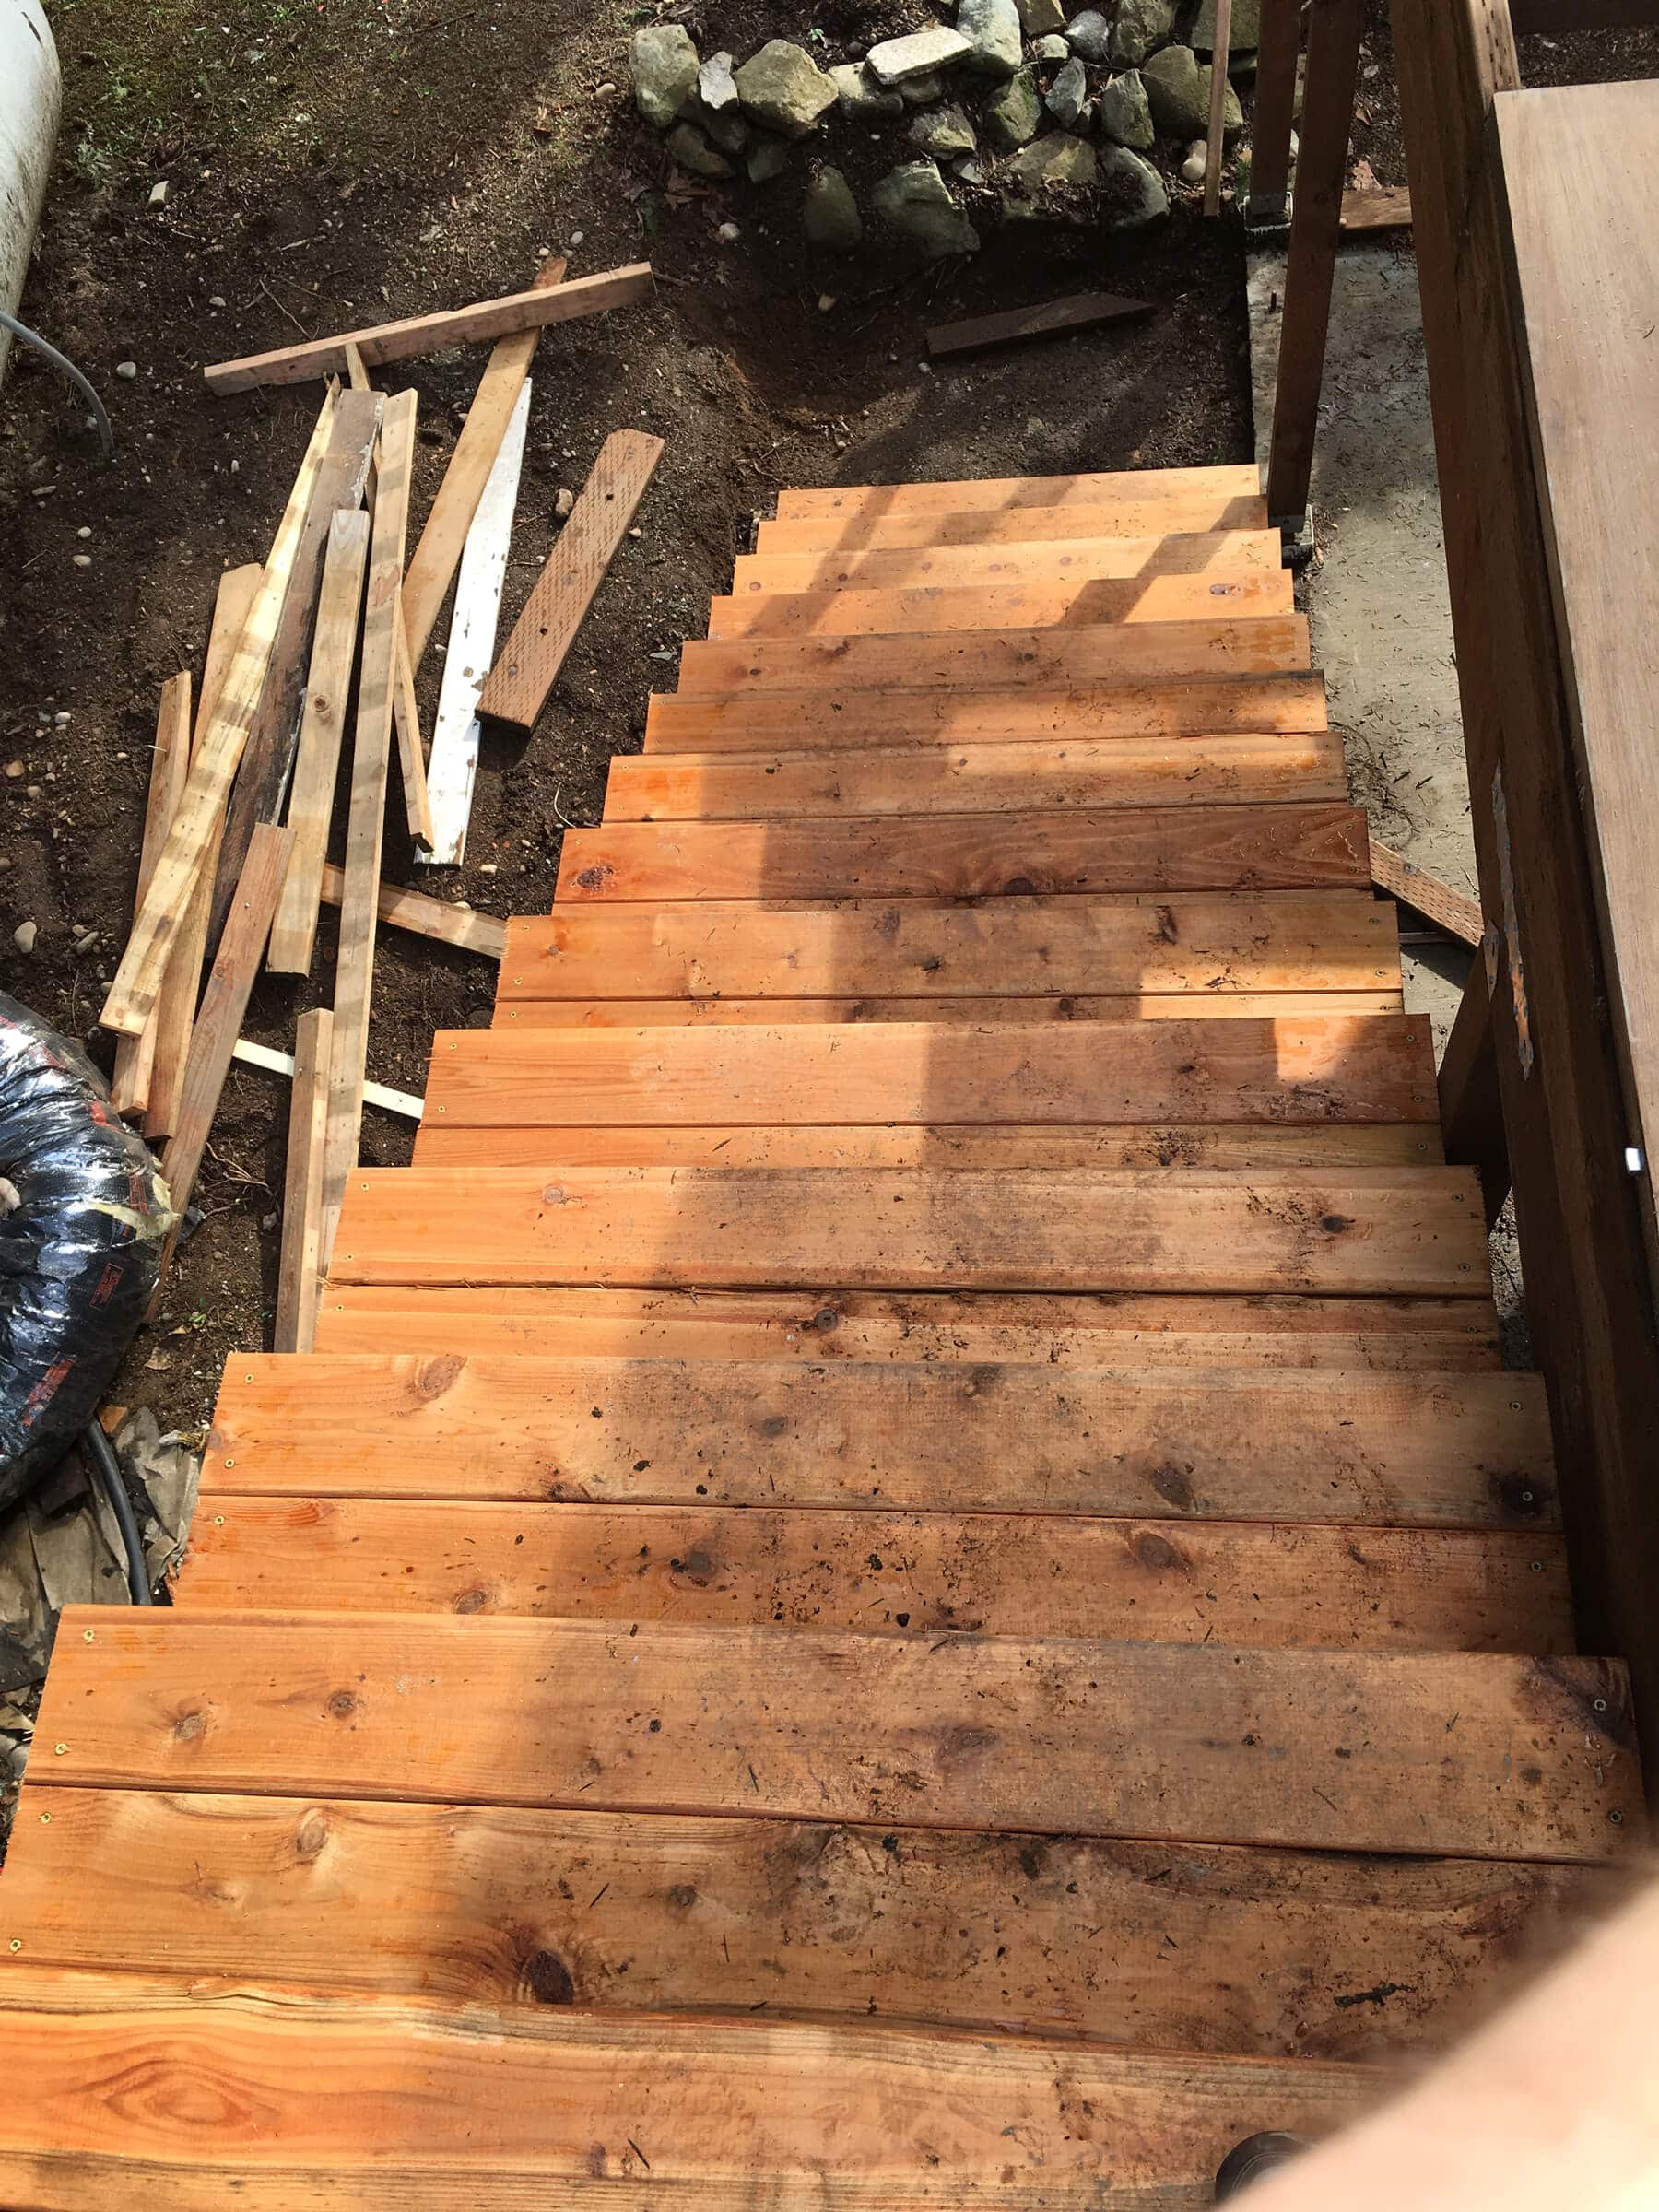
The stairs aren’t done yet – still need the dropdown facing and railing. But for now we just needed to be able to carry stuff up there.

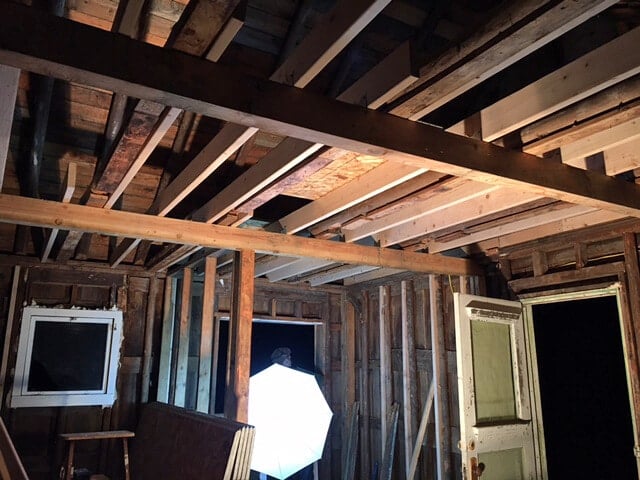
The old infrastructure was literally made of whole trees cut down from our property. They’re good, strong pieces and the place is sturdily built, but we wanted to reinforce it some more.
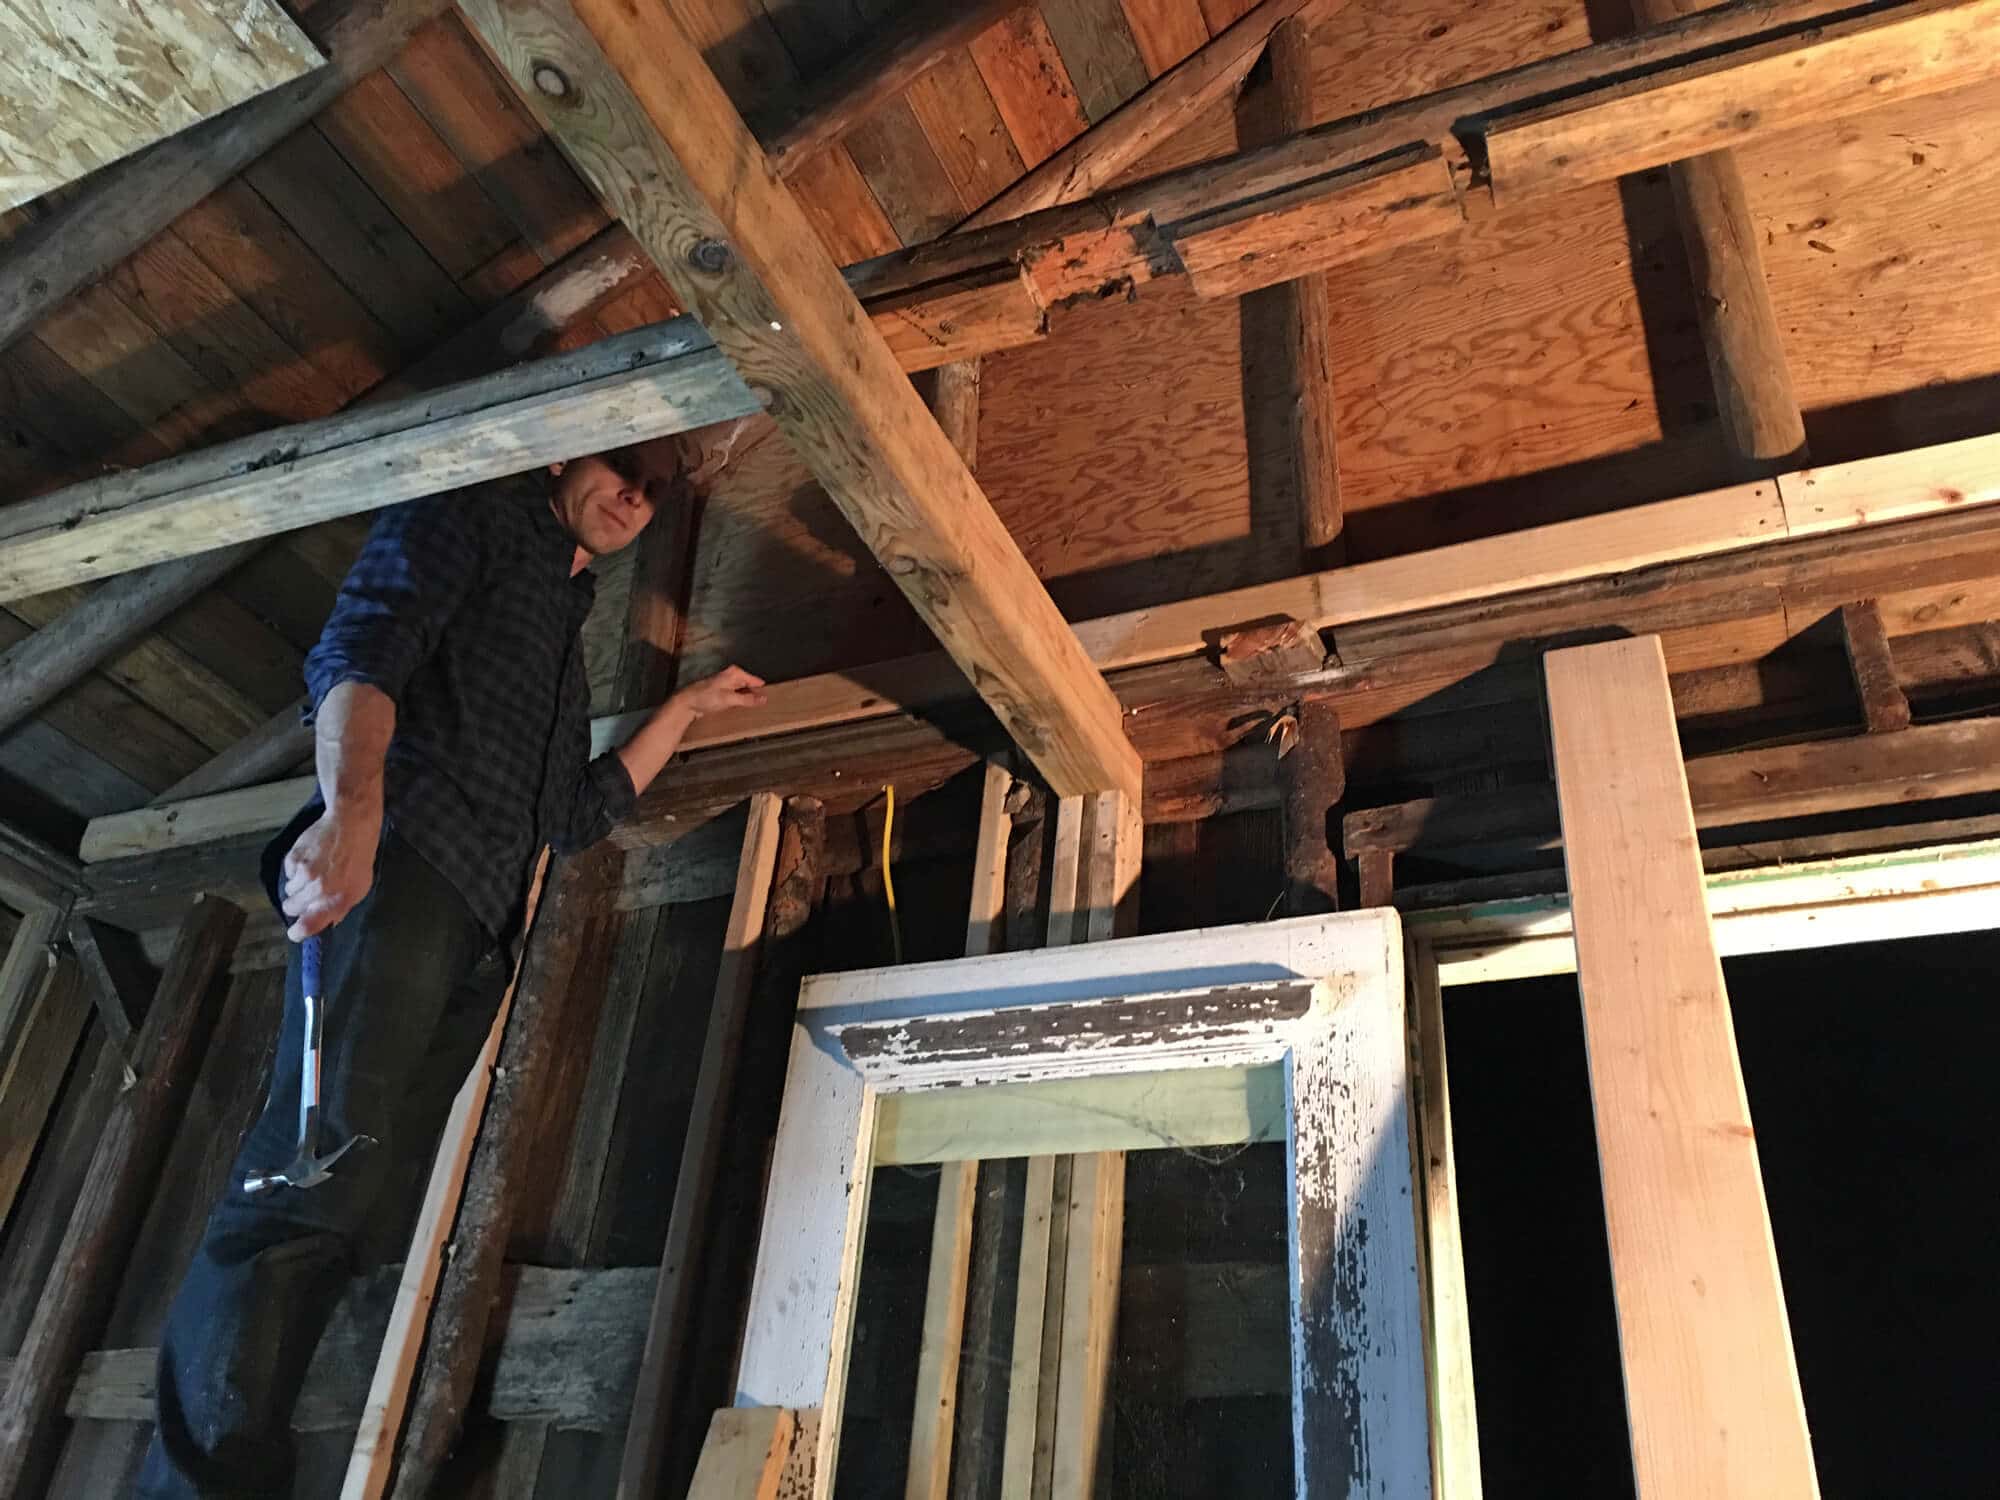
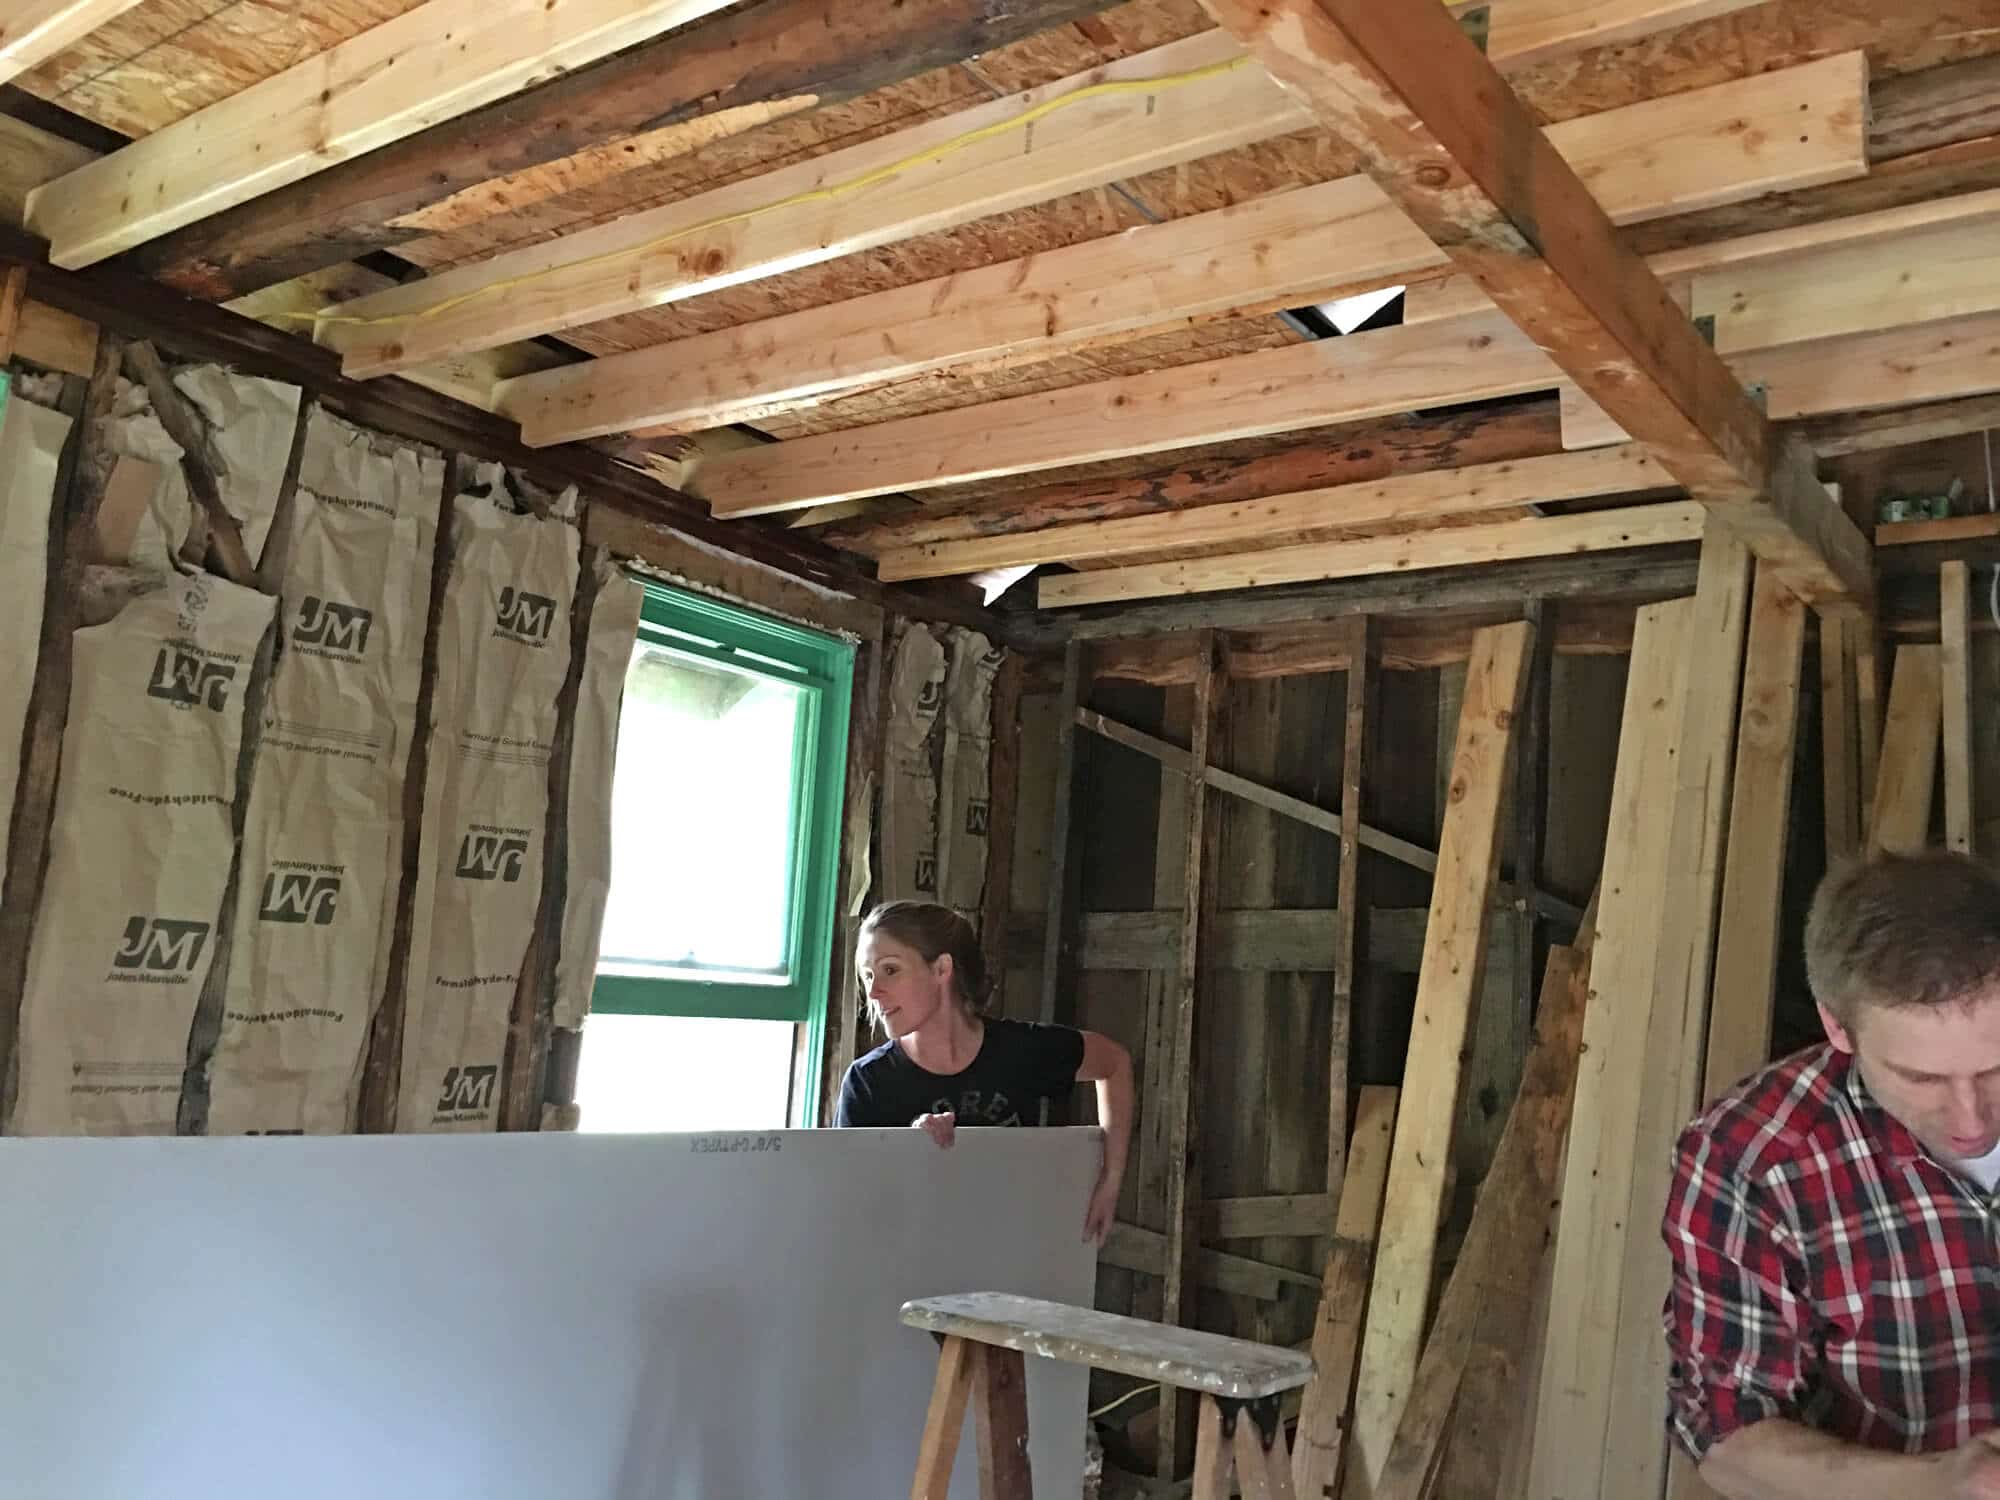
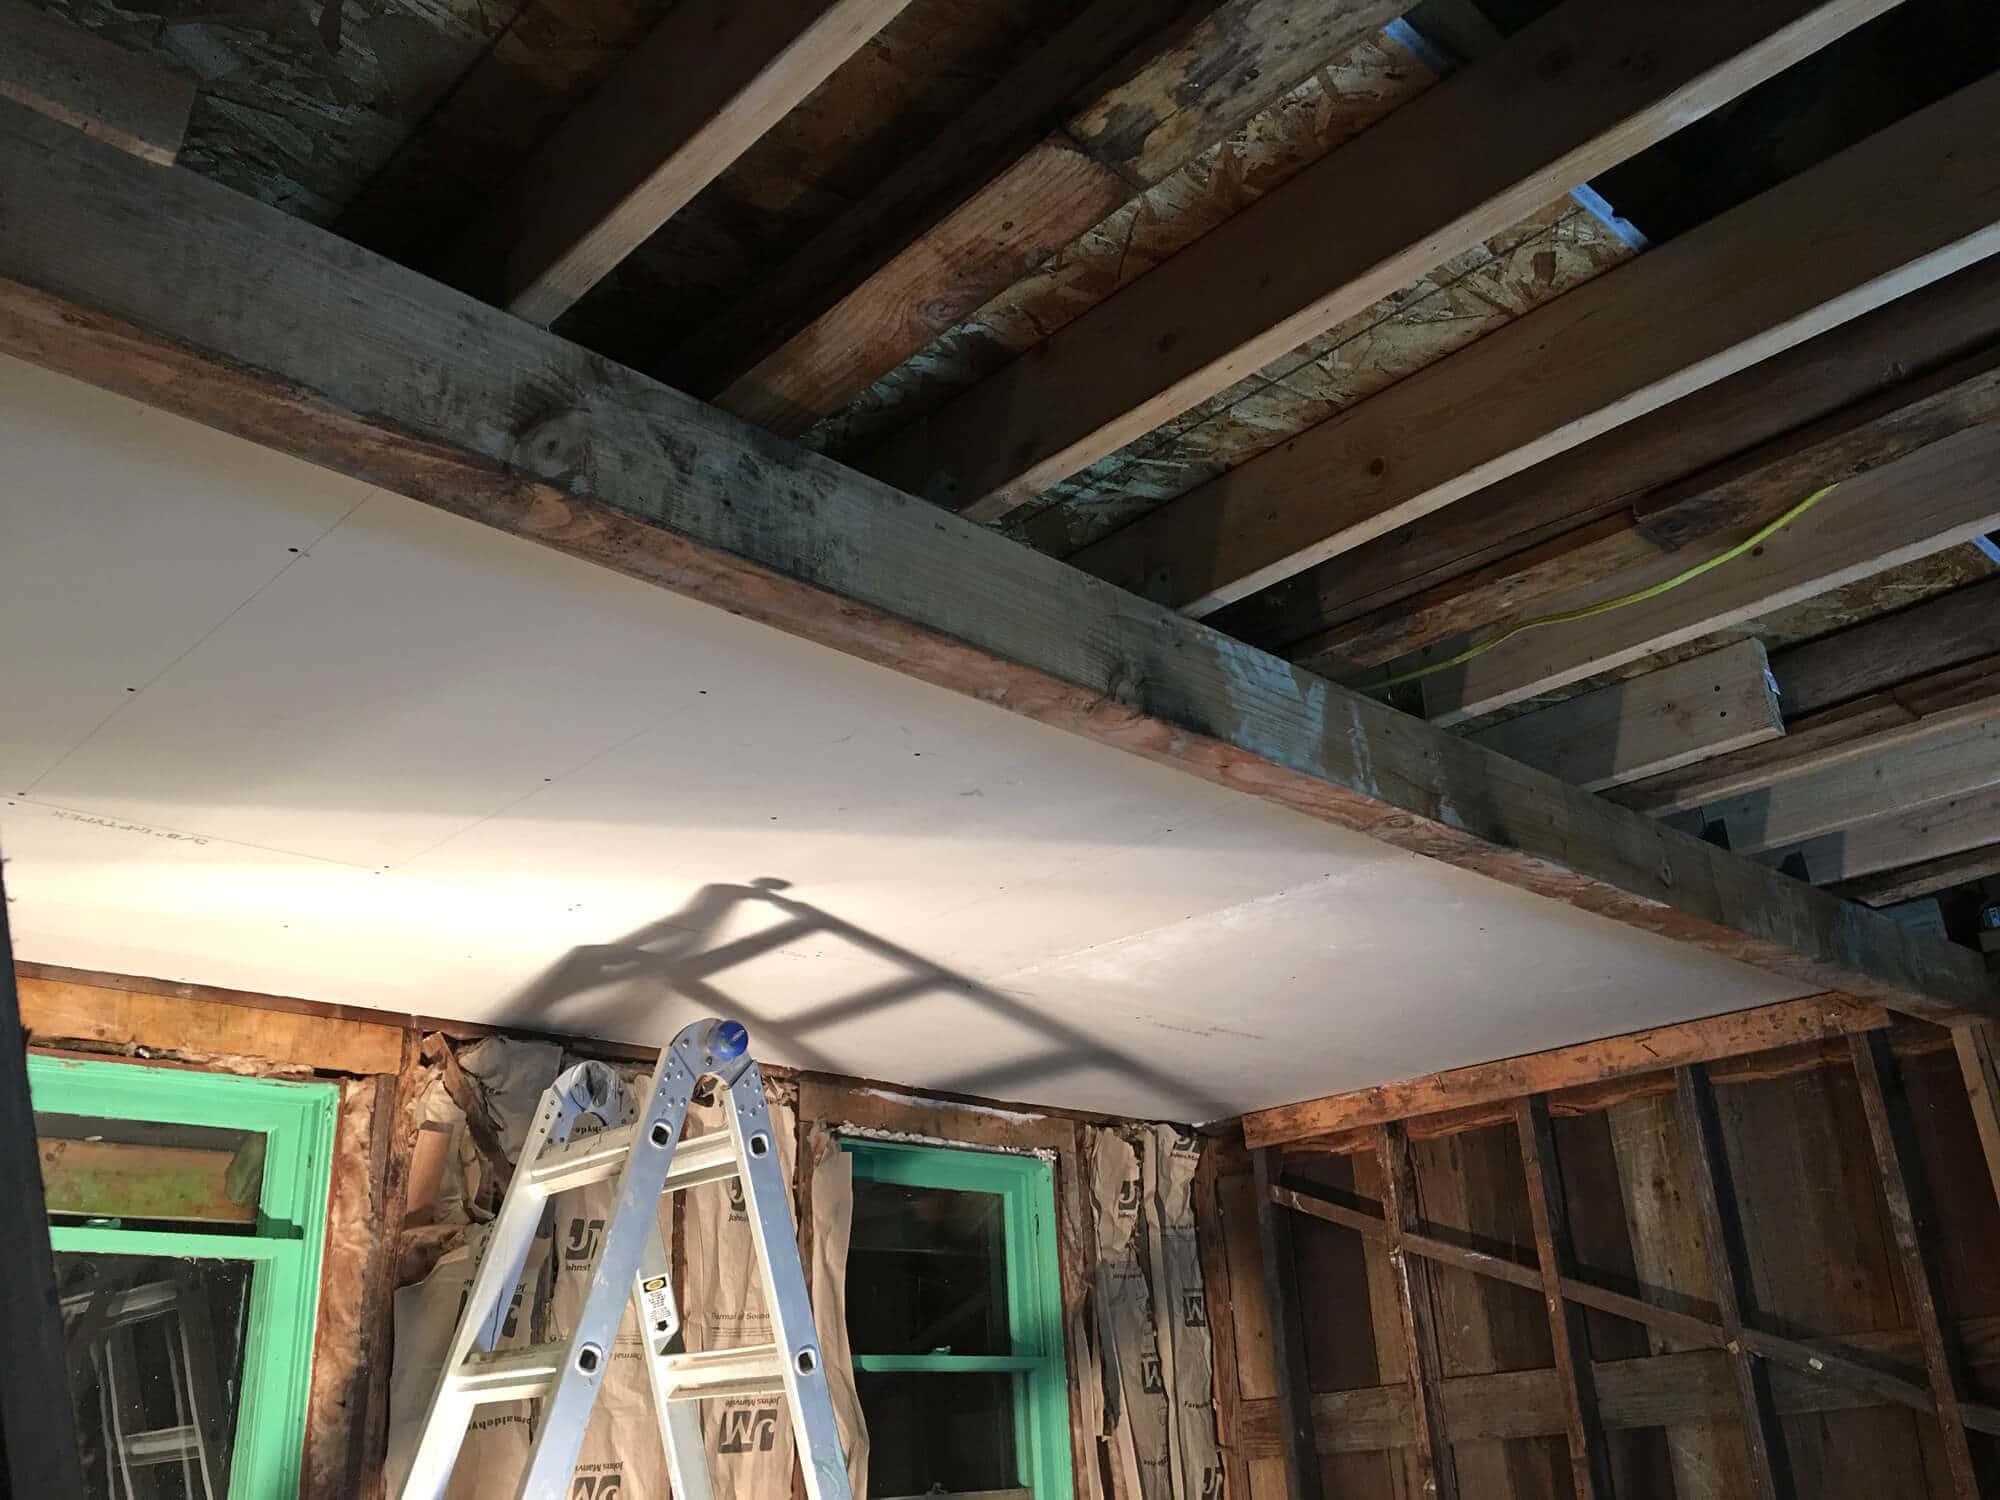
The picture below looks up to the back wall of the living unit when you’re standing downstairs in the garage.
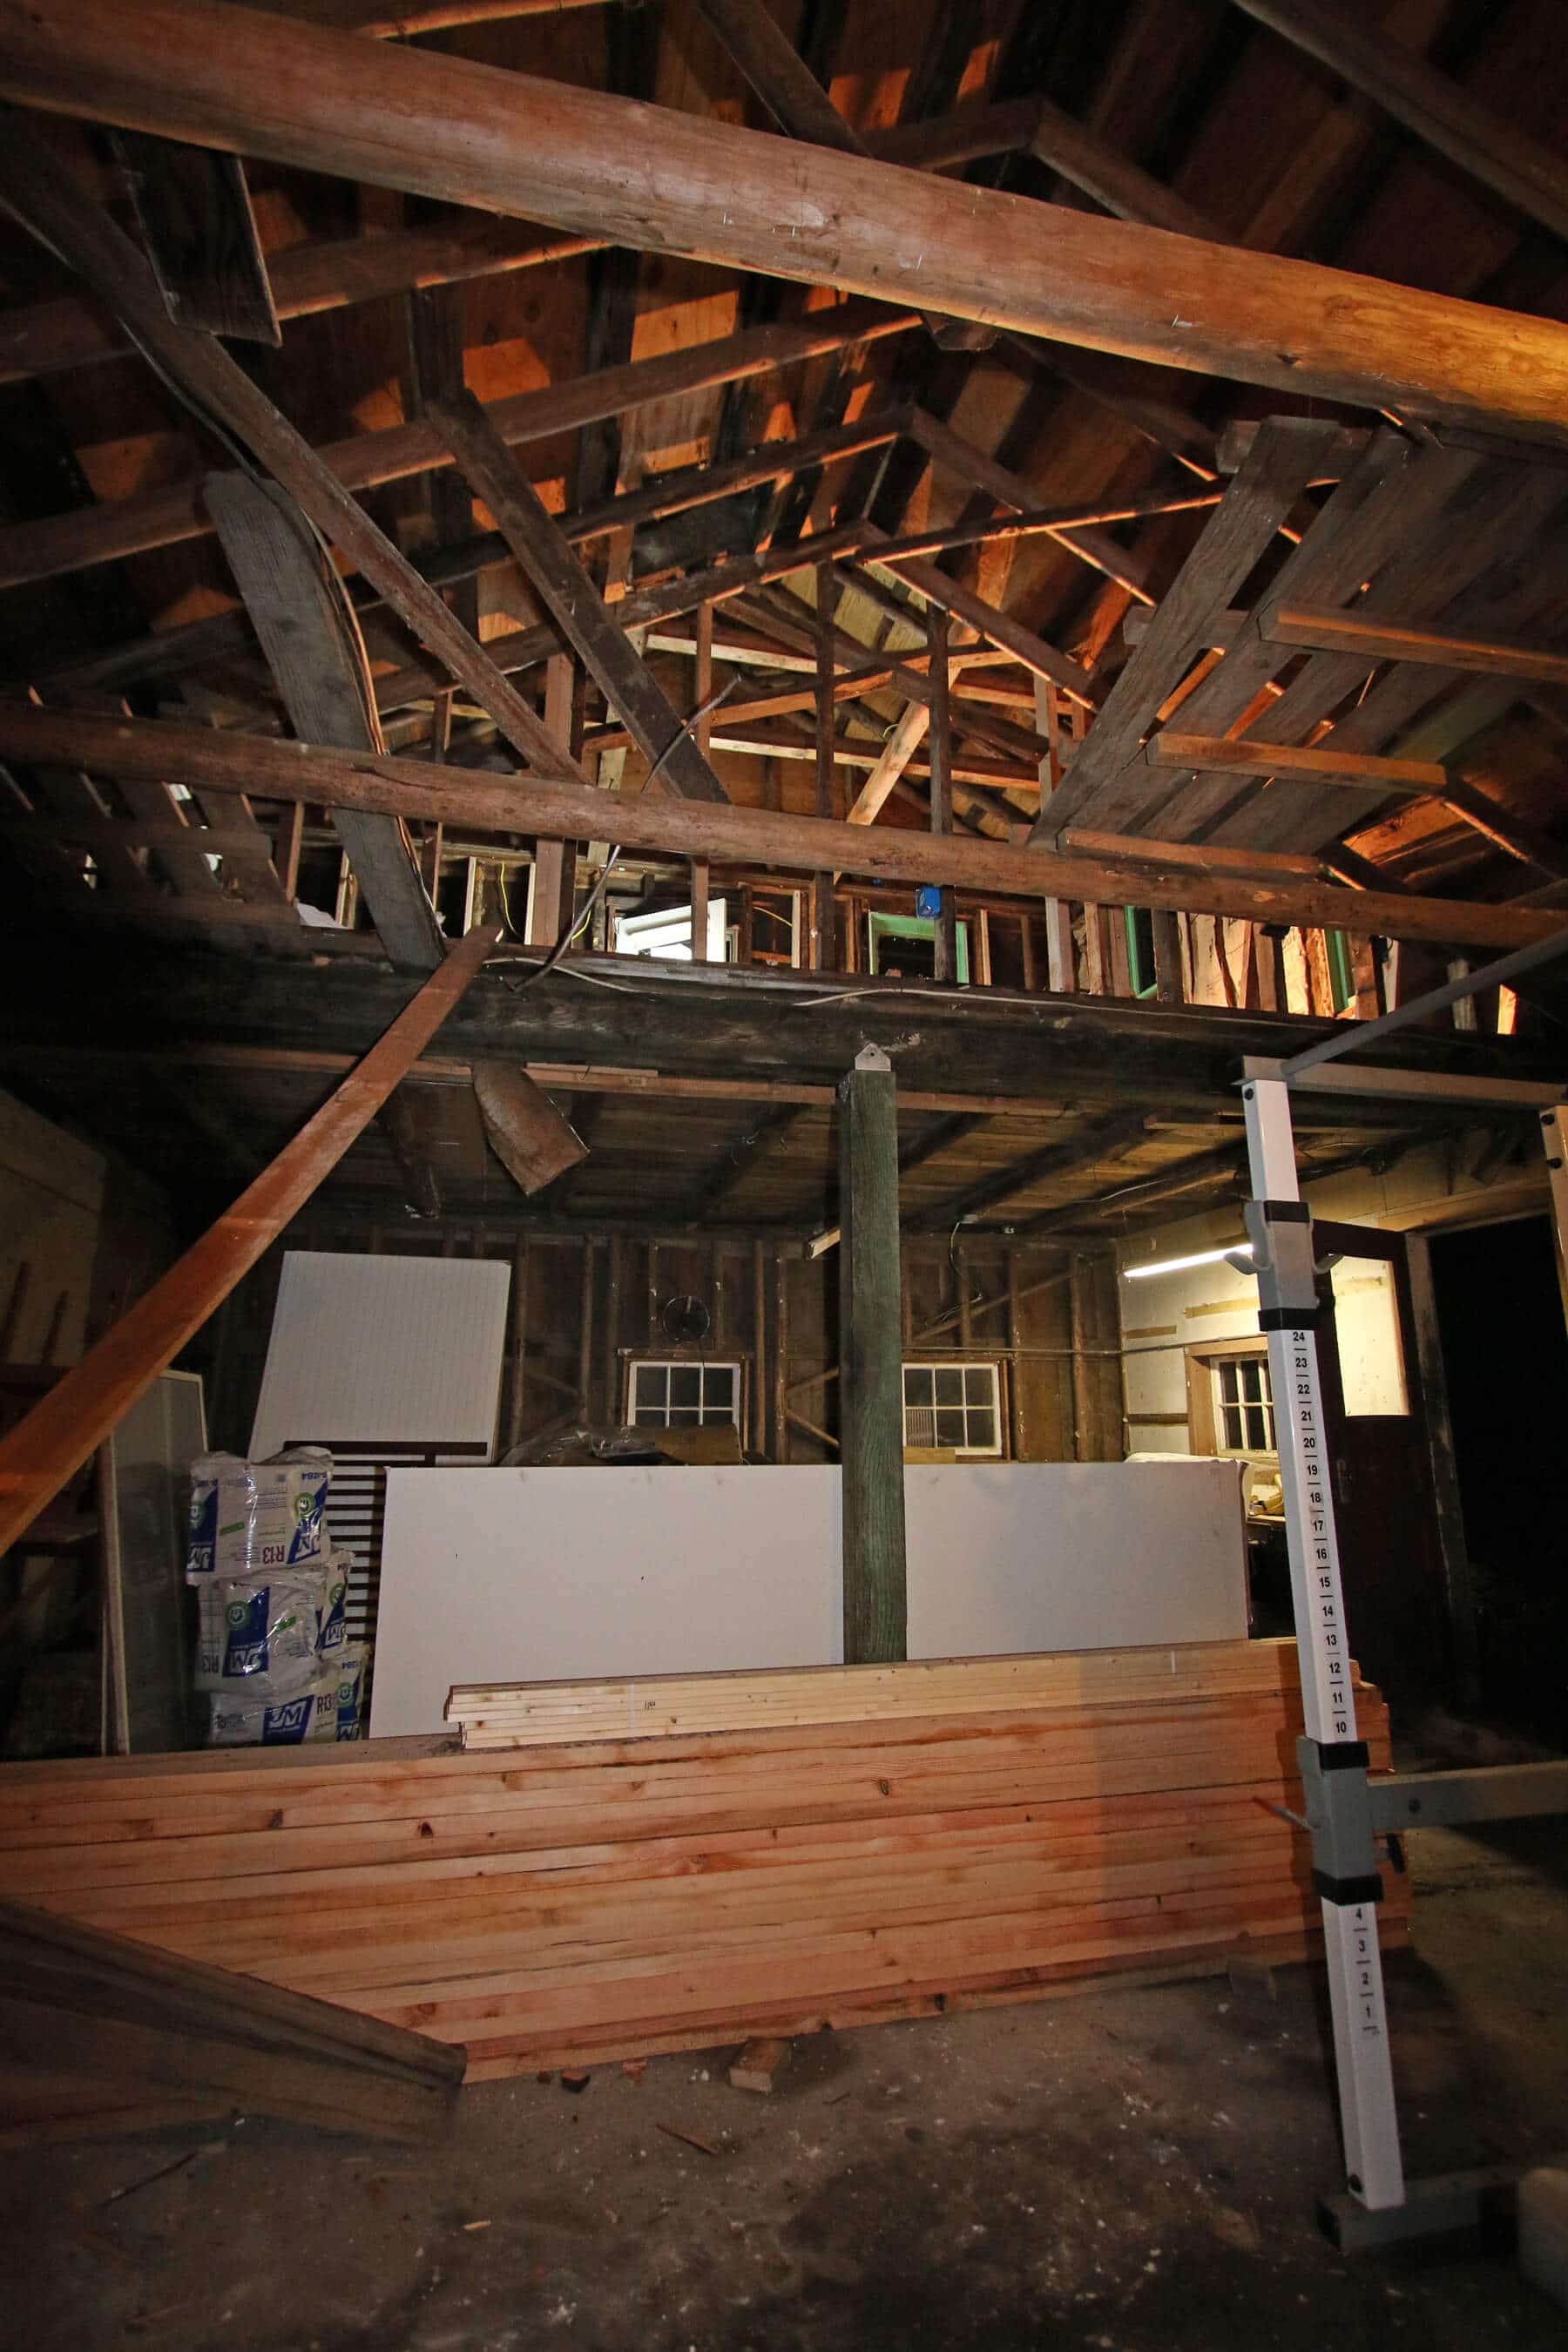
Since we decided to add the upstairs living loft, that did require a lot of extra support. We don’t want our friends and family falling through the ceiling. (Really, we don’t.)
We started with putting in two heavy cross beams.
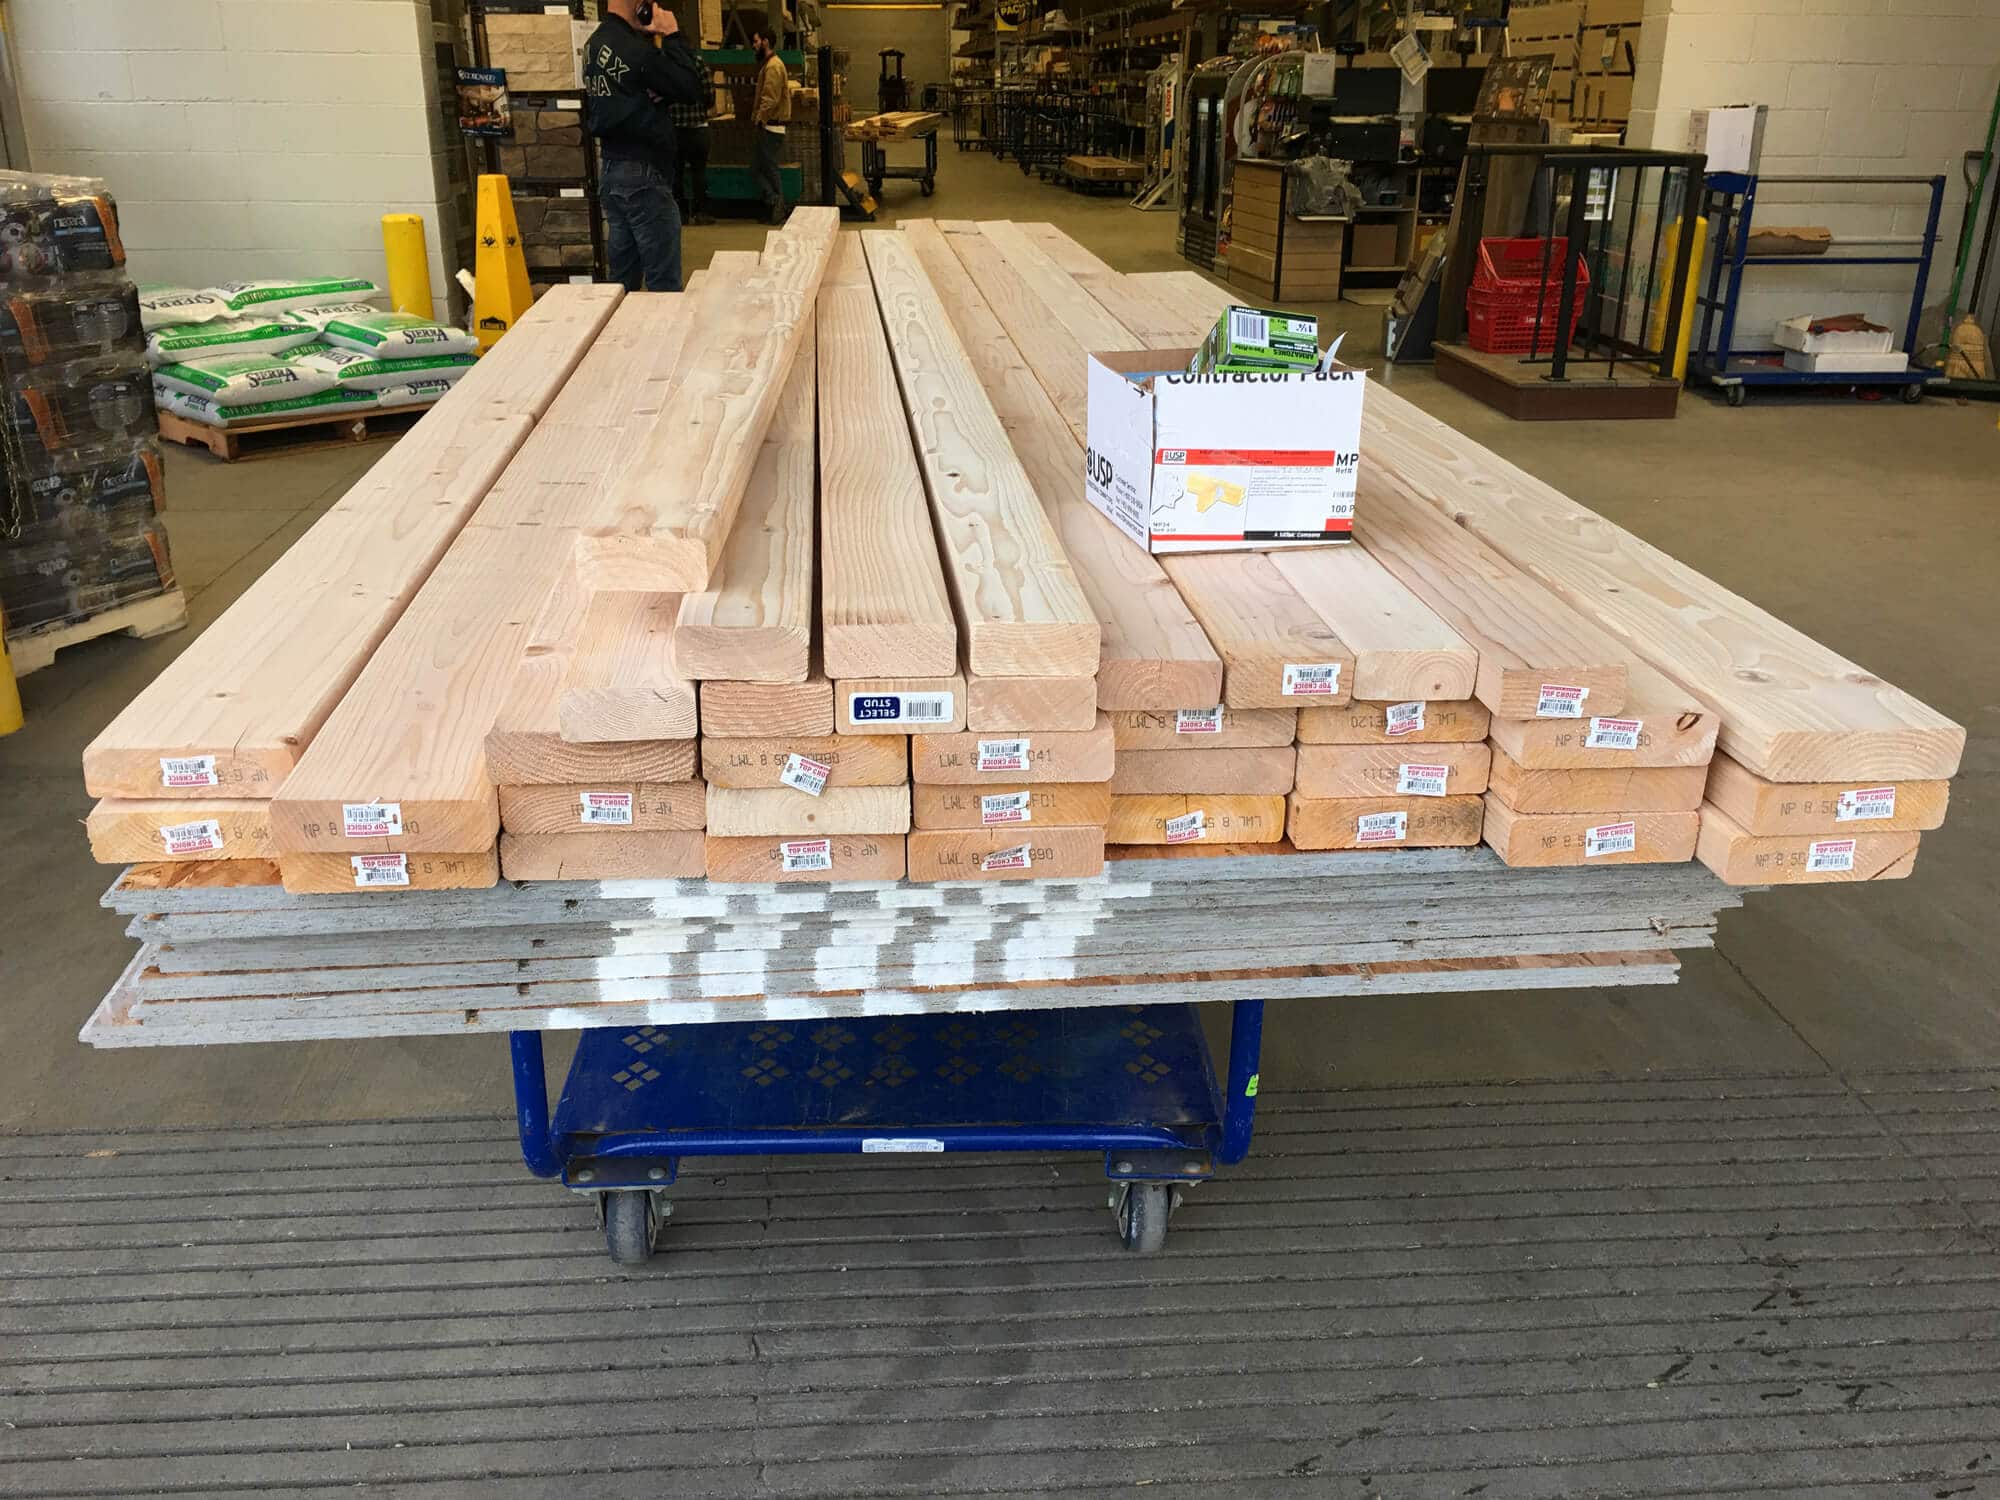
We picked up several loads of boards from our local Lowe’s to place around the walls for added support and to add more joists so the attic could be converted into a loft bedroom. We also grabbed some plywood sheets for loft sub flooring. This is just one of several loads.
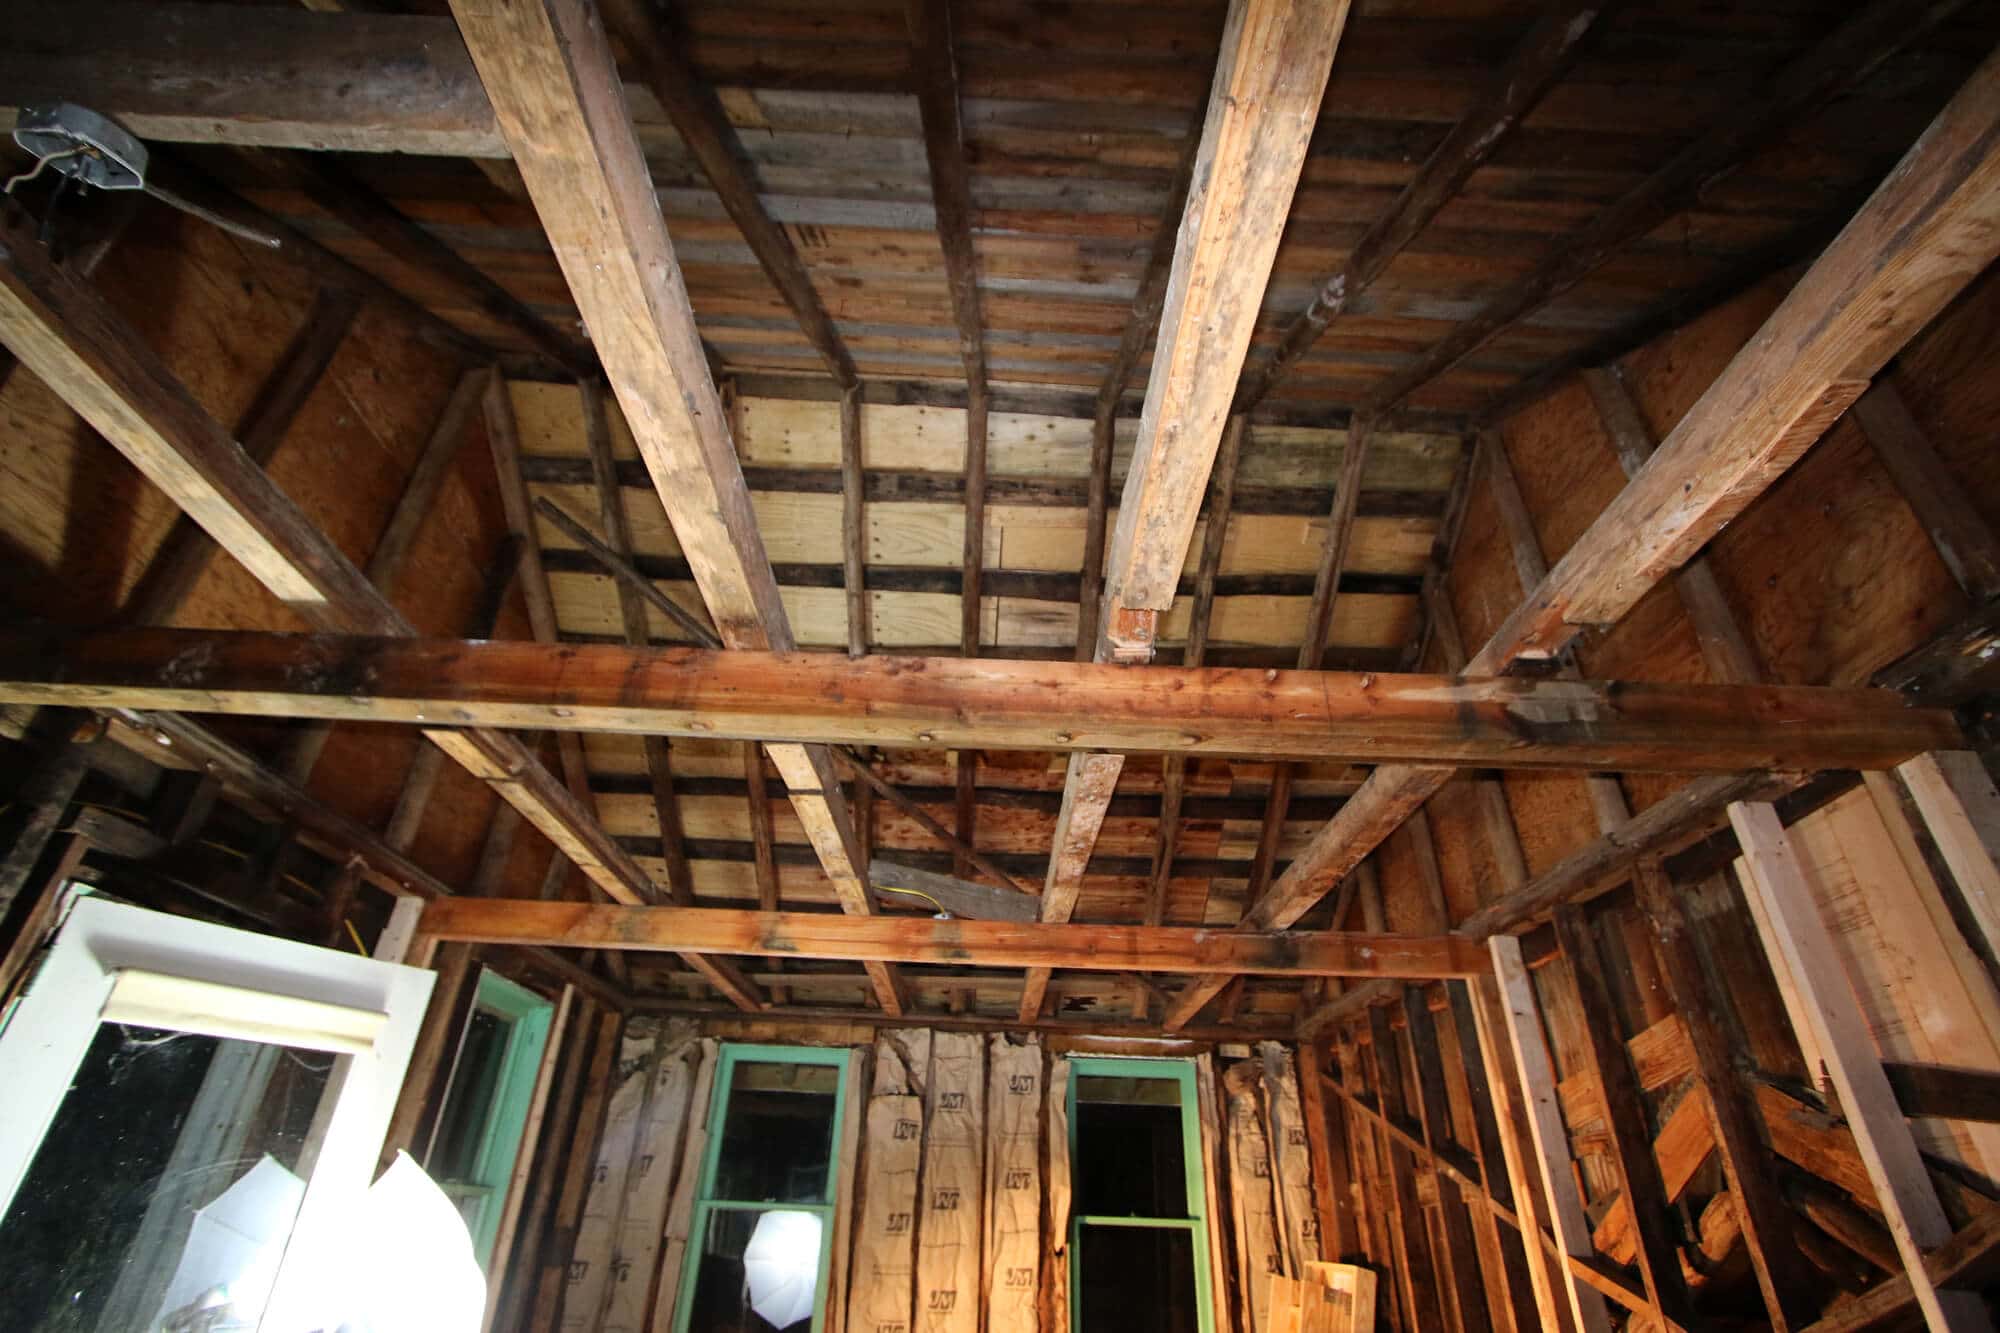
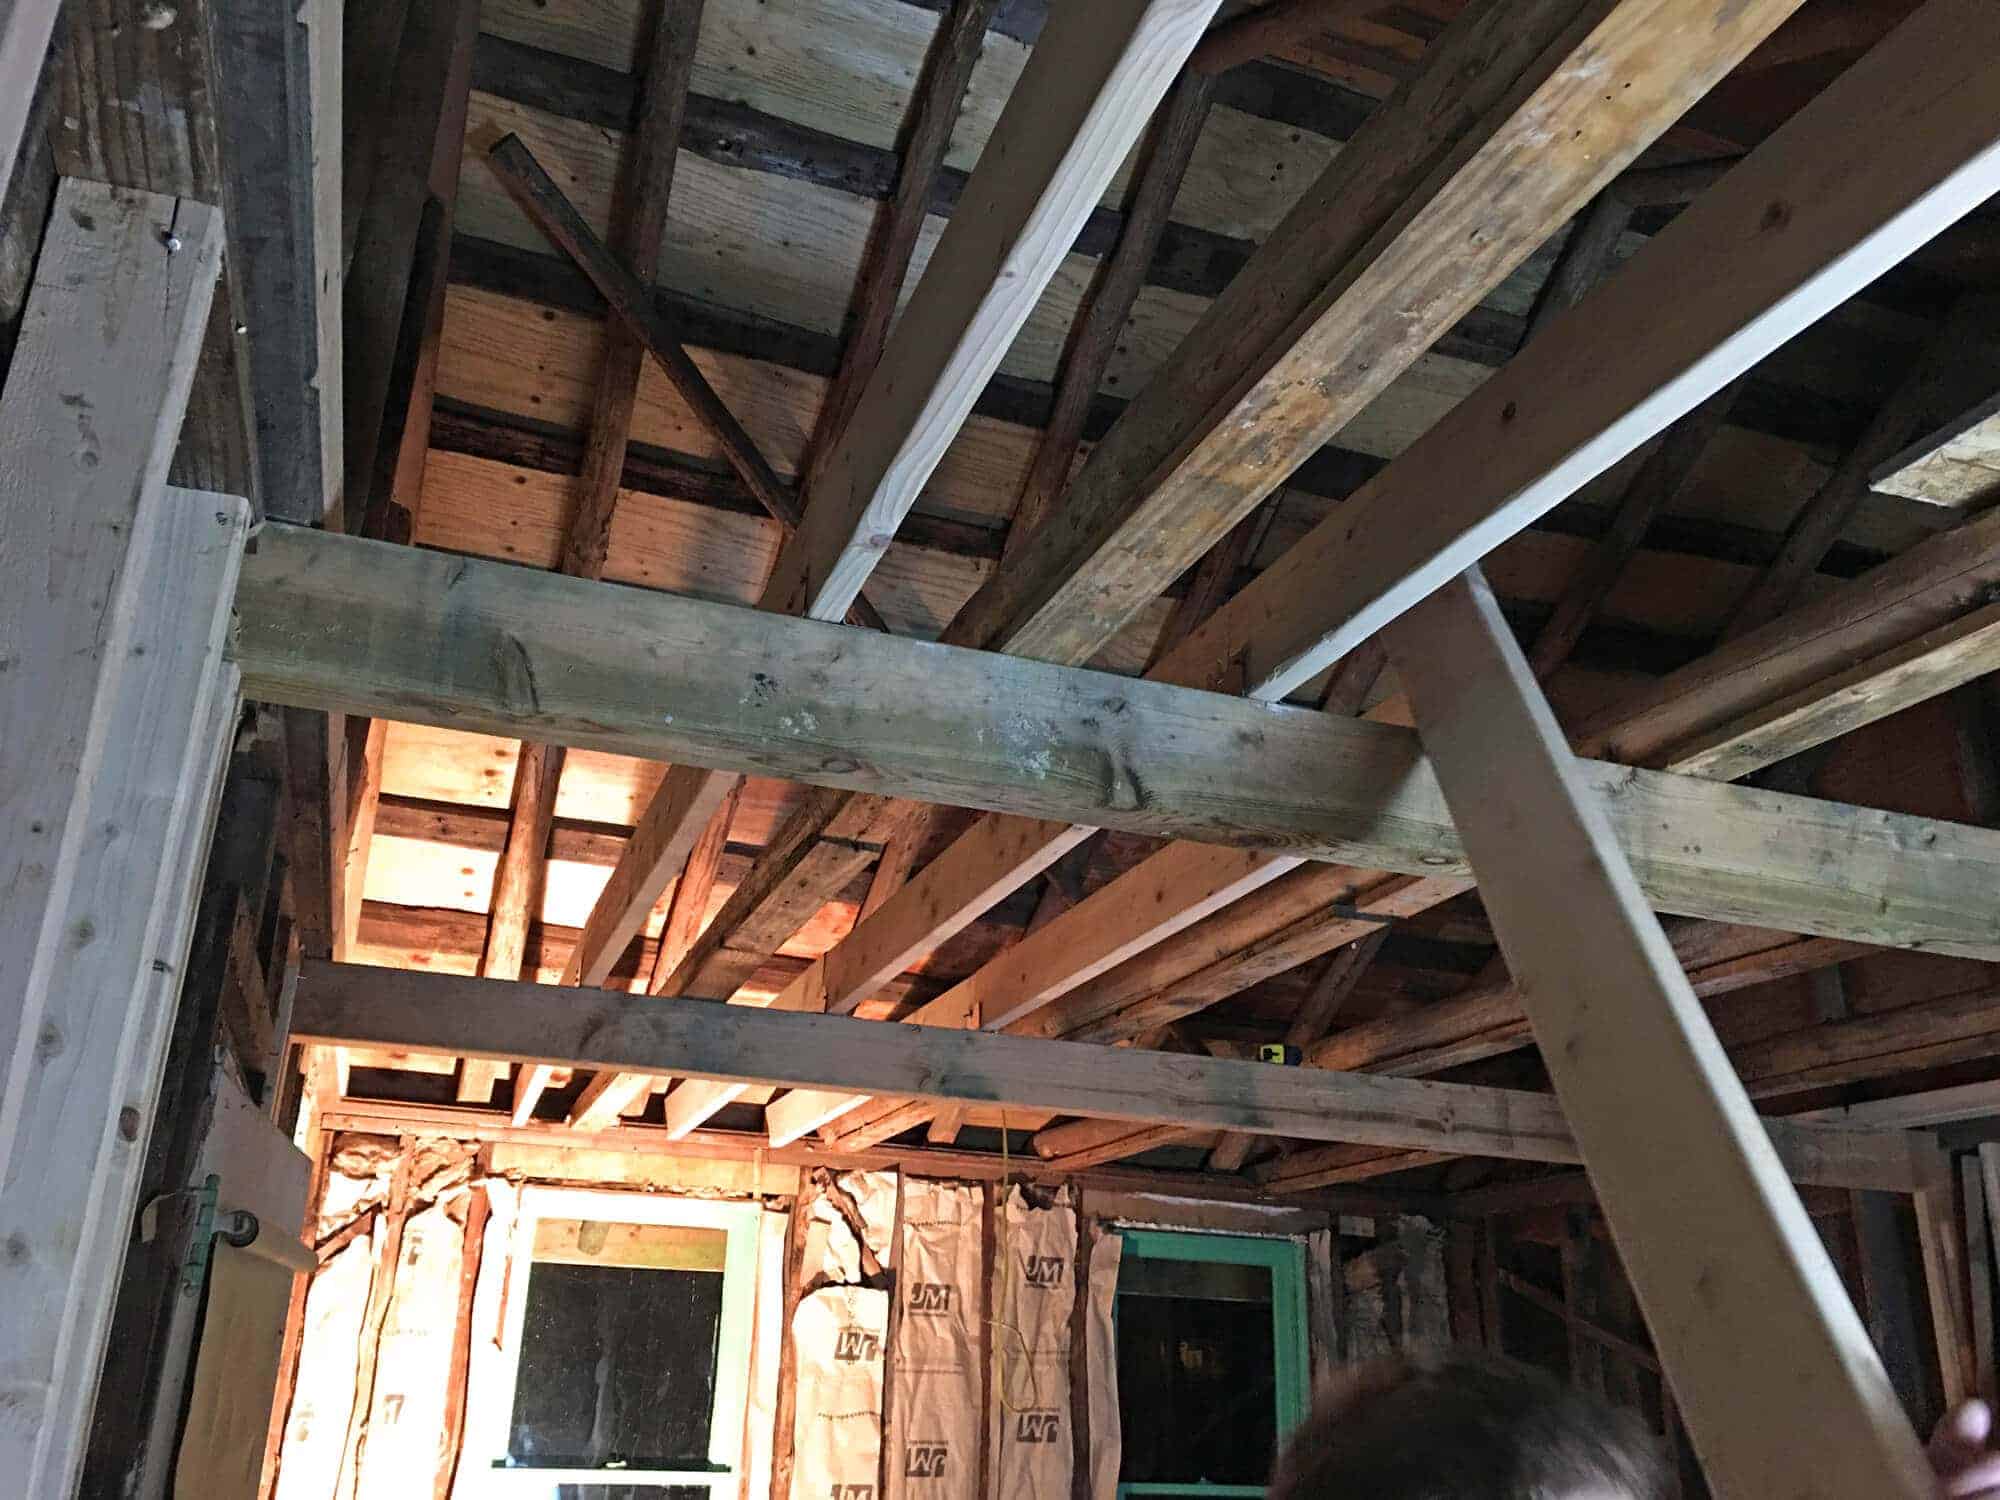
Here are the extra joists we put in. One of the challenges of this building with the round timbers is that it made spacing things evenly impossible so we just did the best we could.
A stud with a stud.
Sorry, Todd, I couldn’t resist :)
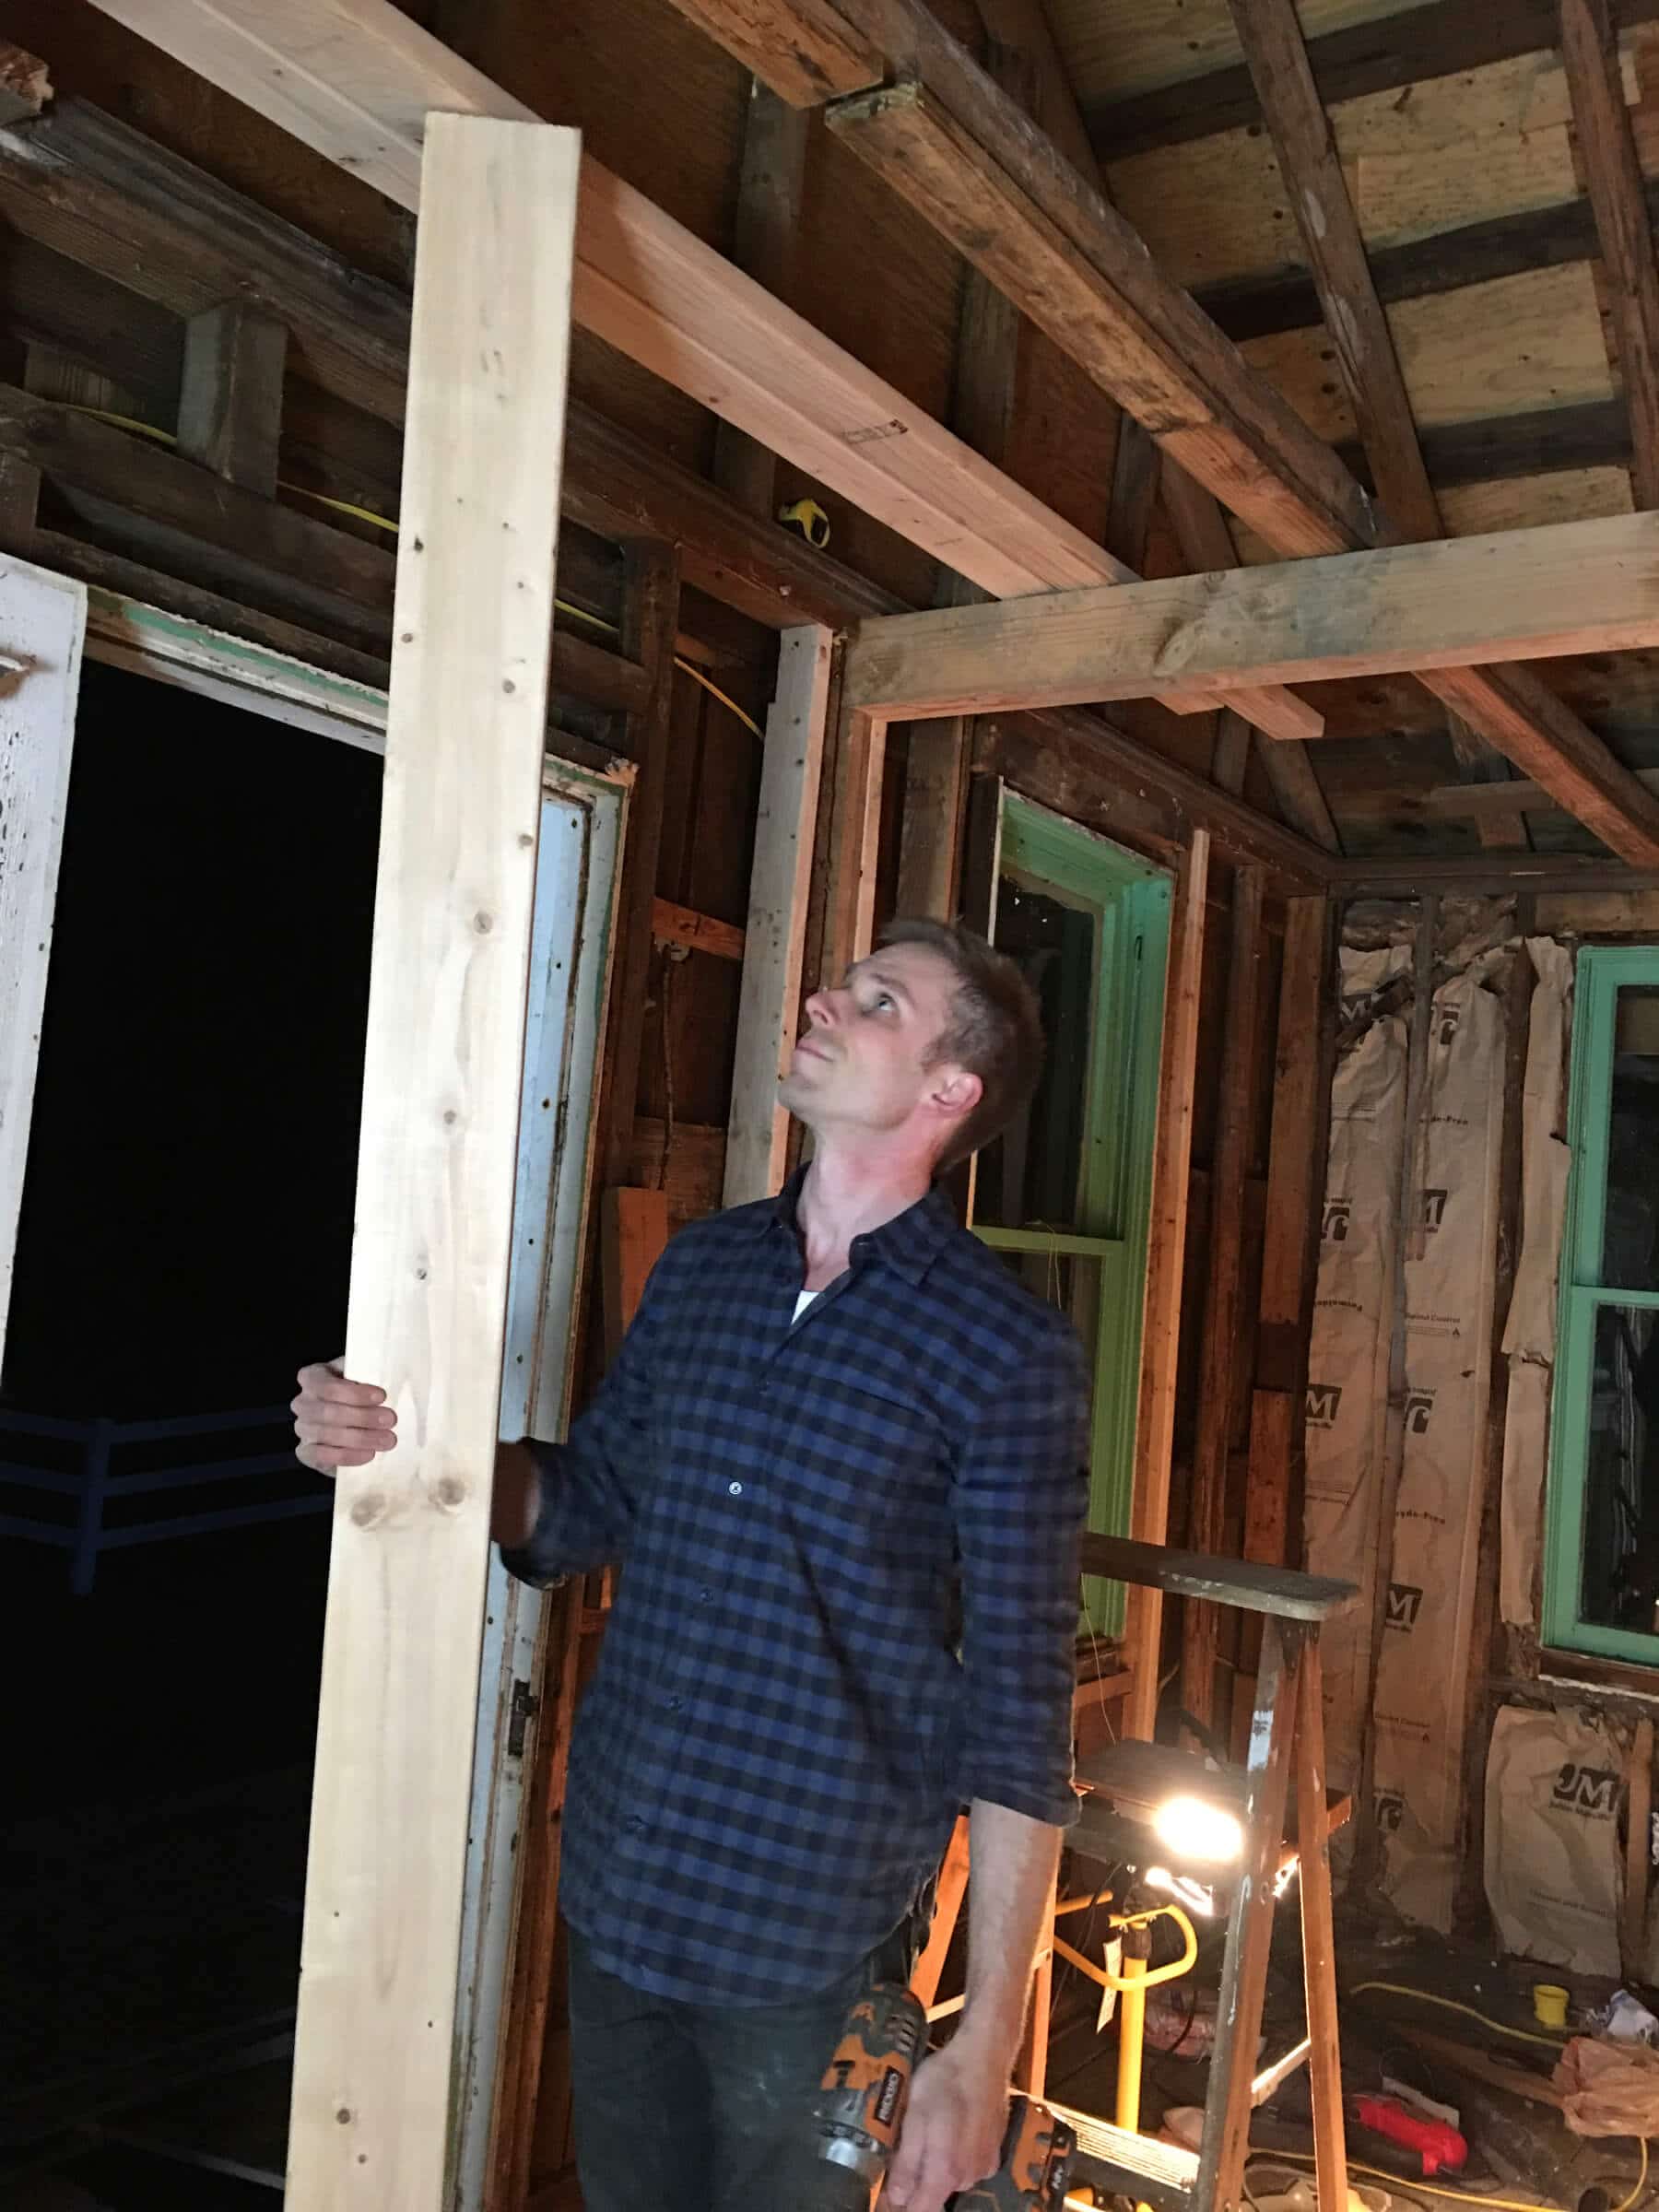
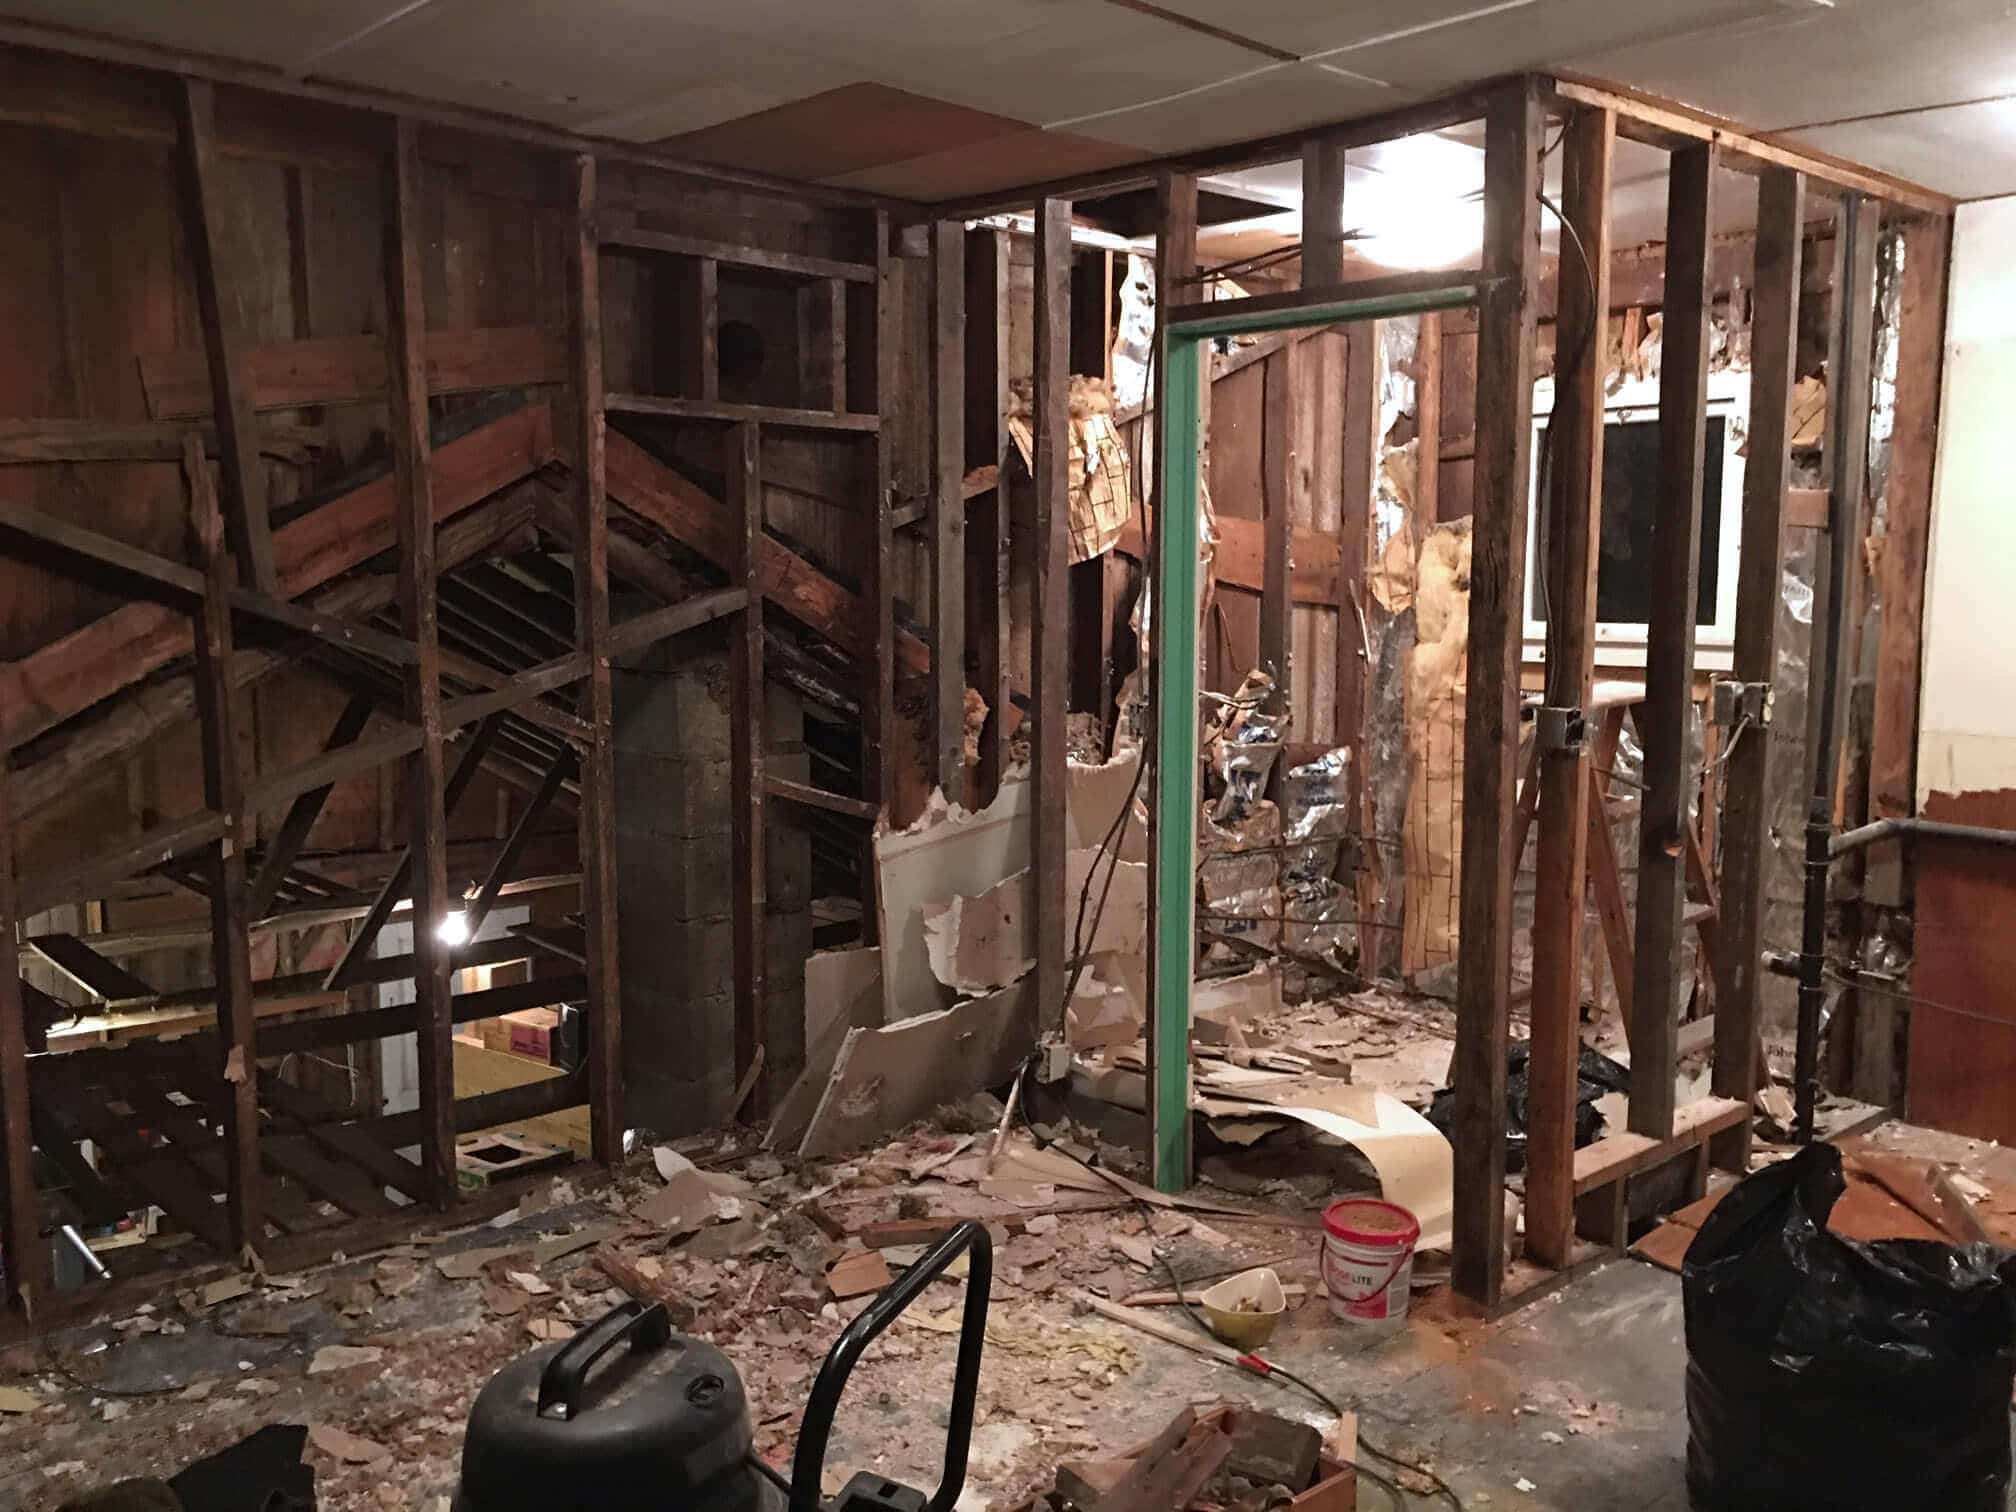
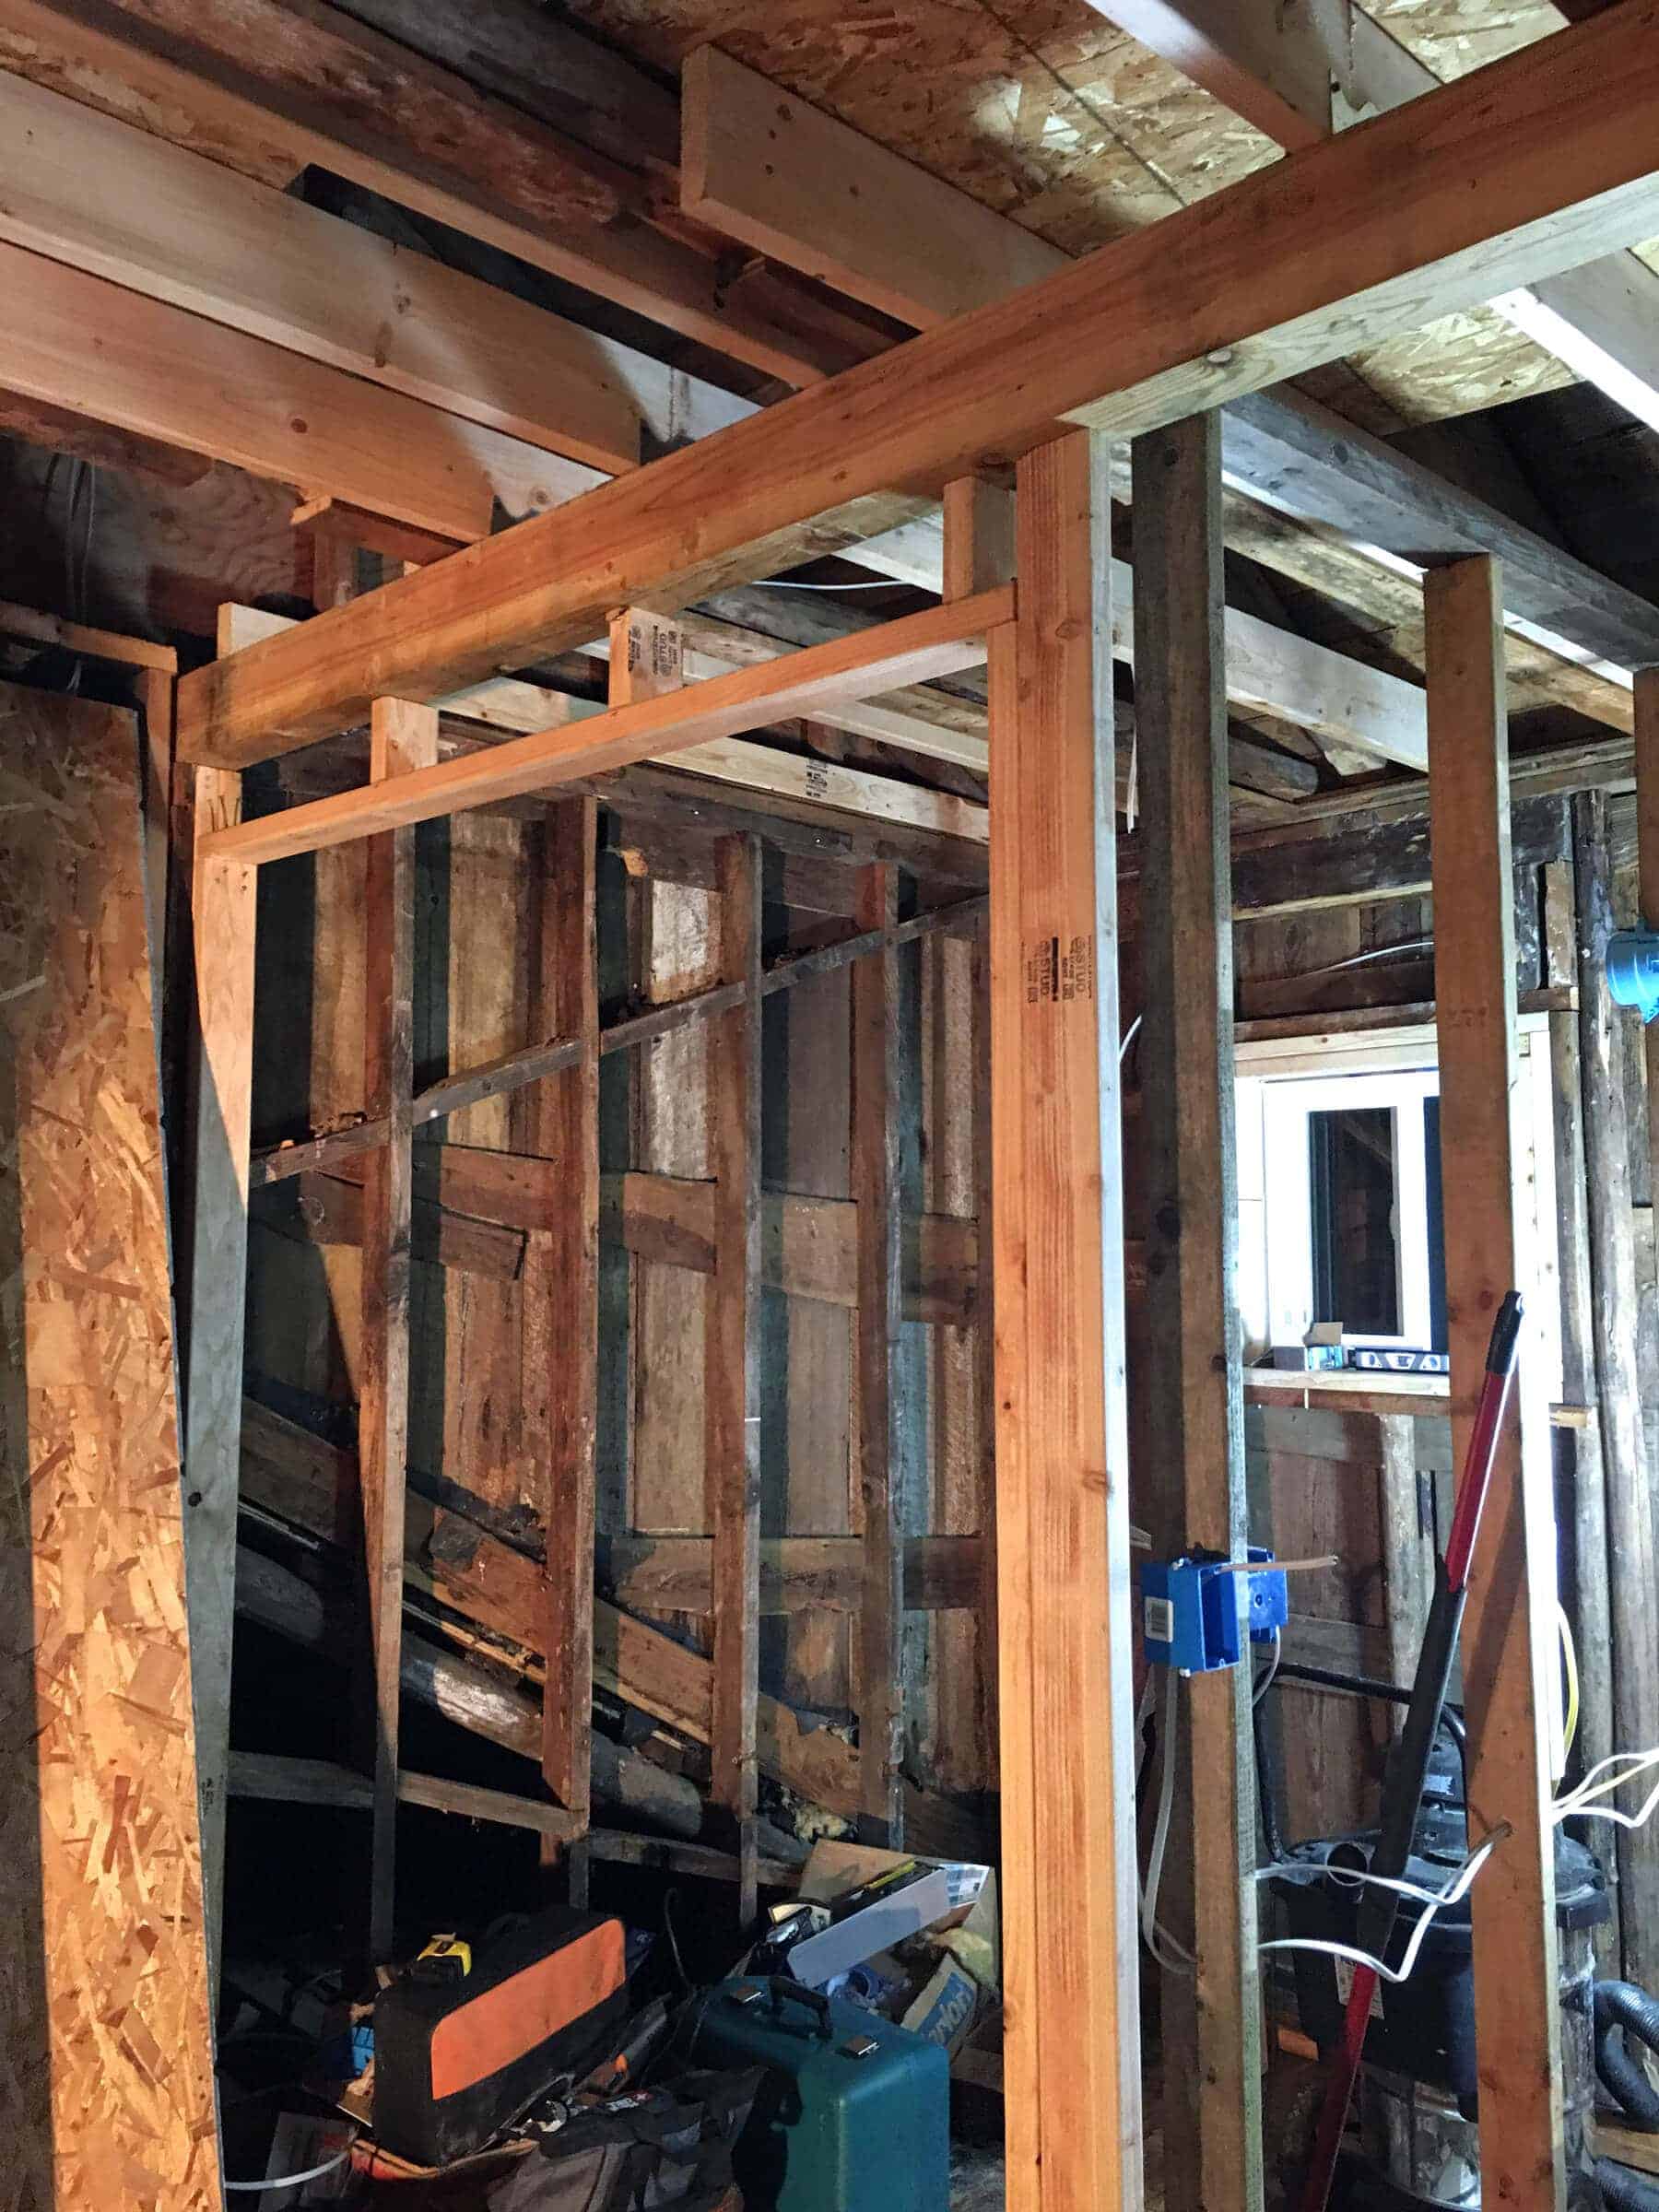
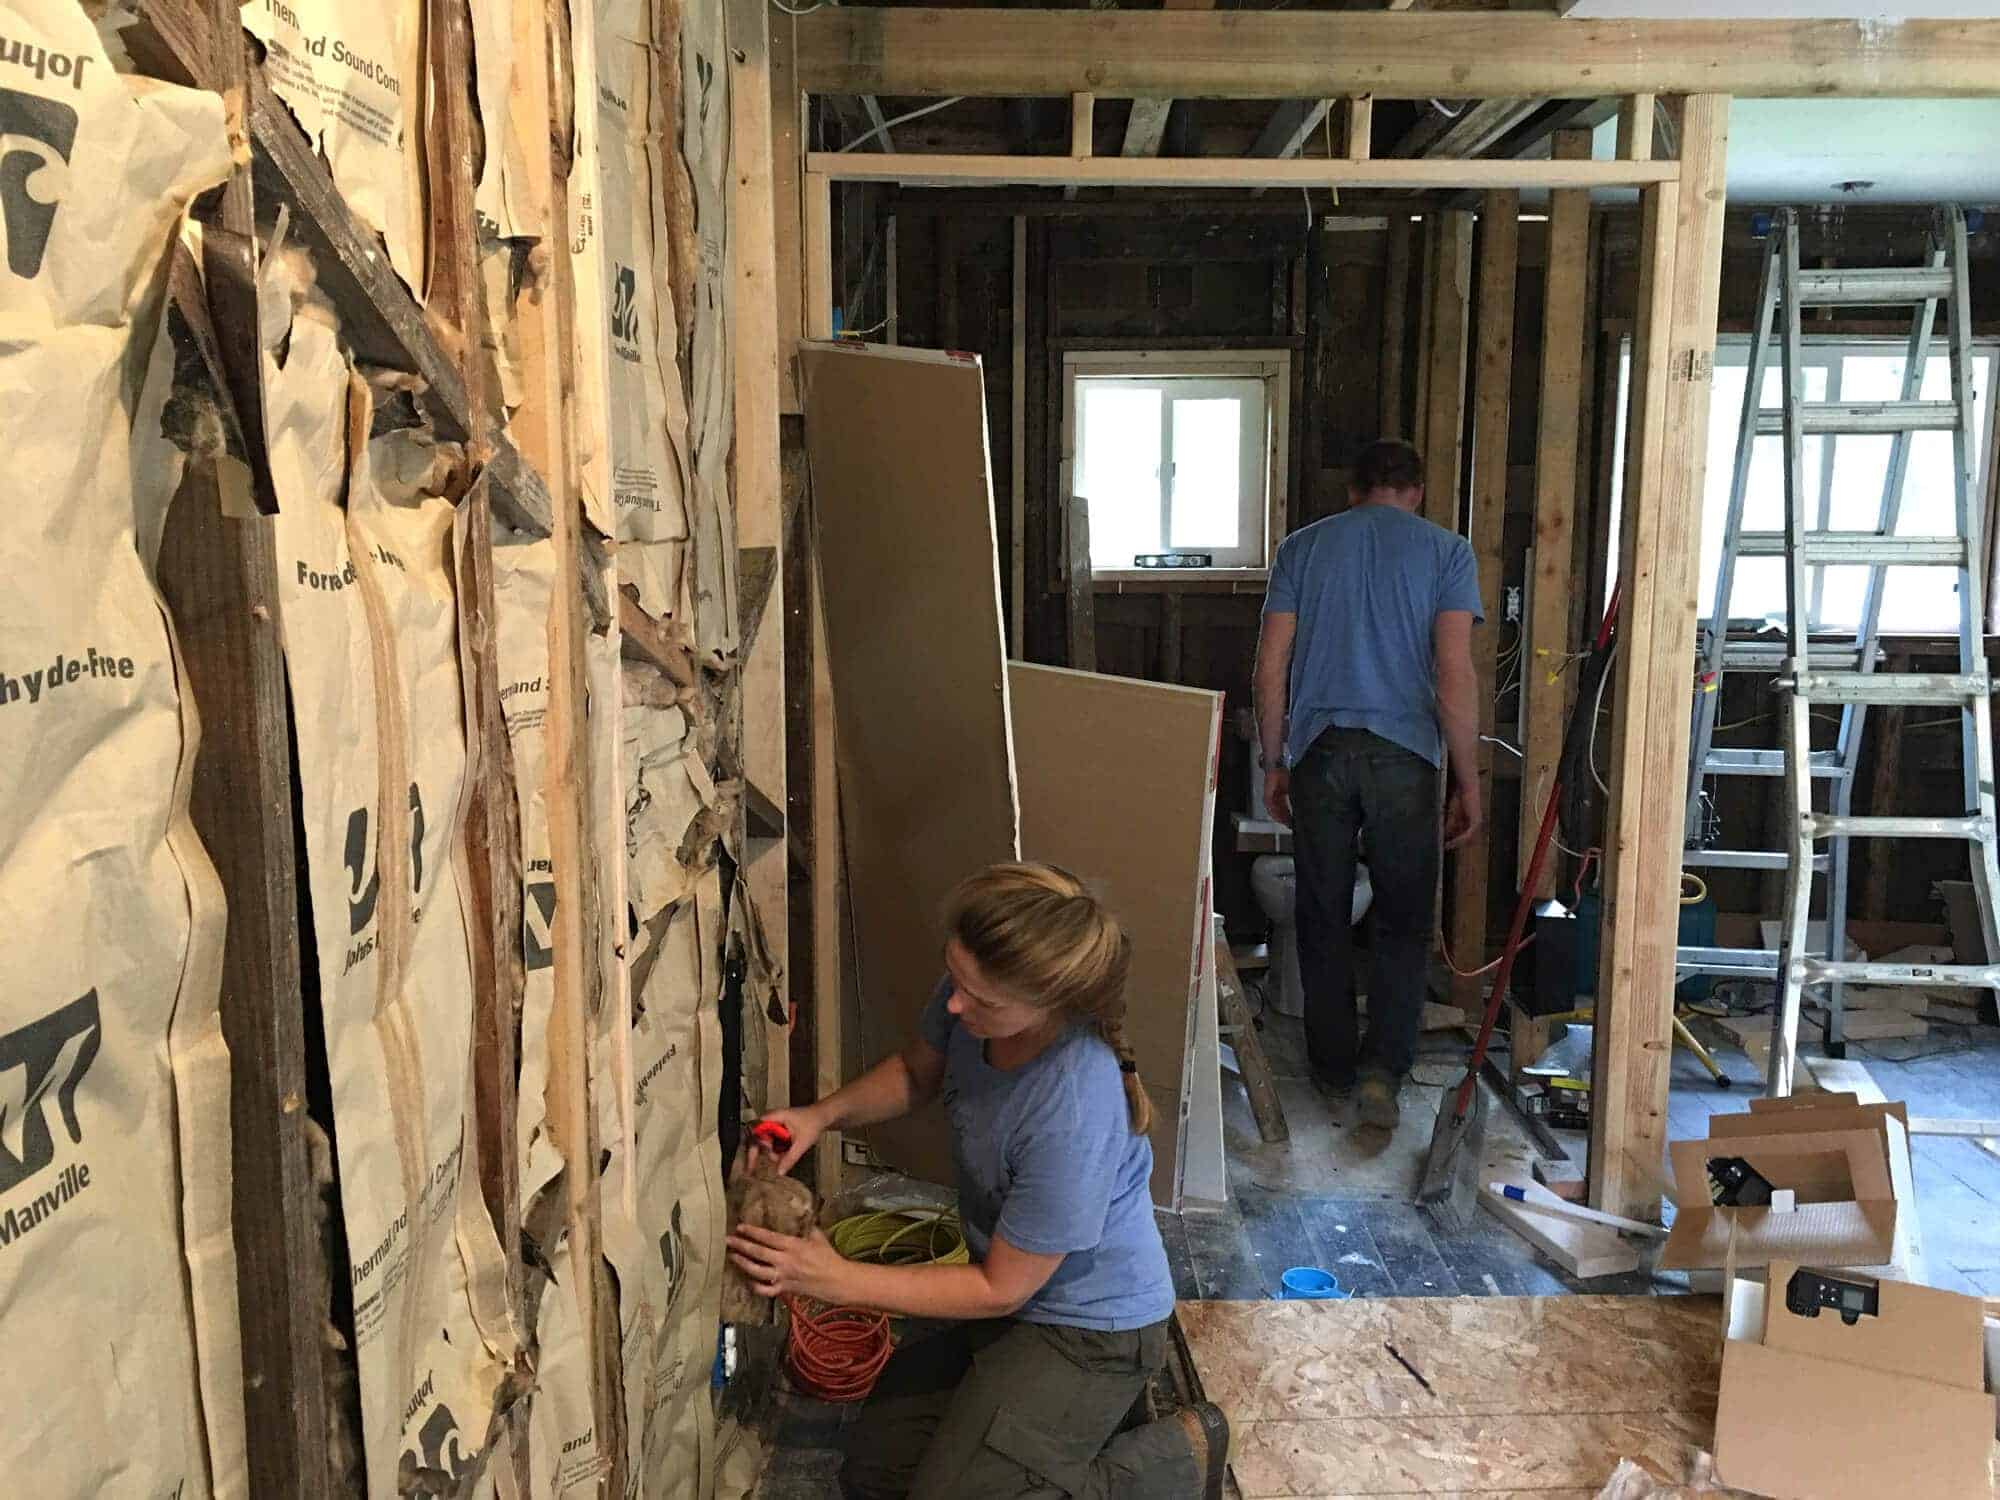
We knocked down the wall of the bathroom/kitchen and the door frame. There were a lot of rotten studs in the structure that had been eaten by termites. Those had to be removed and the structure had to be rebuilt.
We also decided to increase the size of the kitchen a bit and so moved the wall in closer to the bathroom and out a few inches into the living room.
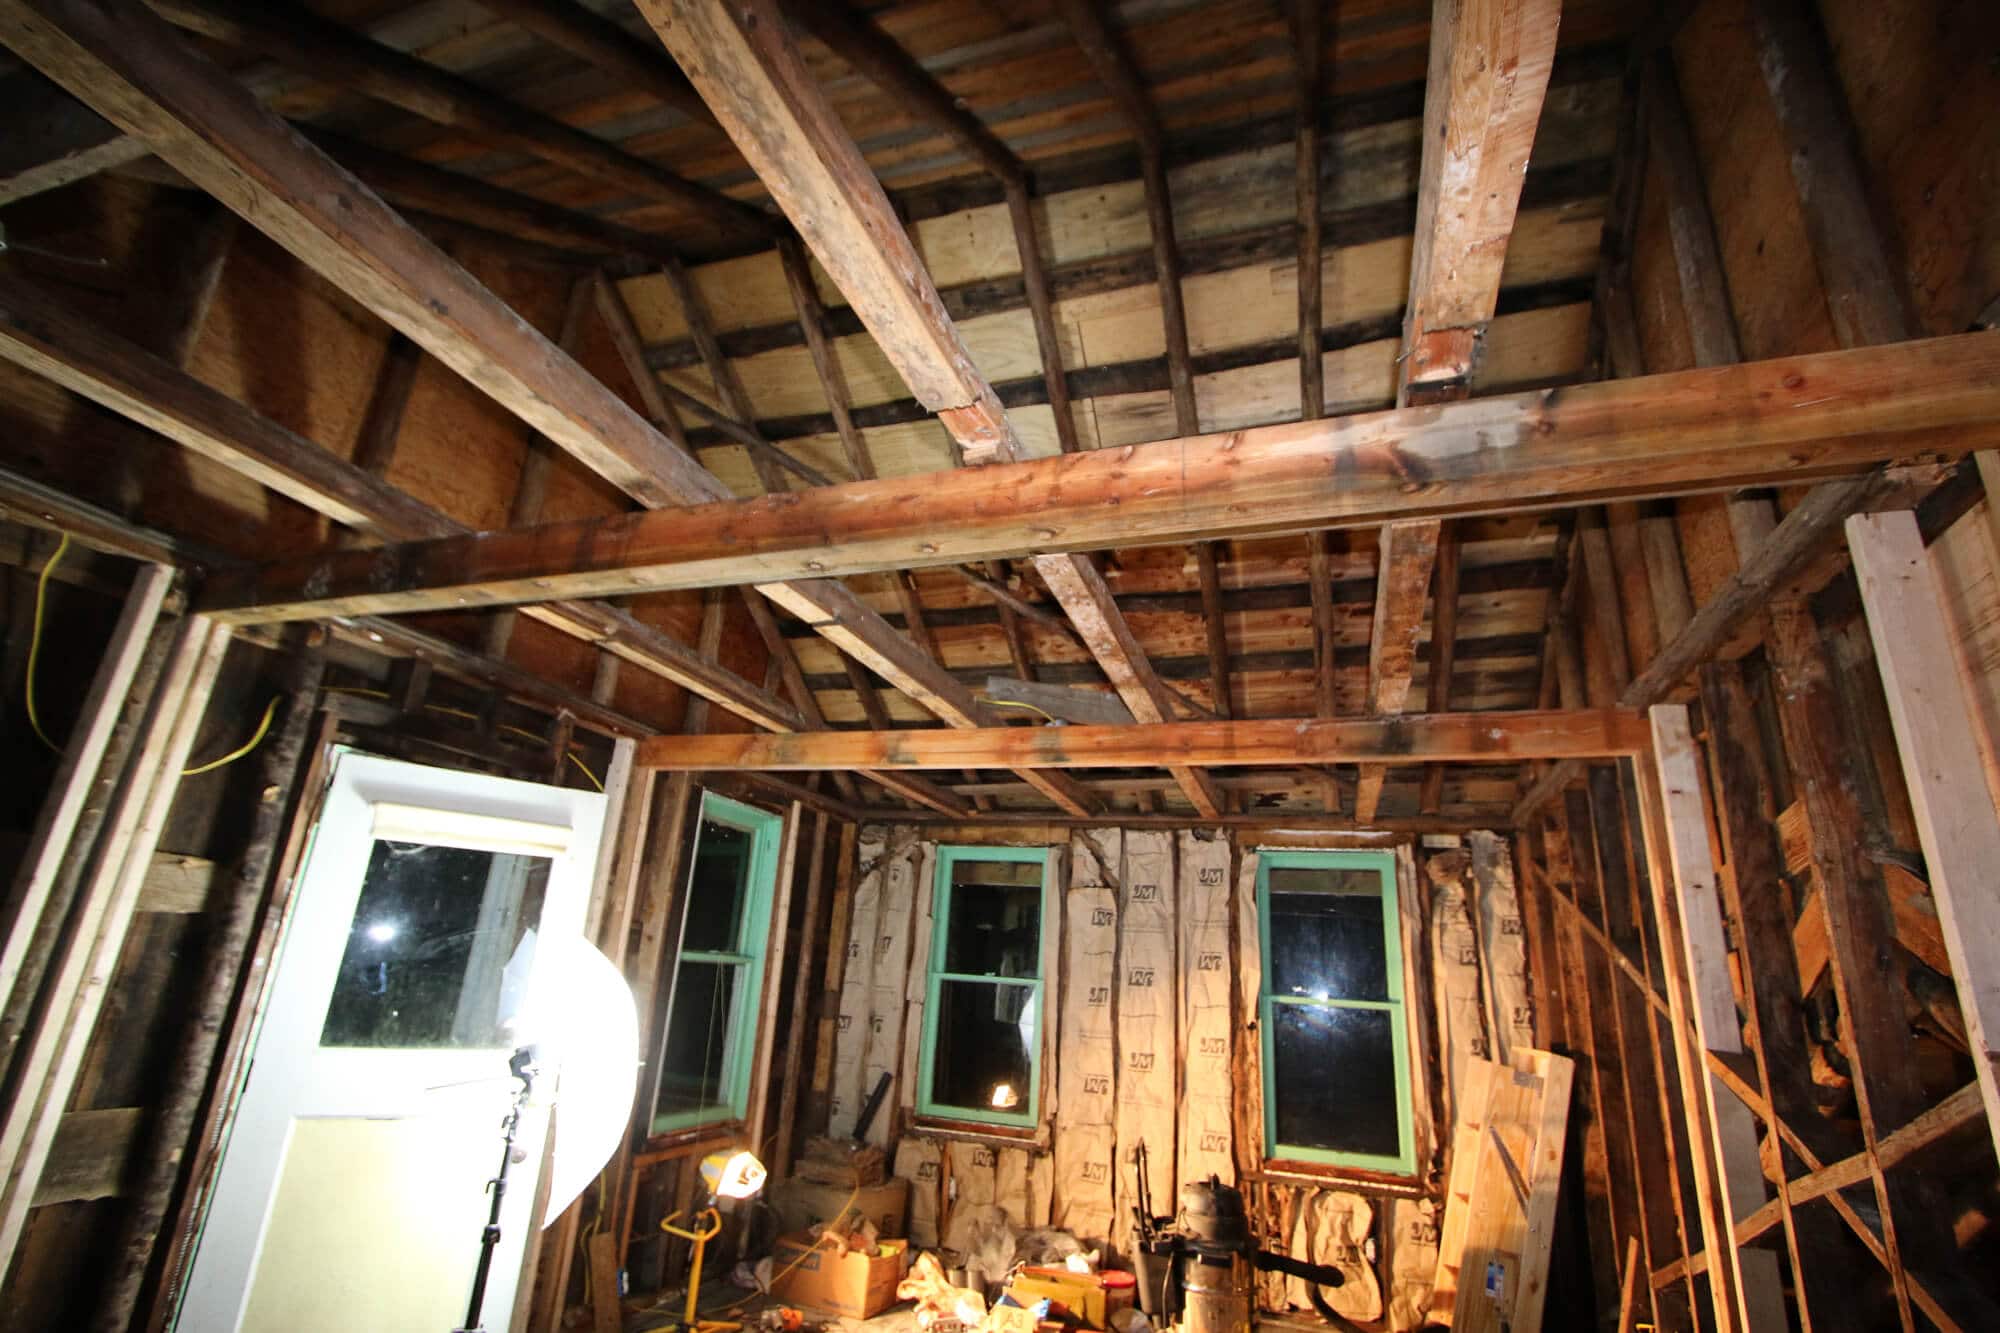
And of course we decided to do that AFTER we had already put the new wall structure up. Yeah, so we had to move it…again. (*sigh*)
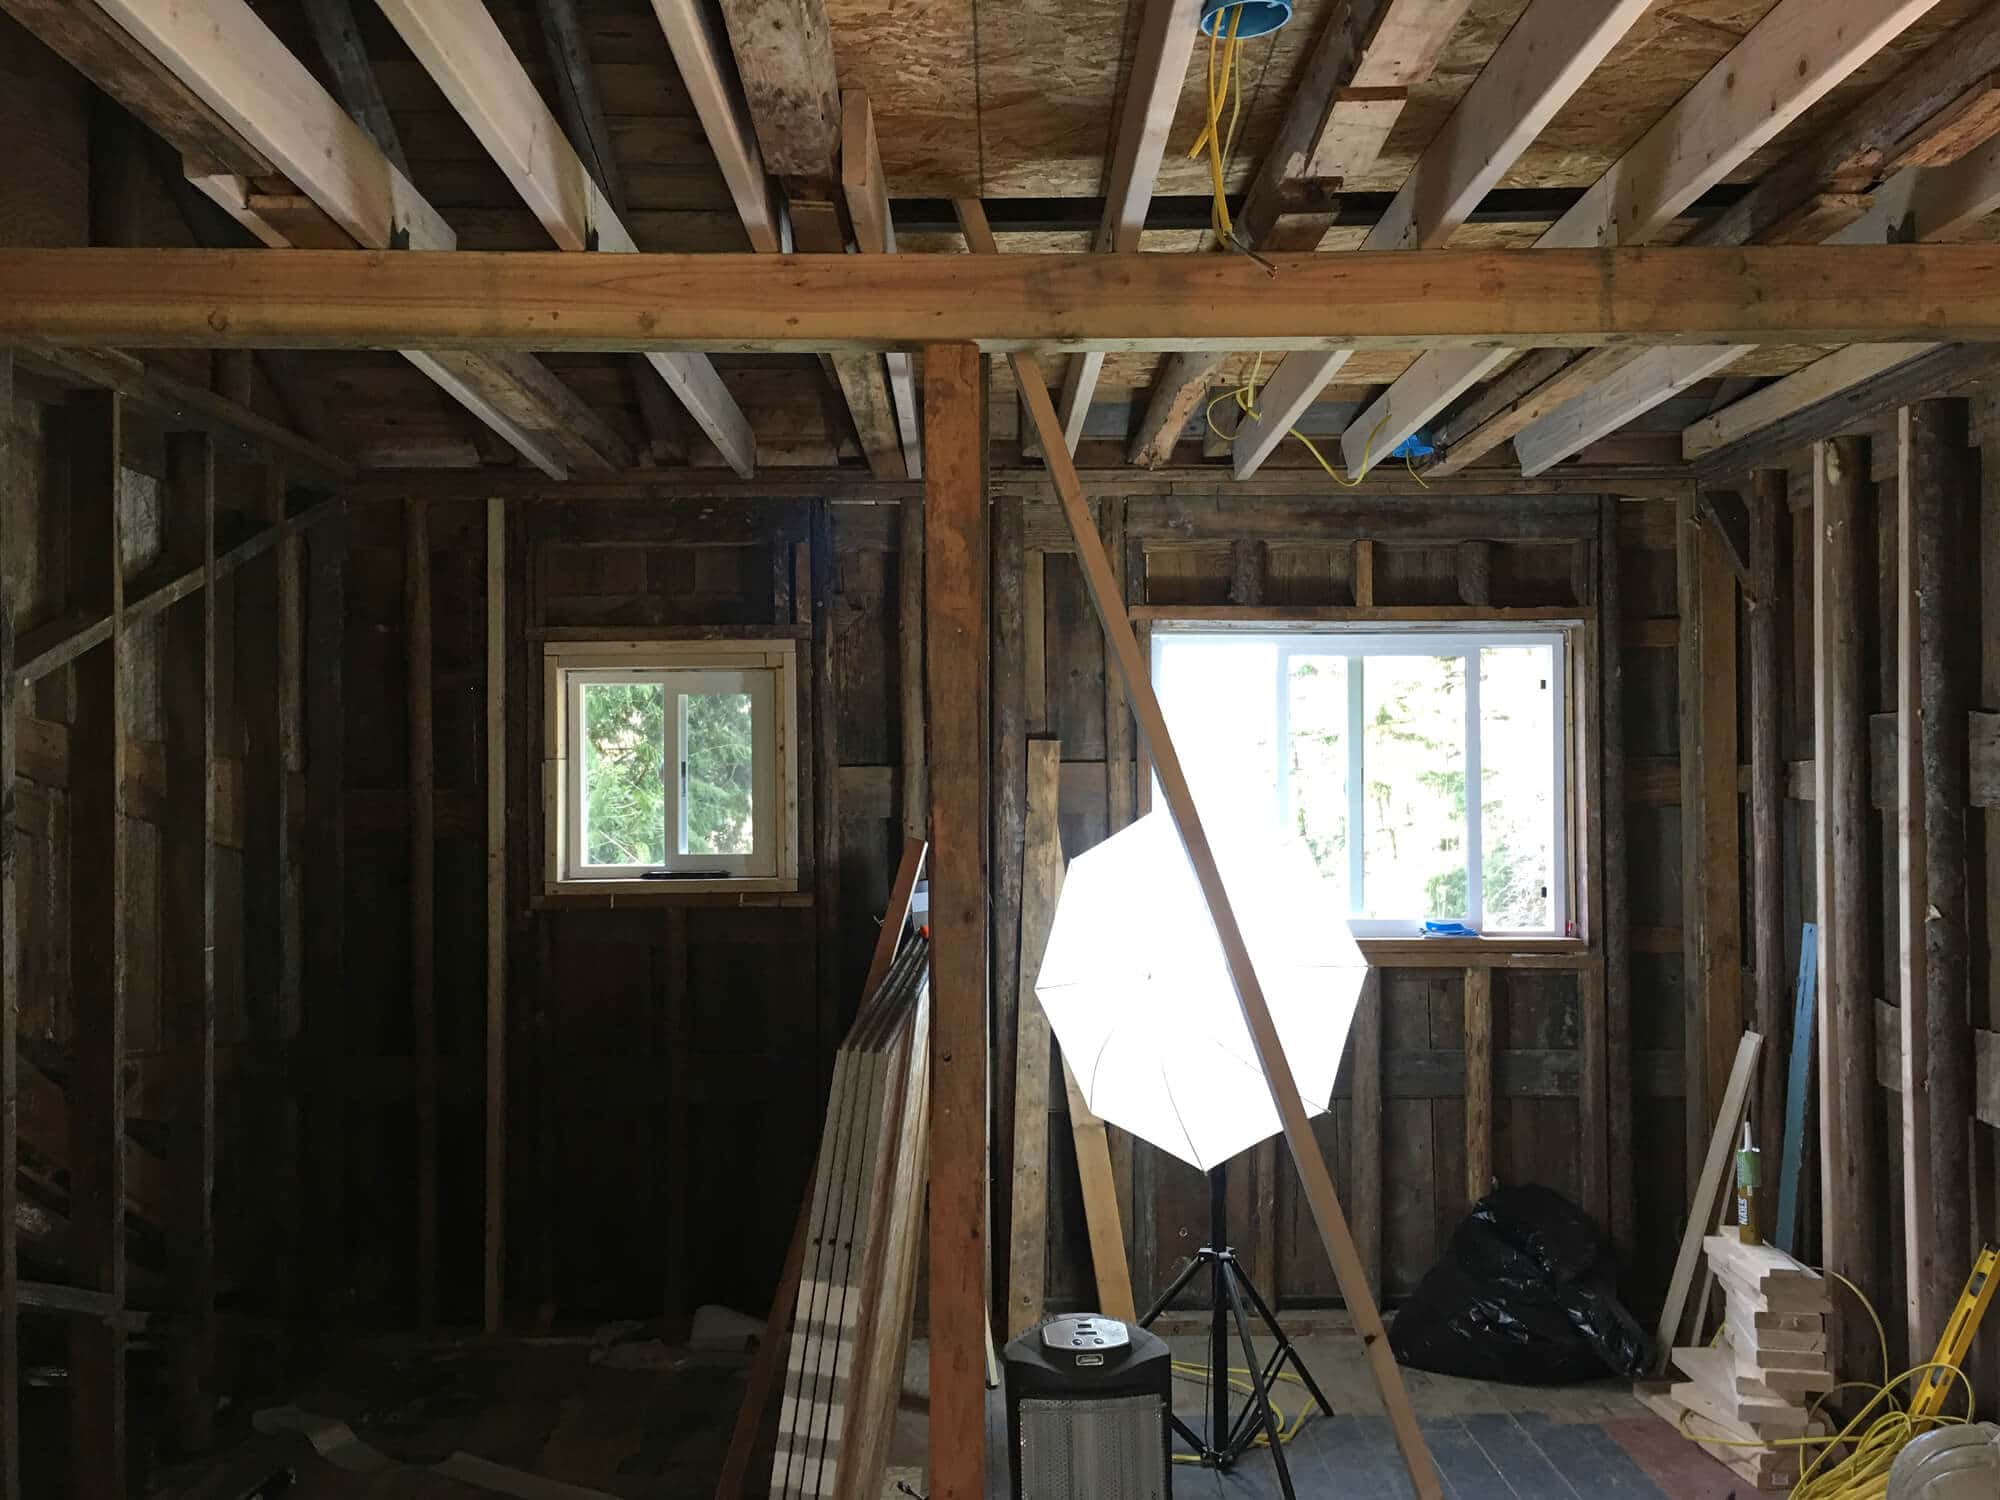
See my light stand and shoot-through umbrella on the right? Yep, it’s come in handy for far more than just food photography. It’s been one of our light sources while working in the living unit.

Instead of having a door swing into the bathroom or out into the living area, we were planning on installing a pocket door and so we rebuilt the wall to accommodate one. But that was before we decided to enlarge the kitchen and make the bathroom even smaller. So…you got it, we had to rebuild the wall AGAIN. (Oh yes, this project has been downright maddening at times.) And we redid the door opening so it could fit a regular door. We’re going to have it swing into the bathroom to the right against the empty wall. That way it won’t hit into the sink or toilet.
The most indispensable tool and Todd’s particular favorite for all the framing, sub-floor and deck work has been his new circular saw. He had been using a 40-year old hand-me-down Black and Decker saw until it couldn’t keep up and started smoking. It was time to retire it.
The moment he turned on and started using his new Makita 5007MGA circular saw he nearly wept with joy.
You can get cheaper circular saws but Todd feels this one is worth every penny.

With the structural supports in place we were able to lay the plywood sub-flooring for the base so we can put the top flooring over it.
But not without some music, of course. Our portable speakers and iPod have gotten a lot of use. And thanks to a great playlist of our favorite 80’s groups (you know who you are) the drudgery of the work has been more bearable.
We’re huge music buffs – both of us are musicians – and we have over 16,000 songs on our iPods. Everything from classical music through the jazz era (the 40’s have always one of my favorites – Ella, Gershwin, Porter, the Duke…I’m an old soul through and through), rock ‘n’ roll, the 60’s and 70’s (two phenomenal decades of music), the 90’s….but there’s nothing quite like the anthems of the 80’s to get your blood pumping for hard work (e.g., “Separate Ways”. Sing it, Steve.)
Yeah, we’ve intentionally left out this millennium.


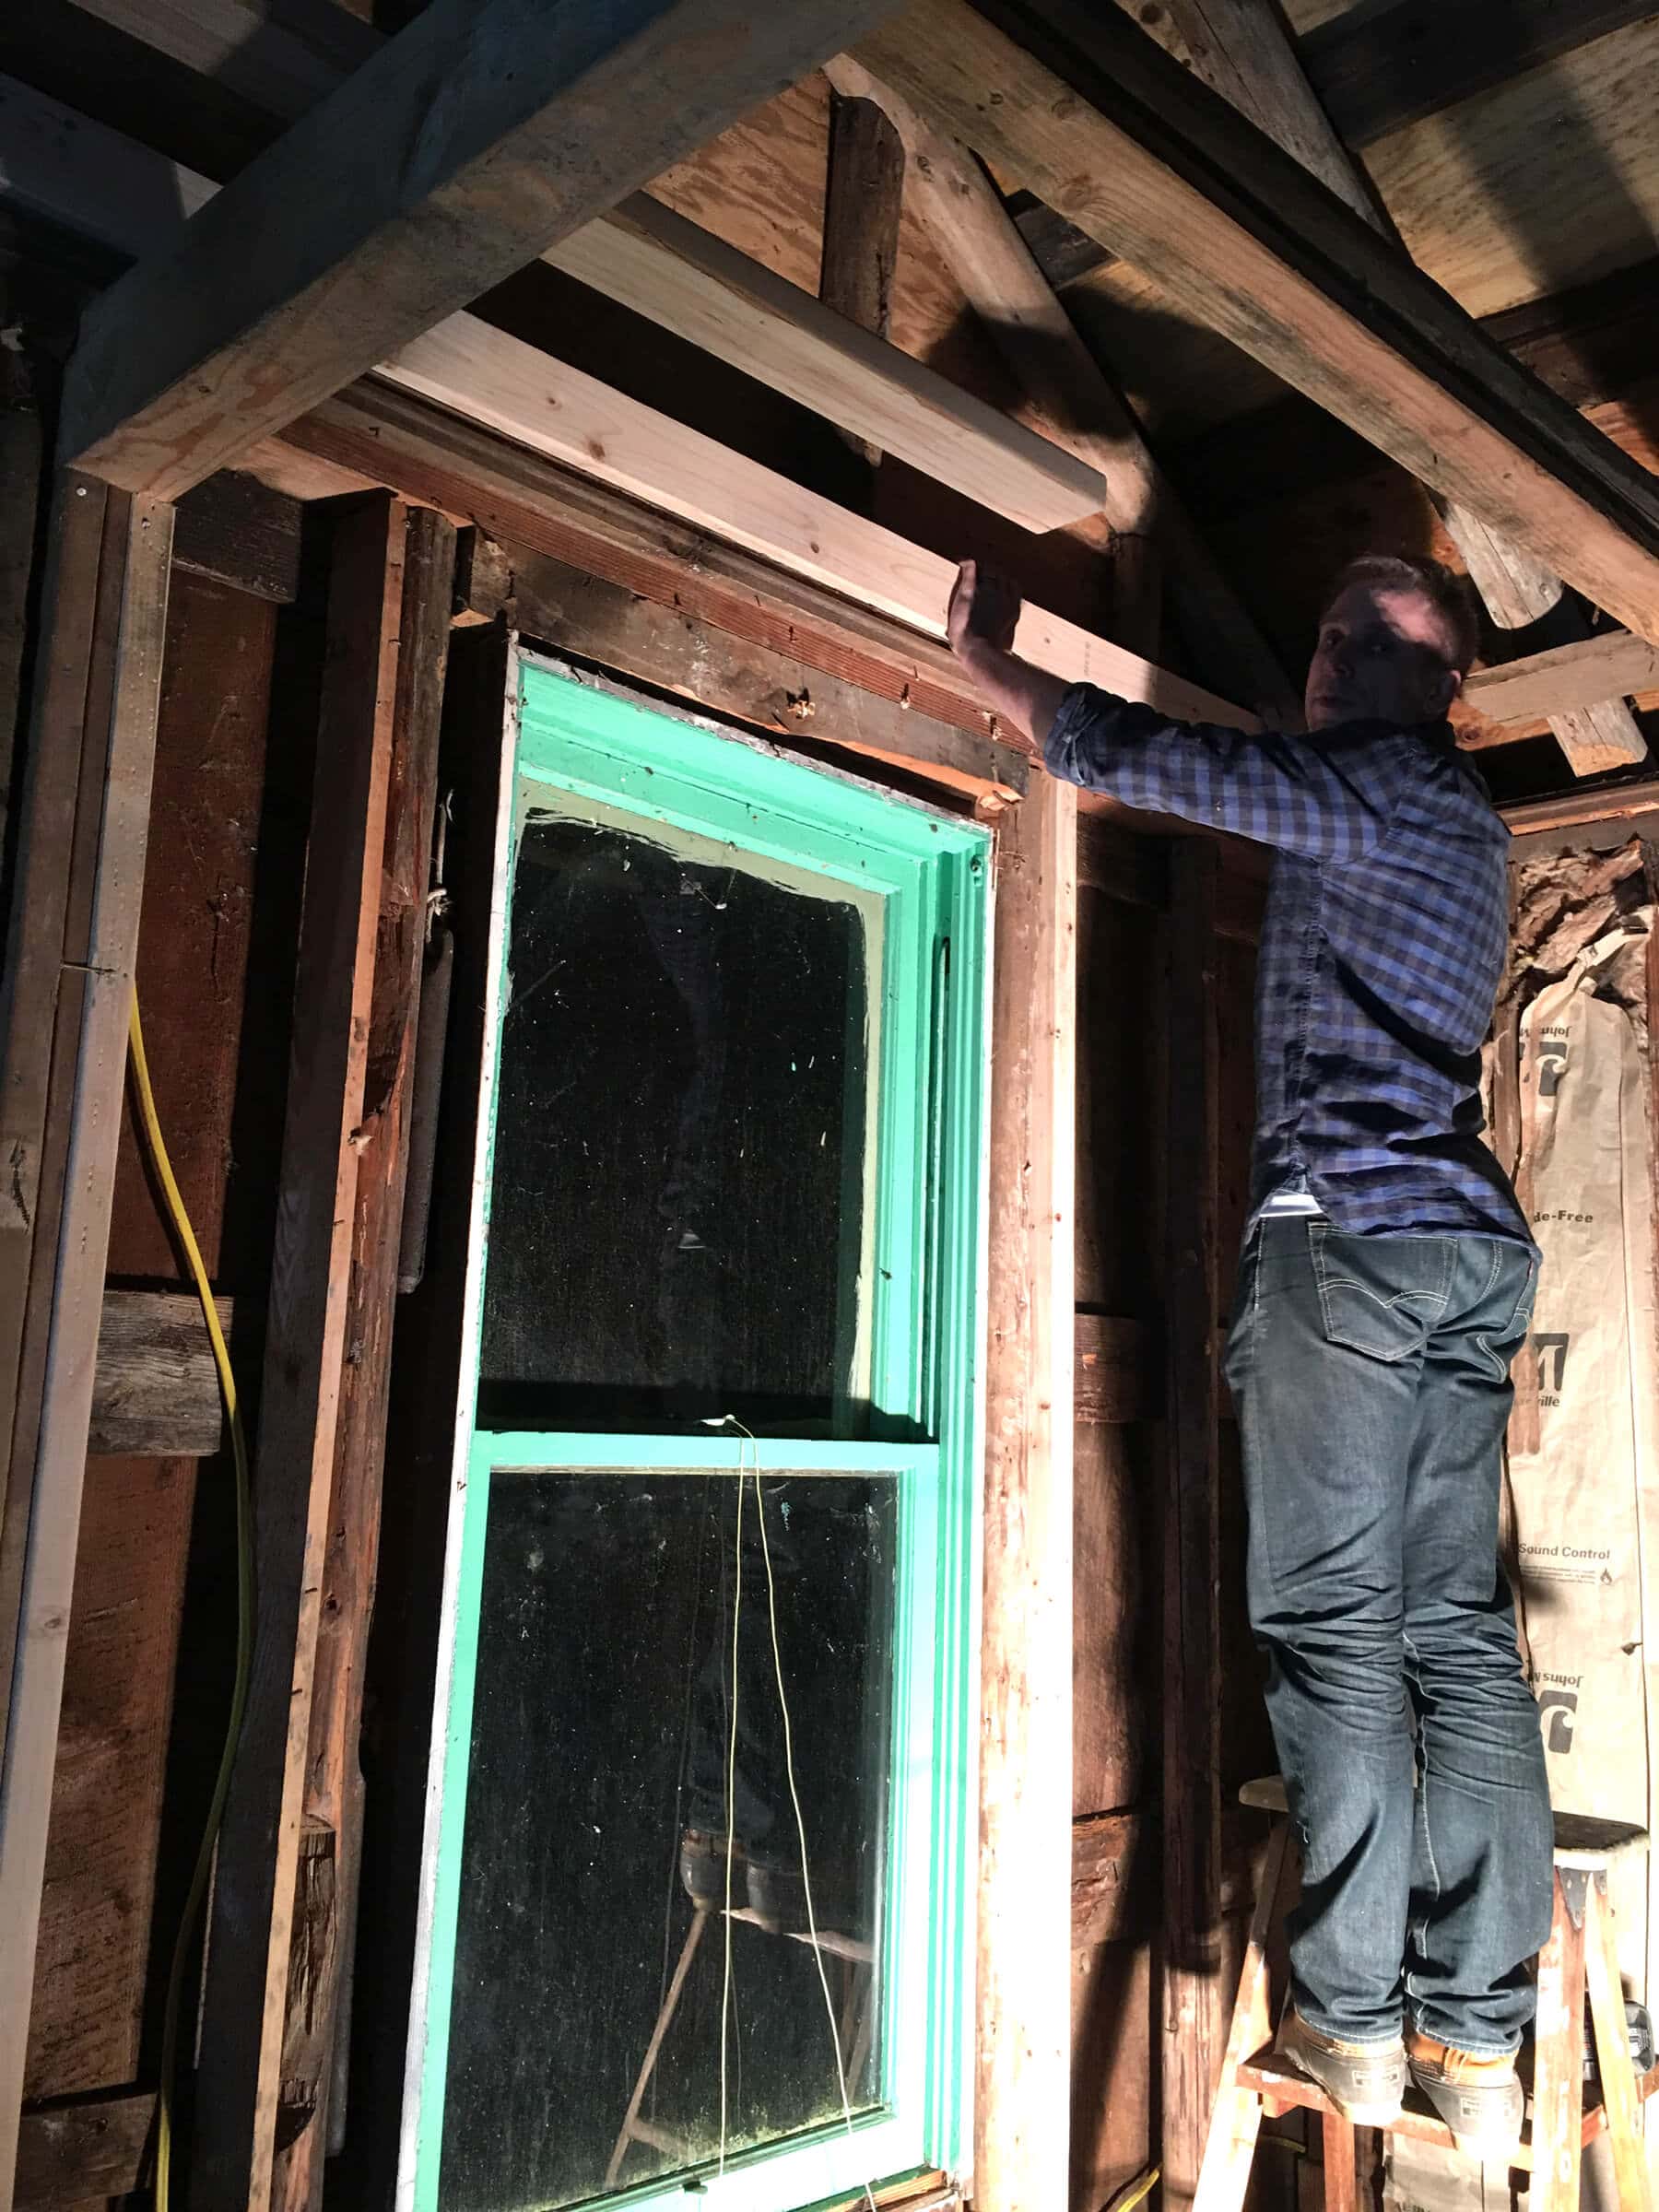
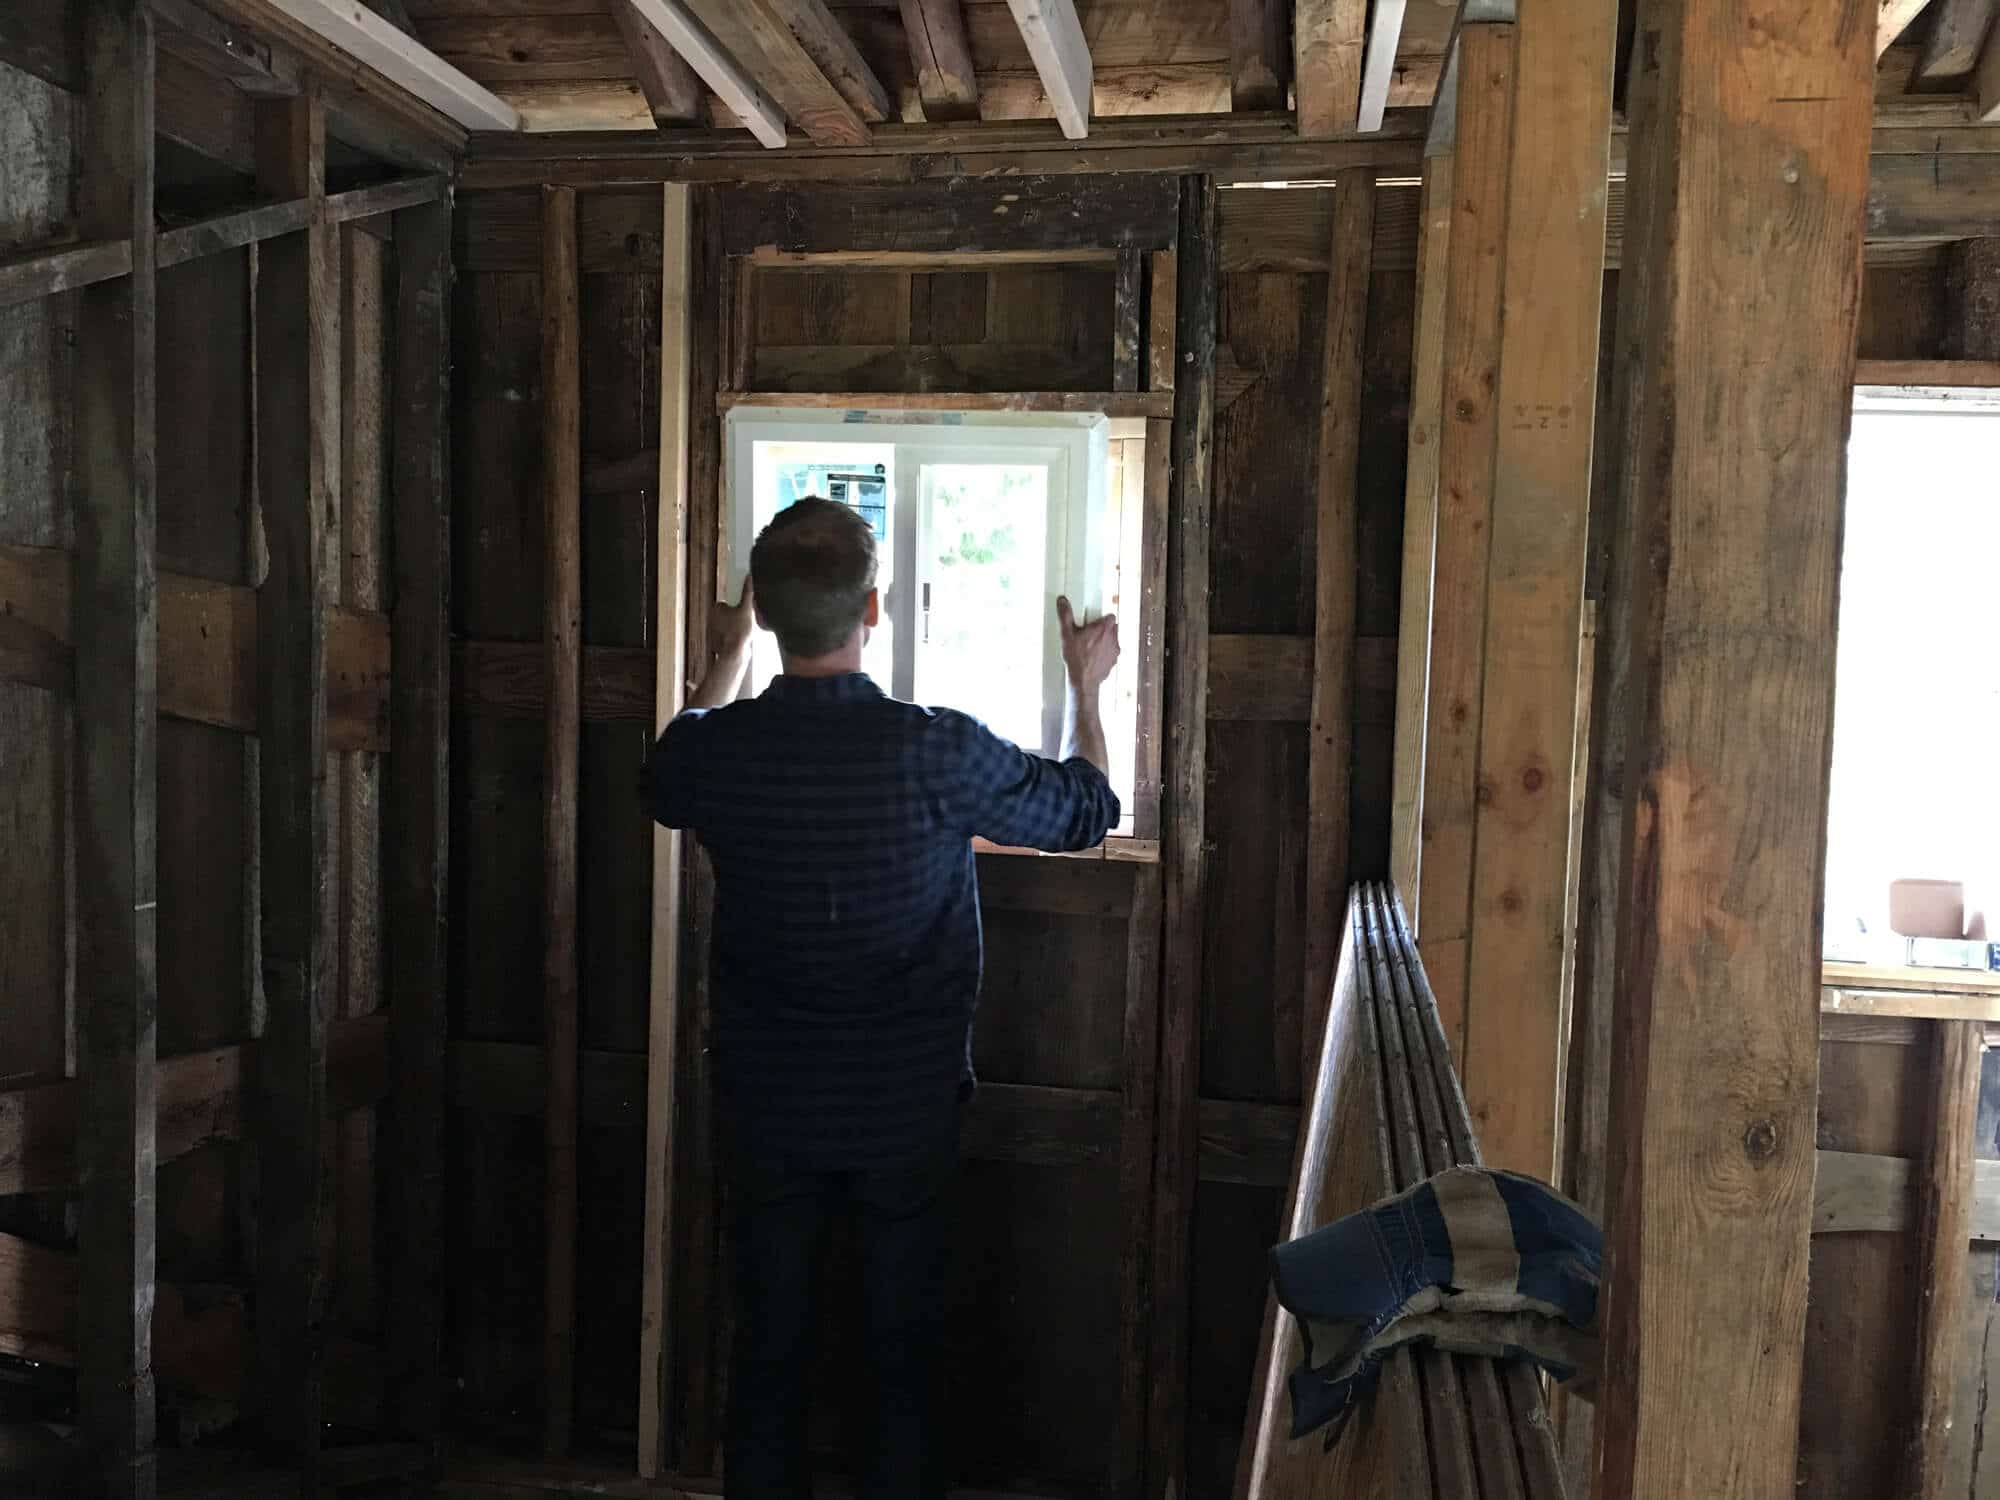
We decided to keep the original single-hung windows because, like our main home, they are over a hundred years old and much too cool to get rid of. Granted they’re not energy efficient but in such a small unit it’s probably not going to be a big issue.
The kitchen and bathroom windows were also old, though not as old, and they were very ugly. So we replaced those.
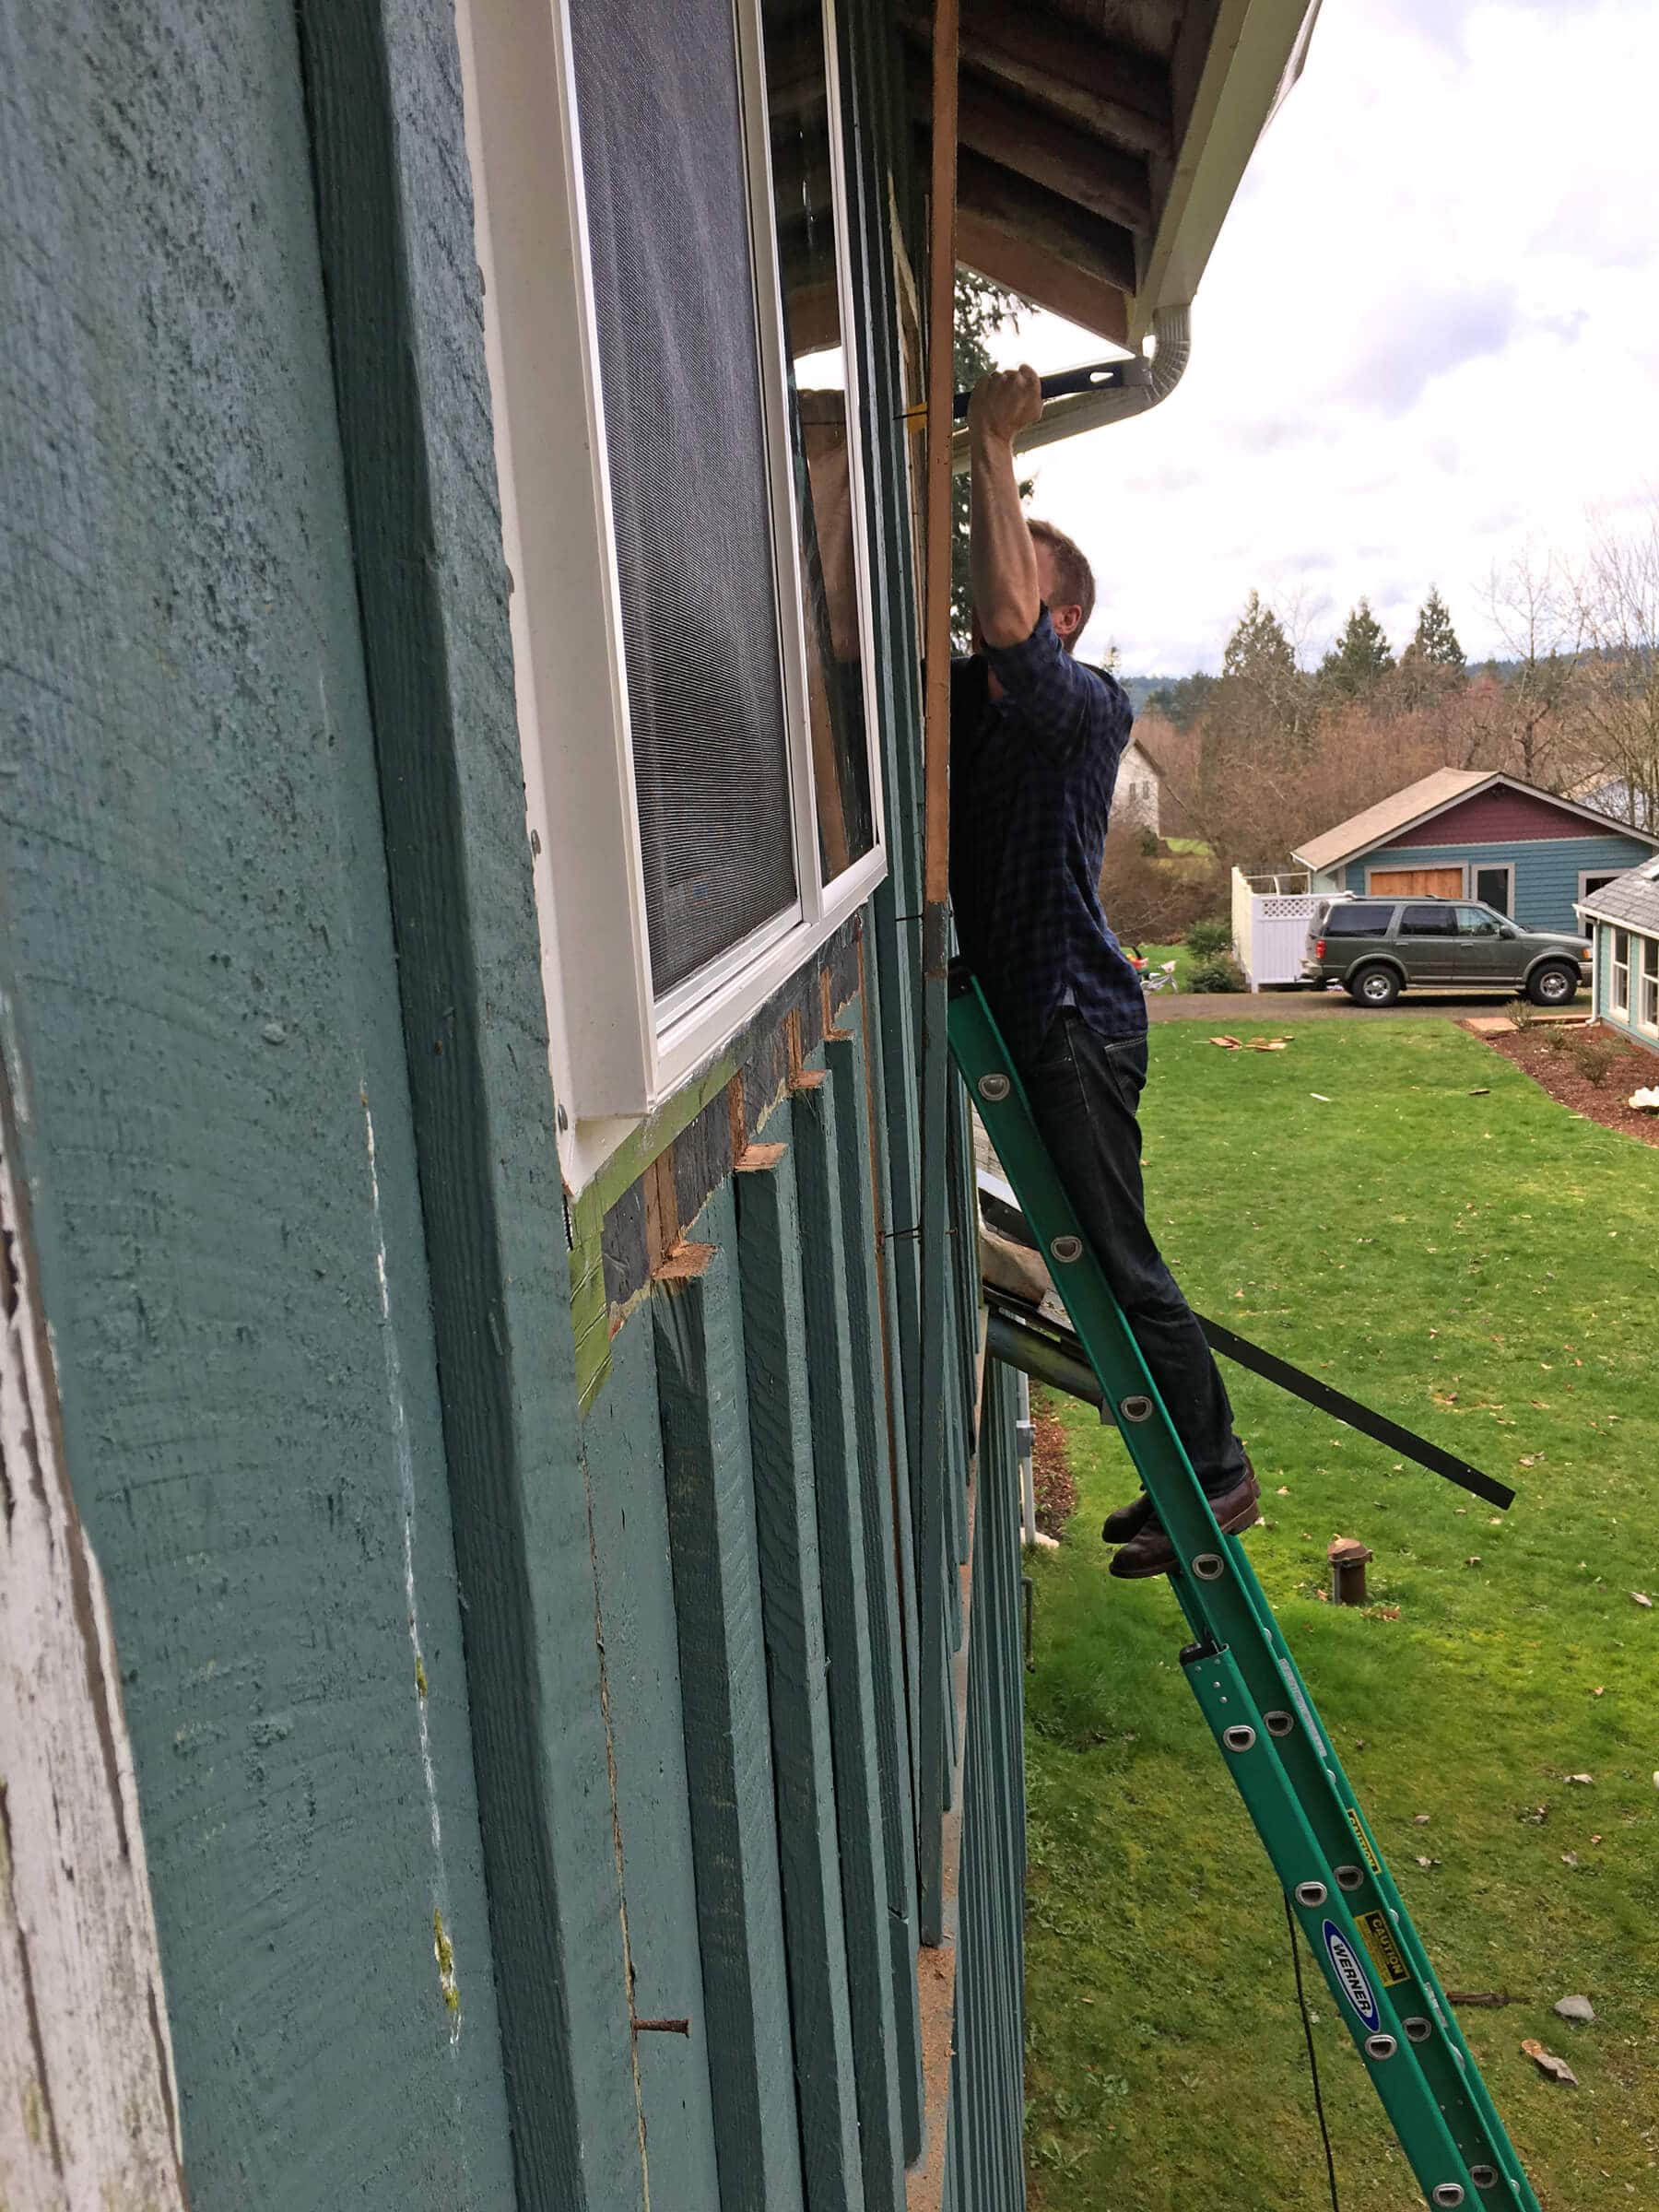
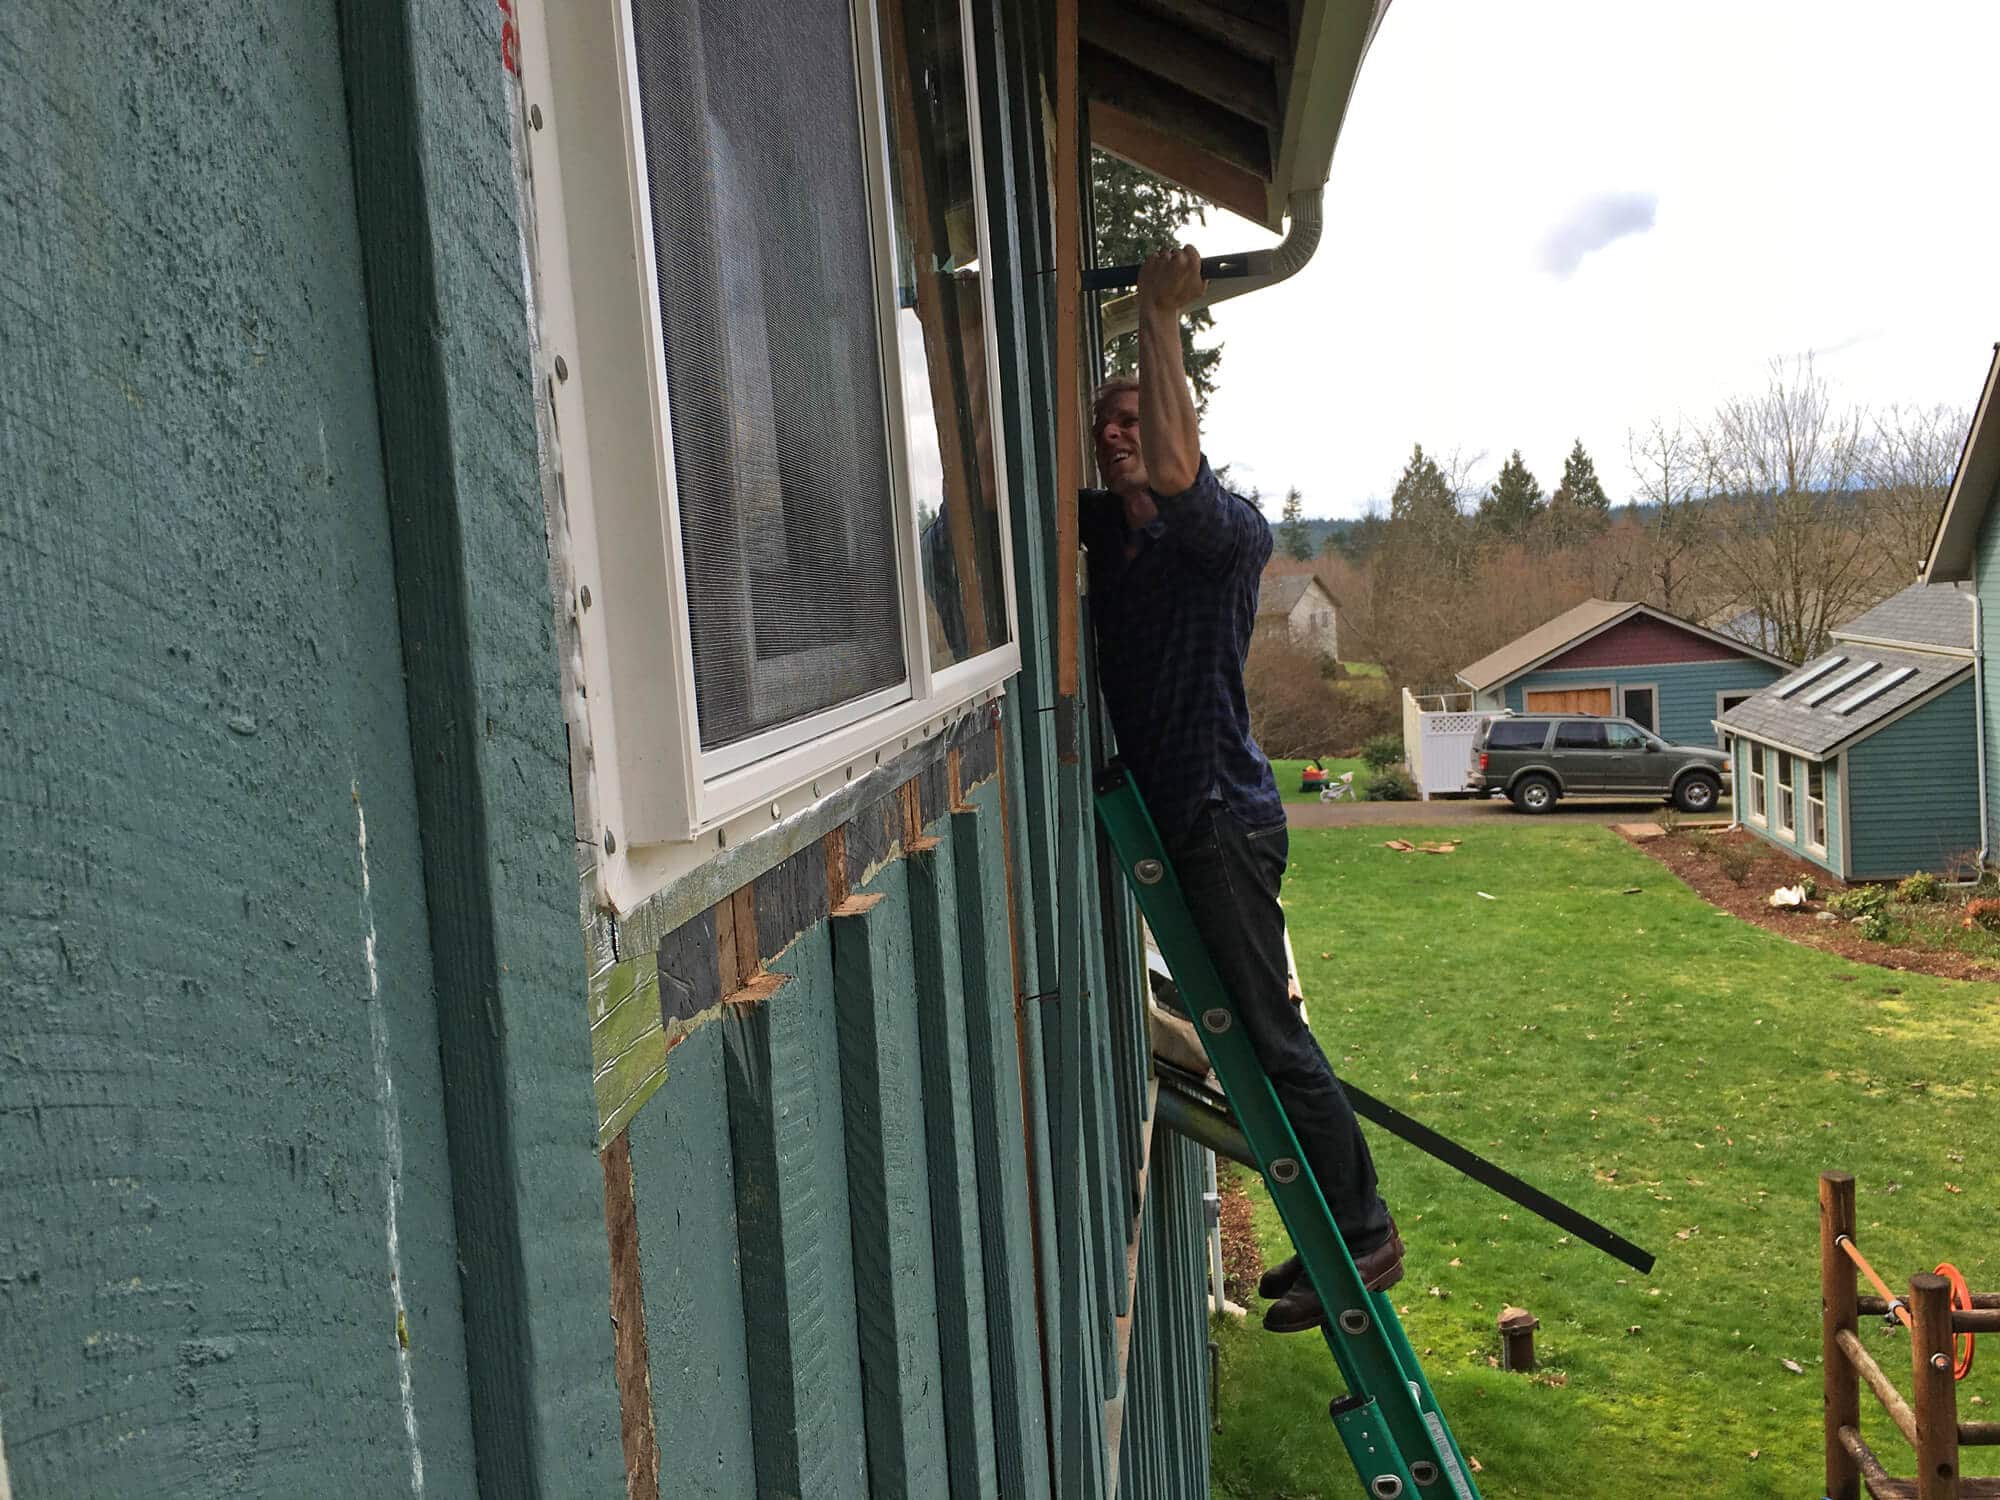
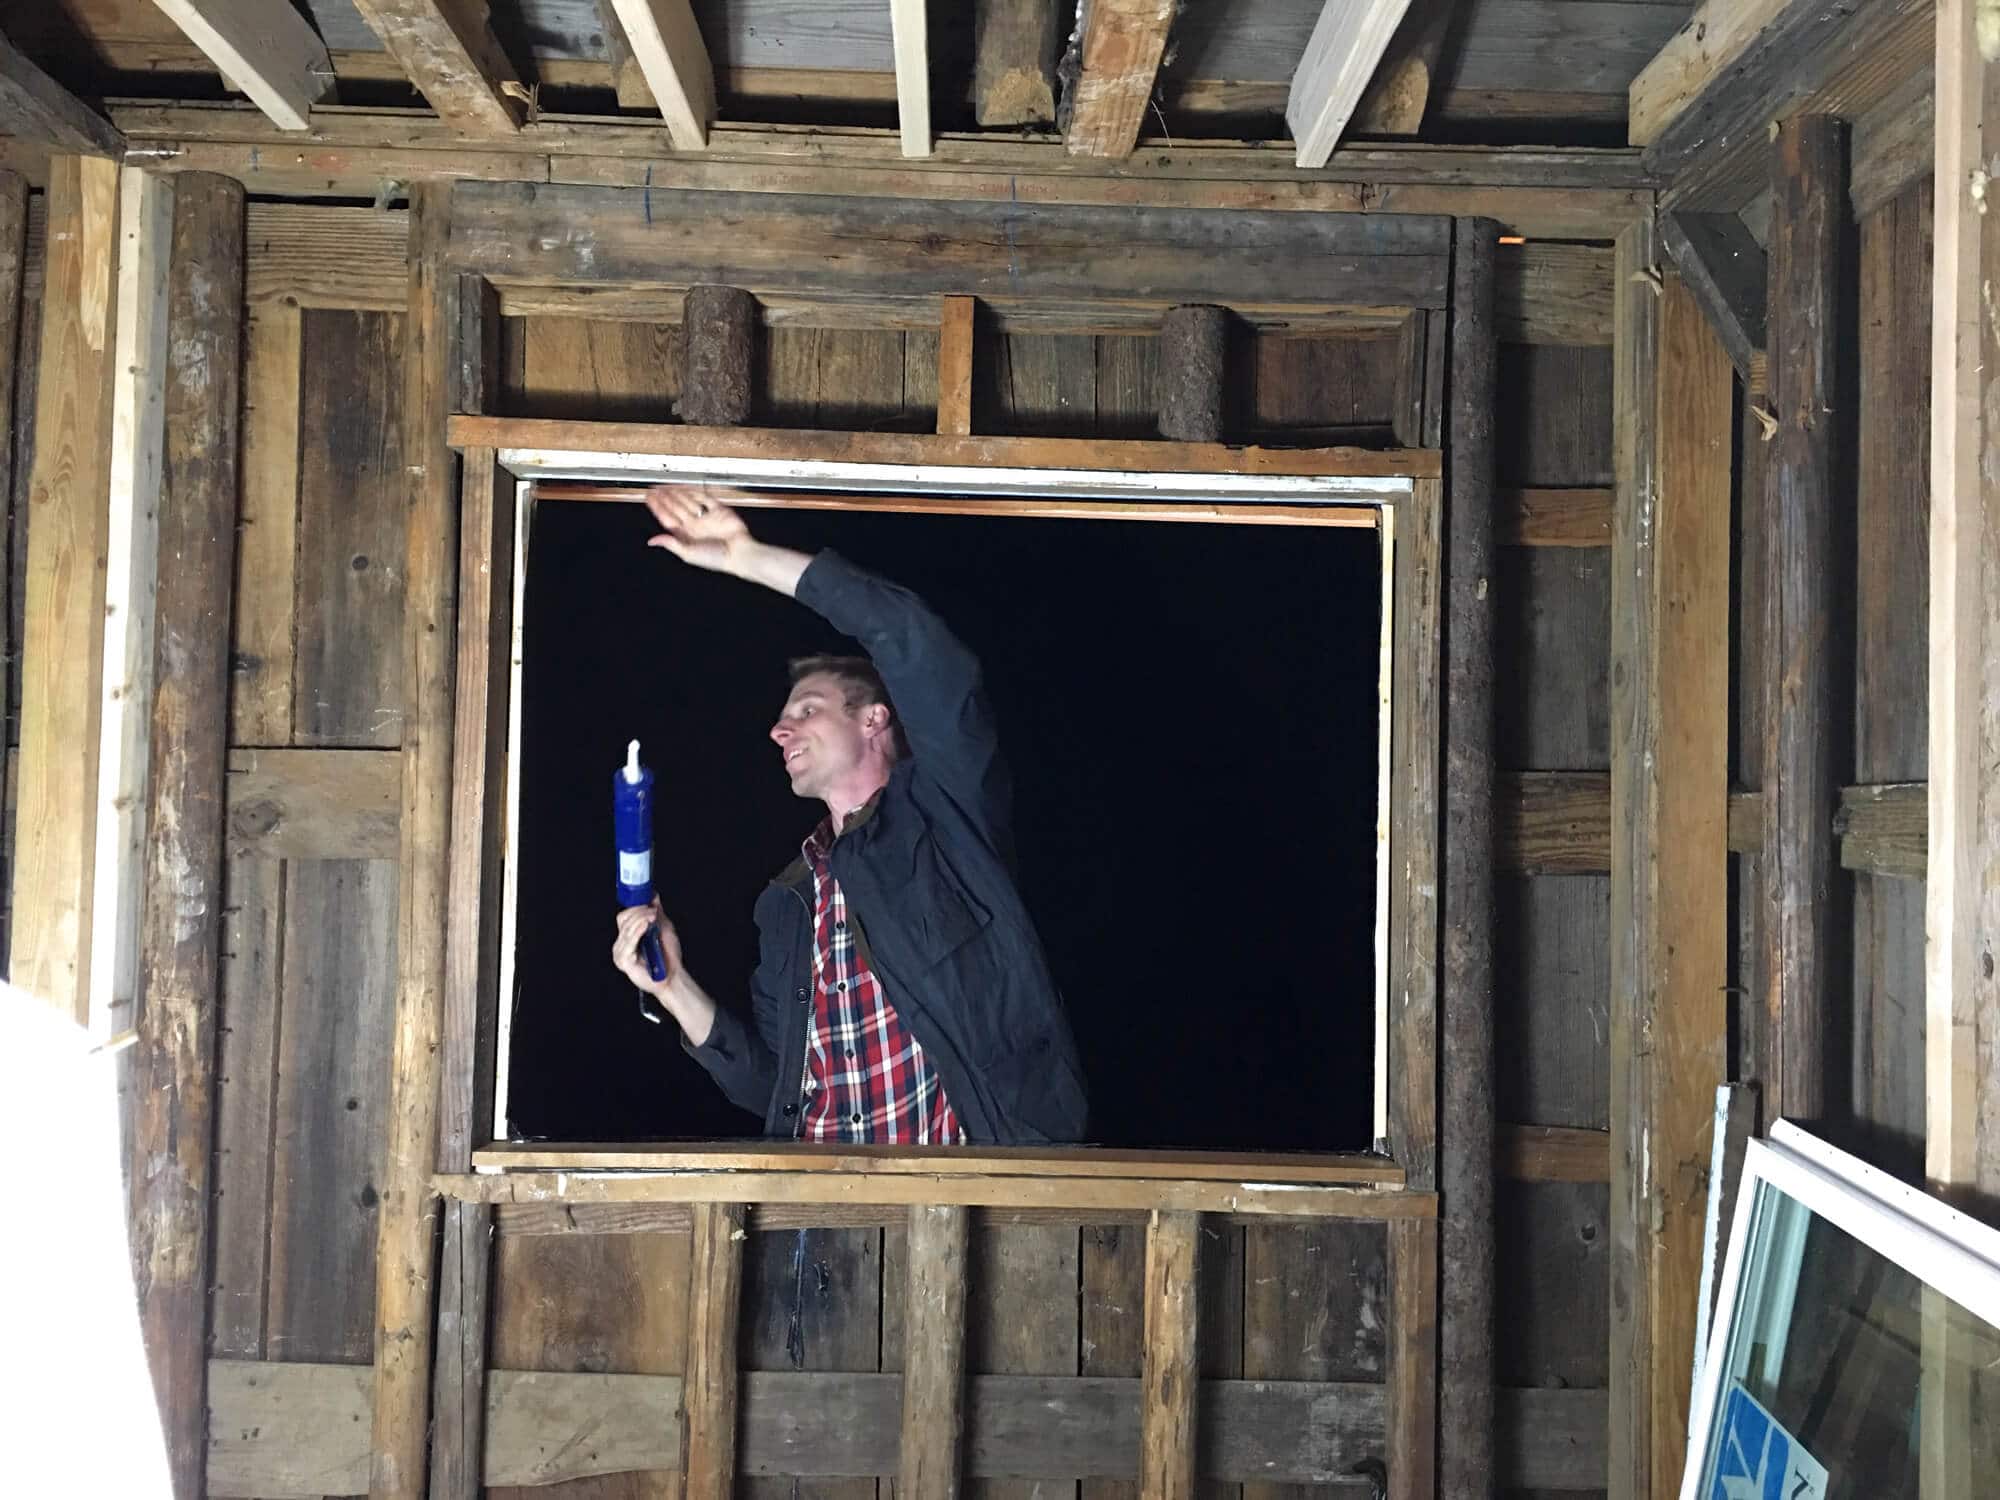
The kitchen window was completed.
The bathroom window was completed.
Hours of work.
And guess what?
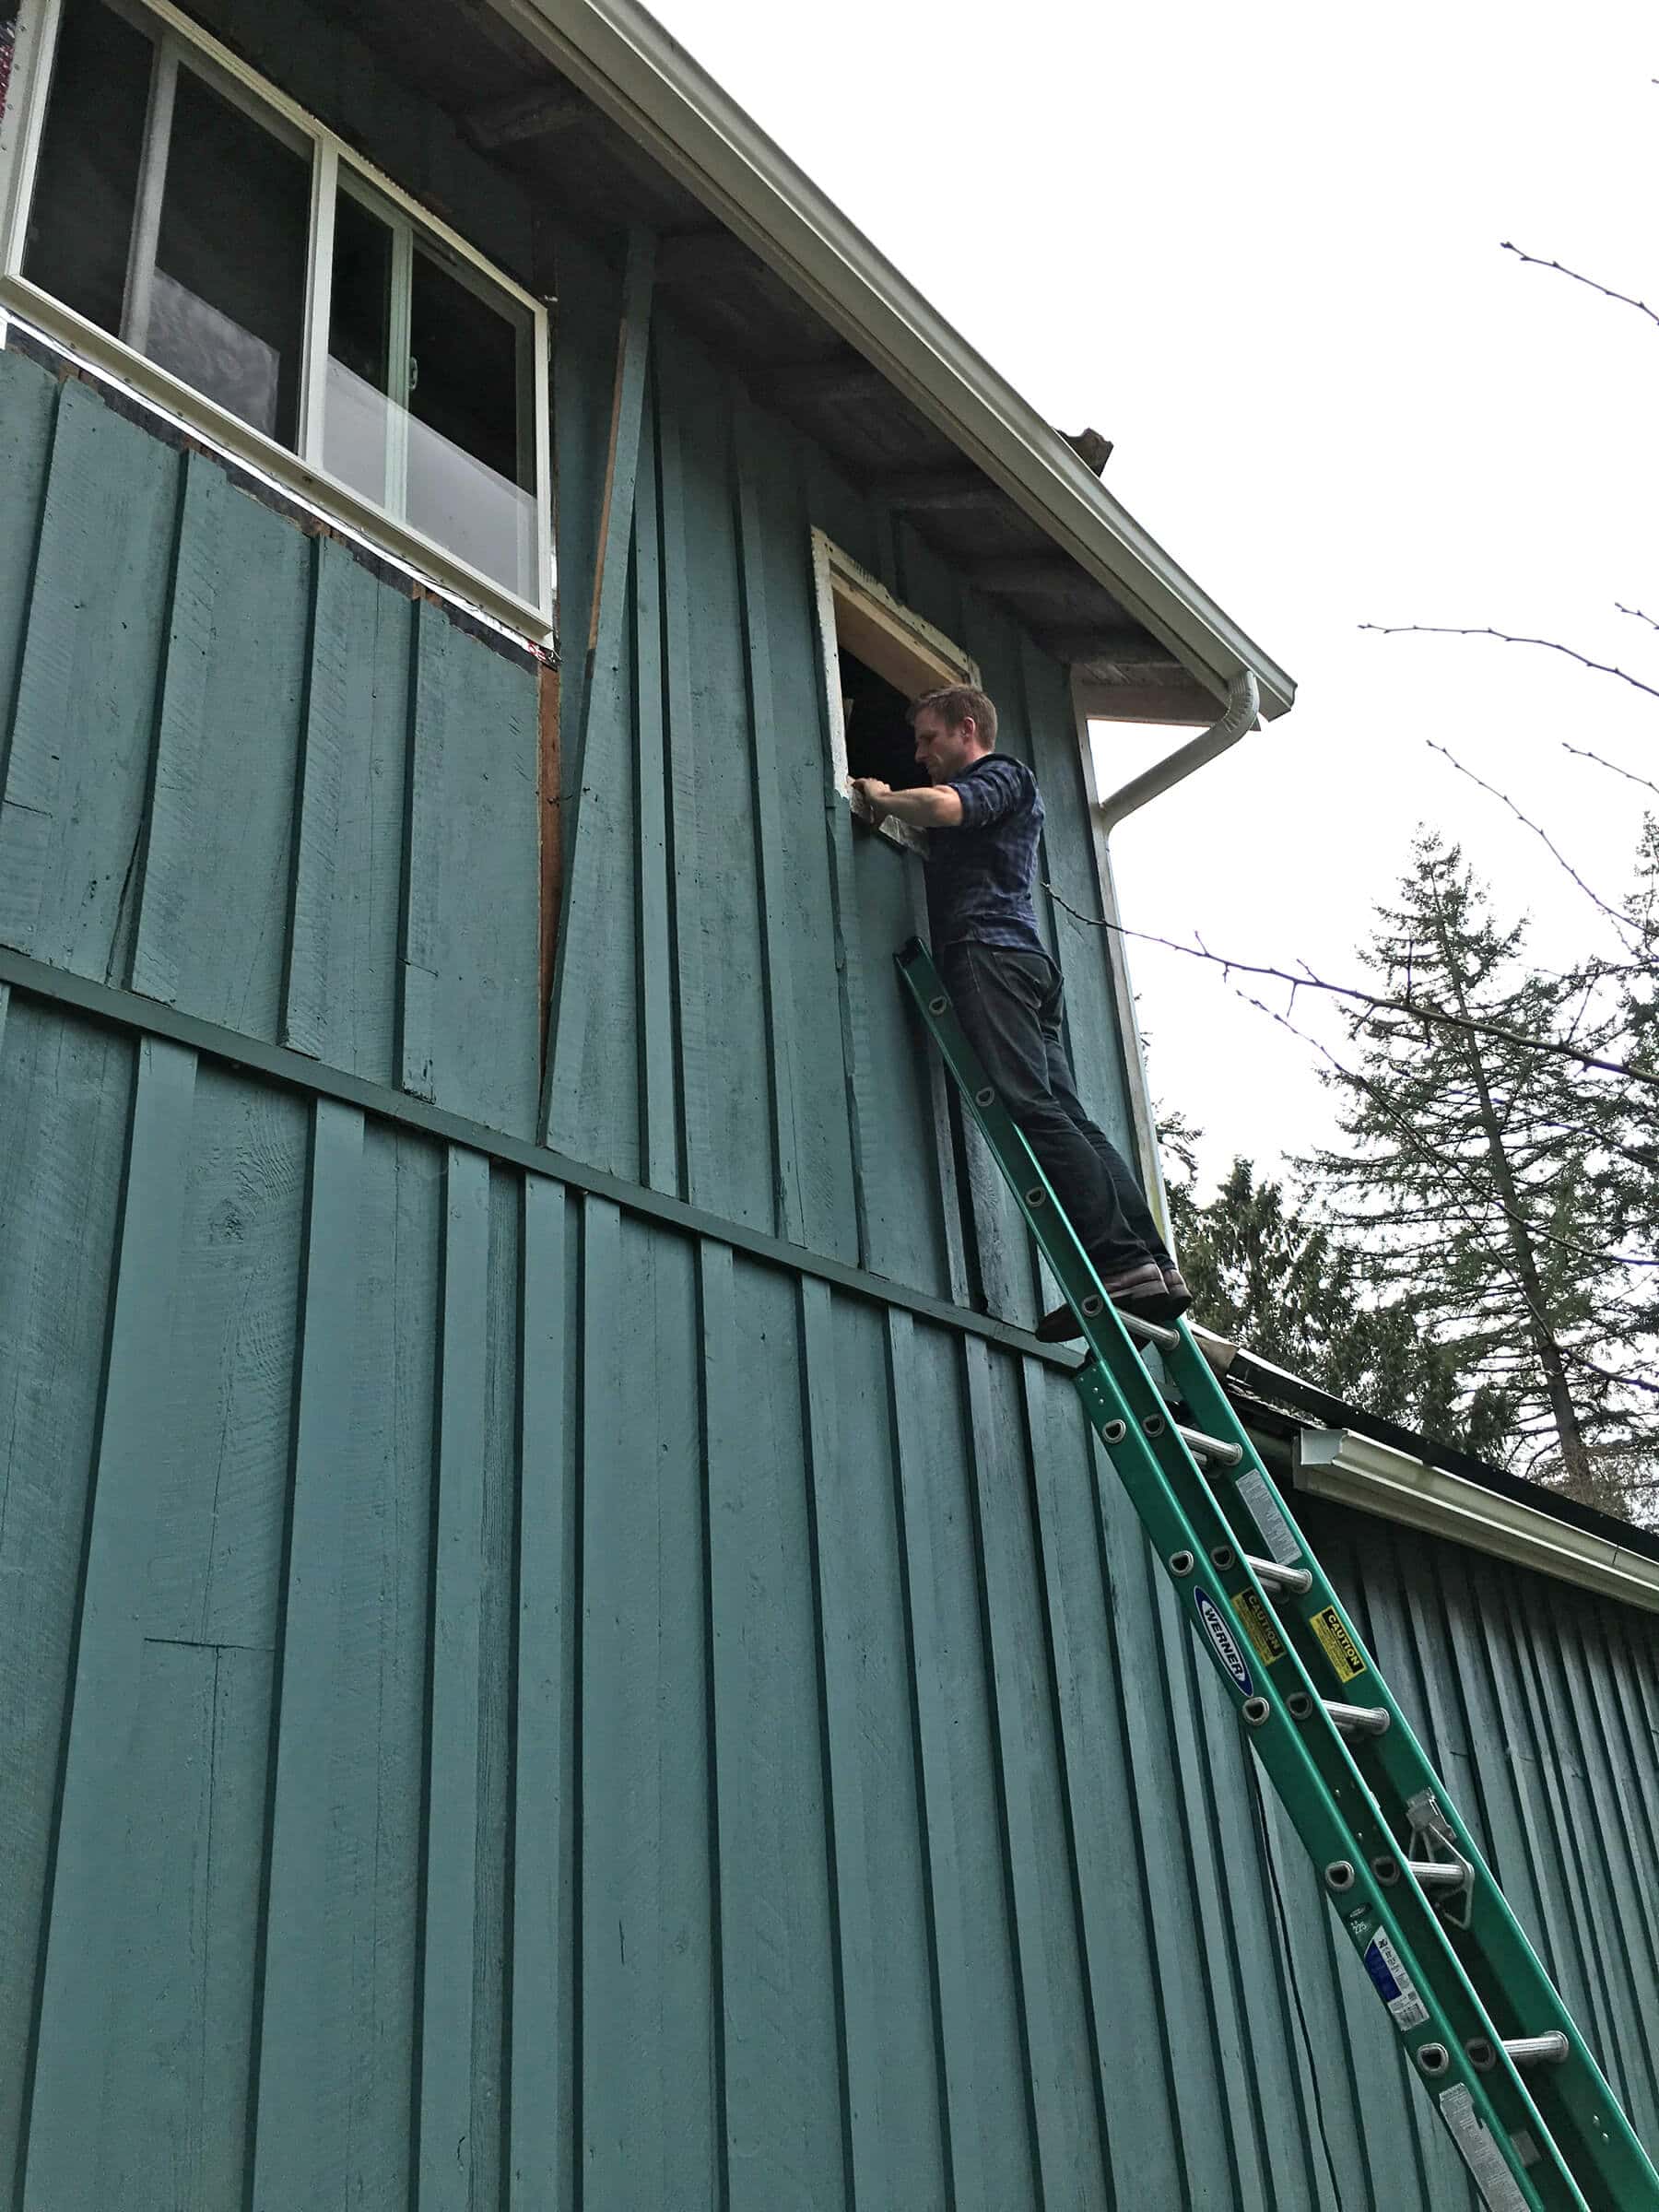
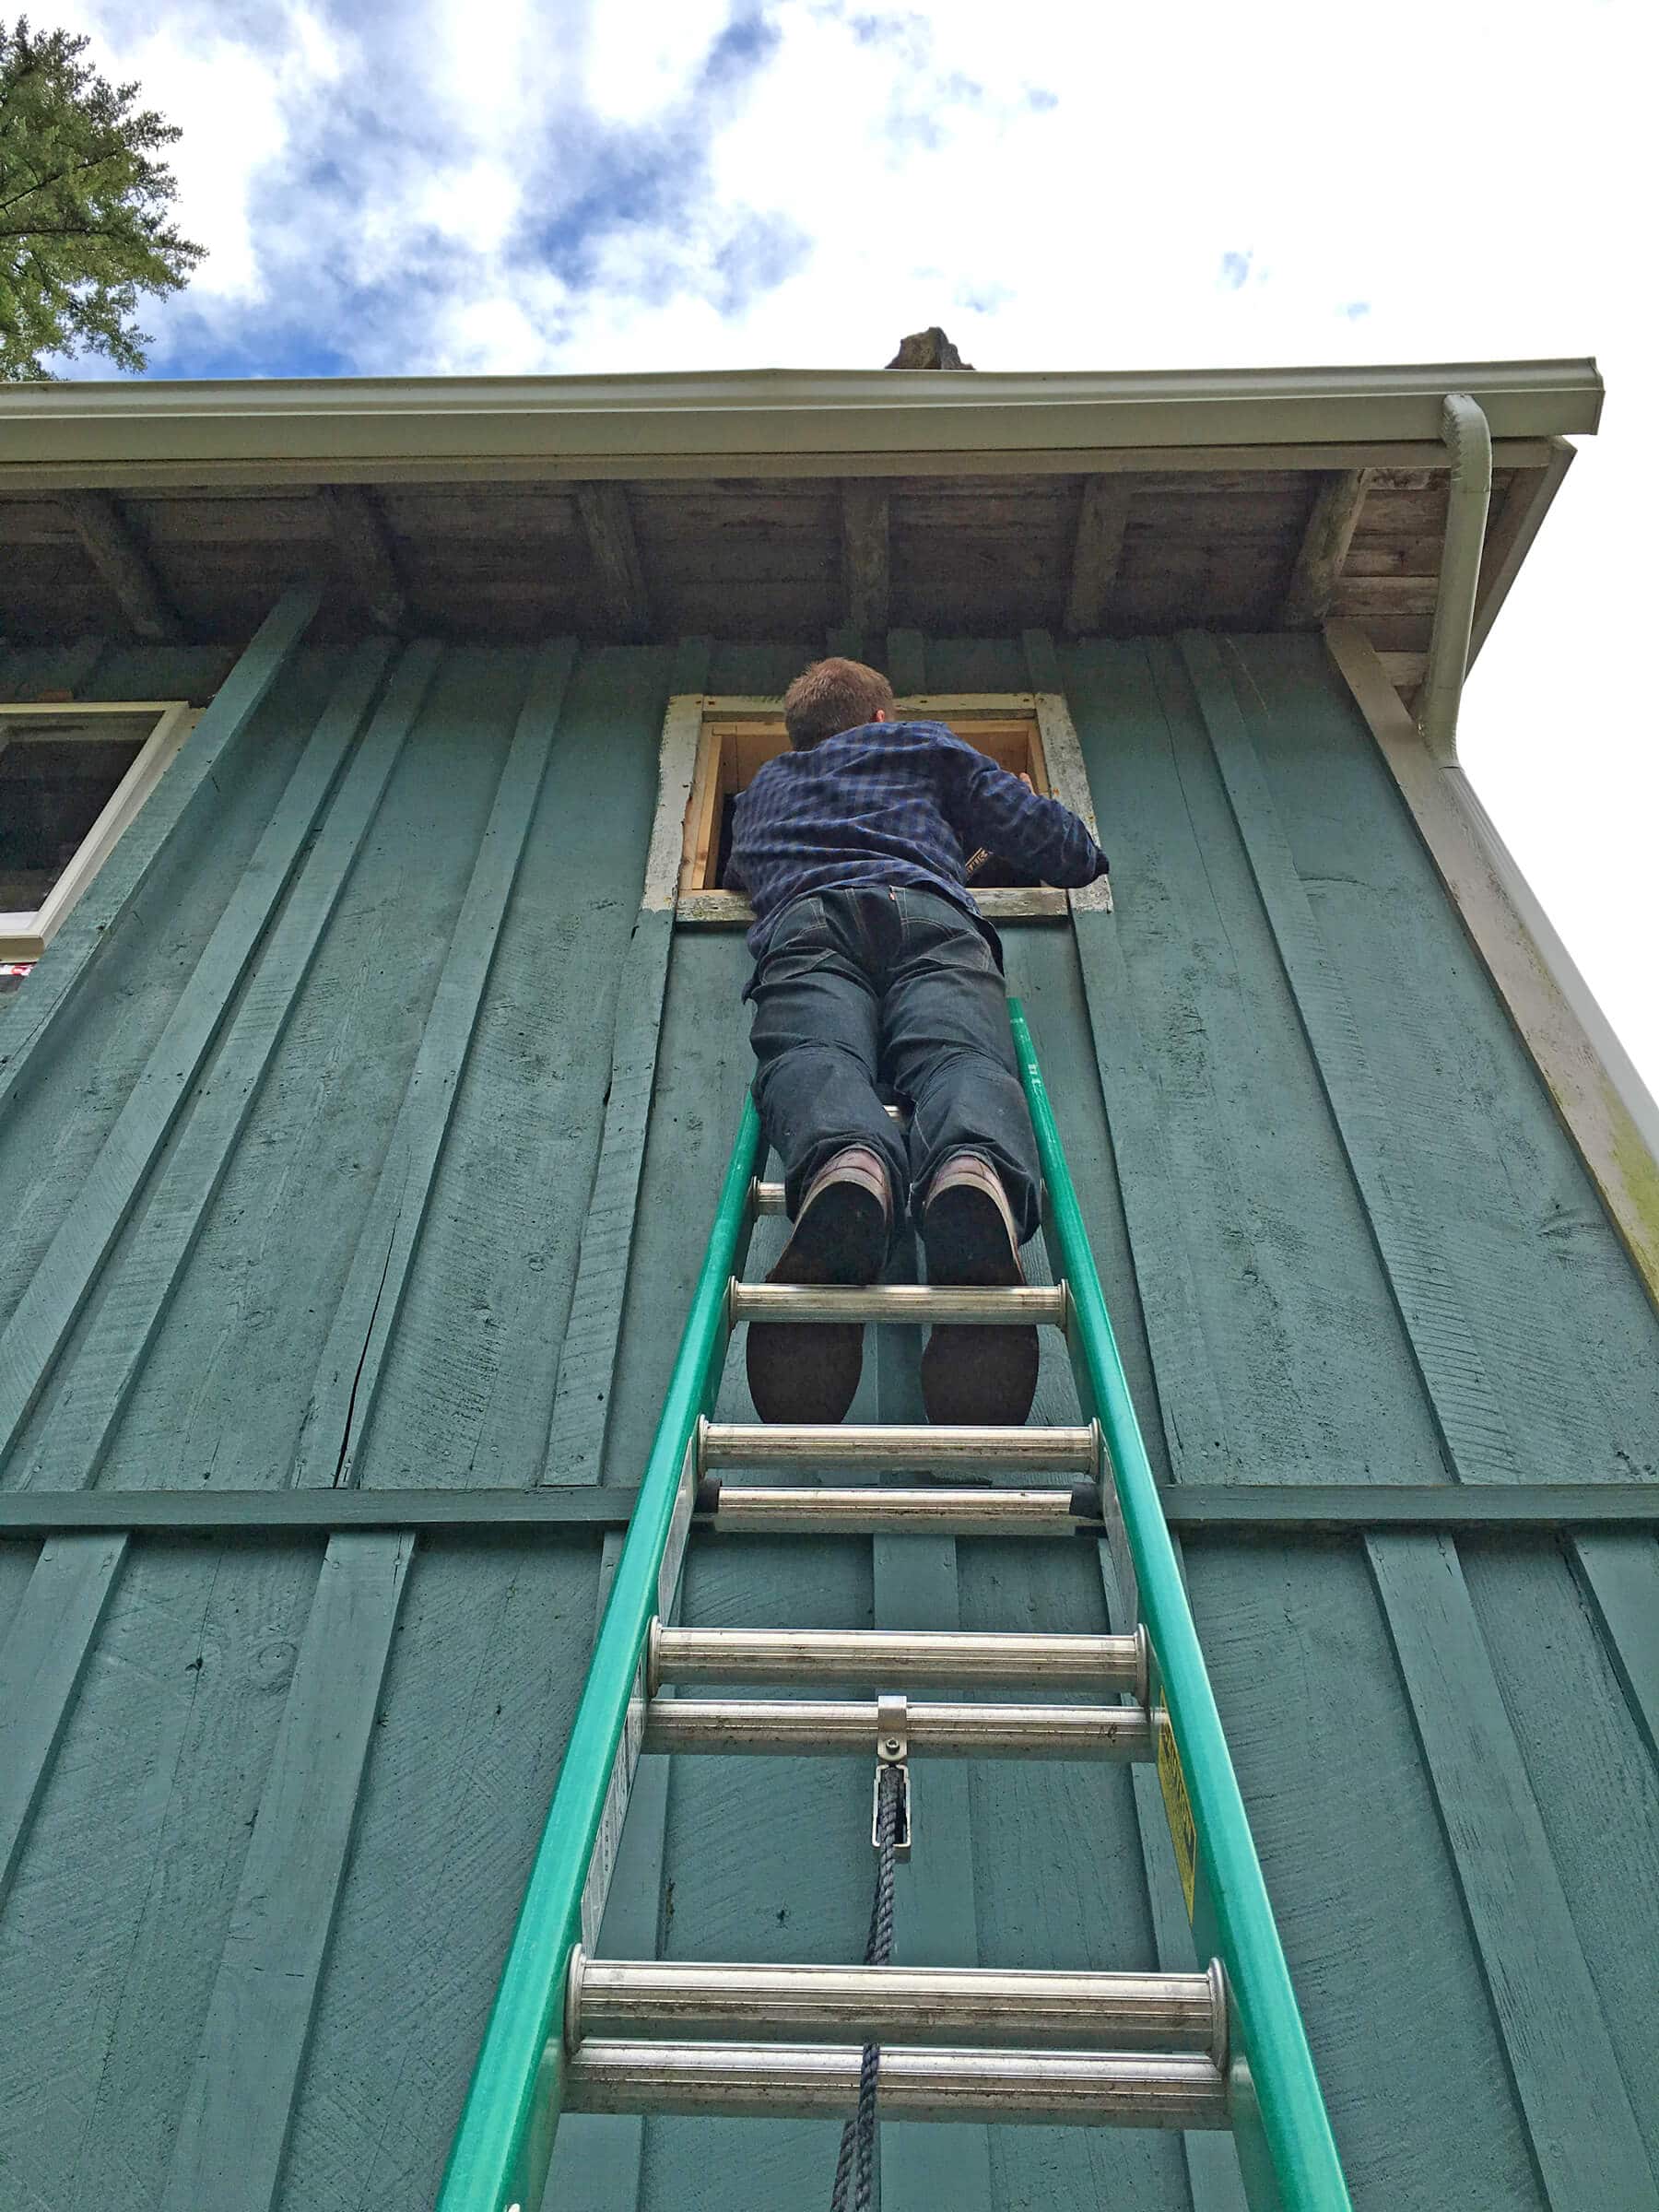
The bathroom window has to come out. Yeah, we wanted to cry. After spending some time grieving we finally just sucked it up. Based on how we originally configured the bathroom layout, the window would have been just fine. But we re-configured the layout, it’s much better now, and the shower is now going to stick out into part of the window so…the window has to go. Better layout and a slightly bigger shower but no window. Sacrifices, compromises.

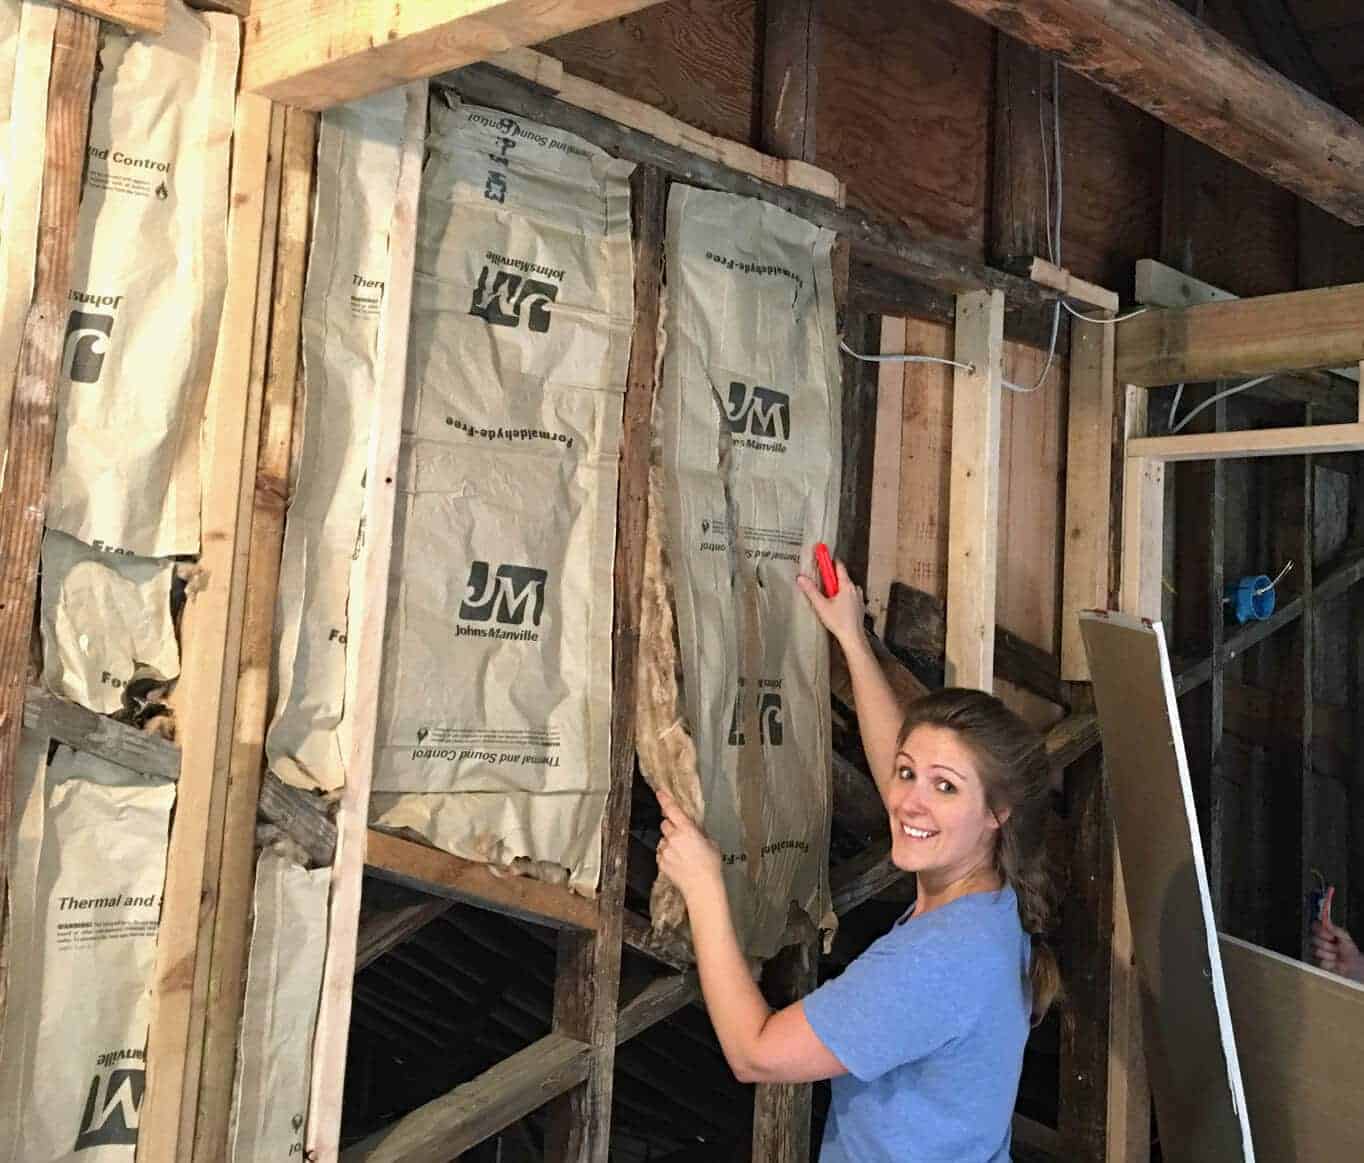
Yeah, yeah, I look happy and cheerful. Trust me, the entire project has not been like this. But the easiness of the task of putting in insulation felt like a refreshing Summer breeze compared to everything else.

Okay, seriously. As far as we’ve come in science, technology and all things innovation, we’re still stuck with no other options except DRYWALL?
And, worst of all, spackling the drywall.
Surely there has got to be an easier way, people!!
We’re nearly done with all the drywall now and the next step is spackling. I don’t even want to think about it. I’m just going to stick my head in the sand and leave it there for a while until reality hits.
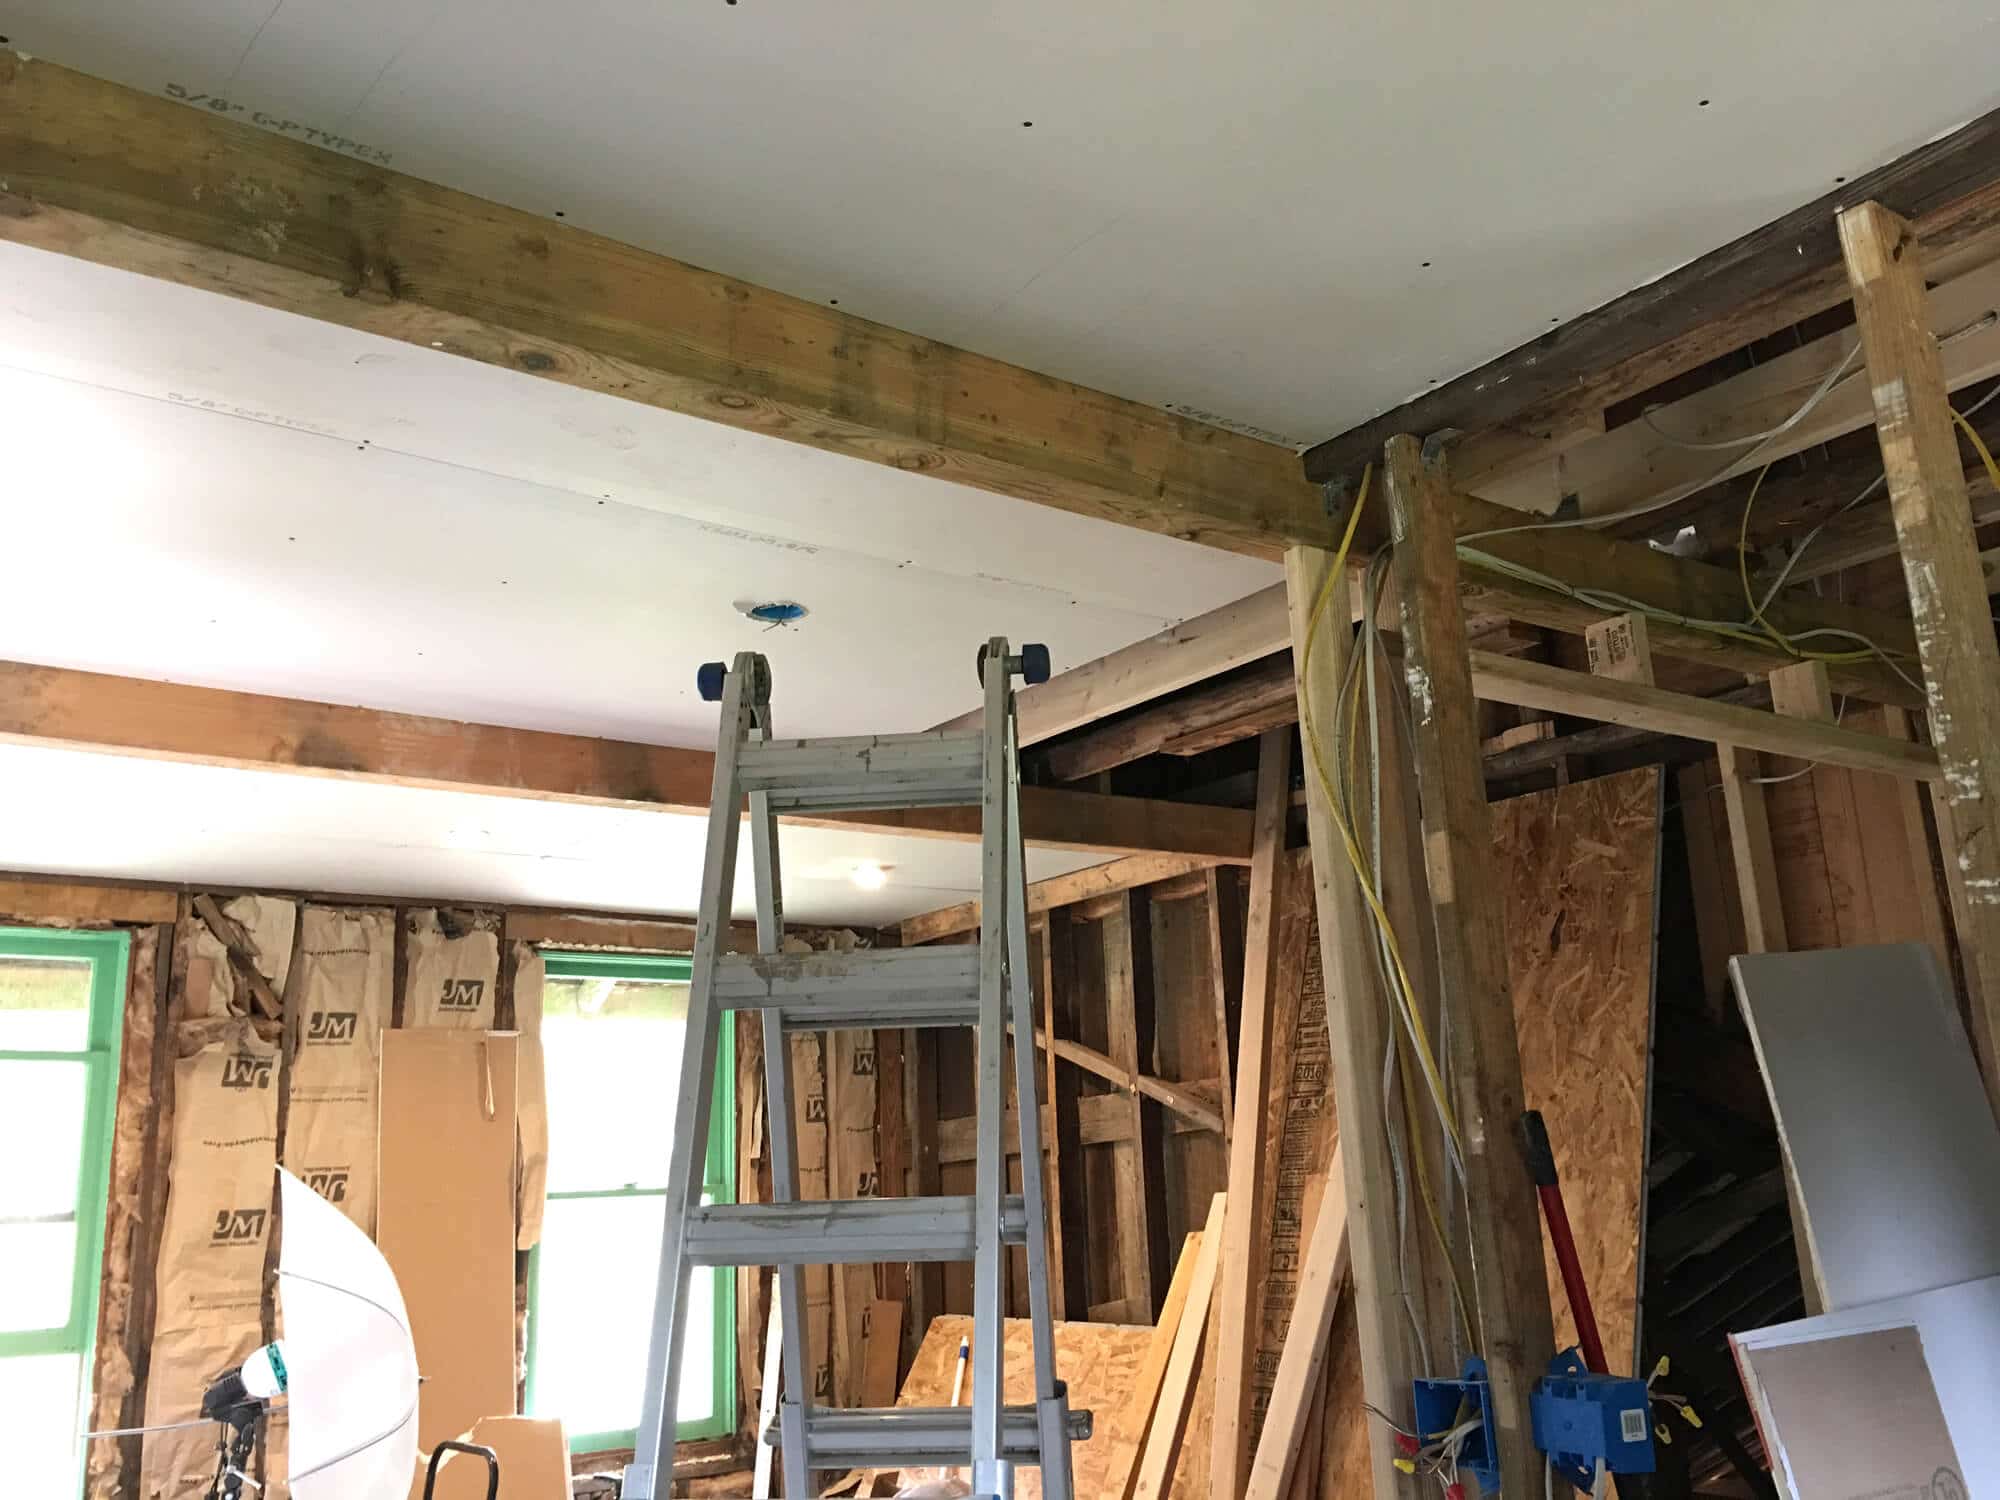
The ceilings were an absolute BEAST!
Lifting those heavy sheets of drywall above our heads while trying to drill them into place was murder. We found a nifty YouTube video that showed how to do it with only one person by building a ledge. It took us a bit to get it down but once we did it went smoothly.
Of course you can also rent a drywall jack but we’ve been working on this project so incrementally that we would have had to rent it for several weeks.
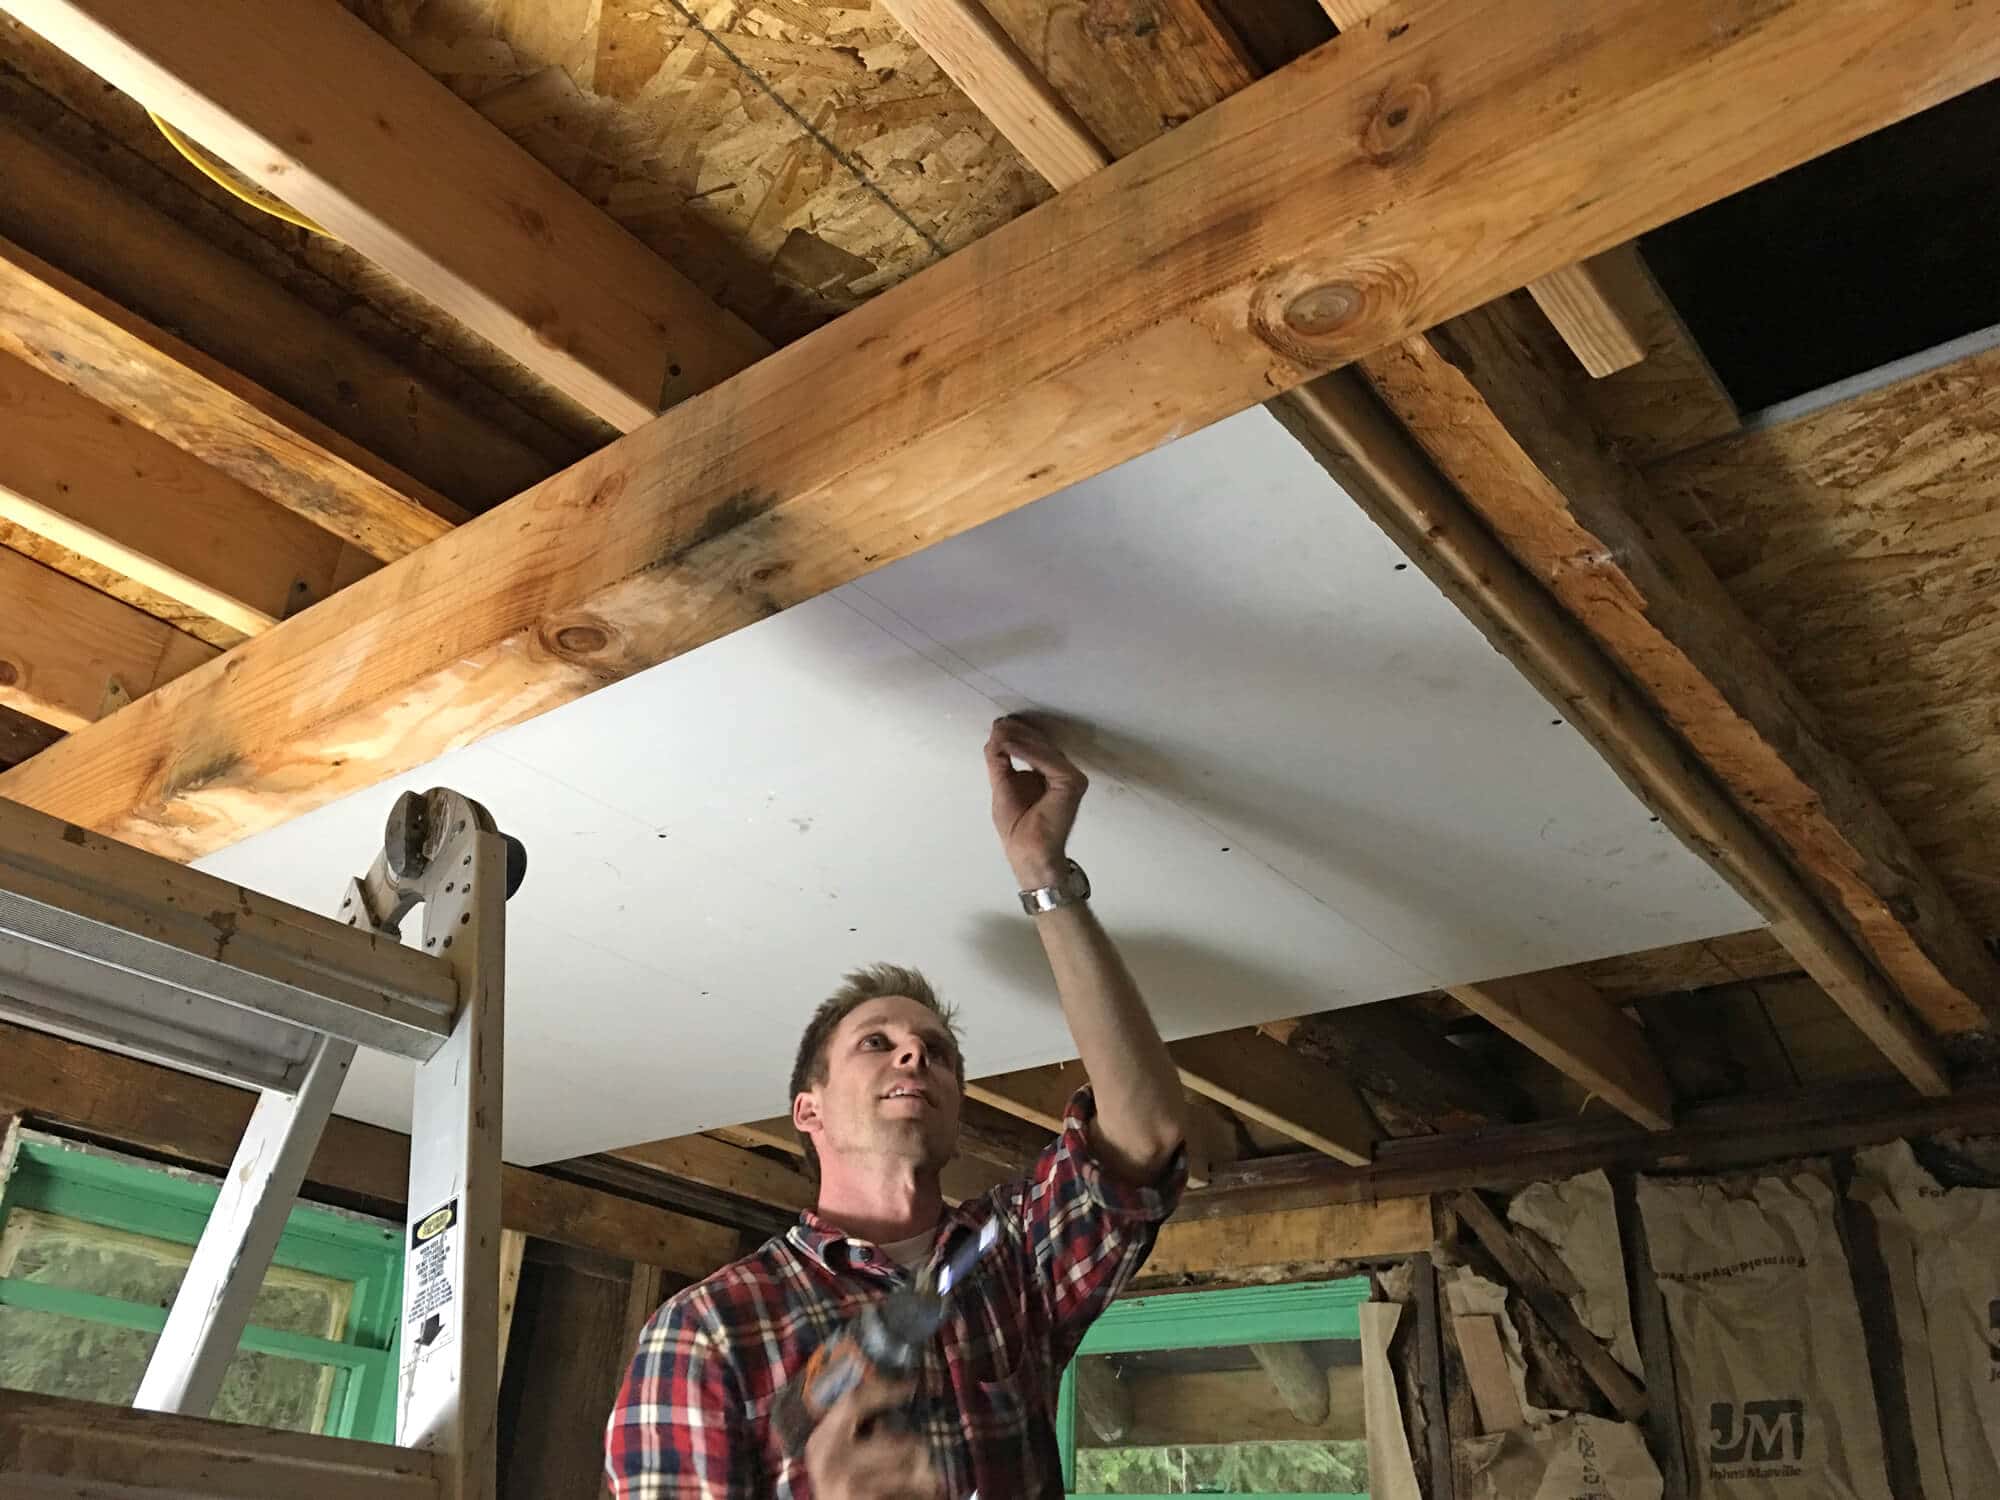
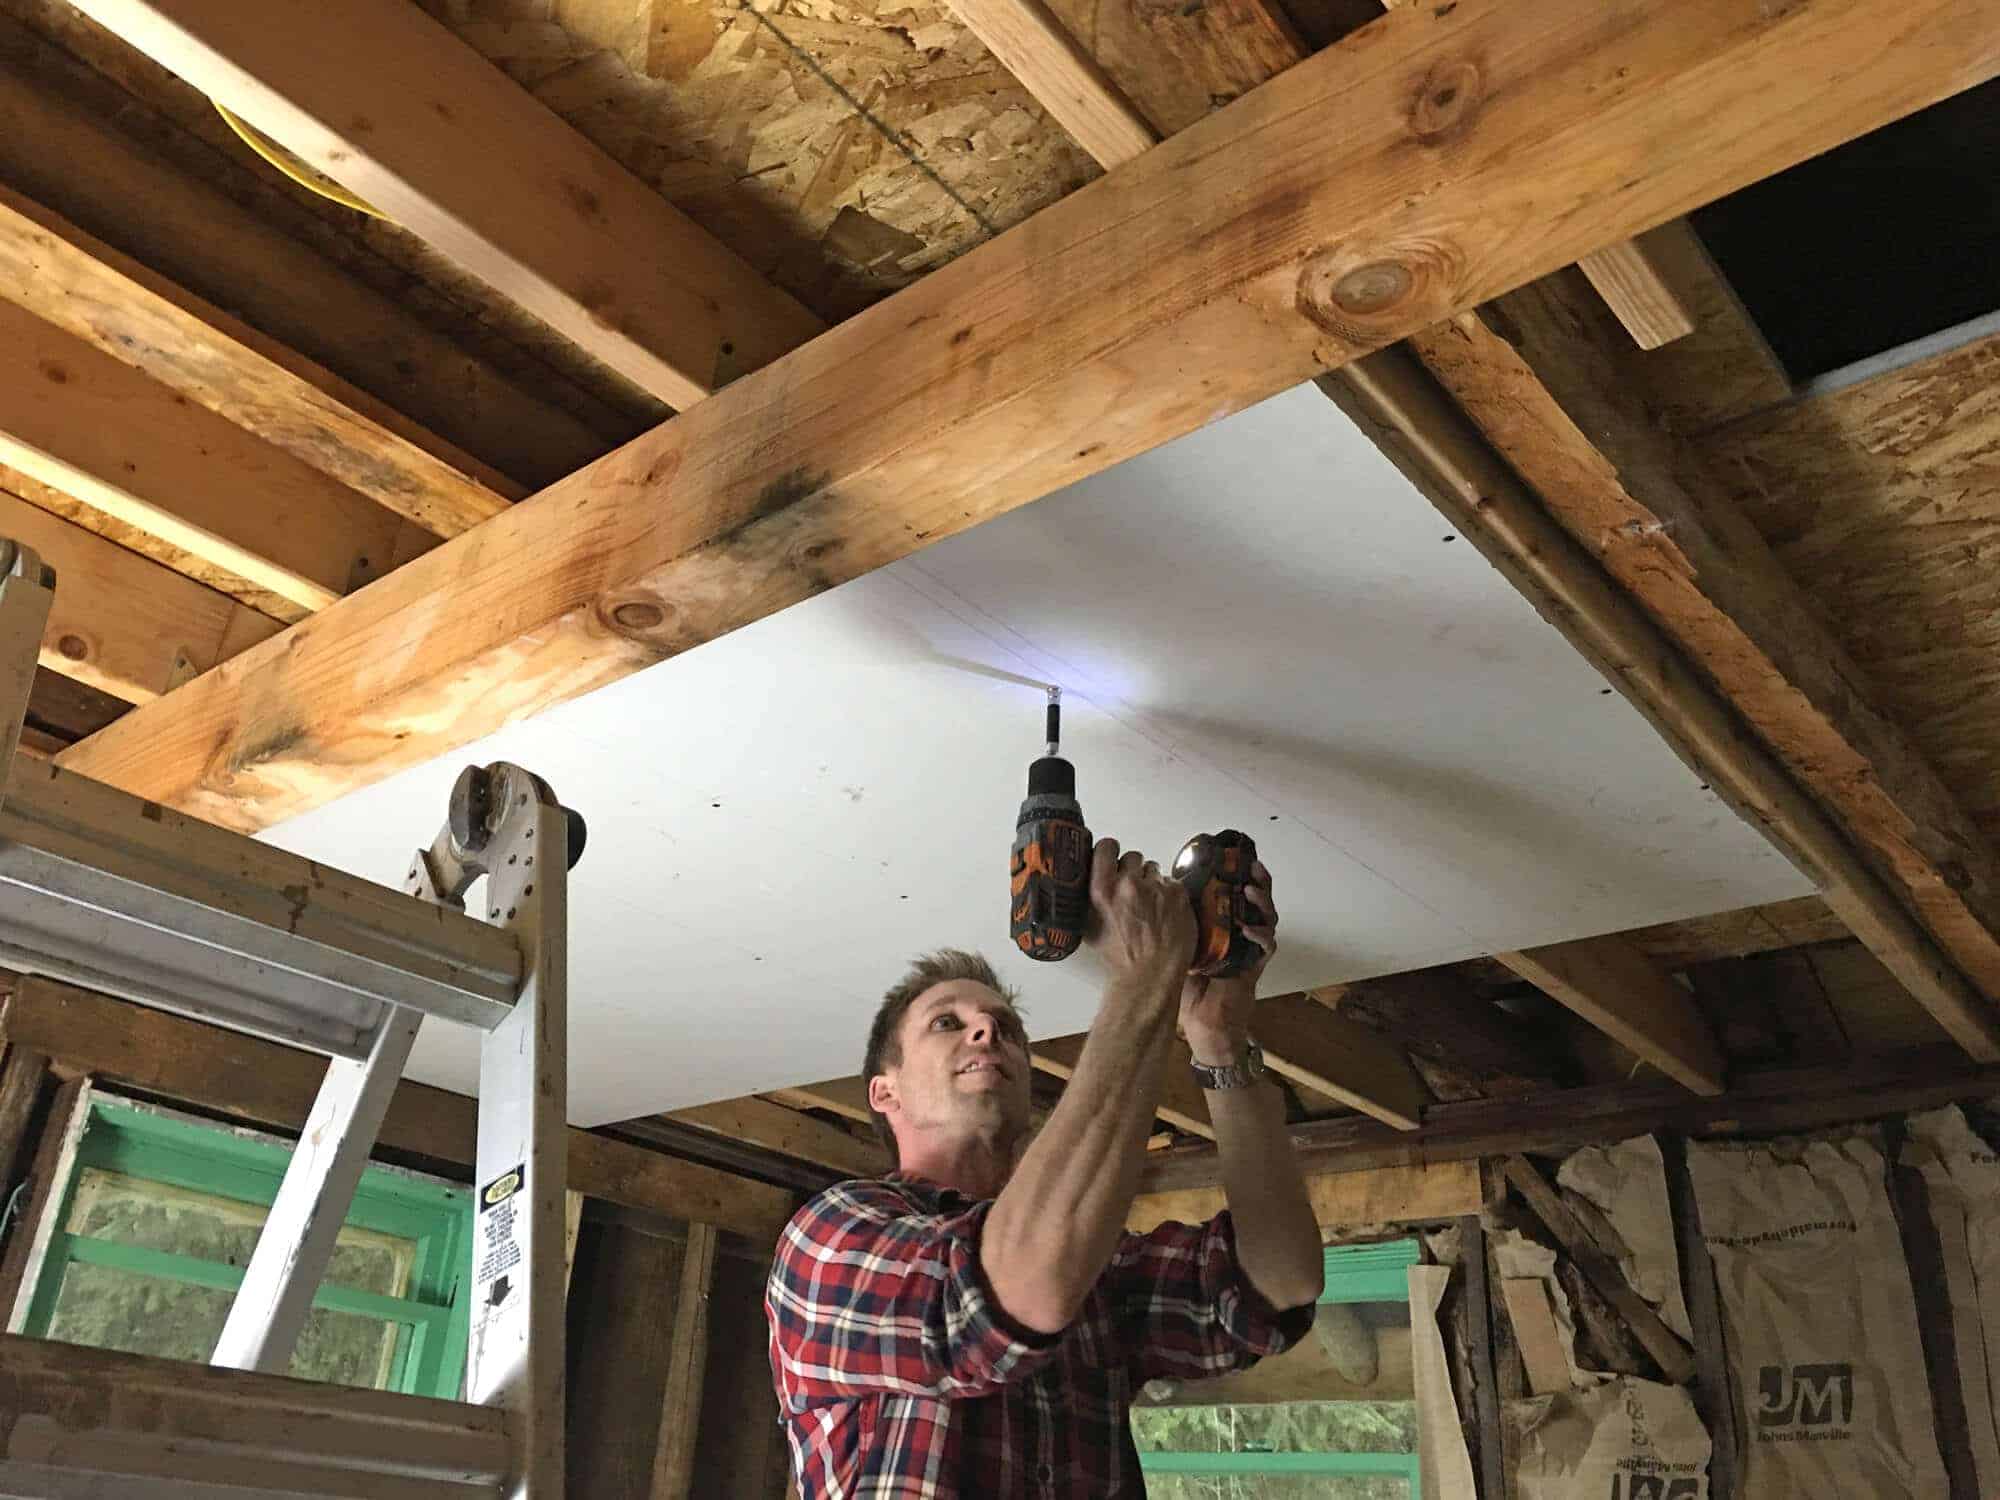
It would be hard for anyone to understand who hasn’t been involved in a project like this what a sense of “WOW” just once piece of drywalled ceiling creates! We had been staring at this bare-boned unit for what seemed like forever and to finally see some tiny vestige of completion was such a breath of fresh air!
We’re putting in recessed lighting in the living room, kitchen and bathroom.
And we’re probably add some strip lighting above the kitchen and bathroom sinks.

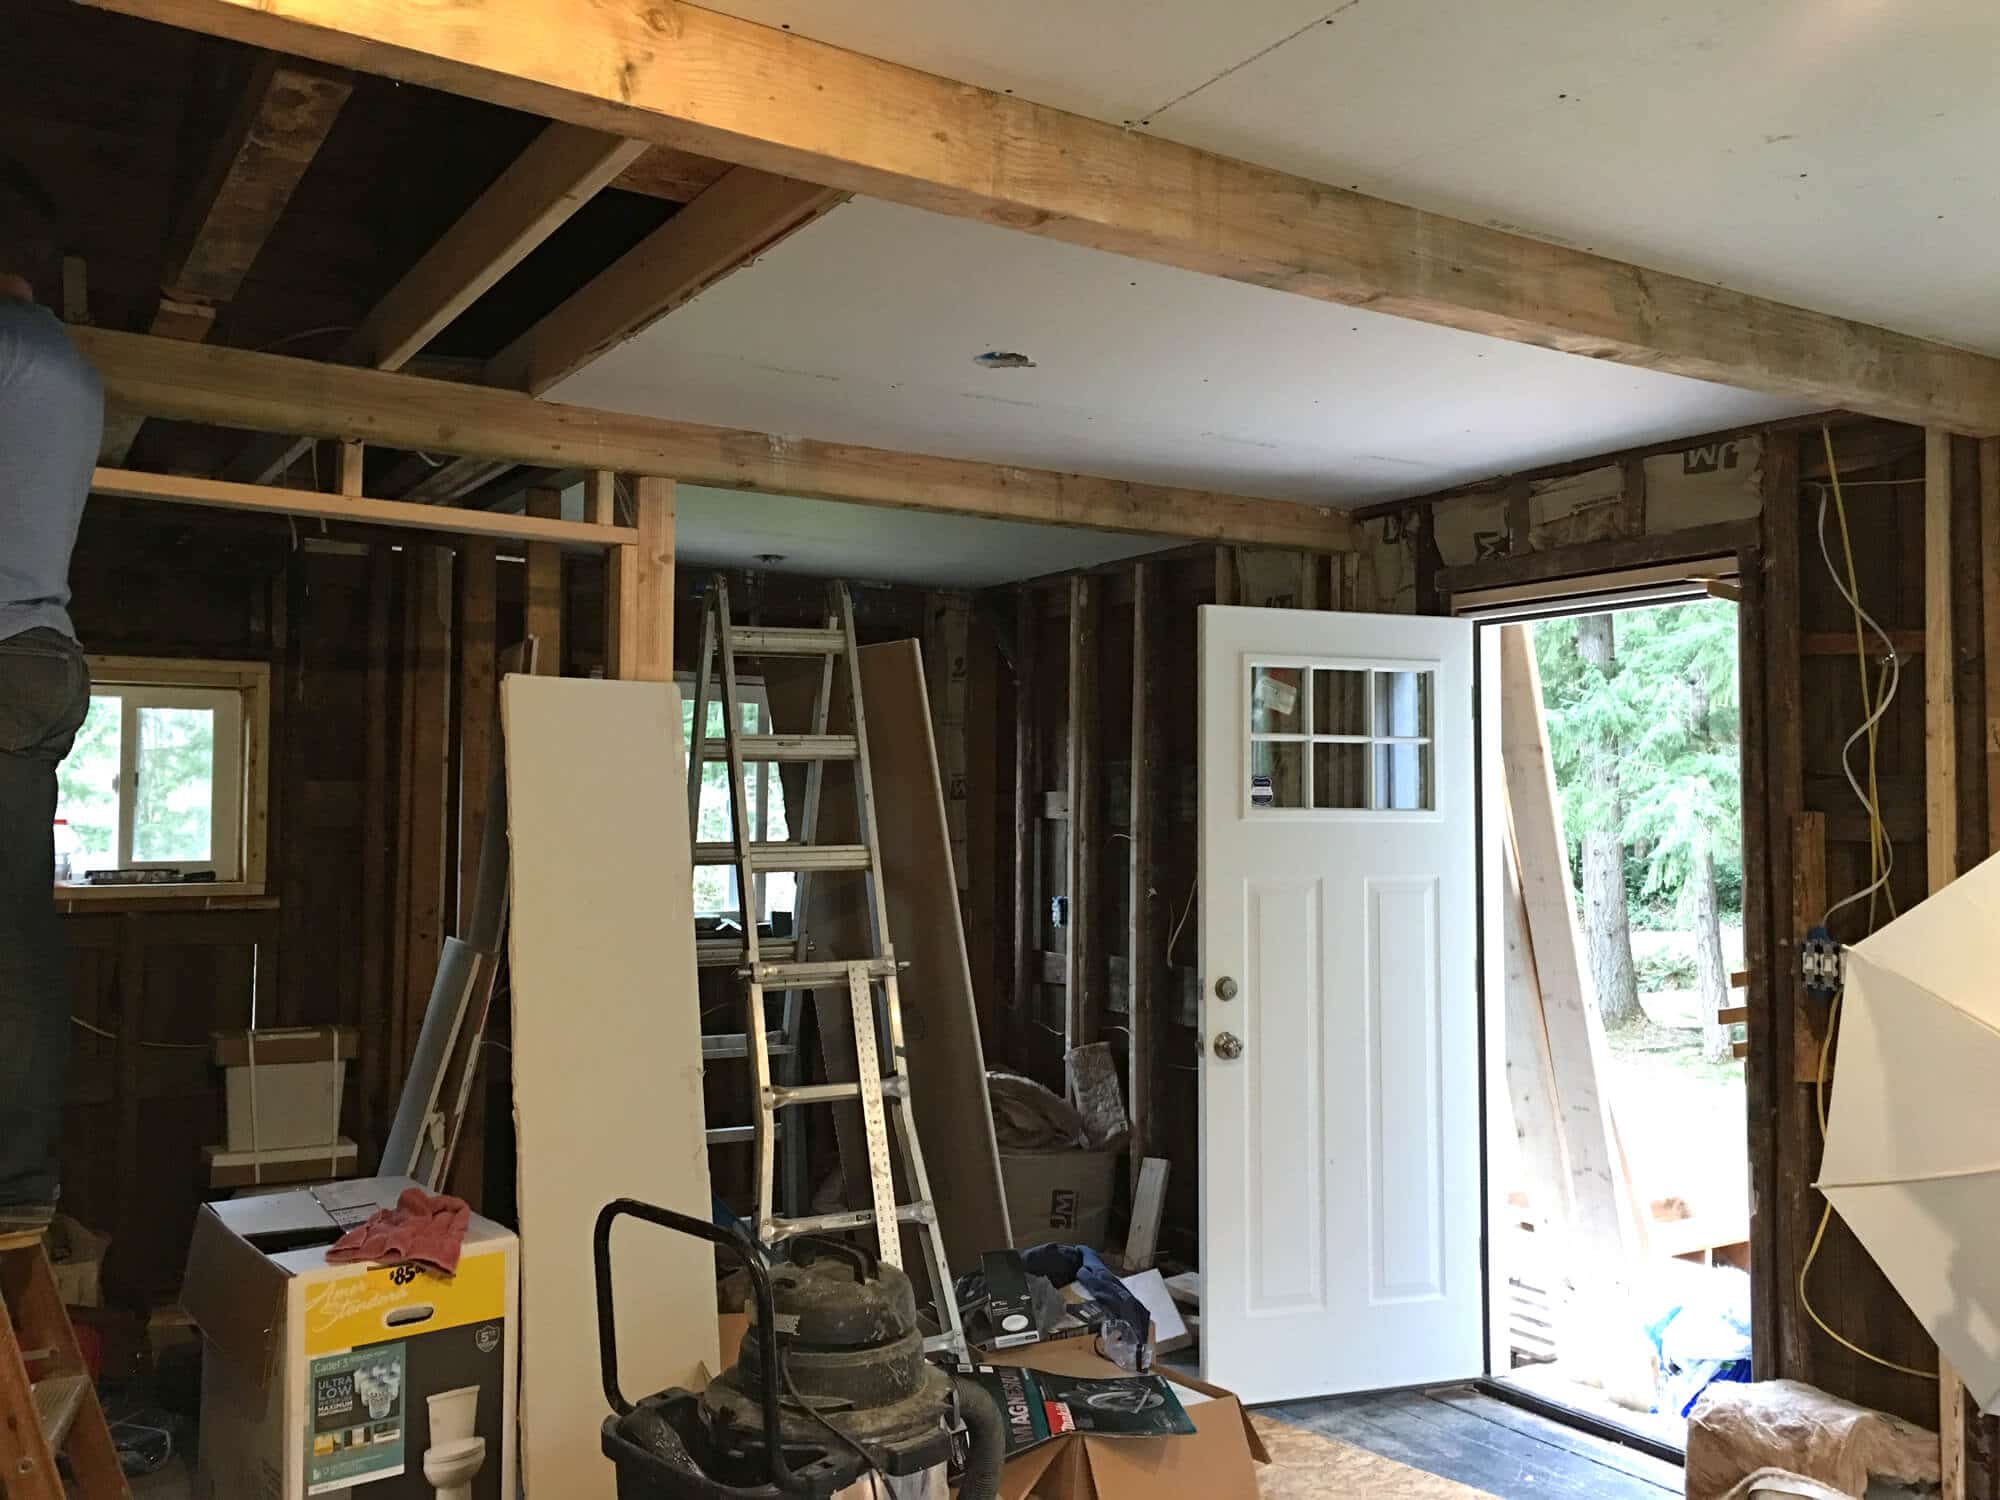
Aaaaaaaah, more pieces of ceiling in place! Oh if you only knew….
And we can only imagine how amazing it’s going to feel once the walls are in place, too.
Unfortunately we had to have a burial ceremony for the old door. It was a really cool, very old door (probably as old as the house, i.e. 100+ years) and we would have loved to strip it down, repaint it and keep using it but it was sadly just way too warped to salvage.
A new door will add a more contemporary feel though and that’s what we’re going for anyway. We’ll probably find some other use for that original old door somewhere.

Next up: Finishing the drywalling and then spackling it.
Oh, the HORROR!
That’s the step we dread more than anything. It’s not just that it’s a ridiculous amount of work (we’re used to that, we can handle it), it requires a great deal skill to get it perfectly smooth for a coat of paint. We were talking about just hiring someone else to do that part for us – spackling the drywall – and the quotes that came in were for $1600 for such a tiny space. No thanks. We’ll figure it out.
Really I don’t know how we’re going to do it. Ugh. We’ll figure it out. More YouTube videos. Any advice?
On the bright side, we’re making progress.
And we’ve had the help of some awesome tools that we chose based on a ton of research we did online. I’ll talk more about those in a later post, but I’ll just share one now. The Bosch multi-tool. I refer to it as the Kitchenaid of tools because it’s a base machine with a ton of versatile attachments for doing every job under the sun. Todd is totally in love with thing. It has been the indispensable tool for random tasks that would be otherwise difficult to do. Really, we could not have done without it. That’s no exaggeration. If you’re looking for a tool with stellar reviews, fantastic build quality (German tool made in Switzerland) and that does a gazillion things, check out the Bosch MX30EC-21 Multi Tool with 21 Accessories.

Hi, I’m Kimberly Killebrew and welcome to Daring Gourmet where you'll find delicious originals, revitalized classics, and simply downright good eats from around the world! Originally from Germany, later raised in England, world-traveled, and now living in the U.S., from my globally-influenced kitchen I invite you to tour the world through your taste buds!


This is so impressive! You guys are inspiration for hard work!! I’m getting excited to see the result!
Woooooow! Impressive work! It’s looking so good!
So fun to see how everything is coming together!
My Hubby would love to take on a project like this! Good job, guys!
Wow! This is seriously impressive, and also motivating! Now I want to go build stuff!
What an undertaking! I would never have the patience for this type of renovation ;) Good for you!
This little dwelling is truly a ton of work to put together. I can’t believe even the wiring!!It is impressive seeing all the work going on behind the scenes!!
Wow! I am so impressed! I could never do this but I sure wish I could! I can’t wait to see this finished product :)