The Micro-Dwelling Project Part 4: Light At the End of the Tunnel
This post may contain affiliate links. See my disclosure policy.
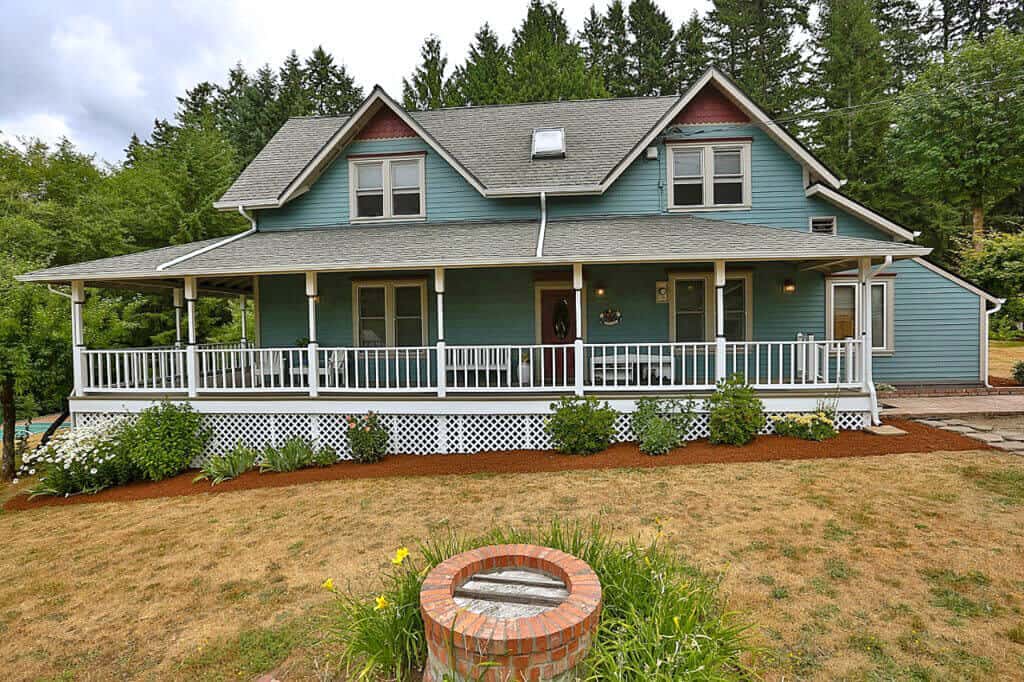
Welcome to the fourth installment of The Micro-dwelling Project! To recap, we purchased a historic 104 year old house the end of last year.
The nearly 8 acre property has a tiny guesthouse on it and we’ve been working on transforming it into a contemporary and efficient micro-dwelling.
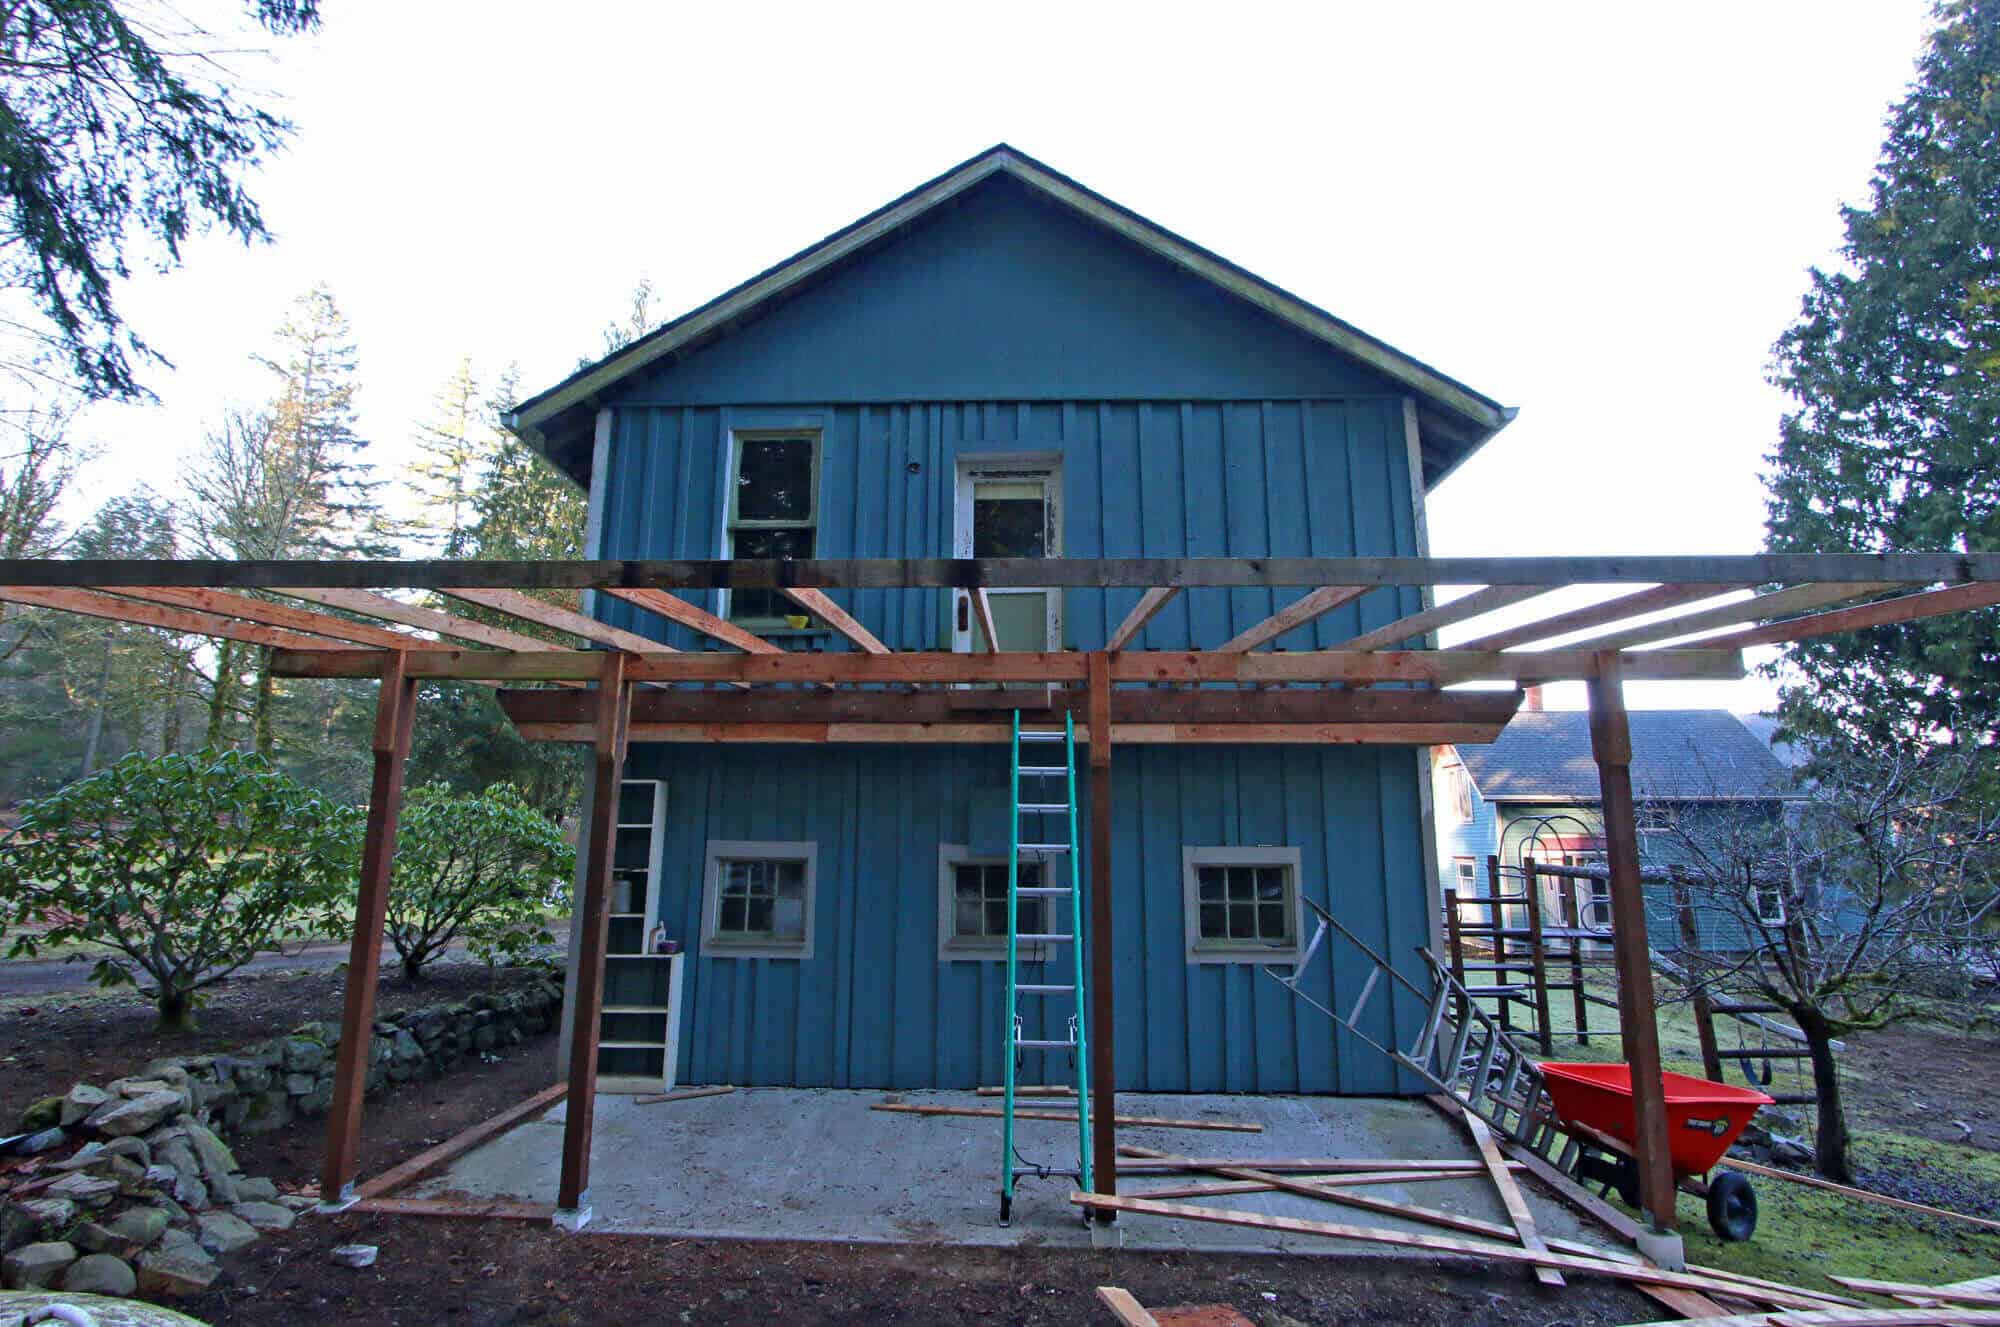
It’s been a while since our last installment but the work has steadily continued.
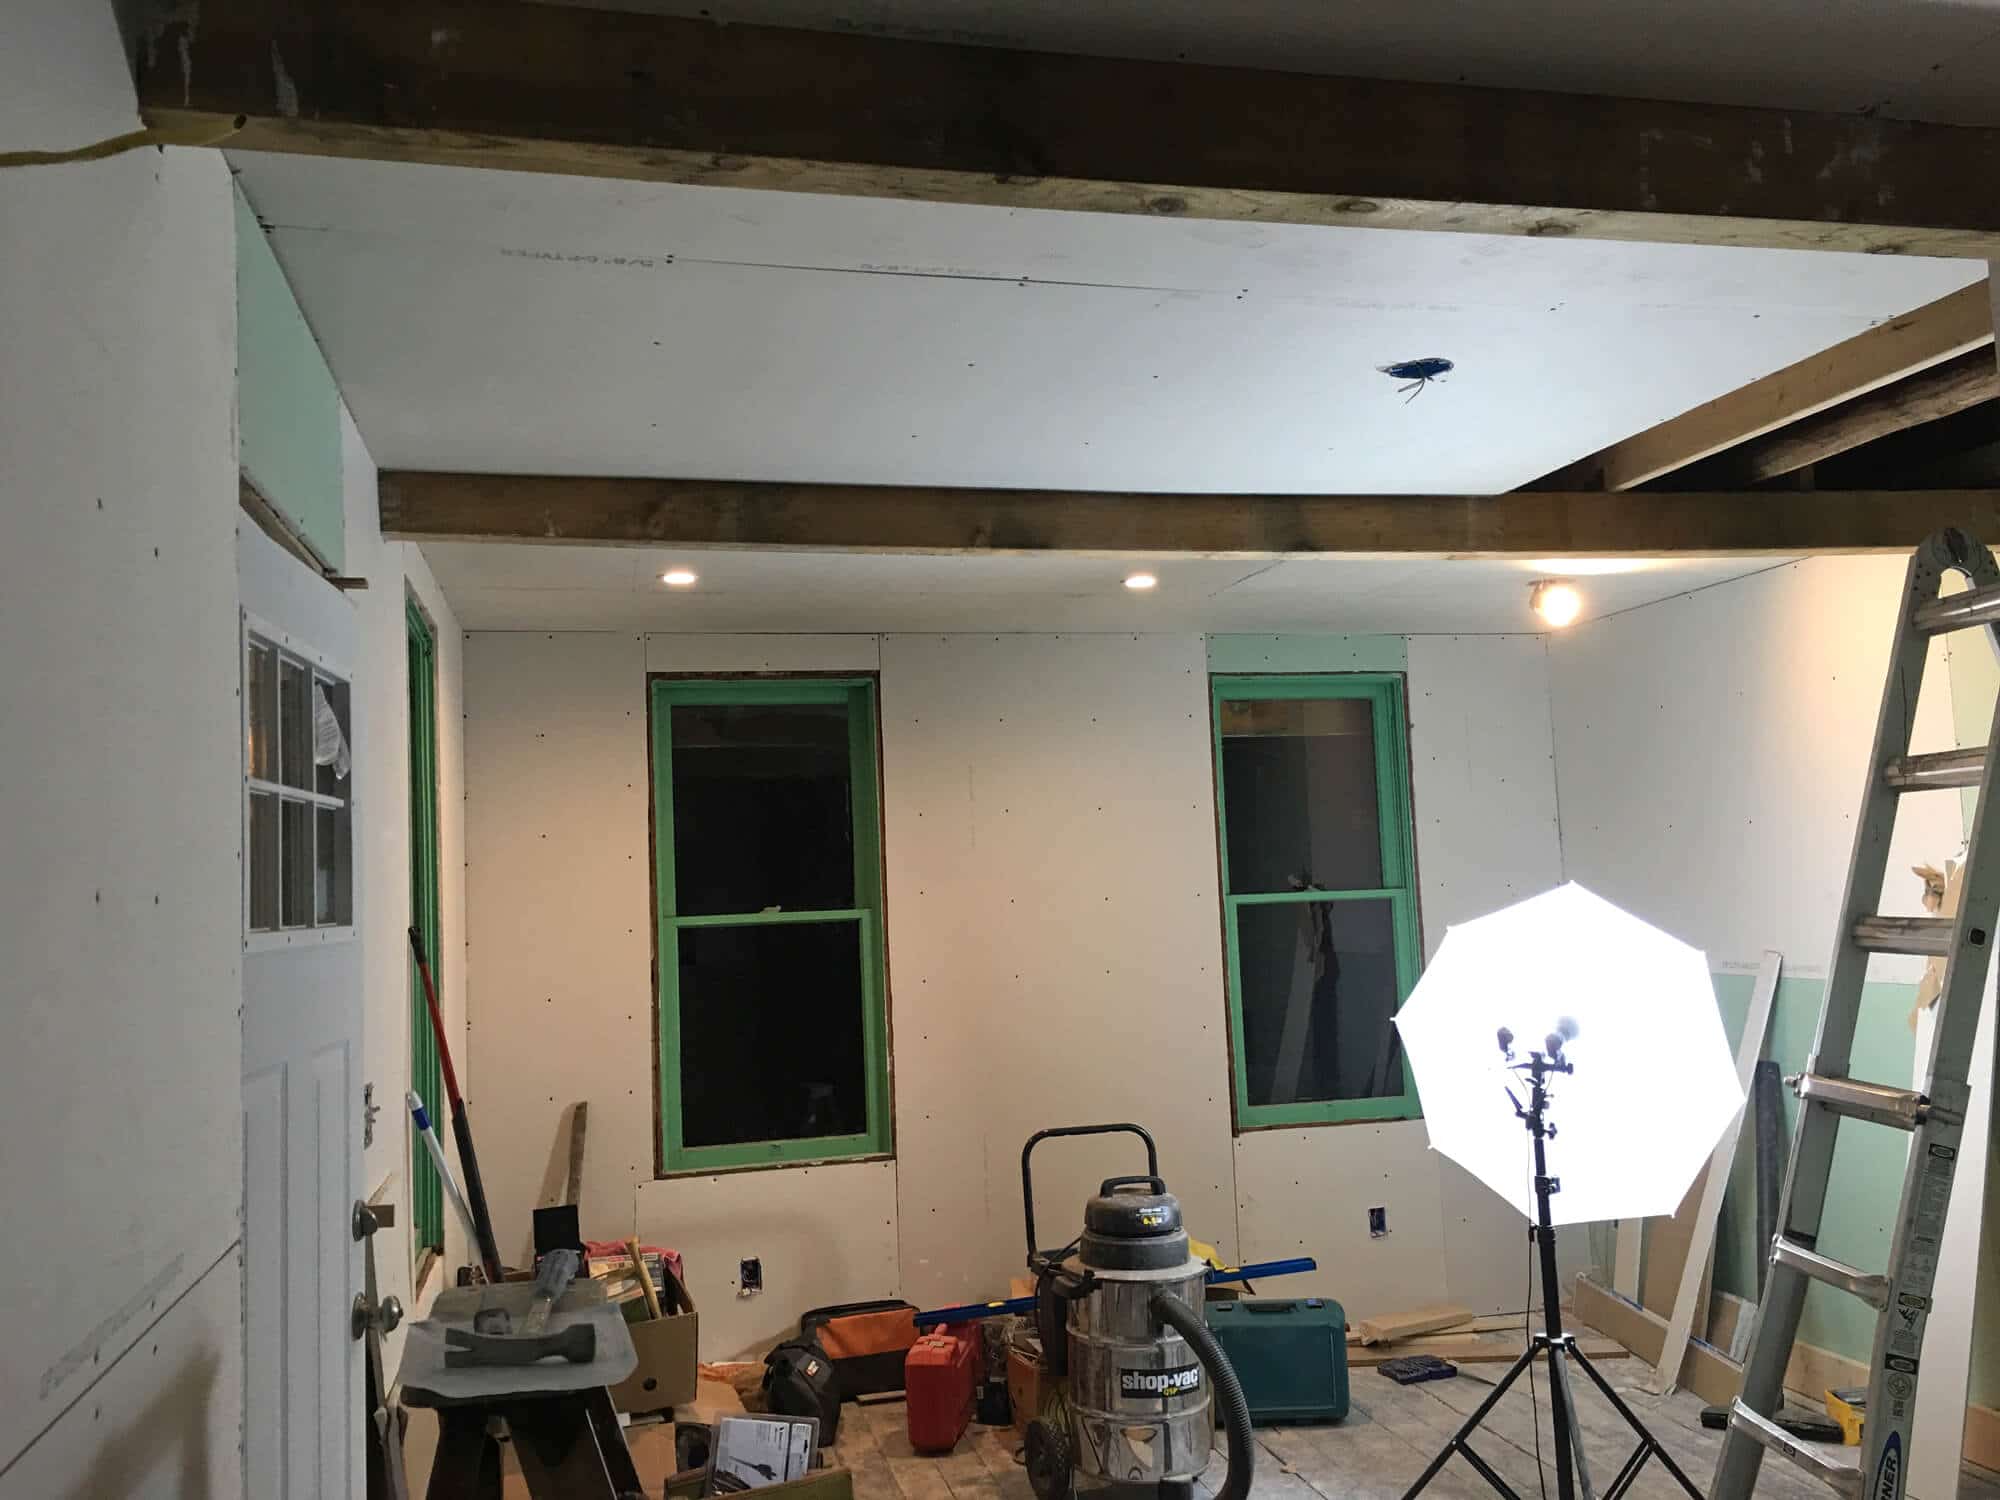
This is where we left off in Part 3:
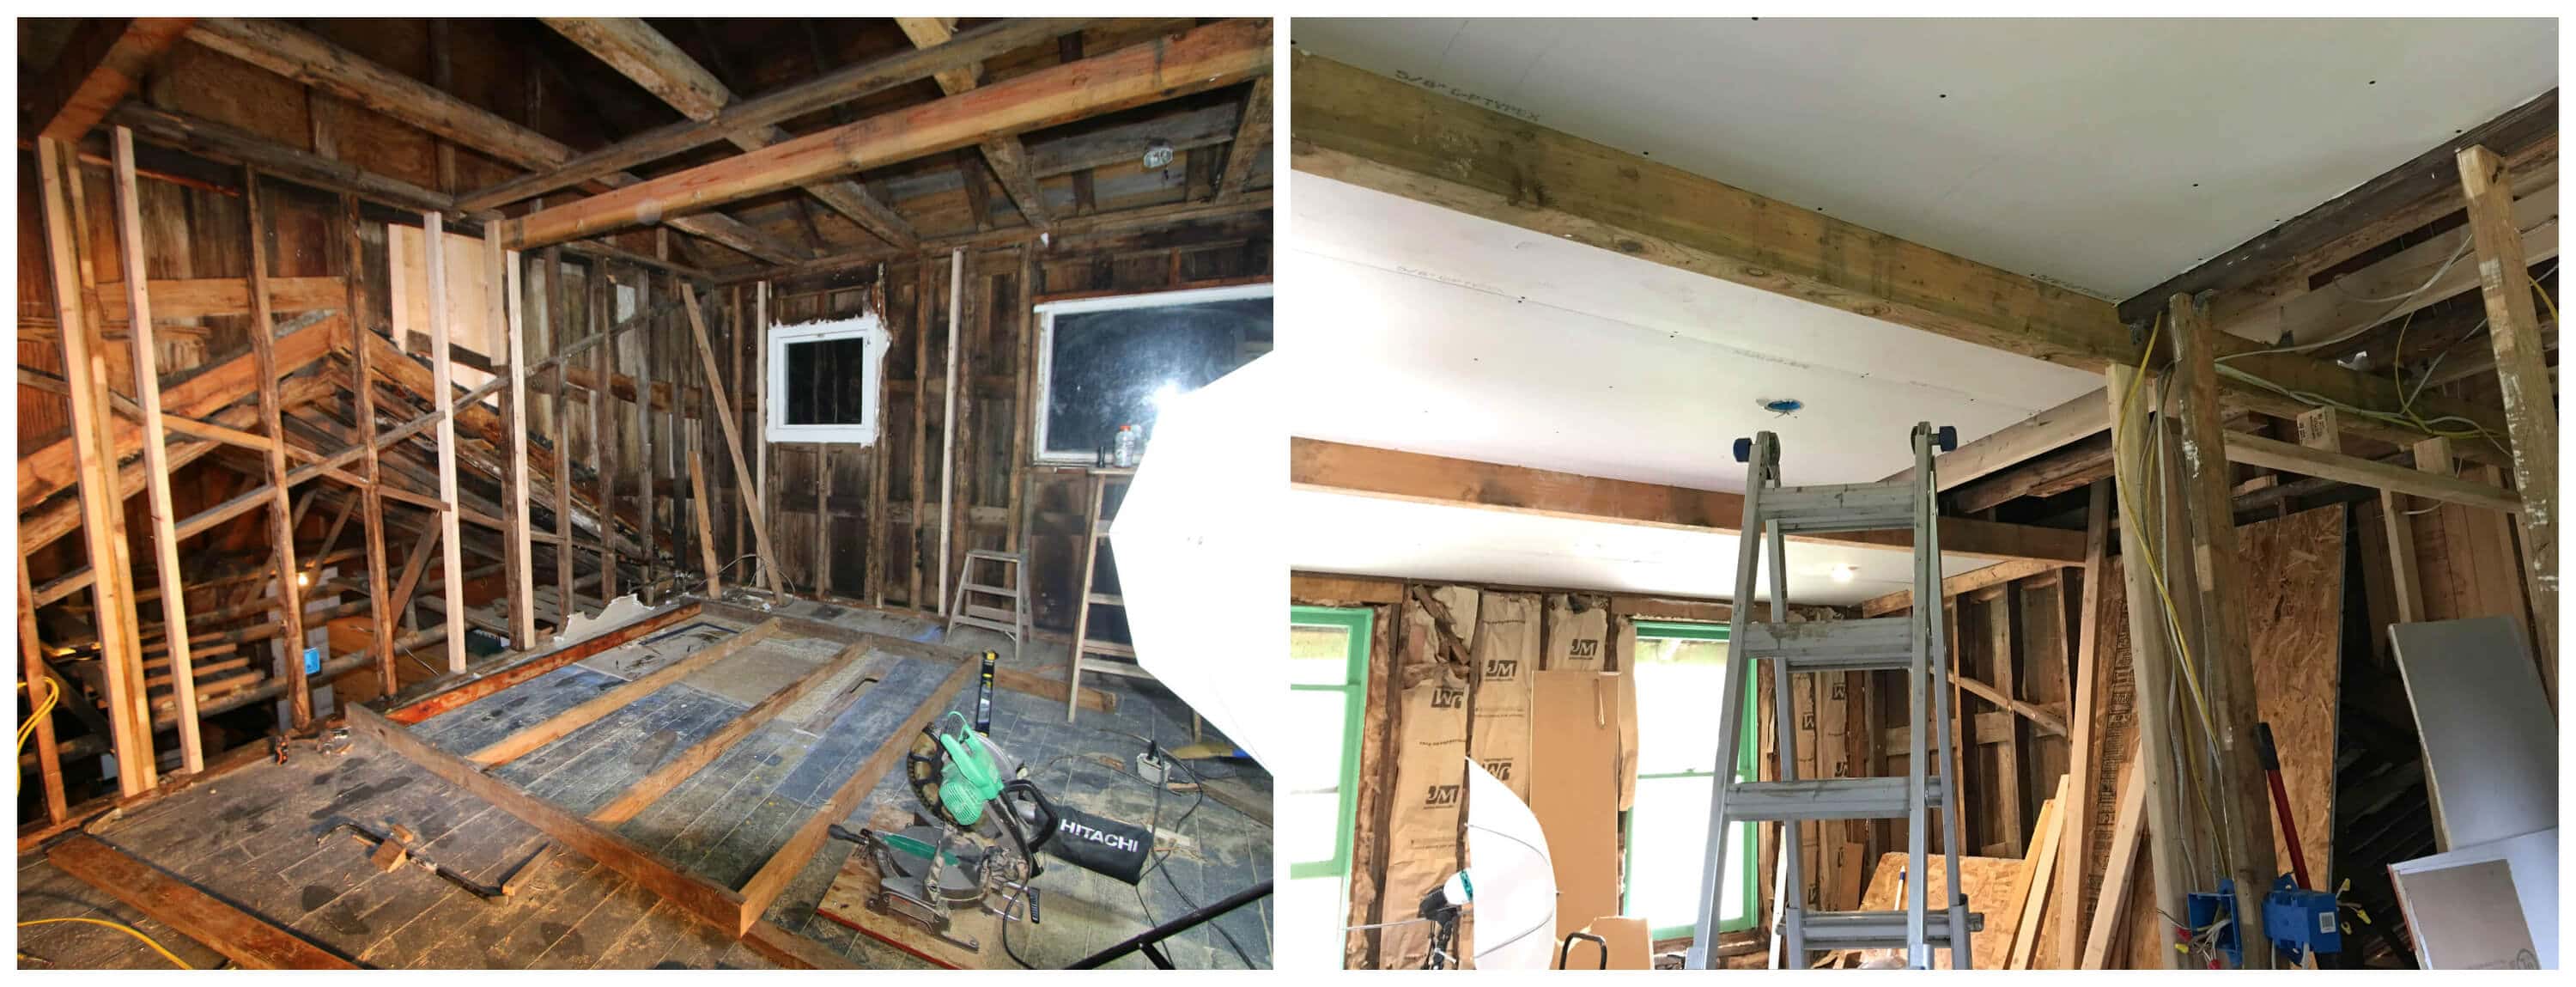

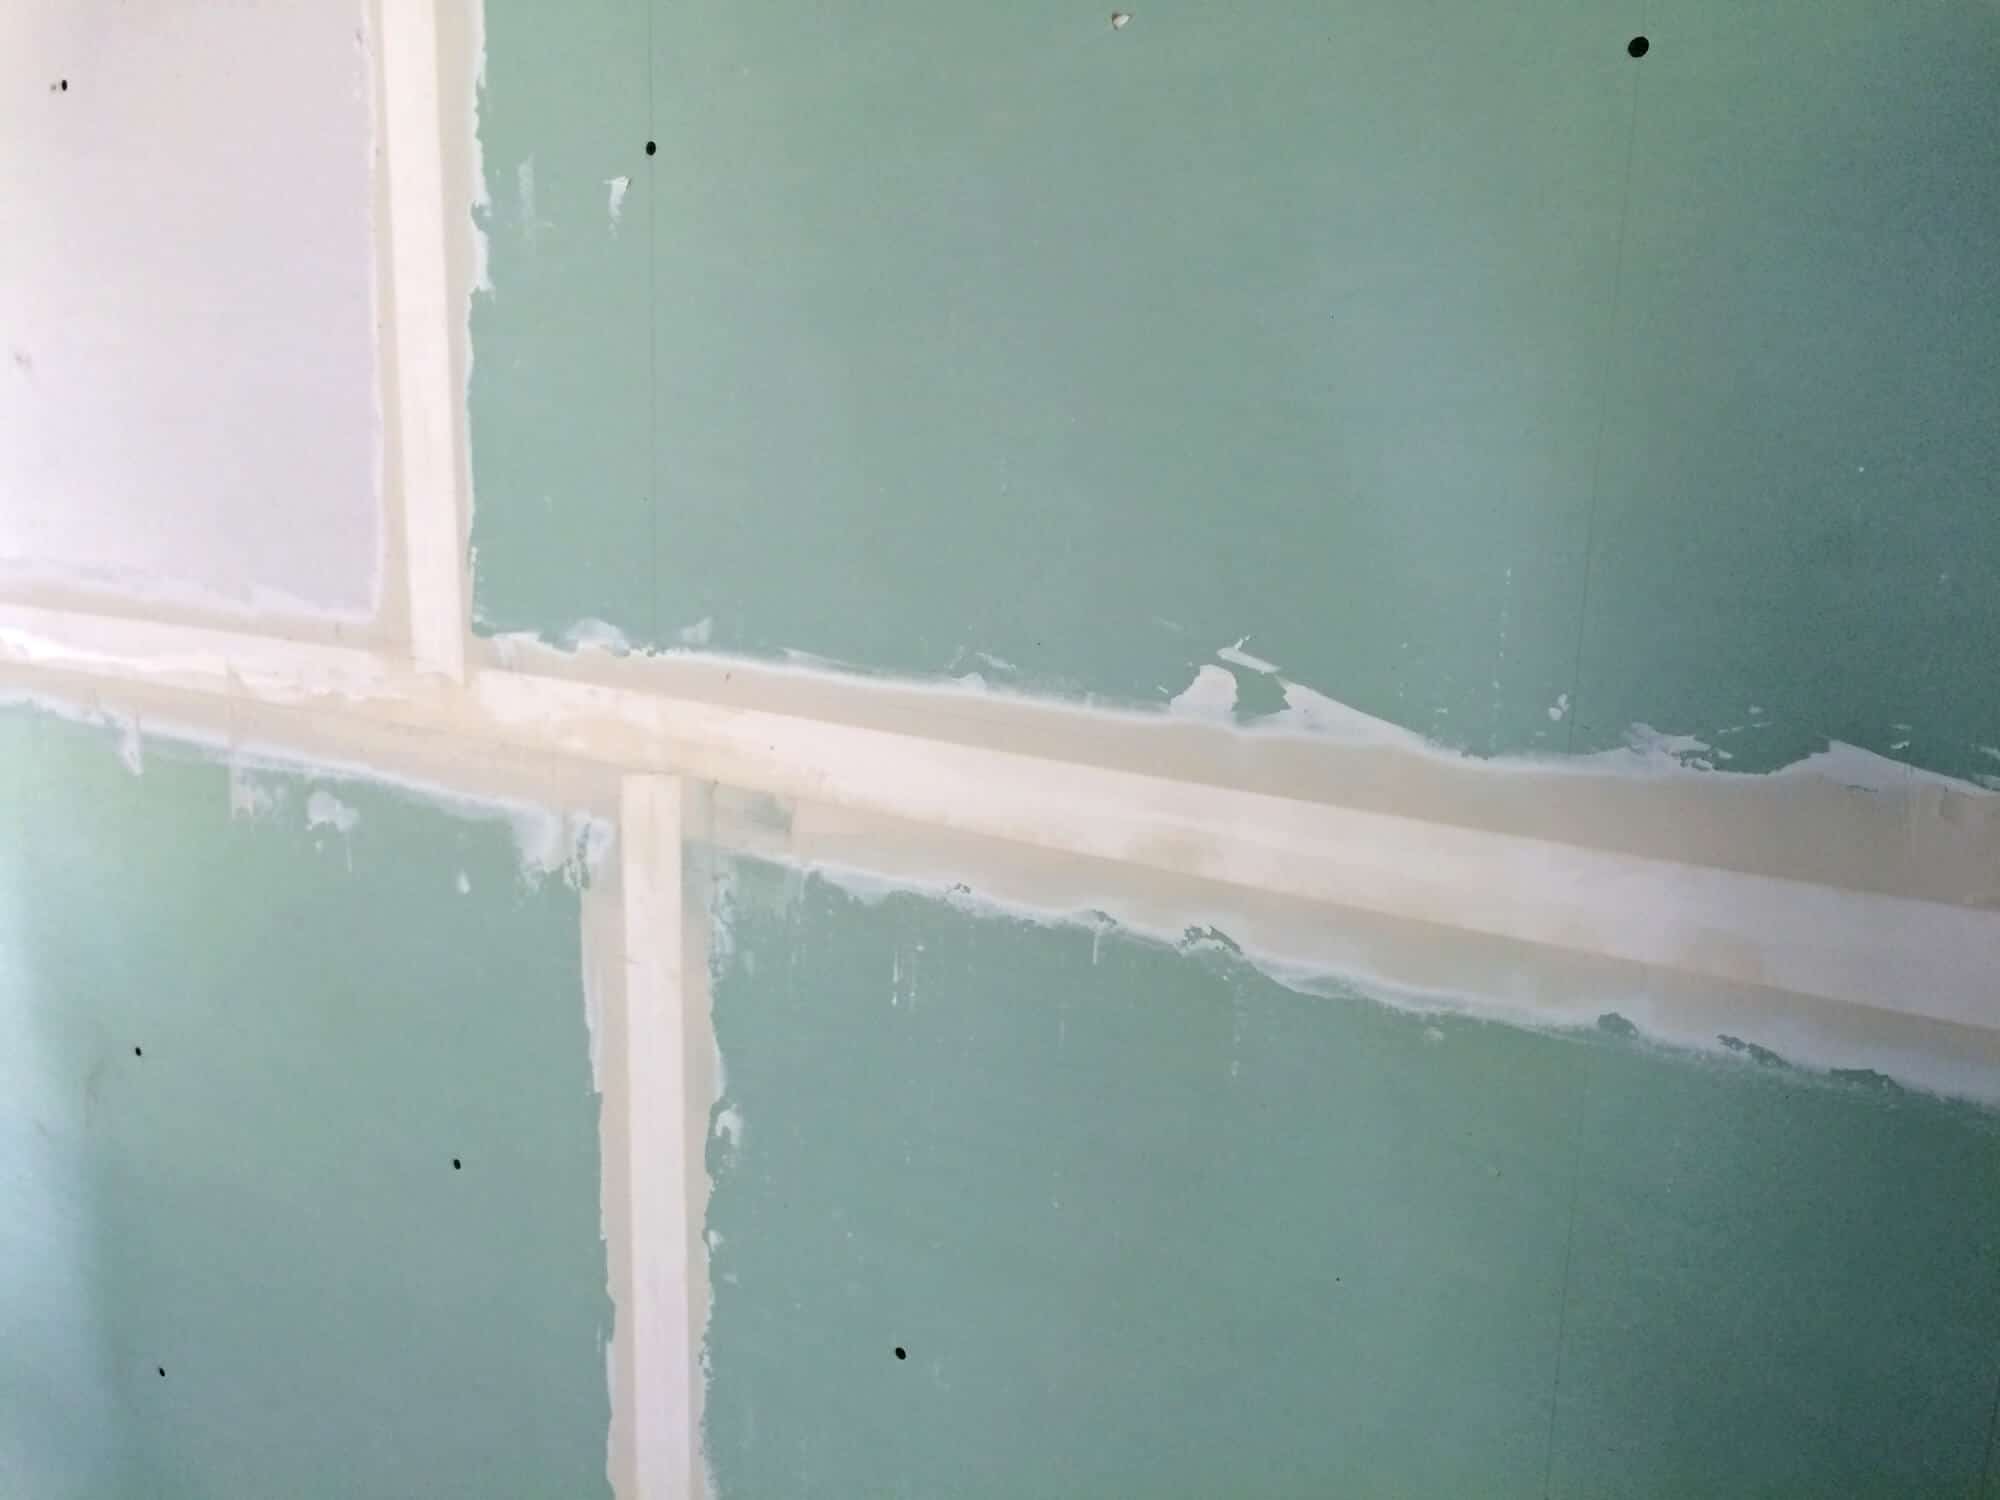
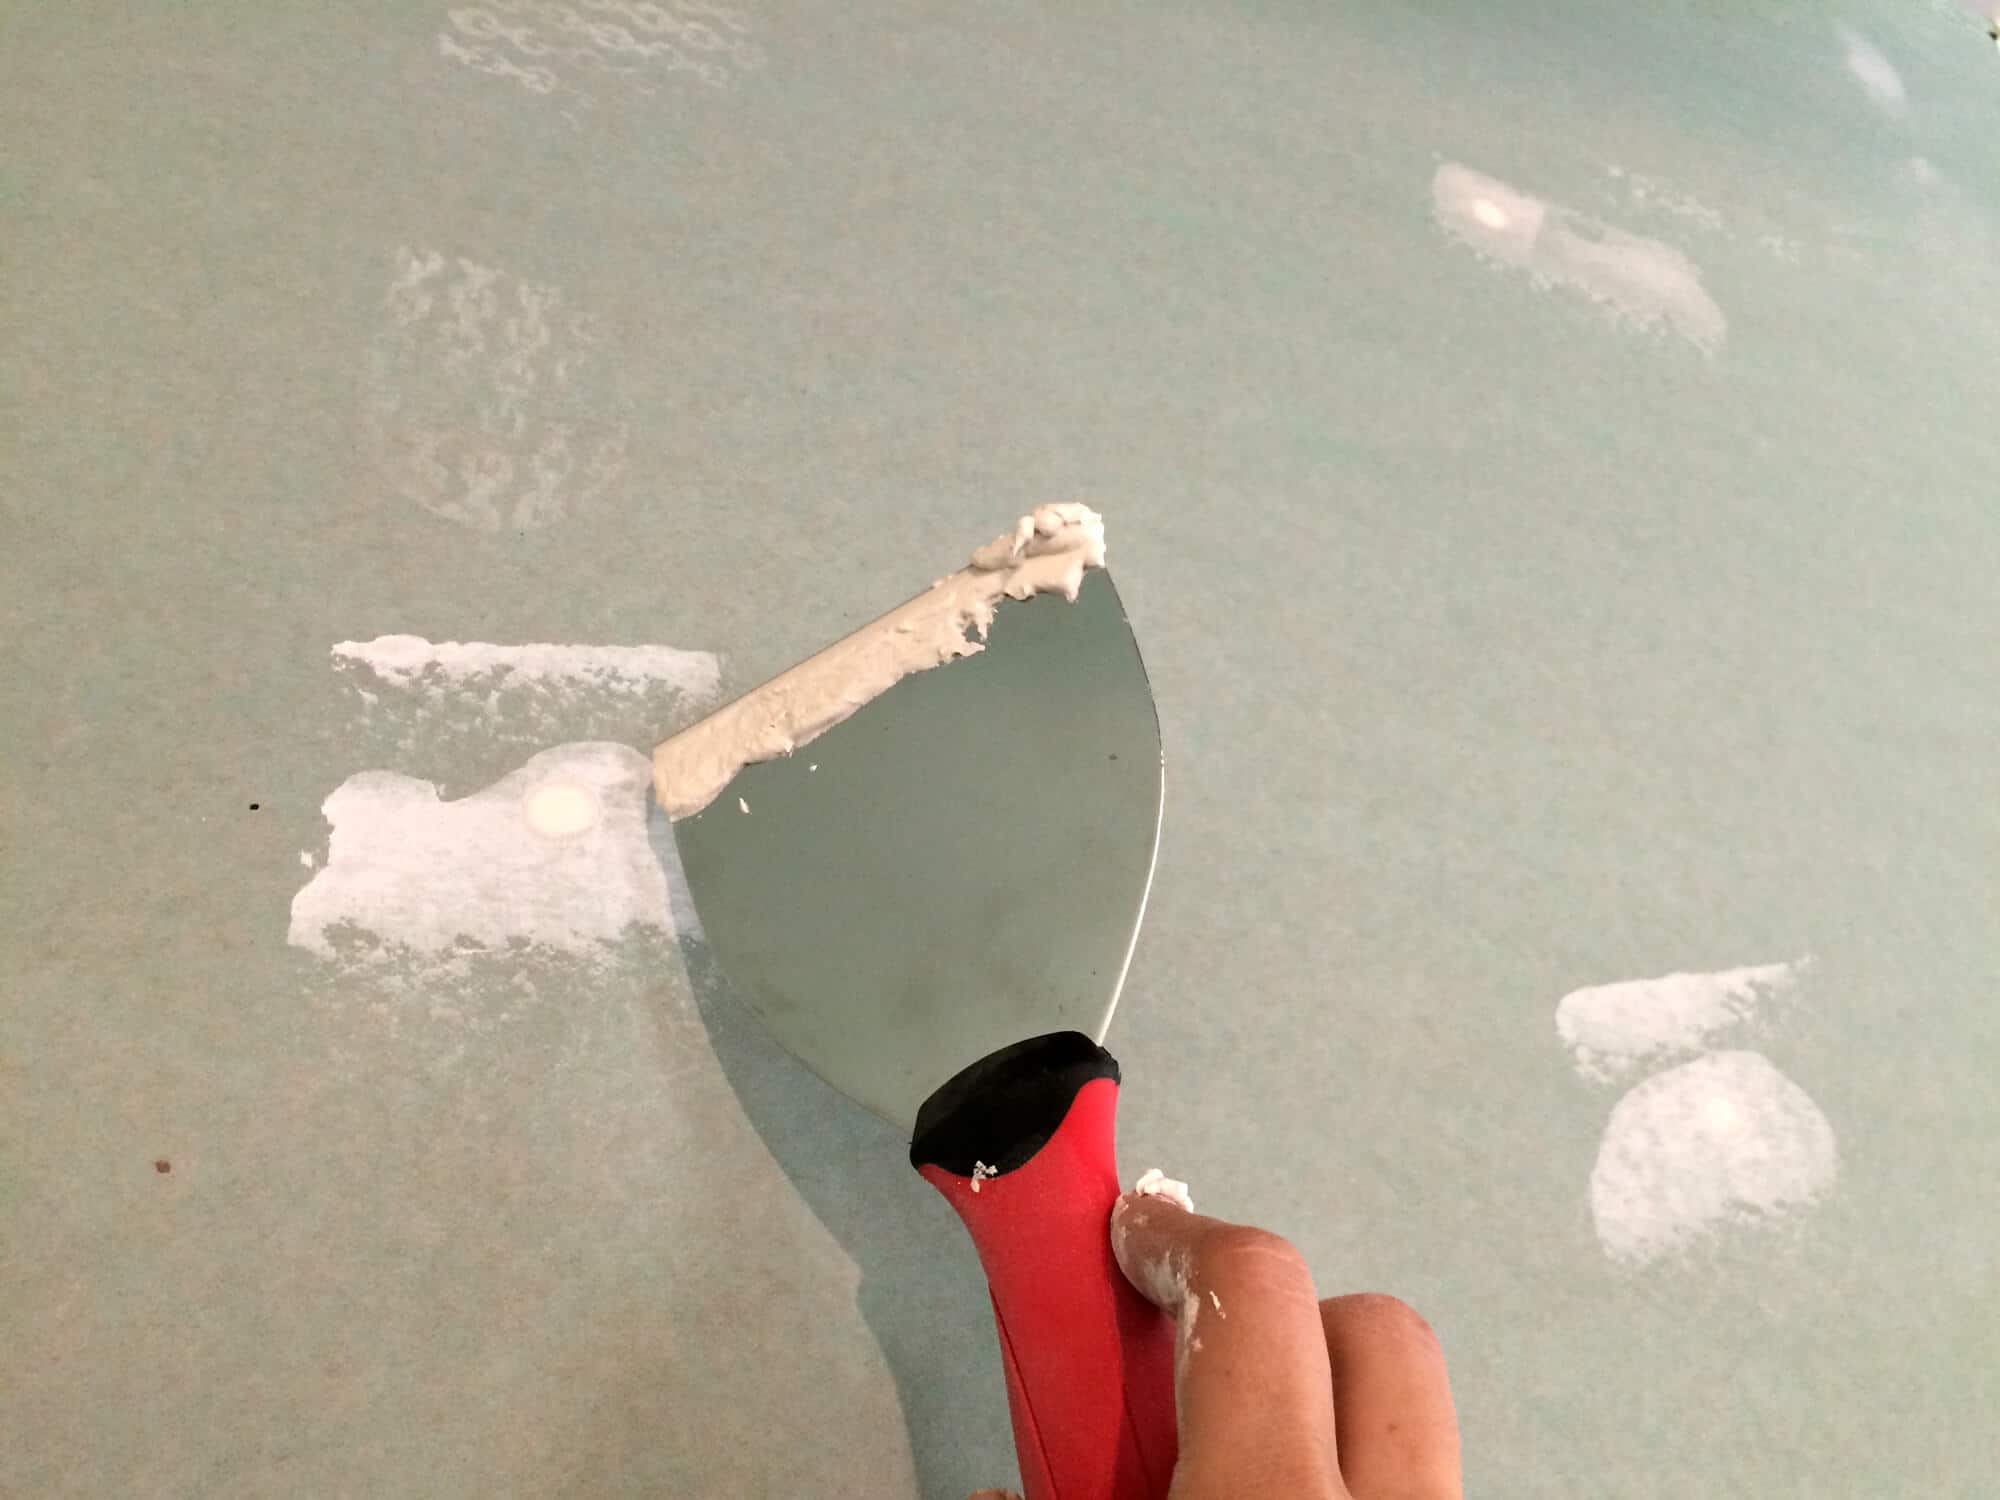
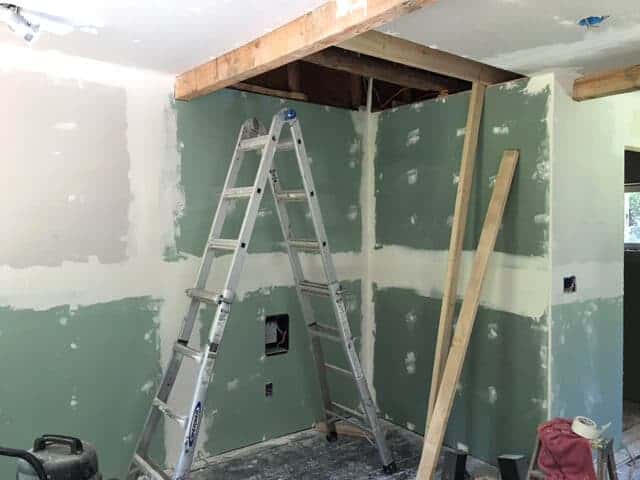
Drywalling was more challenging than we had anticipated because of the total unevenness of the walls and floors. It meant cutting the drywall at diagonal angles and evening out studs in the walls so there weren’t any bows or dips. But we did it!
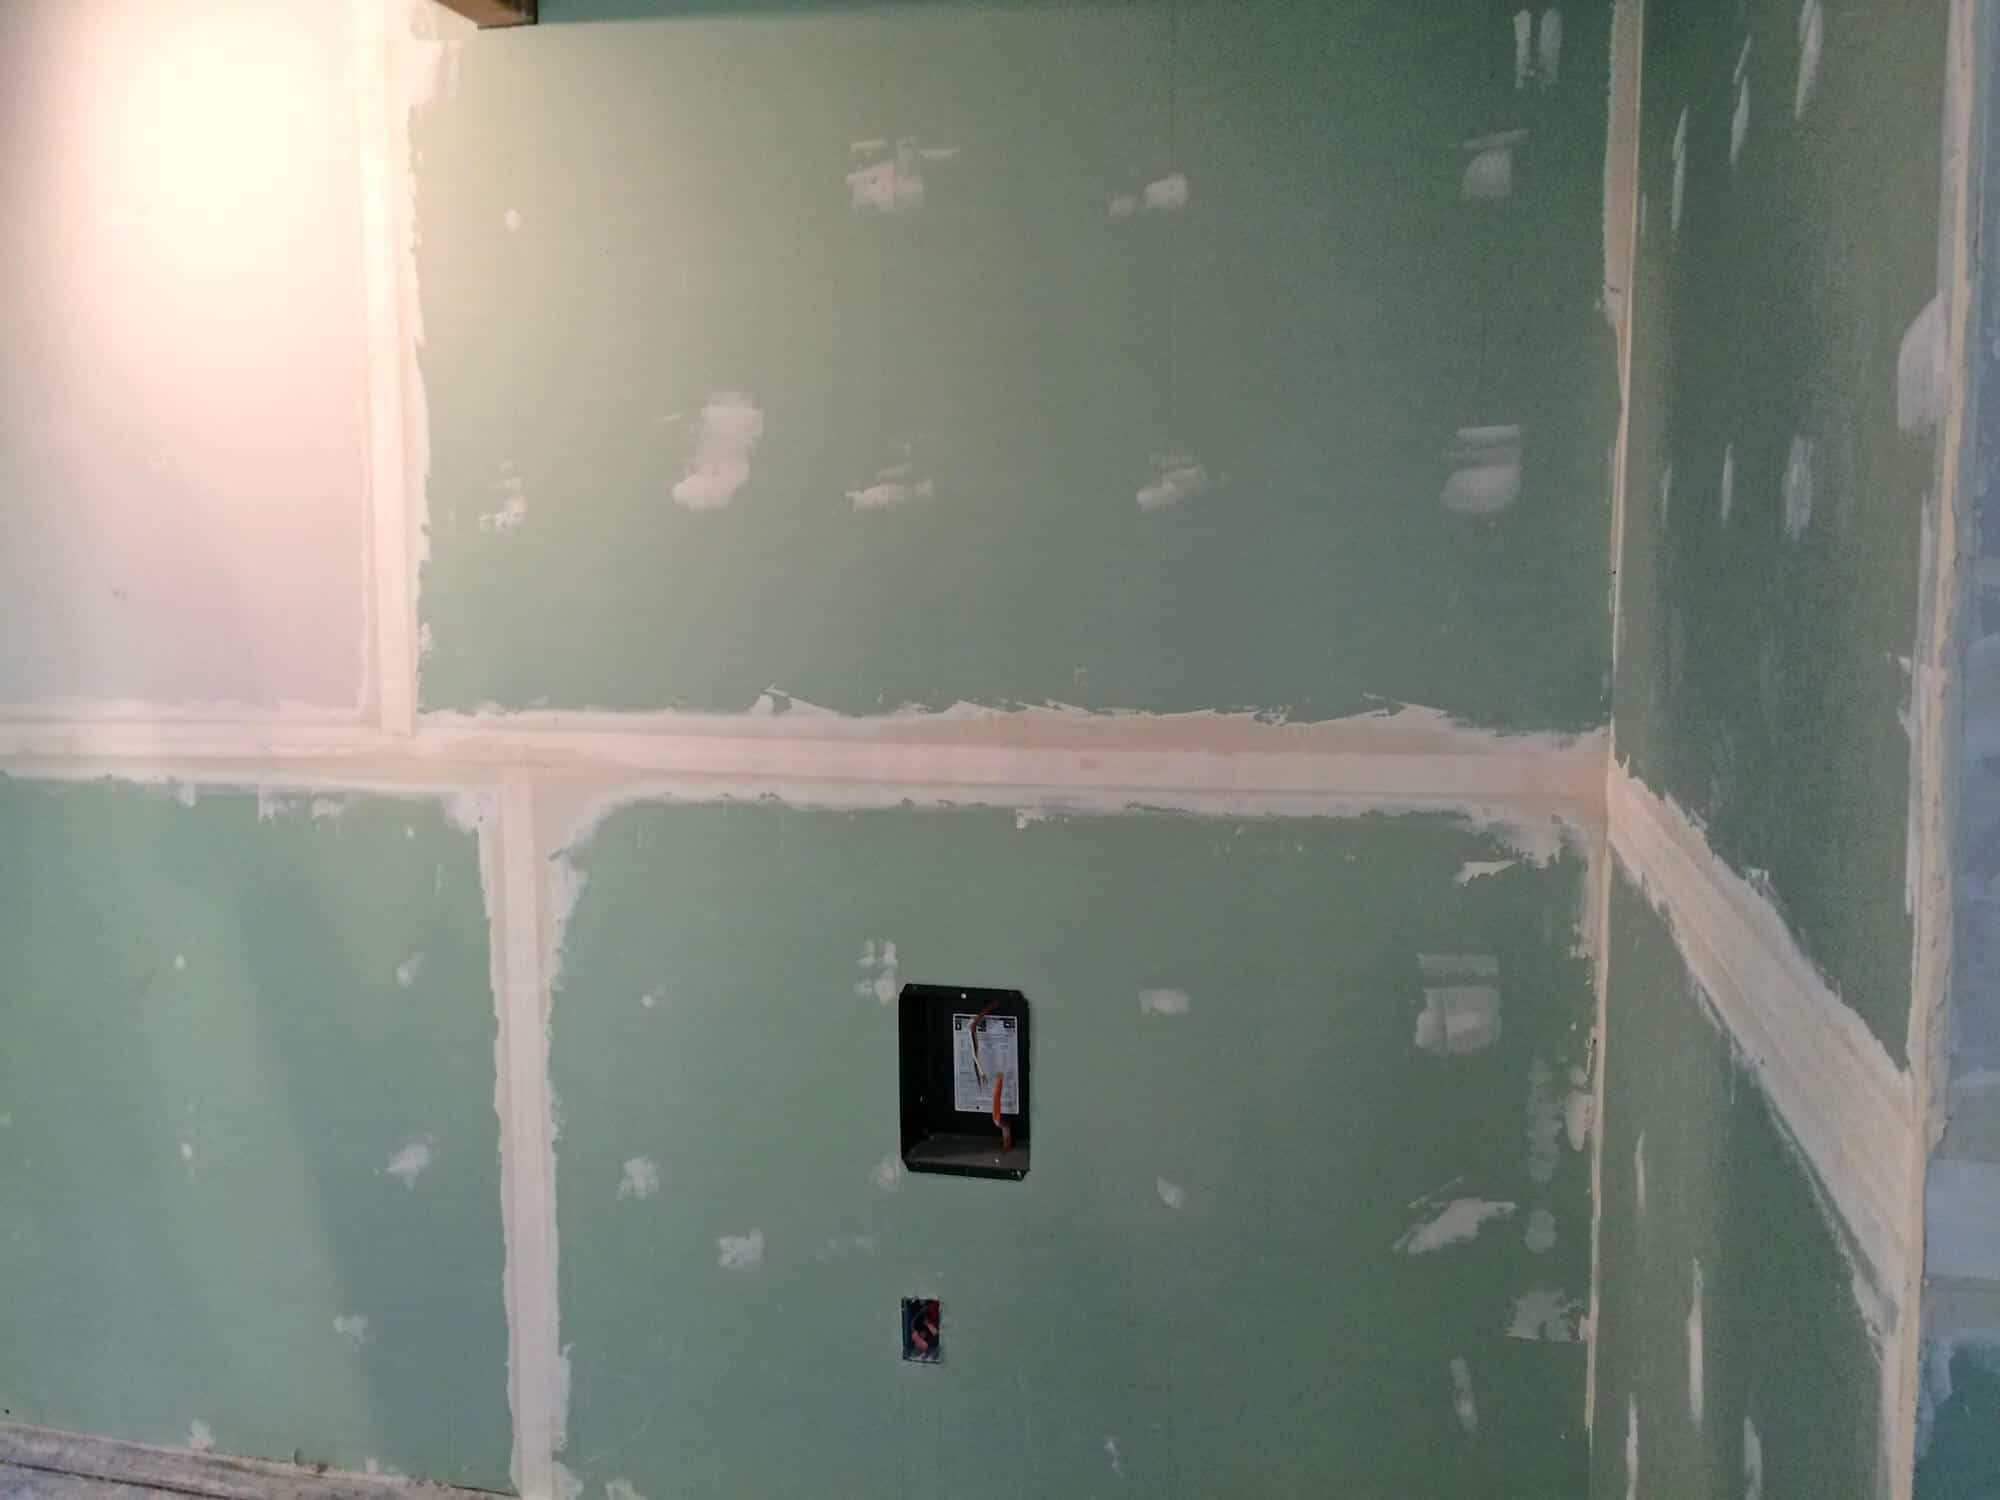
Why the patches of green drywall in random places? My husband’s color blind ;) When he went to pick up the drywall he didn’t notice that some of the pieces were green.
The green drywall is supposed to be better for high moisture areas but from what we’ve researched, when the two are compared there there doesn’t actually seem to be a significant difference. Still, with only a marginal price difference, we went ahead and used it in the bathroom and because we had extra we used it in other places as well.
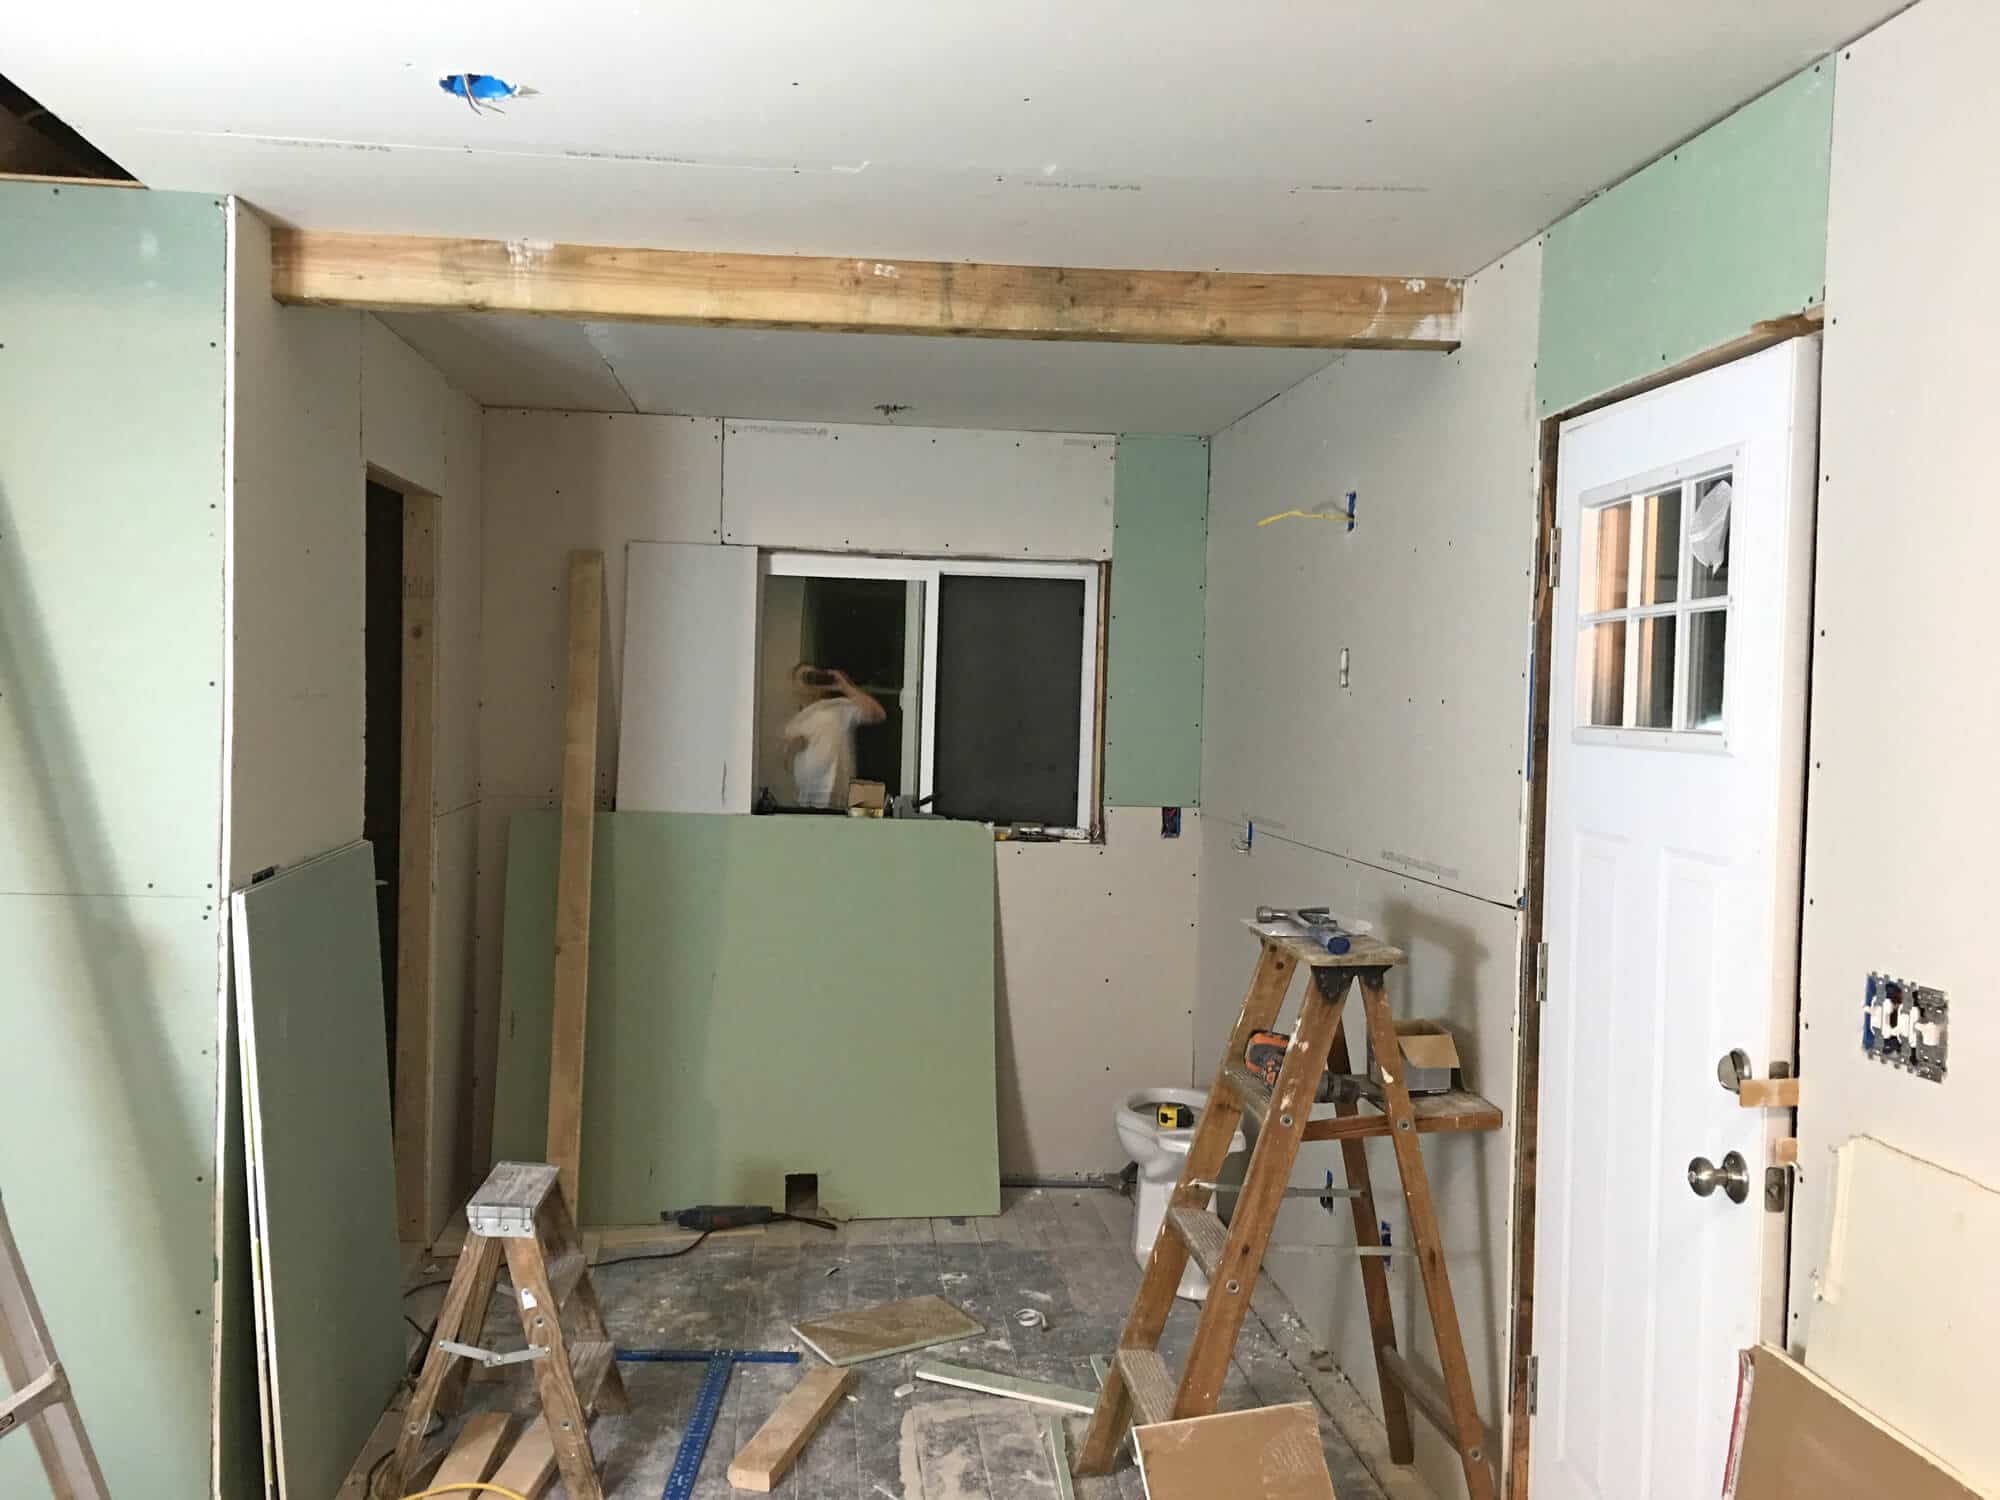
My photography umbrella stand makes another appearance. It’s come in handy as an extra light source throughout this whole project and so I’ve just left it up there.

I told you in our last installment how much we were dreading spackling. I’d like to have been able to report back with, “well, it wasn’t as bad as we thought it would be – in fact, it was kinda fun!” but no such luck. It was every bit as miserable as we had anticipated. And nope, it wasn’t fun. At all.
It’s no wonder many contractors won’t even do spackling. And why those who do charge an arm and a leg for it.

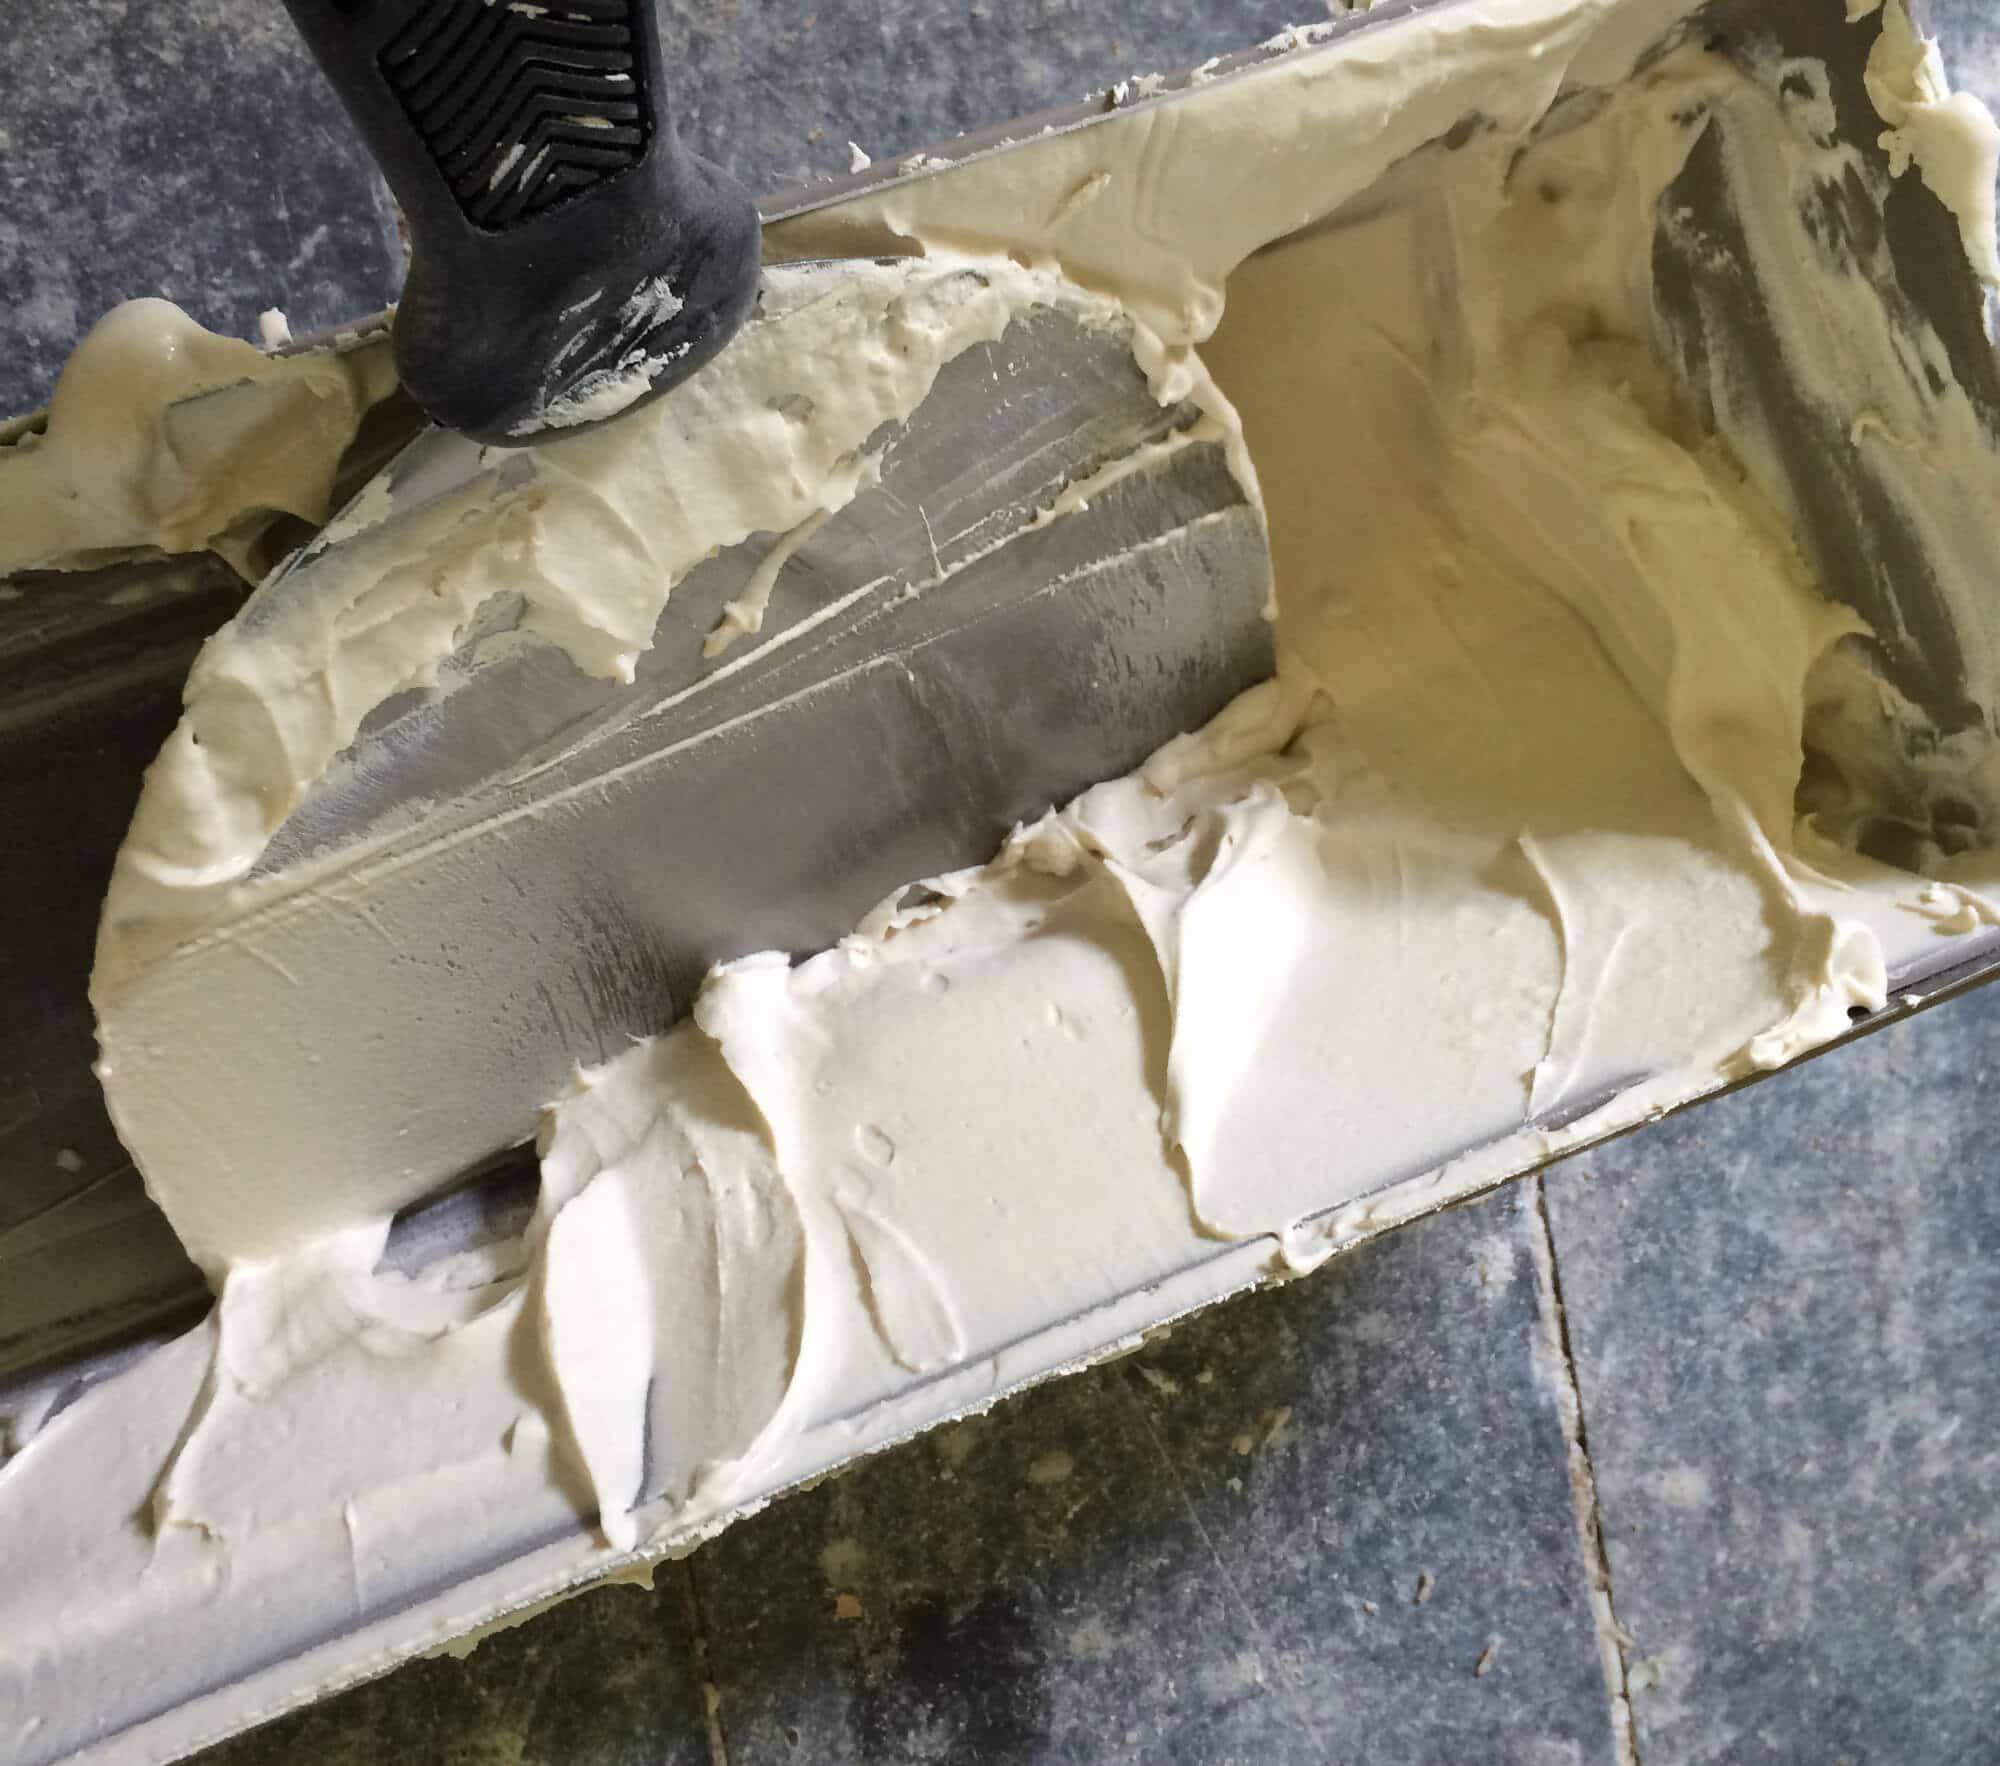
I’ve got to hand it to my brother on this one. While Todd and I were plowing away on the other aspects of the remodel, he tackled the task of researching online how to spackle. And he approached it like an artist: Careful, deliberate, exact.
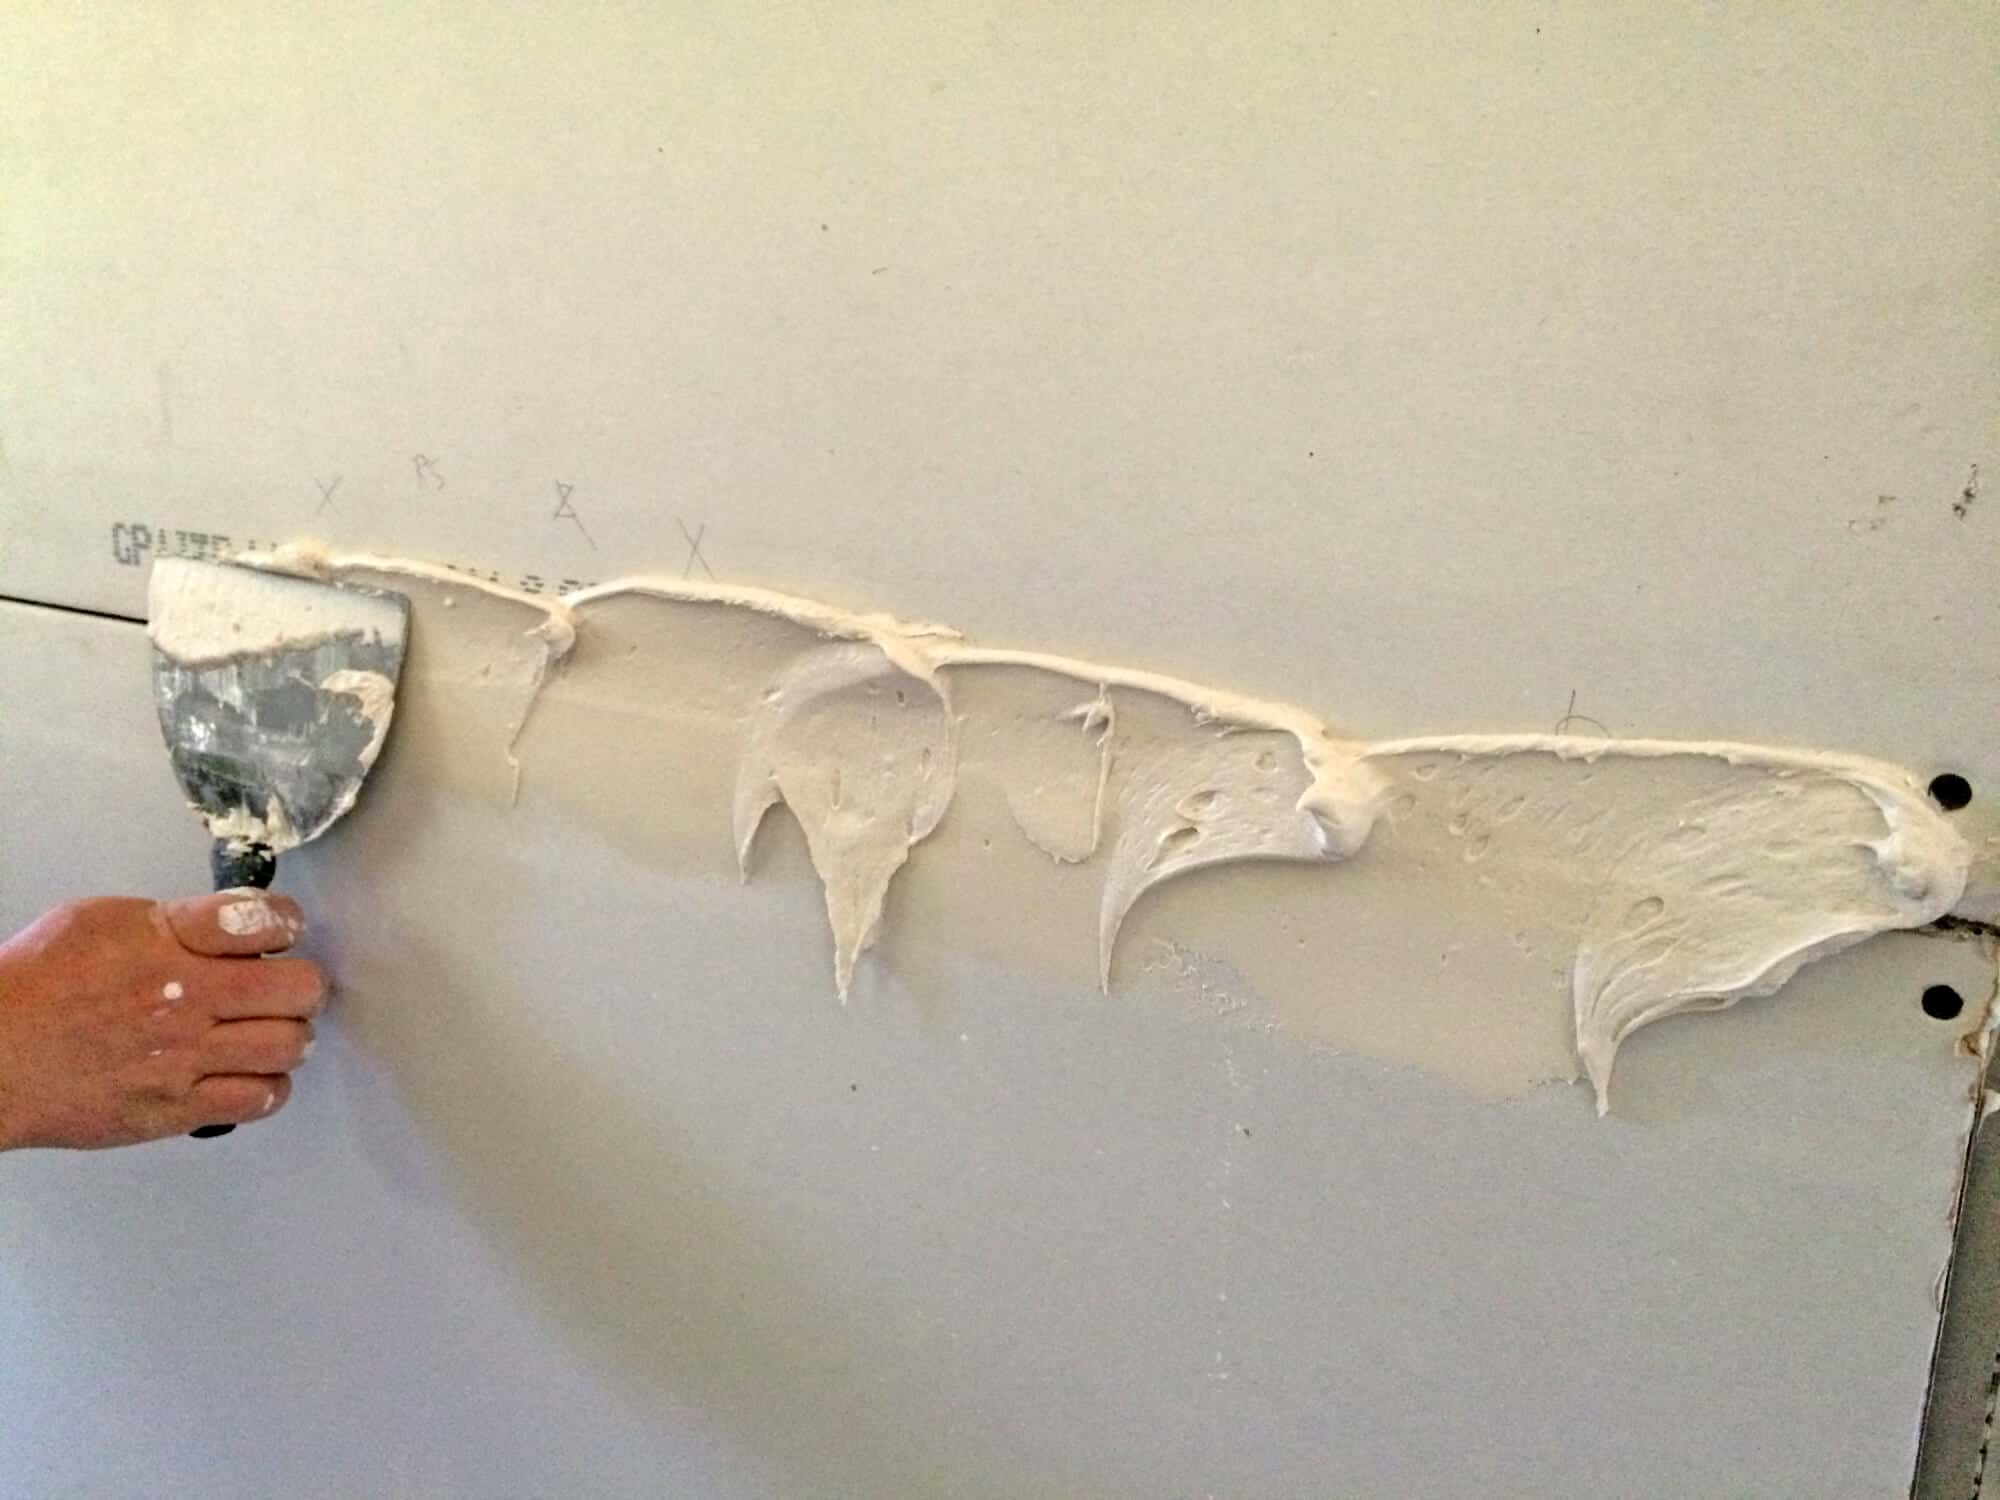
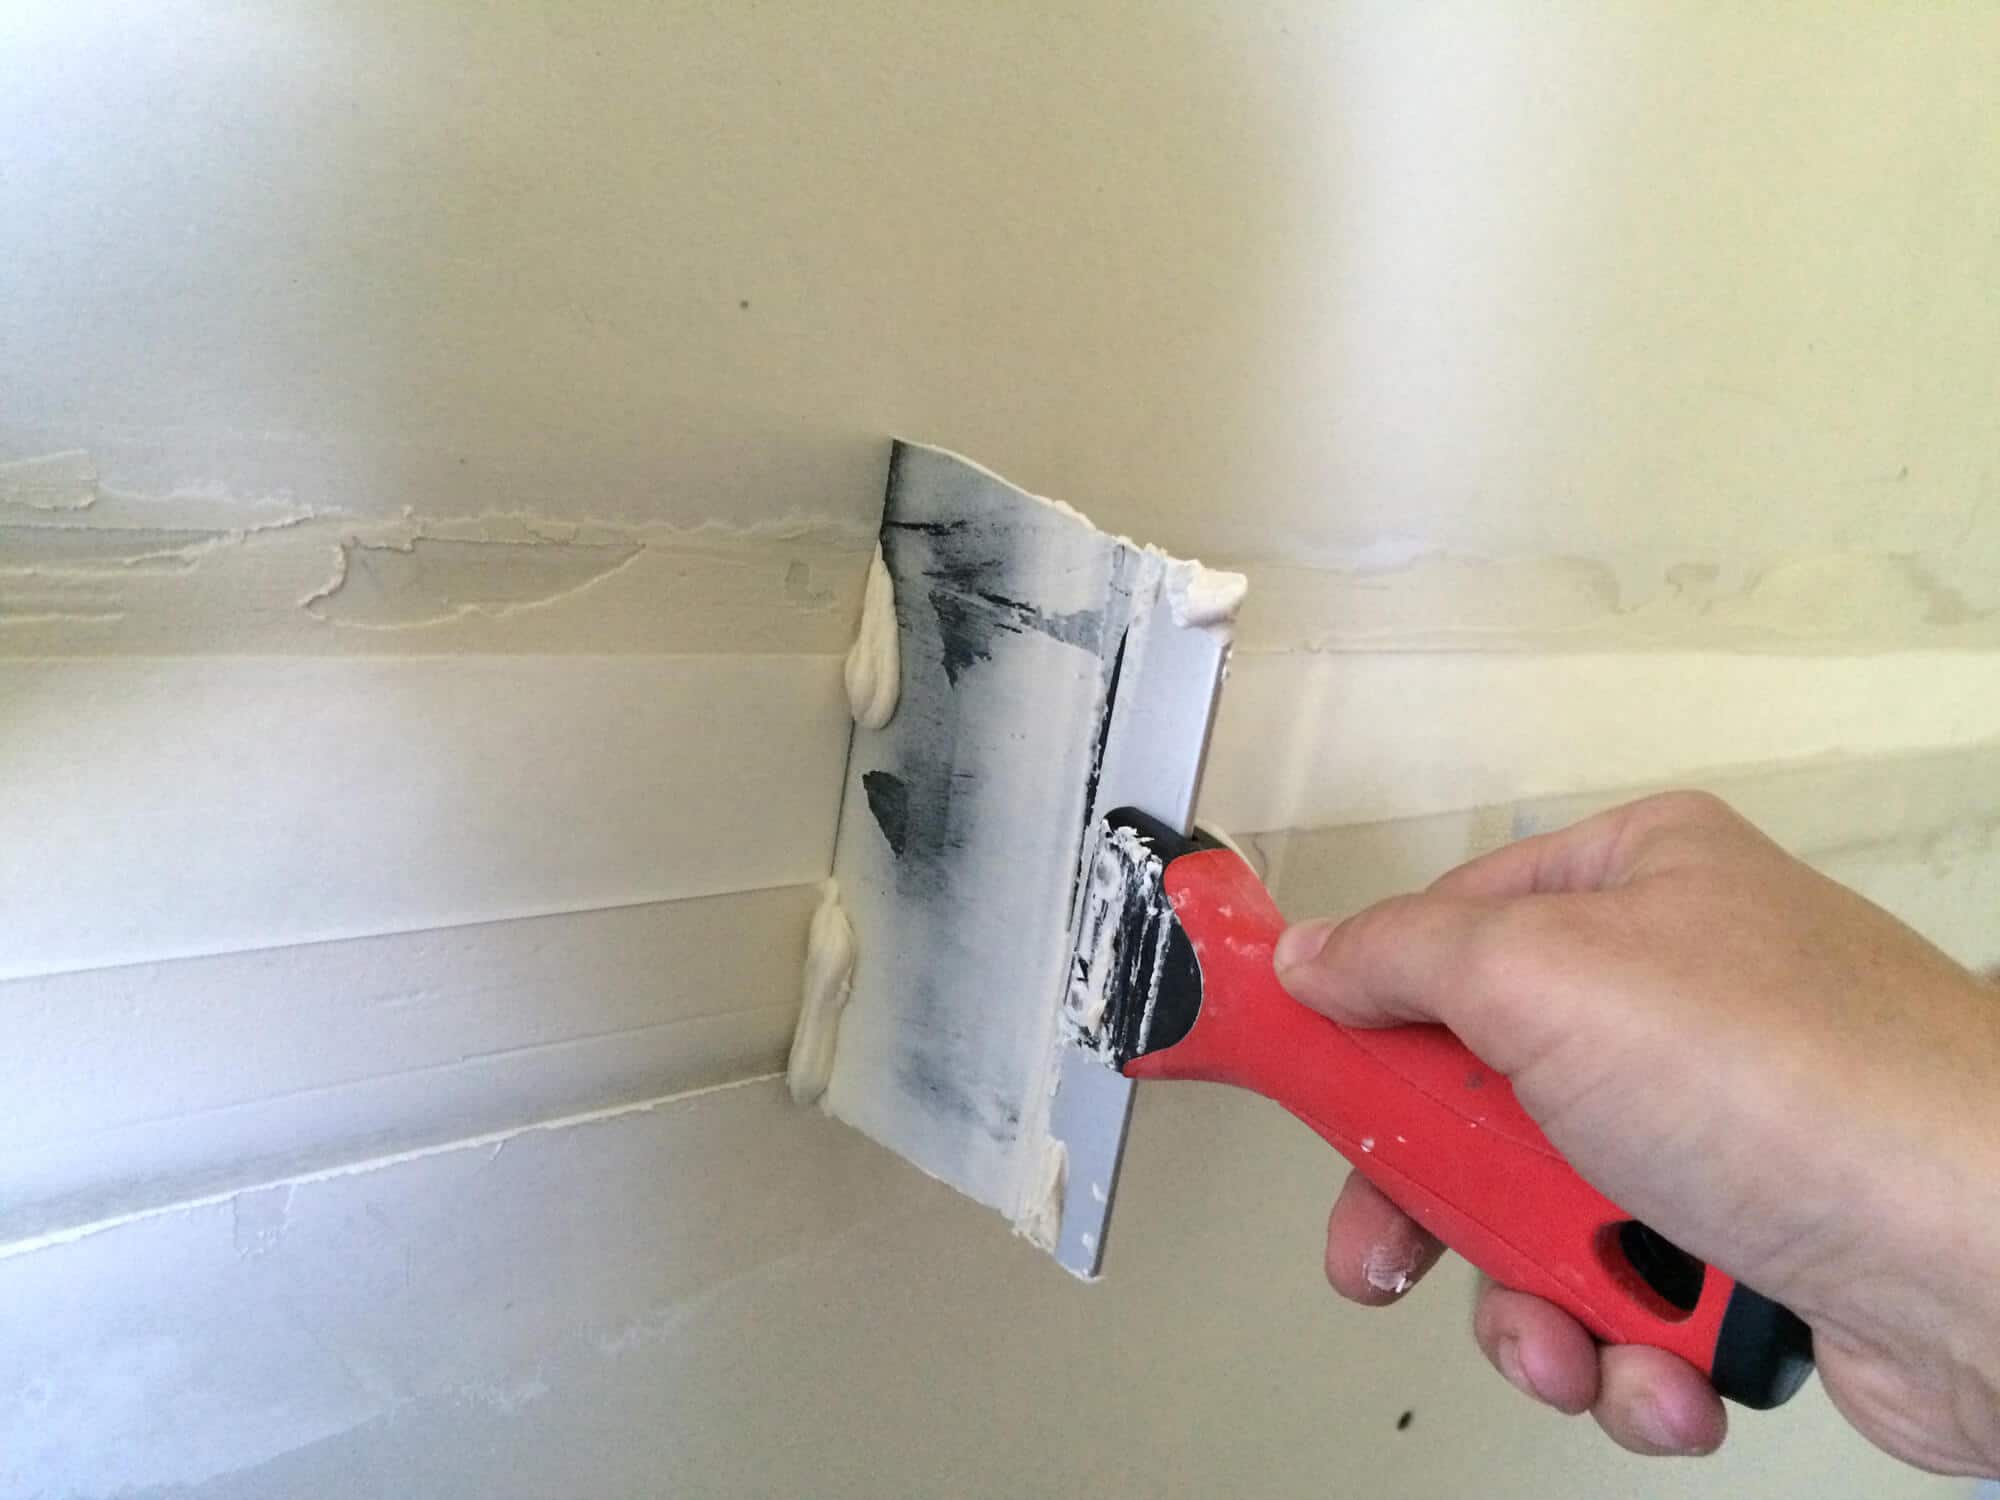
Once he had the technique down he showed me how to do it and we tackled it together. He did most of it though including one of the worst parts of all – sanding in between each coat. Picture standing in a tiny room with clouds and clouds of plaster dust thick in air. He went through several face masks!
We just have to hope there isn’t the equivalent of black lung in the world of drywalling!
The purpose of spackling is to make the walls completely smooth – not a line, crevice, dip, bump or hole can be present otherwise when you apply the paint all the imperfections will be visible.
And that’s precisely the reason why even most experts will use a texturing gun to spray over the spackle. It creates a rough texture on the wall under the paint so that any imperfections aren’t as noticeable.
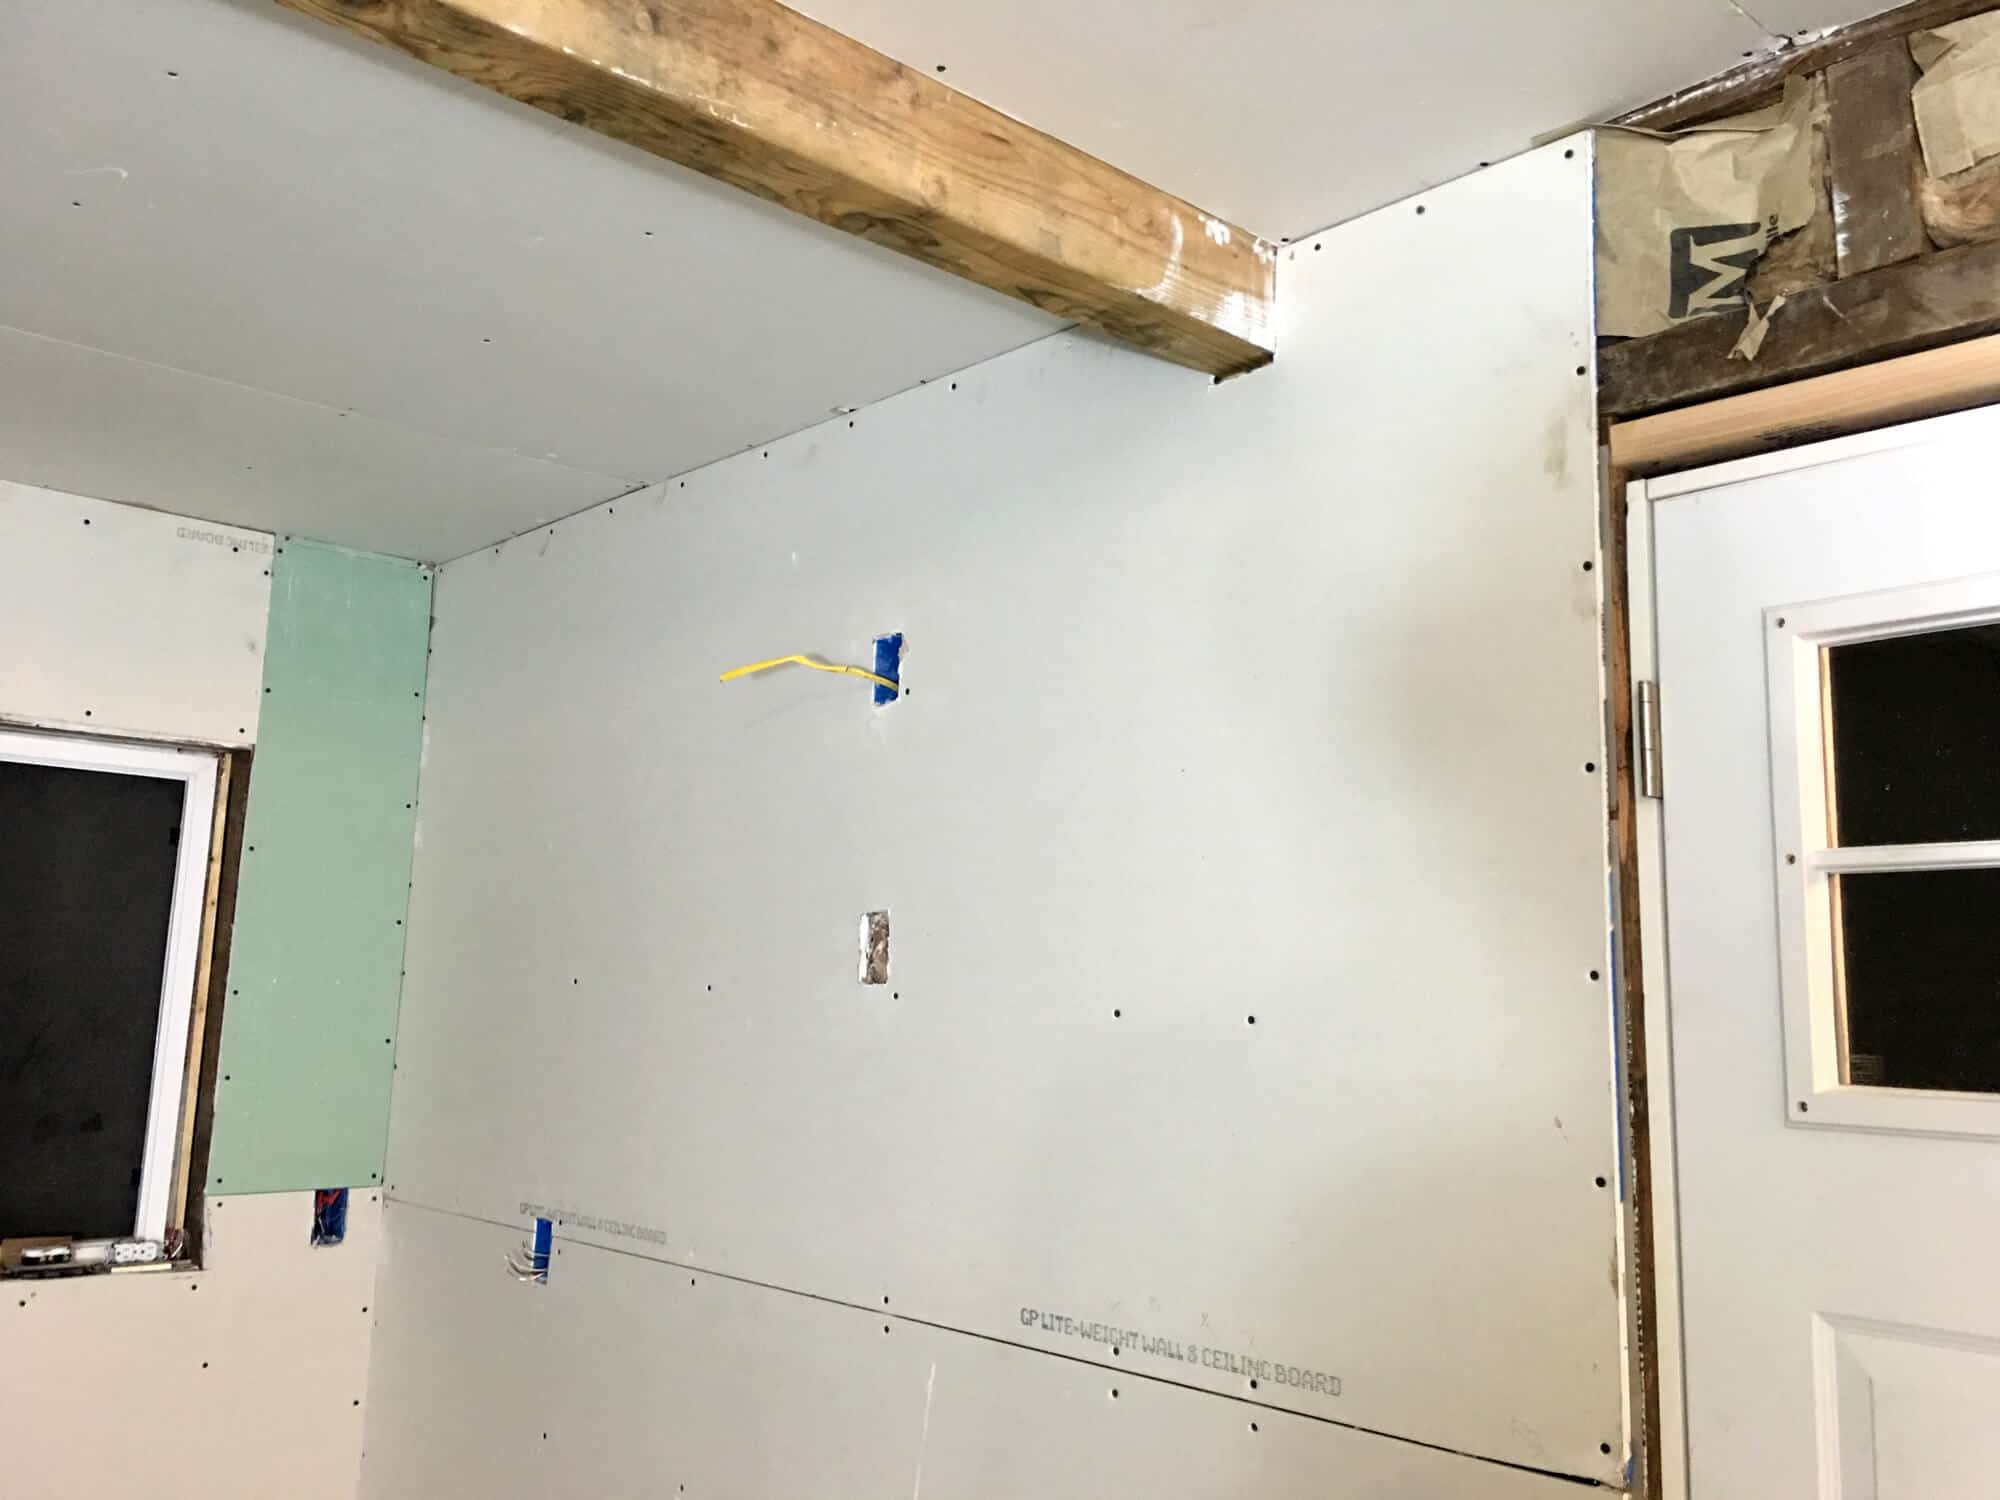
By the time we were done applying three coats of spackle and sanding everything down, the walls were perfect. More on that in just a moment.

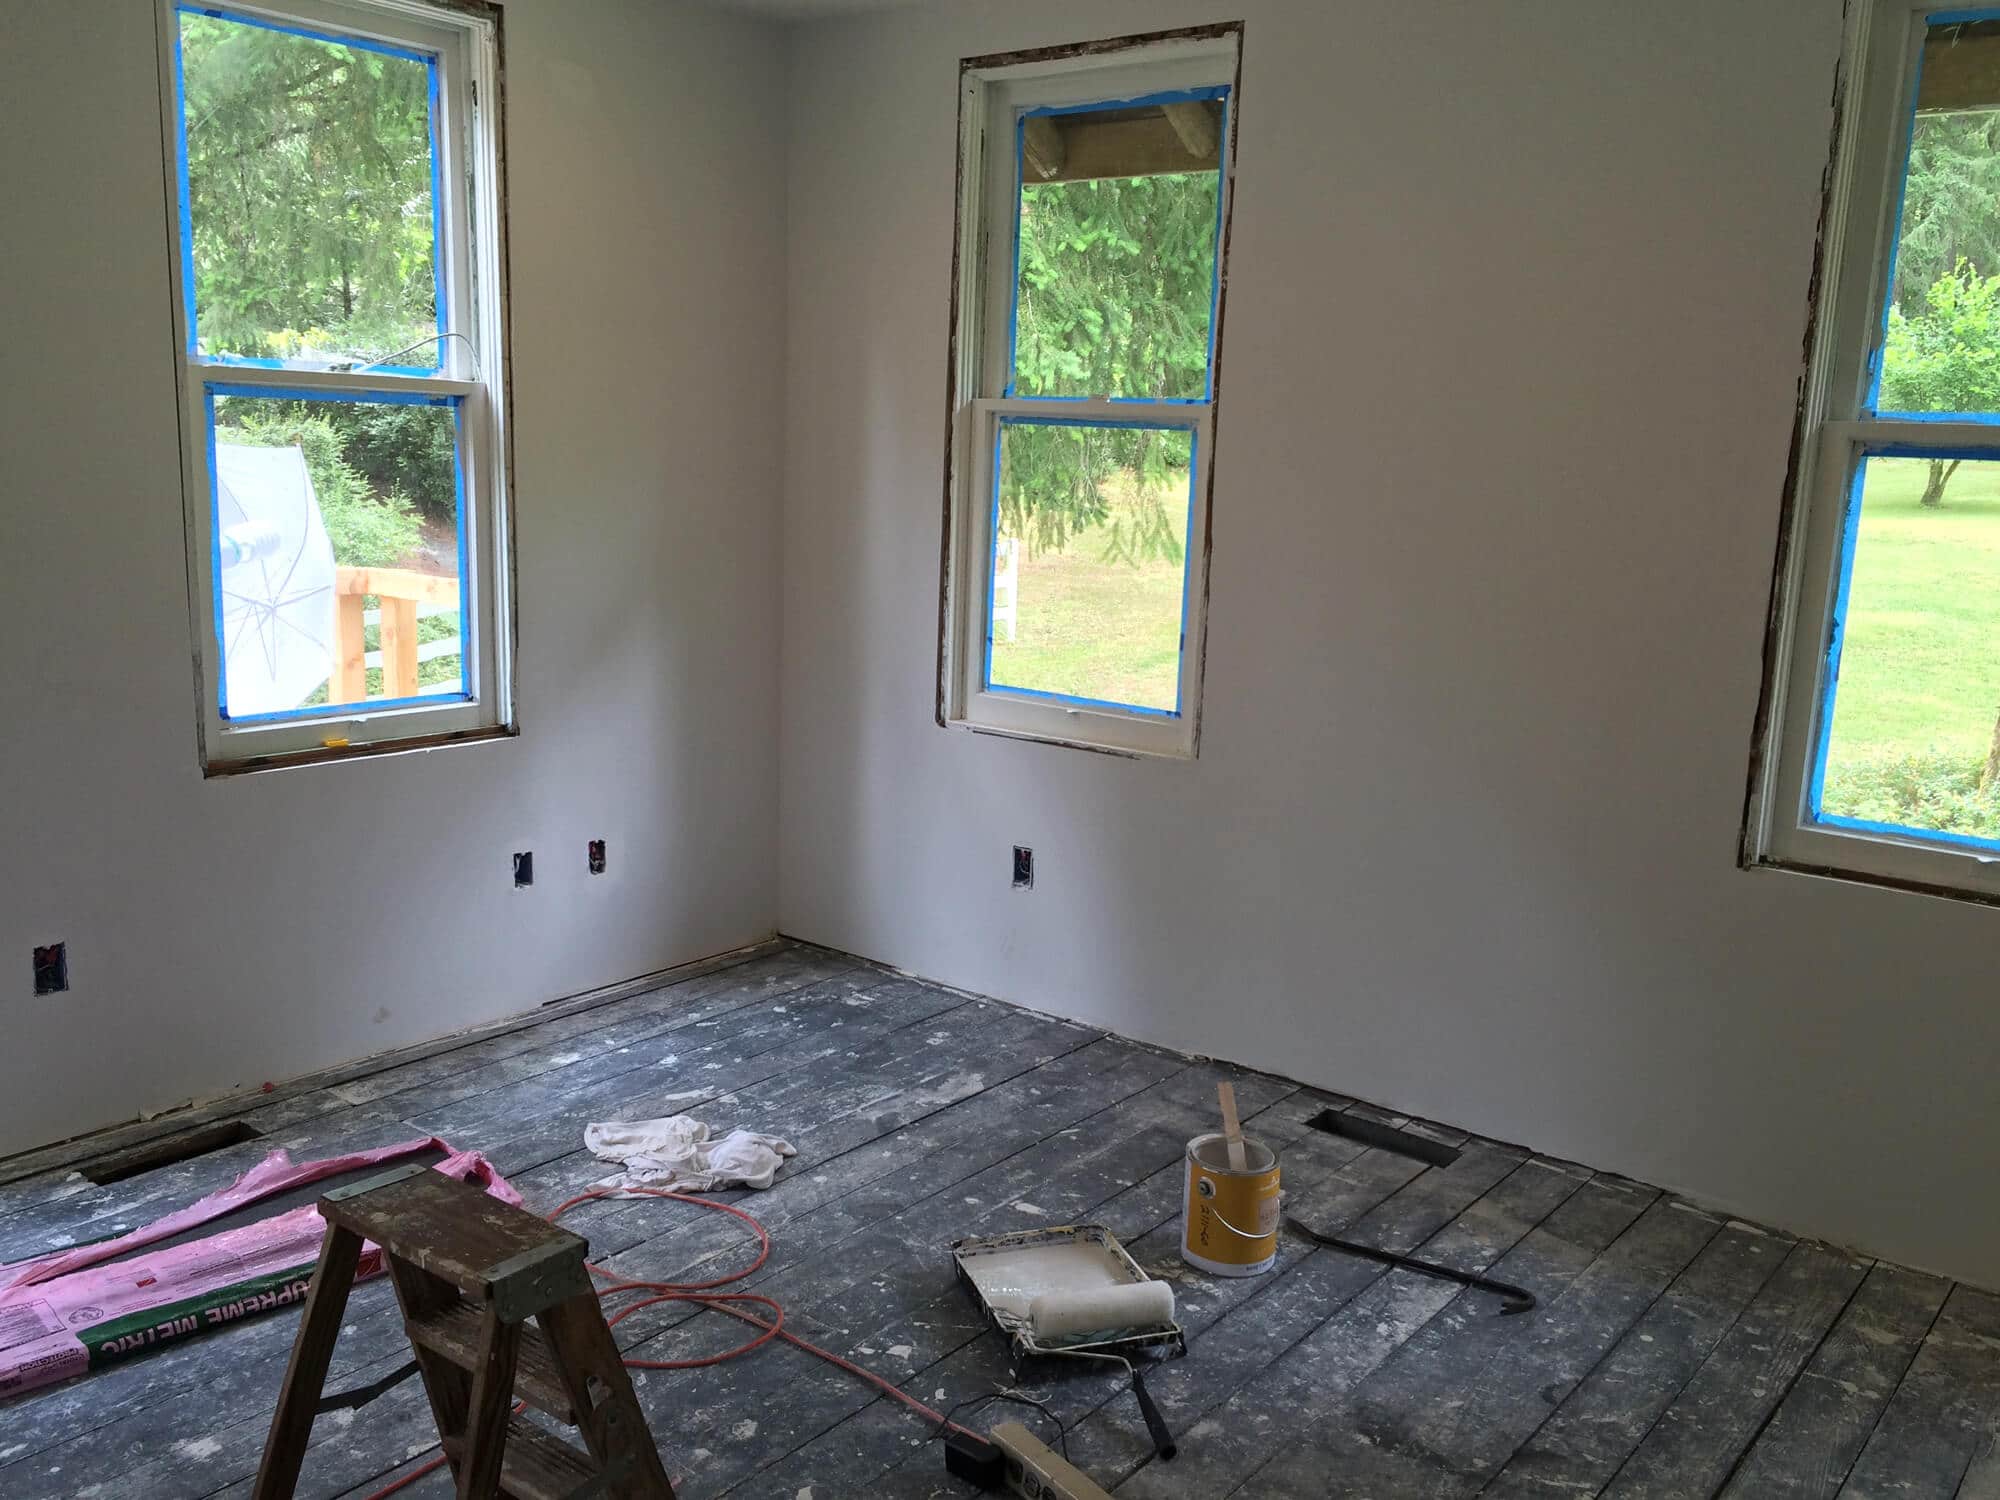
It was a relief to finally see that green paint go! Just covering it up with white already made a huge difference in the appearance of the room.
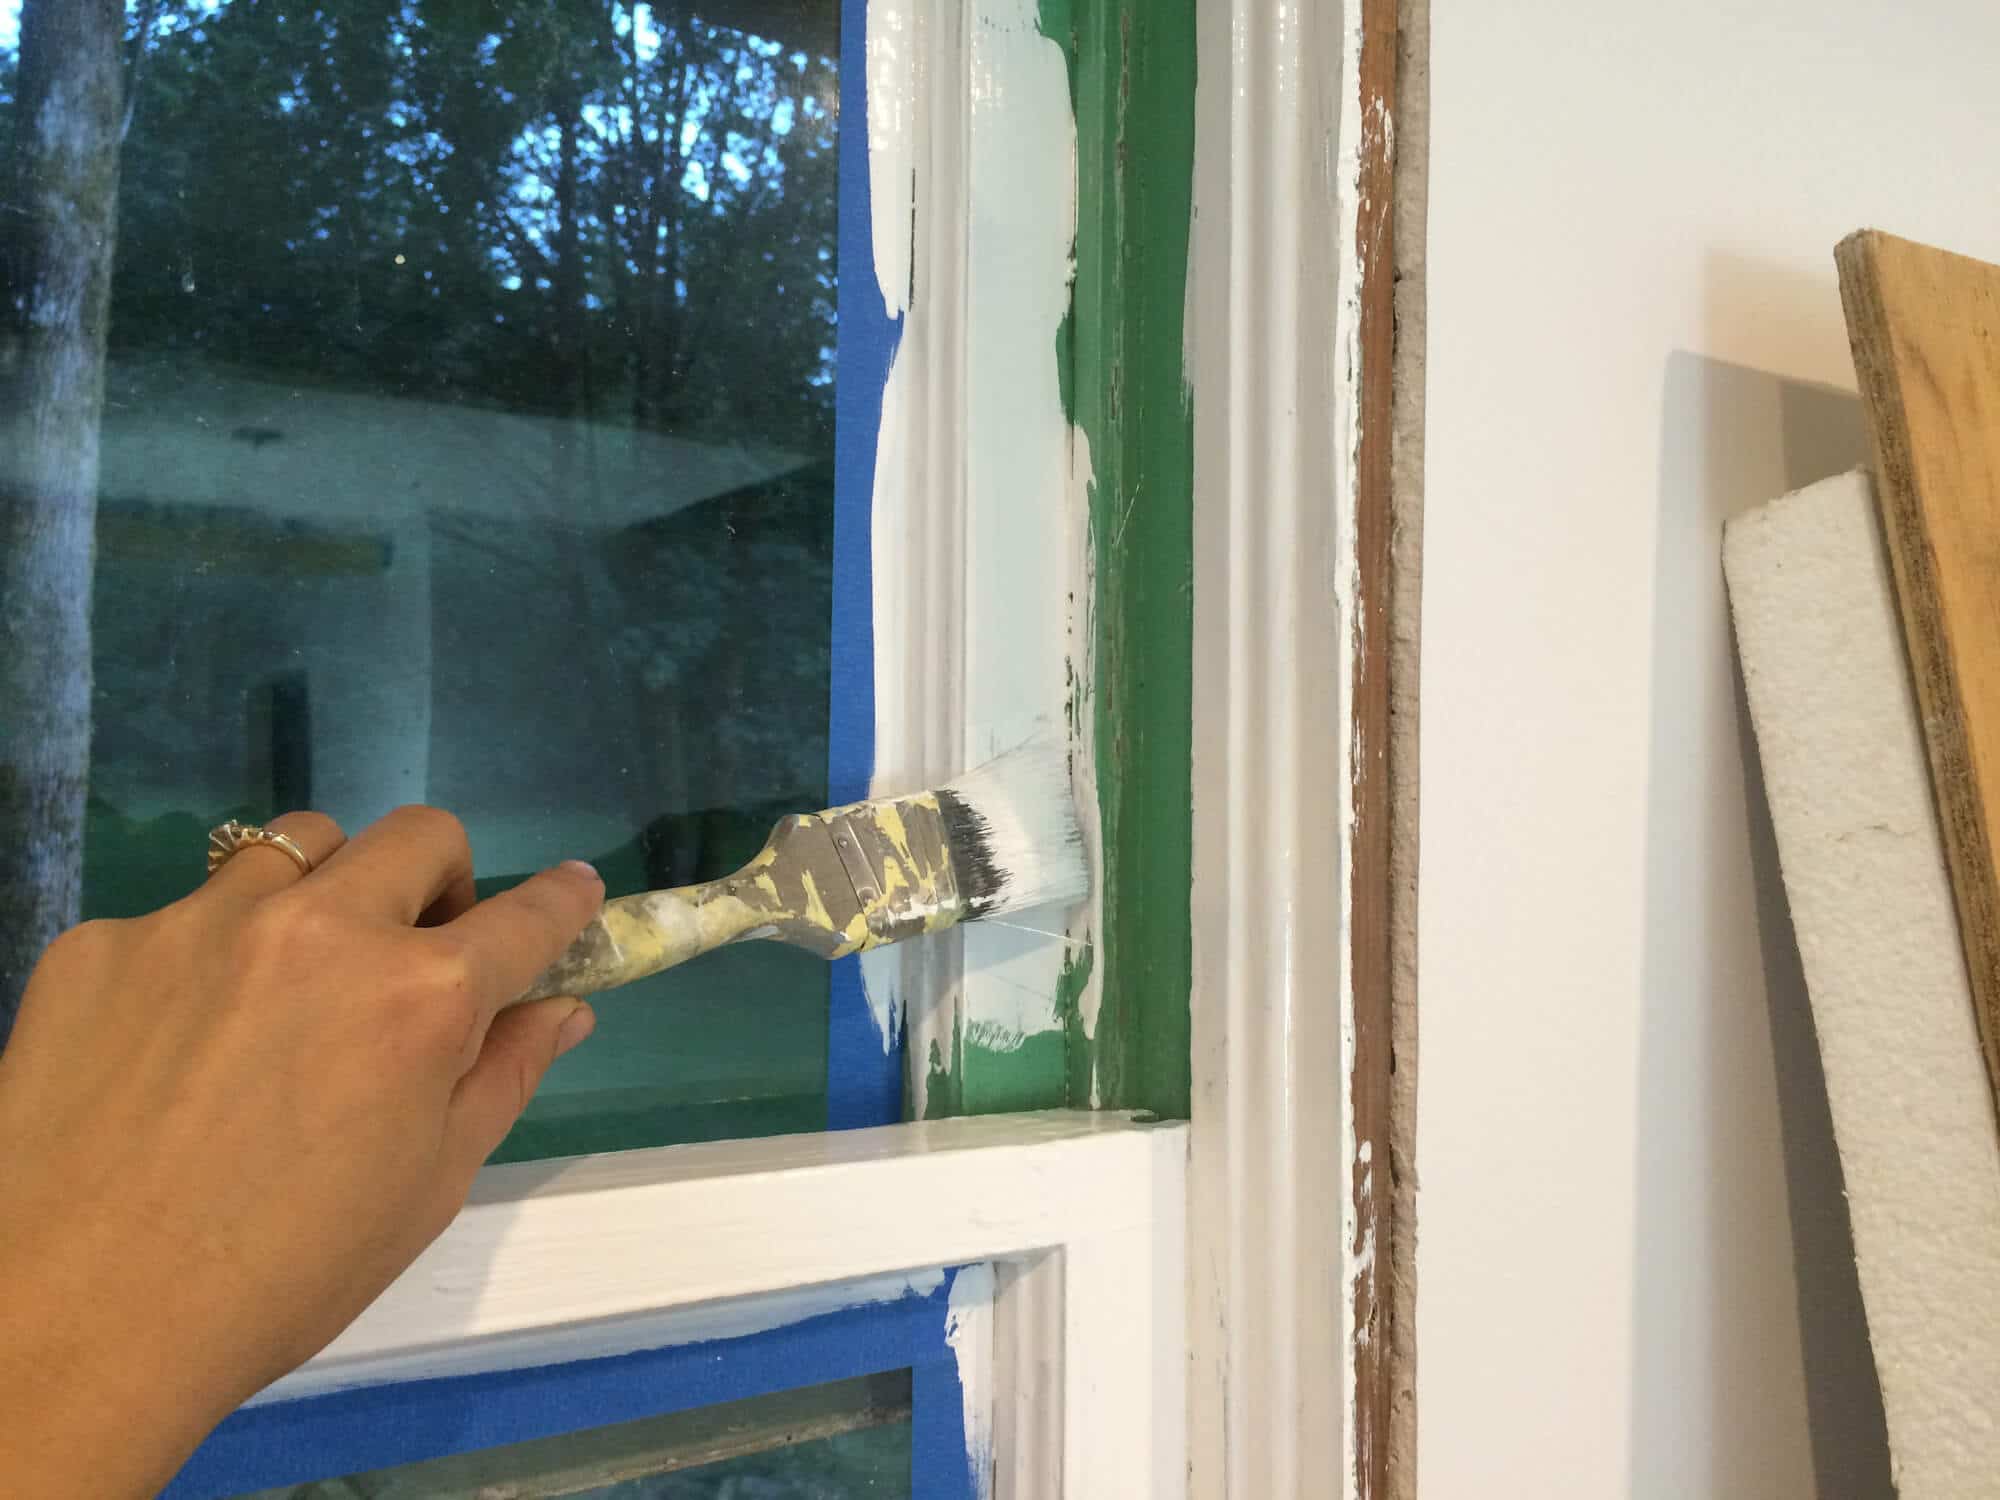
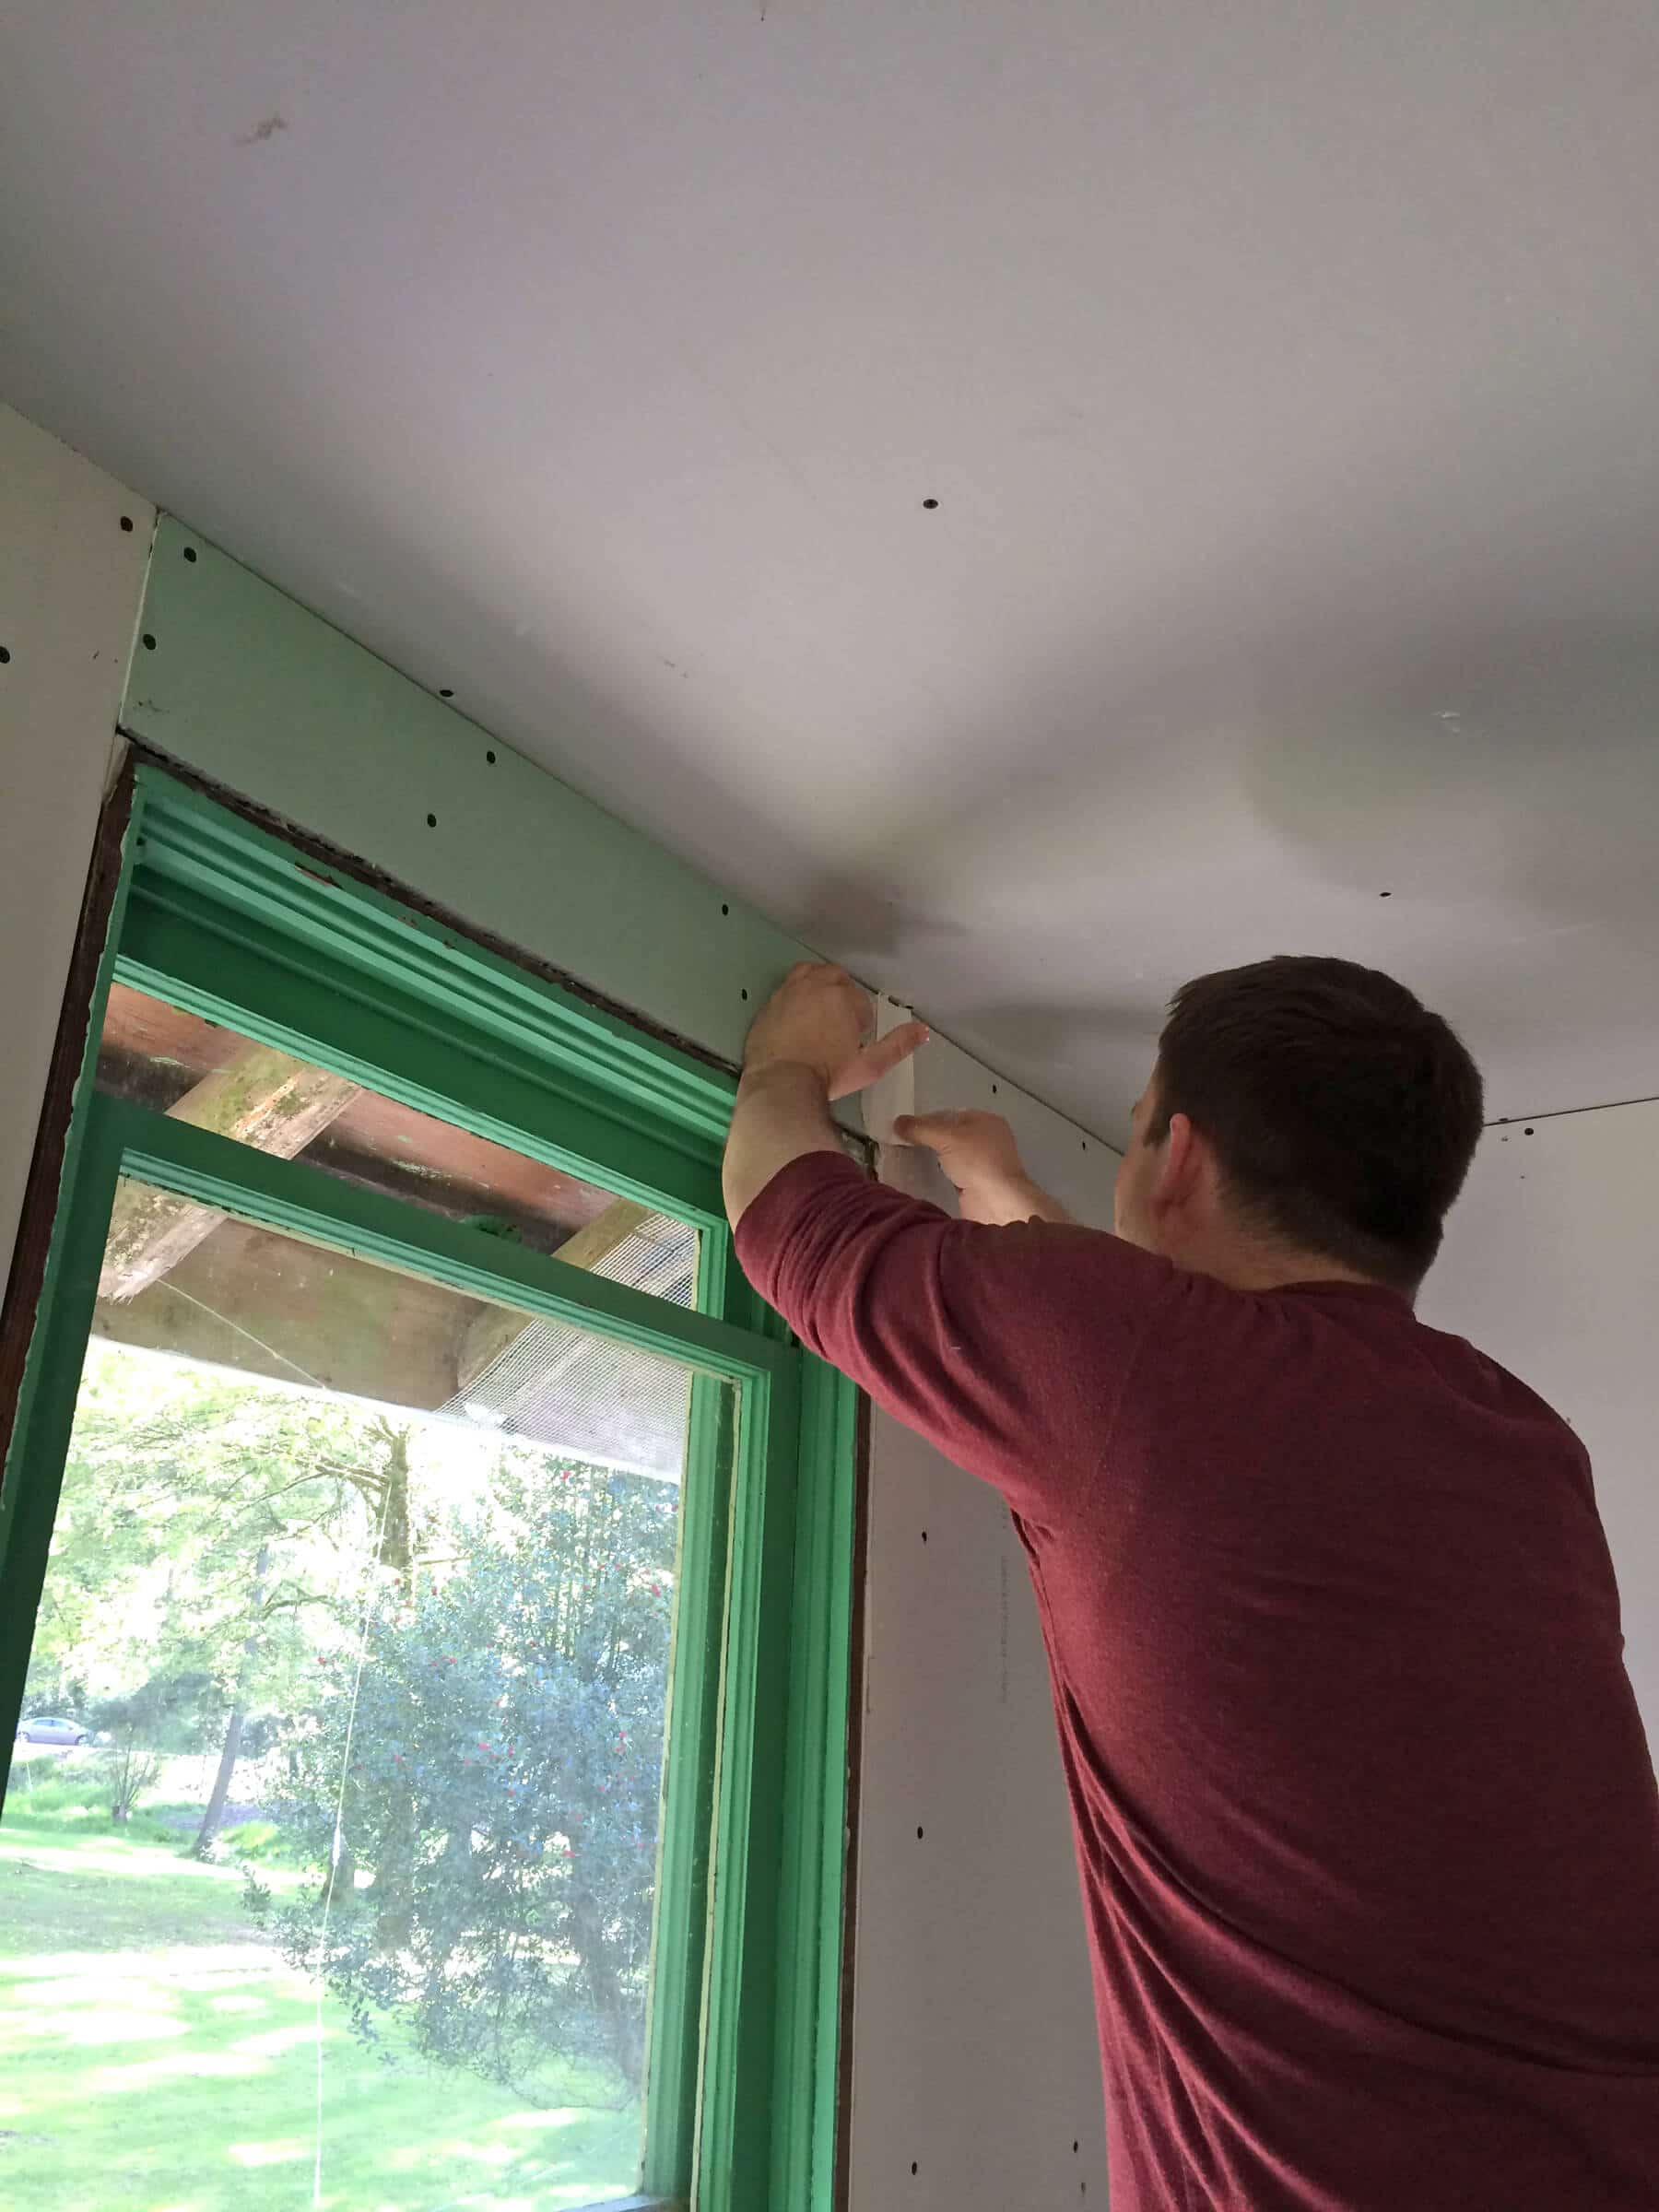
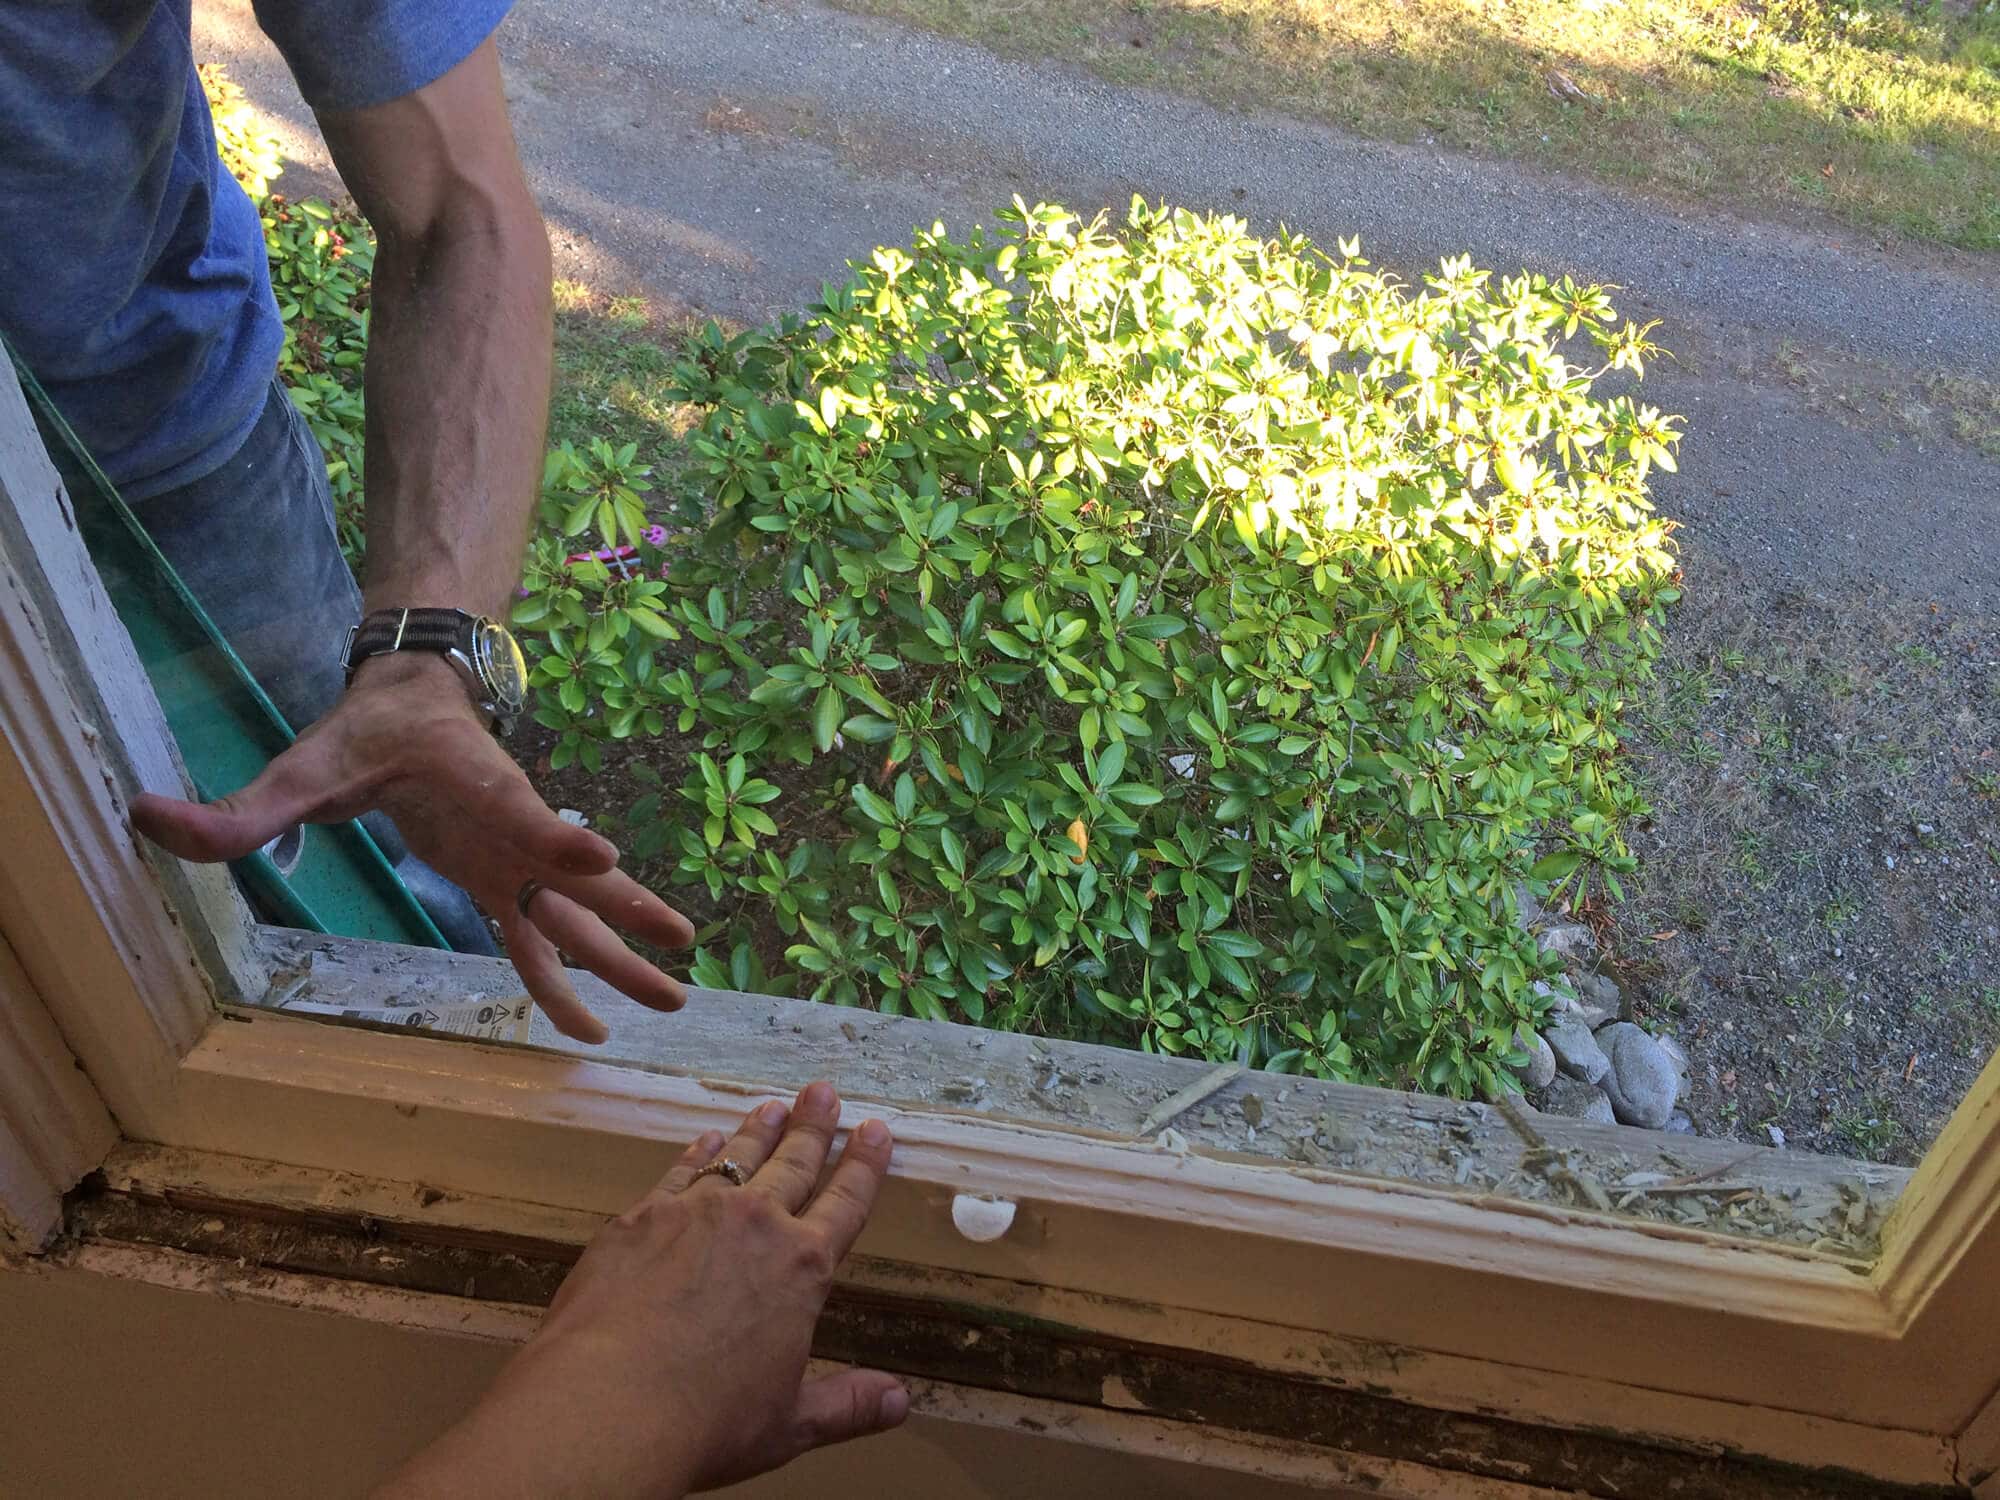
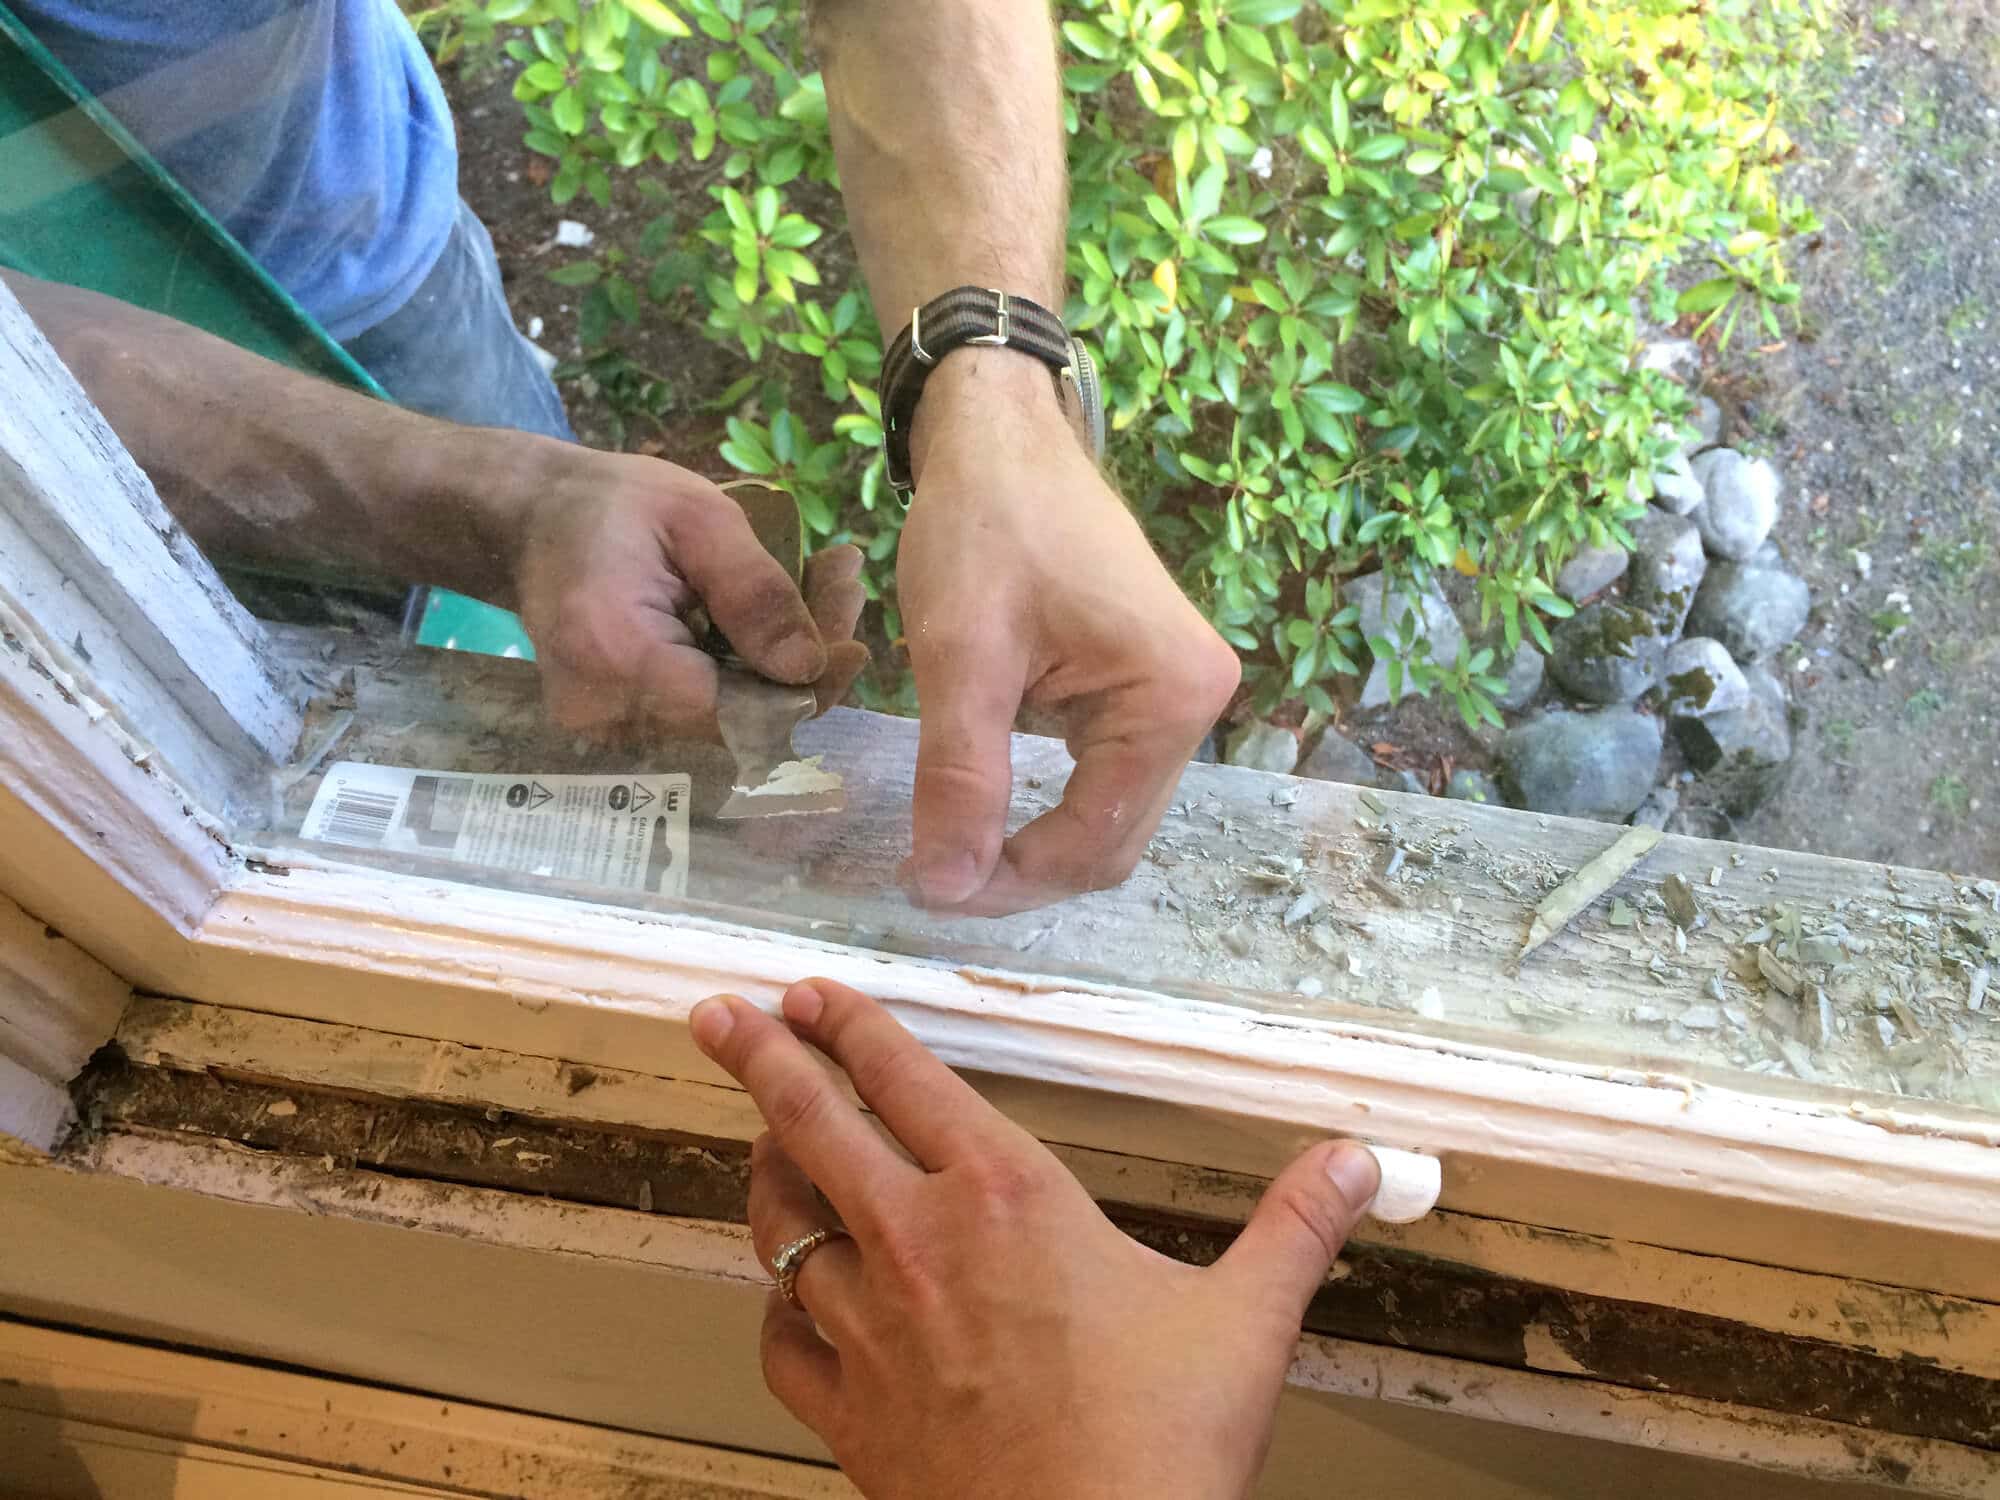
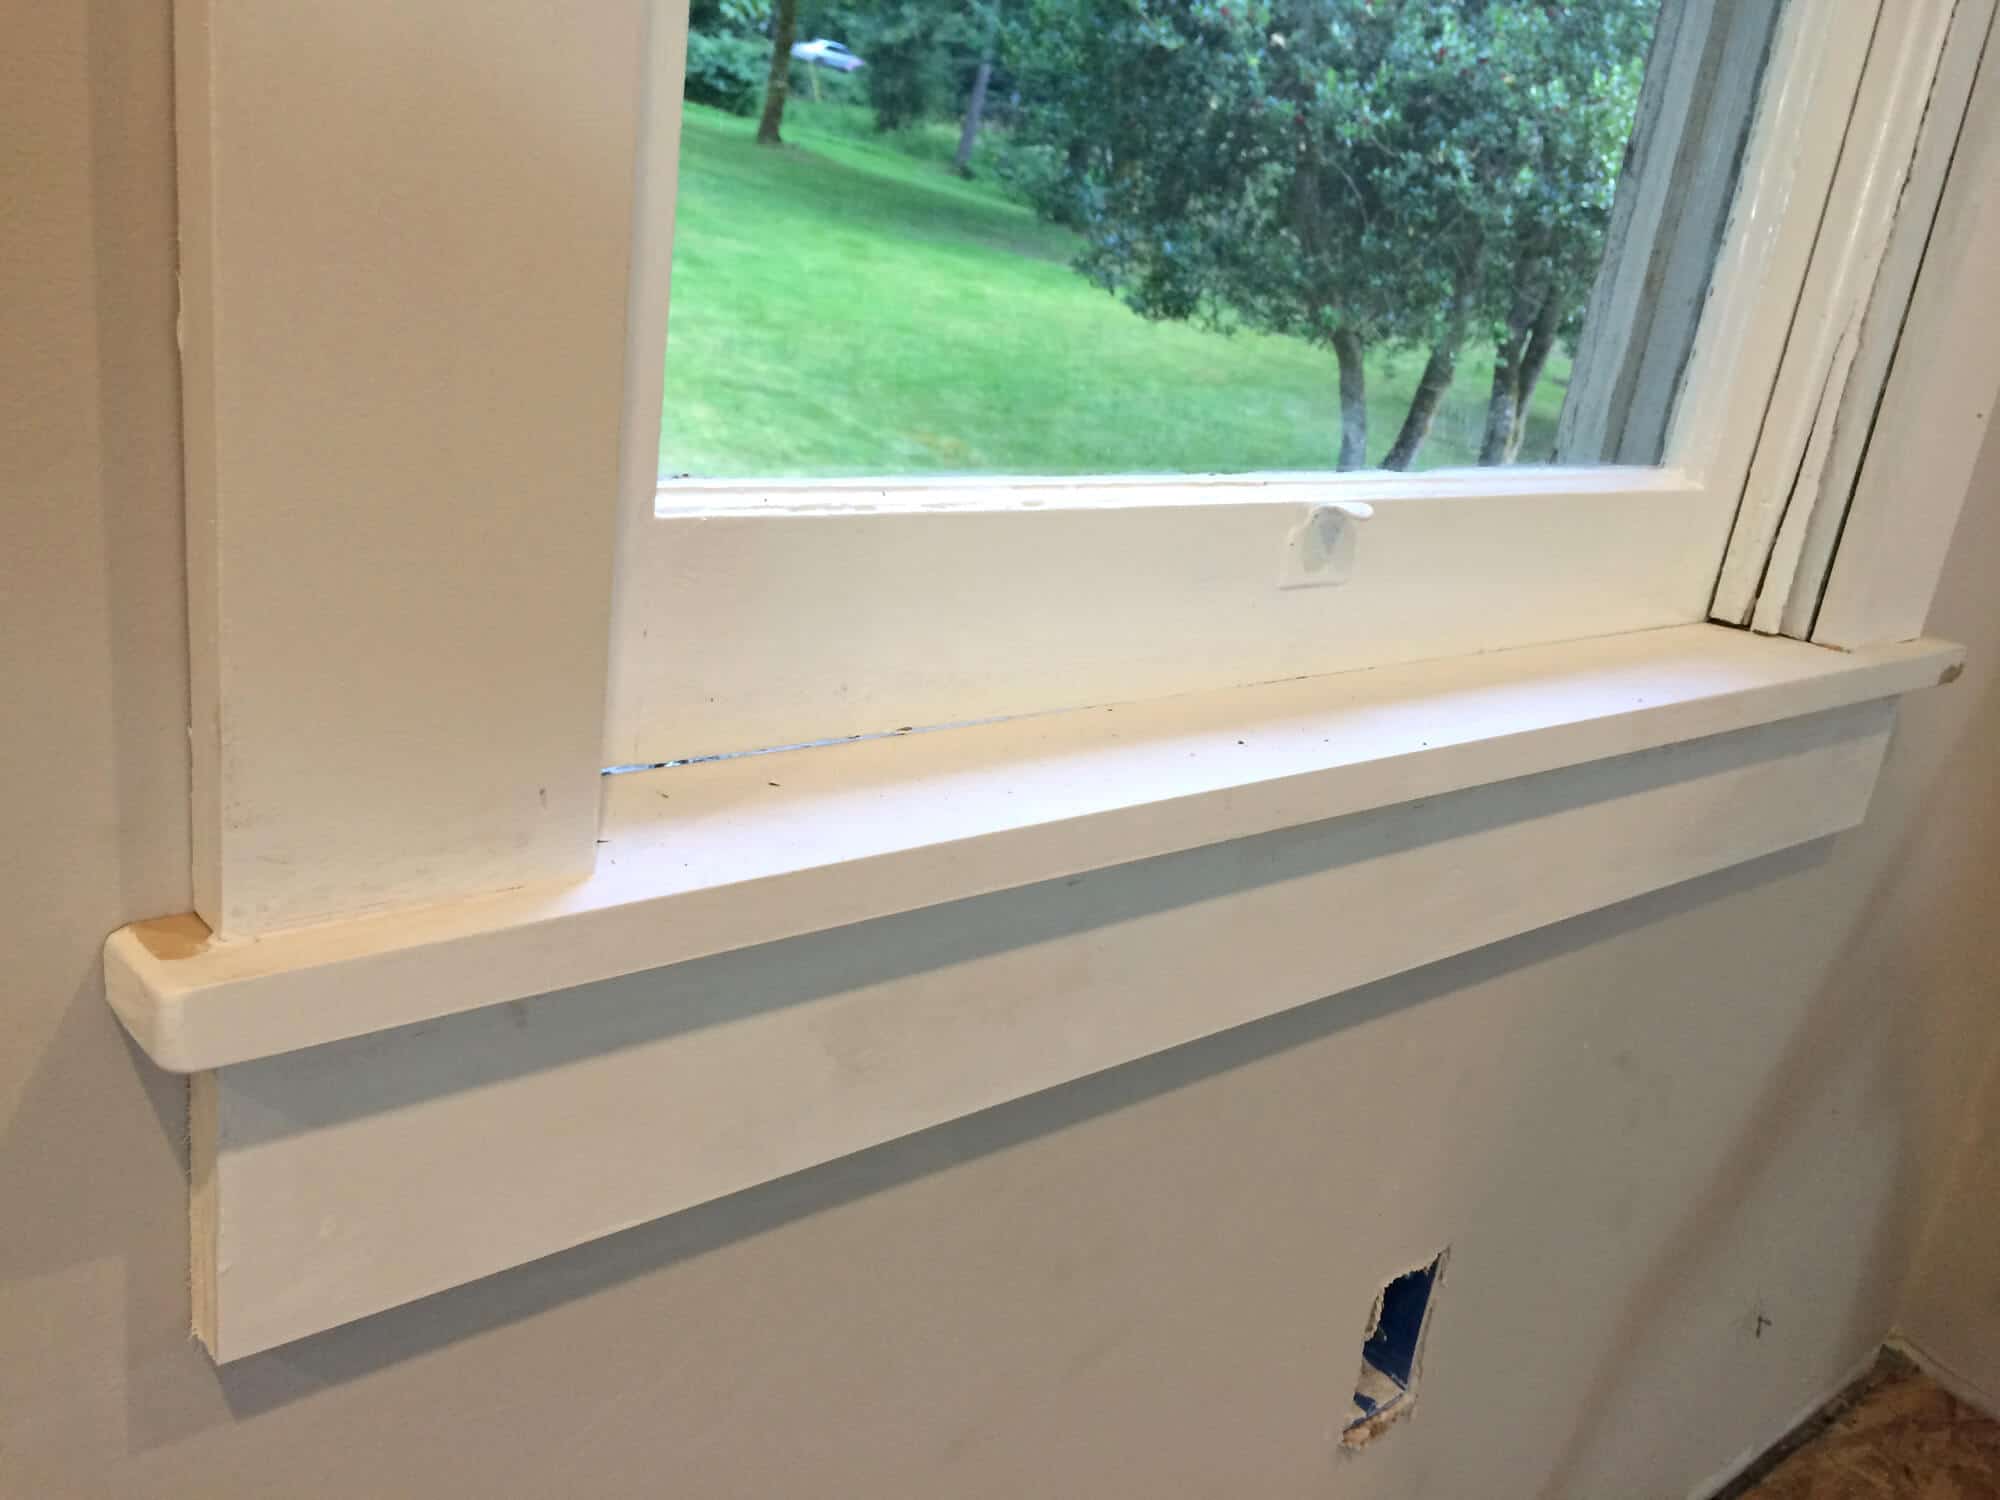
The old double-hung windows in this place have their original wavy glass which we wanted to leave alone. Two panes of glass had cracks in them and fortunately they happened to be the only panes that weren’t the original glass. We replaced those.
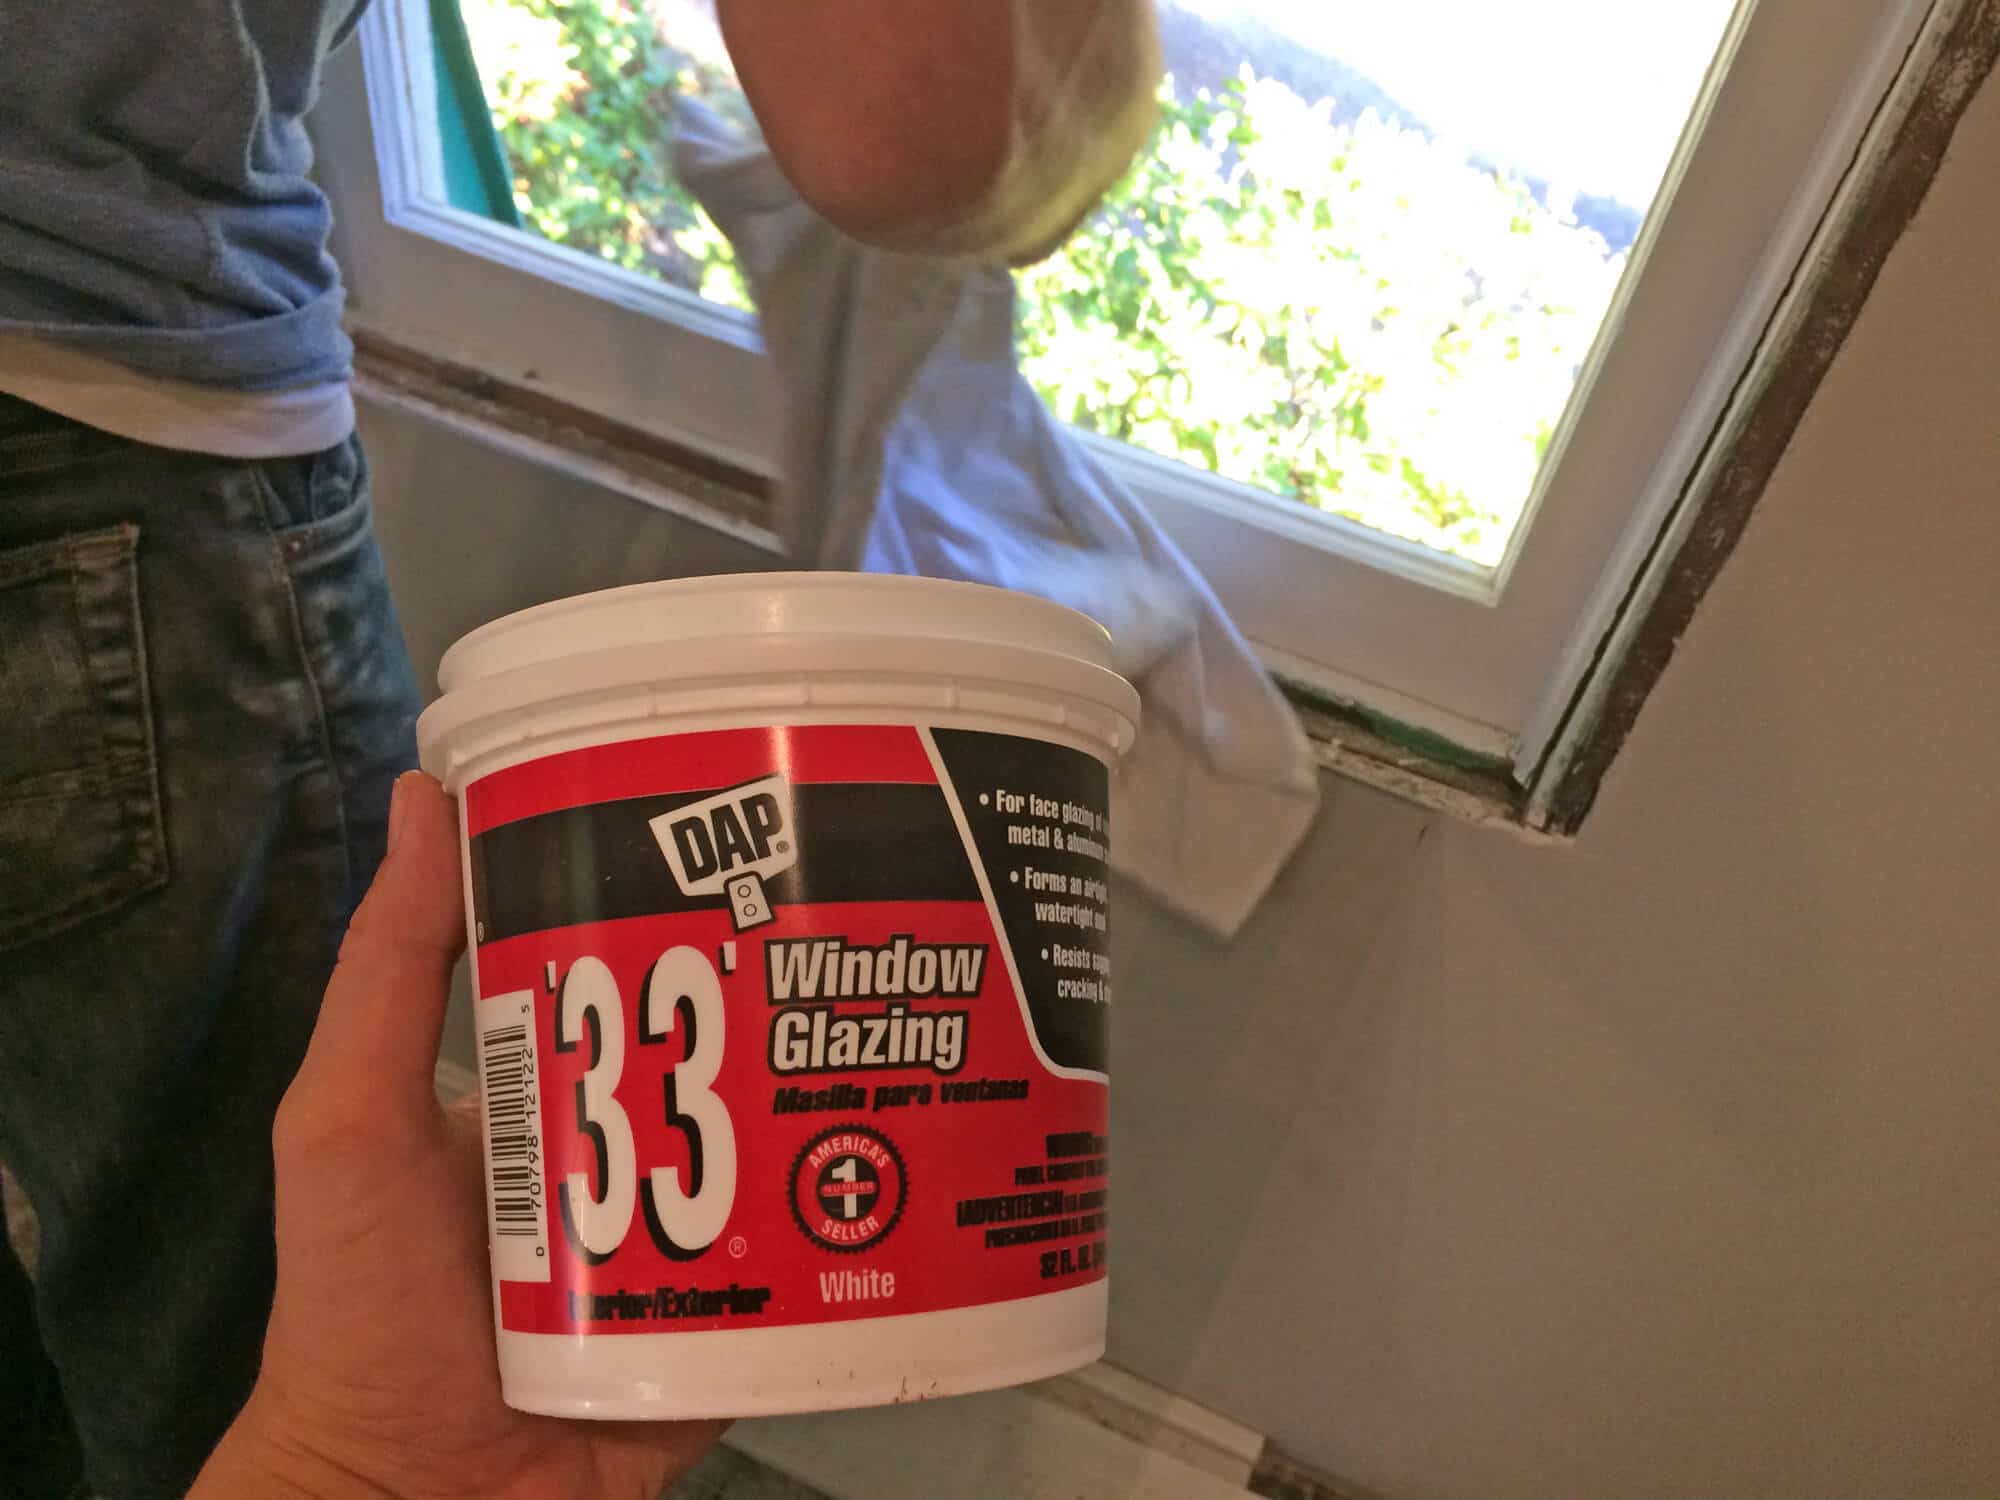
In order to replace the broken glass on these old single-paned windows we had to first scrape out all of the old glazing and smooth everything out in order to get the new glass to seat and seal properly.

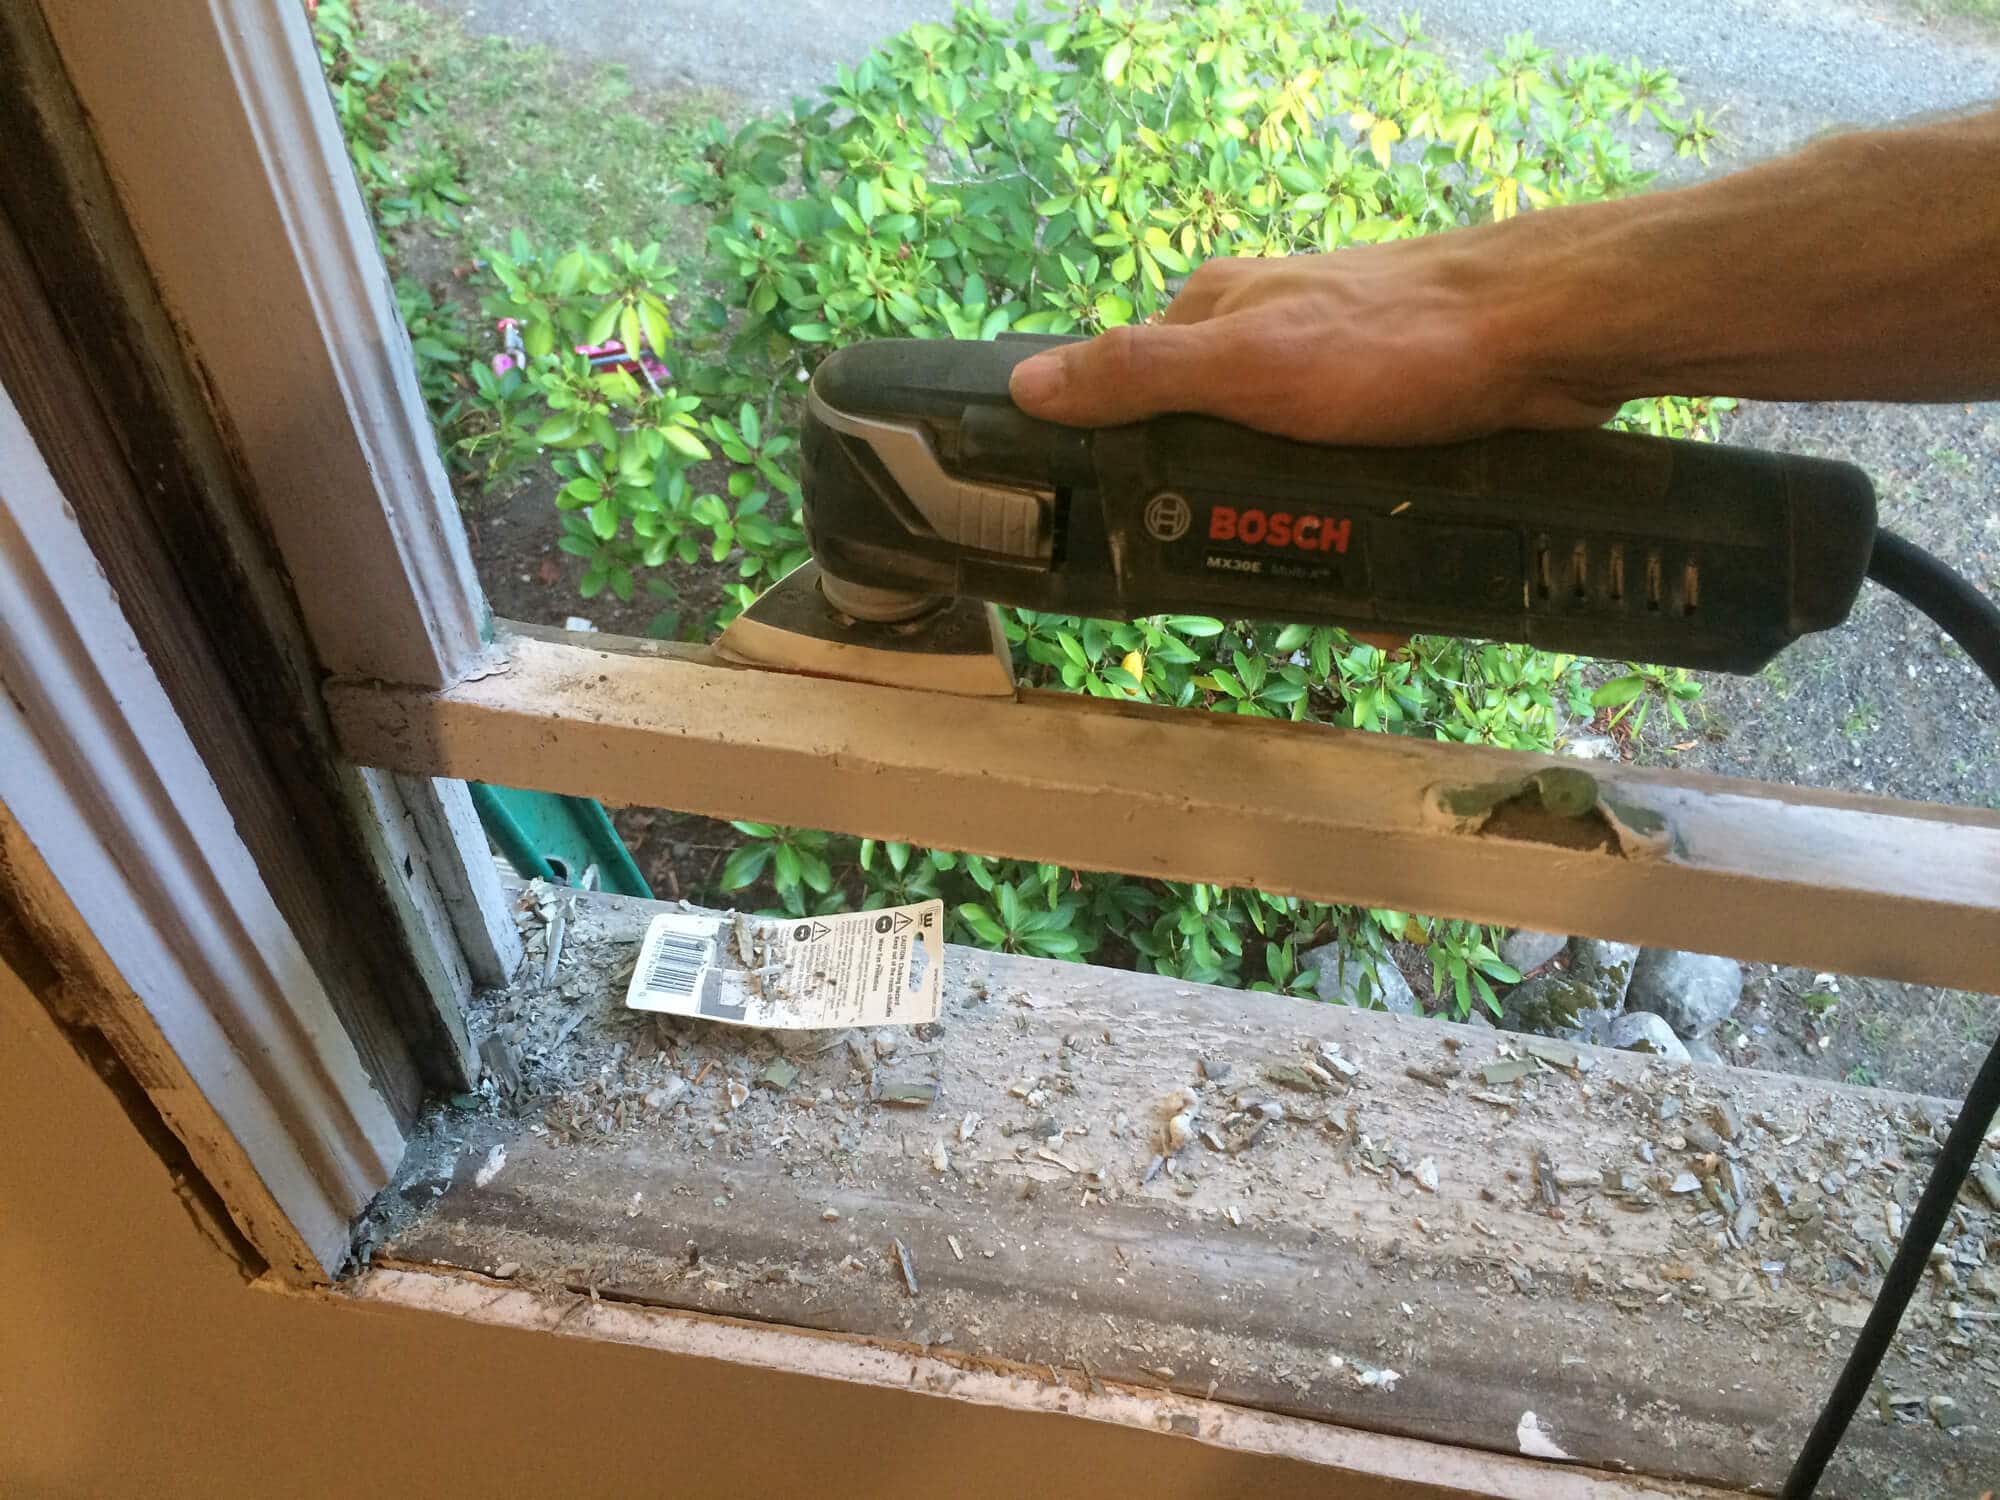
That Bosch tool has been getting an extraordinary amount of use throughout this project. It’s called a multi-tool for a reason, there’s practically nothing that thing doesn’t do! Like the Kitchenaid of handy tools, it has tons of different attachments you can use for all kinds of purposes. My husband gives it 5 stars and says he couldn’t live without it.
The DAP Window Glazing we used was inexpensive and did a great job. Easy to apply, easy to remove the excess and it securely held the glass in place with the aid of glazing points (little metal brackets).

After the spackling was complete we applied a coat of primer over the walls and ceiling. That’s one step closer to painting and the walls are actually looking like WALLS!
Next we were ready to paint. And that’s the part that finally gets exciting!

But first….selecting a paint color. We thought it would be fun but man, it was frustrating.
For any of you who have painted before, you know how challenging selecting the right color can be. The most frustrating part about it is that the actual paint NEVER looks the same as the color cards you pick up at the store. Never ever. It doesn’t matter in what lighting you hold the card up against your wall, you will never know what the paint will look like until you apply a coat. So always by a sample pint.
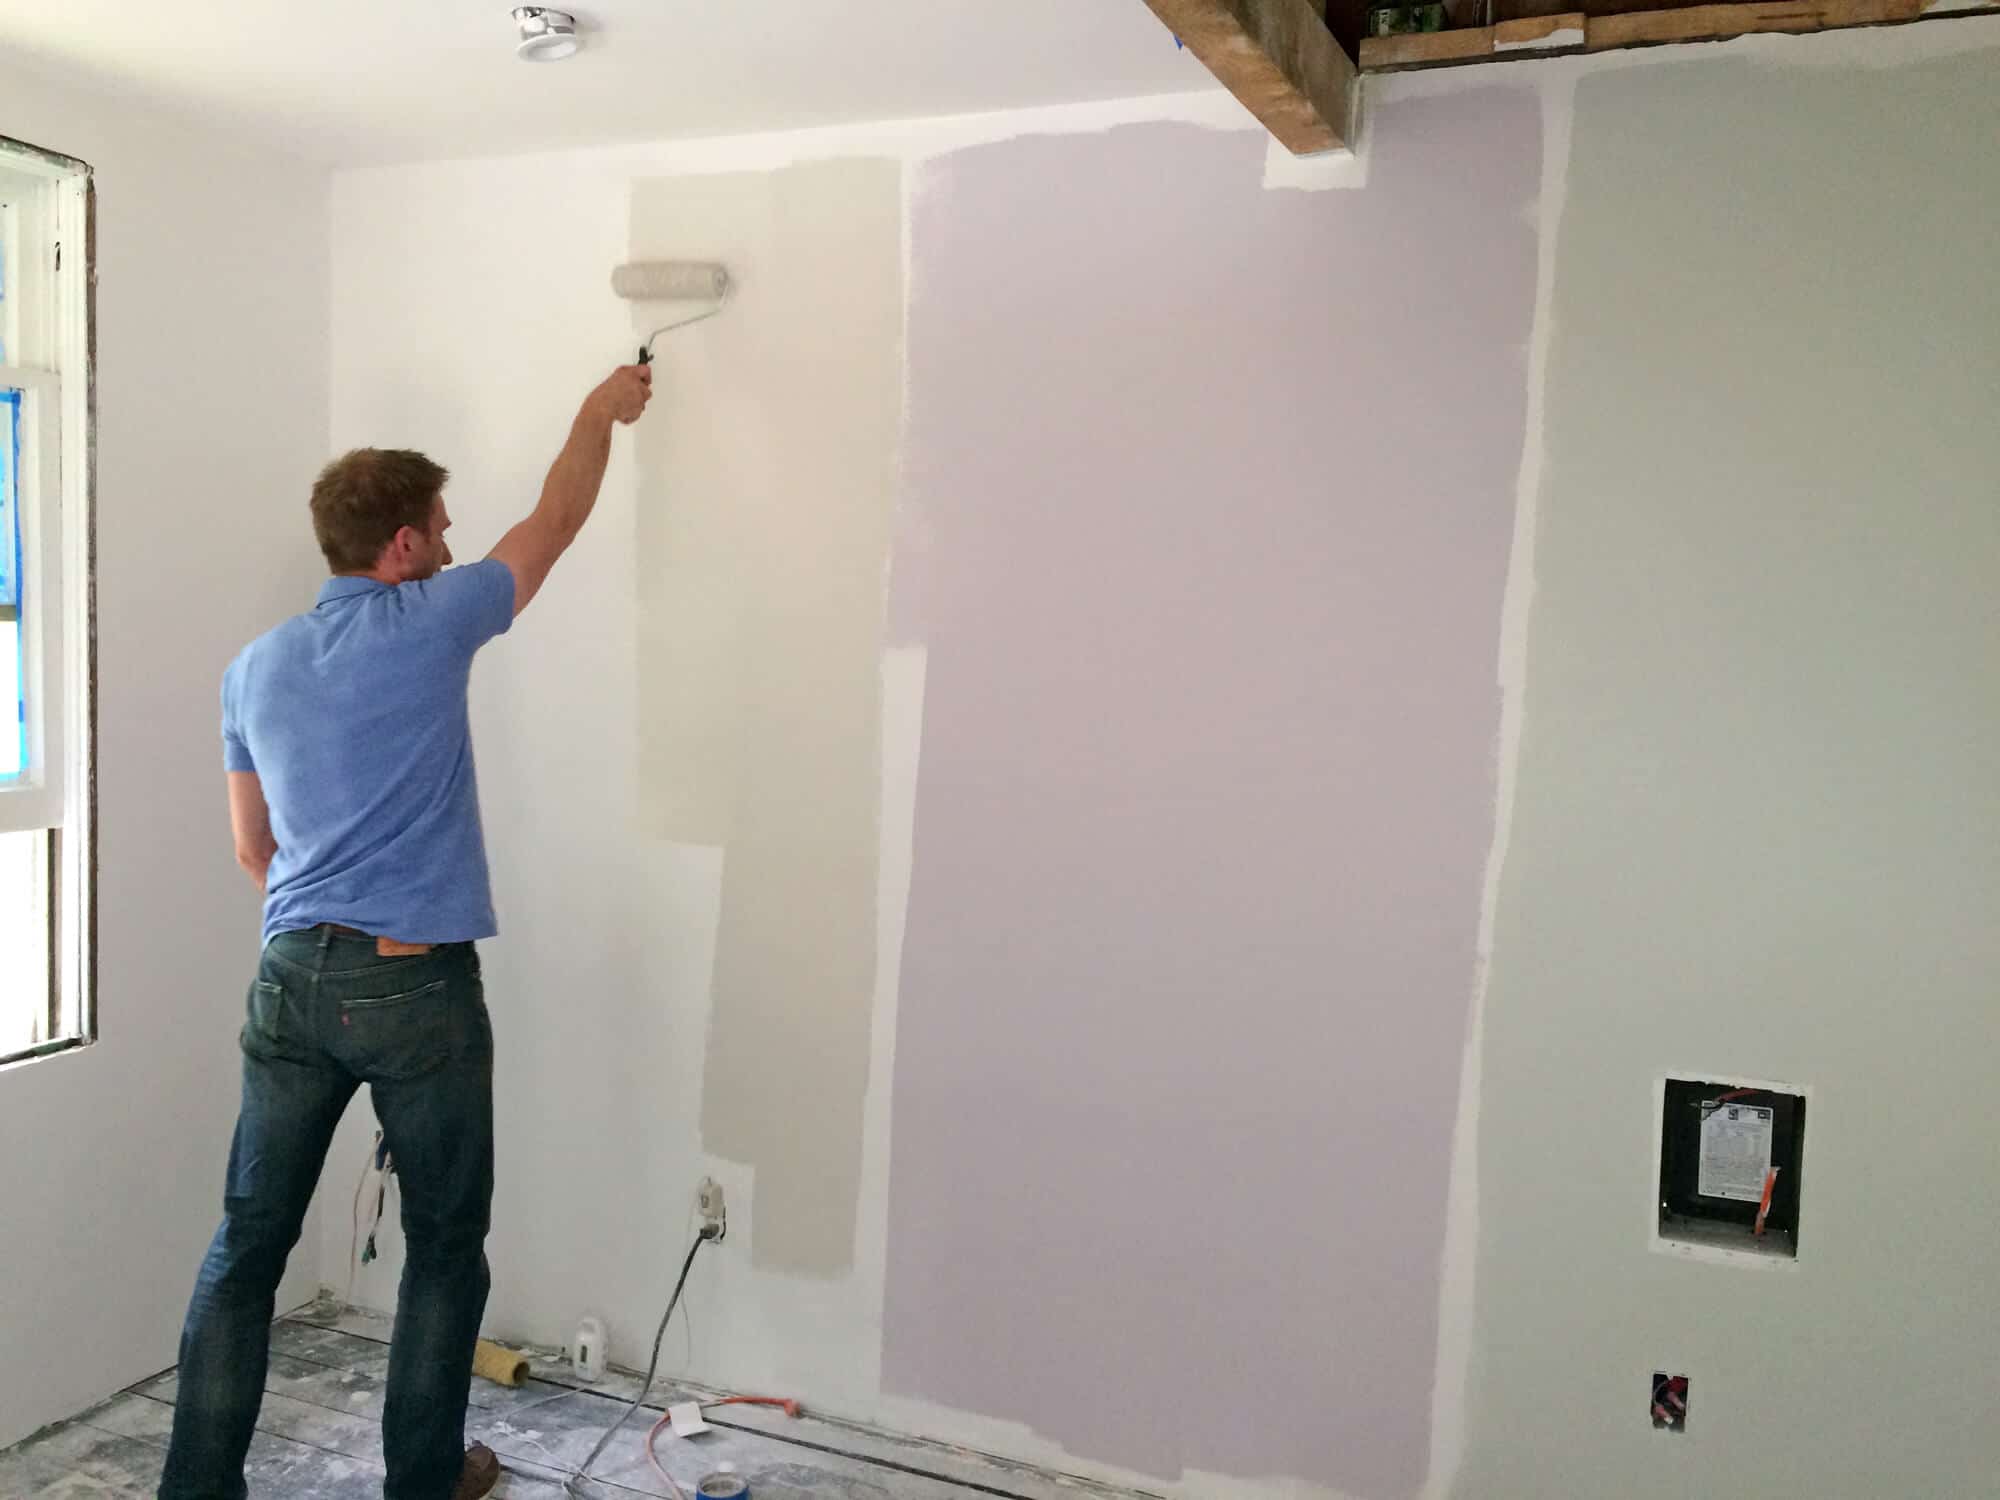
Case in point. Check out the dreadful colors below. (And no, this time it wasn’t the fault of Todd’s color-blindness. All three of us were duped by the color samples online.)
We wanted a true gray color. Not too light or else the white trim and kitchen cabinets would blend in too much, and not too dark otherwise the small living space would feel like a cave. Well, finding a true gray that looked true gray in both daylight and artificial lighting was more challenging that we thought. Gray is just one of those particularly tricky colors to get right. We found that out the hard way after buying 4 different colors.
Believe it or not, all four of these were supposedly in the gray scale line of colors. No lie. On the color cards they looked pretty nice. On our walls they looked…well, see for yourself: Green, purple (purple!!), and what my brother described as something that looked like someone took a baby diaper and smeared it against the wall. The color on the left is what we painted over the poopy one. Closer but still too beige.
Thank goodness we only bought the small pint sample sizes!
And so I went into our local Benjamin Moore store to deal with the selection myself once and for all (sometimes it just takes a woman, no offense guys). I spent 30 minutes with the guy explaining exactly what we wanted and exactly what we didn’t want, and the look and mood we were trying to achieve.
It turned out his other job is a videographer and he works a ton with lighting. He explained the vital relationship between warm lights and cool paint colors and vice versa as well as cool lights and warm paint colors. He steered us completely away from warm paint shades, which is what we thought we needed because we wanted the place to feel contemporary but cozy, not cold and sterile. It turns out that depending on the kind of lighting you have, certain lights will create the opposite effect you want. So even though it’s counterintuitive, if you want paint to feel soft and welcoming, with certain lighting you actually want to go with a cool shade of paint. We’re using mostly LED lighting in this place so we needed a cool shade of paint.
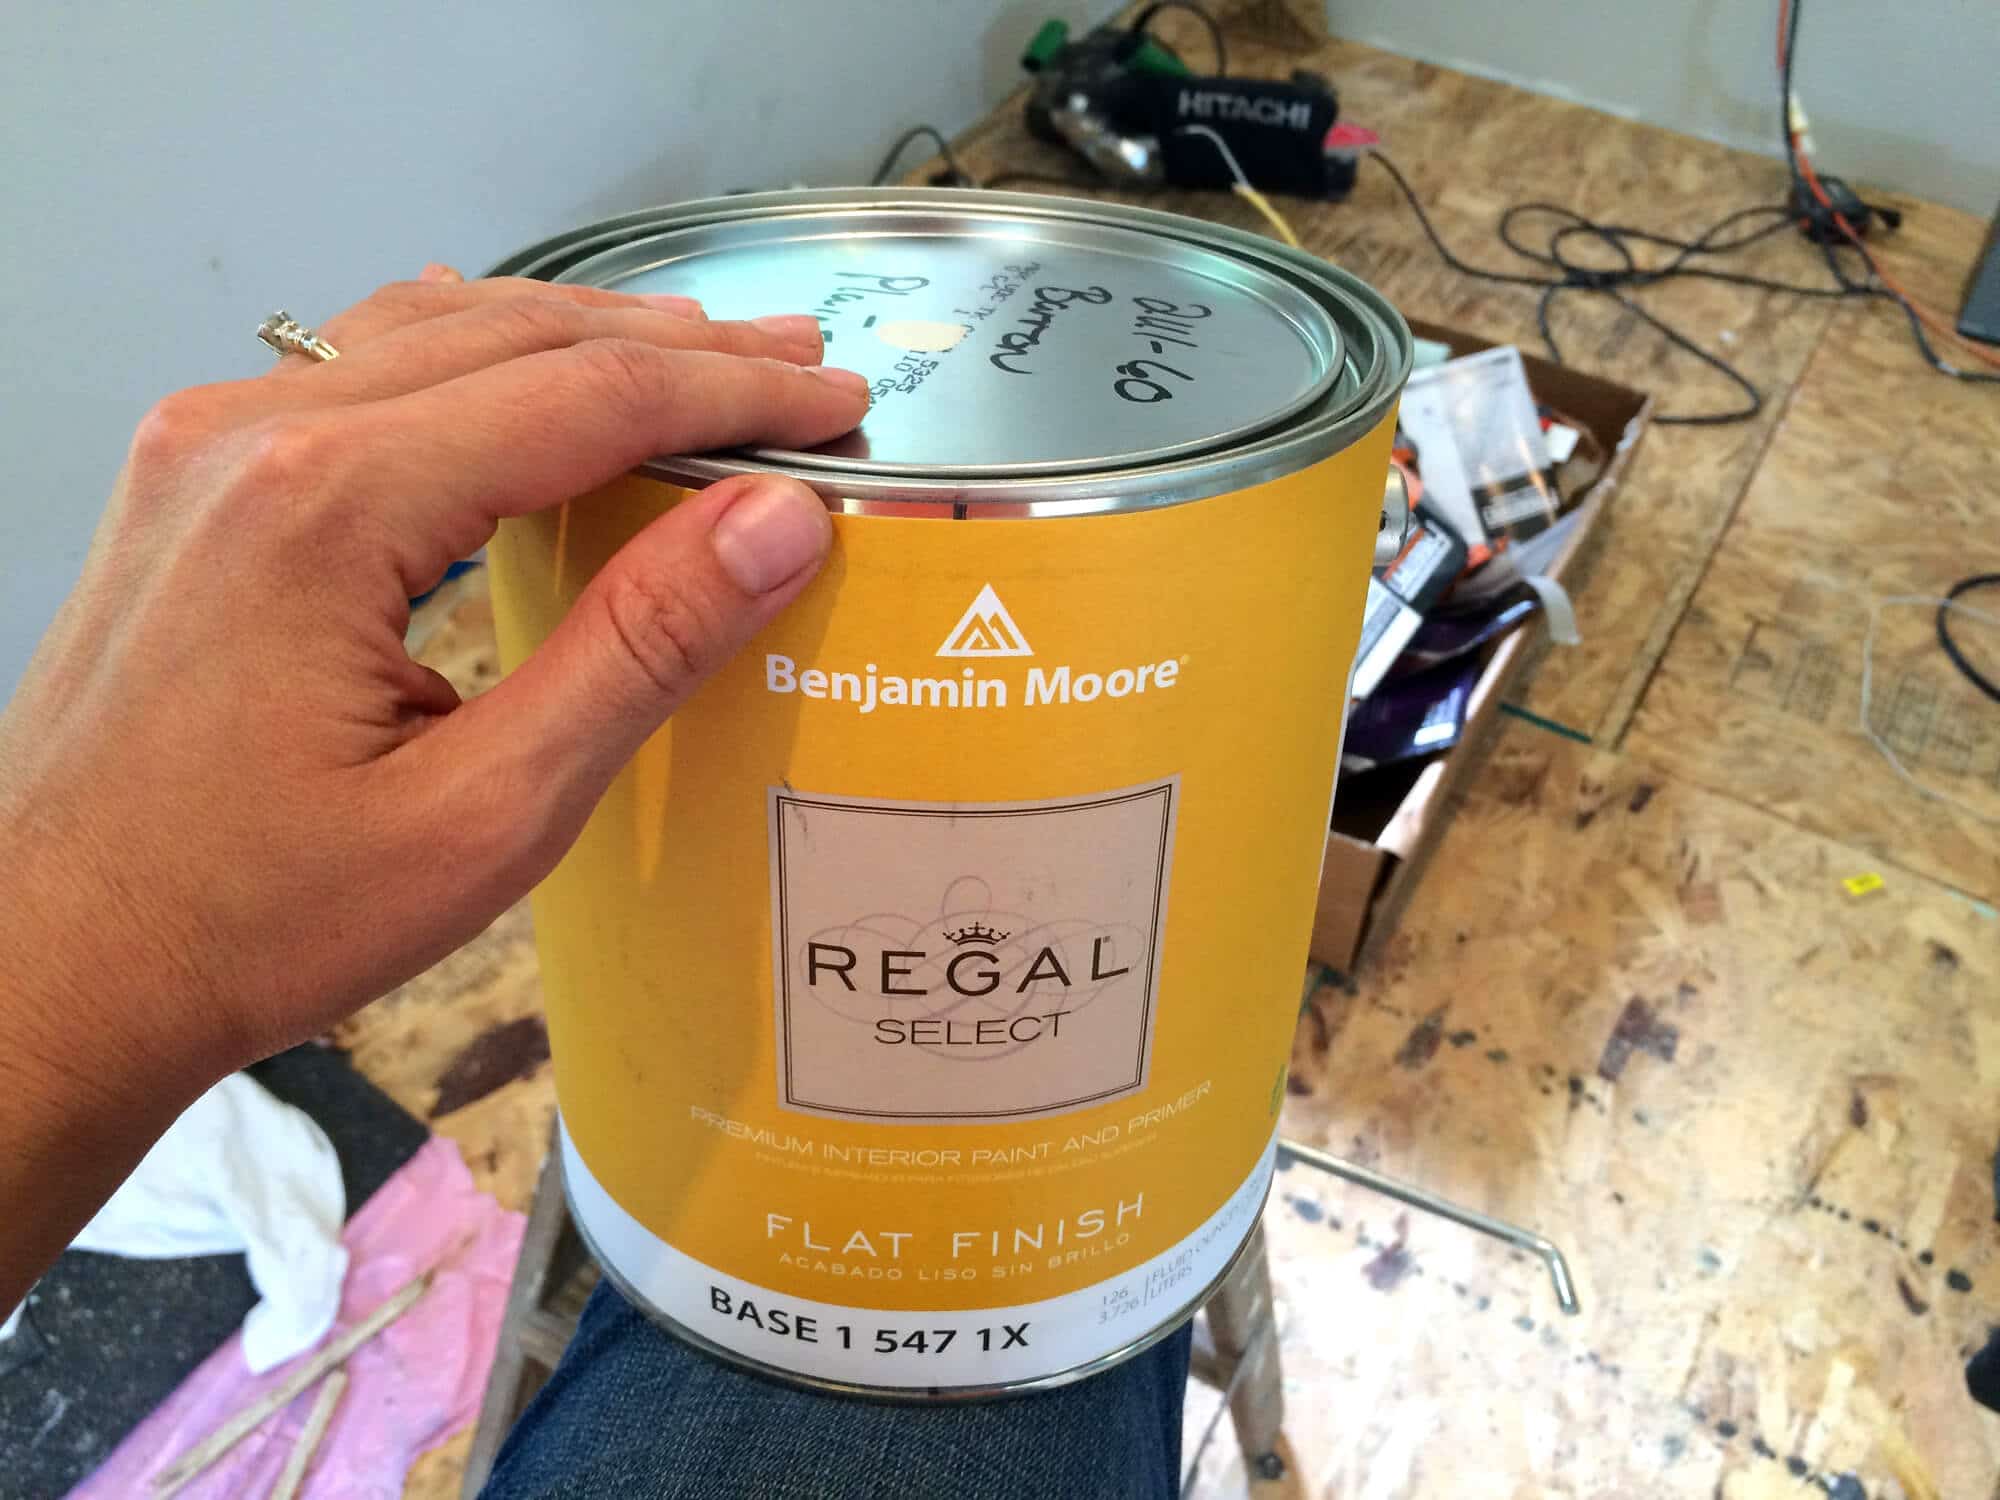
So that’s what we did and I grabbed a can of Barren Plain, a totally uninspiring sounding name, but it was exactly what we were looking for: A paint that would look gray in both daylight and artificial light and that would be warm without having any tints of beige/tan in it (something we were specifically wanting to avoid) and would remain feeling light, contemporary and cozy at night in dim lighting.
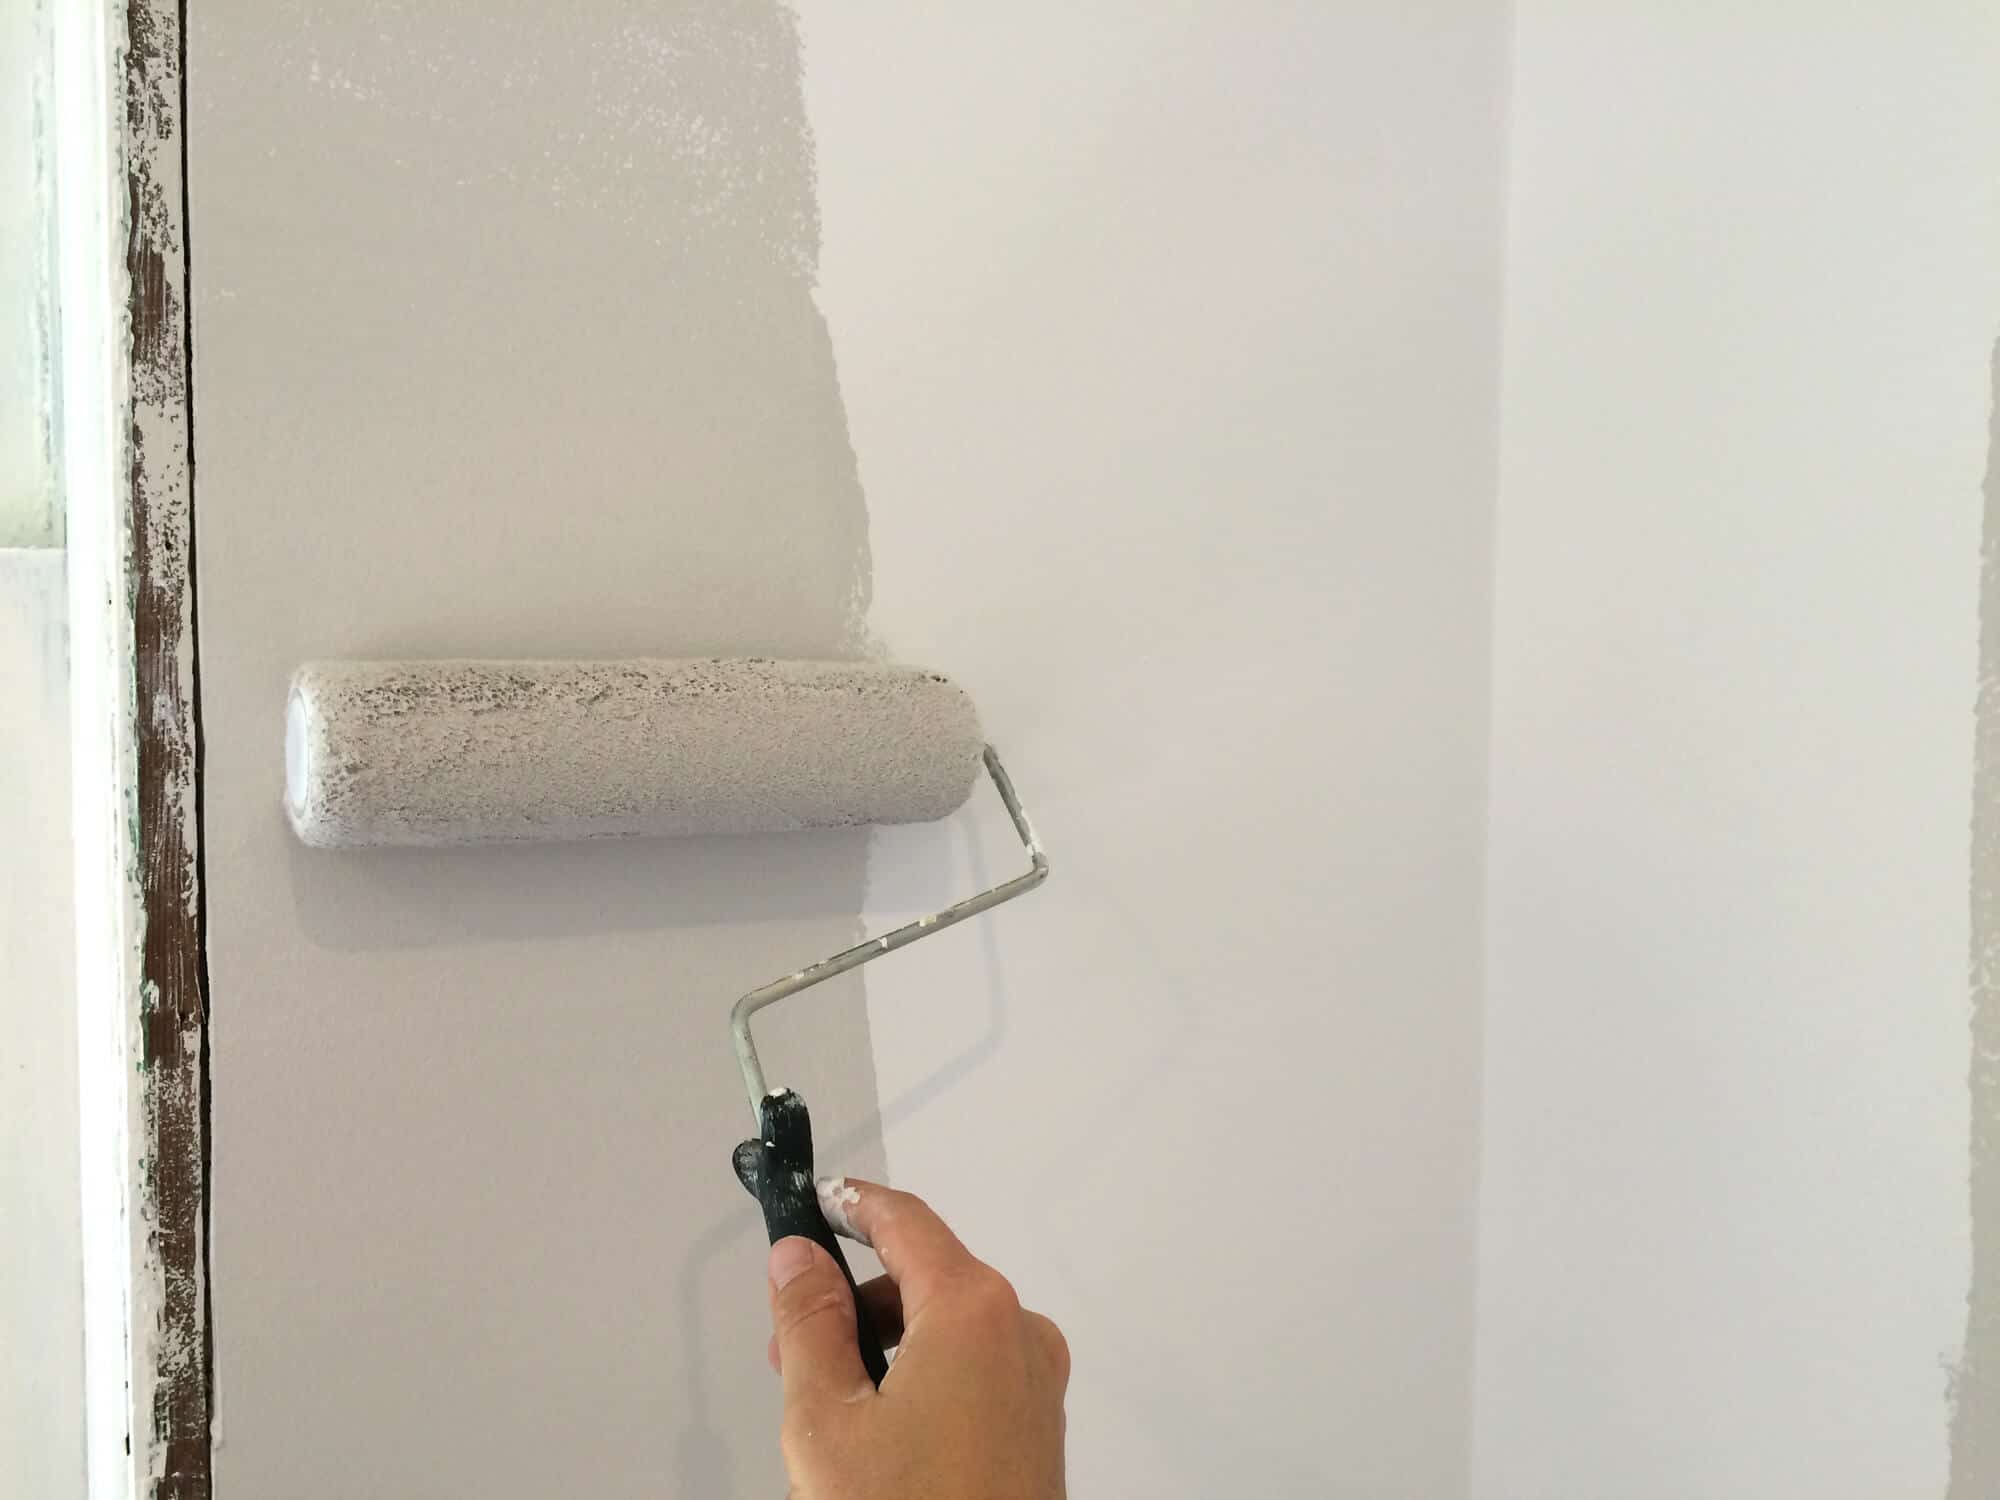
Because of the incredible spackling and sanding job my brother did, we were able to apply a smooth coat of paint over all the walls – no texturing necessary.
The final outcome are walls that even a professional spackler would praise. We’ve had several compliments to that effect by friends of ours in the industry. Smooth, sleek, contemporary. Go team!

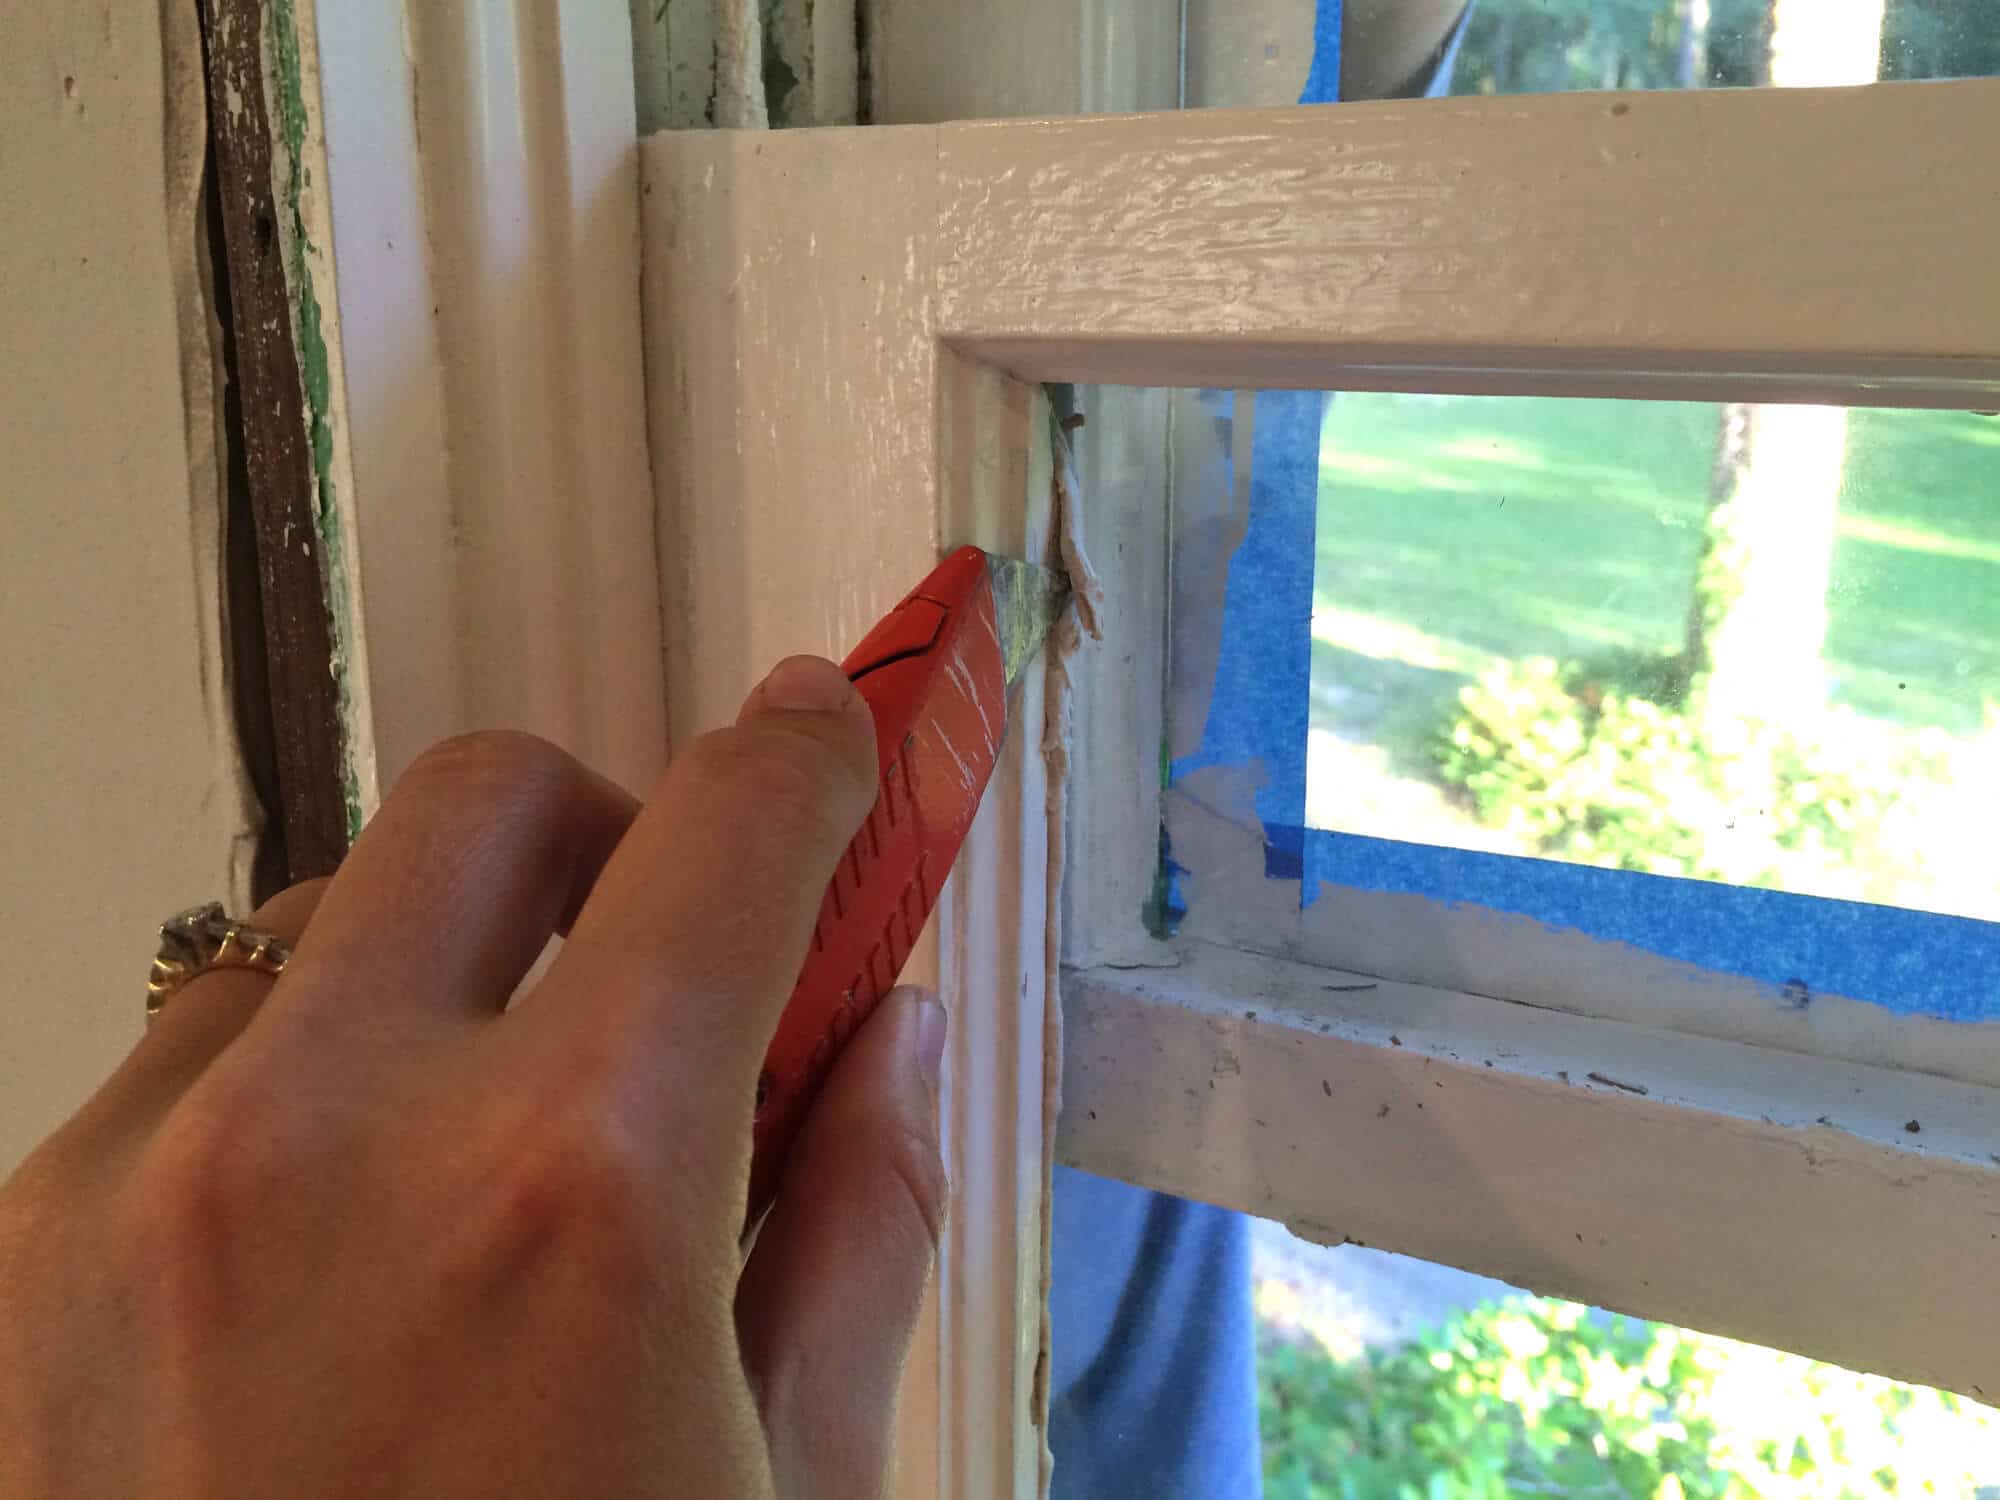
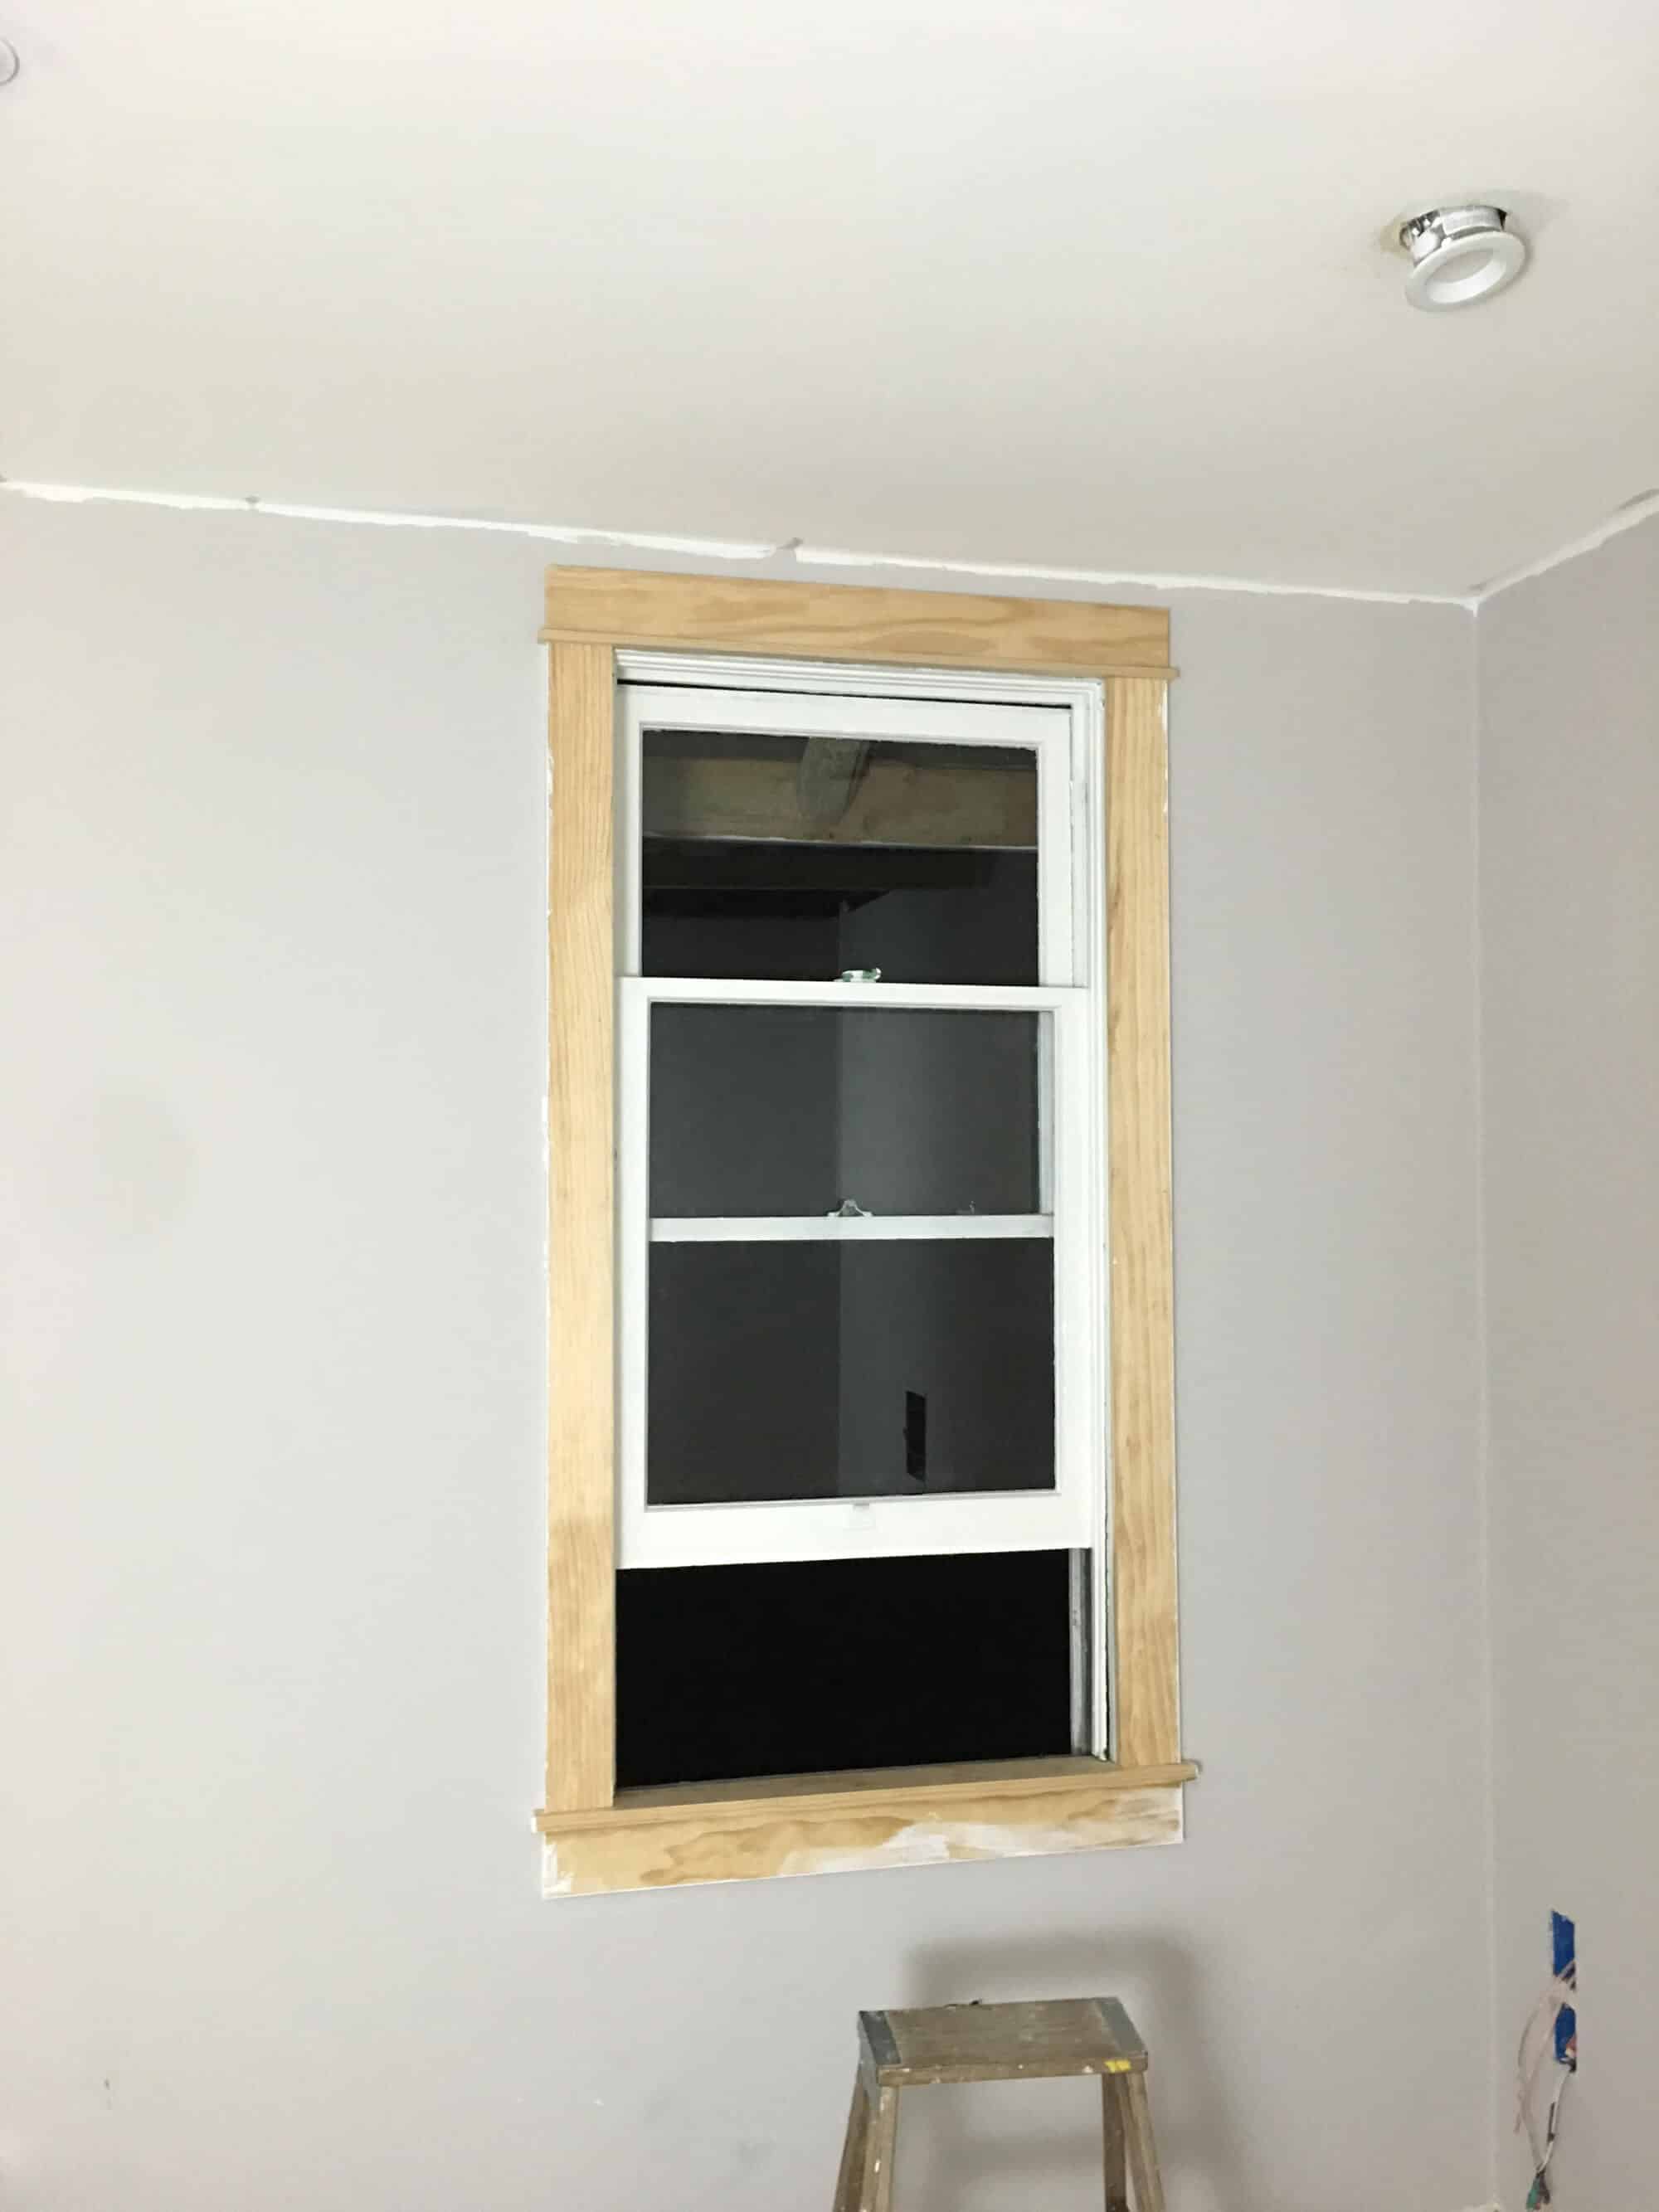
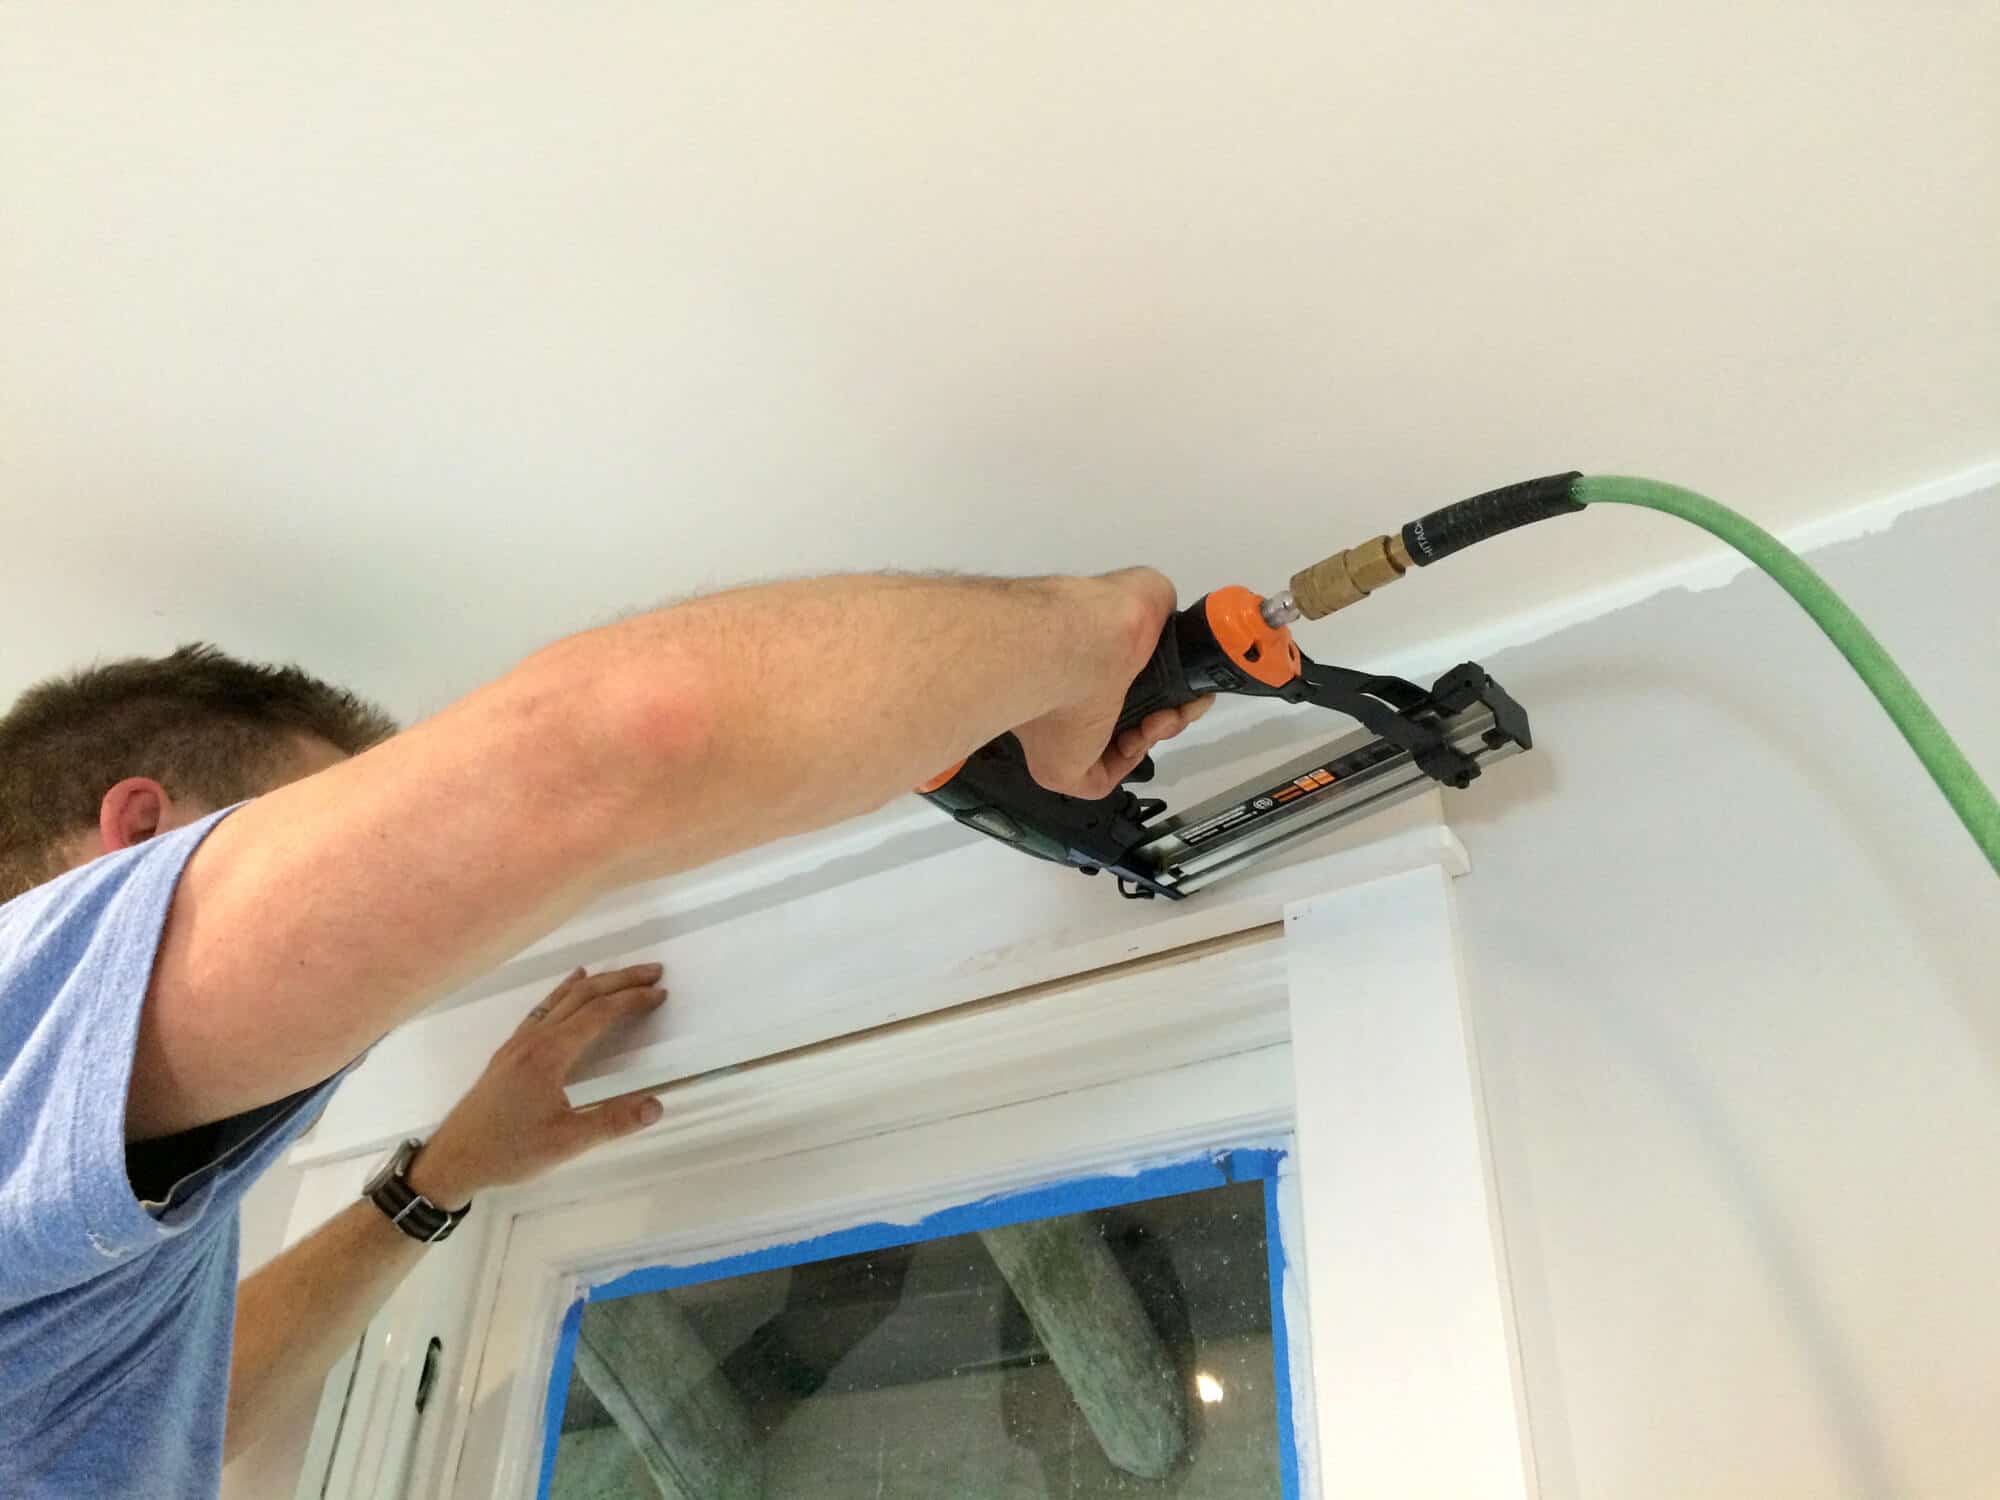
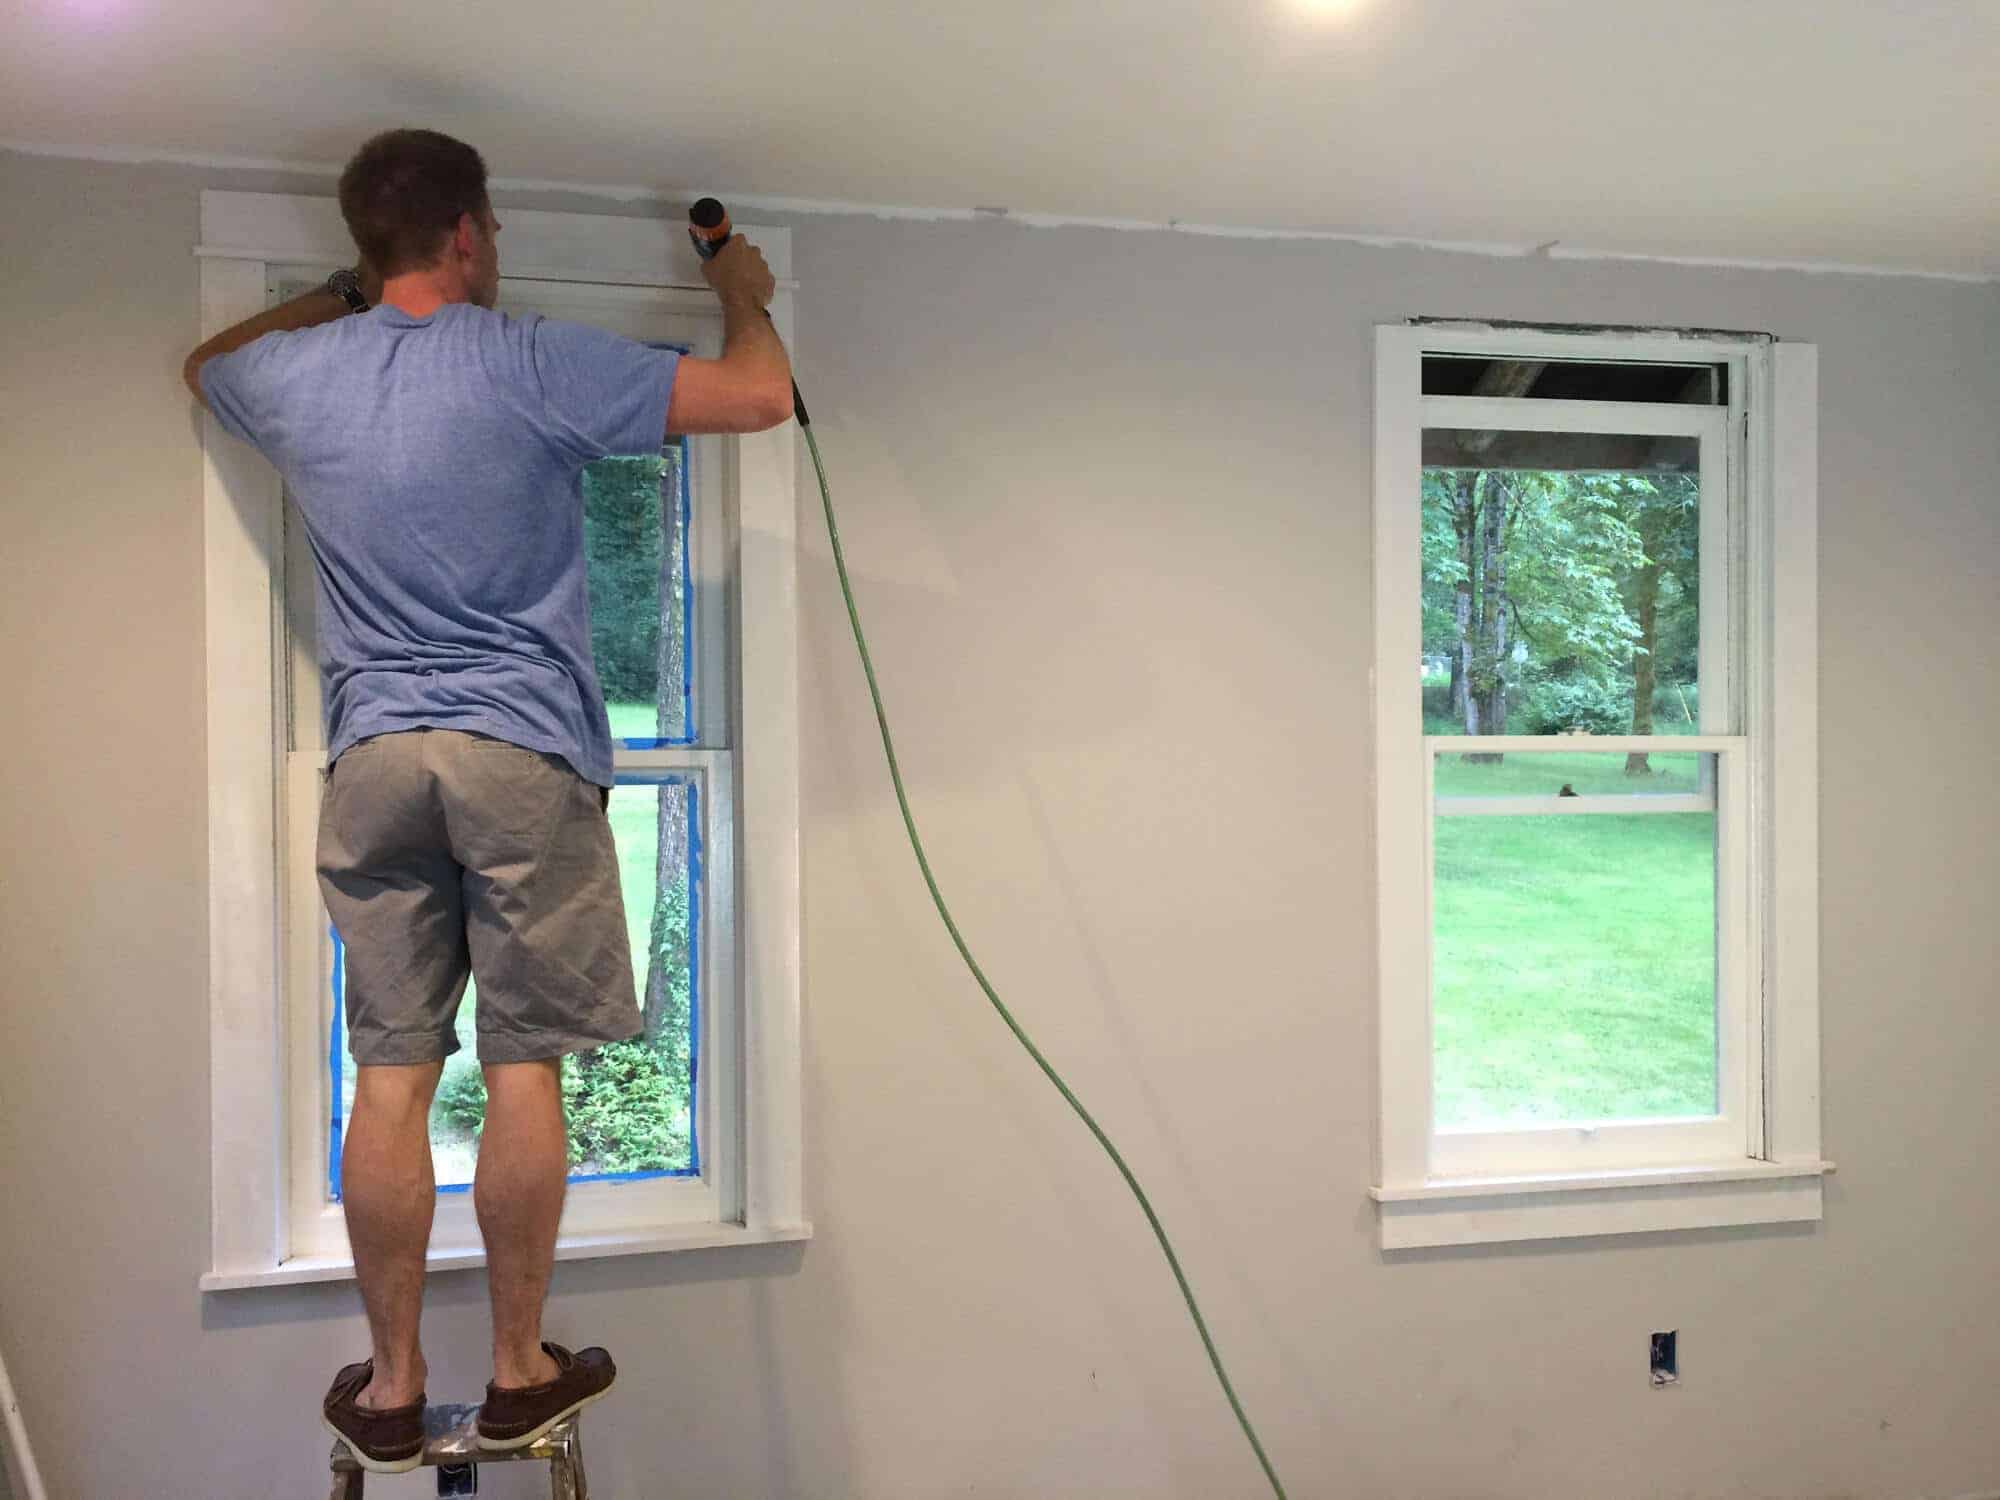
Though we’re going for a contemporary look in this micro-dwelling, we’re also including some traditional touches to reflect the history of our historic 104 year old property and home. We designed the window casings to look identical to the original 1912 window casings in our main home. We also kept the original wavy glass in the windows except for the broken panes of glass we had to replace.
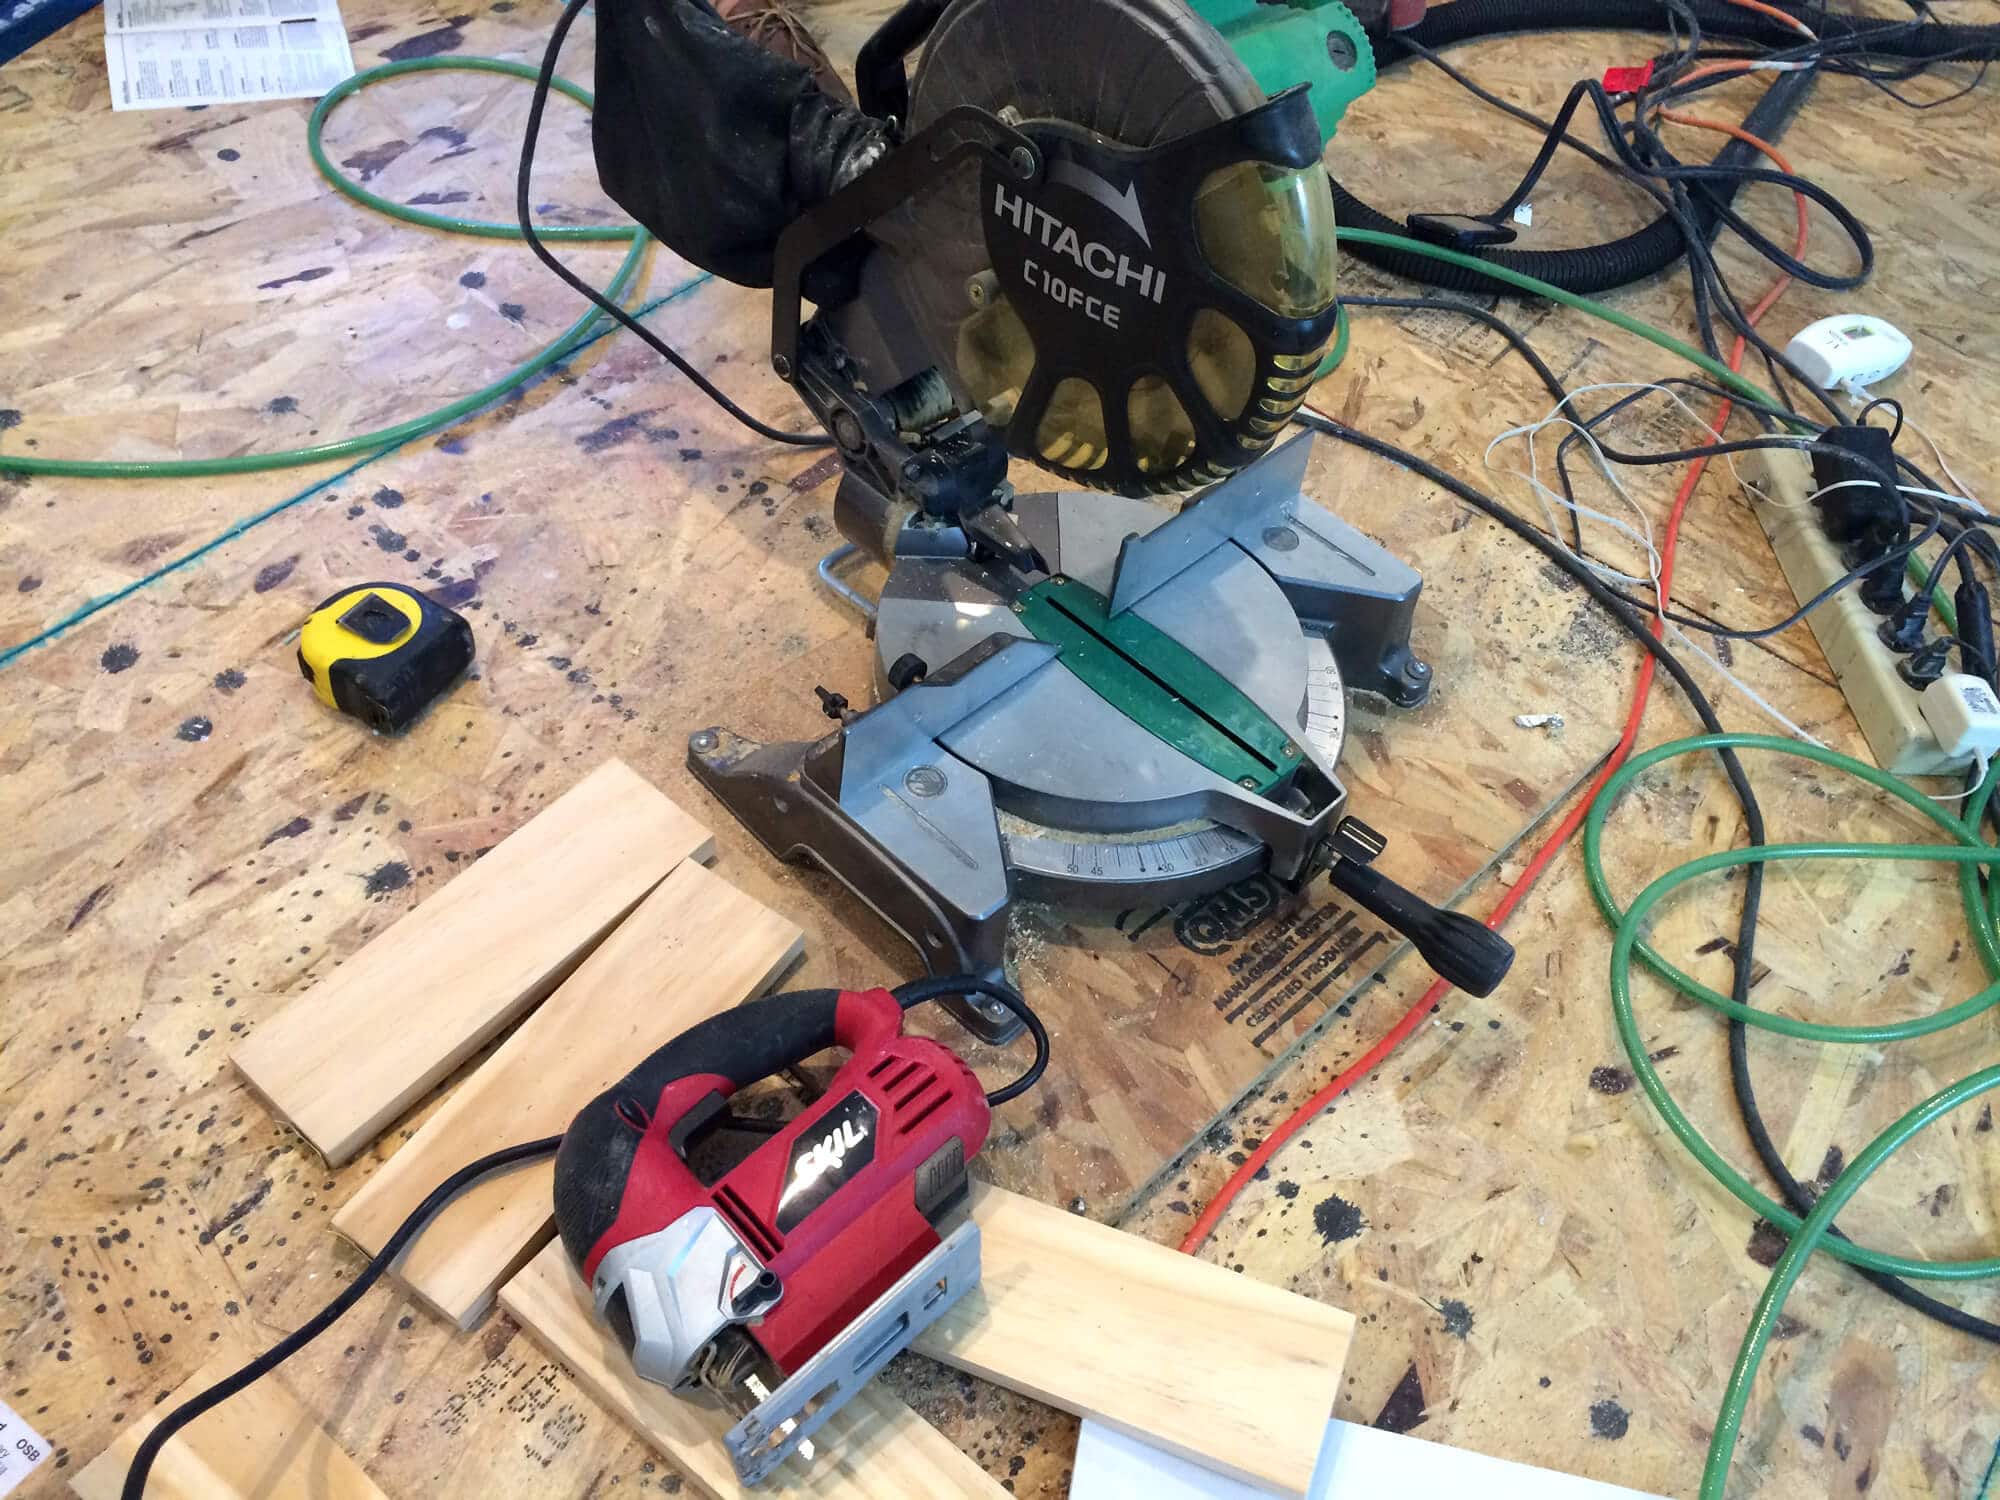
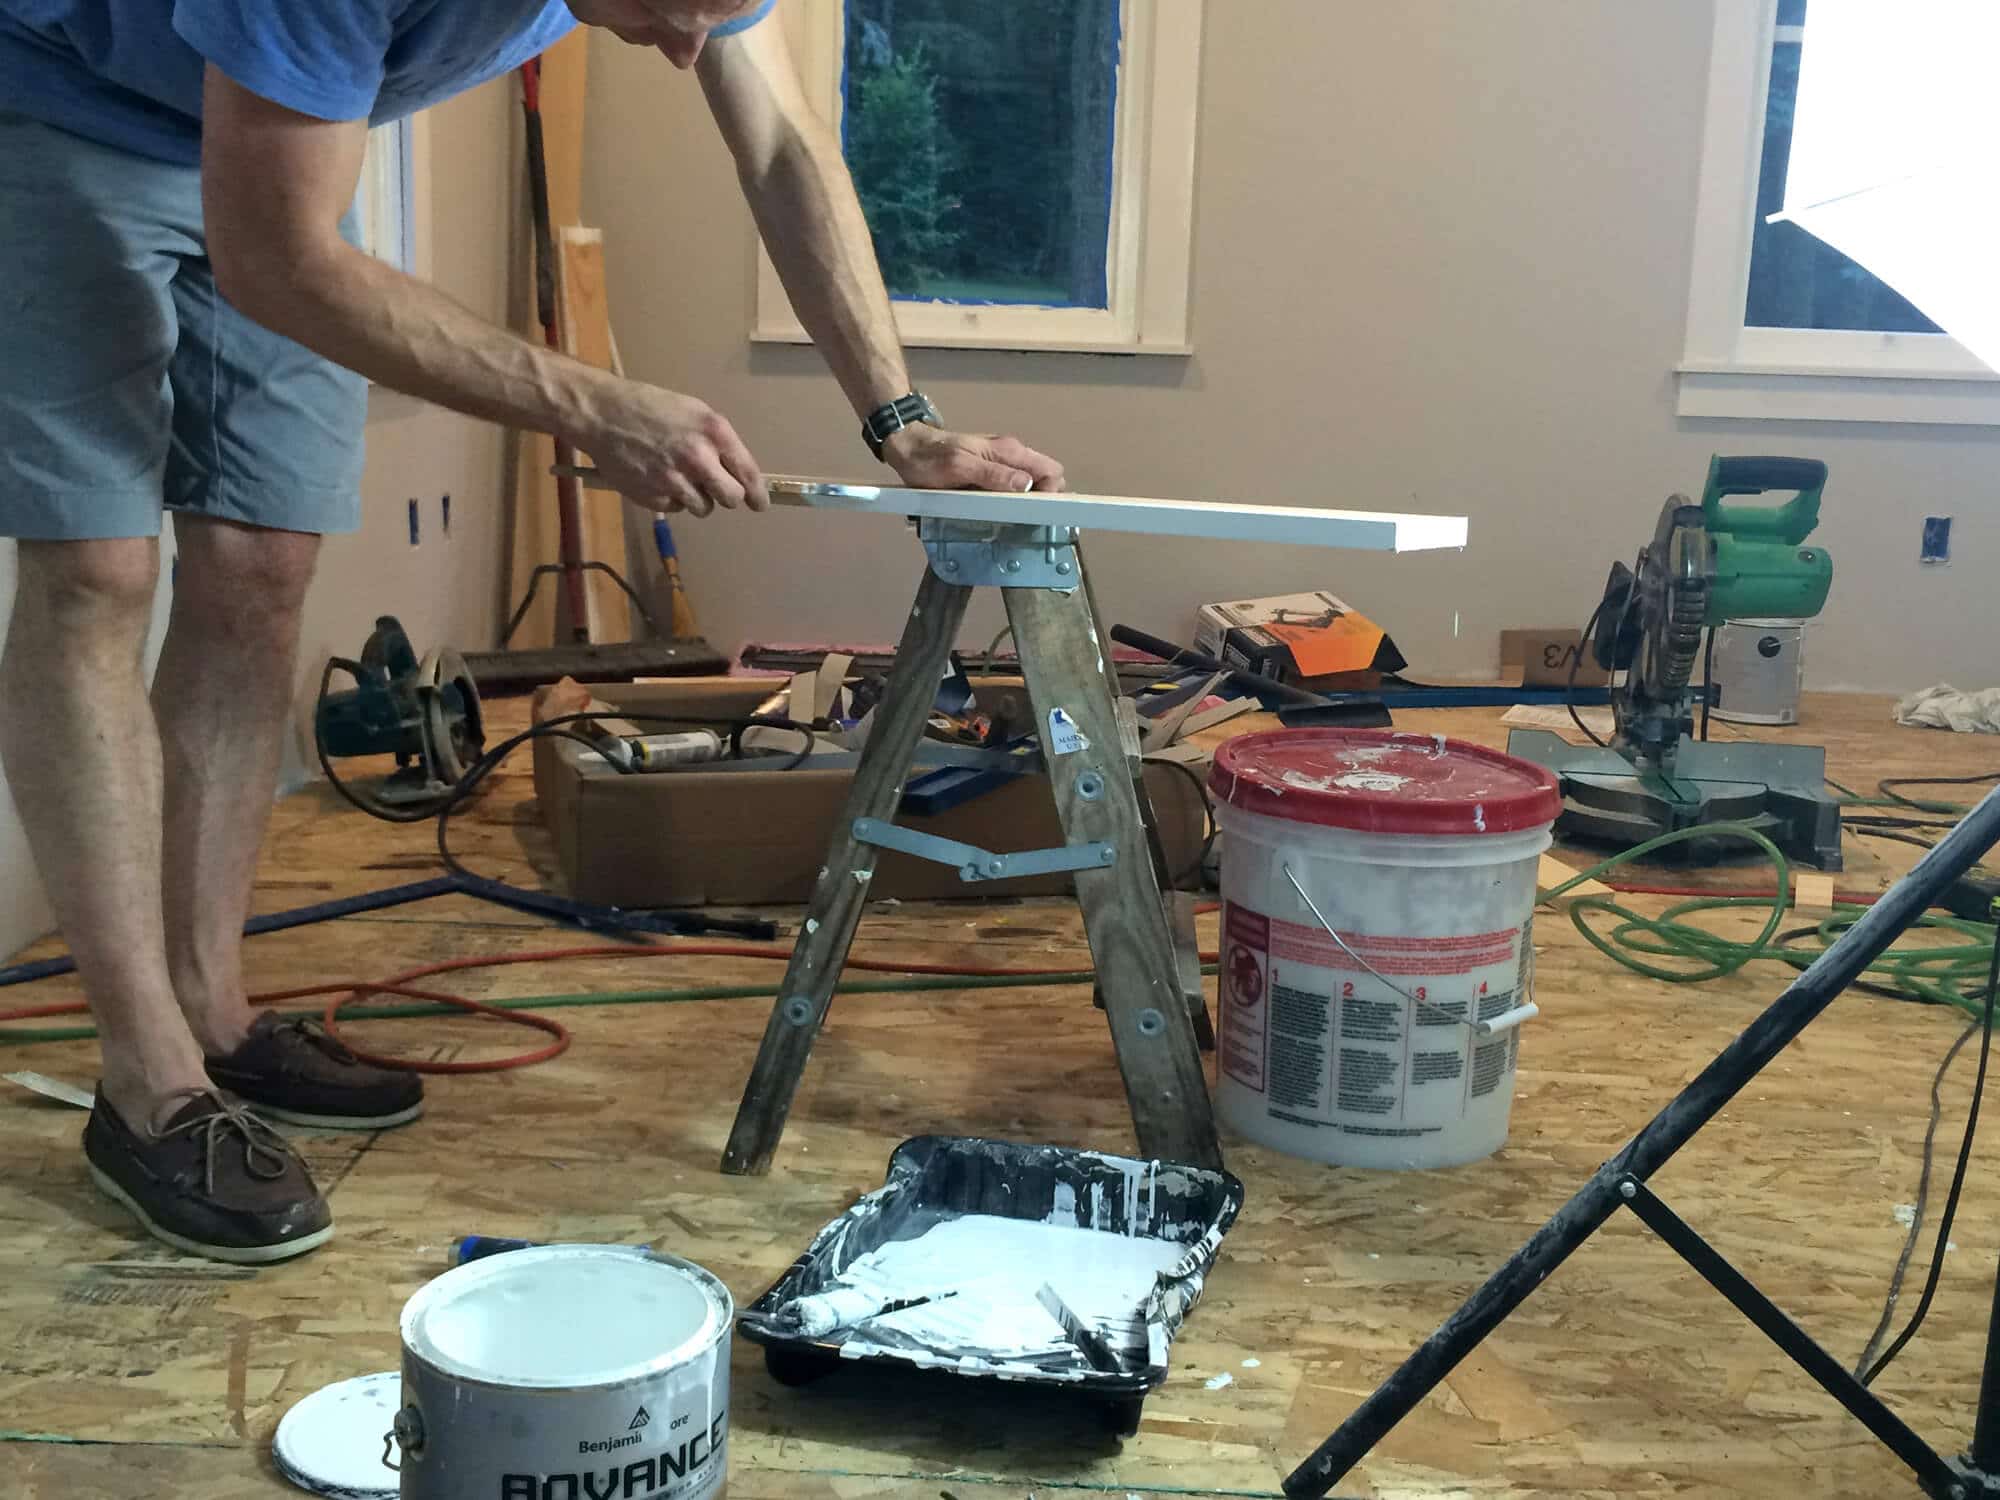
Todd pulled out his Hitachi miter saw and went to work. For just over $100 this saw ROCKS! For making cross cuts and miters nothing beats this type of saw and this Hitachi is an excellent value.
Todd had the window casings done within 2 hours, then we painted and installed them.

We bought this Freeman pneumatic flooring nailer/stapler to install the hardwood floors but it also came in handy for some of the trim work.
There aren’t many products in this price range that do both flooring staples and trim nailing so this was a great choice. It was cheap enough that it didn’t make sense to waste money renting one.
Todd did an awesome job!
And note the gray paint we settled on? It offers enough contrast with the white trim while still keeping the room light and airy.

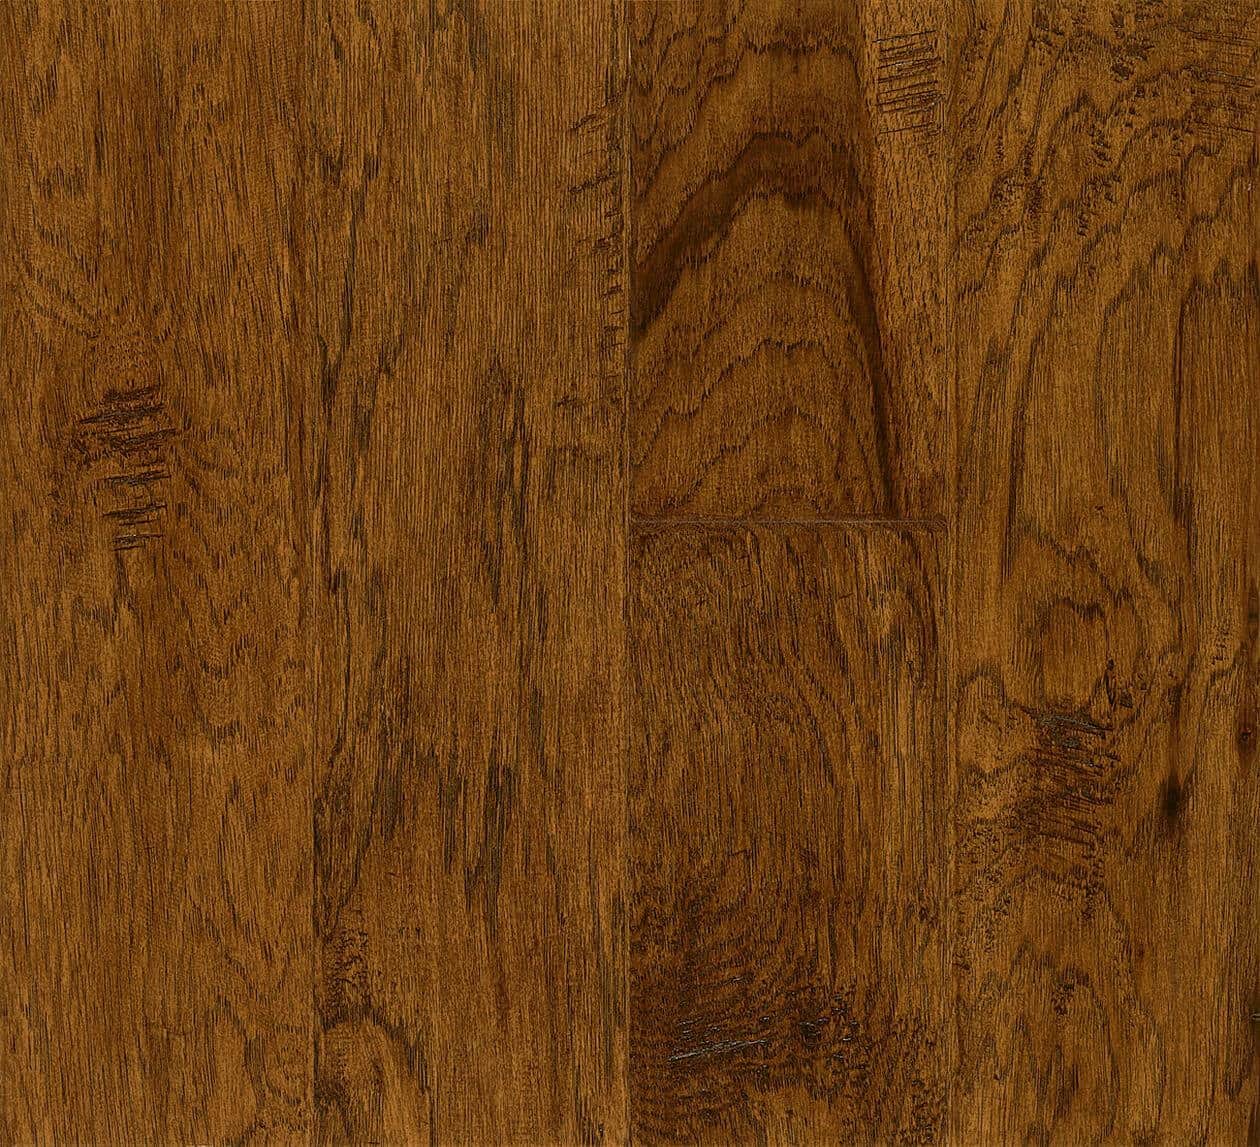
Nothing beats the look and feel of hardwood floors. We searched through dozens of options and finally found one we really loved from Armstrong Flooring.
We went with engineered hardwood which is comparable in price to solid hardwood, sometimes a little less expensive. The advantage of engineered hardwood is that it’s more resistant to warping from humidity fluctuations. There also tends to be a larger selection of styles for engineered hardwood. The other advantage of the choice we went with is that it comes with a 50-year warranty. We chose Armstrong’s Fall Canyon Hickory engineered hardwood. Besides looking beautiful, hickory is more durable than most other wood species, being more resistant to scratches and dents. We wanted a shade of wood that was dark enough to provide good contrast with all the white accents and white kitchen cabinets but light enough to contrast with dark furniture. We chose Fall Canyon and it’s gorgeous.
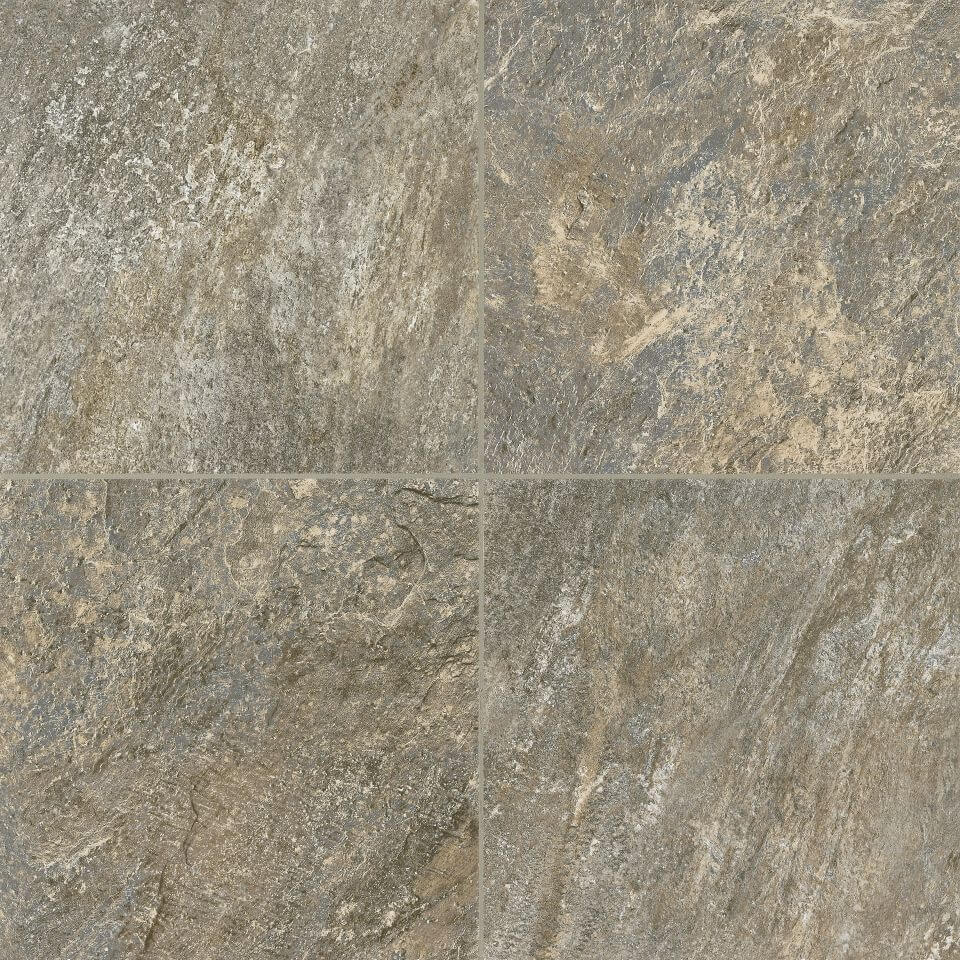
For the bathroom flooring we want to avoid tile floors and go with something easier to install (mostly we don’t want to have to deal with the cutting) but we also want to avoid vinyl. Armstrong provided the perfect solution: A special “luxury vinyl” that is actually a composite of vinyl and limestone so you get both the look and feel of real tile but with much easier installation. We chose Armstrong’s Cuarzo – Iron Blue from their Alterna line.
We can’t wait to get the hardwood and bathroom floors installed!


Hi, I’m Kimberly Killebrew and welcome to Daring Gourmet where you'll find delicious originals, revitalized classics, and simply downright good eats from around the world! Originally from Germany, later raised in England, world-traveled, and now living in the U.S., from my globally-influenced kitchen I invite you to tour the world through your taste buds!


Wow! I cannot believe how patient and hard-working your husband and brother were for this project. We probably would have divorced over installing then moving walls and windows. Wonderful men you have!
Lol! It’s true, many people say that remodeling puts more strain on a marriage than most anything else. Fortunately we’ve come away from this without any scar tissue or need for couples counseling, haha ;) It was a great team effort and all three of us worked really well together. We’re just extremely glad it’s nearly done now (90% of it)!
Wow, I haven’t checked in for a while! This is fabulous, can’t wait to see the end result!!
Photography is great — love your writing style — feel like I am there watching — experiencing it along with you guys!
Thank you, William, I’m so thrilled you’re following along, it makes this project all the more fun! :)
This is looking great!
Oh my gosh! How cool! I’ve always wanted to buy a house and work on it like this! I can’t wait to see the end result!
How fun to see the progress! This is going to be amazing!