Pickled Turnips
This post may contain affiliate links. See my disclosure policy.
Pickling is a method of preservation that dates back to Neolithic times around 7000 BC. During this anaerobic fermentation process strange and wonderful things happen that transform the original product into something quite different. And very healthy with all those probiotics.
So why not turnips? Yes, turnips. Pickled. Excited yet?
If you’ve never tried them you really should give them a go. They’ve been a staple food in the Middle East forever, particularly in Lebanon, Egypt and Syria, accompanying a whole array of dishes from breakfast to dinner. Pickled turnips are one of those simple, humble ingredients that can boost the flavor of certain dishes up by several notches. Or they can enhance the experience of a meal by serving them as a table condiment and popping them into your mouth between bites.
Try setting them out in a bowl on the dinner table like you would a bowl of pickles, peppers or olives and see what happens.
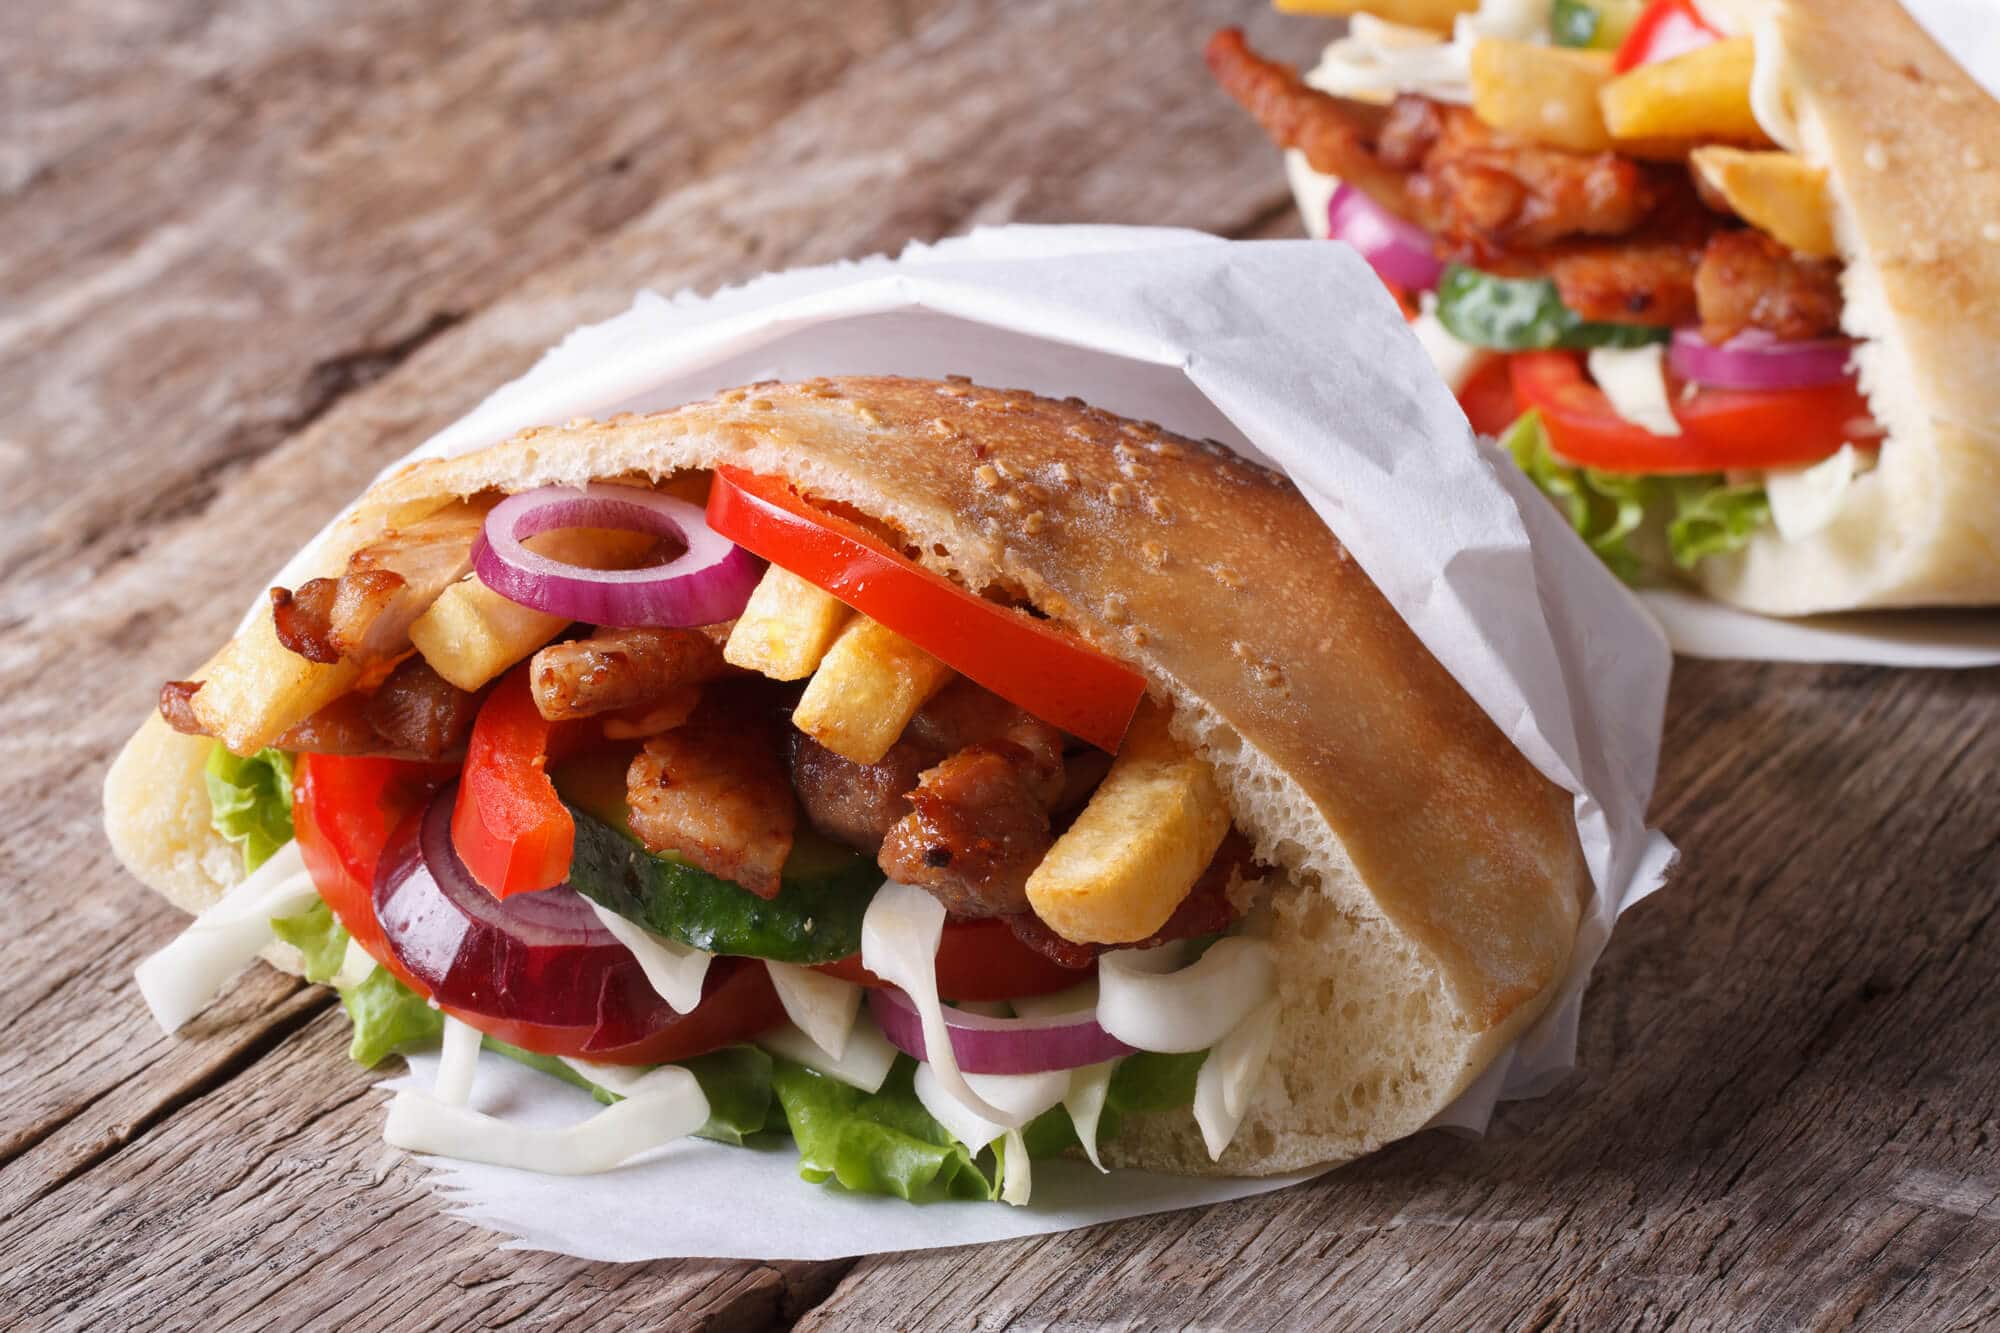
And they’re an especially great side to serve with Middle Eastern dishes like baba ganoush, hummus, flatbread, in falafels and in shawarmas.
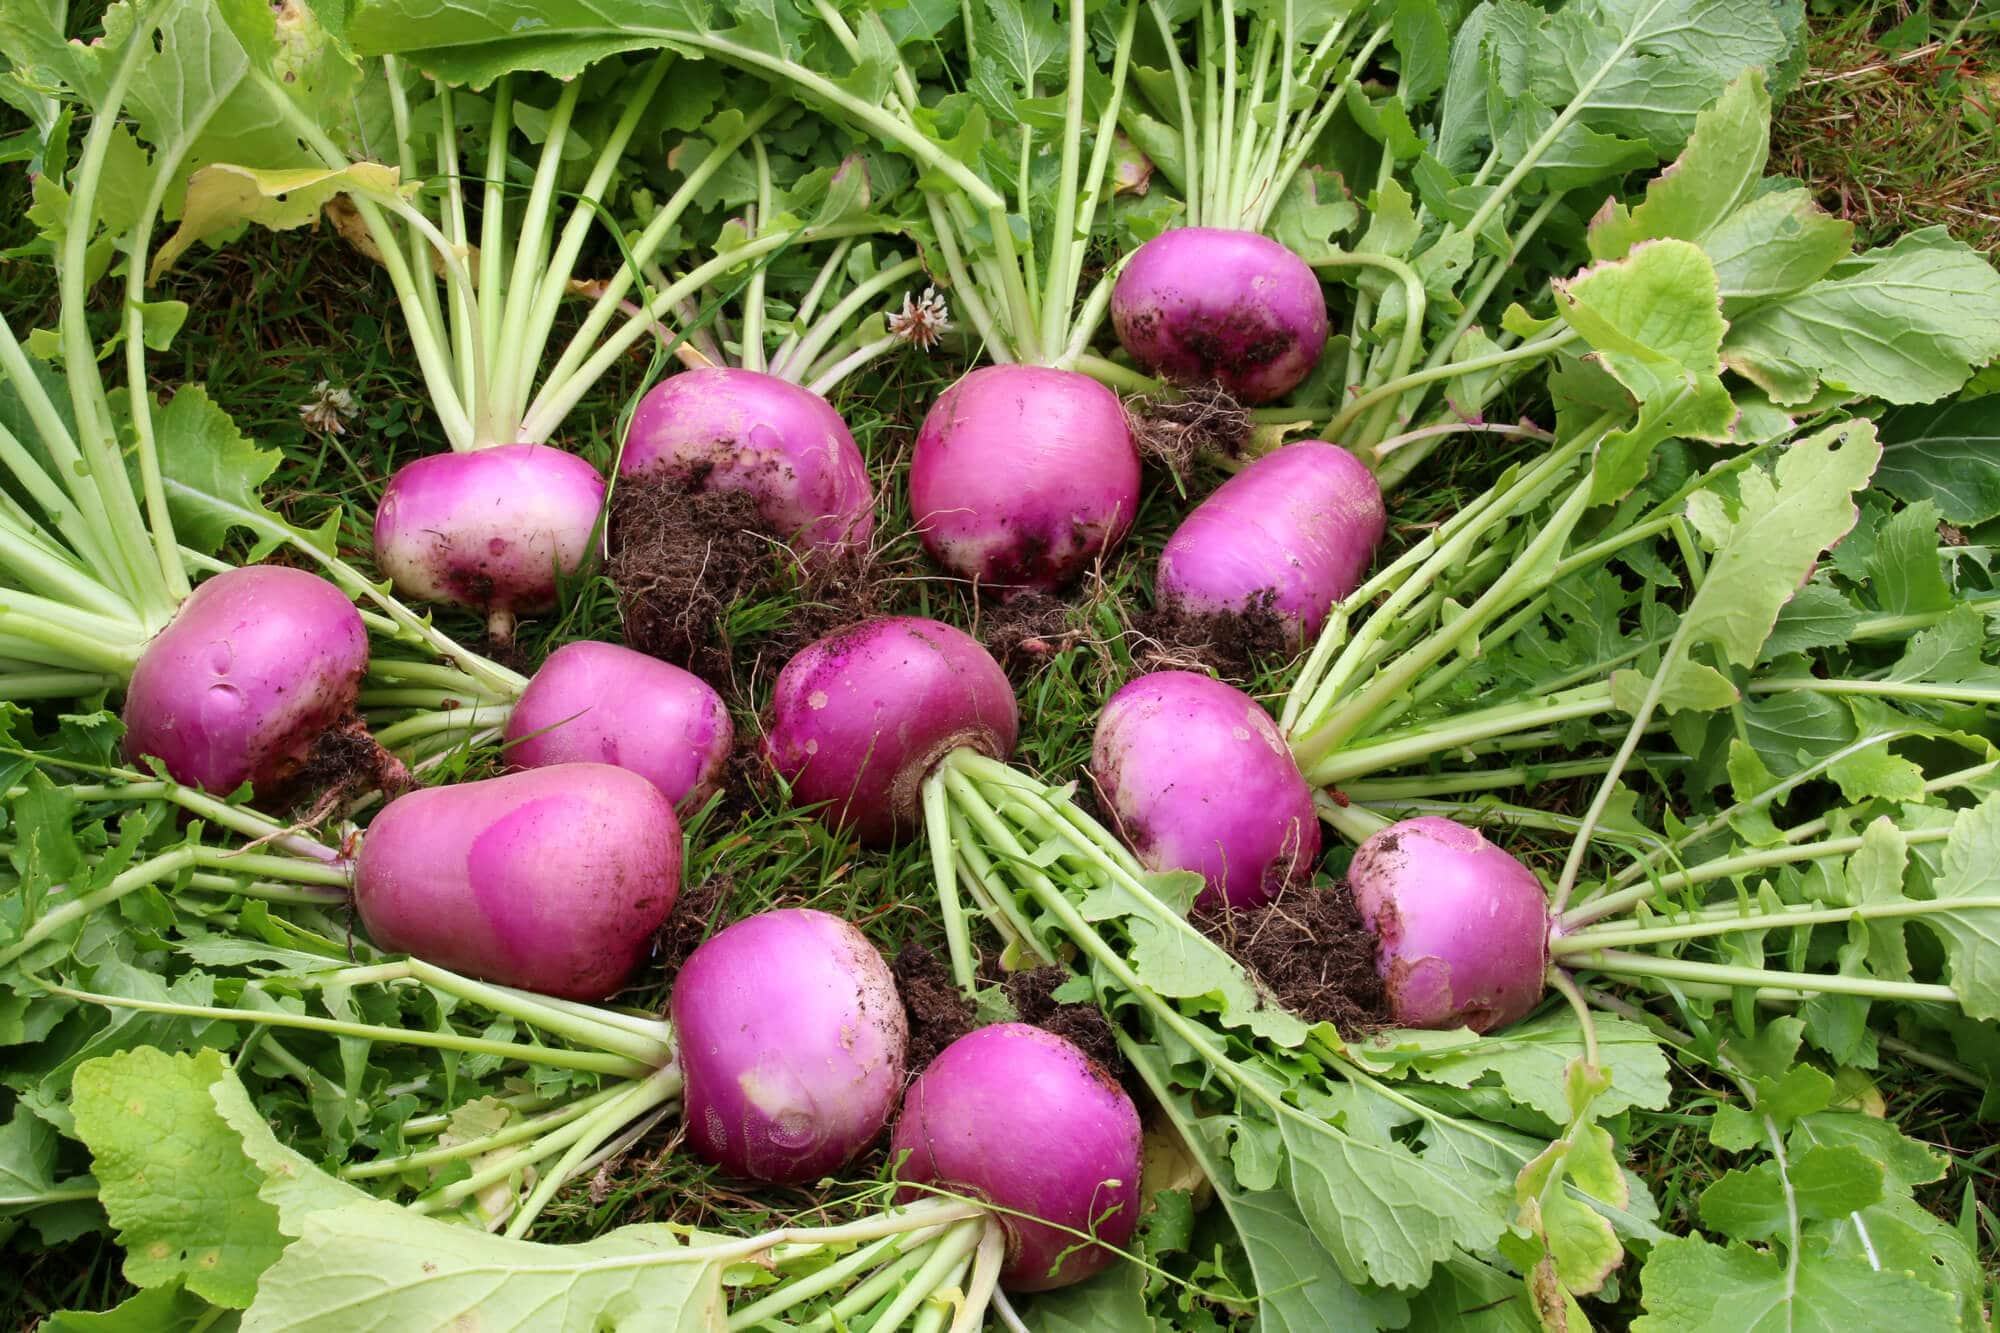
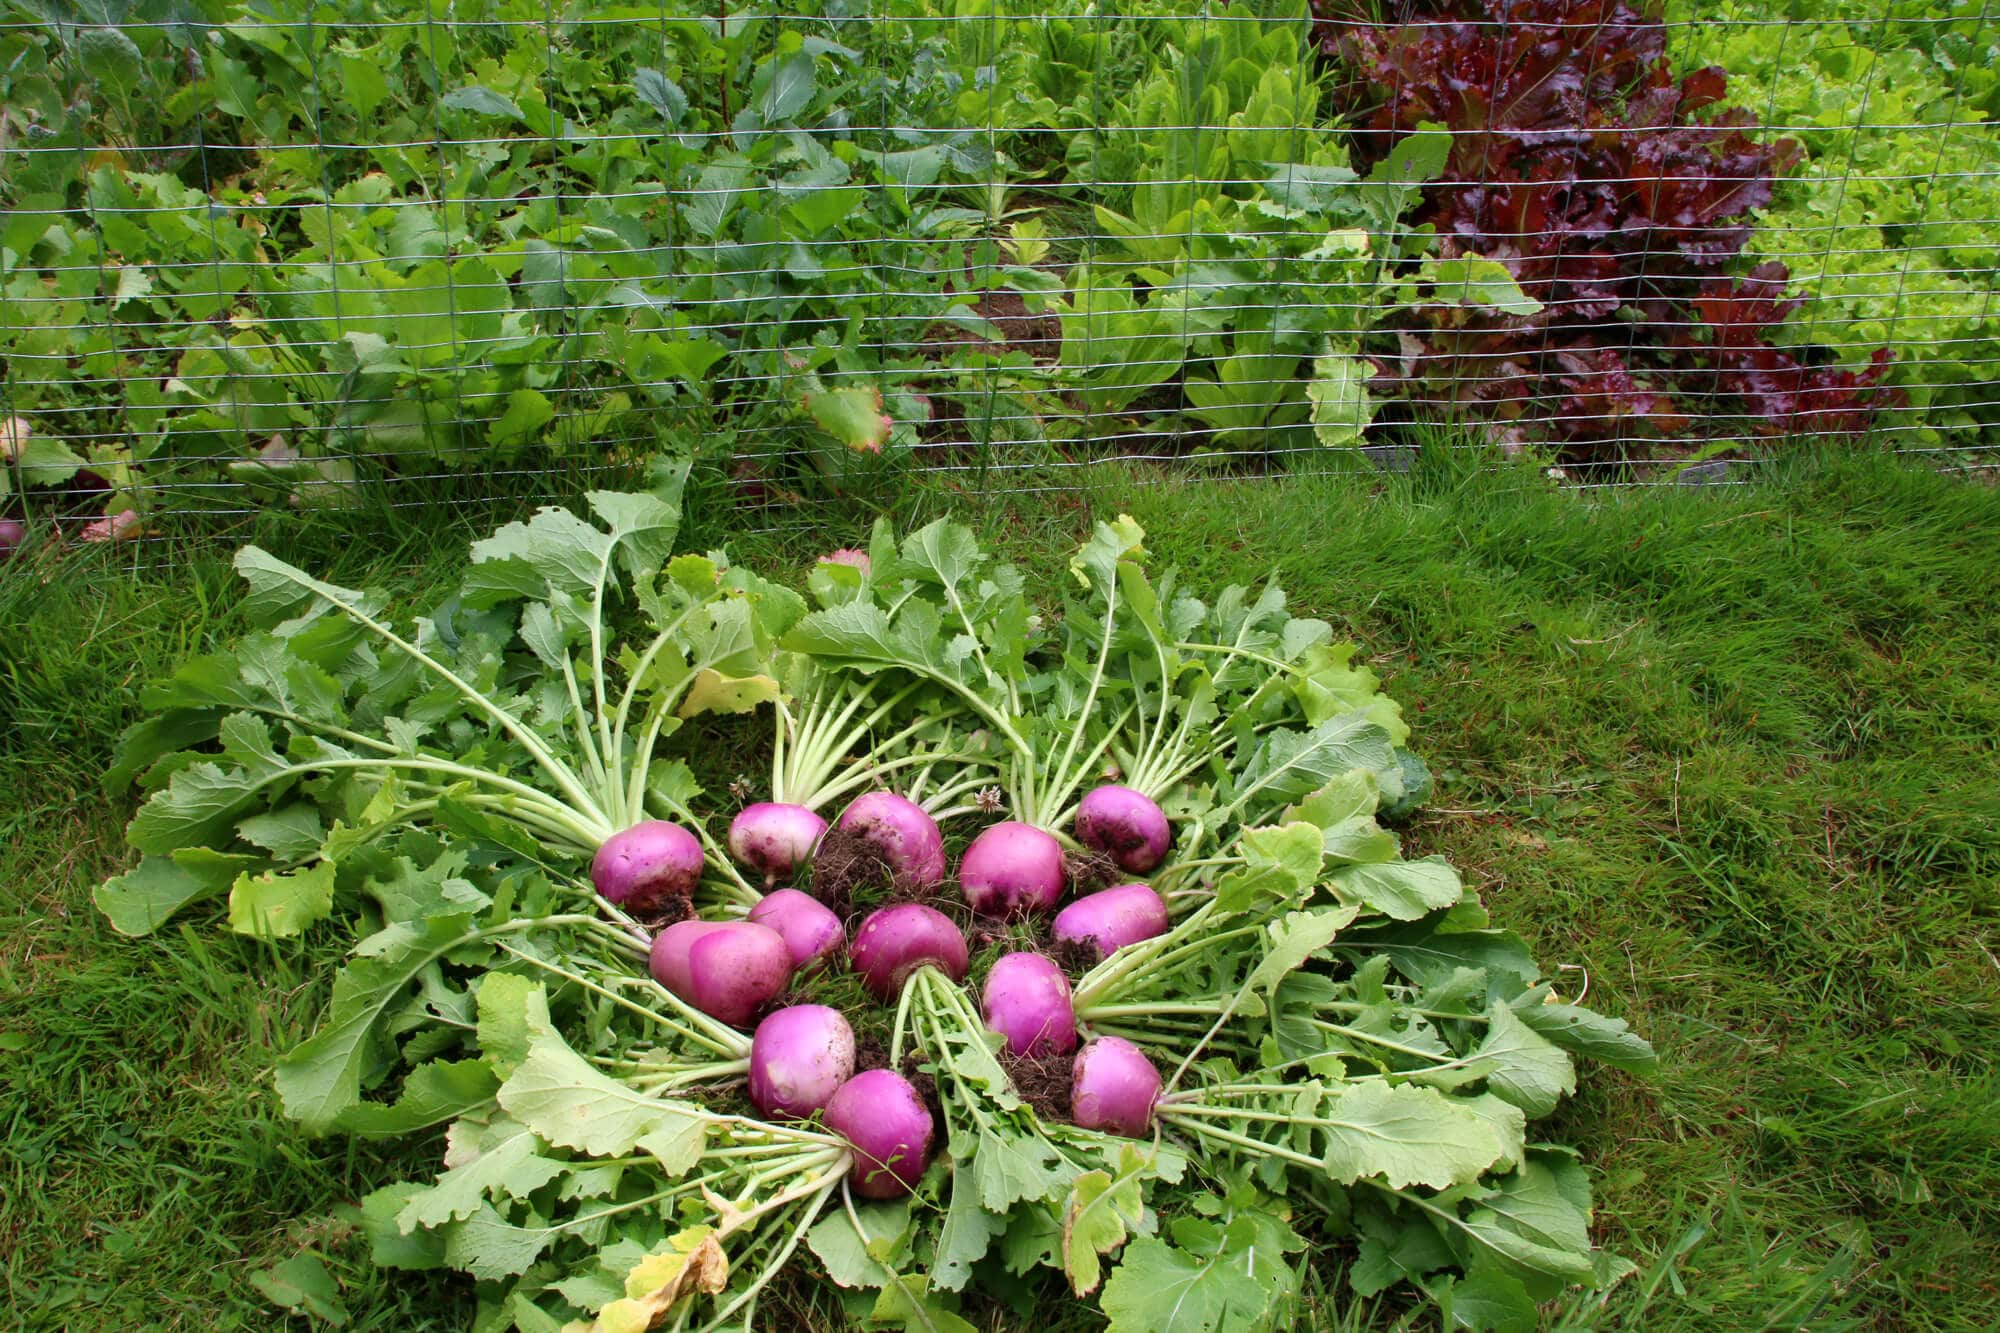
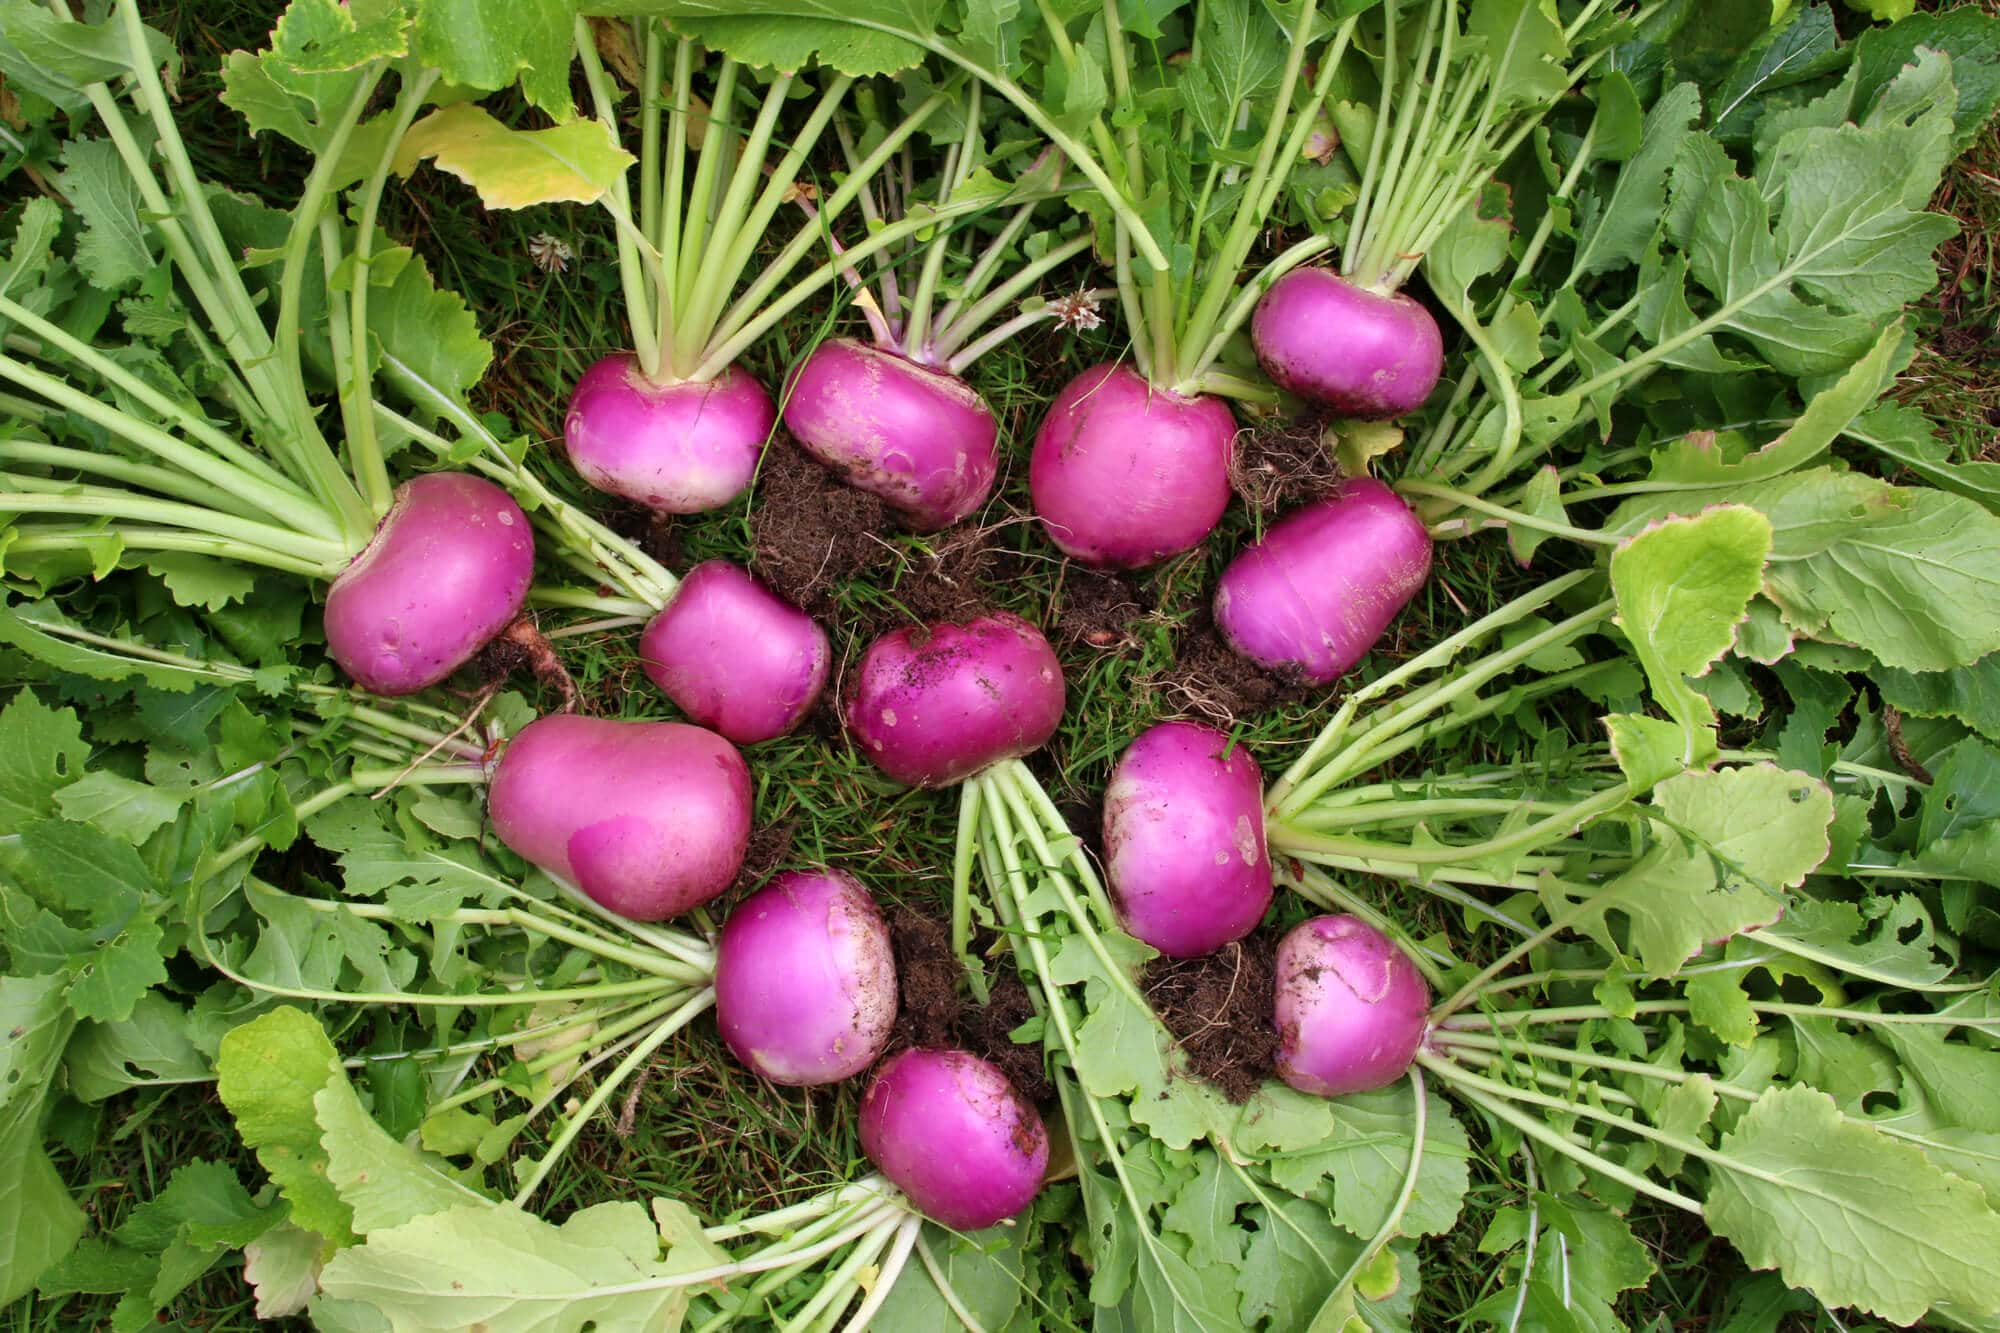
I grew a bunch of turnips for the first time this year and am impressed by how easy and fuss-free they are to grow. They pretty much just do their own thing, even in the midst of competing weeds, and produce a beautiful crop.
With such a generous crop of turnips I’ve been experimenting more with these normally neglected root vegetables and have come to appreciate them quite a lot. Their mild flavor and pleasant crunch lend themselves perfectly to salads and I’ve been making a variety of oil and vinegar salads with them as well as adding them to other salads.
They’re also terrific baked or roasted alongside chicken. And have you ever had them pureed like mashed potatoes? They’re great!
But I still had a lot of turnips leftover and wanted to make good use of them and find a way to store them up for the Winter. What immediately came to mind was pickled turnips like the kind I was introduced to when I was doing a study abroad in Israel and frequently enjoyed when devouring shawarmas at Middle Eastern restaurants in Europe.
Incredibly simple to make, pickled turnips are an unexpectedly delicious way to put this root vegetable to use!
Let’s get started!
First we’re going to make the bring and all you have to do is add all the brine ingredients to a medium stock pot and bring it to a boil. Reduce the heat to medium, cover and simmer for 10 minutes. Let it cool completely.

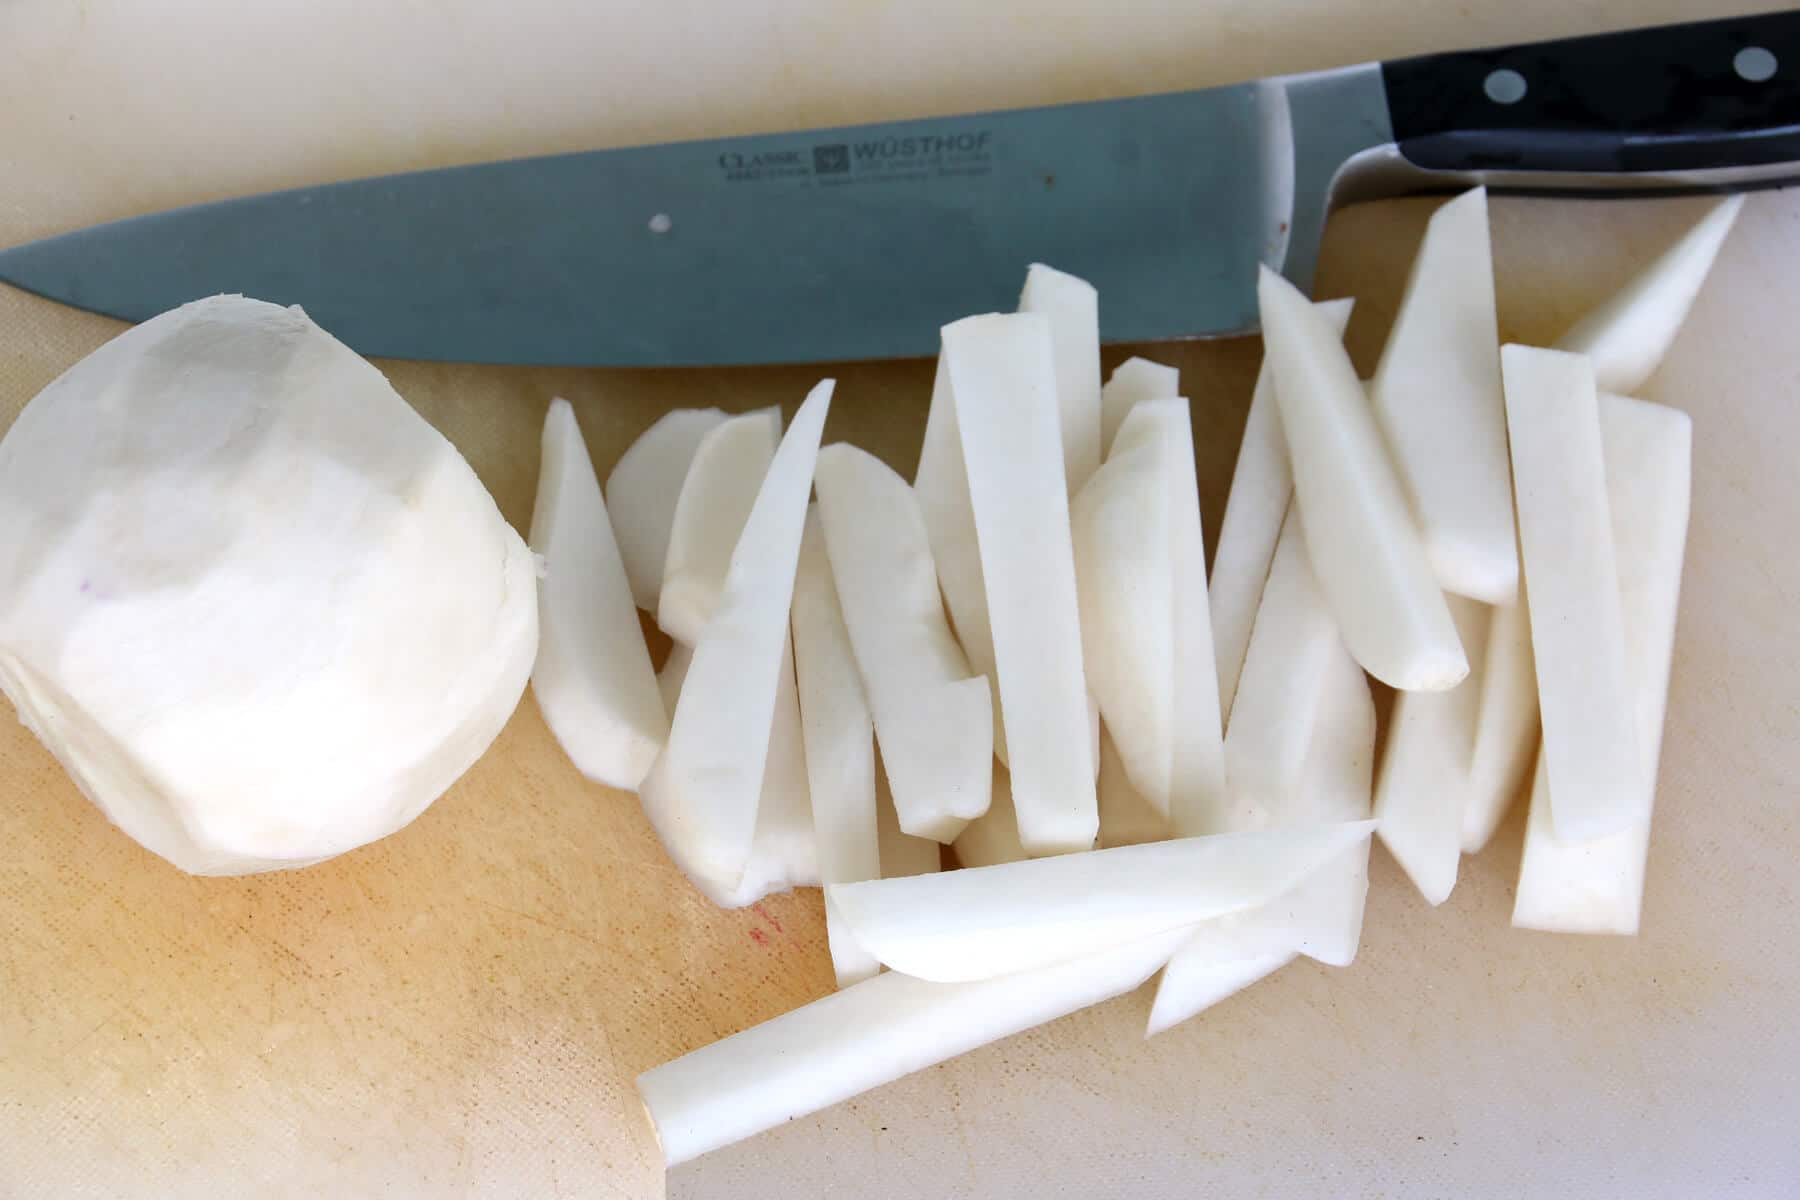
Peel the turnips and cut them into spears or slices, whichever you prefer.
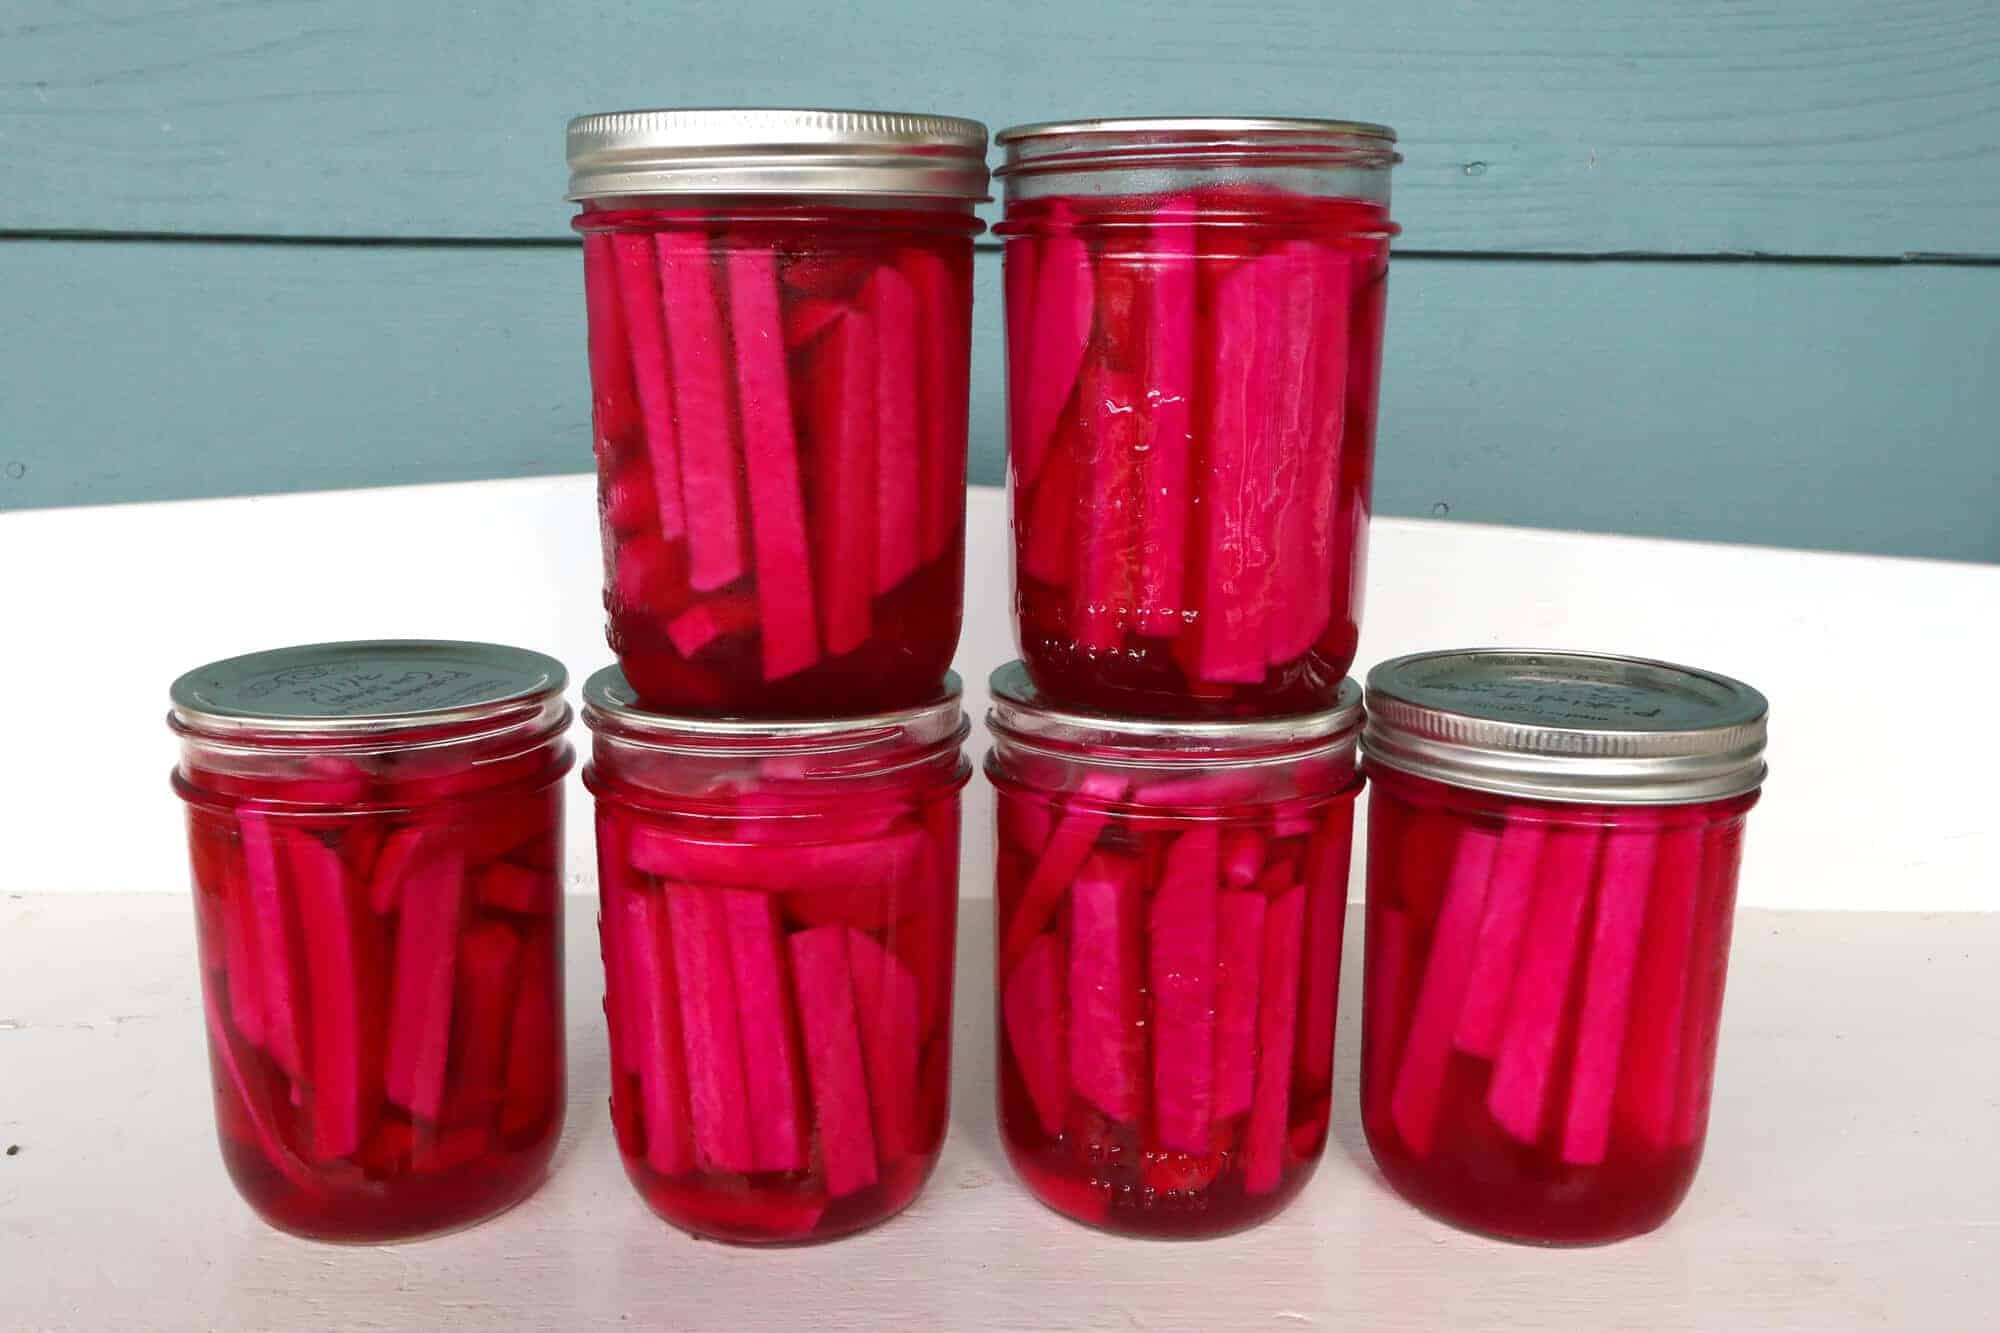
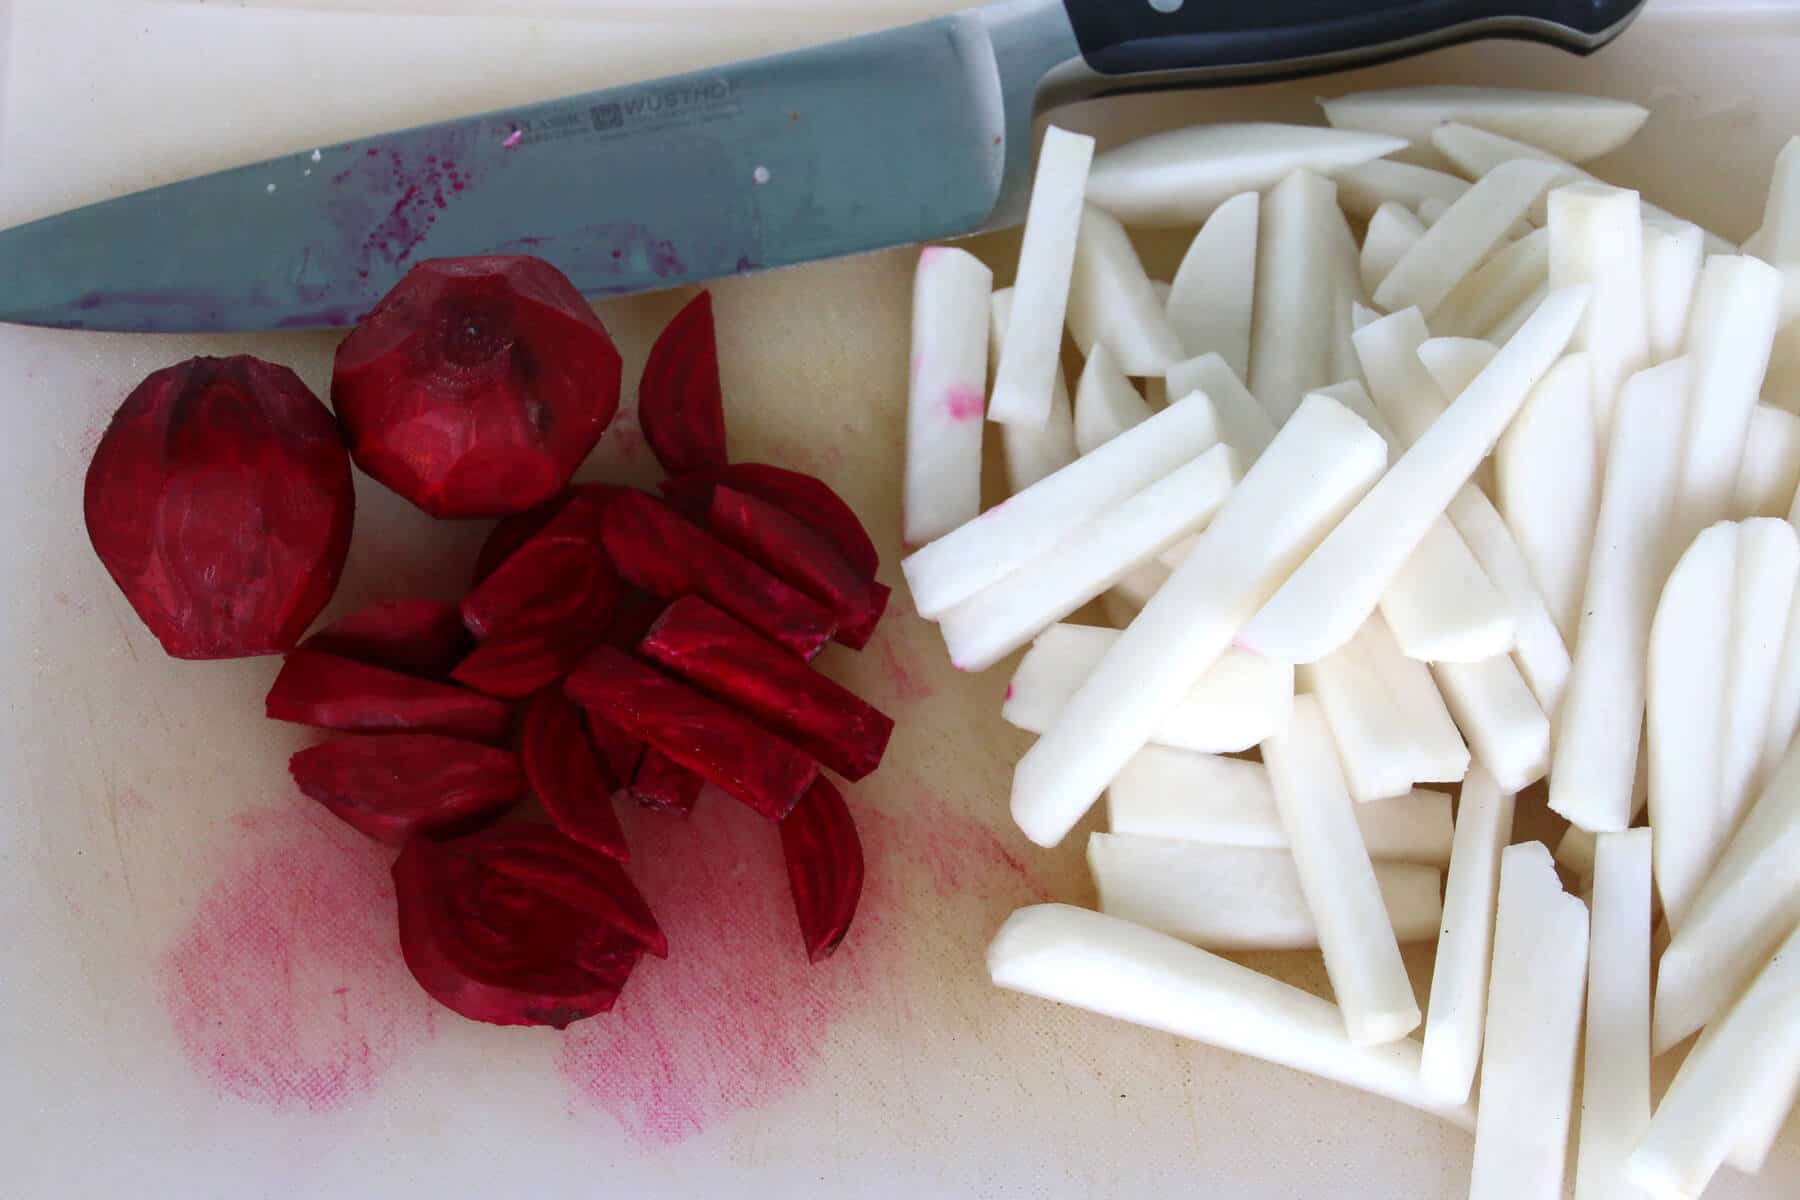
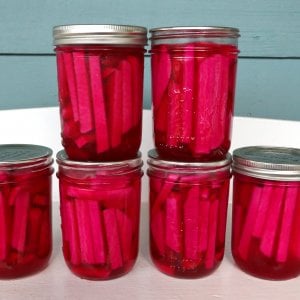
Slice up a a large beet or two small beets. Beets are traditionally used for pickled turnips, they make them visually more appealing. Over time the color becomes a vibrant neon pink.
Pack the turnips and a few slices of beet along with a clove of garlic into sterilized glass jars.
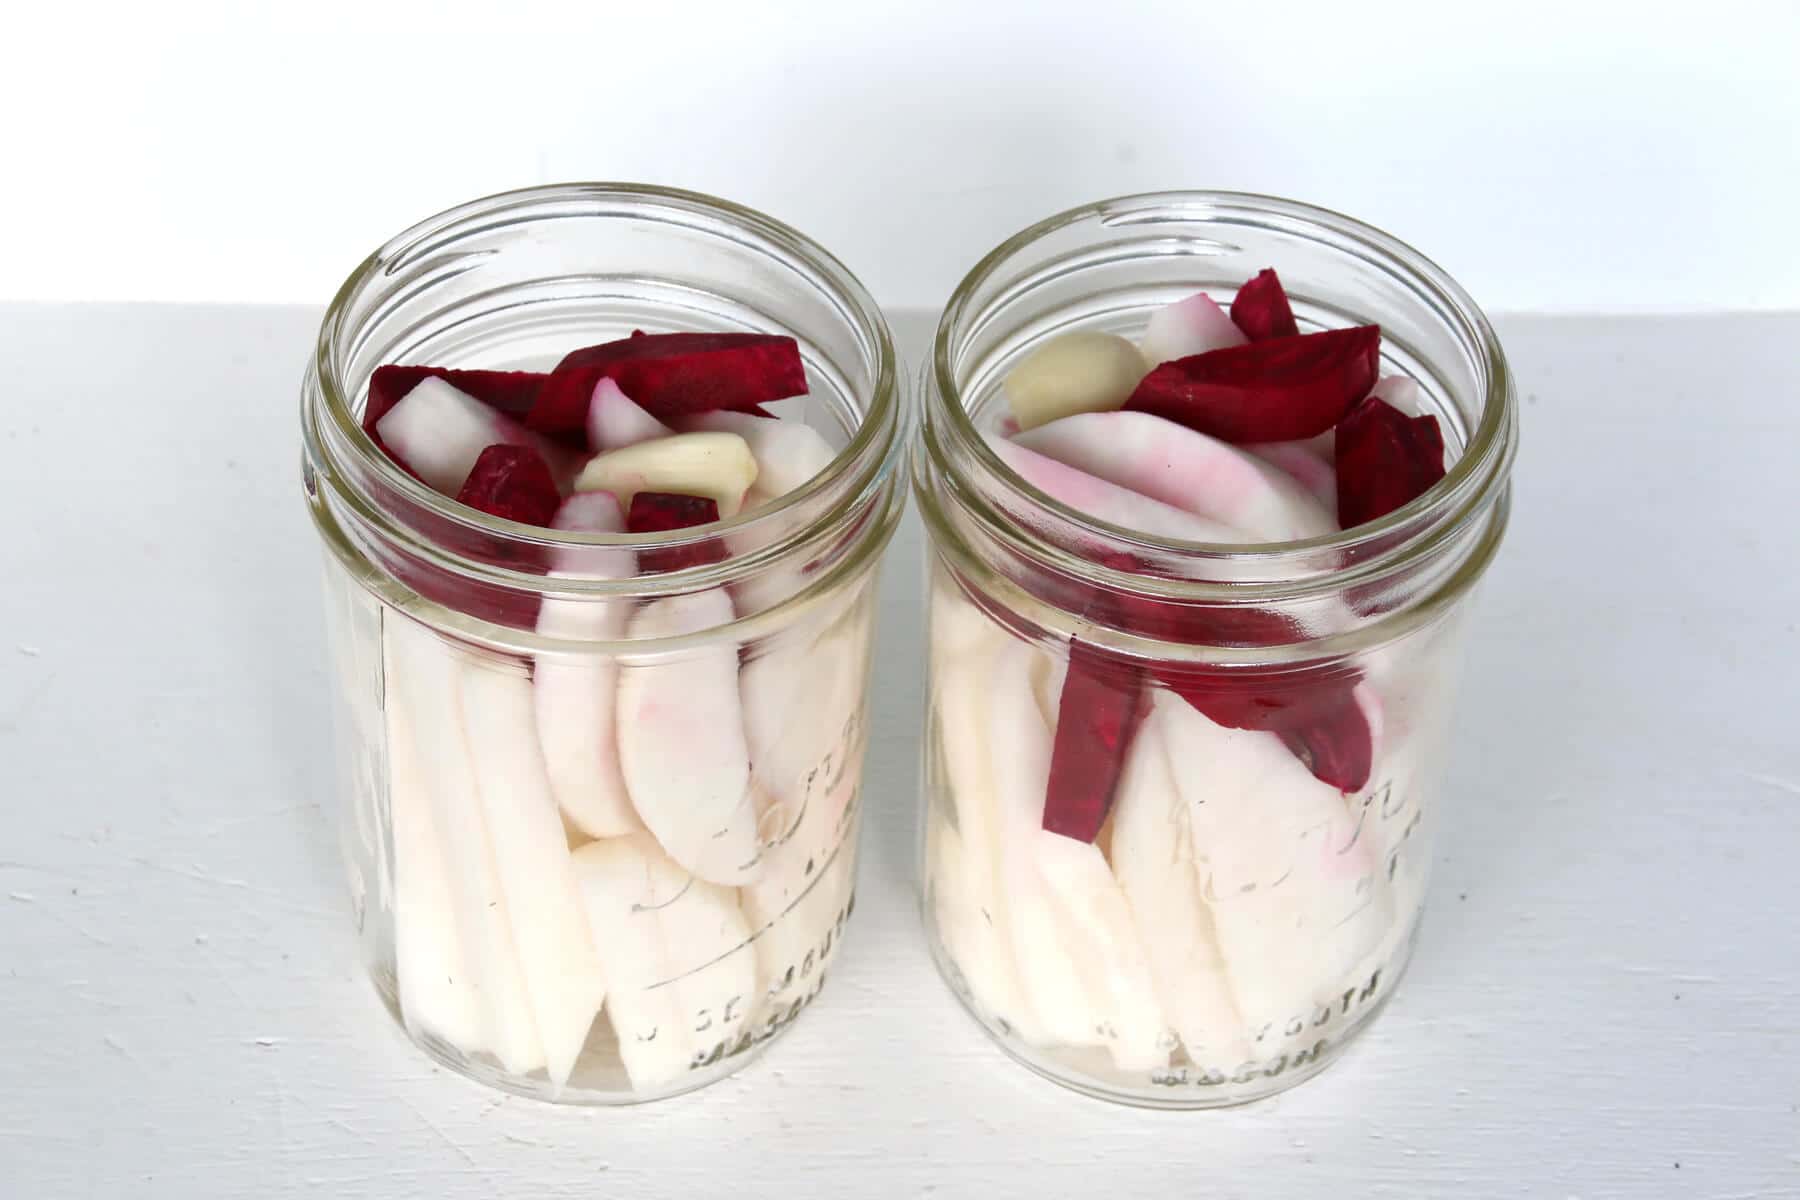
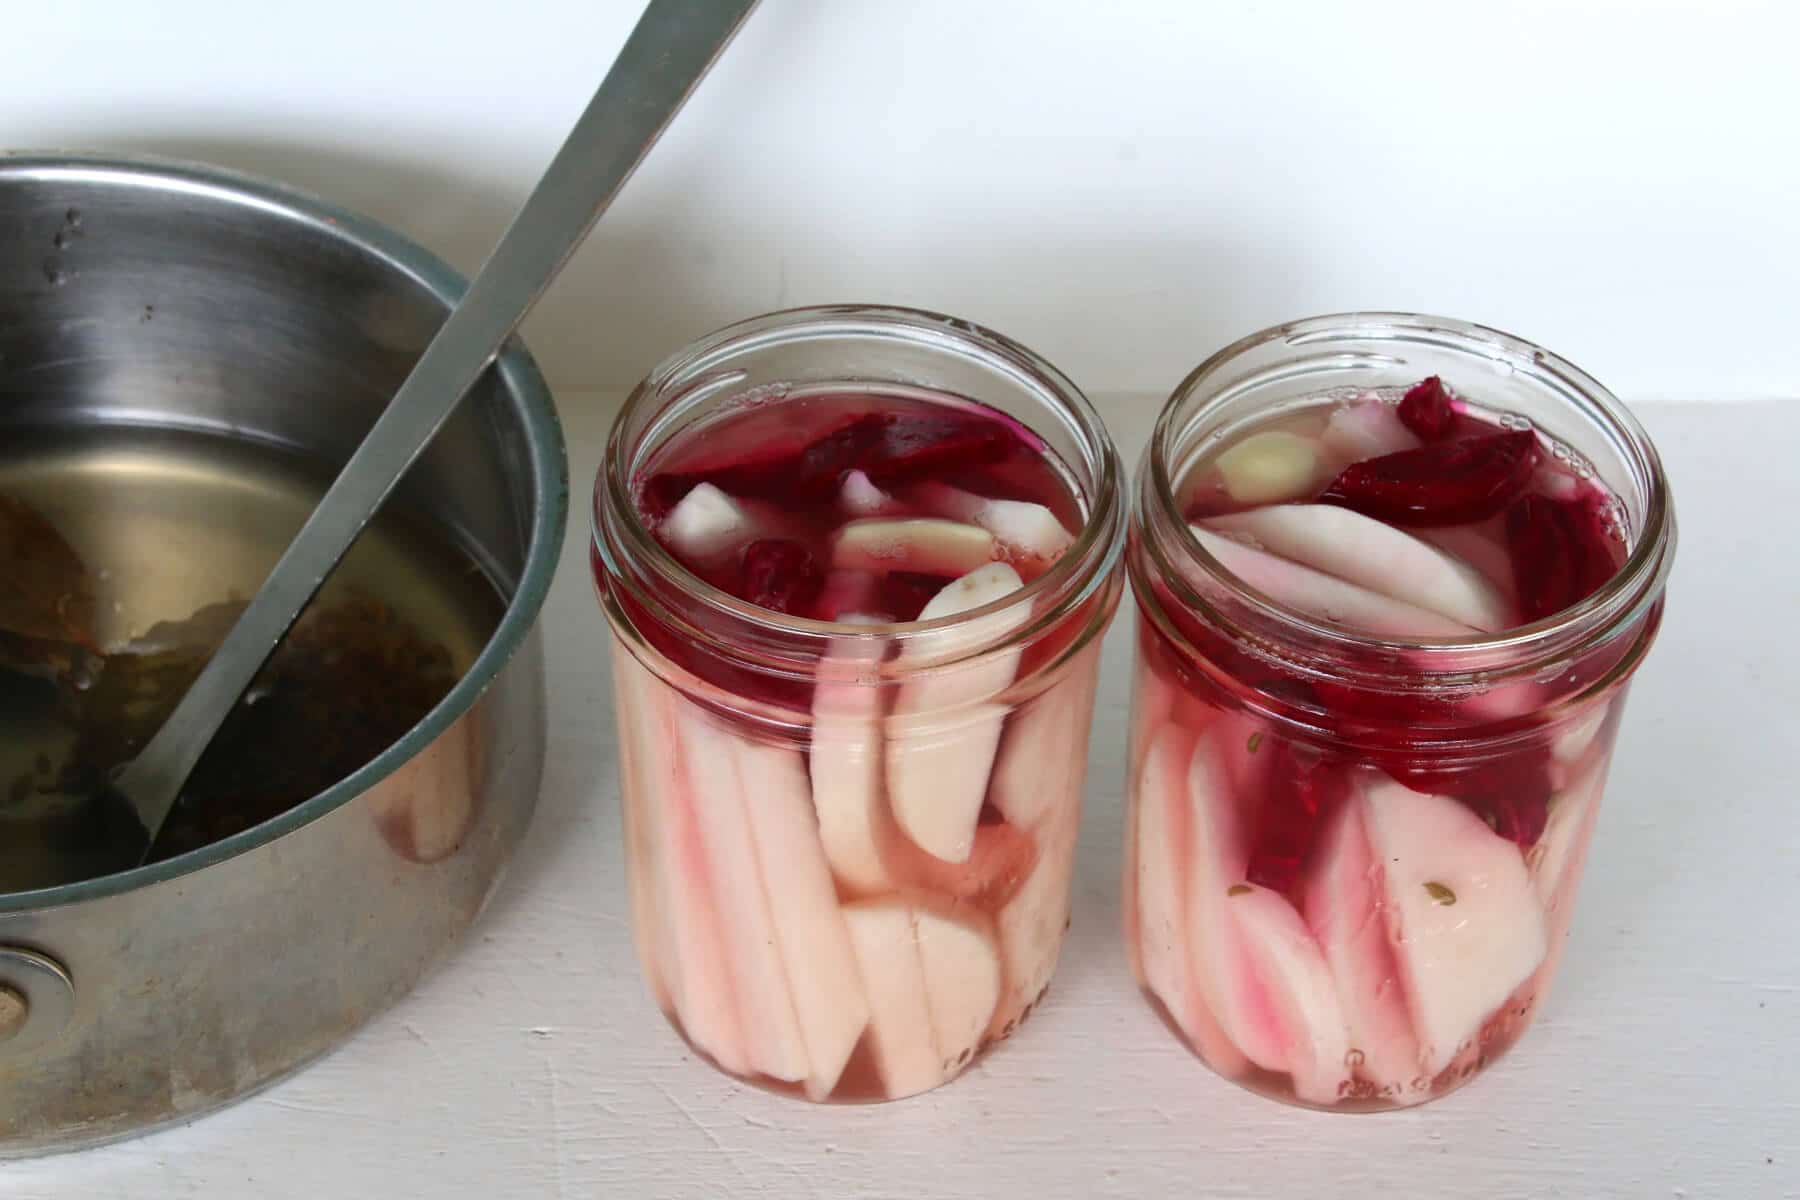
Pour the brine over them, covering them completely and leaving 1/2 inch headspace from the top of the jar.
Screw on the lids. Let the pickled turnips sit in a relatively cool place for a week to enable to fermentation process. Then store them in the refrigerator and ideally eat them within two months. Using this method will result in a more interesting and complex flavor than canning them.
If you are canning them for long-term storage: Add the brine to the sterilized jars while it’s still hot, covering the turnips completely and leaving 1/2 inch headspace from the top of the jar, and screw on the lids. Process in a boiling water bath for 10 minutes then remove the jars and let them sit undisturbed for 24 hours before moving them. Store them in a cool, dark place for up to a year (for maximum flavor and texture use within 6 months).
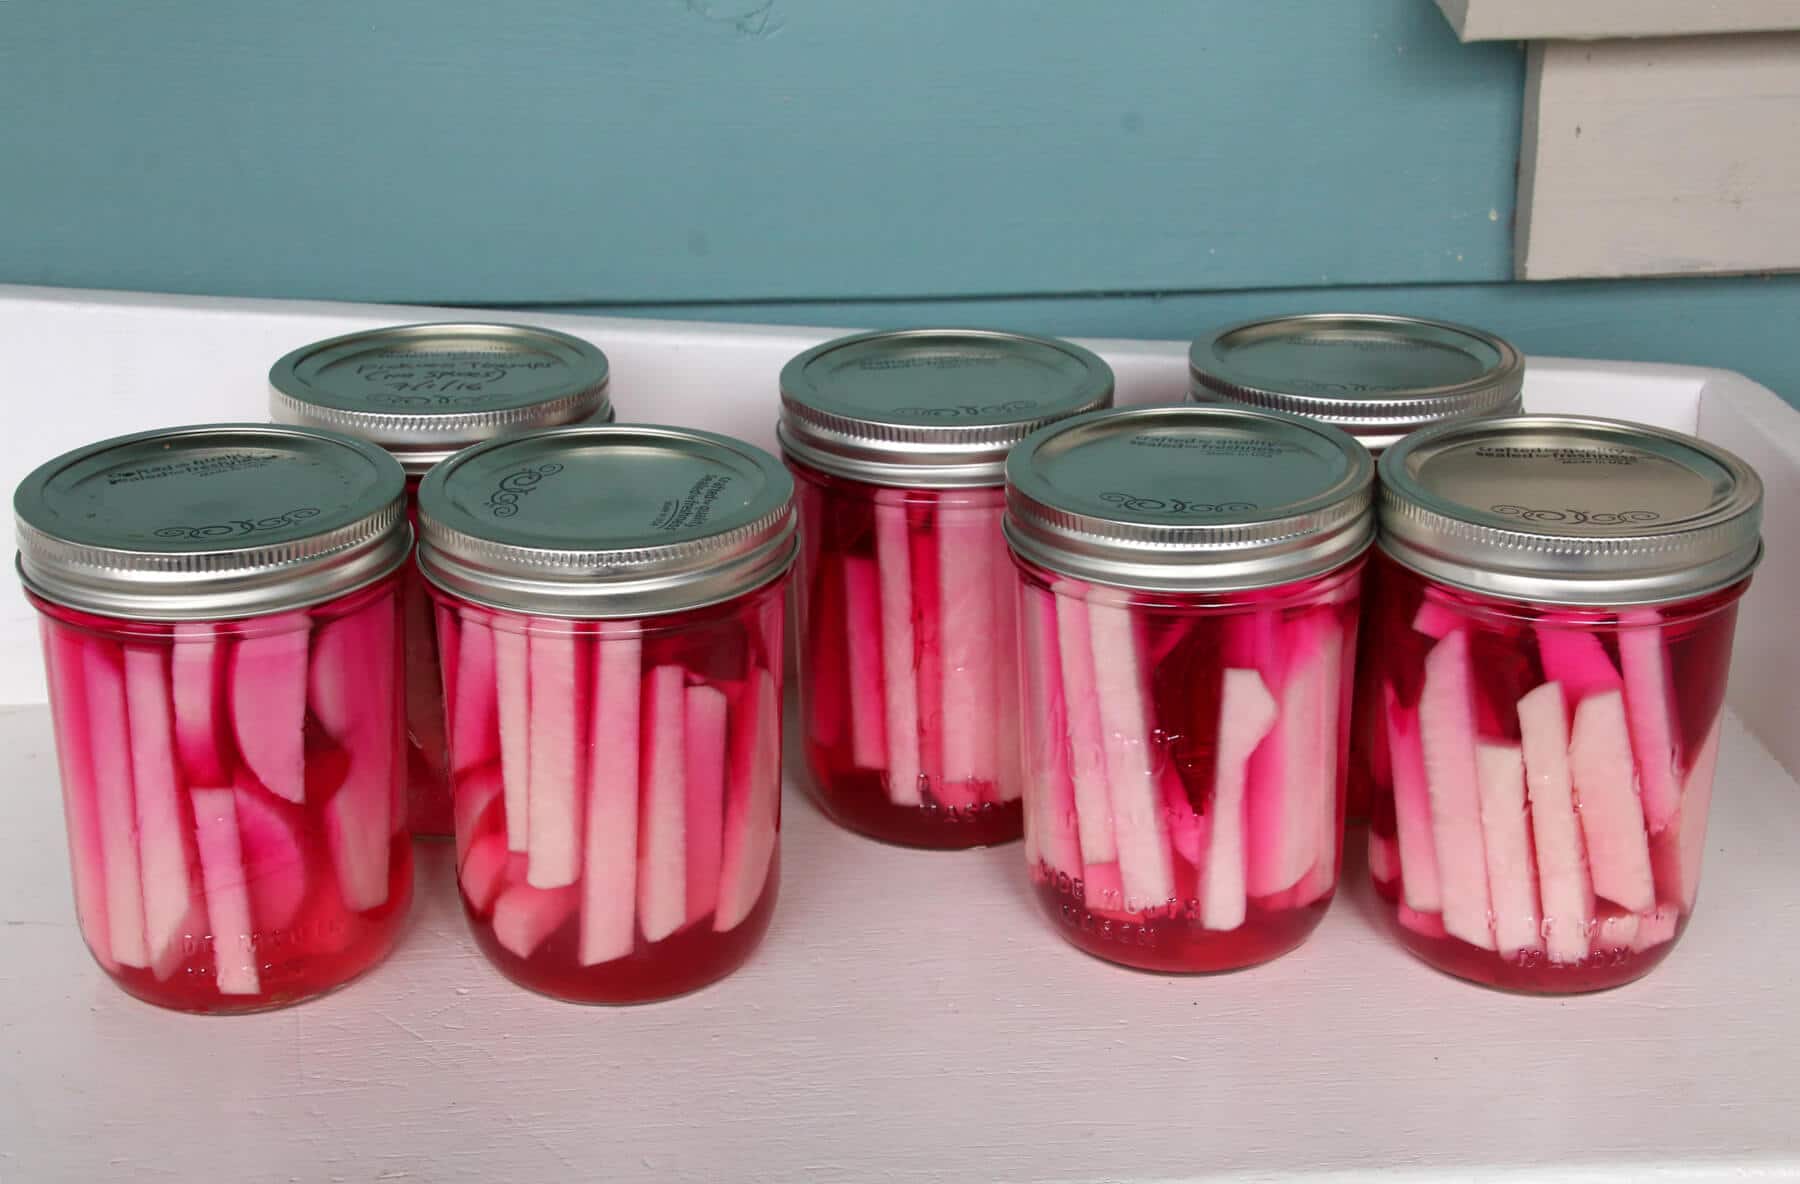
Initially light pink, the color intensifies within a few days, as does the flavor, and within a couple of weeks they’re ready to eat.
Serve these pickled turnips in a bowl at the dinner table as you would regular pickles, peppers or olives. They’re an especially great side to serve with Middle Eastern dishes like baba ganoush, hummus, flatbread, in falafels and in shawarmas.
Save This Recipe
Pickled Turnips
Ingredients
- 3 pounds fresh, firm turnips , peeled and cut into about 1/3 inch sticks or slices
- 1 large red beet ,peeled and cut into about 1/3 inch sticks or slices
- A peeled garlic clove for each jar
- For the Brine:
- 3 bay leaves
- 1 tablespoon fennel seeds
- 1 tablespoon coriander seeds
- 2 cups white vinegar
- 3 cups water
- 1/2 cup kosher or sea salt (avoid regular table salt, it imparts a bitter flavor)
Instructions
- Place the brine ingredients in a small saucepan and bring to a boil. Reduce to medium, cover and simmer for 10 minutes. Let cool completely.
- Stuff the turnips into sterilized jars along with a few pieces of beet and a clove of garlic and add the brine, seeds and all, to fully cover the turnips and leaving 1/4 inch headspace from the rim of the jar. Screw on the lids. (*See note for instructions on canning the turnips.)
- Let the pickled turnips sit in a relatively cool place for a week to enable to fermentation process. Then store them in the refrigerator and ideally eat them within two months. Using this method will result in a more interesting and complex flavor than canning them.
- If you are canning them for long-term storage: Add the brine to the sterilized jars while it's still hot, covering the turnips completely and leaving 1/2 inch headspace from the top of the jar, and screw on the lids. Process in a boiling water bath for 10 minutes for pint sized jars then remove the jars and let them sit undisturbed for 24 hours before moving them. Store them in a cool, dark place for up to a year (for optimal flavor and texture, use within 6 months).
Nutrition

Hi, I’m Kimberly Killebrew and welcome to Daring Gourmet where you'll find delicious originals, revitalized classics, and simply downright good eats from around the world! Originally from Germany, later raised in England, world-traveled, and now living in the U.S., from my globally-influenced kitchen I invite you to tour the world through your taste buds!


I understood that turnips are a low acid food, and not safe to can with a water bath. Is this not true?
Hi Jenny, if you’re canning them on their own without the addition of acid yes, that’s true. But that’s the purpose of the high quantity of salt and vinegar which makes the turnips safe for canning via the water bath method. (Same thing with canning other low acid foods like pickles and relish where you add the acid in the form of salt and vinegar.)
I am loving this color! I don’t use turnips nearly enough, usually only as an add in to broth. i need to try this!
I would love to try these with a bit of hummus – they look amazing!
This looks absolutely amazing! And so easy! I actually should try this :)
These are amazing! I am loving the color!
Perfect way to preserve them for the winter! How delicious and vibrant!
These are so cool. My dad was a huge fan of turnip. He would have loved this.
Those are just gorgeous!!! I love to do canning, though mostly do jams & jellies. I definitely want a jar of these!! Your garden looks just lovely too. Can you eat the tops of the turnips? Just curious as they are so beautiful & green!!
Yes, turnip tops make a great vegetable like unto spinach. Make cornbread dumplings to cook in turnip “pot liquor”. Delicious