Candied Ginger
This post may contain affiliate links. See my disclosure policy.
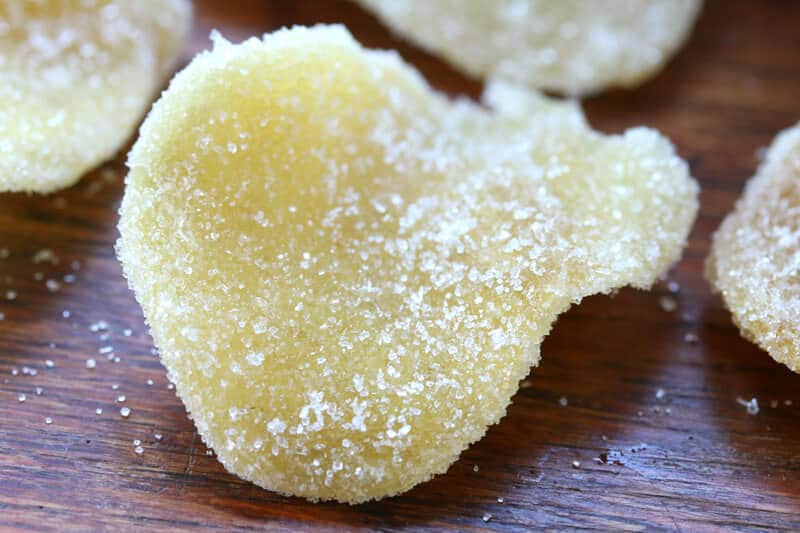
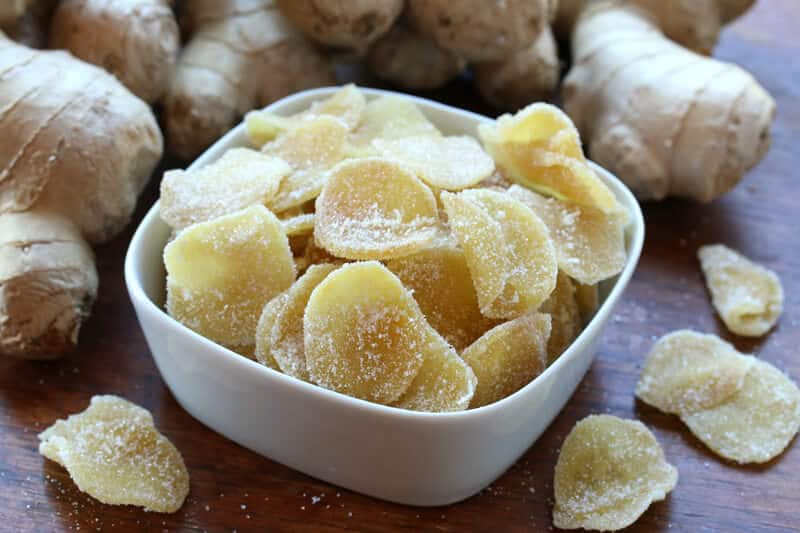
Make your own homemade candied ginger, also known as crystallized ginger! The flavor is WAY better than store-bought, much fresher and more vibrant. It will bring your baked goods to life, plus it’s fabulous just to snack on!

Homemade Candied Ginger
Have you ever come across a recipe calling for candied ginger but passed because you didn’t have any, couldn’t find any in the store, or just didn’t want to bother trying to find it? Or have you thought about making it yourself but weren’t sure how or figured it would be too much work? Well this is for you!
If you like candied ginger just wait until you’ve tried homemade. The flavor is worlds better – so much fresher with a stronger, more vibrant flavor. And if you don’t care for candied ginger, you’ll be converted once you’ve tried it in a few recipes. It adds such a great to a variety of baked goods.
Because it’s so fresh, and you know the source, you can also reap the health benefits of ginger, something that’s been used medicinally for centuries. And while you obviously want to eat candied ginger in moderation because of its sugar content, if you’re going to indulge your sweet tooth this is a much better alternative than straight up candy, right?
Candied Ginger Recipe
Let’s get started!
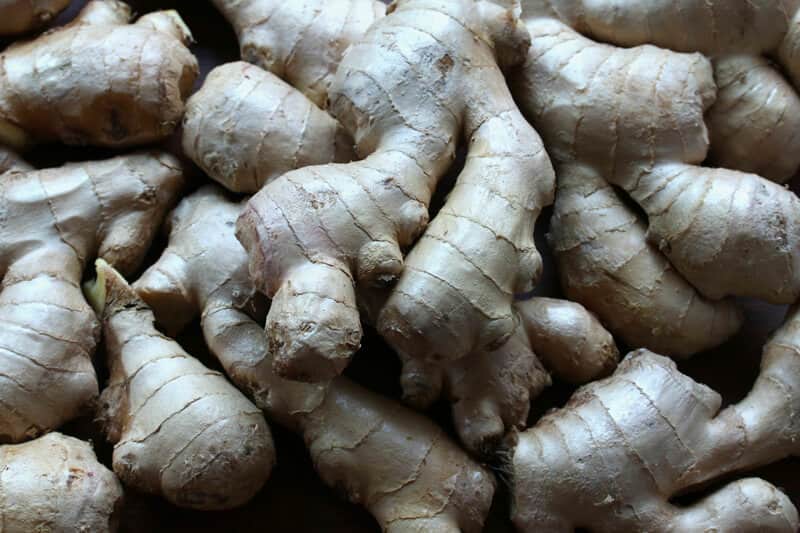
Generally you want to use young, small ginger roots because they’re less woody/more tender. But medium-sized will work just fine as well. I recommend organic if possible.
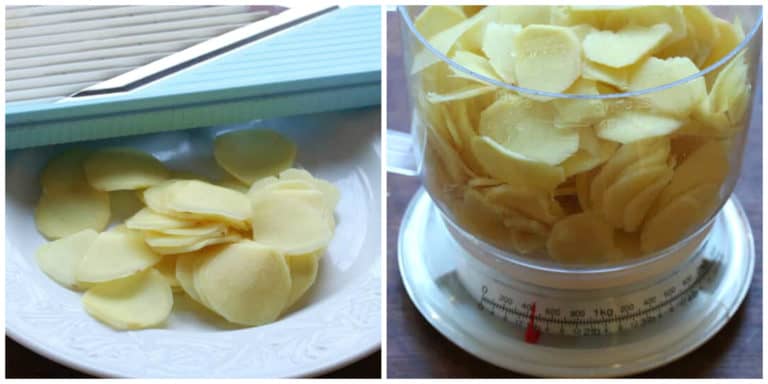
Peel the ginger and slice it thinly and evenly. You can either do it by hand or use a mandolin. I highly recommend the Swissmar Borner Mandolin.
If you slice it paper thin the result will be crunchy crystallized ginger, but you also don’t want it too thick. 1/8 is thick is about right. You’ll need about 1 pound of sliced ginger.
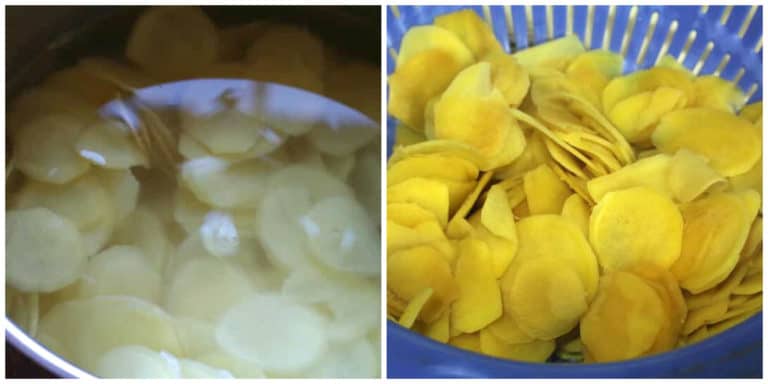
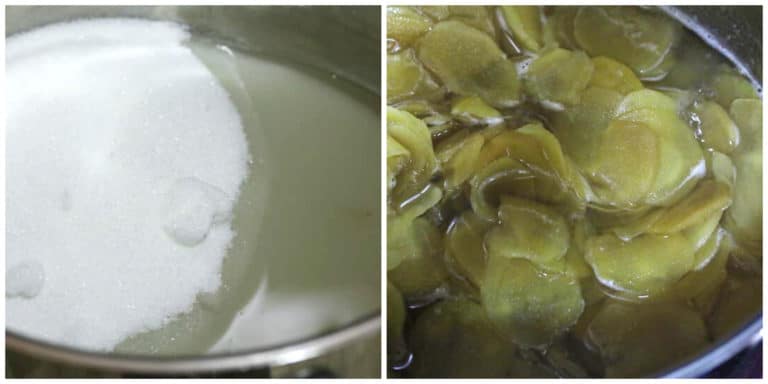
Place the sliced ginger in a medium-sized pot and cover with water and just a pinch of salt. Bring to a boil and simmer for 30 minutes.
Reserve 1/2 cup of the ginger water and then drain the sliced ginger (you can also keep the ginger water for tea or a tonic).
Place the reserved ginger water and sugar in the pot.
Add the sliced ginger, bring it to a boil, reduce the heat to medium and simmer uncovered for about 35-40 minutes, stirring occasionally.
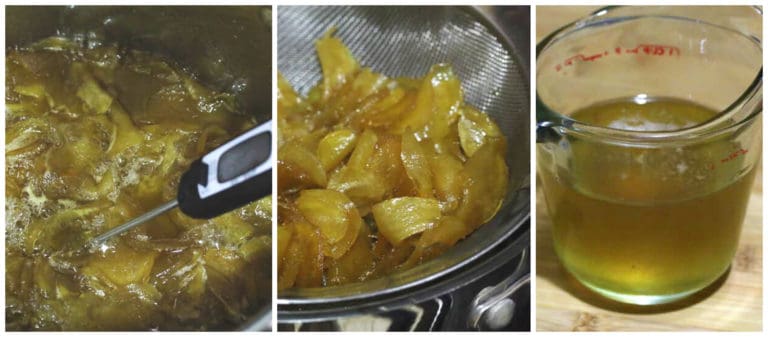
The mixture will become somewhat thickened as the sugar turns to a syrup. Simmer until a candy thermometer or instant read thermometer reads 225 degrees F. You don’t have to use a candy thermometer but it sure makes it a lot easier than guesswork.
Once the ginger mixture has reached 225 F drain the ginger immediately while hot. Use a colander over a bowl so you can collect the drained syrup. Don’t discard that syrup. This recipe produces a delicious by product: GINGER SIMPLE SYRUP! Add a teaspoon or two to your drinks for a refreshing ZING!
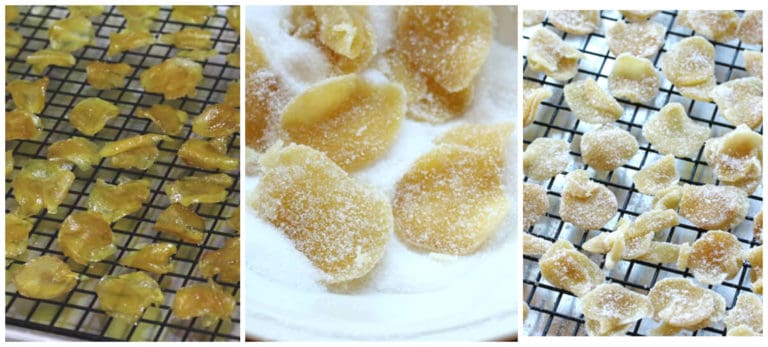
Lay the ginger slices out on a large cooling rack over a cookie sheet, separating the individual slices the best you can (this is the more tedious part of the process). Let the ginger sit for 2 hours so they’re sticky but not wet (you want the sugar to be able to adhere without dissolving).
Toss the pieces in a bowl of sugar to coat all sides. Lay the crystallized ginger back on the cooling rack to sit overnight to dry. Note: If you’re in a place with high humidity you can also dry these in a food dehydrator or in the oven on the very lowest temperature setting (you may need to keep the oven door cracked open).
Store the crystallized ginger in an airtight container in a dark, cool place. Because it’s cooked and sugar and then coated with sugar, it will keep for several months.
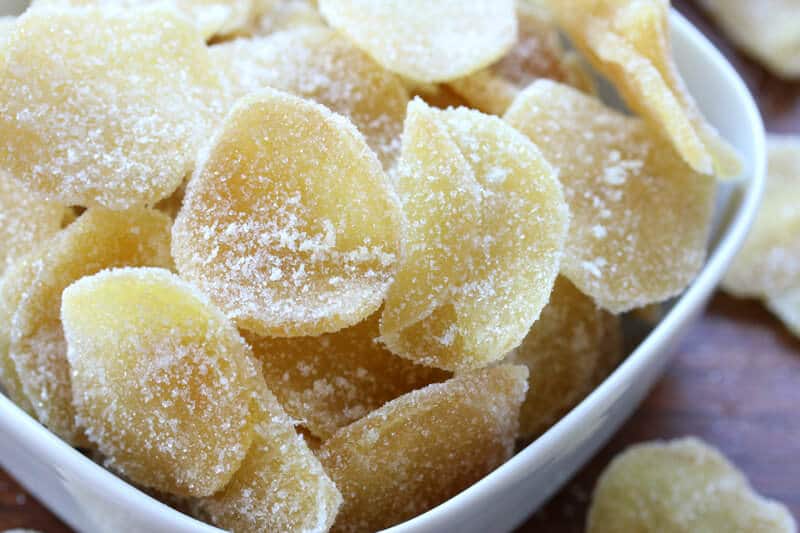
This makes roughly 2 cups of homemade candied ginger.
Feel free to double or triple the recipe as needed.
How to Use Crystallized Ginger
Candied ginger (aka crystallized ginger) is not only a yummy snack on its own, it’s a versatile ingredient that will liven up so many dishes. Here are just a few ways that you can use your homemade crystallized ginger:
- Added to banana bread, and Lemon Zucchini Bread
- Baked into cakes, cupcakes and muffins (see my Preserved Lemon Ginger Pound Cake)
- Added to Scottish Shortbread, ginger snaps, sugar cookies, Whole Grain Molasses Cookies, and Cornish Fairings
- Added to pear, apple, and other crisps (see my Pineapple Mango Coconut Crumble with Candied Ginger, Rhubarb Crisp and Peach Crisp)
- Baked into waffles and pancakes (see my Whole Wheat Sourdough Waffles)
- Stirred into Healthy Homemade Granola
- Stirred into Homemade Greek Yogurt
- Sprinkled over ice cream
Enjoy!
Be sure to also try my Homemade Candied Orange Peel (or lemon, grapefruit and lime)!
Save This Recipe
Candied Ginger
Equipment
Ingredients
- 1 pound fresh ginger root , preferably young/smaller roots, sliced about 1/8 inch thick (by hand or use a mandolin – it's much easier)
- pinch of salt
- 2 cups white granulated sugar
- extra sugar for coating
Instructions
- Place the sliced ginger in a medium pot and cover with water. Bring to a boil and simmer for 30 minutes. Reserve 1/2 cup of the ginger water and then drain the ginger slices.
- Place the sliced ginger back in the pot with the reserved ginger water, sugar and pinch of salt. Bring to a boil, reduce the heat to medium, and simmer uncovered for 35-40 minutes or until the temperature on a candy thermometer reads 225 degrees F.Drain the ginger in a colander over a bowl to catch the syrup (see Note).
- Lay out the ginger slices on a cooling rack over a cookie sheet, separating the slices the best you can. Let cool for 2 hours (you want them sticky but not wet so that the sugar will adhere without dissolving).Toss the ginger slices in a bowl of sugar so they are coated all over. Place the ginger slices back on the cooling rack to sit overnight. Note: If you're in a very humid area you can dry the candied ginger in a food dehydrator or in the oven set to the lowest temperature (you may need to crack the oven door open.)
- Store in an airtight container in a dark, cool place. Will keep for several months. It can also be frozen for at least 6 months.This makes roughly 2 cups of candied ginger.
Notes
Nutrition
Originally published on The Daring Gourmet June 5, 2015

Hi, I’m Kimberly Killebrew and welcome to Daring Gourmet where you'll find delicious originals, revitalized classics, and simply downright good eats from around the world! Originally from Germany, later raised in England, world-traveled, and now living in the U.S., from my globally-influenced kitchen I invite you to tour the world through your taste buds!


I haven’t made yet but this looks awesome. I made candied orange/lemon peel and this looks similar. Can’t wait to give it a try- and this is much easier than the many washes required by citrus peels.
i just made these and they are great they are a way better deal than just buying candied ginger
I tried this yesterday. I did take an awful long time with making sure to get back and drain it twice, making sure it reaches 225degrees which took an hour for me. However, the result is utterly splendid. This is the first time i have tried this and I am pleasantly surprised. I turned the ginger water & syrup into a chai syrup so I can add it to my black tea.
I feel the need to go around showing people this outcome. “Look!!! I made candied ginger and it looks cute as well as tastes good. Hahahah”
Awesome, Danika, congratulations and I’m so glad you enjoyed it! Agreed, you should be totally proud of your candied ginger! :)
Haven’t made it ye but soon.
I use candied ginger in rice and oatmeal cooked in the rice cooker. Also put it in sauces like bbq and sweet chili. Great in oriental cuisine too
Made it love it still supersized how good it is, this is one to try sow simple but so good
So glad you enjoyed it, David, thank you!
The first time I made this it was perfect, the second and third times it turned an ugly brown color. Do you know what caused this?
Second and third times, you did it correctly :)
I made this recipe with young fresh ginger. 30 minutes is not enough time. After I added th he sugar a.c nd boiled a second time I was sure it would be great. It was NOT. The ginger was very spicy hot and bitter. I will boil in water for 45 minutes next time and not use ginger water in the sugaring process. I’m looking for a sweet ginger taste.
.
Have not made this recipe, although I plan to try it before I bake my next apple pie. I have used finely chopped ginger in my apple pies, along with freshly grated nutmeg, and a dash of ground cayenne pepper (and oddly enough, not even a speck of cinnamon). My mile-high Apple Pie gets rave reviews from my family and friends.
I plan on trying it next time with the candied ginger.
A couple tips that may help both previous and future commenters:
1). Candy thermometer! An absolute necessity! Make sure you cook to the temperature in the recipe. Also make sure your thermometer is not set for Celsius.
2). To complete the drying process: after candy is no longer tacky, Set two boards across a couple dining room chairs, or across a gap between two counters. Lay down a 20 inch box fan across the two boards, blowing downward. Set a cheap 20”x20” furnace filter on top of the fan (the kind made of pleated paper, NOT fiberglass strands. I said cheap, but not THAT cheap). Put a layer of paper towels on top of that, and then add your candied ginger (or egg noodles, or anything else you want to dehydrate). You can continue adding layers of filters, paper towels, and candied ginger, but remember that the higher you stack it the longer it will take.
3). Someone asked why so little water: in candy making, the purpose of the water is only to initially dissolve the sugar, and to help distribute the heat throughout the mixture (dry sugar will melt over heat, but the air spaces between the sugar crystals prevent heat from reaching the sugar on top before the sugar on the bottom overheats and burns). Since the boiling point of water is 212F, the mixture will only heat to 212F, and stay there until all of the water has been evaporated. If you watch your candy thermometer, you will notice that the temperature will climb to 212F and then stall out. After a while, it will start to climb again. This is the point at which all of the water has boiled away. Since it takes a remarkably small amount of water to dissolve a large amount of sugar, adding additional water will only increase the time it takes to reach the final temperature.