Candied Ginger
This post may contain affiliate links. See my disclosure policy.
Make your own homemade candied ginger, also known as crystallized ginger! The flavor is WAY better than store-bought, much fresher and more vibrant. It will bring your baked goods to life, plus it’s fabulous just to snack on!
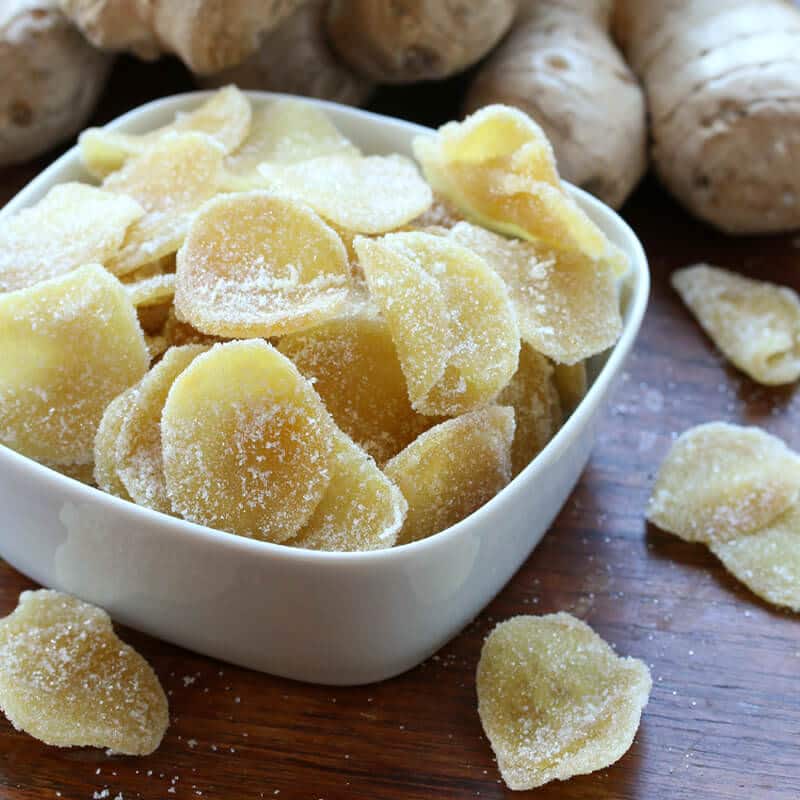
Homemade Candied Ginger
Have you ever come across a recipe calling for candied ginger but passed because you didn’t have any, couldn’t find any in the store, or just didn’t want to bother trying to find it? Or have you thought about making it yourself but weren’t sure how or figured it would be too much work? Well this is for you!
If you like candied ginger just wait until you’ve tried homemade. The flavor is worlds better – so much fresher with a stronger, more vibrant flavor. And if you don’t care for candied ginger, you’ll be converted once you’ve tried it in a few recipes. It adds such a great to a variety of baked goods.
Because it’s so fresh, and you know the source, you can also reap the health benefits of ginger, something that’s been used medicinally for centuries. And while you obviously want to eat candied ginger in moderation because of its sugar content, if you’re going to indulge your sweet tooth this is a much better alternative than straight up candy, right?
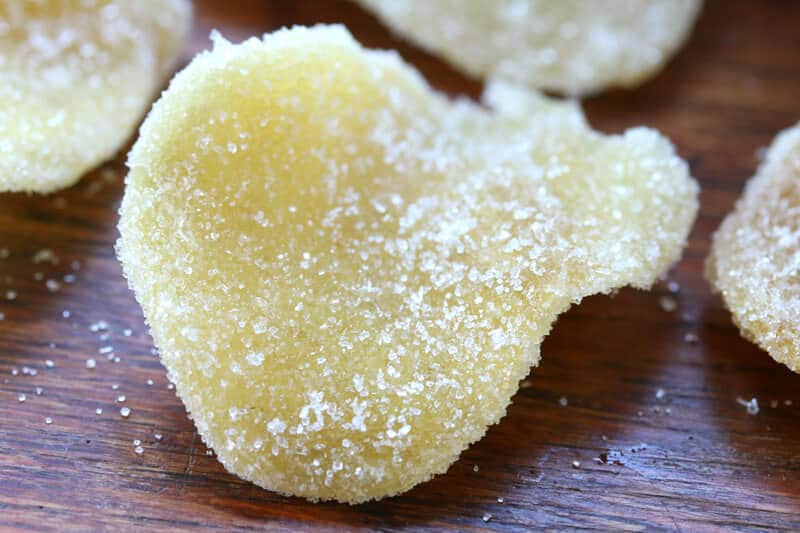
Candied Ginger Recipe
Let’s get started!
Generally you want to use young, small ginger roots because they’re less woody/more tender. But medium-sized will work just fine as well. I recommend organic if possible.
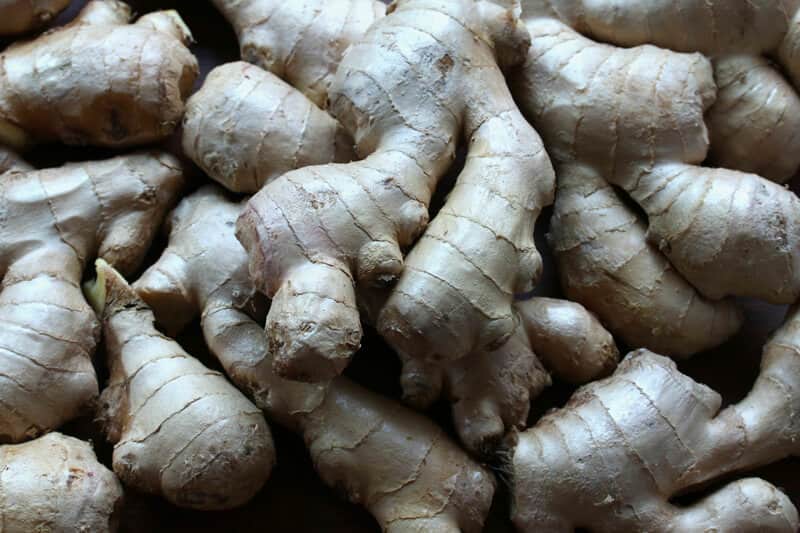
Peel the ginger and slice it thinly and evenly. You can either do it by hand or use a mandolin. I highly recommend the Swissmar Borner Mandolin.
If you slice it paper thin the result will be crunchy crystallized ginger, but you also don’t want it too thick. 1/8 is thick is about right. You’ll need about 1 pound of sliced ginger.
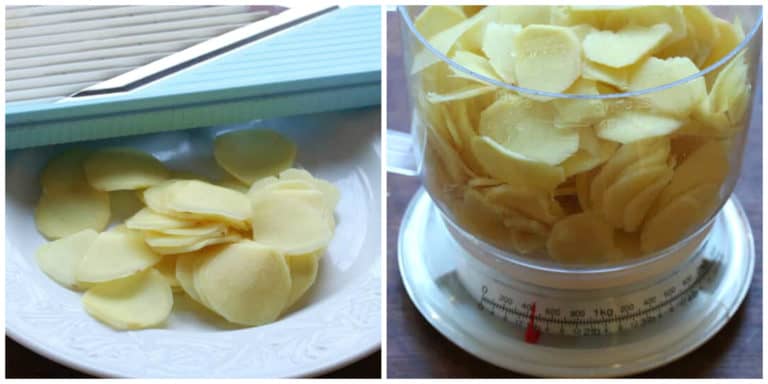
Place the sliced ginger in a medium-sized pot and cover with water and just a pinch of salt. Bring to a boil and simmer for 30 minutes.
Reserve 1/2 cup of the ginger water and then drain the sliced ginger (you can also keep the ginger water for tea or a tonic).
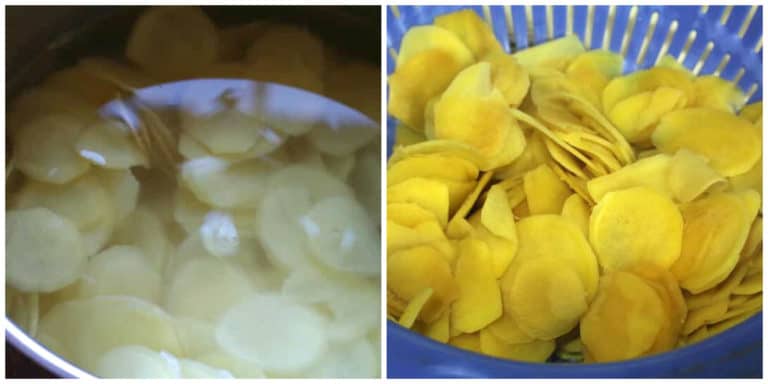
Place the reserved ginger water and sugar in the pot.
Add the sliced ginger, bring it to a boil, reduce the heat to medium and simmer uncovered for about 35-40 minutes, stirring occasionally.
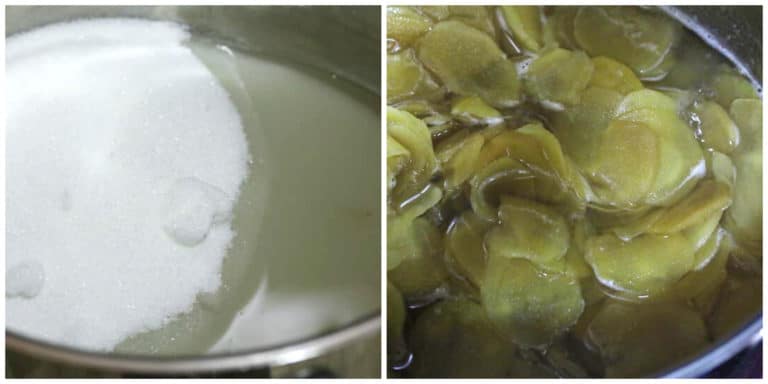
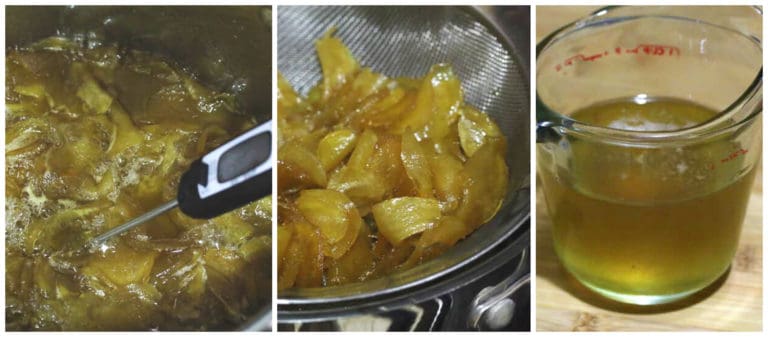
The mixture will become somewhat thickened as the sugar turns to a syrup. Simmer until a candy thermometer or instant read thermometer reads 225 degrees F. You don’t have to use a candy thermometer but it sure makes it a lot easier than guesswork.
Once the ginger mixture has reached 225 F drain the ginger immediately while hot. Use a colander over a bowl so you can collect the drained syrup. Don’t discard that syrup. This recipe produces a delicious by product: GINGER SIMPLE SYRUP! Add a teaspoon or two to your drinks for a refreshing ZING!
Lay the ginger slices out on a large cooling rack over a cookie sheet, separating the individual slices the best you can (this is the more tedious part of the process). Let the ginger sit for 2 hours so they’re sticky but not wet (you want the sugar to be able to adhere without dissolving).
Toss the pieces in a bowl of sugar to coat all sides. Lay the crystallized ginger back on the cooling rack to sit overnight to dry. Note: If you’re in a place with high humidity you can also dry these in a food dehydrator or in the oven on the very lowest temperature setting (you may need to keep the oven door cracked open).
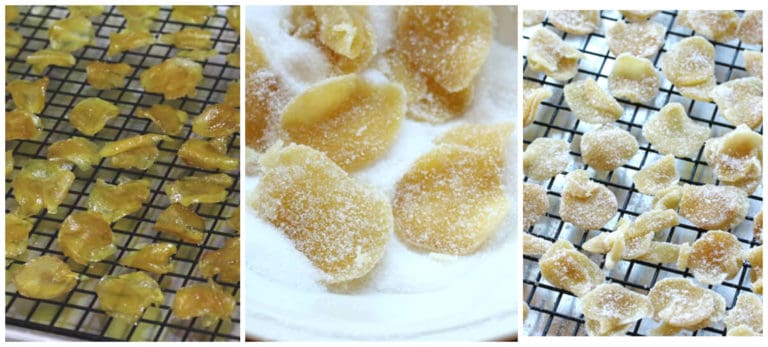
Store the crystallized ginger in an airtight container in a dark, cool place. Because it’s cooked and sugar and then coated with sugar, it will keep for several months.
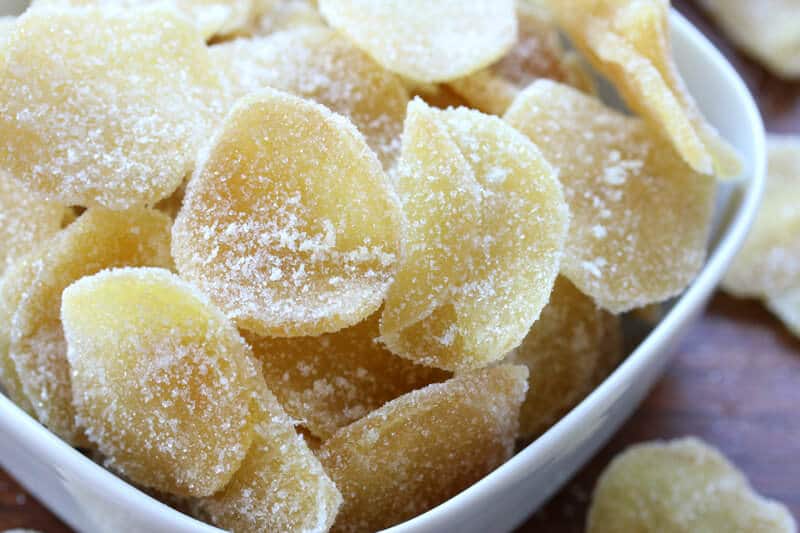
This makes roughly 2 cups of homemade candied ginger.
Feel free to double or triple the recipe as needed.
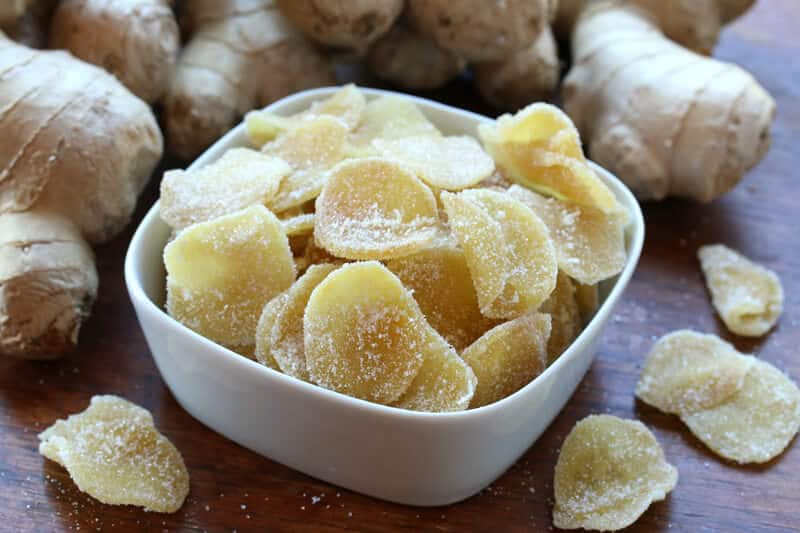
How to Use Crystallized Ginger
Candied ginger (aka crystallized ginger) is not only a yummy snack on its own, it’s a versatile ingredient that will liven up so many dishes. Here are just a few ways that you can use your homemade crystallized ginger:
- Added to banana bread, and Lemon Zucchini Bread
- Baked into cakes, cupcakes and muffins (see my Preserved Lemon Ginger Pound Cake)
- Added to Scottish Shortbread, ginger snaps, sugar cookies, Whole Grain Molasses Cookies, and Cornish Fairings
- Added to pear, apple, and other crisps (see my Pineapple Mango Coconut Crumble with Candied Ginger, Rhubarb Crisp and Peach Crisp)
- Baked into waffles and pancakes (see my Whole Wheat Sourdough Waffles)
- Stirred into Healthy Homemade Granola
- Stirred into Homemade Greek Yogurt
- Sprinkled over ice cream
Enjoy!
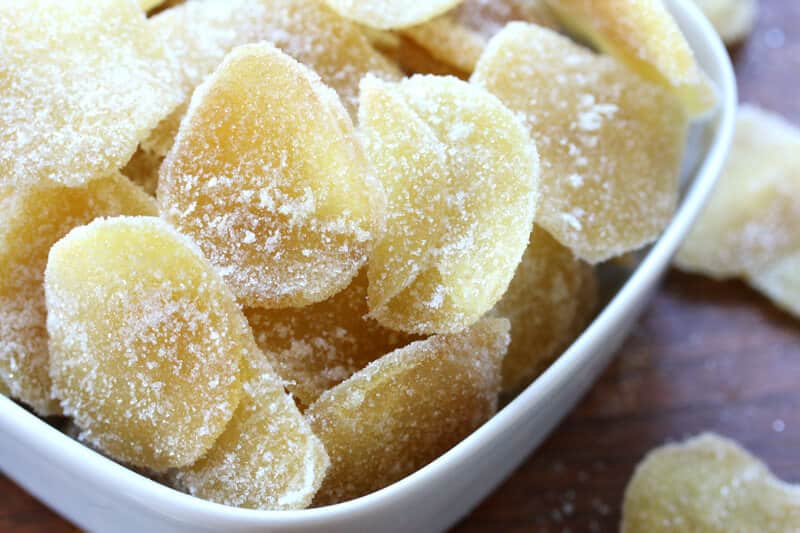
Be sure to also try my Homemade Candied Orange Peel (or lemon, grapefruit and lime)!
Save This Recipe
Candied Ginger
Equipment
Ingredients
- 1 pound fresh ginger root , preferably young/smaller roots, sliced about 1/8 inch thick (by hand or use a mandolin – it's much easier)
- pinch of salt
- 2 cups white granulated sugar
- extra sugar for coating
Instructions
- Place the sliced ginger in a medium pot and cover with water. Bring to a boil and simmer for 30 minutes. Reserve 1/2 cup of the ginger water and then drain the ginger slices.
- Place the sliced ginger back in the pot with the reserved ginger water, sugar and pinch of salt. Bring to a boil, reduce the heat to medium, and simmer uncovered for 35-40 minutes or until the temperature on a candy thermometer reads 225 degrees F.Drain the ginger in a colander over a bowl to catch the syrup (see Note).
- Lay out the ginger slices on a cooling rack over a cookie sheet, separating the slices the best you can. Let cool for 2 hours (you want them sticky but not wet so that the sugar will adhere without dissolving).Toss the ginger slices in a bowl of sugar so they are coated all over. Place the ginger slices back on the cooling rack to sit overnight. Note: If you're in a very humid area you can dry the candied ginger in a food dehydrator or in the oven set to the lowest temperature (you may need to crack the oven door open.)
- Store in an airtight container in a dark, cool place. Will keep for several months. It can also be frozen for at least 6 months.This makes roughly 2 cups of candied ginger.
Notes
Nutrition
Originally published on The Daring Gourmet June 5, 2015


Hi Kimberly i just made coconut ginger ice cream using the caramelized ginger from your recipe and the taste was out of this world, many complements,no leftovers
That ice cream sounds phenomenal, Rosita, thanks for sharing!
Can someone help me with recipe for Ginger balls in syrup. Please!
We are not going to buy that candied ginger for our home made kombucha anymore :O
That’s what I like to hear, Sophie! :)
Hey, thanks for the recipe! I didn’t read through all the comments, so sorry if this has been answered, but my dad has been using ginger for dry mouth. The crystallized ginger is just the right shape and size, but he doesn’t like the excess sugar on top. Which sugar is the preservative? Can we leave off the sugar dusting?
Hi Torina, really both are – the extra dusting of sugar provides an additional layer of protection/preservation. It also keeps all the pieces from sticking together.
You can leave off the sugar dusting and keep the candied ginger in the fridge to prolong its shelf life, but it may not last quite as long. Just keep an eye on it to watch for any mold.
Yesterday made this recipe for the first time, as you said the only tedious part was to separate the pieces to dry. The syrup made a great tea and the results are great. The only difference I did is add a lime in quarters, but these also taste good. Thanks for the recipe from Mexico !!!
Greetings to Mexico, Angelica! I’m so glad you enjoyed this, thanks for the feedback!
I have been looking for a recipe for preserved lemon ginger. I recently found some in Chinatown, but it is hard to find. It is not covered in sugar and is soft and has a slight lemon taste. I am going to try your recipe and add lemon peel when I boil it. Hopefully it will work.
Must I use sugar ?? I was the sugar off the store bought candied ginger. I set it out out to dry and keep it in a container with powdery flakes of cocont.
Hi Ann Marie, sugar is the acting preservative, without which the ginger will go bad.
Delicious! This was insanely labor intensive, but was worth it. I was hoping to get a six month stash out of it but I don’t think it will last that long, haha.
Two things:
1. How did you end up with so much ginger syrup? By the time the 1/2 cup reduces, there’s barely anything left.
2. My ginger grew mold after about 6 weeks on the counter. Have you ever had that happen? I stored in a mason jar. I live in NY, so it’s springtime weather now. I put it in the fridge and that seems to have a stopped it. I’m going to eat it anyway, but just curious if I did something wrong.
Hi Lia, I’m glad you enjoyed it! I may have made a double batch at the time I took the picture of the syrup, I can’t remember. The only reason there would be mold forming is if the ginger didn’t adequately dry. Drying time will vary depending on the thickness of the ginger as well as the humidity/moisture in the air.