Candied Ginger Recipe
This post may contain affiliate links. See my disclosure policy.
Make your own homemade candied ginger, also known as crystallized ginger! The flavor is WAY better than store-bought, much fresher and more vibrant. It will bring your baked goods to life, plus they’re fabulous just to snack on! PLUS there’s the additional bonus of an amazing ginger simple syrup you’ll get at the end of the cooking process that is phenomenal in drinks!
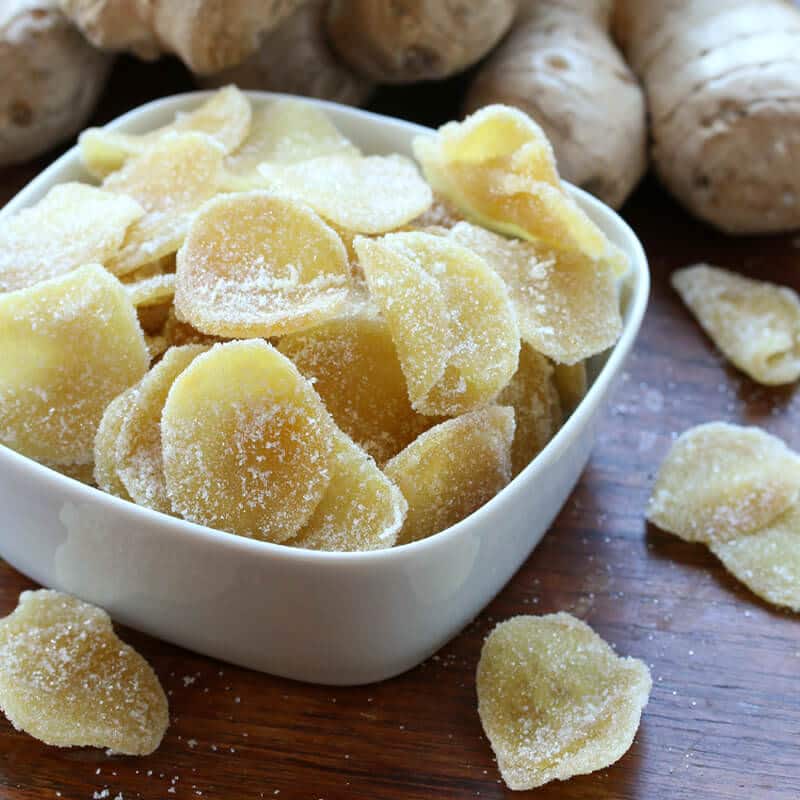
Have you ever come across a recipe calling for candied ginger but passed because you didn’t have any, couldn’t find any in the store, or just didn’t want to bother trying to find it? Or have you thought about making it yourself but weren’t sure how or figured it would be too much work? Well this is for you!
If you like candied ginger just wait until you’ve tried homemade. The flavor is worlds better – so much fresher with a stronger, more vibrant flavor. And if you don’t care for candied ginger, you’ll be converted once you’ve tried it in a few recipes. It adds such a great to a variety of baked goods.
Because it’s so fresh, and you know the source, you can also reap the health benefits of ginger, something that’s been used medicinally for centuries. And while you obviously want to eat candied ginger in moderation because of its sugar content, if you’re going to indulge your sweet tooth this is a much better alternative than straight up candy, right?
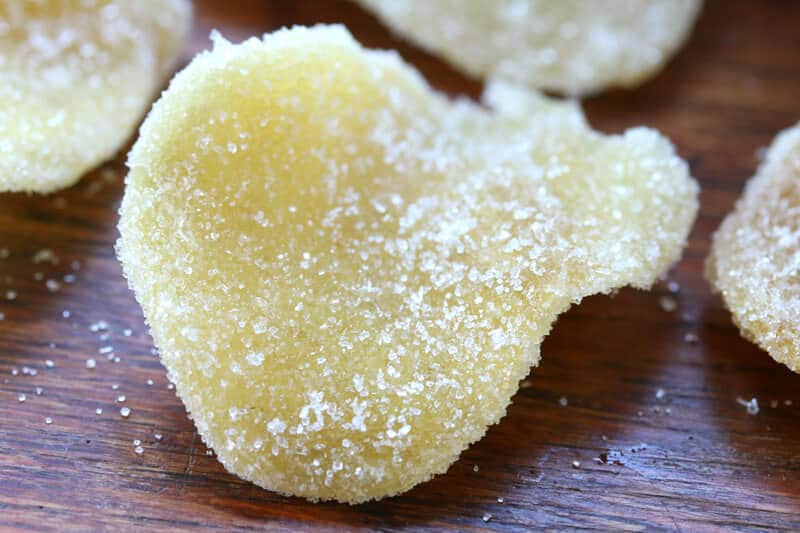
How to Use Crystallized Ginger
Candied ginger (aka crystallized ginger) is not only a yummy snack on its own, it’s a versatile ingredient that will liven up so many dishes. Here are just a few ways that you can use your homemade crystallized ginger:
- Added to banana bread, and Lemon Zucchini Bread
- Baked into cakes, cupcakes and muffins (see my Preserved Lemon Ginger Pound Cake)
- Added to Scottish Shortbread, ginger snaps, sugar cookies, Whole Grain Molasses Cookies, and Cornish Fairings
- Added to pear and apple crisps (see my Pineapple Mango Coconut Crumble with Candied Ginger)
- Baked into waffles and pancakes (see my Whole Wheat Sourdough Waffles)
- Stirred into Healthy Homemade Granola
- Stirred into Homemade Greek Yogurt
- Sprinkled over ice cream
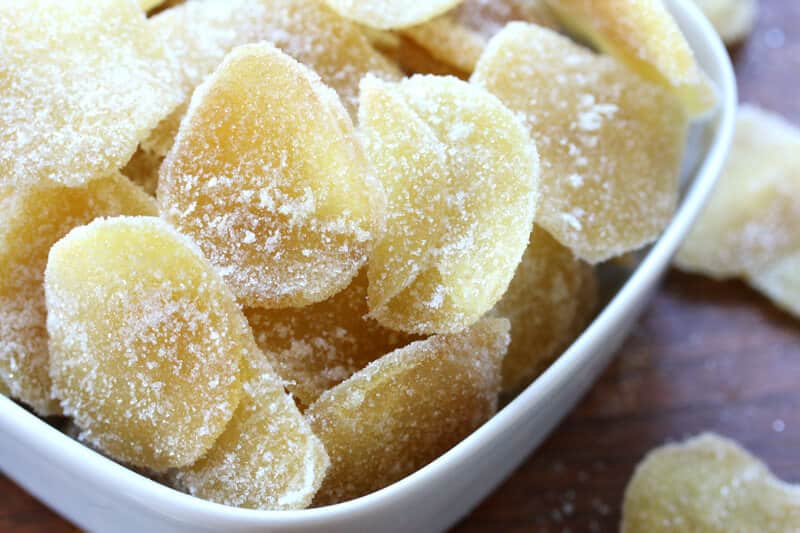
Candied Ginger Recipe
Let’s get started!
Generally you want to use young, small ginger roots because they’re less woody/more tender. But medium-sized will work just fine as well. I recommend organic if possible.
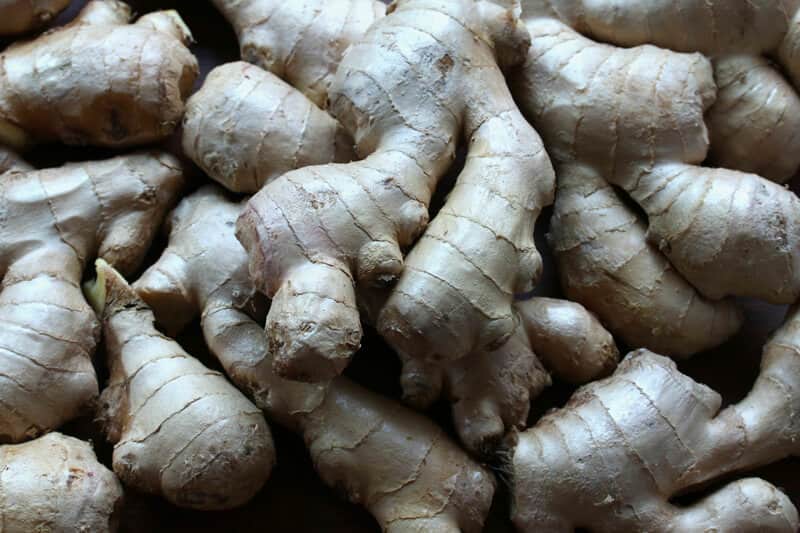
Peel the ginger and slice it thinly and evenly. You can either do it by hand or use a mandolin. I highly recommend the Swissmar Borner Mandolin.
If you slice it paper thin the result will be crunchy crystallized ginger, but you also don’t want it too thick. 1/8 is thick is about right. You’ll need about 1 pound of sliced ginger.
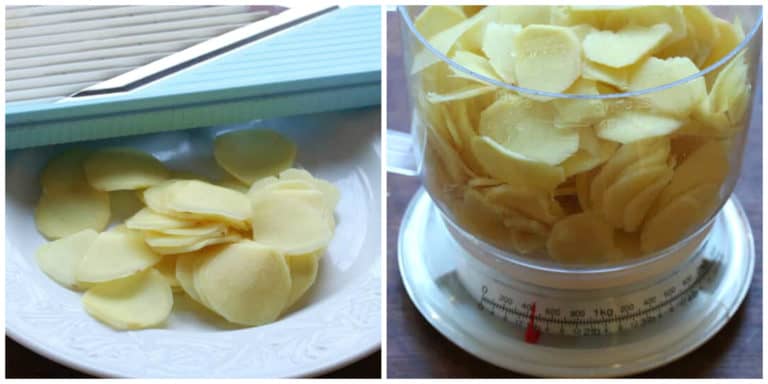
Place the sliced ginger in a medium-sized pot and cover with water and just a pinch of salt. Bring to a boil and simmer for 30 minutes.
Reserve 1/2 cup of the ginger water and then drain the sliced ginger (you can also keep the ginger water for tea or a tonic).
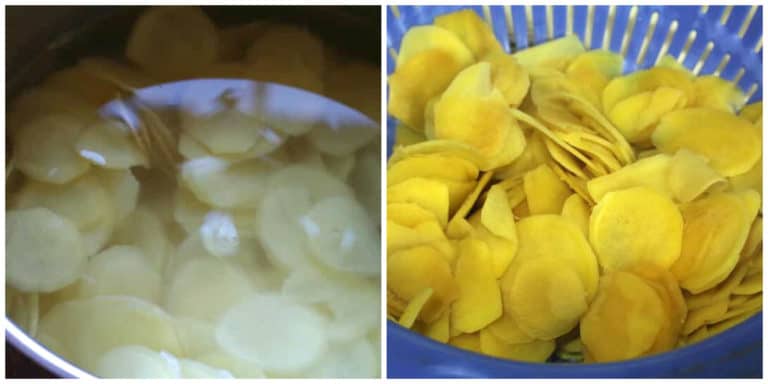
Place the reserved ginger water and sugar in the pot.
Add the sliced ginger, bring it to a boil, reduce the heat to medium and simmer uncovered for about 35-40 minutes, stirring occasionally.
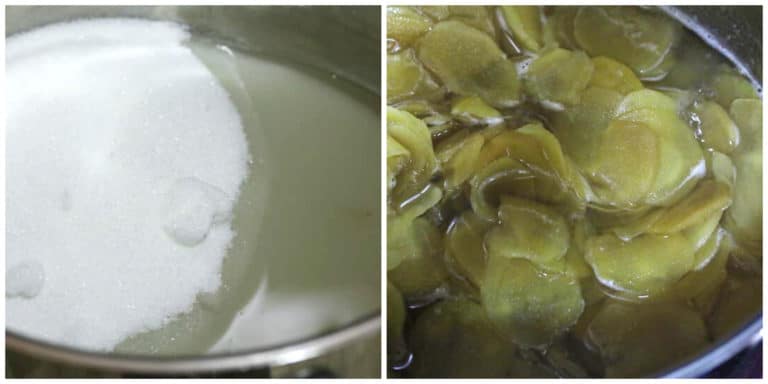
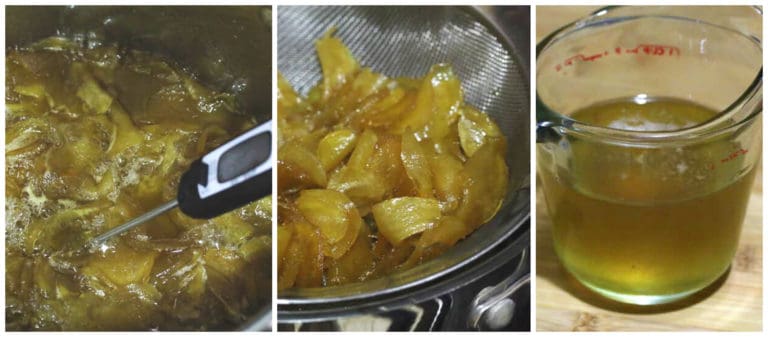
The mixture will become somewhat thickened as the sugar turns to a syrup. Simmer until a candy thermometer or instant read thermometer reads 225 degrees F. You don’t have to use a candy thermometer but it sure makes it a lot easier than guesswork.
Once the ginger mixture has reached 225 F drain the ginger immediately while hot. Use a colander over a bowl so you can collect the drained syrup. Don’t discard that syrup. This recipe produces a delicious by product: GINGER SIMPLE SYRUP! Add a teaspoon or two to your drinks for a refreshing ZING!
Lay the ginger slices out on a large cooling rack over a cookie sheet, separating the individual slices the best you can (this is the more tedious part of the process). Let the ginger sit for 2 hours so they’re sticky but not wet (you want the sugar to be able to adhere without dissolving).
Toss the pieces in a bowl of sugar to coat all sides. Lay the crystallized ginger back on the cooling rack to sit overnight to dry. Note: If you’re in a place with high humidity you can also dry these in a food dehydrator or in the oven on the very lowest temperature setting (you may need to keep the oven door cracked open).
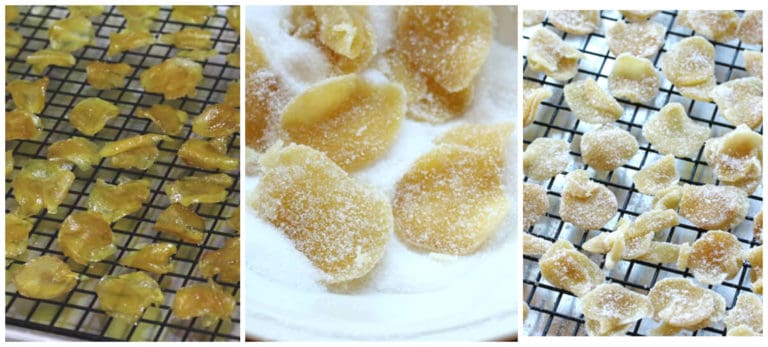
Store the crystallized ginger in an airtight container in a dark, cool place. Because it’s cooked and sugar and then coated with sugar, it will keep for several months.
This makes roughly 2 cups of homemade candied ginger.
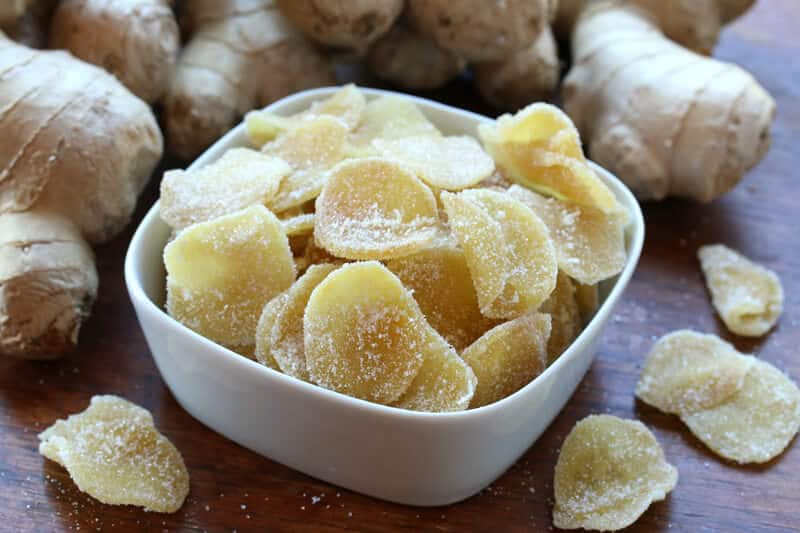
Enjoy!
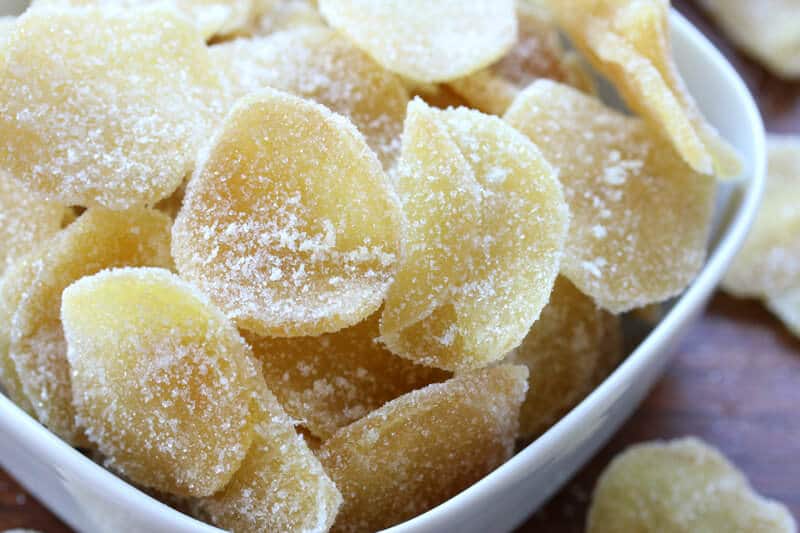
Be sure to also try my Homemade Candied Orange Peel (or lemon, grapefruit and lime)!
Save This Recipe
Candied Ginger Recipe
Equipment
Ingredients
- 1 pound fresh ginger root , preferably young/smaller roots, sliced about 1/8 inch thick (by hand or use a mandolin – it's much easier)
- pinch of salt
- 2 cups white granulated sugar
- extra sugar for coating
Instructions
- Place the sliced ginger in a medium pot and cover with water. Bring to a boil and simmer for 30 minutes. Reserve 1/2 cup of the ginger water and then drain the ginger slices.
- Place the sliced ginger back in the pot with the reserved ginger water, sugar and pinch of salt. Bring to a boil, reduce the heat to medium, and simmer uncovered for 35-40 minutes or until the temperature on a candy thermometer reads 225 degrees F.Drain the ginger in a colander over a bowl to catch the syrup (see Note).
- Lay out the ginger slices on a cooling rack over a cookie sheet, separating the slices the best you can. Let cool for 2 hours (you want them sticky but not wet so that the sugar will adhere without dissolving).Toss the ginger slices in a bowl of sugar so they are coated all over. Place the ginger slices back on the cooling rack to sit overnight. Note: If you're in a very humid area you can dry the candied ginger in a food dehydrator or in the oven set to the lowest temperature (you may need to crack the oven door open.)
- Store in an airtight container in a dark, cool place. Will keep for several months. It can also be frozen for at least 6 months.This makes roughly 2 cups of candied ginger.
Notes
Nutrition
Originally published on The Daring Gourmet June 5, 2015


Hi Kimberly, I have read instructions for The candied ginger with the boiling once in water then in sugar mix as well as just one boil in a sugar mix. Could you tell me why the 1st boil is necessary. I like a strong Ginger flavor so I was concerned that I would lose some of that in (2) boil method. On the other hand I kind of like all the “side effects” of this recipe. Like the ginger tea after the first boil and the ginger syrup after the second. Anyway I was wondering if the (2) boils were strictly necessary. Thanks so much.
Hi Mari, no it isn’t strictly necessary, but the ginger will be VERY potent and spicy if you don’t. If that doesn’t bother you then you reduce it to one boil. Even with two boils the flavor will be very strong.
This is my fourth batch. No salt and a few lemon slices in the poaching liquid. The salt goes with the sugar. We add the ginger – finely chopped
— to baking products like custard tart and short bread biscuits. We also use it as a garnish for preserved fruit, especially brandies sour cherries.
Fantastic and easy recipe. I added some to homemade cranberry sauce. It was a huge hit! Going to make more this week.
Quedo excelete esta receta, vivo en la ciudad de Mexico, aumente el tiempo a una hora del primer hervor, por que lo elegi maduro ya bastante grande de 300 grm. lo pique en cuadros pequeños y solo usaria agua limpia con el azucar, con el resto del primer hervor del jengibre se derramo al estar hirviendo el liquido con el azucar por que hacía mucha espuma y no me ayudo, de sabor excelente creo que tendre que hacer mas pues me lo estoy terminando cada que entro a la cocina me como uno. Antes me lo traian a regalar una amiga que vivia en la capital de USA. y con la fue un hallazgo poder realizar la receta en casa.
I must have done something wrong. After the first simmer, there was no liquid left in the pan. I added 1/2 c water, then sugar and a pinch of salt. After 39 minutes, I had rock hard candy around a clump of ginger. I was looking forward to a ginger simple syrup for a Moscow mule later, but alas….
Most ginger sold in North America is grown in Oregon.
Michael, I have yet to see that in any store I’ve ever shopped in Washington State, and that’s right next to Oregon. What is the source of your info? Every source I’ve seen reflects the following: “In the United States, both Chinese and Japanese ginger are grown in Hawaii and shipped to the mainland, though the majority of U.S. supply is imported from China, Brazil, Thailand, and Central America.”
This recipe is awesome! It’s very easy to follow and my mother loves the end product. Even my husband, who “dosen’t like ginger” can’t stop stealing from it!
Love this recipe. It tastes so delicious. However my ginger turned a little brown when I boiled it. Any idea why? It’s still delish!!
My ginger turned brown as well. Did you ever get an answer from @daringgourmet?
it could be just oxidation of the ginger. You might try adding a little bit of lemon juice so it keeps its color.
OMGosh. I made this on the spur-of-the-moment. Wish i would have seen this recipe before I bought ginger, I would have purchased 2lbs!
I have to say, this recipe is incredible! My very first time making candied ginger and it came out beautyful! Used 1 cup of ginger liquid first time around and then another cup the second time around (cooked for an additional 30 minutes) just to make sure its perfectly soft and translucent. I’m currently having it dry overnight in my food dehydrator.
The Daring Gourmet will feature prominently at Christmas in my household this year with items such as your Christollen and Pfeffernüsse Cookies! Already made the candied citrus, marzipan up next!!! Your recipes really do bring the spirit of the Holidays Home!
Thanks so much, Carl, and you are a ROCK STAR!!
How long would the water you can reserve for tea last. As ive a friend who has lost all sense of taste and smell and thought this would be fab for her. But id need to bottle and post it
Made this recipie. It is real delicious. Is there a way to reduce spiciness? Otherwise can’t beat the freshness.
Thanks
The longer you simmer, the more it mellows. Just lower the temperature and simmer till it’s milder.
Ashley in Ithaca, NY
This has such a stupendous flavor – it’s quite special. Thanks for the recipe. I have to say it was way more time consuming than I had initially thought it would be – also prep is a little tedious. I think one should prepare at least 2 lbs of this to make it worth the time. Folks would really love getting this special treat as a gift!
Amazing flavor and texture!
Wonderful recipe! I made my first batch and it is delicious, thank you :)!
Oh boy! Look up “Organic” ginger contaminated with ALDICARB. Yep: it comes from China. Dig in!
I have been simmering my ginger pretty much all day and it is still crunchy!
I’m in Ohio so the elevation isn’t an issue. What is going wrong?
Hi Connie,
Use more water and boil longer in step 1, like at least an extra 30 minutes. See the comment from Renee below (July 25) and the response from Kittie (Aug 25). This recipe is for baby ginger and most of us are probably using full grown ginger.
I’m working on a way to do this in the instant pot to help with the tenderness issue, but stovetop it will just take longer in step 1.
Hope that helps!