Canning Chili Con Carne
This post may contain affiliate links. See my disclosure policy.
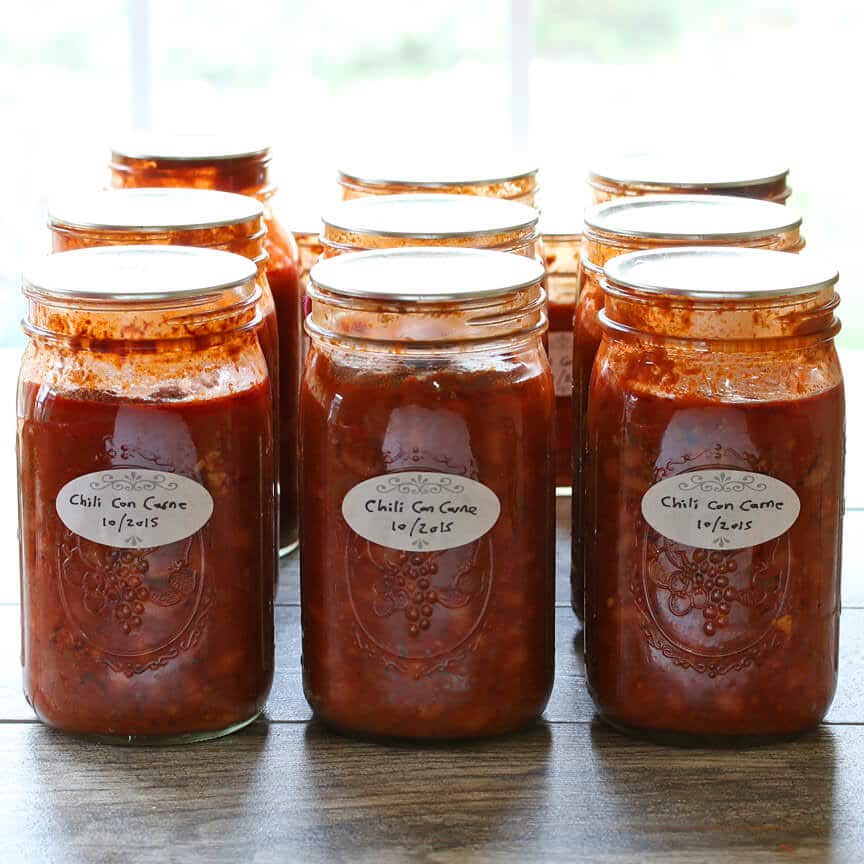
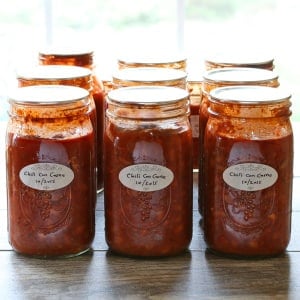
Enjoy the convenience of your own homemade canned chili straight from your pantry shelf! Canning chili is easy and it enables you to enjoy shelf-stable food that will keep for up to a year. Just grab a jar, heat it up, and enjoy!
Be sure to also check out my tutorial on Canning Baked Beans!
I’ve been canning for many years, but the first several years only used the water-bath method. So that means I had mostly been making jams, relishes, chutneys, pickles, salsas and other high-acidic foods that are safe for water-bath canning. For most other things you need a pressure canner. Pressure canning enables you to safely preserve a ton of other foods, like this chili con carne. Unlike freezer meals that take up a lot of space in the freezer and generally only keep for up to 3 months, pressure canned meals can be stored on the shelf and keep for about a year.
So forget the canned foods at the grocery stores that are full of preservatives, additives and fillers – can your own food! It not only tastes a heck of a lot better, it’s a heck of a lot better for you! You have full control over what goes in it – and what doesn’t.
I’ve been pressure canning up a storm of foods lately – mostly soups, stews, and a variety of flavored beans, and I’ve gotta tell you, it’s so satisfying to walk into your pantry or basement and see shelves stacked with homemade canned goods that you know will be there when you need a quick and tasty meal! Not to mention they’re perfect for emergency preparedness and food storage should the need ever arise.
Canning chili is easy and I’m going to show you how!

Canning Chili Recipe
Let’s get started!
The beans: Soak them in water overnight so they’re covered by at least 4 inches of water. The next day, drain and rinse and boil in fresh water for 30 minutes. Drain and set aside until ready to use.
Prepare the pressure canner: (Depending on which brand and model you use – follow the instructions for you pressure canner) Fill it with 4 inches of water, put the lid on (but do not put the weight on) and bring it to a boil while you’re finishing up the last steps of the chili-making process.
Now on to the chili: Fry the beef in a little bit of oil until no pink remains. Add the onions and garlic and cook until soft and translucent, 5-7 minutes. Drain off as much fat as you can. (Too much oil will interfere with the canning process and prevent the jars from sealing properly.)
Add the seasonings and cook for another minute. *Do not add any flour or cornstarch for thickening, it will interfere with the canning process.

Add all remaining ingredients.
Bring it to a boil, reduce the heat and simmer for 5 minutes.

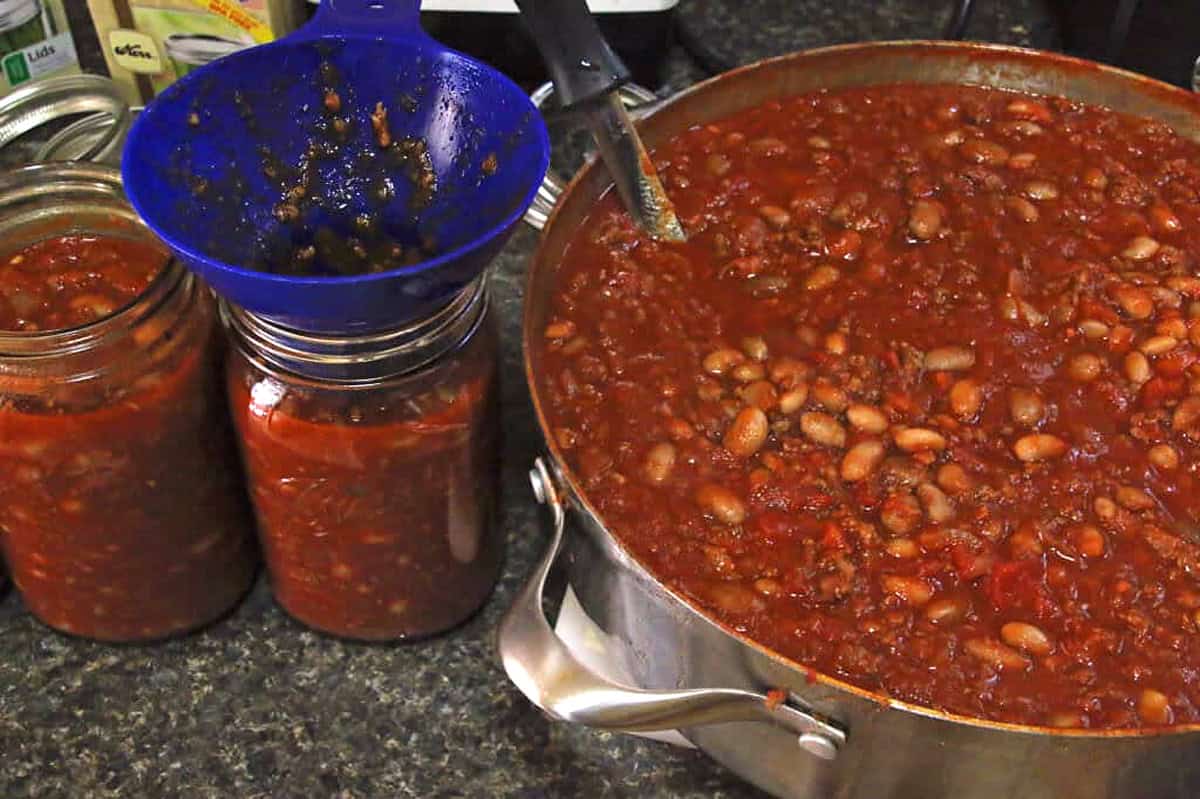
Ladle the chili into hot sterilized jars leaving 1 inch headspace. Using a funnel is best to avoid spillage. You can get this Ball Utensil Set which includes the funnel and jar lifter, both of which are musts.
Then use a wet paper towel or cloth dipped in vinegar and run it along the rim of the jar to make sure there is no sauce or oil (which will prevent the lids from sealing).
Tap the jars to remove any air bubbles (again, bubbles will interfere with the canning process and can cause the contents to leak out).
Place the lids on each jar and firmly (but not excessively so) screw on the rims. Follow the directions for your specific pressure cooker. I use and like the Presto 23-quart Pressure Canner. It’s good quality and big enough to hold quart- and gallon-sized jars and lots of pint-sized jars.
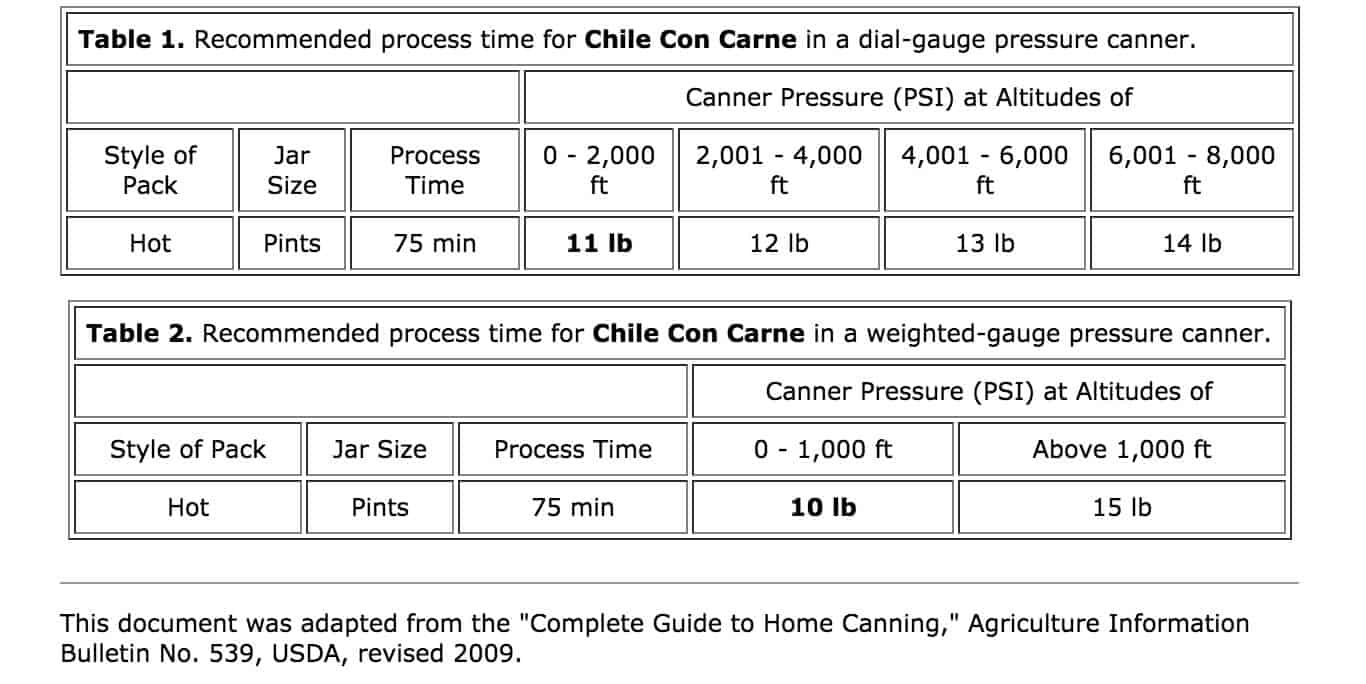
You’ll need to process pint jars at 10 pounds for 75 minutes. Quart jars are processed for 90 minutes.

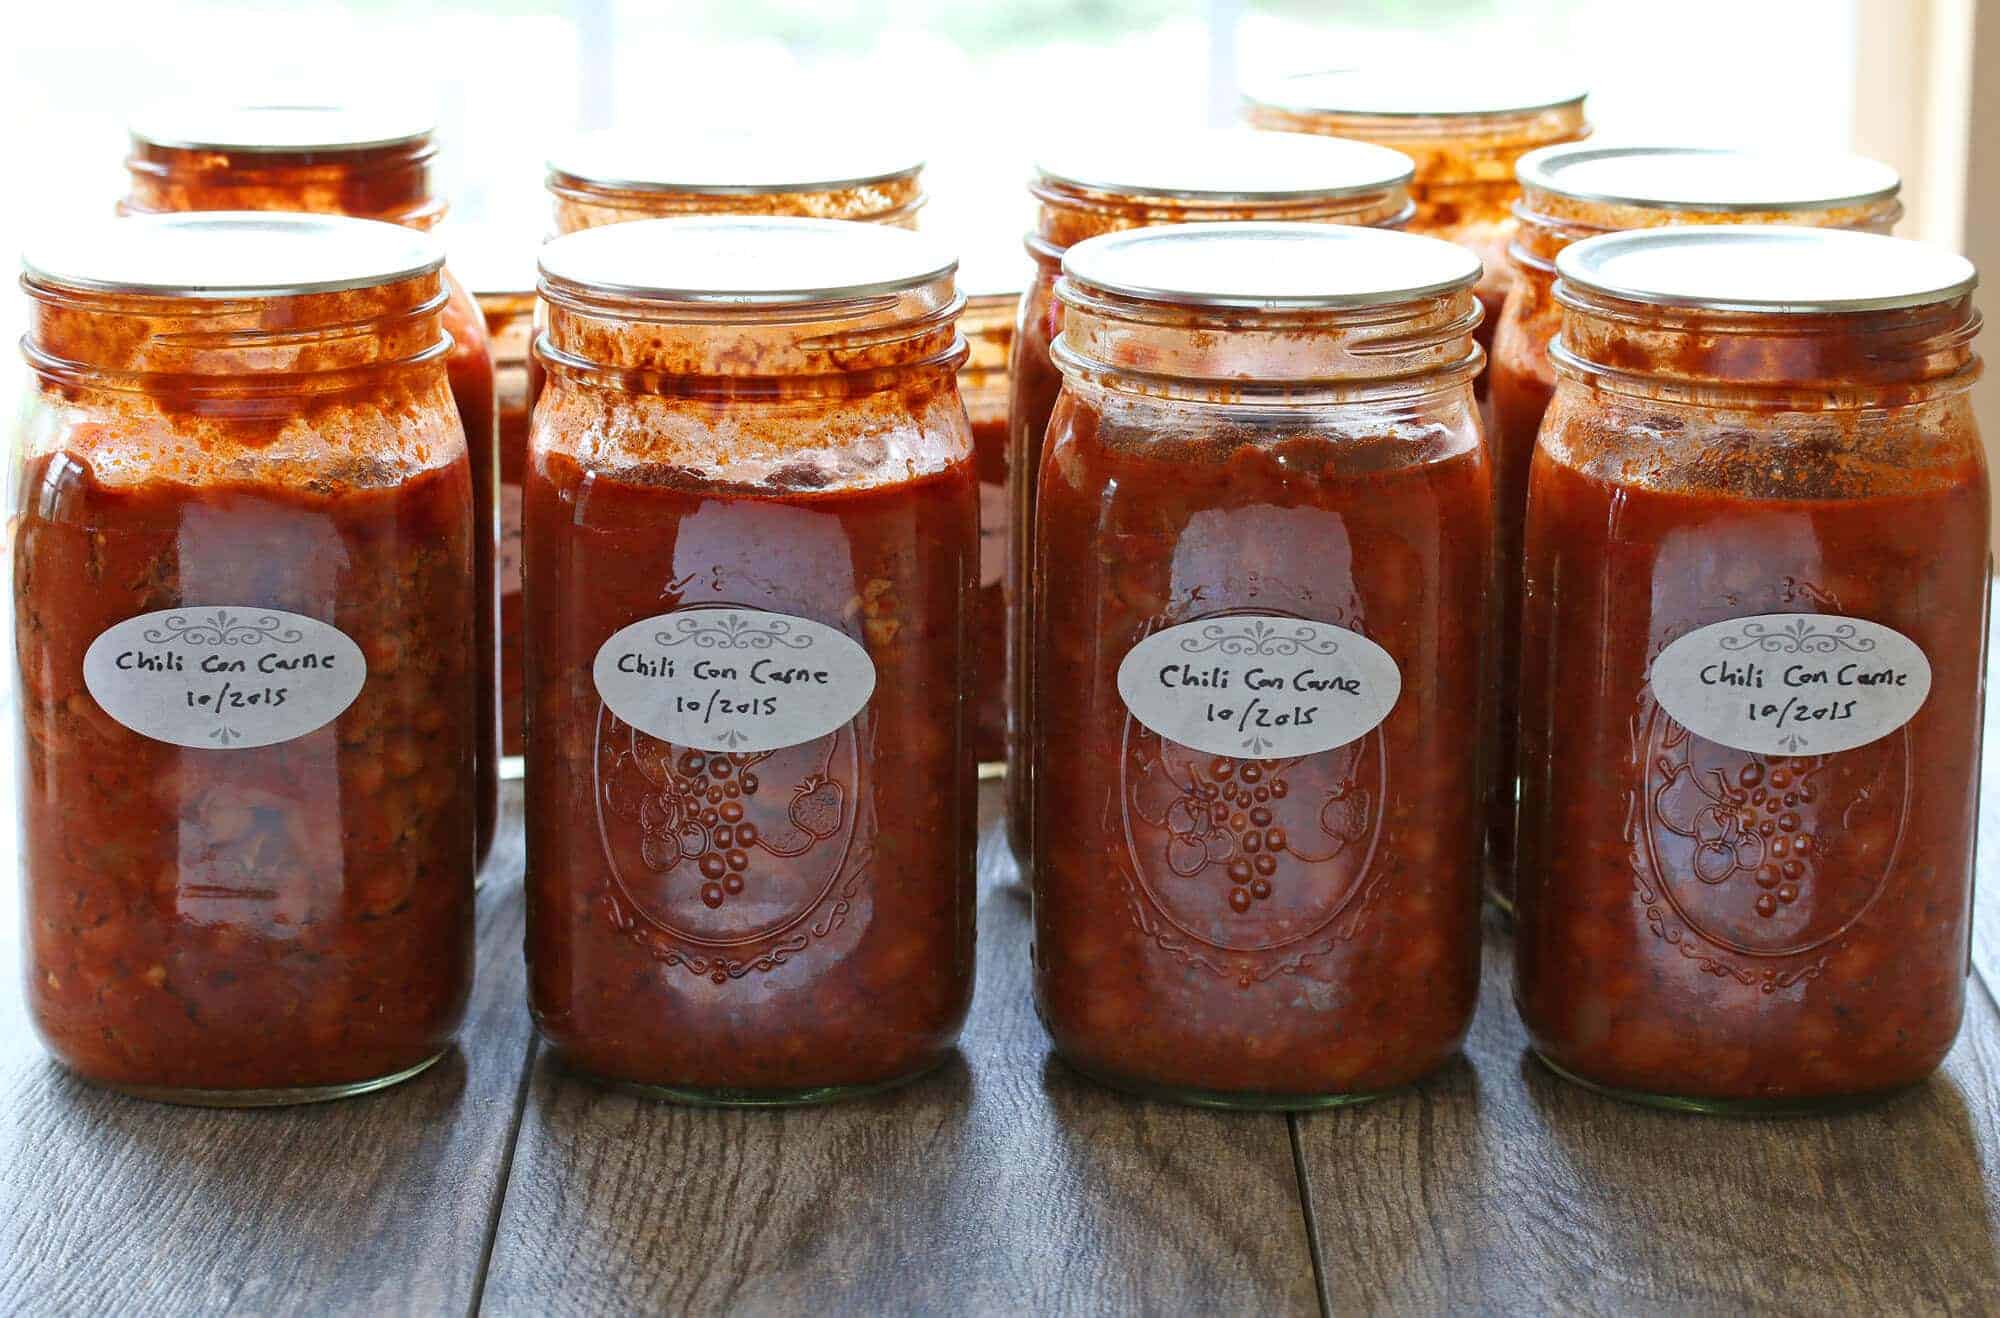
Keep the jars stored in a cool, dark place. They’ll keep for at least one year.
Enjoy the convenience of wholesome, ready-made homemade food!
Save This Recipe
Pressure Canner Chili Con Carne
Ingredients
- 3 pounds dried kidney or pinto beans (or combination) , soaked overnight then drained and rinsed
- 3 tablespoons oil
- 3 pounds lean ground beef
- 3 large yellow onions , chopped
- 6 cloves garlic , minced
- 1/3 cup chili powder (click link for our homemade chili powder!)
- 1 tablespoon sugar
- 2 tablespoons salt
- 2 tablespoons ground cumin
- 3 tablespoons beef bouillon base
- 1 teaspoon freshly ground black pepper
- 1 tablespoon onion powder
- 1 1/2 teaspoons garlic powder
- 6 14.5 ounce cans diced tomatoes
- 6 14.5 ounce cans tomato sauce
- 3 cups water
Instructions
- Place the soaked/rinsed beans in clean water in a large stock pot and bring to a rapid boil. Reduce the heat to medium and simmer for 30 minutes. Drain and rinse. Set aside.
- Heat the oil in a very large stock pot (at least 12 quarts) and brown the ground beef. Add the onions and garlic and cook until soft and translucent, 6-8 minutes. Drain off as much fat as you can. (Too much oil will interfere with the canning process and prevent the jars from sealing properly.) Add the seasonings and cook for another minute. *Remember, do not add any flour or cornstarch for thickening, it will interfere with the canning process. Add all remaining ingredients. Bring it to a boil, reduce the heat and simmer for 5 minutes.
- Ladle the chili into hot sterilized jars leaving 1 inch headspace. Using a funnel is is best to avoid spillage. Then use a wet paper towel or cloth dipped in vinegar and run it along the rim of the jar to make sure there is no sauce or oil (which will prevent the lids from sealing). Tap the jars to remove any air bubbles (again, bubbles will interfere with the canning process and can cause the contents to leak out). Place the lids on each jar and firmly (but not excessively so) screw on the rims.
- Follow your pressure canner's instructions for processing. I use the Presto 23 Quart Pressure Canner (you'll need one this large to process quart-sized jars). For this model you'll bring 4 inches of water to a boil, place the bottles inside and let it vent for 10 minutes. Then place the weight cap on it and process pint jars at 10 pounds for 75 minutes and quart jars for 90 minutes. Remove the pot from the heat and let it cool until the temperature drops to zero. Remove the jars and let them sit undisturbed for 24 hours, then store in a cool, dark place. Will keep for at least a year.Makes about 22 pints or 11 quarts.
Nutrition

Hi, I’m Kimberly Killebrew and welcome to Daring Gourmet where you'll find delicious originals, revitalized classics, and simply downright good eats from around the world! Originally from Germany, later raised in England, world-traveled, and now living in the U.S., from my globally-influenced kitchen I invite you to tour the world through your taste buds!


I’m from the Southwest, where adding a lot of vegetables other than onions, garlic, beans, and chile peppers is not even considered “chile con carne”. You can add anything you want to but it won’t be classic Chile. That includes adding a lot of tomatoes as well, although I do often add a smidgen to mine.
I don’t think you can get much further south than Raymondville Texas. We always had tomatoes in our chili.
Sorry, dear, that ain’t how it works.
We’re not all from Georgia, anyway. :)
Canning “authorities” are all over the country, they only approve what they have tested, and most of the testing is OLD OLD OLD. So we’re forced to learn the rules. Ball and a few others stay current.
I might gently suggest that you spend some time learning the basics of canning. Don’t use any flour, cornstarch, or thickeners. Stay away from dairy,whey, other than maybe a tiny spoon of real butter. Better N Bullion has whey, don’t use it. The rules are pretty easy after you know them.
All spices are approved, tomatoes are really good as they raise the acid level, most vegetables are fine, but a few come out disgusting. Everything in this recipe is fine.
Chili with only unadulterated chile powder (ground chilis) isn’t even good hamburger, let alone chili.
Just don’t listen to anybody on YouTube, they’ll kill ya dead.
Can you substitute canned kidney beans for dried? If so, do you know how many cups replace dried beans?
Can I add corn to this my family likes it like that
I want to can 1/2 pints of chili I already have made to use for chili dogs (it’s just two of us). I’m also going to be canning some ground beef in pints as well. Do I need to process the 1/2 pints for the full 75 minutes or should I do slightly fewer? If I have the space can I just process them with the pints of ground beef?
Half pints go for the same time as pints.
Your temperature is too high, when you reach 10 – 15lb (depending on your altitude) of pressure the regulator will jiggle and you can slowly back down the temperature while keeping the pressure constant. Turning the heat down too fast will cause siphoning.
I tripled the recipe and got 20 quart jars canned plus dinner this evening for adults 4 adults and 2 children. Everyone loves this recipe and I will definitely be making it again! Thank you!
Per NCHFP the only approved ingredients in this recipe are chili powder and black pepper. Can you show confirmation that a recipe has been tested using all of the additional ingredients you’ve listed ? I want to make this recipe. But, not at the risk of causing illness to my family, I like to make sure a recipe has been tested if it has been modified. Thank you.
It’s just a different recipe is all . Read what others are saying here about the chili. I plan on making the chili tomorrow using this recipe. The NCHFP recipe looks too boring for me.
Is the weight of beans dry or soaked?
When canning my chili it comes out smelling burnt? Any thoughts on why?
Am concerned, my 3 lbs of soaked beans turned into 16 cups of beans, is this really how many you want?
I wonder if they meant 3 lbs of cooked beans. I usually do a 1 to 1 ratio beans to meat
Matt, I made this today, following the recipe (3 lbs. of dry beans). We’ve tasted the chili in the pot, we haven’t yet opened one of the cans. My husband’s one negative comment was that he’d prefer to have more meat. However, the amount of liquids worked well with the quantities listed, so there’s that.
I think next time I make this, I will add a pound or so of ground beef, and back off an equivalent amount on the beans.
In real chili there are no beans.
EXCELLENT! Thank you very much! I’ll be working up a batch shortly!
Dave
I love chili con carne. My wife hates it. Had too much of it when raising our little ones years ago.
Curious. I saw on another site that pressure canning beans that had already been cooked, especially when the recipe includes meat and the longer pressure time, would turn the beans to mush. Does that happen in your recipe?
I’m anxious to make it!
Hi Dave, that’s a great question. If the beans were fully cooked then yes, they’d probably end up mushy. But the beans here are simply “blanched”/half-cooked before pressure canning them. I know 30 minutes sounds like a long time, but dried beans usually need at least 1 hour of cooking to fully soften. Blanching them for 30 minutes ensures that you don’t end up with under-cooked beans later. This is the same method the National Center for Home Food Preservation, for example, and many other sources use. Happy canning! :)
Very yummy outcome, I’ve been canning for quite some time and always like a new recipe. I did modify be lowering the water and adding some diced stew meat. Turned out super yummy. I’ll be repeating this over and over.
I’m so glad you enjoyed it, Troy, thank you!
I got into pressure canning a couple of years ago. I have an Italian boss and he has introduced me into the world of “sauce” day, where you get boxes and boxes of sun-ripened tomatoes and process them into passata. It’s like opening a little bottle of summer in the middle of winter. I have just had three days of making the sauce, bottling it and my first recipe for the pressure canner was spaghetti sauce and now I’m making a huge pot of your chilli. It tastes great already and I have about 20 quarts on the stove. Of course it helps when your husband cleans the pots and various mess’ that you make!!!! My cupboard is almost full. thanks for the recipe and the very clear instructions. My next port of call will be Fasoula (spell?). White beans simmered in chicken stock with lots of celery and carrots. Courtesy of another boss who is Greek. I have two pressure canners that have been going non-stop for three days. I’m exhausted, but happy that my cupboard is half full. Also on the list in the coming weeks are Indian curry, Pea and Ham soup and Chicken and Sweet Corn soups. Multi-culturalism via food is alive and well here in Australia!! Thanks for your great blog. Louise
Wow, Louise, that’s incredible! I’m super envious of your stocked cupboards :) That’s a lot of work you and your husband have been putting into this effort but it’s oh so worth it. Glad you enjoyed the chili and congrats on that phenomenal stash of food you’ve canned! Thanks for the feedback and friendly greetings to Australia!
Louise, You are canning the other soups? Do you have a recipe for them? I’d love to have them if you do.
I LOVE, LOVE to pressure can!!! I have done both (pressure and hot water bath) for years and you can not beat the taste of home canned!! Even meat is super easy (raw pack, seal and process and done) it so nice to open a jar of chicken add some mayo and relish and waalaa…
The USDA has scared me to death on canning, although my mom did it safely all the time I was growing up in the 50s and 60s, even breaking the rules when she made mincemeat for Christmas. I think the mincemeat stayed safe even with just a hot bath because of all the fruit and sugar. If I make mincemeat, I plan to pressure can it, though, just in case. I often had to help my mom, so the processes are not unfamiliar and I have in more recent years canned some fruits, fruit preserves and veggies. My mom, who was allergic to capsaicin, never canned, chili, though. So here is my question. I LOVE bell peppers of any color and usually add them (lots) to my chili. I also sometimes add pumpkin puree. If I added either peppers and/or pumpkin, would either result be safe to can in the same way?
Hi Linjha, yes, most people outside the U.S. roll their eyes at the USDA guidelines. For example, many if not most people in Europe don’t water-bath-can their jams, fruits, high acid foods, etc. For low acid foods I definitely err on the safe side and pressure can them. You’ll need to confirm the validity of what I’m saying for yourself, but from my understanding adding bell peppers poses no problem. From what I understand also, pressure canning 100% pumpkin puree has not been tested and there is some concern that the thick density of it may prevent the heat from fully penetrating the center, but they’re not sure yet. But that’s for a jar of nothing but pumpkin puree. Adding a little pumpkin puree to your chili…that will have to be your call.