Lard Pie Crust
This post may contain affiliate links. See my disclosure policy.
Get ready to make the BEST flavored and BEST textured pastry crust EVER! Buttery goodness meets perfect flakiness in this homemade lard pie crust recipe that takes less than 5 minutes to make and is sure to become your go-to from now on!
I think the original Goldilocks and the Three Bears must have been about pie crust instead of porridge because let’s face it, it’s really hard to find the perfect pie crust – Goldilocks’ pickiness would have been perfectly justified. And after sampling a lineup of them and being frustrated, I can’t blame Goldilocks for wanting to go lie down in pie-crust-tasting exhaustion. So for our pie crust and fairy-tale lovers alike, we present the ultimate pie crust recipe that even Goldilocks herself would approve!
What is Pie Crust?
That might be obvious to many of us but this kind of pastry dough is known by different names in the English speaking world (see below). Pie crust is a pastry dough that calls for a minimum of half the amount of fat as flour by weight. Butter, lard, shortening or margarine are rubbed into plain flour and the mixture is then bound with a small amount of ice water to create a pastry dough that is rolled out to be used for both sweet and savory baked goods (e.g., fruit pies, meat pies, quiche, tarts, and hand-held pastries).
Pie Crust vs. Shortcrust Pastry
They are one and the same. The term “pie crust” is commonly used in the United States while “shortcrust” is used in Great Britain.
Pro Tips for Making the BEST Pie Crust
The method for making pie crust or shortcrust pastry involves “cutting” the fat and flour into each other versus mixing them together. There’s a good reason for this technique and in order for it to work properly it’s imperative that the ingredients are very cold. The ingredients are kept cold so that the fat doesn’t melt too soon – instead the fat molecules remain intact in the pastry crust so that as the pastry heats during baking the fat slowly melts, creating airy “pockets” in the crust, making it nice and flaky.
The reason the ice water is added only after the fat and flour have been thoroughly combined is to ensure the flour particles are covered in a fat coating thereby keeping the water from penetrating the flour particles and developing gluten. This likewise ensures the perfect texture.
A food processor works very quickly and efficiently, ensuring the ingredients remain cold and it’s what we use and recommend. However if you don’t have a food processor you can also use a pastry blender.
The most important aspect of making pastry crust, other than ensuring the ingredients are very cold, is to not overwork the dough. Overworking it has the effect of elongating the gluten strands which creates a tougher texture more akin to bread than the light and flaky texture of a pie crust.
Use Butter AND Lard to Make the BEST Pie Crust
Most recipes will us one or the other and unfortunately shortening is most often used instead of lard (see our article about healthy vs. unhealthy fats). But for the ultimate pastry dough you’ll want to use BOTH. I use half of each. The butter is used to give the crust a rich flavor while the lard is used to create the best, flaky texture. And so in using both butter and lard you get the best of both worlds.
Where to Find Quality Lard
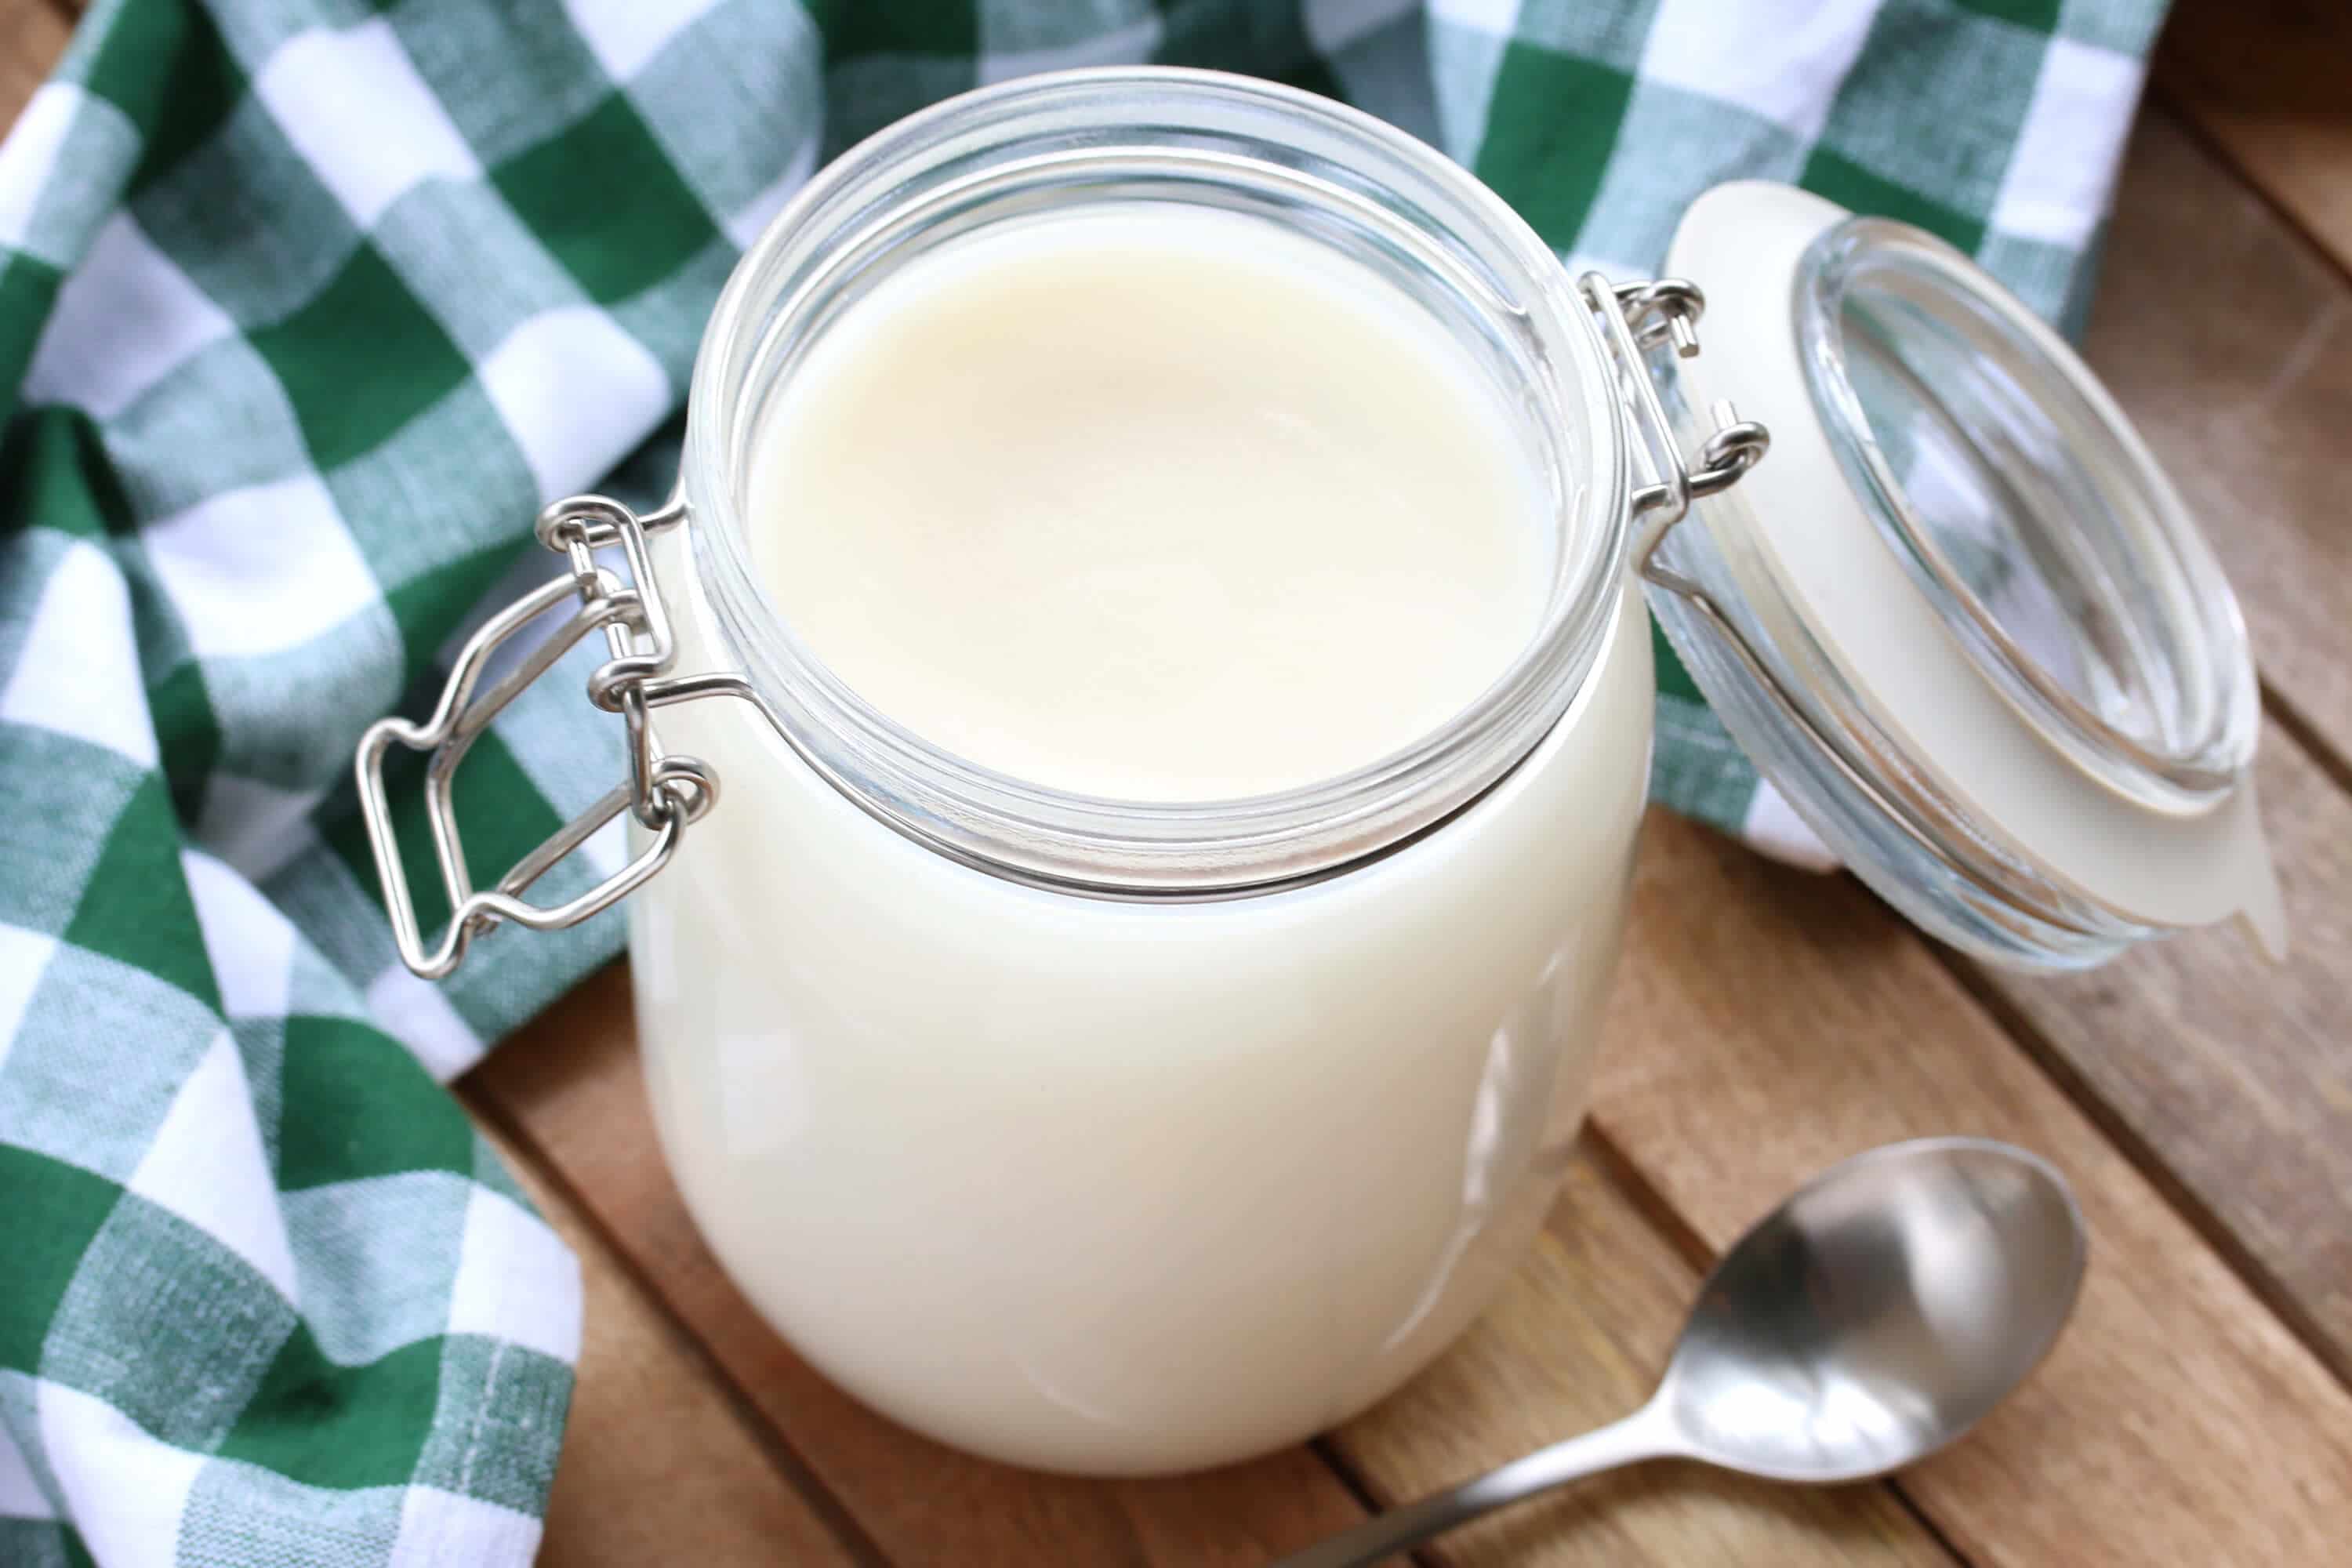
The best answer is: Make your own! It couldn’t be any easier, you have full control over the freshness and quality, and it costs a tiny fraction of what “trustworthy” (non-hydrogenated pure lard) lard costs at the store. If you’d rather pass on making your own you can find pure lard here on Amazon. But if you’re into baking and making pastries we highly recommend you start making your own.
Check out our post on How To Render Lard. Trust me, give it a try and you’ll be SO glad you did!
Can You Freeze Pie Crust Dough?
Yes! And you have a couple of options depending on what you’re making.
- Flatten the pie crust dough into a dish, wrap tightly with plastic wrap followed by aluminum foil for added protection, write the date on it and freeze it until you’re ready to use it. When you’re ready to use it simply let it thaw at room temp then roll it out as your recipe instructs.
- You can also freeze the pie crust right in the pie, tart or quiche pan. Roll out the crust, fit it in your pie plate, wrap it in plastic wrap and aluminum foil and stick the whole thing in the freezer. Then when you’re ready to bake your pie you can put it directly into the oven, no need to thaw first. You’ll just increase the baking time by about 3-4 minutes.
The pastry dough will keep in the refrigerator for up to 3 months.
Lard Pie Crust Recipe
With just a few simple ingredients and a food processor you can whip up the best lard pie crust in less than 5 minutes! There’s simply NO good reason to ever use store-bought. The flavor and texture of homemade can’t be beat and you have the peace of mind knowing it’s free from junk ingredients!
Let’s get started!
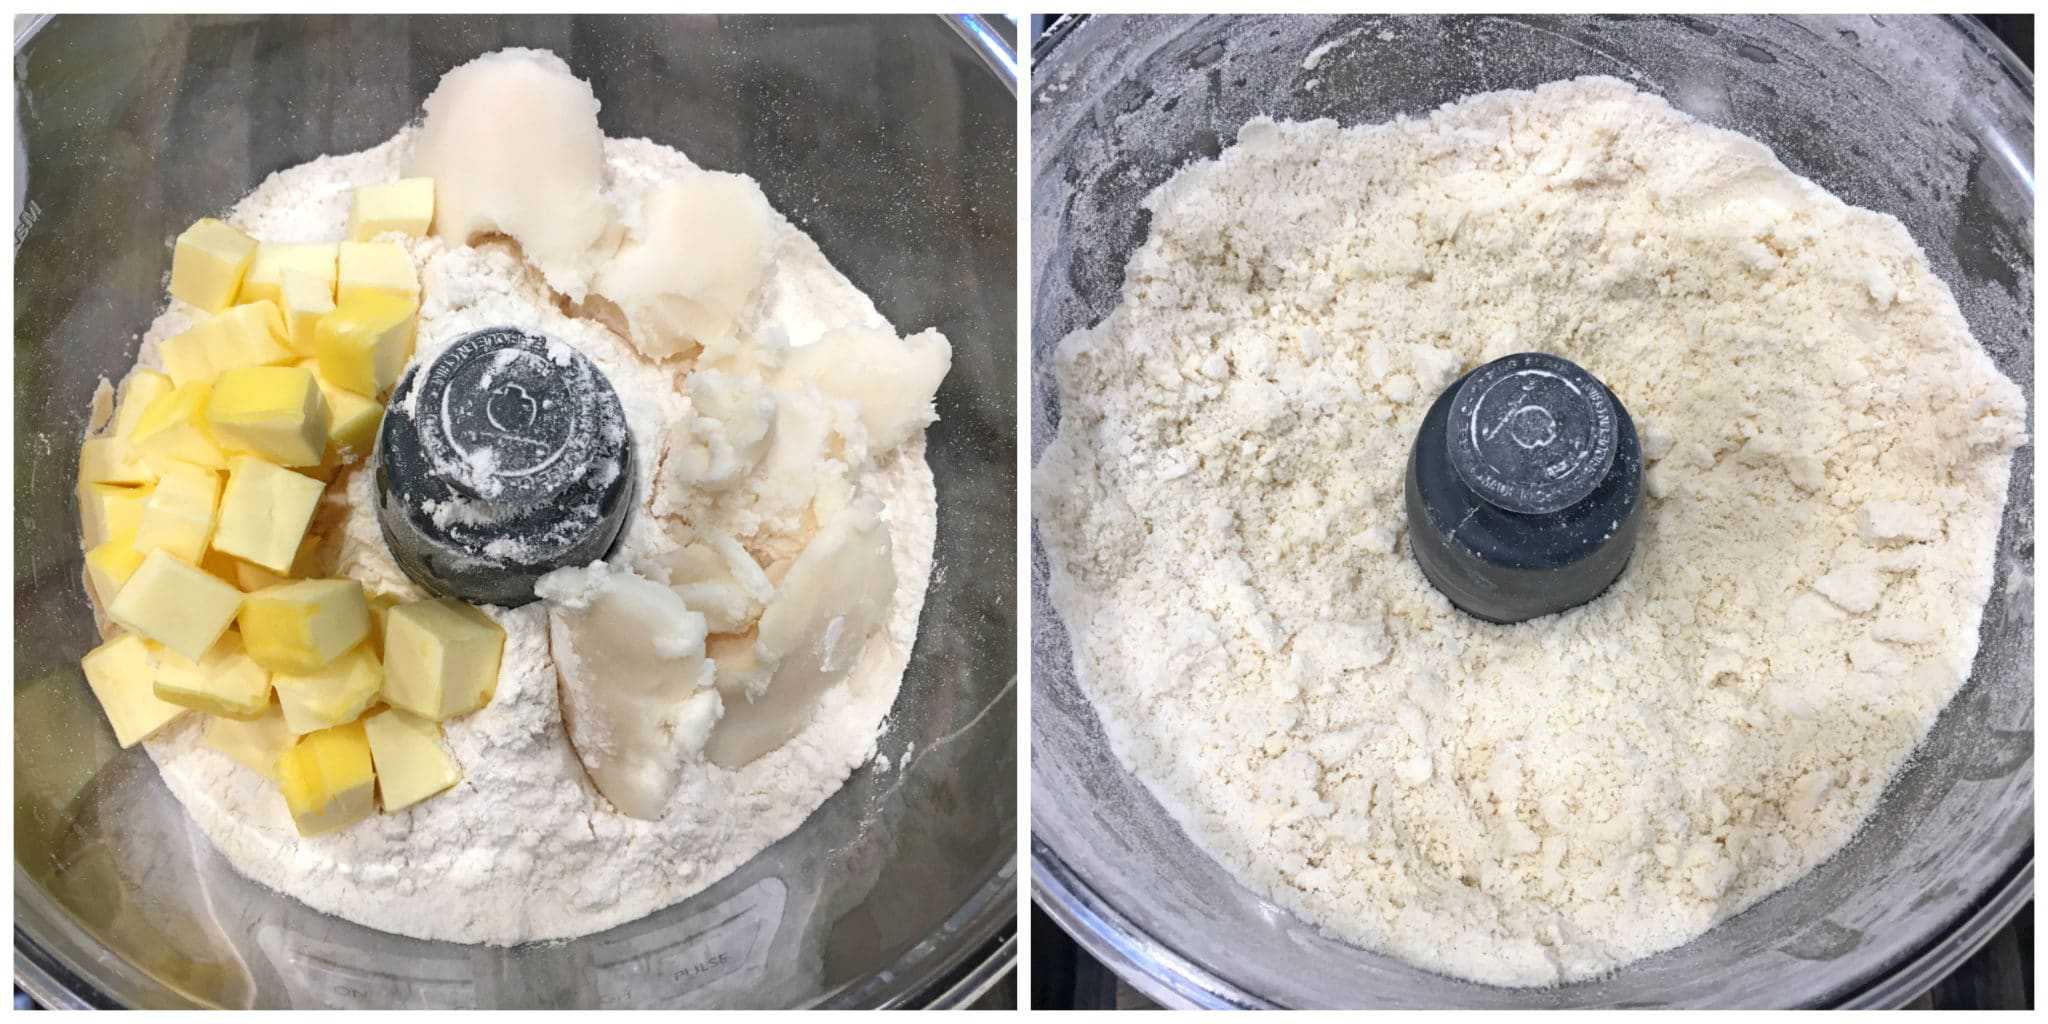
Place the flour and salt in the bowl of the food processor and pulse a few times.
Add the butter and lard and continue to pulse until the mixture breaks down into coarse crumbs.
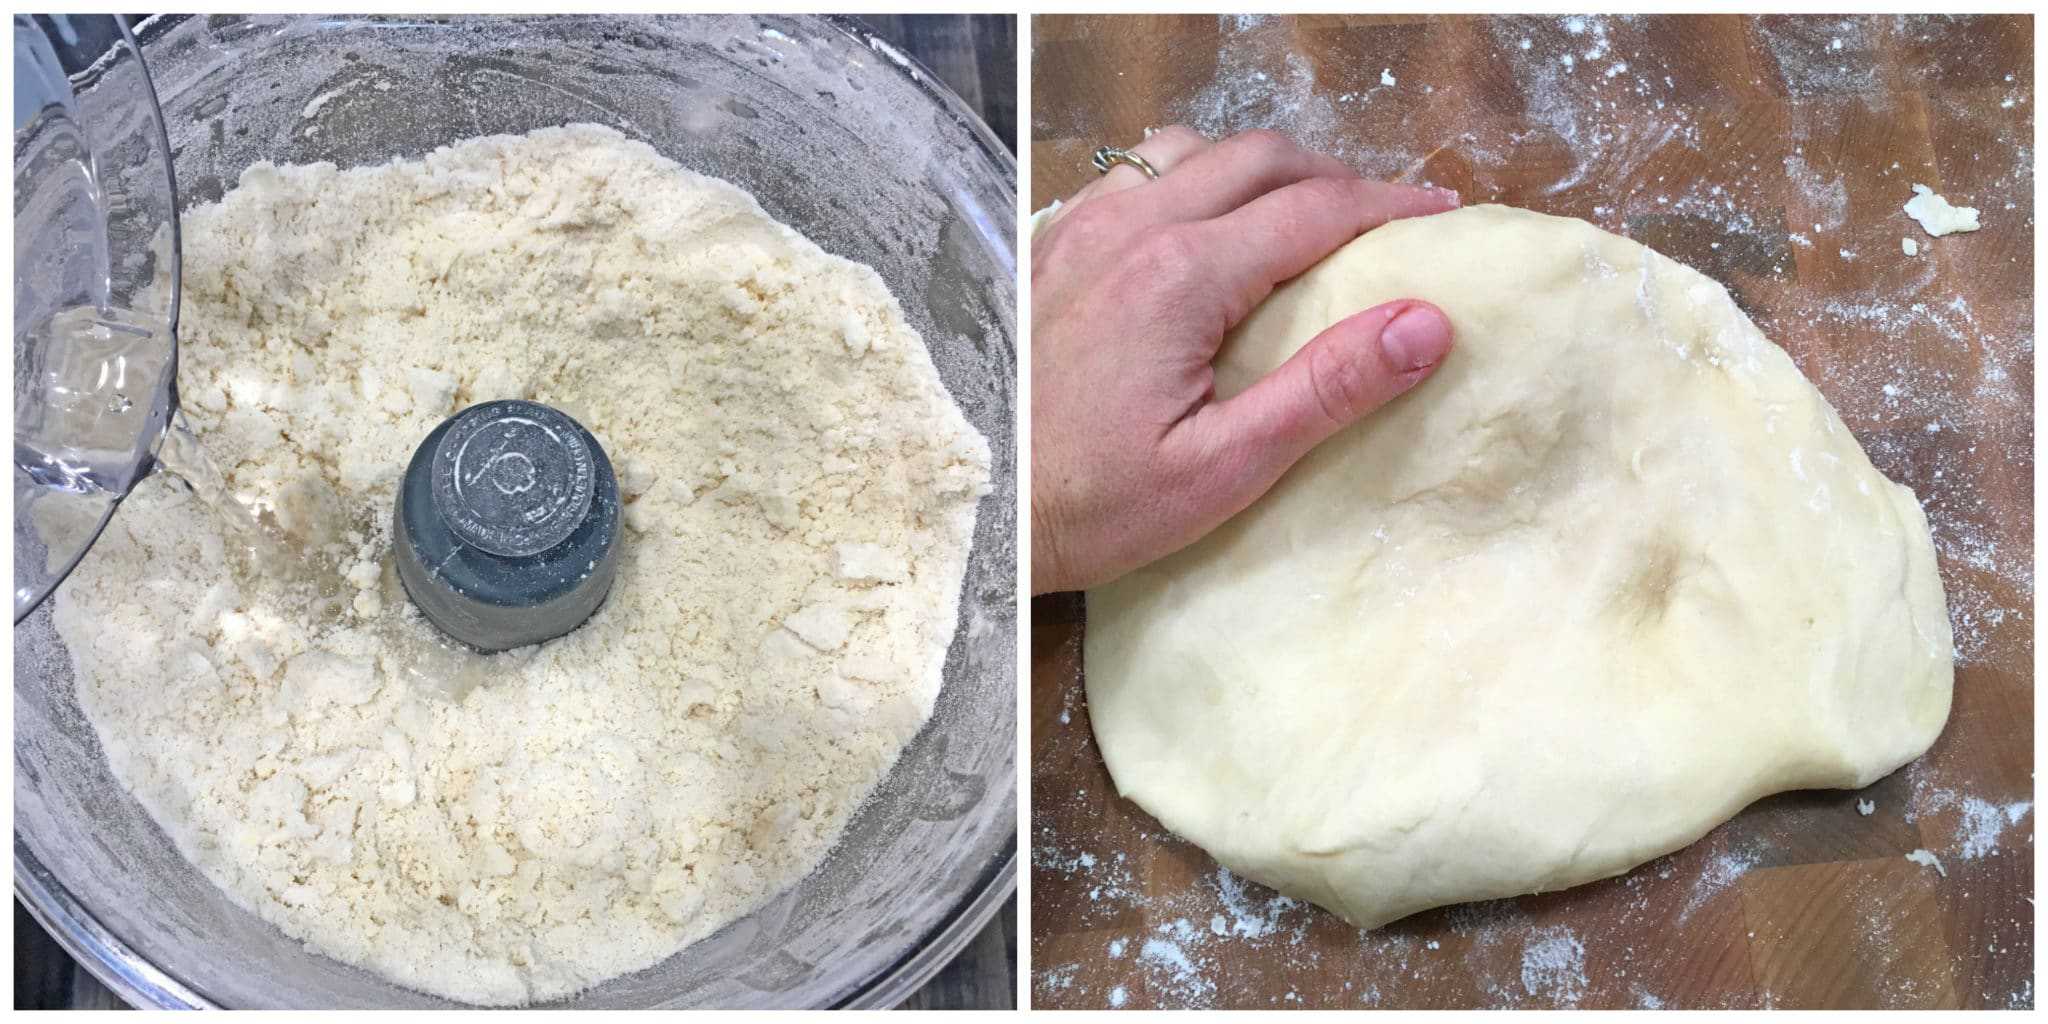
Gradually add in the ice cold water, pulsing a few times after each addition, until the texture is such that if you take a small scoop of crumbs into your hands and pinch them they’ll come together to form a dough. Be careful not to add too much water or your crust will be tough and won’t be flaky.
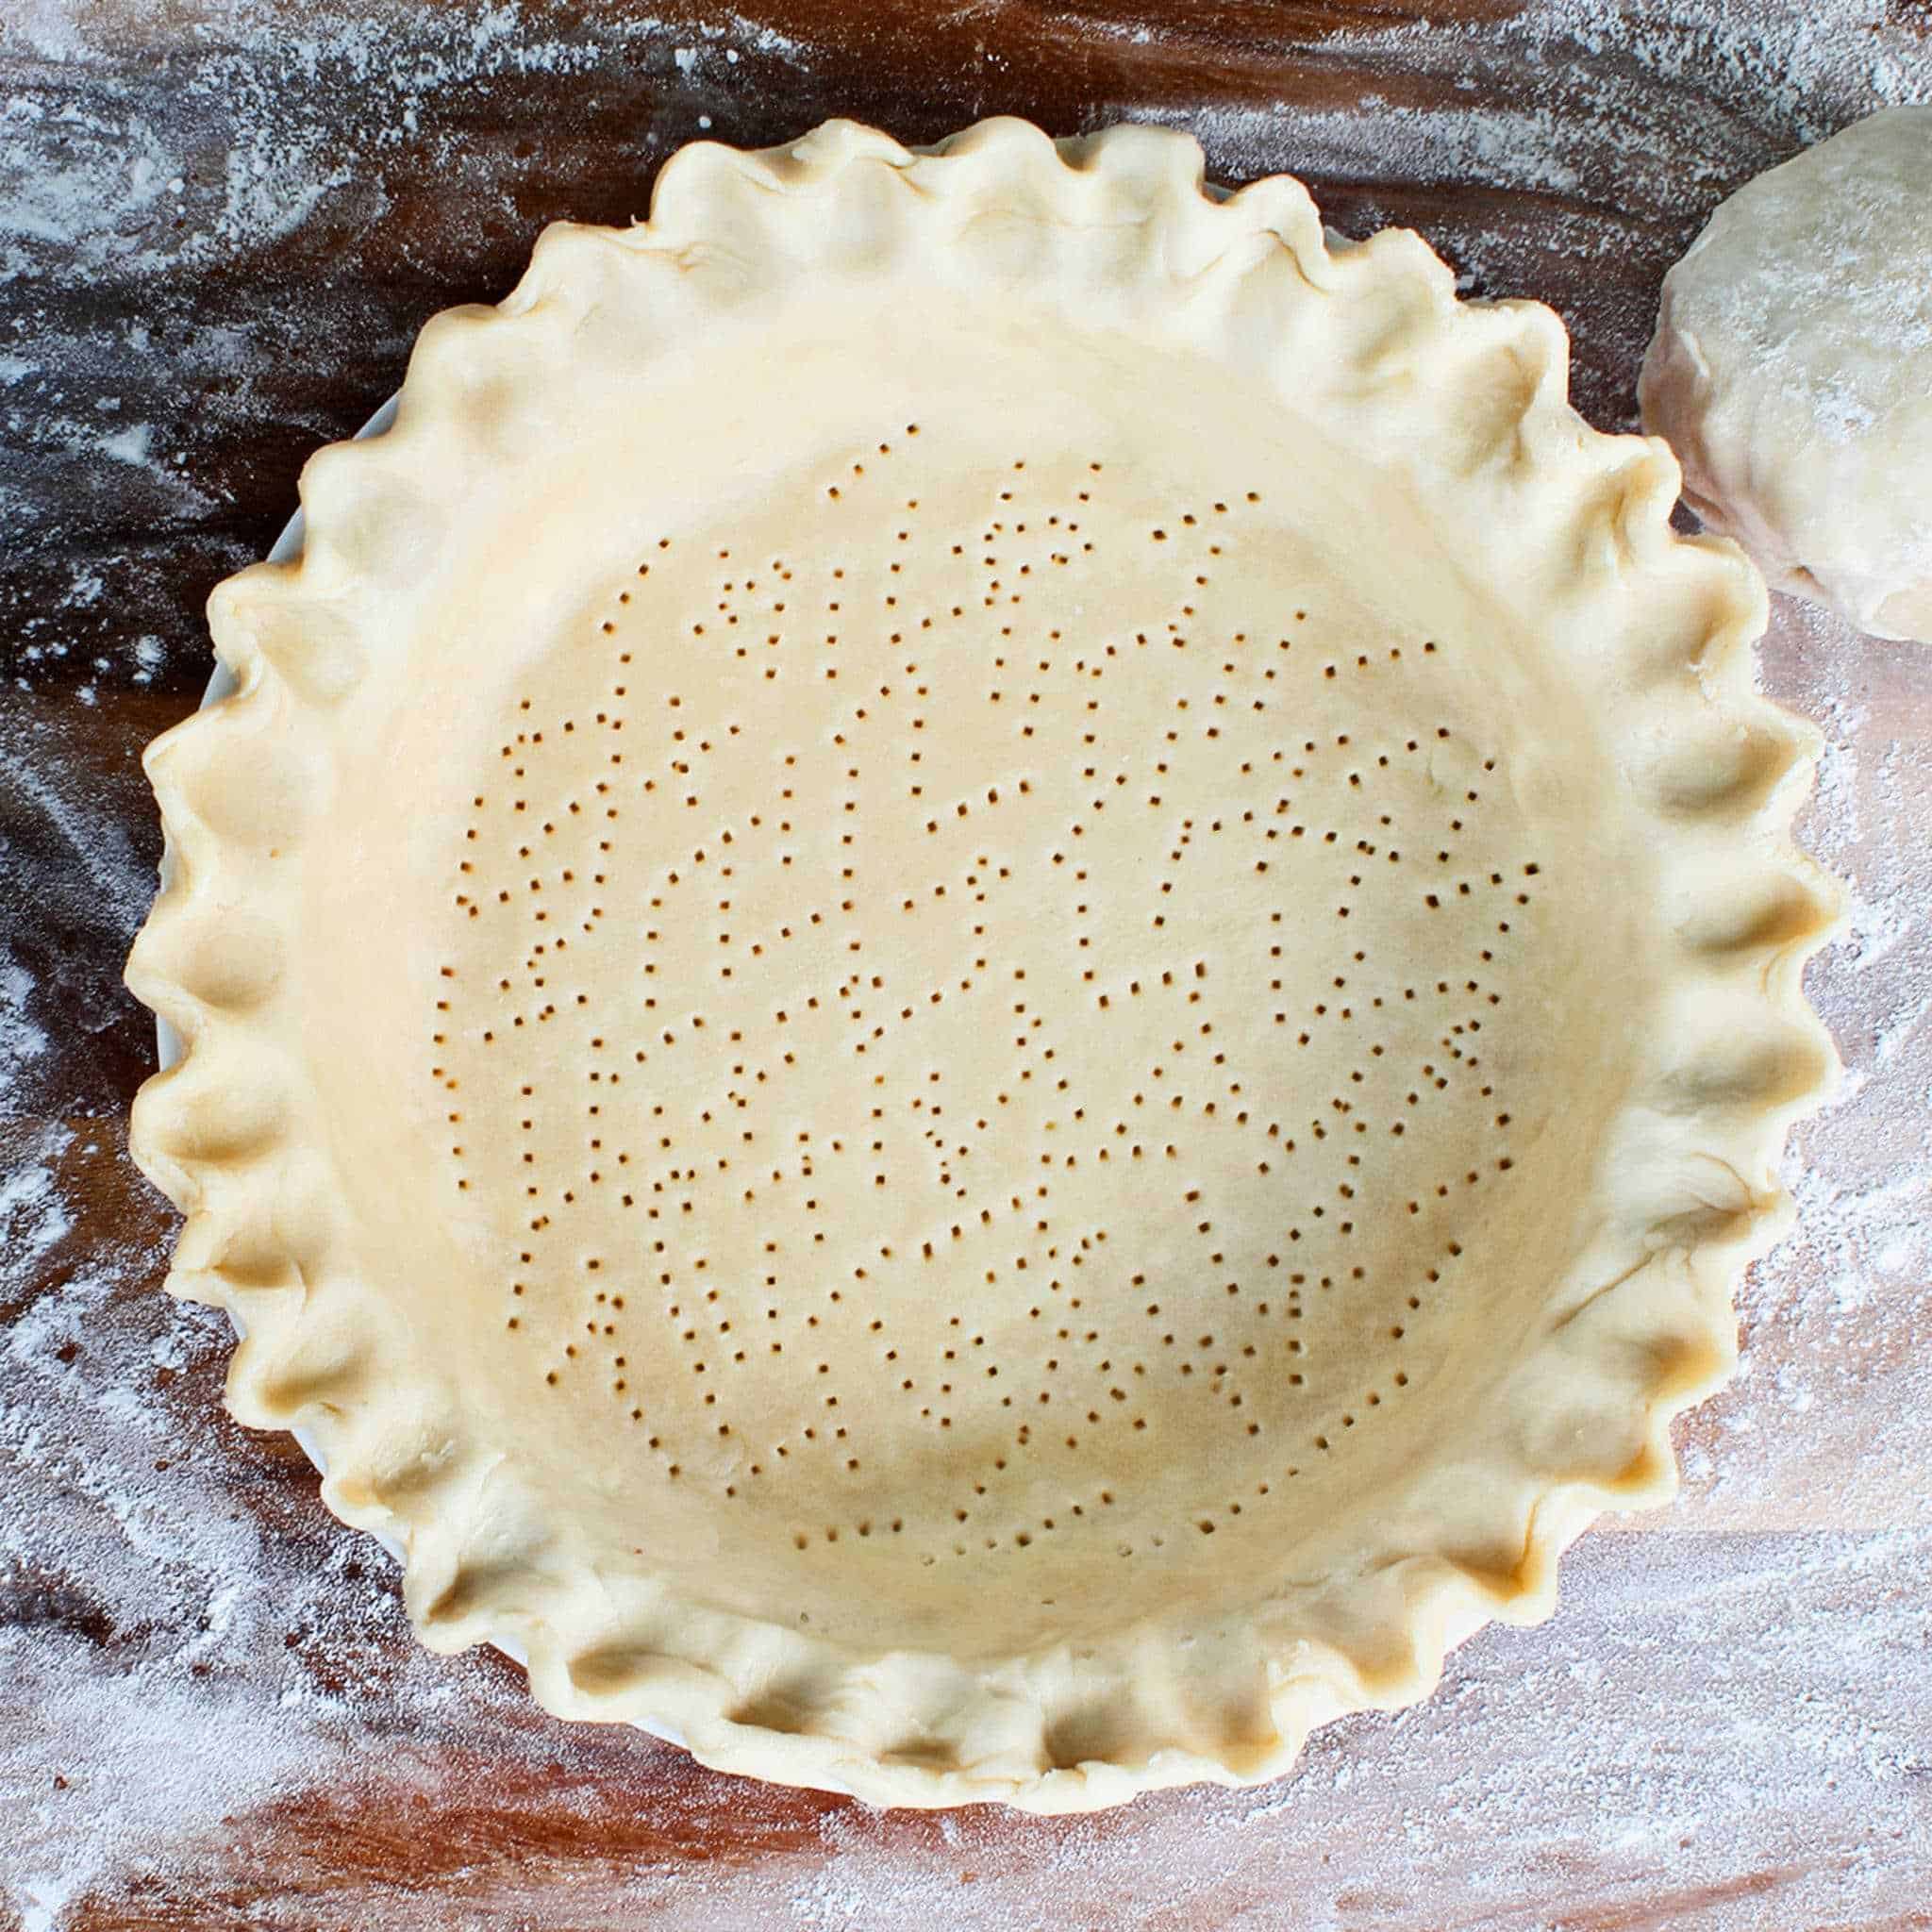
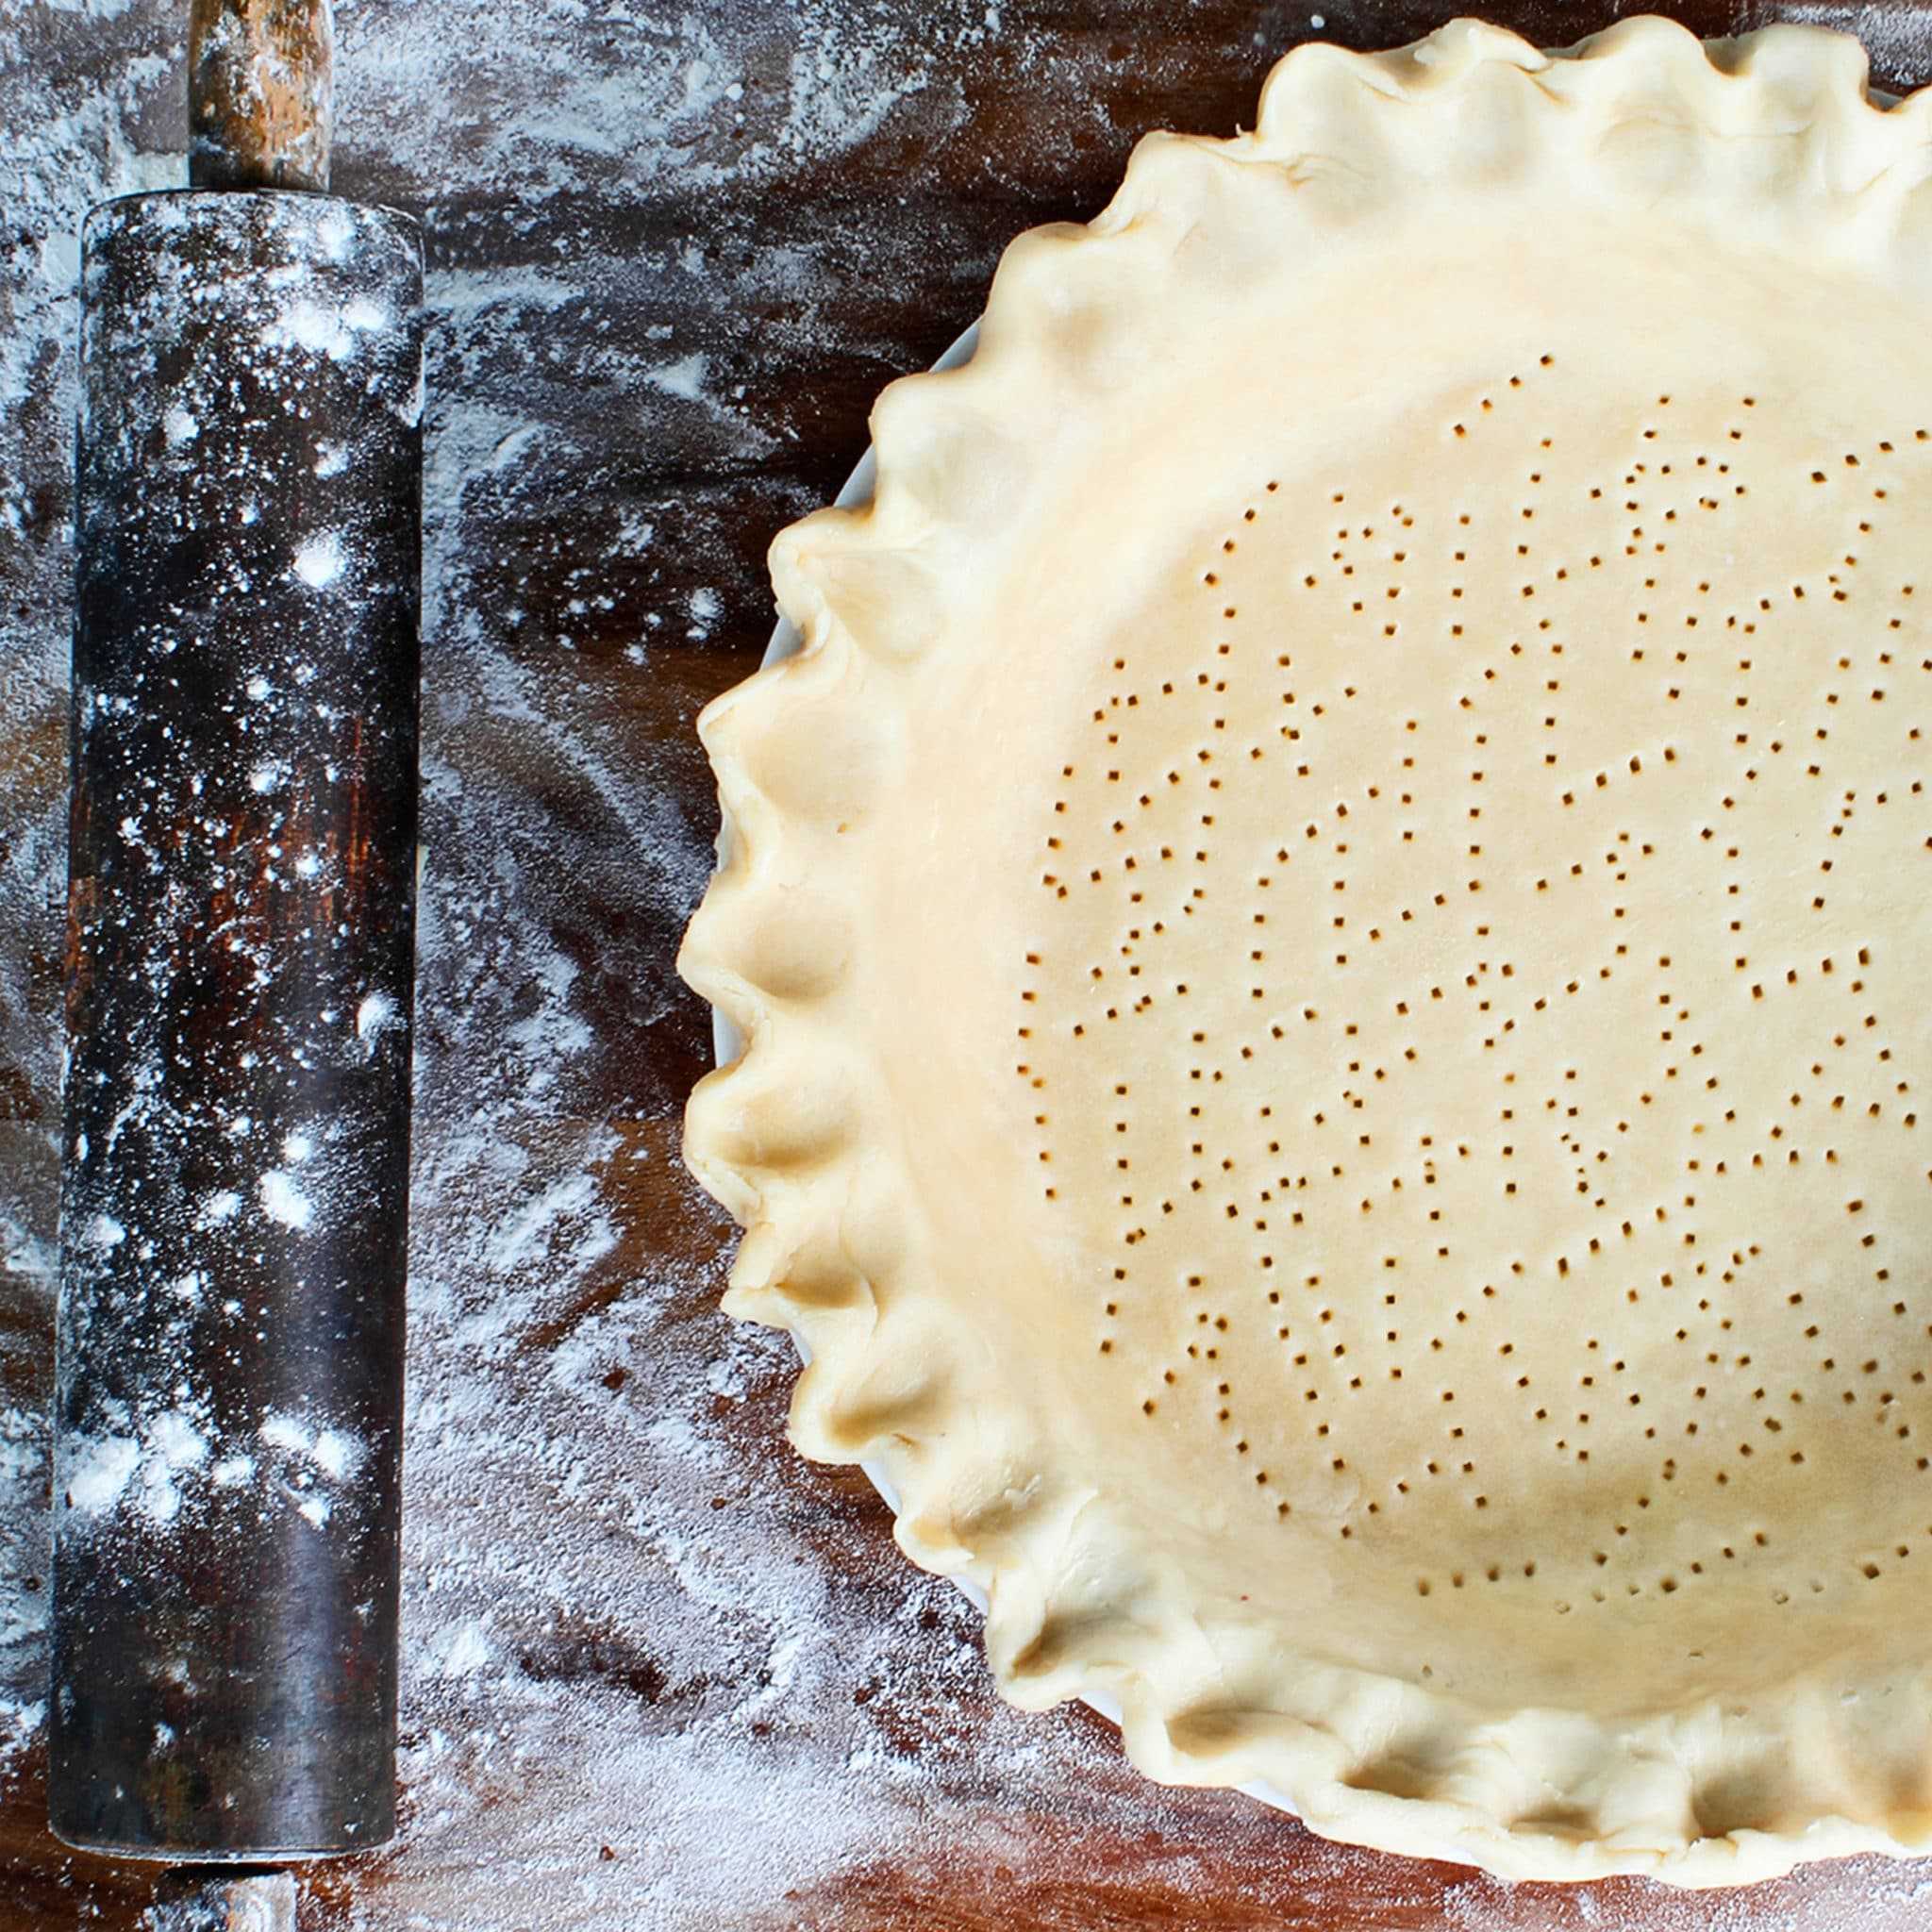
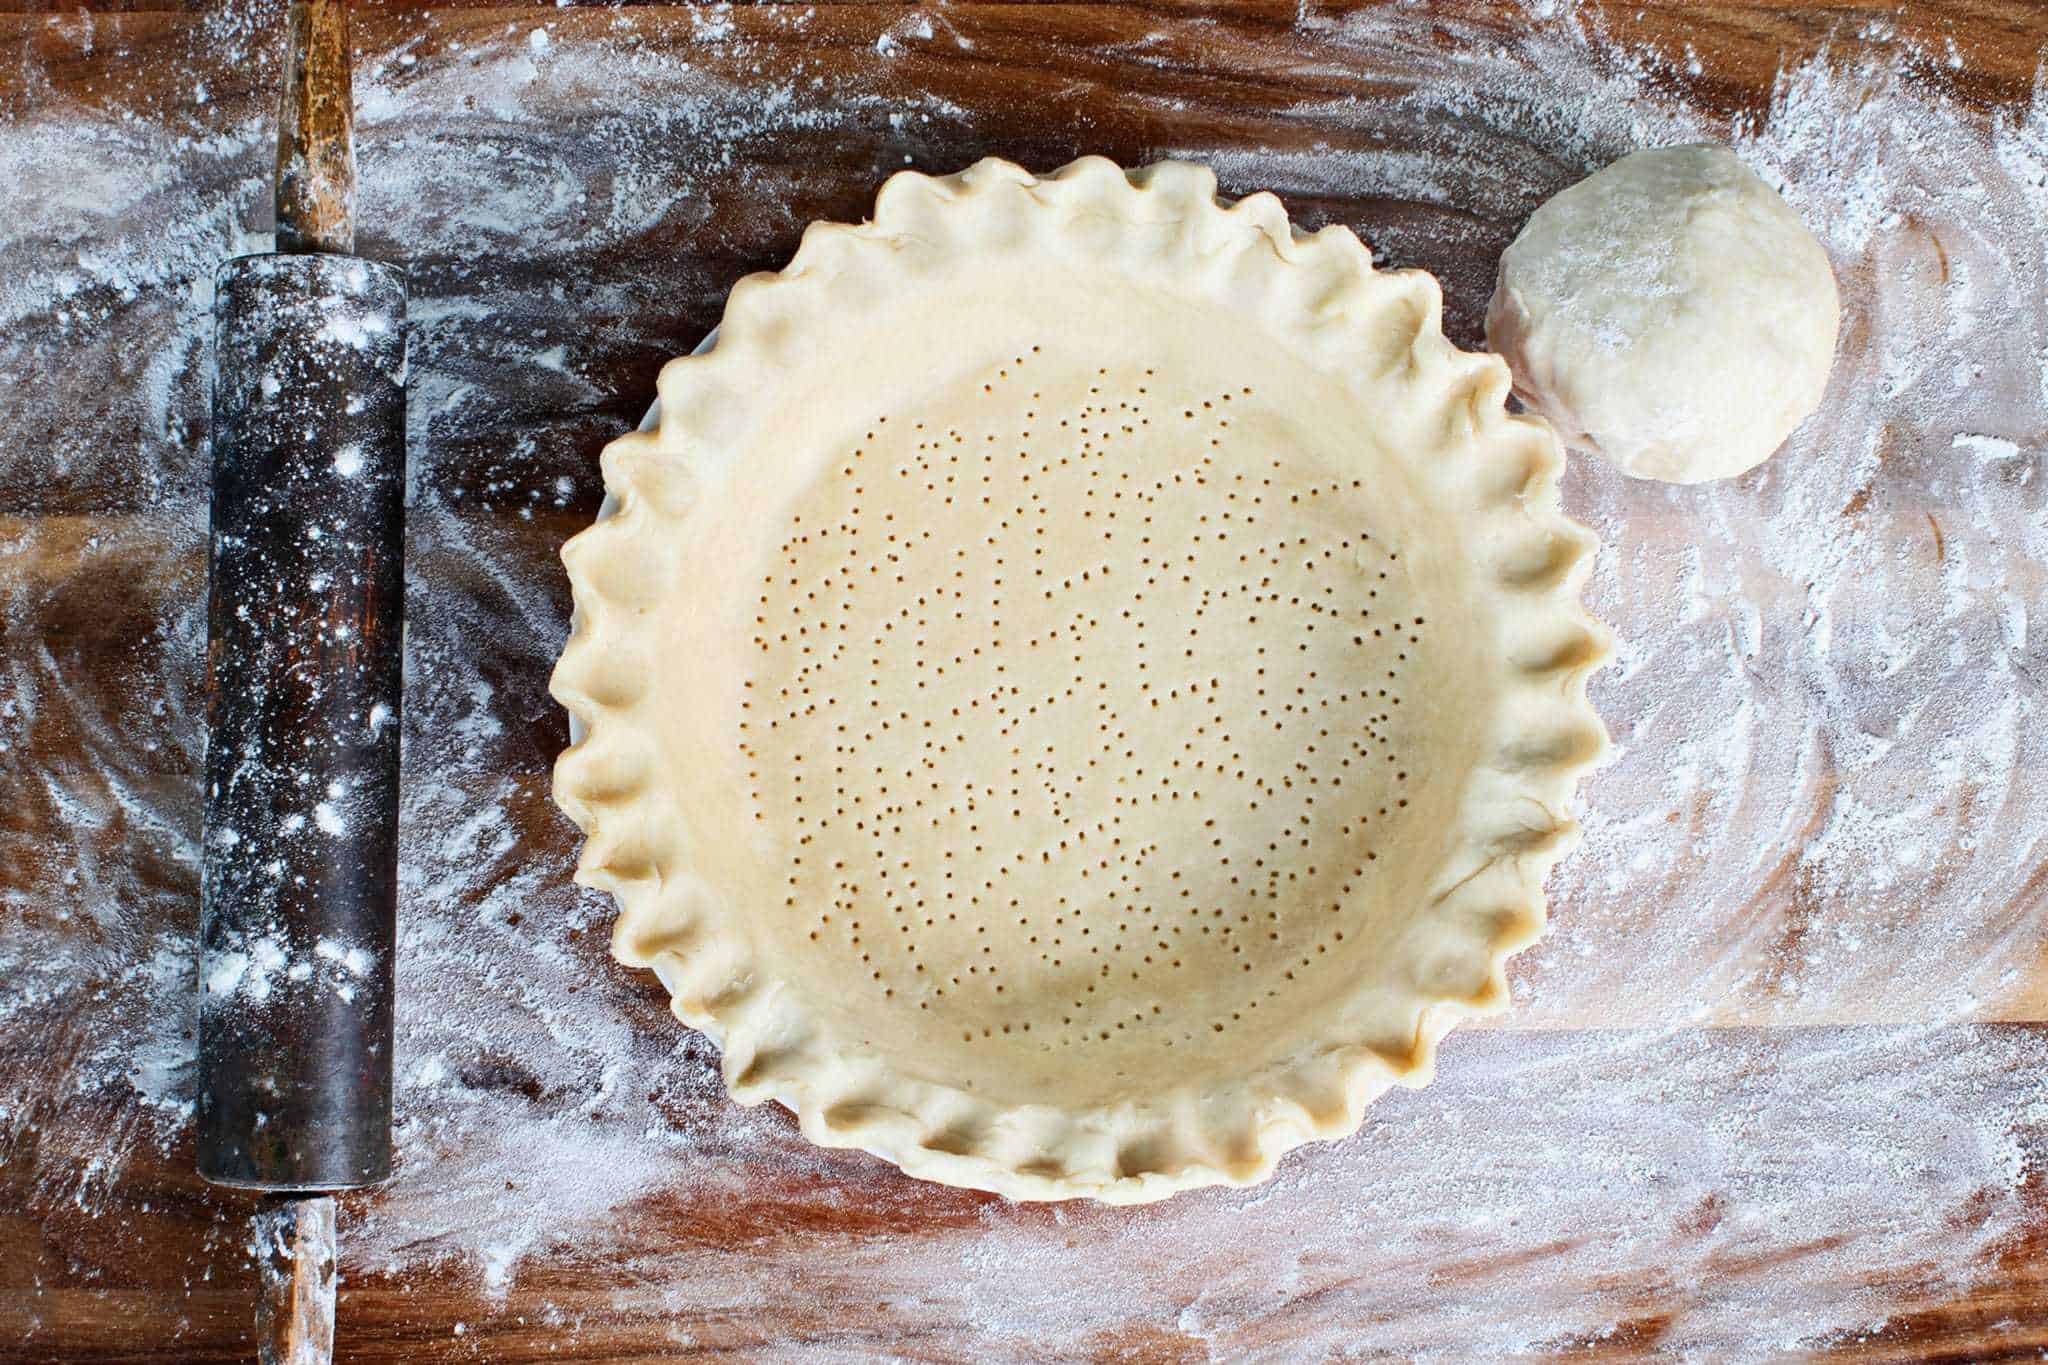
Transfer the crumbly pastry dough to a lightly floured work surface and use floured hands to fold the dough into itself until it’s all incorporated and comes together. Work quickly to prevent the ingredients from getting warm.
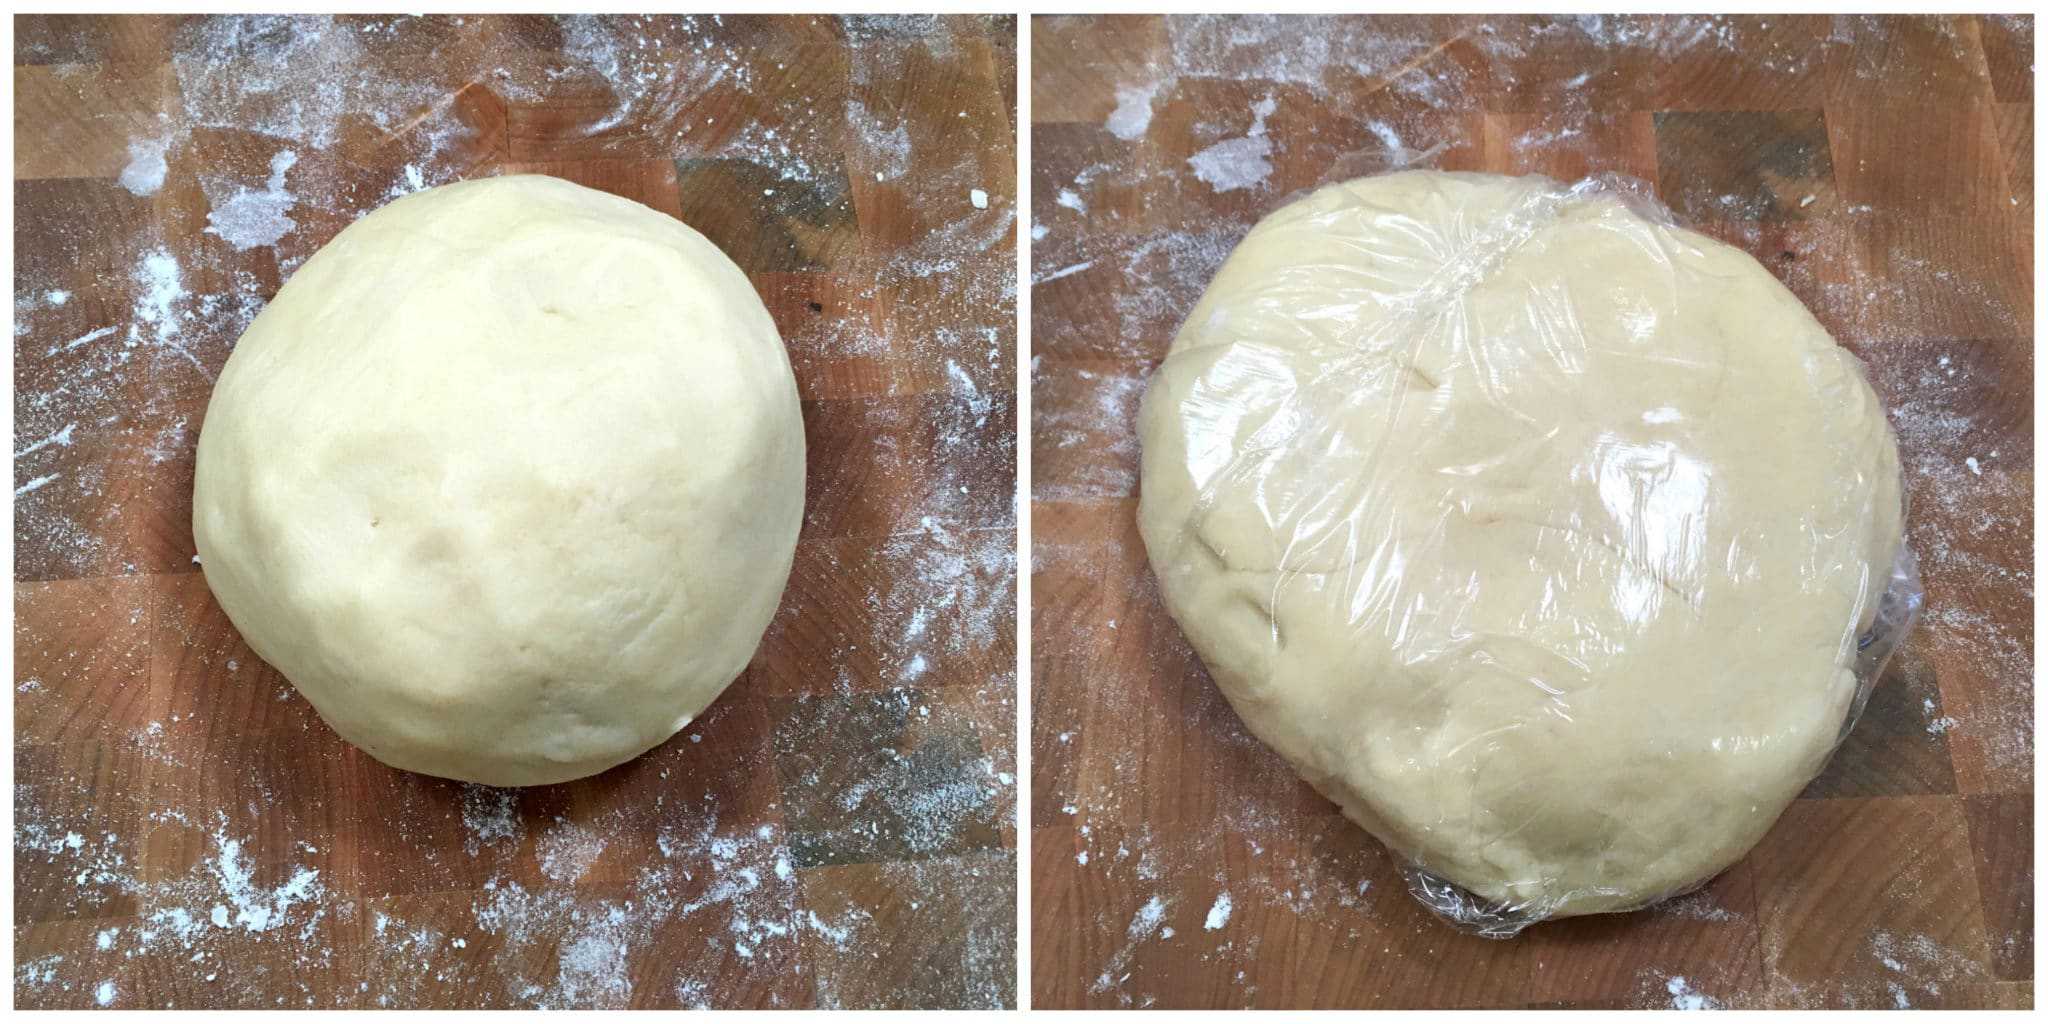
Form the dough into a ball. If you’re using the pastry dough to make pies, cut the ball in half and flatten each half into a 1-inch thick disk. Tightly wrap each disk and refrigerate for at least 3 hours until ready to use.
If you’re using the pastry dough for another purpose you can flatten the whole dough ball into a 1-inch thick disk, wrap and chill for at least 3 hours before using.
See blog post section above about how to freeze pastry dough so you can conveniently have it one hand whenever you need it.
Enjoy!
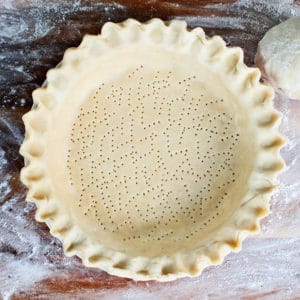
Use the pie crust as your pie recipe instructs.
For some delicious pie recipes be sure to try our:
Save This Recipe
Lard Pie Crust
Ingredients
- 3 1/2 cups all-purpose flour
- 1 teaspoon salt
- 10 tablespoons unsalted butter , very cold and cut into cubes
- 5 ounces lard , very cold
- *How to Make Your Own Lard* (click for the recipe, we STRONGLY recommend making your own, it's super easy and WAY cheaper than store-bought!)
- 2/3 cup (155 ml) ice cold water (start with less and add more as needed)
Instructions
- Place the flour and salt in the bowl of the food processor and pulse a few times. Add the butter and lard and continue to pulse until the mixture breaks down into coarse crumbs. Gradually add in the ice cold water, pulsing a few times after each addition, until the texture is such that if you take a small scoop of crumbs into your hands and pinch them they'll come together to form a dough. Be careful not to add too much water or your crust will be tough and won't be flaky.
- Transfer the crumbly pastry dough to a lightly floured work surface and use floured hands to fold the dough into itself until it's all incorporated and comes together. Work quickly to prevent the ingredients from getting warm.Form the dough into a ball. If you're using the pastry dough to make pies, cut the ball in half and flatten each half into a 1-inch thick disk. Tightly wrap each disk and refrigerate for at least 3 hours until ready to use.If you're using the pastry dough for another purpose you can flatten the whole dough ball into a 1-inch thick disk, wrap and chill for at least 3 hours before using. (See blog post section above about how to freeze and use the pastry dough.)This makes enough for two 9-inch pie crusts with enough excess for generous fluting and cutting out a few small shapes if desired.This will keep in the fridge for up to 5 days and up to 3 months in the freezer. (See blog post section about how to freeze the dough.)
Nutrition
Originally published on The Daring Gourmet on January 18, 2020

Hi, I’m Kimberly Killebrew and welcome to Daring Gourmet where you'll find delicious originals, revitalized classics, and simply downright good eats from around the world! Originally from Germany, later raised in England, world-traveled, and now living in the U.S., from my globally-influenced kitchen I invite you to tour the world through your taste buds!


This is the best pie crust! Finally, found one I can make. Thank you.
Fantastic, I’m so glad you enjoyed it, thank you!