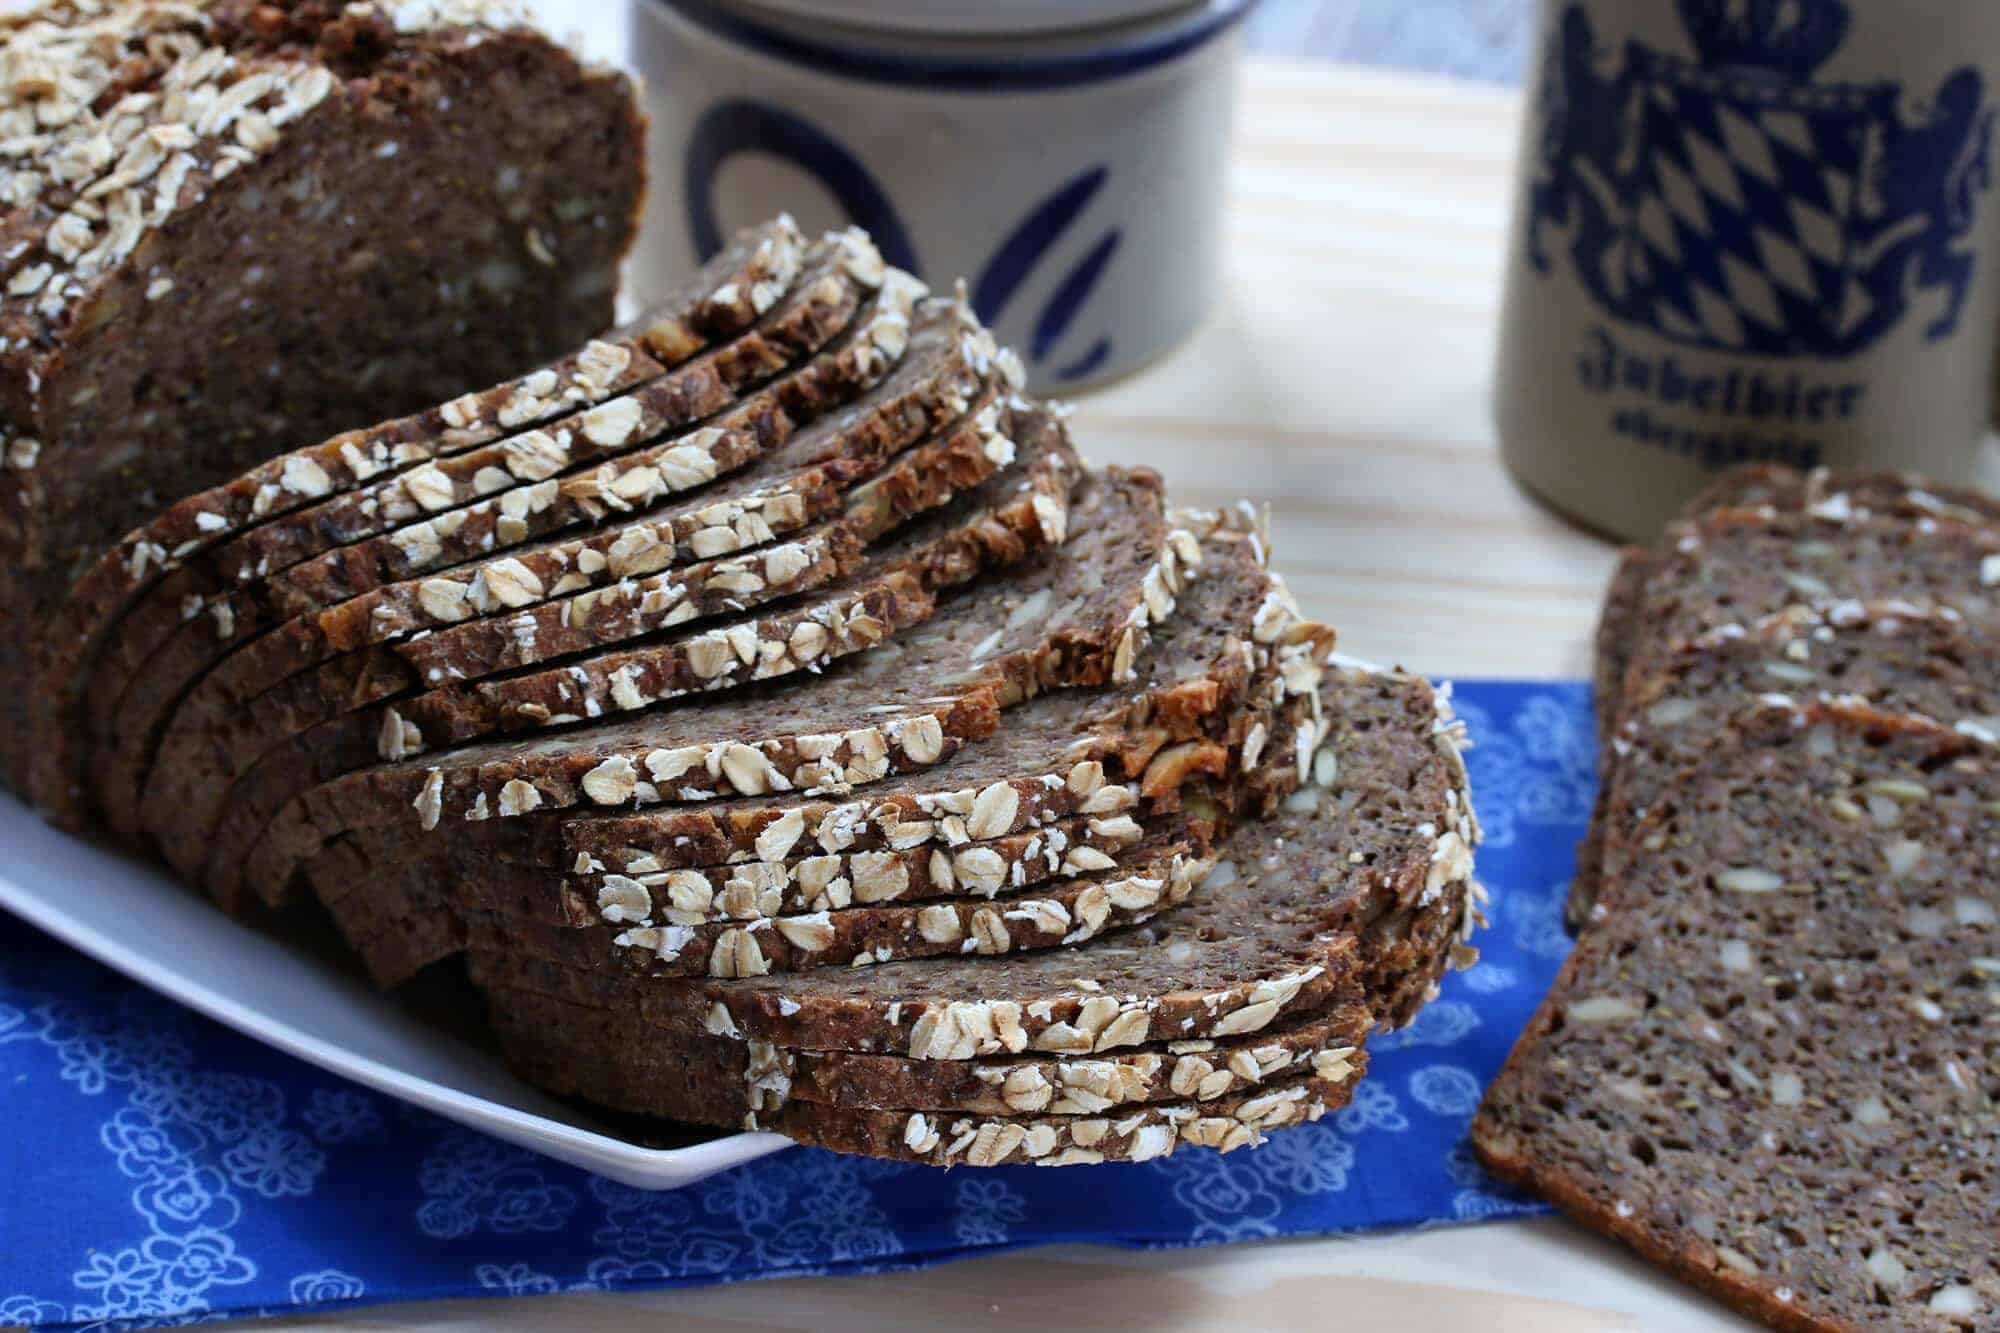
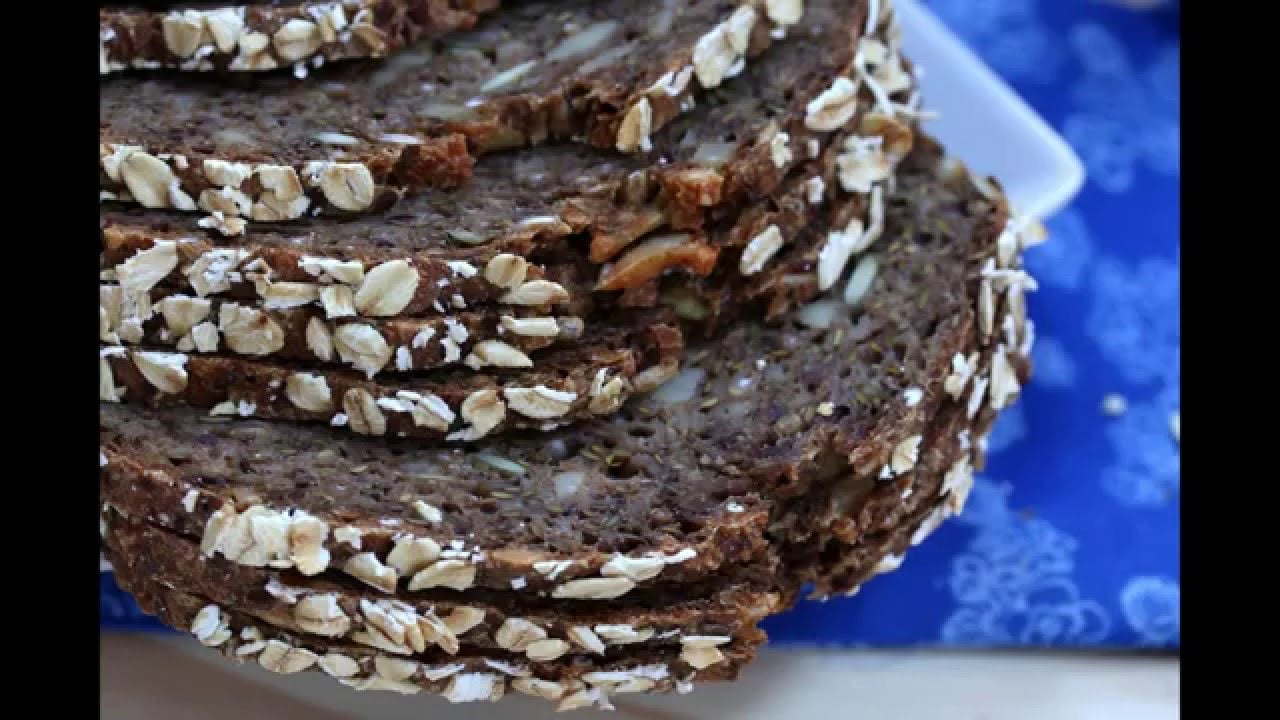
Danish Rye Bread (Rugbrød)
This post may contain affiliate links. See my disclosure policy.
This authentic Danish rye bread recipe (rugbrod) is easier to make than you may think. It’s packed with nutrients, has a fantastic texture and old-fashioned flavor and is just plain delicious! Whether you prefer a bolder or milder flavor, you’re completely in charge of that in determining how long you allow the batter to ferment.
I love breads of all kinds, but there are two kinds that I especially love: Ones that are perfectly crispy on the outside and fluffy on the inside (eg, baguettes) and whole grain breads that are very dense and hearty like the kind I grew up with in Germany (eg, Vollkornbrot, Roggenbrot, Schwarzbrot, etc) and this Danish rye bread.
Smorrebrod
In Germany and throughout Scandinavia dense whole grain breads are particularly popular. You’ll see them served cut up in squares for a variety of hors d’oeuvres (for example, topped with gravlax/smoked salmon, a dollop of crème fraîche or hard-boiled eggs and a sprig of dill), served for breakfast with a tray of sliced cheeses and cold cuts, enjoyed for open-faced sandwiches or simply slathered down with good butter and jam.
In Denmark this rye bread (rugbrød) serves as the basis for their smørrebrød (ie, smorgasbord) wherein it is served buffet style with any number of fine toppings and is also a common accompaniment for many meals. Traditional options include herring, pickled vegetables, liver pate, smoked salmon, and sliced hard-boiled eggs. This Danish Rye Bread recipe is just what you need to create your smorrebrod!

I’ve known many people who have visited Denmark or Germany, fell in love with this type of bread and returned home to their countries unable to find it there. I haven’t been able to find it anywhere here in the U.S. except for German specialty stores and World Market stocks a very small selection of dense German breads. Though specifically Danish sourdough rye bread I haven’t found anywhere here for purchase. The good news is you can make it yourself and I’m going to be posting several recipes for this wonderful style of dense, hearty European bread.
We’re going to start with a favorite among many, Danish Rye Bread. And while this bread is also popular in Germany, it claims particular importance in Denmark, indeed it’s practically one of its national foods, so we’re going to go ahead and ascribe this bread to the Danes. (Plus it will make the maternal side of my husband’s family happy, they’re fiercely proud of their Danish ancestry. And I have some Danish ancestry myself, so we’re all happy.)
How to Make Danish Rye Bread
Danish rye bread is a sourdough bread that traditionally takes 2-3 days to make. Here is a super simple version that cuts the fermentation time down to as a little as 24 hours without the need to tend and feed it. This version calls for a yeasty beer. Beer and bread are cousins, both traditionally made from the same two ingredients, water and grains. The alcohol in this bread is burned off during the long baking process while the beer contributes to a fabulous texture and consistency (and flavor, depending on which beer you use).
The bread dough is allowed to ferment for 24 hours at room temperature (or 48 hours depending on how sour you like the bread). This fermentation process neutralizes the phytic acid in the grains, a naturally occurring substance that binds nutrients so that the body cannot properly absorb them. Not only does phytic acid acid bind the nutrients of the grains themselves, it binds the nutrients of anything else you eat with the grains. Fermenting the bread dough increases its nutrients and makes the bread easier to digest. And even after sourdough is baked it continues to sour and only gets better in flavor over time.
Danish Rye Bread Ingredients
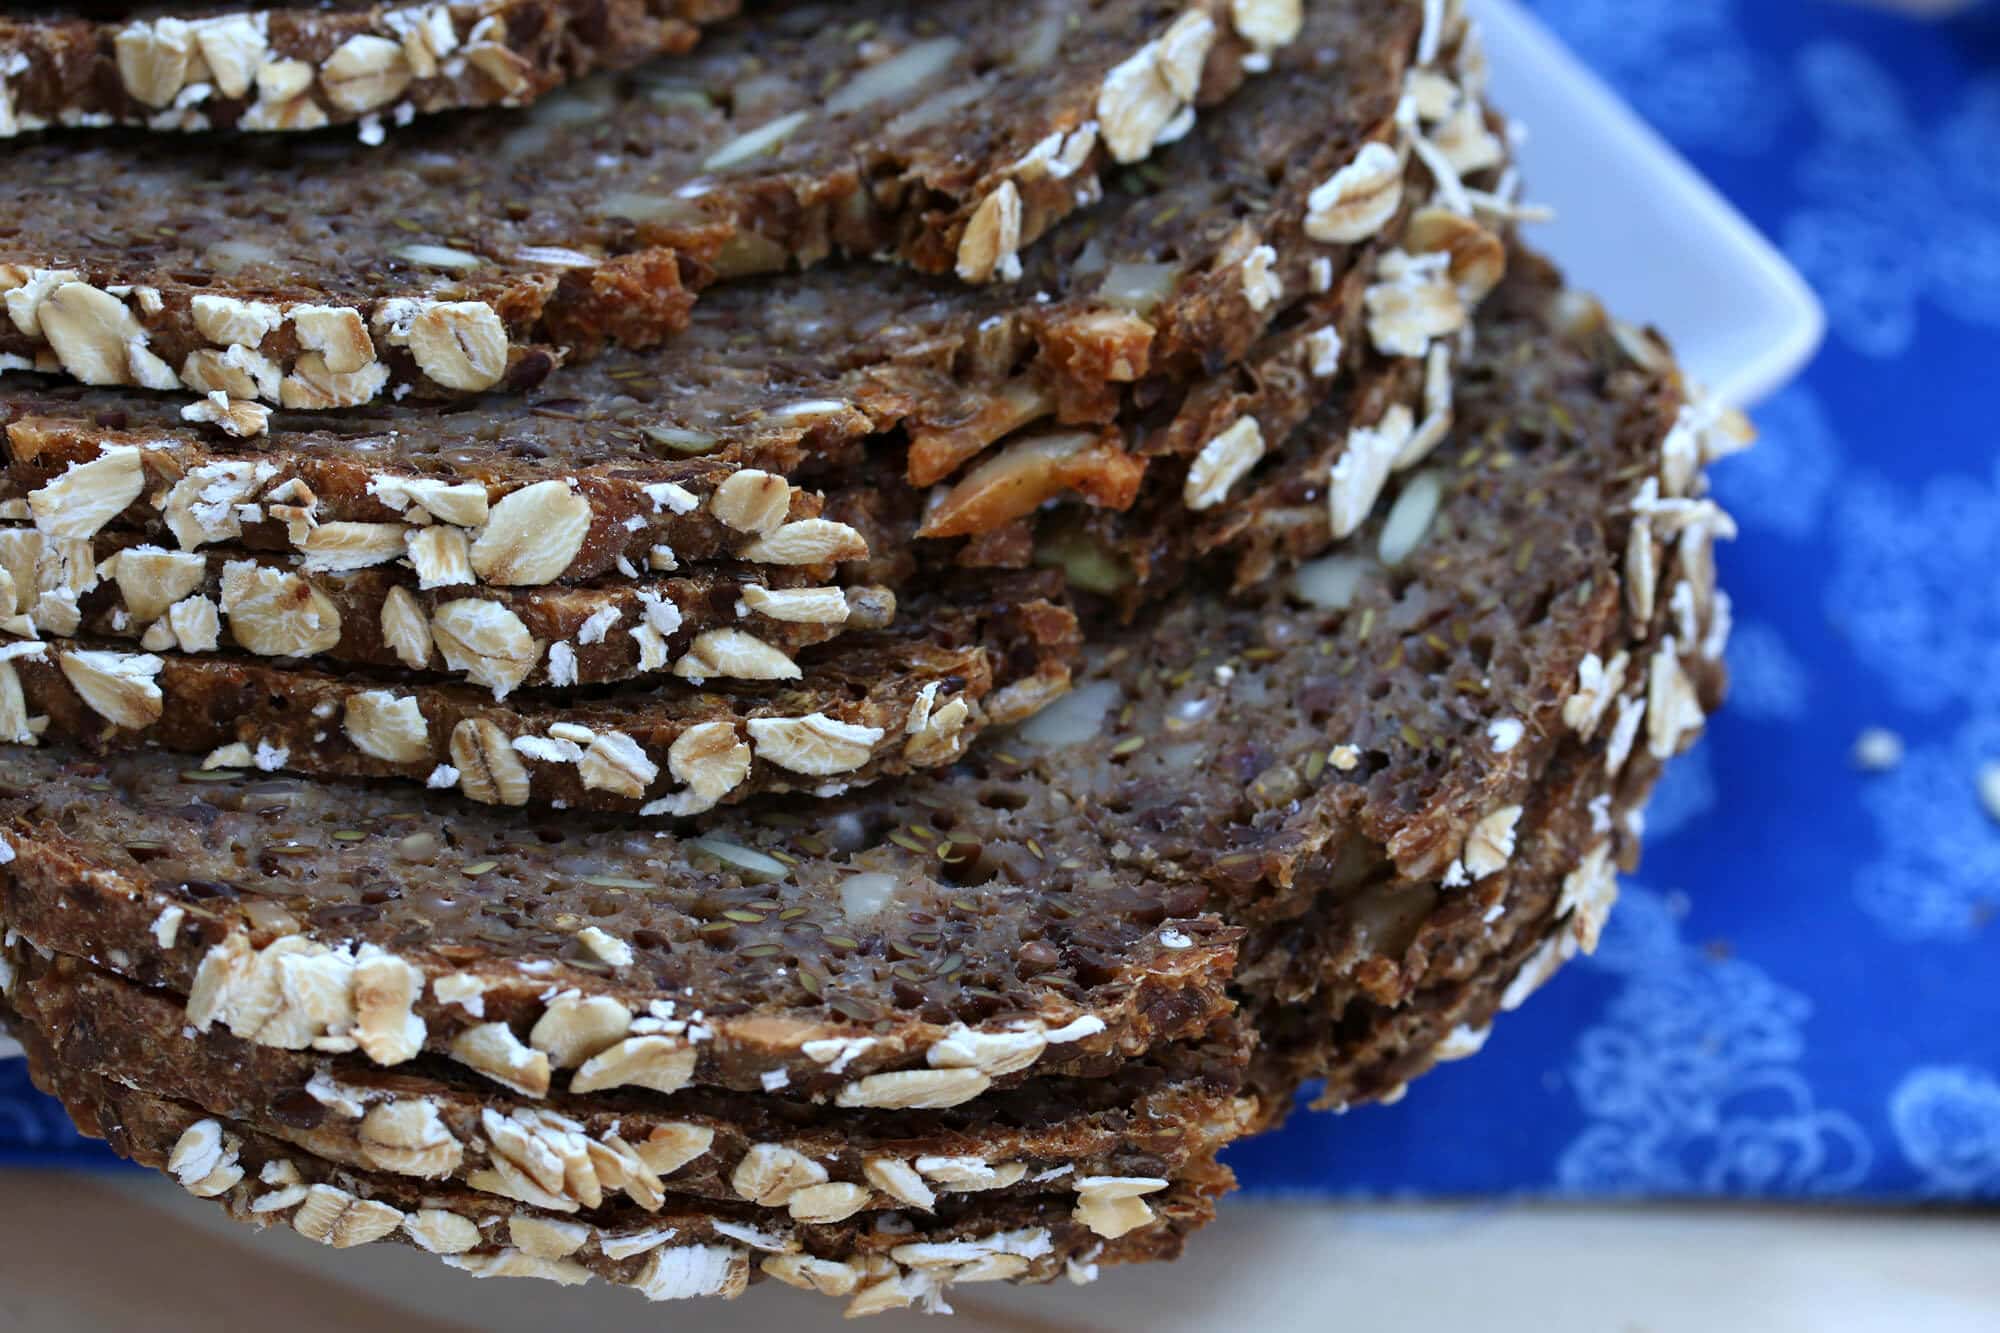
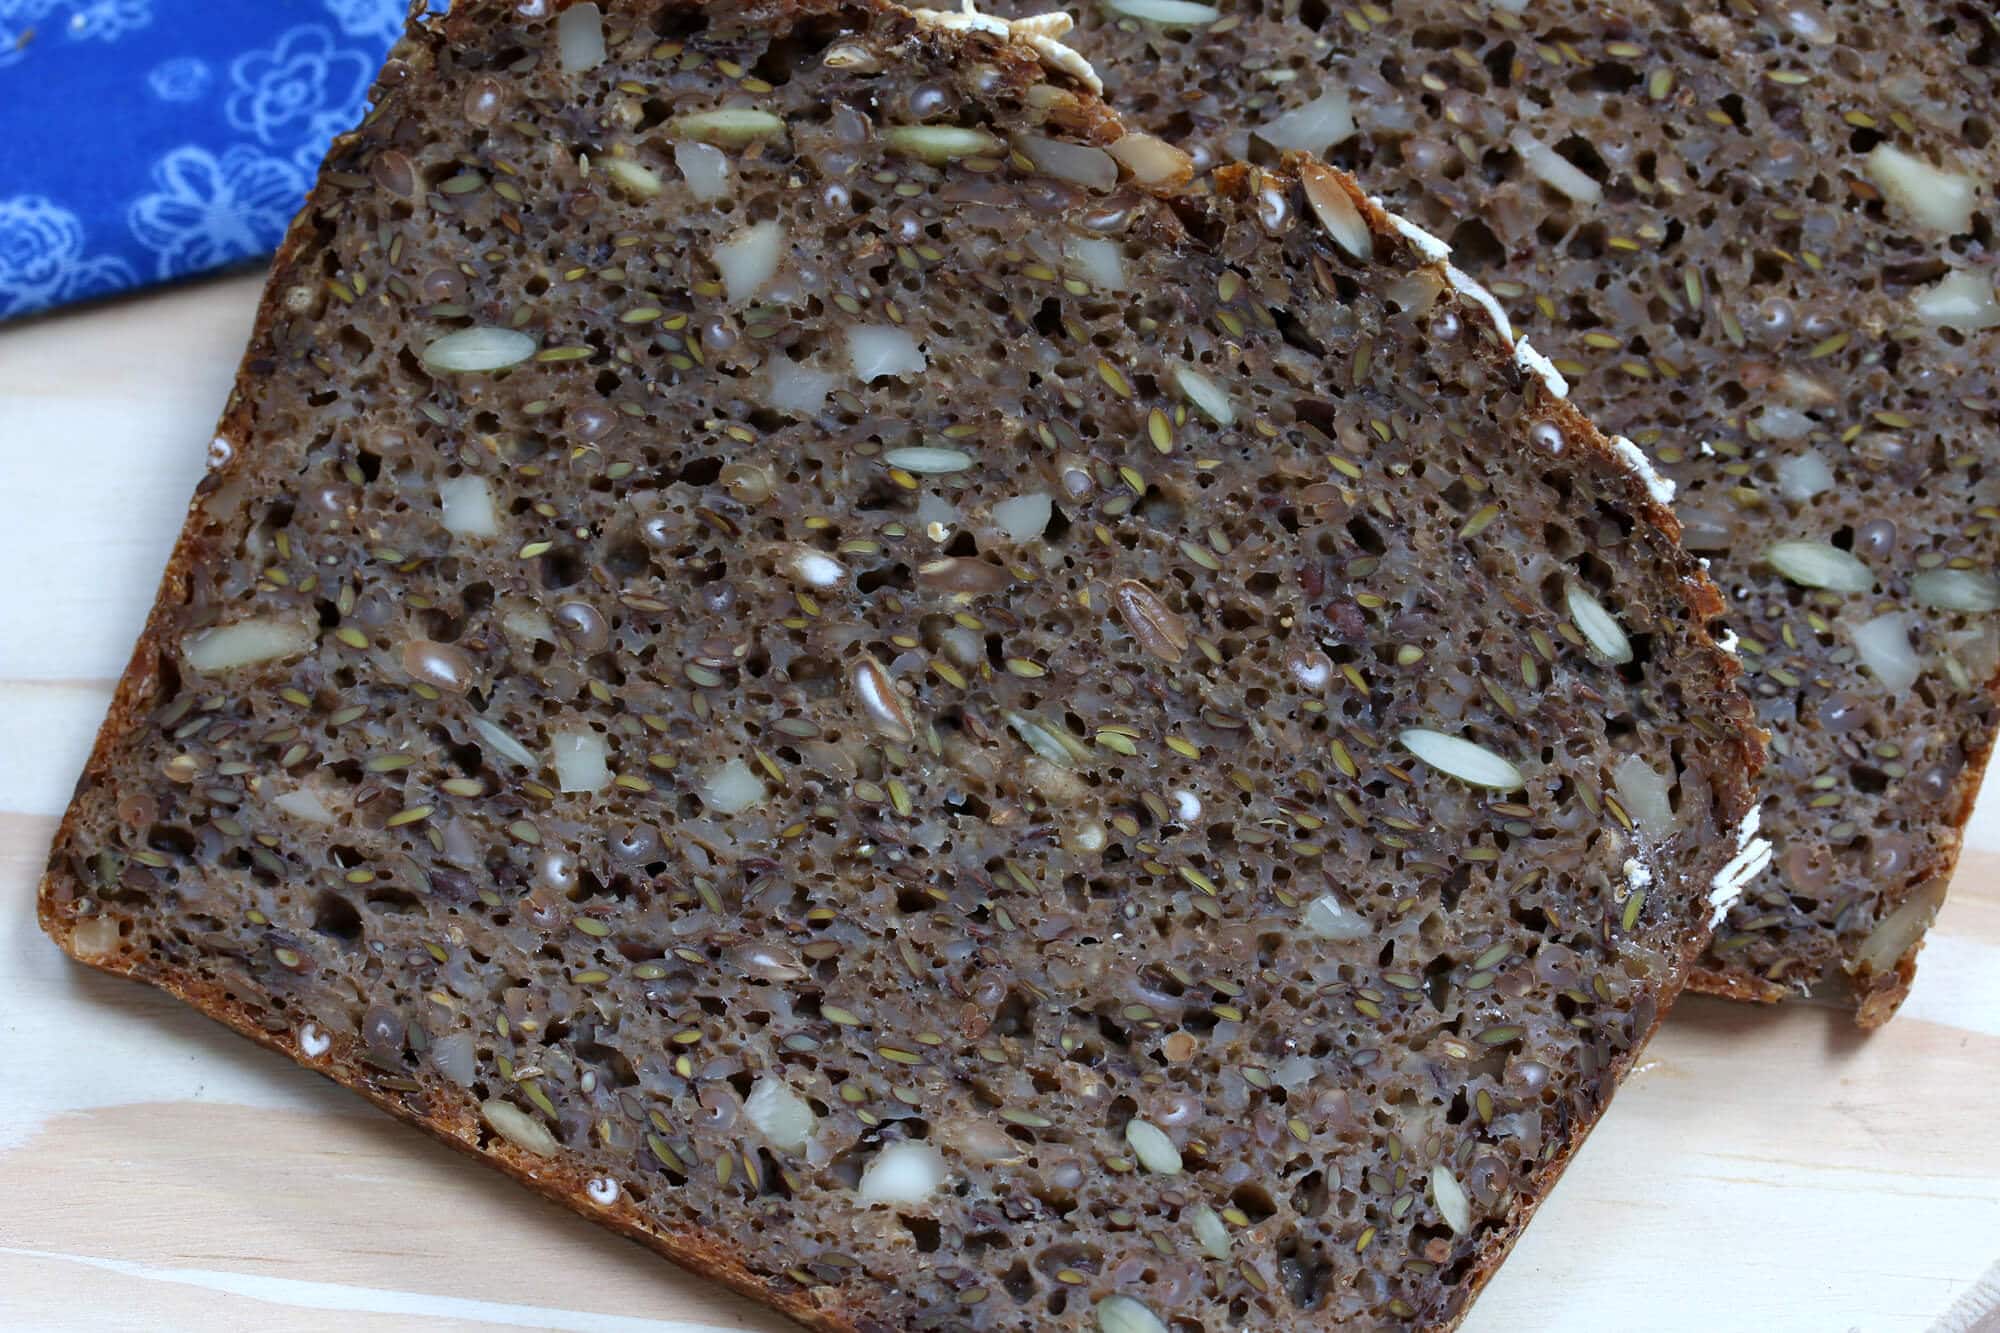
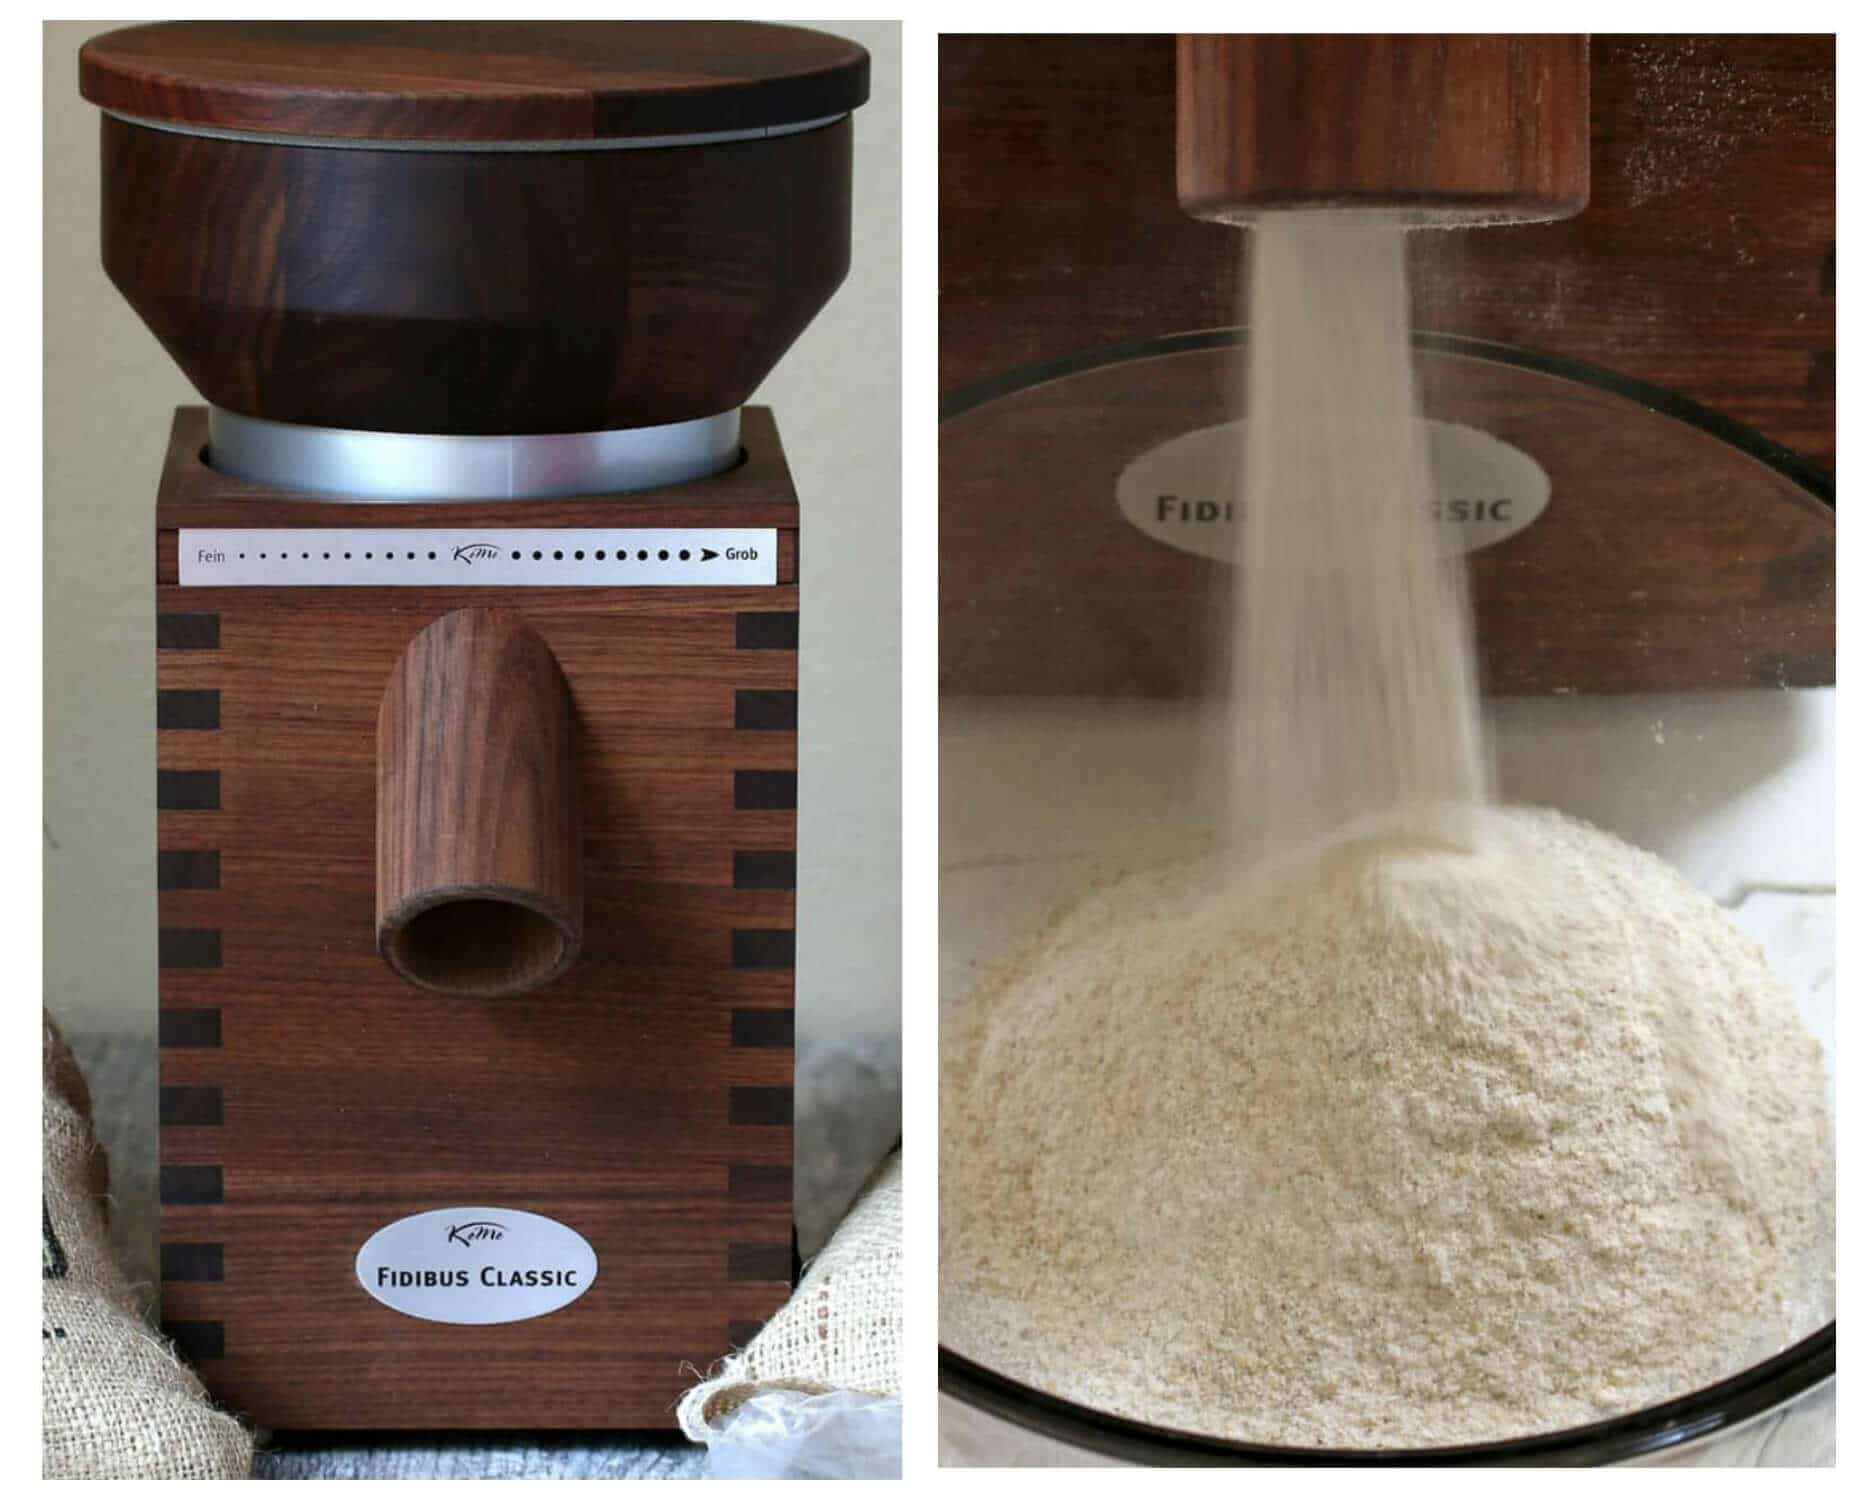
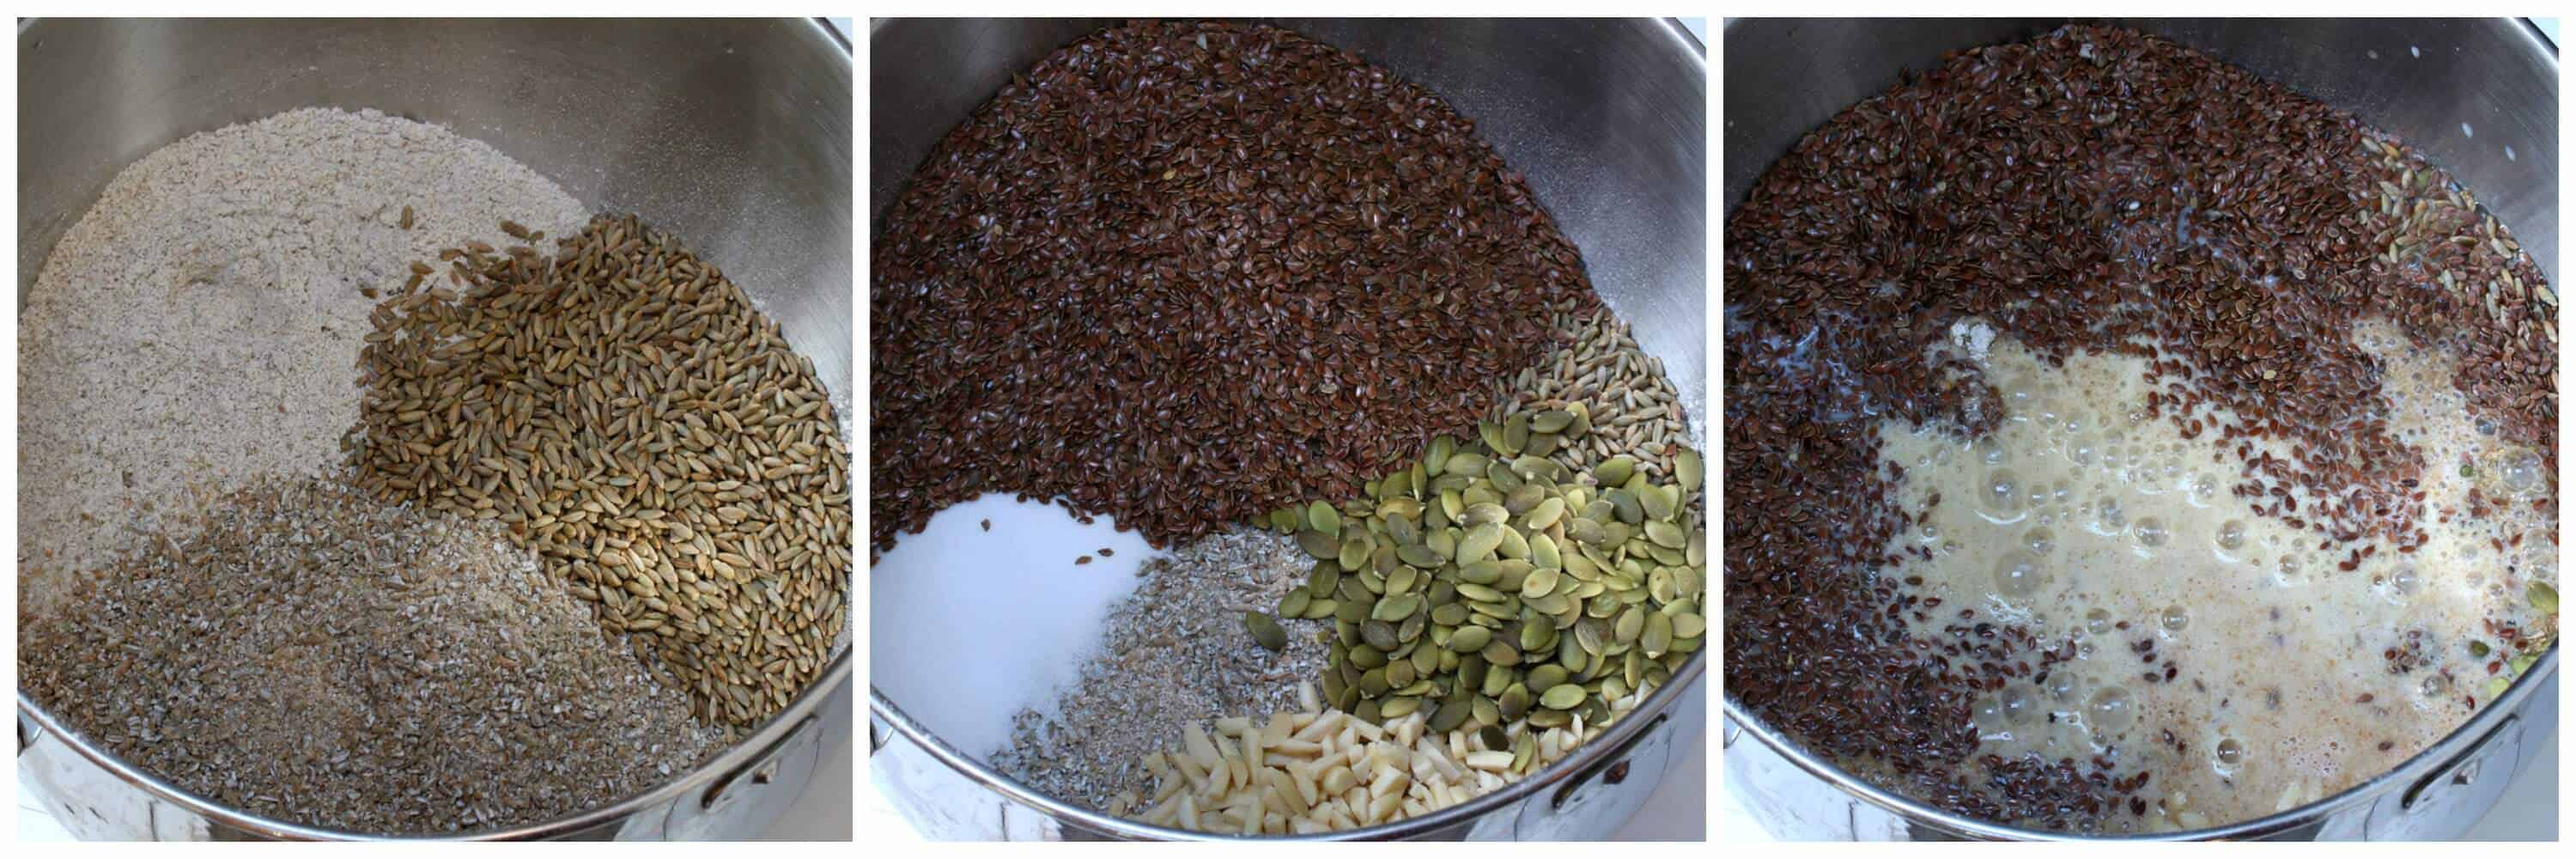
This wonderfully nourishing bread is packed full of whole grains, seeds and nuts. The grains are included in the form of flour (rye and wheat), cracked rye berries and whole rye berries. Tons of similar styled breads incorporate these various forms of whole, cracked, coarsely ground and finely ground grains (eg, spelt, einkorn, wheat, kamut, etc) into the same loaf for a wonderful balance of textures, and that’s where a good grain mill really comes in handy. Not only can you grind your own fresh flour on demand with all the nutrients still intact (as opposed to flour that’s been sitting on grocery store shelves for ages), you can get exactly the kind of grind you need.
I buy my grains all in bulk, take out what I need to last me for a few weeks at a time and store the rest in a dark, cool place. I don’t even buy flour anymore, I grind all of my own flours, cornmeal and make my own baking mixes. For today’s Easy Danish Rye Bread I’m using my German-made KoMo Classic Grain Mill, another stellar example of German engineering and the pride and joy of my kitchen.
With a 12-year warranty, the quality and construction of the KoMo is amazing, plus it’s gorgeous and something you’d want to display on your counter. You can grind your grains as fine or coarse as you like. I use it nearly every day to make my own flours, cornmeal and mixes and cannot recommend it highly enough.
Check out my video below where I talk about some of the KoMo Classic Grain Mill’s features and show it in action in making today’s Danish Rye Bread!
Danish Rye Bread Recipe
Let’s get started!
If you’re grinding your own rye and wheat flour and cracking your own rye berries you’re in great shape! If you don’t have a grain mill you can easily find rye flour in grocery stores and you can “crack” the rye berries yourself by very briefly pulsing them in a good/powerful blender or food processor or smashing them in a bag with a meat mallet or other heavy object.
Combine all of the dry ingredients in a stand mixer bowl. Stir the yeast and sugar into the warm water and let sit for 10 minutes. Add all the wet ingredients to the dry ingredients.
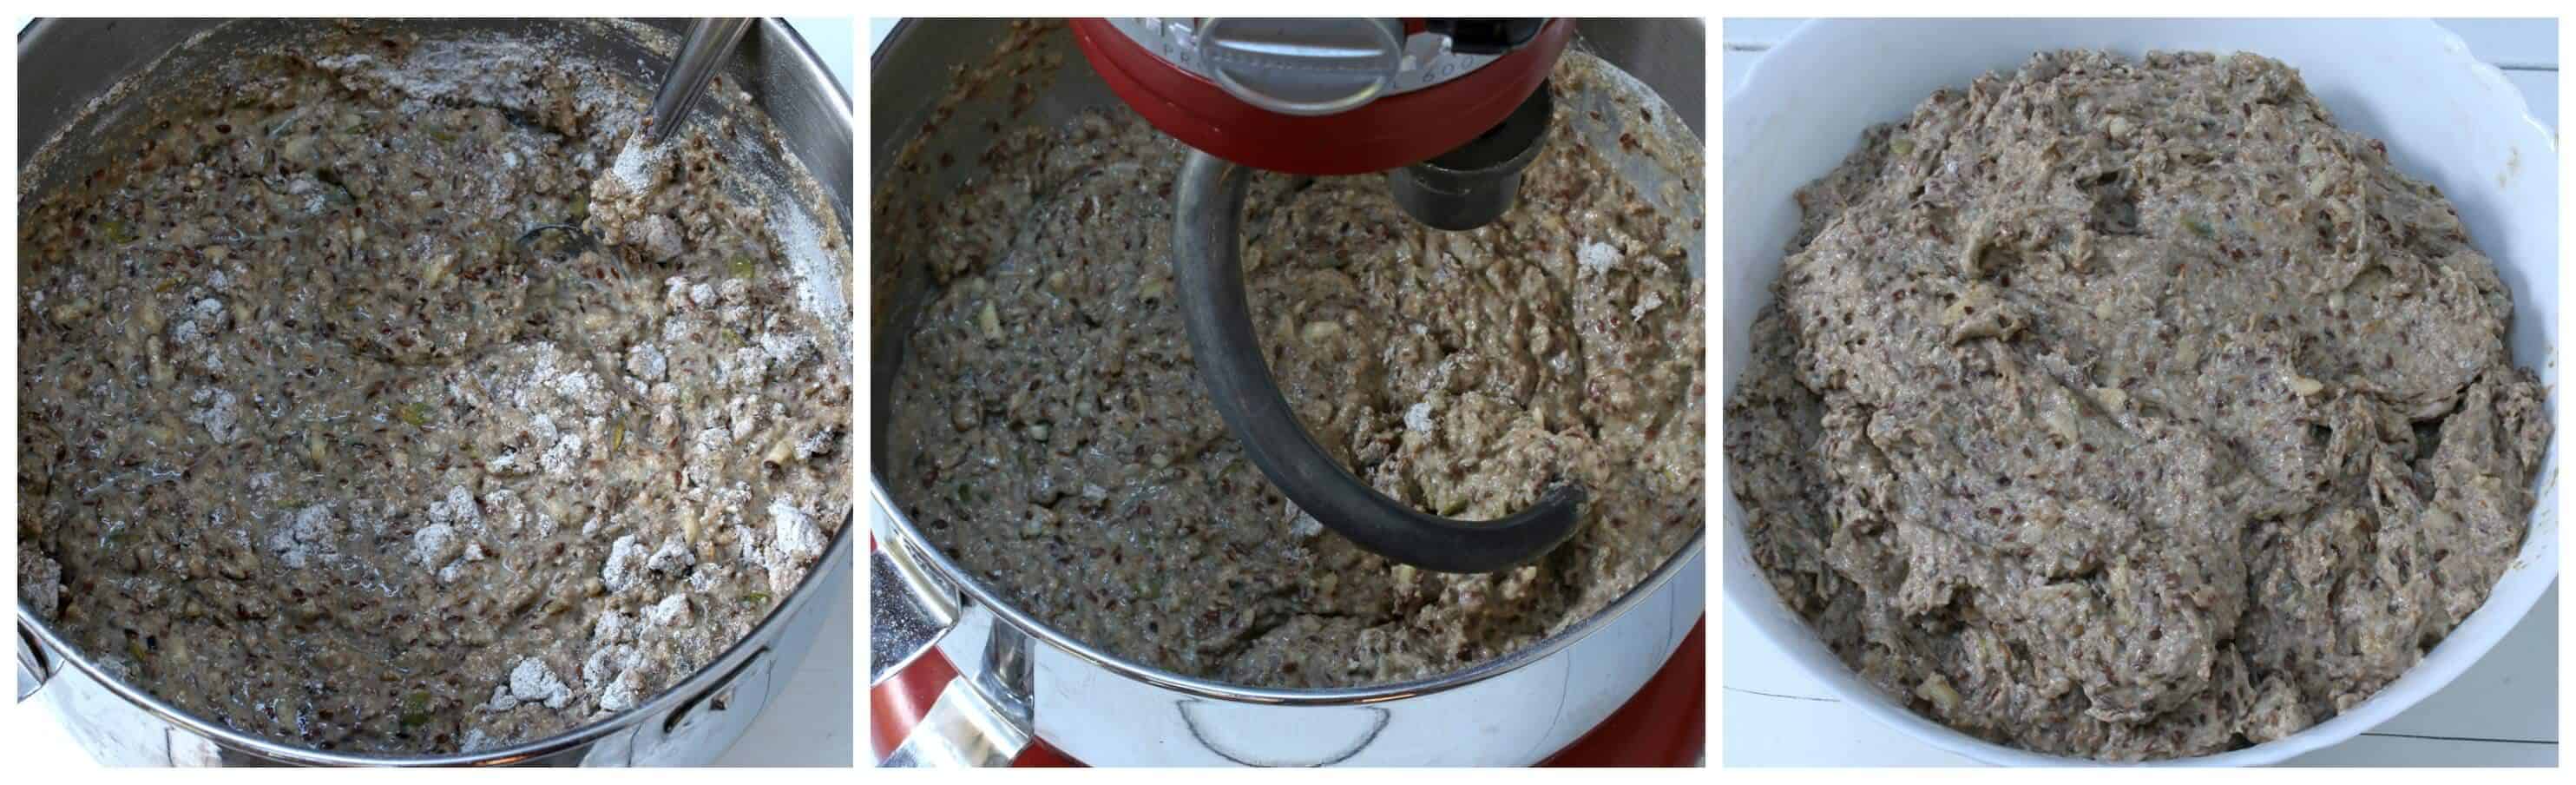
Give everything a stir manually to combine, then attach the dough hook on the stand mixer, set it to the bread setting (#2), and knead for 10 minutes. The dough will be very sticky, loose and not remotely malleable (ie, incapable of being shaped).
Scoop the dough into a very large non-metallic bowl. The dough will bubble up so use a very large, deep bowl with plenty of head room. Cover the dough loosely with plastic wrap and set it in a warm place (ie, room temperature) for 24-48 hours, depending on how sour you want the bread. I’ve done both with great results. If you’re only letting it ferment for 24 hours we recommend first soaking the whole rye berries overnight before using them (drain thoroughly).
After 24 hours the dough will be nice and bubbly with a very gooey texture.
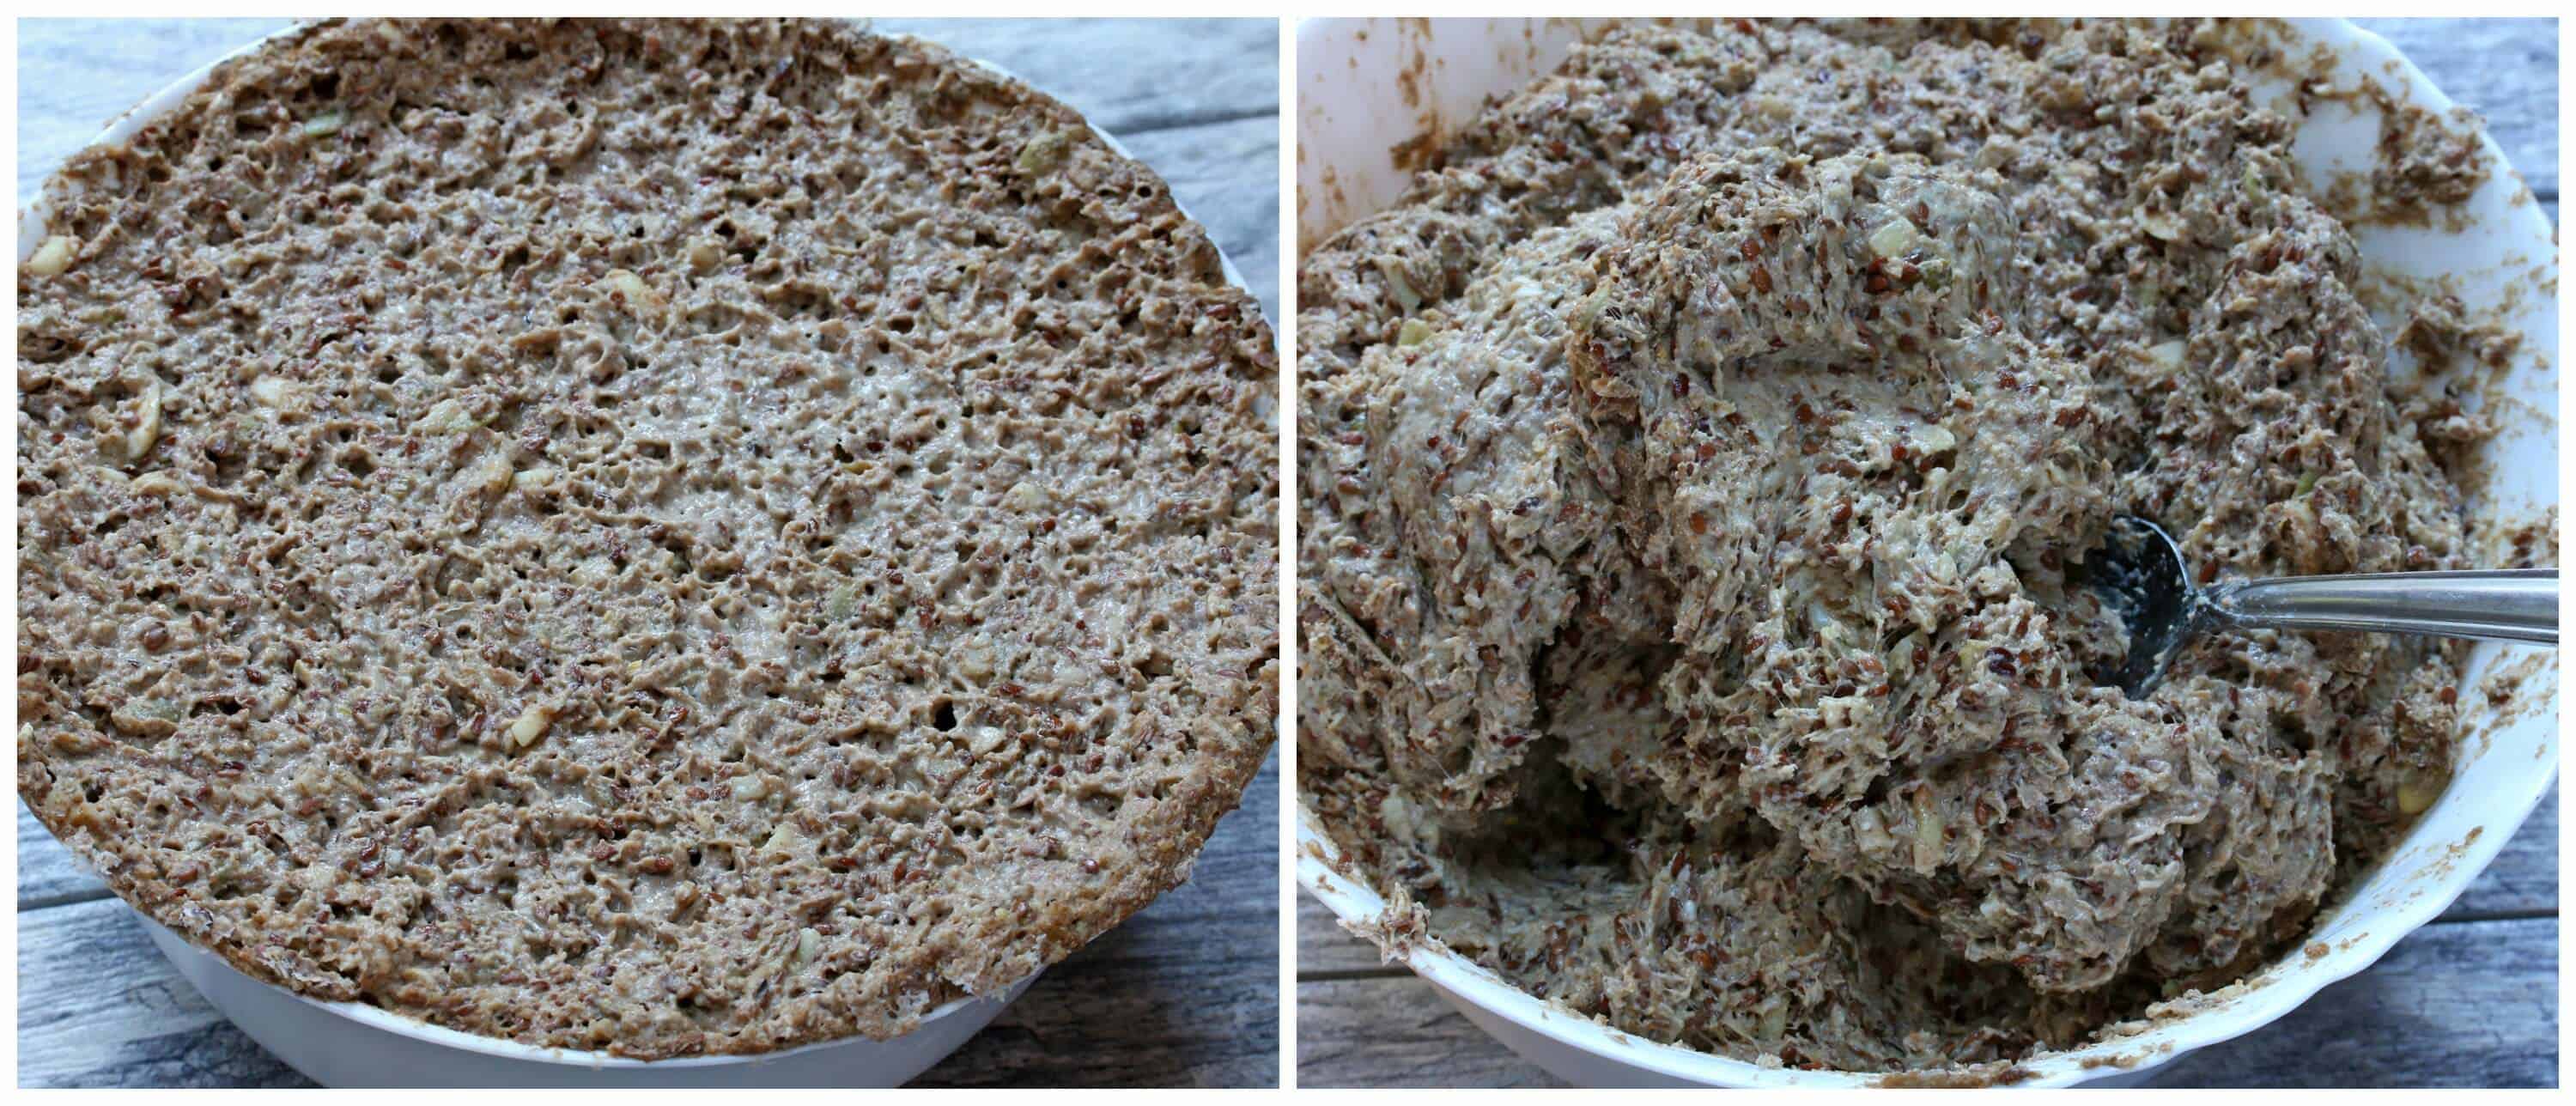
For sourdough it’s recommended that you line your loaf pans so the acid in the dough can’t react with the metal. I use and love the Parrish Magic Line bread pan made of heavy gauge aluminum with straight edges (made in the USA). It’s a 9 x 5 x 3 inch loaf pan.
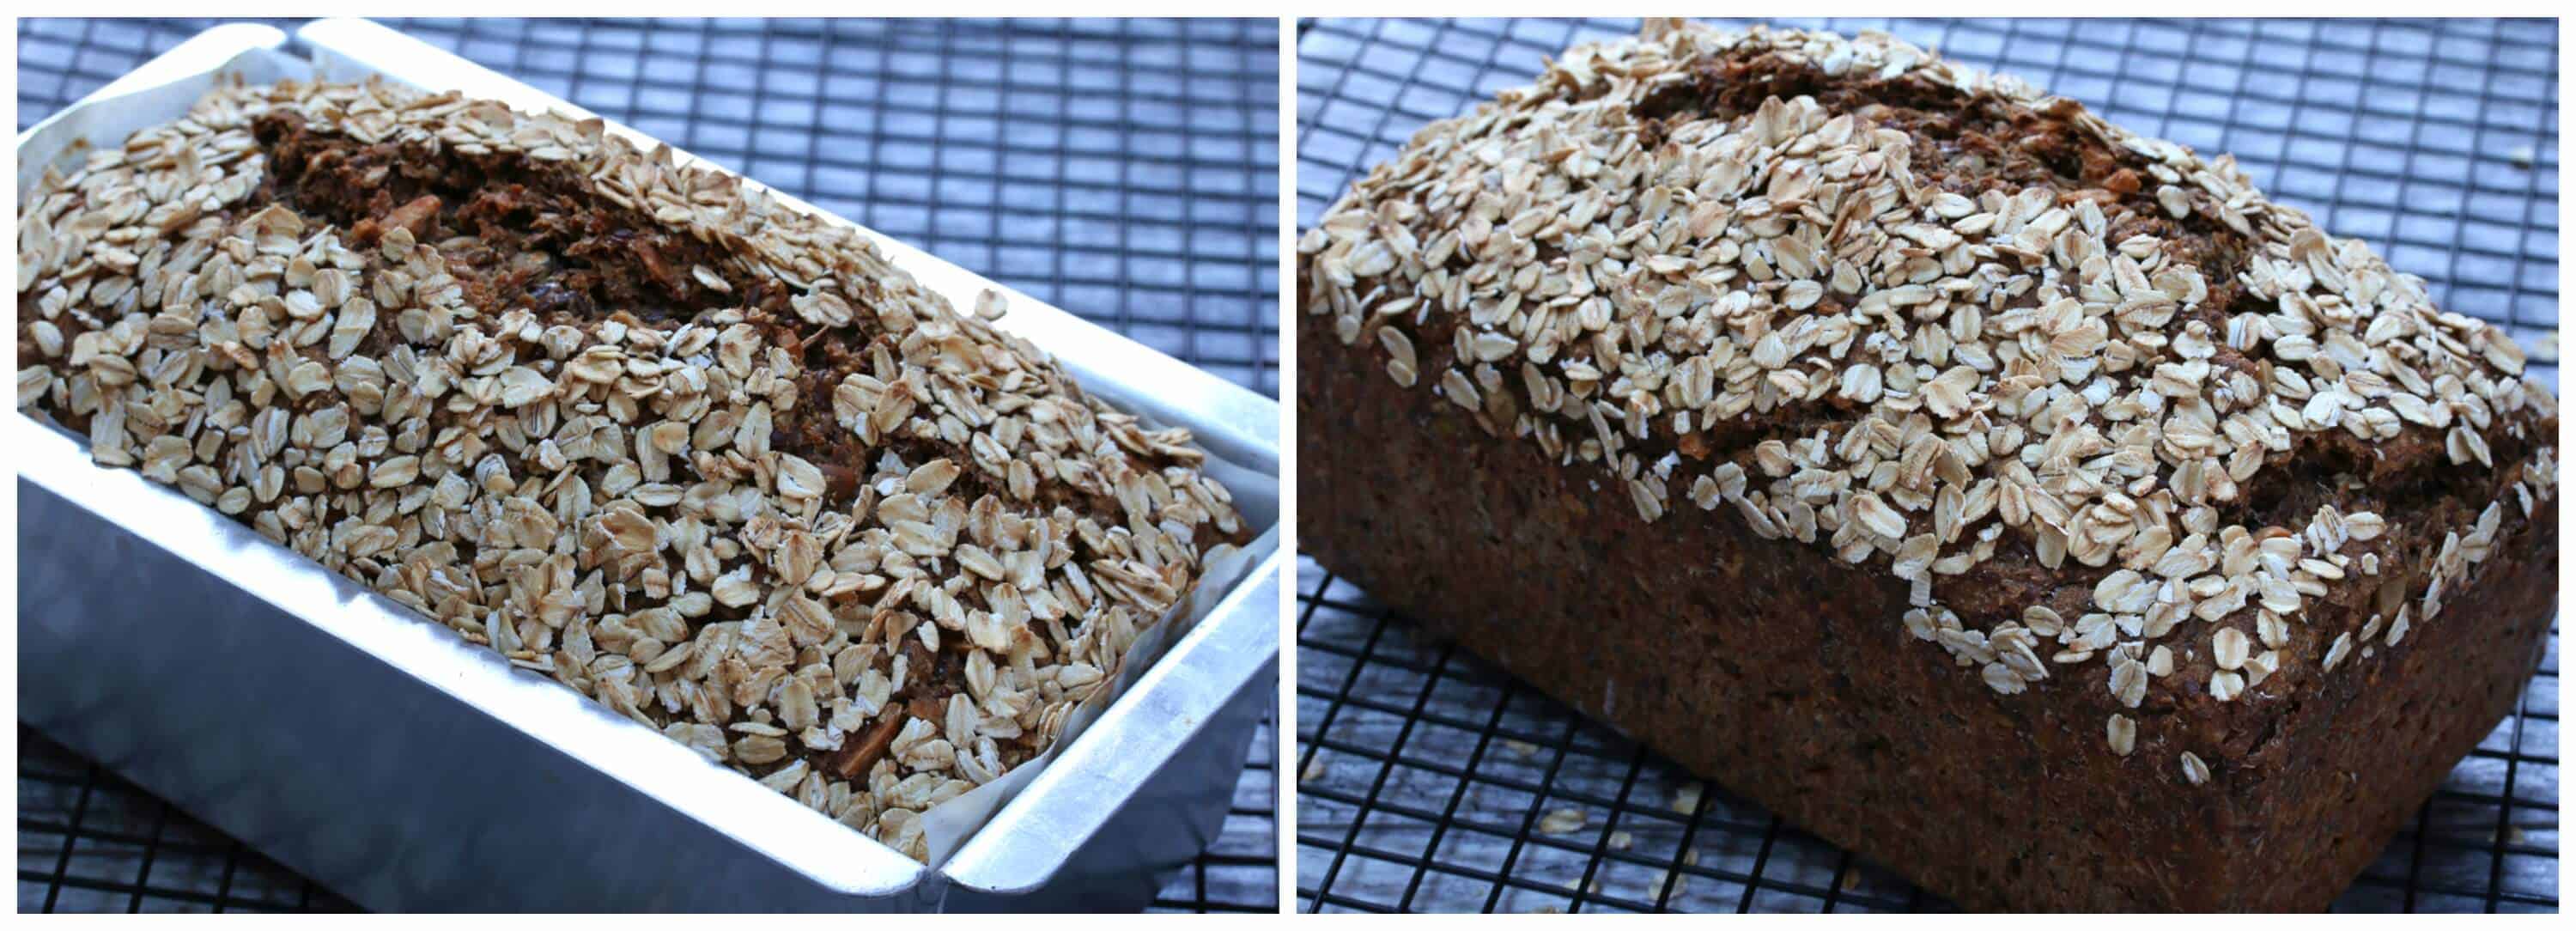
Scoop all of the dough into the loaf pan, patting it down. It’s a lot of dough but it’ll fit in there, just pat it down (be sure you’re using a 9x5x3 loaf pan). Brush the top with some water and sprinkle some oats evenly over it.

Bake at 350 degrees F for 100-120 minutes or until the center is done. For best and most accurate results use an instant read thermometer and aim for an internal temperature of at least 210 degrees F.
Let it sit for 5 minutes before removing it from the pan. Let the bread cool completely before slicing it. Your rugbrod is ready!
To prolong its shelf life I recommend storing it in the refrigerator or freeze part of it if you know it will take you a while to go through it.
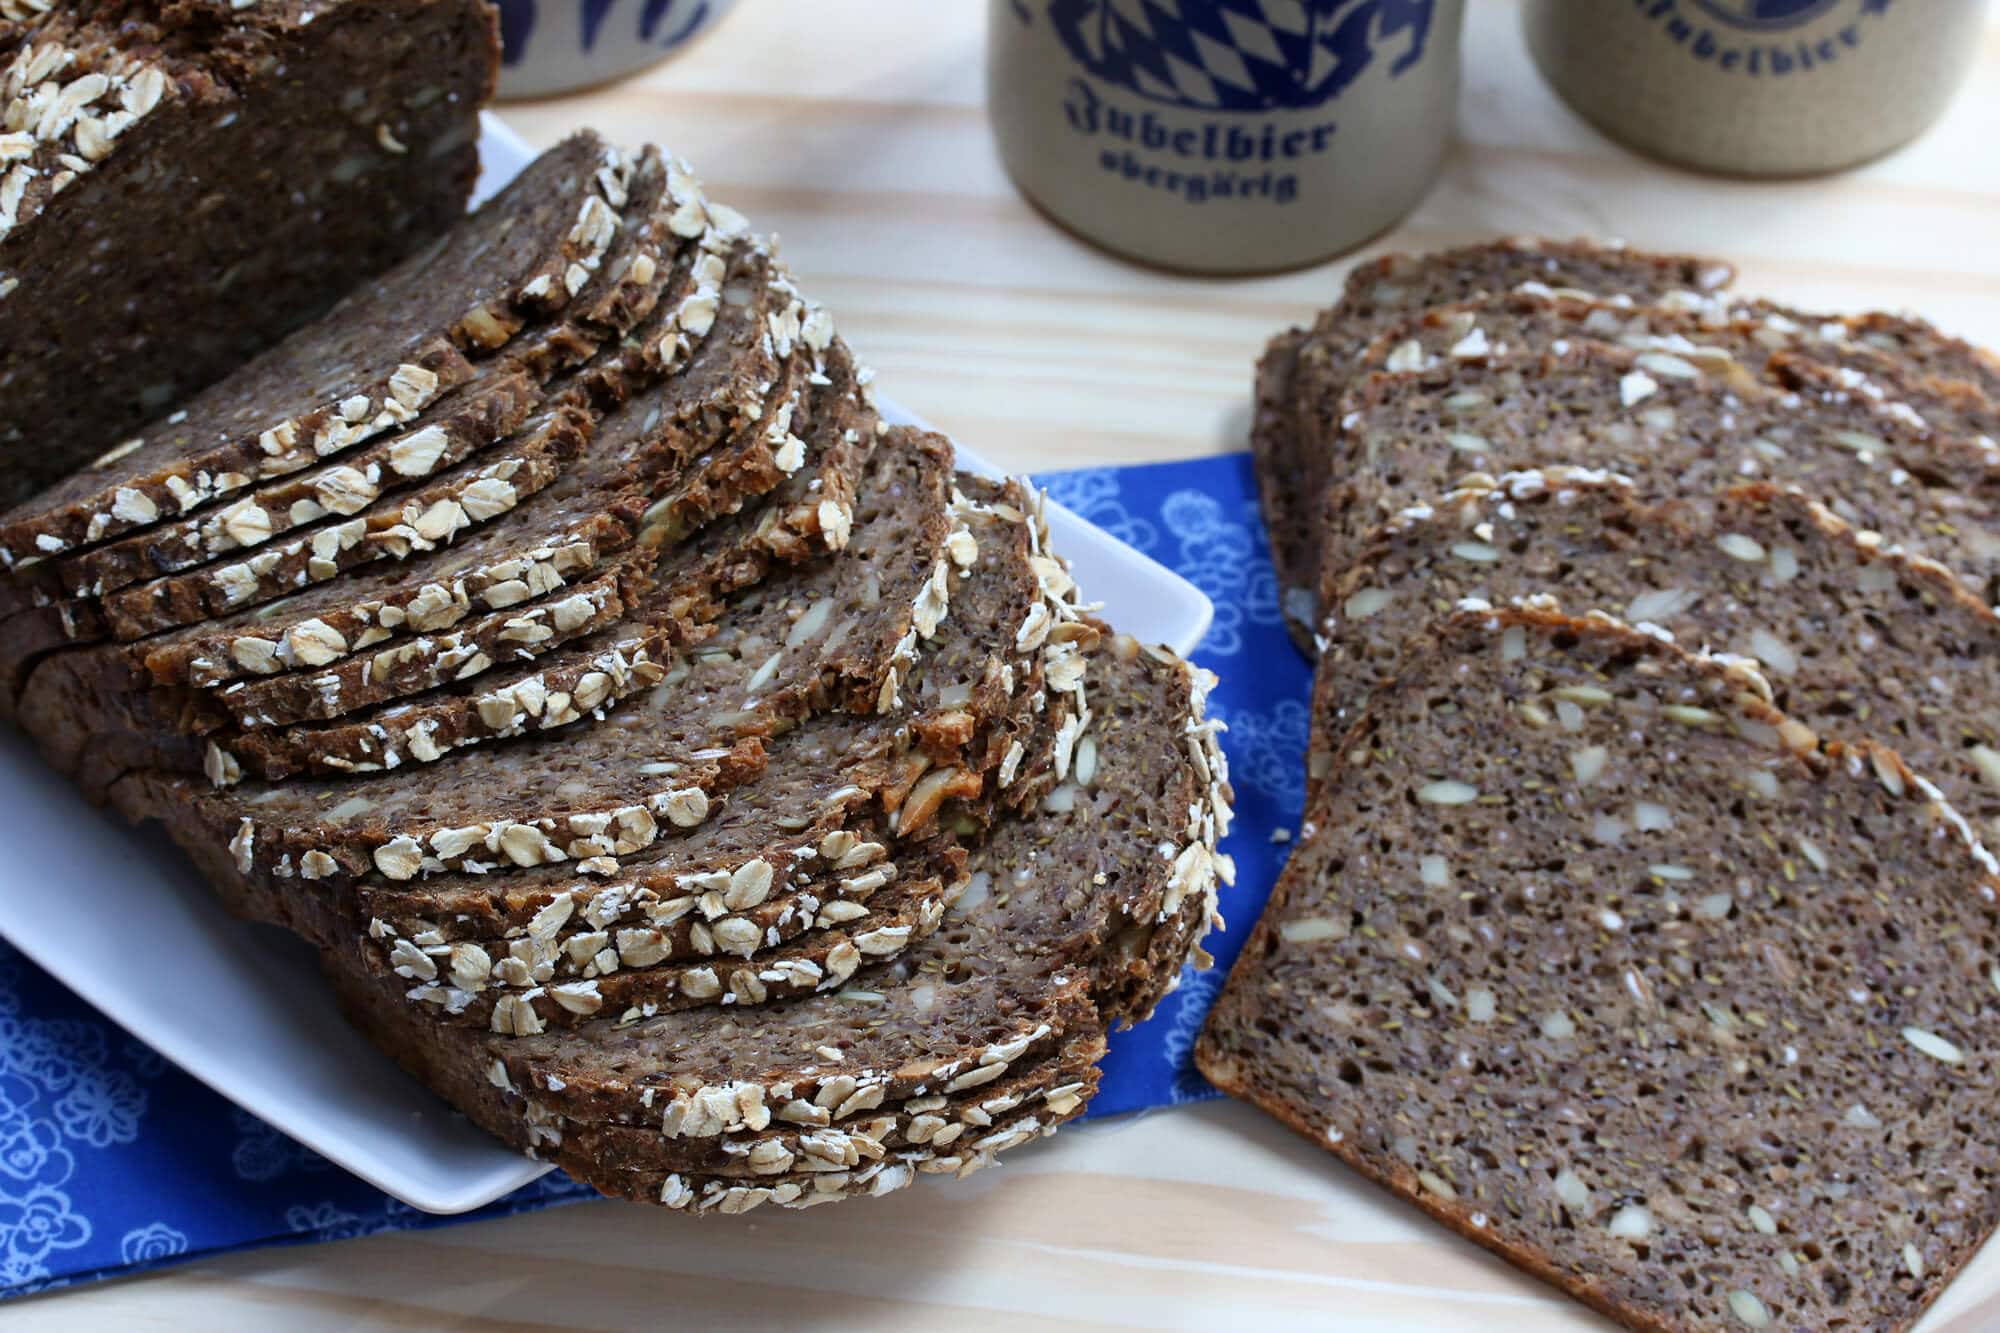
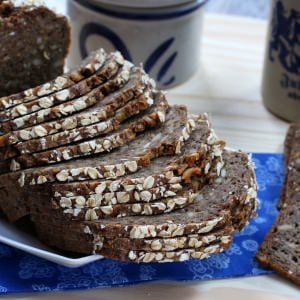
In order to get nice thin, clean slices that look like something you bought at a professional bakery, I recommend a slicer. Chef’s Choice Slicers are consistently ranked at the top and they get excellent reviews. I also use a slicer for meats and cheeses. Whenever I find chunks of cooked ham, turkey or cheese on sale I get those and slice them myself – it’s cheaper than buying them at the deli. At the very least you’ll need an excellent bread knife and for that my favorite knife, hands down, is the Cutco 9 3/4″ Slicer. It glides smoothly through bread and meat like no other.
Enjoy!
For more delicious breads from around the world try my:
- German Bread (Vollkornbrot)
- Lavash
- Injera
- Dosa
- Lefse
- Irish Soda Bread
- Naan Bread
- Sourdough Naan
- Sourdough English Muffins
- Crumpets
- Olive Rosemary Focaccia
- Skillet Cornbread
Save This Recipe
Danish Rye Bread (Rugbrød)
Ingredients
- 2 cups lukewarm water
- 2 teaspoons dry active yeast
- 2 tablespoons sugar
- 2 1/2 cups dark rye flour
- 3/4 cup all-purpose flour
- 1 3/4 cup cracked rye berries (very briefly pulse whole rye berries in a strong blender or food processor until they're broken up into coarse pieces OR smash them in a heavy duty bag with a meat mallet or other heavy object)
- 1/2 cup whole rye berries
- 1 1/4 cup whole flaxseeds
- 1 1/3 cup sunflower seeds or combination of sunflower seeds ,pumpkin seeds and/or chopped almonds
- 3 teaspoons salt
- 1 cup dark beer (see note)
- 1 cup buttermilk or kefir (vegan: 1 cup almond milk mixed with 2 tablespoons cider vinegar) (I often use homemade kefir in place of buttermilk)
- Traditional rolled oats for sprinkling
Instructions
- Stir the yeast and sugar into the lukewarm water and let sit for 10 minutes until the yeast is frothy.
- Combine all the dry ingredients in the bowl of a stand mixer. Add the yeast mixture, beer and buttermilk. Stir to combine.Fit the stand mixer with a dough hook and knead on the bread setting ("2") for 10 minutes. The dough will be very sticky, loose and not remotely malleable (ie, incapable of being shaped).Scoop the dough into a very large non-metallic bowl with plenty of head space (the dough will bubble up). Cover loosely with plastic wrap and let it rest in a warm place (room temperature) for 24-48 hours, depending on how sour you want the bread to be (be sure to ferment it for at least 24 hours to ensure enough of the liquid is absorbed). If you're only letting it ferment for 24 hours we recommend first soaking the whole rye berries overnight before using them (drain thoroughly).
- Line a 9x5x3 inch bread loaf pan with parchment paper (SEE NOTE). Preheat the oven to 350 degrees F.Scoop all of the dough into the lined bread pan, pressing down as needed. (It's a lot of dough but it will fit.) Brush the top with water and sprinkle over evenly with the rolled oats.Bake on the middle rack for 100-120 minutes or until the center is done. For best and most accurate results use an instant read thermometer and aim for an internal temperature of 210 degrees F.Let the loaf cool for 5 minutes before removing it from the pan. Let the loaf cool completely before slicing. Keep stored in an airtight container. To prolong its shelf life I recommend storing it in the refrigerator or freeze part of it if you know it will take you a while to go through it.
Notes
* You can substitute water or more buttermilk for the beer
Nutrition
Originally published on The Daring Gourmet January 28, 2016

Hi, I’m Kimberly Killebrew and welcome to Daring Gourmet where you'll find delicious originals, revitalized classics, and simply downright good eats from around the world! Originally from Germany, later raised in England, world-traveled, and now living in the U.S., from my globally-influenced kitchen I invite you to tour the world through your taste buds!


Take it from a native Dane (expat in the US on the 6th year), this is some serious gourmet rye bread. Absolutely fantastic! Tastes like home!
Couldn’t find rye berries close by; whole barley is a good substitute. Adds a bit of “spongyness” :-)
Fantastic, Kevin, I’m so thrilled to hear that! Mange tak!
Hi, I have a question. I just bought a bread maker Zojirushi. Is there a way to make Danishrugbroed with the machine?
Many thanks, Nino
Hi Nino, I haven’t tried this in a bread machine so I’m afraid I can’t comment on how well it would work.
Hello! Im making this bread tonight!!!
Is there a particular reason it has to sit in a plastic container? or could i use a metallic one?
Thank you!
Hi Ana, I don’t mention or recommend plastic at all, I used a white porcelain bowl in the pictures. The main thing is just to avoid a metallic bowl to prevent the sourdough from reacting with it. Happy baking!
Oh you’re right! I got to the conclusion of the plastic bowl myself, since i dont have a ceramic one. Thank you!
the parchment paper is stuck on the bread, i cant seem to remobe it without tearing the paper.
Your loaf looks so perfect. Did i do something wrong?
Hi Ana, that’s the first I’ve heard of that happening and I’m not sure why it would have other than maybe somehow there was too much liquid? We’ll see if anyone else chimes in with the same experience.
Yup; I had the same experience. Will try again today
Nigel, try lightly spraying the parchment paper with oil before adding the bread batter.
Hi,
Just found this recipe and would love to bake it. I have an active sourdough starter. Can you tell me how I would convert this recipe to all sourdough? Thank you
Hi Joyce, I haven’t used sourdough starter for this particular version – perhaps some of our readers have and can tell us what other alterations they made.
Given the fact that all ovens are not the same — and no, my current one doesn’t have the convection function — when creating a recipe, as I used to when I owned a bakery, or trying someone else’s, especially a kind of bread that is so extremely different from what I’ve made in the last 40 years, then I need to apply all the clues at my disposal. The Cook’s Illustrated example is a bread totally different from yours and of course in that case I would rely on the colour as well as the temperature, as I do when baking all my breads.
Oops! My new question has disappeared. It was about internal temperature. How do you know if your bread is ready if you don’t use a thermometer? I made a batch yesterday and it took an additional half hour or more to reach 200 degrees F (the temperature I usually use for my multigrain breads) and I cut the loaf in two and it was barely done in the center. Also, my bread rose hardly at all in the oven. Next time I will let it rest and rise a bit before putting it in the oven. Do you think that’s a good idea?
Hi Gina, I don’t generally recommend internal temperatures as the best guideline for determining doneness (check out this article from Cook’s Illustrated). Really the best way is based on the bread’s appearance and its sound when you tap it. Regarding rising, this is a very heavy, dense bread so it’s not going to rise a ton, however it should rise at least an inch or so above the loaf pan during baking. If it didn’t, there a number of things that could have gone wrong, but first and foremost I’m assuming your yeast was fresh and that you used the right sized loaf pan? Did you bake it on the middle rack? Does your oven have a forced air fan? The last 3 factors will also impact if the center of the bread is done.
Thanks for the (super-quick!) clarification. We have a lot of good craft beers around here (Atlantic Canada) and the nice thing is I like beer, especially good dark beer, so finishing the bottle isn’t going to be a problem!
Perfect, Gina! :)
Can’t wait to try it but how will I know if the beer I buy is “yeasty”?
Hi Gina, really any beer will do the job, the bigger emphasis here is to choose one that isn’t overpowering in flavor and has a pleasant flavor. A cheap beer is going to have an unpleasant, powerful flavor that will take over the bread. It’s all really subjective, I know. And I personally don’t drink beer, I just occasionally cook and bake with it, so that’s where asking for recommendations from people in the know about good craft beers comes in :)