Homemade Caramels
This post may contain affiliate links. See my disclosure policy.
This homemade caramels recipe is made without corn syrup. It uses golden syrup and heavy whipping cream for a superior flavor and texture, yielding exquisitely buttery and delicious caramel candies! It makes a ton of caramel candies and they will store in the fridge for several weeks!
Homemade Caramels
This caramel candy recipe is foolproof, easy to make, and yields deliciously buttery and flavorful caramels. Most caramel candy recipes call for corn syrup which is cloyingly sweetness without any depth of flavor. It’s like listening to a song that’s all treble without the mid range or bass – it’s tinny, shallow, and boring. So I like to use golden syrup for anything that calls for corn syrup. They are interchangeable and the golden syrup adds far more depth of flavor. Give it a try and you’ll see what I mean!
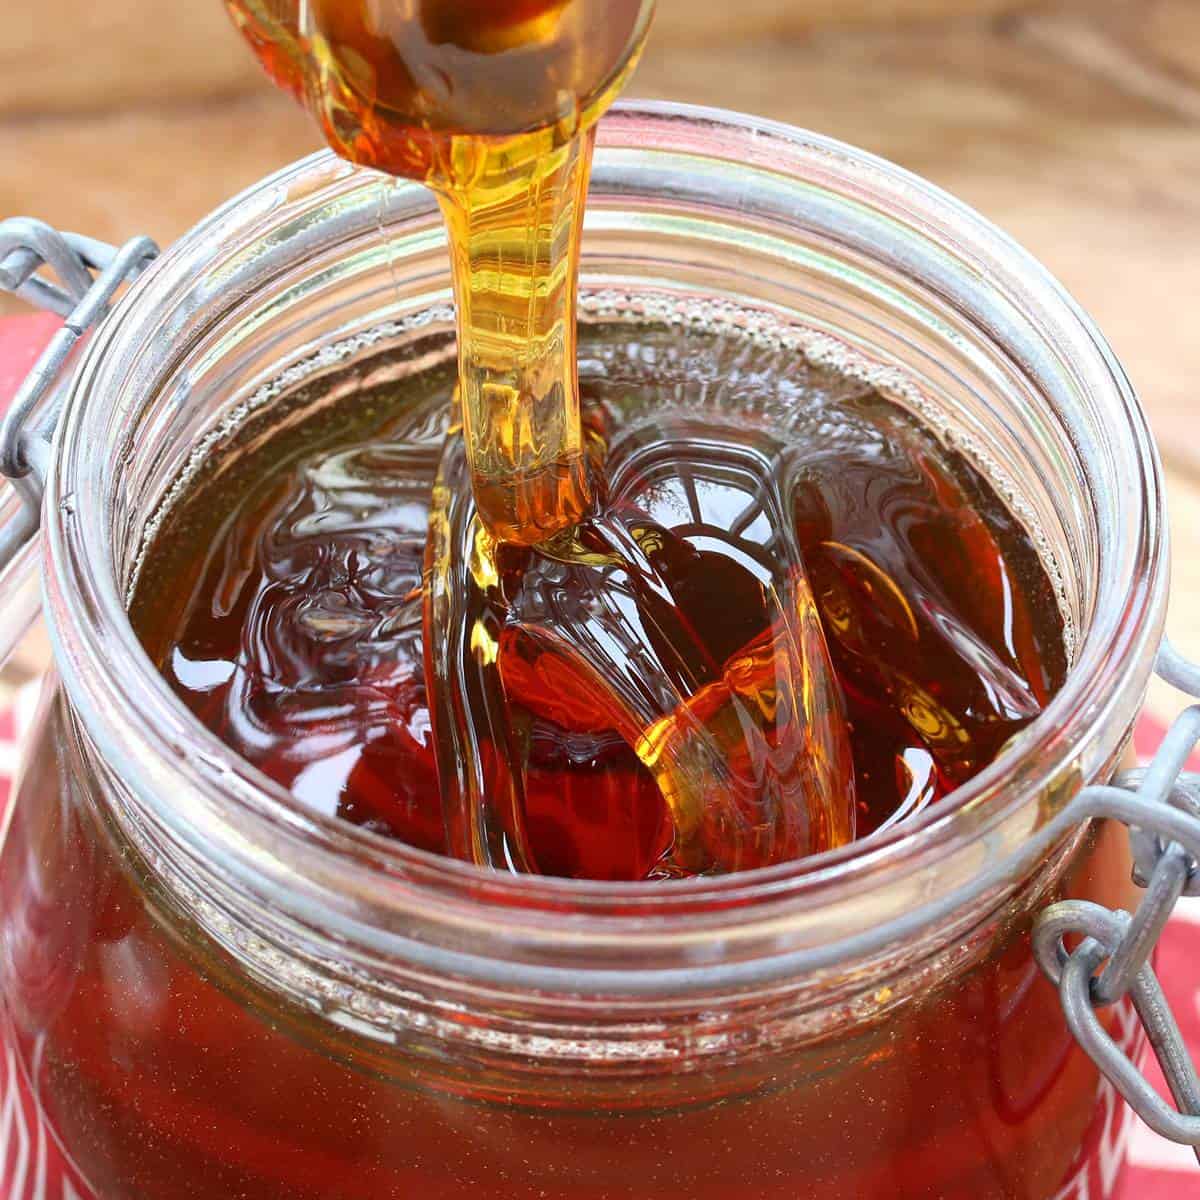
Corn Syrup vs Golden Syrup
Corn syrup, just as its name implies, is a clear syrup that is made from corn starch. Golden syrup on the other hand is an inverted sugar syrup that’s made from pure cane sugar and citric acid. Just that difference alone significantly impacts the flavor. But then the golden syrup is also cooked until it is caramelized which creates flavor notes of brown sugar and molasses (which is still starkly different than “dark corn syrup”). Golden syrup has a caramelized, buttery flavor and has been a favorite staple in British kitchens for over a century, used in such classics as Treacle Tart, Flapjacks, Cornish Fairings and ANZAC Biscuits. I love the flavor that golden syrup contributes to these homemade caramels. You can buy golden syrup online or you can also make it yourself (it’s easy!). Check out my recipe for homemade Golden Syrup.
Do I Need a Thermometer for Caramel Candy?
I always recommend using thermometers for things like baking breads, cooking roasts, and for most candy-making because it takes the guesswork out of it and gives you more consistently reliable results. However, for caramels I like to use both a candy thermometer as well as do a manual test known as the “ice test” to check for doneness. But if you don’t have a candy thermometer or instant read thermometer you can still make these homemade caramels by using the ice test alone.
How to Use the “Ice Test”
The ice test is an easy and reliable alternative to using a candy thermometer in order to determine if your caramel syrup is done. In fact, I still recommend in doing the ice test in addition to using a candy thermometer. Here’s how to do it:
- Fill a cup with water and ice cubes.
- Drop a small spoonful of the hot caramel syrup into the cup of ice water.
- Use your fingers to mold the caramel into a ball. If the ball feels firm and somewhat pliable it is done. If the ball is too soft and squishy, continue to simmer the syrup and test it again.

How to Make Caramels
This homemade caramels recipe is easy to make with everything other than the vanilla being added at the same time in the pot. Then it just involves patiently stirring until the syrup comes to the right temperature. Here’s how to make caramels:
- Grease a 12×15 inch sheet cake pan.
- In a medium sized stainless steel pot, combine the white and brown sugars, the corn syrup, butter, heavy cream, and evaporated milk. Cook the mixture over medium heat, stirring constantly until melted.
- Once the sugars and butter are melted place a candy thermometer in the pot. Continue to simmer the mixture, stirring constantly, until the mixture reaches 250 F / 121 C, then remove the pot from the heat and stir in the vanilla.
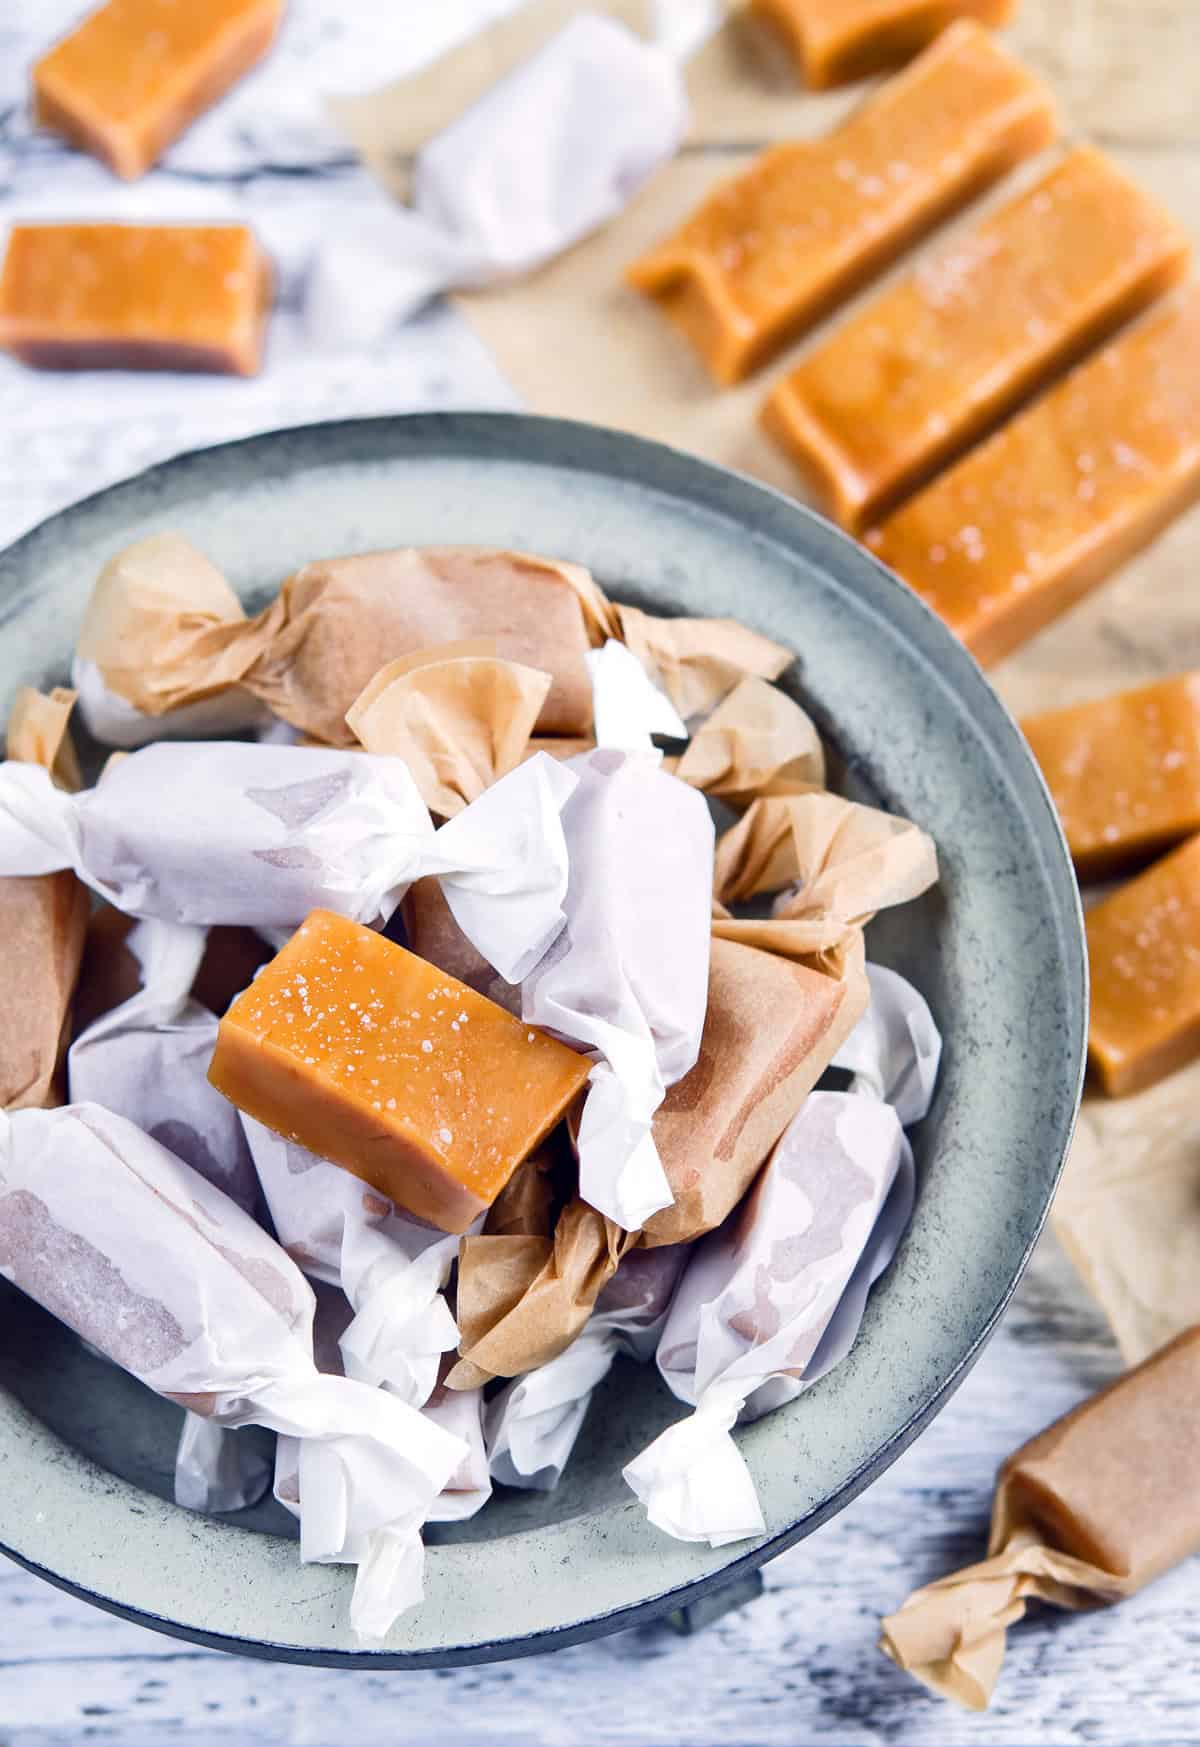
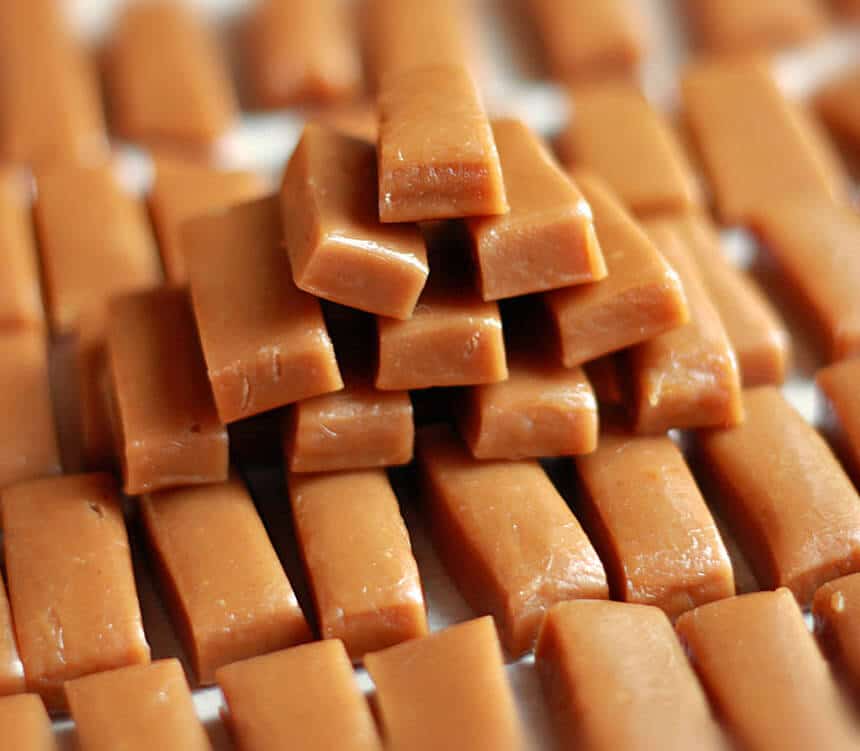
- Immediately pour the caramel mixture into the prepared pan and let it cool almost completely until firm but still soft enough to cut. If you like salted caramels, wait 20 minutes and then lightly sprinkled with flaked salt, then let it cool completely. Cut the caramels into small bars or squares. Wrap each caramel bar in wax paper, twisting the ends. If the caramels are too too messy/sticky to cut, put the caramel in the freezer for about 30 minutes or in the fridge for a few hours to firm it up.
- Store the wrapped caramels in a jar or container in the fridge where they will keep for several weeks. Enjoy them straight from the fridge or let them sit at room temp for 10-15 minutes before eating.
This caramel candy recipe makes roughly 60 caramels depending on size.
How to Store Caramels
Caramels can be stored at room temp but depending how warm your room temperature is, they can get a little messy. For best results, and longest storage time, wrap the individual caramels in wax paper, put them in a jar or container, and store them in the fridge. Stored this way they will keep for several weeks. You can eat them straight from the fridge or let them sit out at room temp for 10-15 minutes to slightly soften.
For wrapping the caramels you can either cut wax paper into small squares or you can buy pre-cut wax paper squares for convenience.
Enjoy!

Caramel/toffee fans, be sure to also try my:
- Caramel Sauce
- Millionaire Shortbread
- Sticky Toffee Pudding
- Caramel Pear Walnut Cake
- Caramel Pear Butter
- English Toffee Sauce
- Orange Caramel Syrup
- Caramel Banana Upside Down Bread
- Upside Down Pear Gingerbread Cake
Save This Recipe

Homemade Caramels
Equipment
Ingredients
- 2 cups white granulated sugar
- 1 cup brown sugar , firmly packed
- 1 cup golden syrup
- or homemade golden syrup (click link for recipe – it's so easy to make!)
- 1 cup unsalted butter
- 2 cups heavy whipping cream
- 1 cup evaporated milk
- 2 teaspoons quality pure vanilla extract
Instructions
- Grease a 12×15 inch sheet cake pan.In a medium sized stainless steel pot, combine the white and brown sugars, the corn syrup, butter, heavy cream, and evaporated milk. Cook the mixture over medium heat, stirring constantly until melted. Once the sugars and butter are melted place a candy thermometer in the pot. Continue to simmer the mixture, stirring constantly, until the mixture reaches 250 F / 121 C, then remove the pot from the heat and stir in the vanilla. Immediately pour the caramel mixture into the prepared pan and let it cool almost completely until firm but still soft enough to cut. If you like salted caramels wait for about 20 minutes and then lightly sprinkle the top with flaked salt. Then let the it cool completely. Cut the caramels into small bars or squares. Wrap each caramel bar in wax paper, twisting the ends. Note: If the caramels are too too messy/sticky to cut, put the caramel in the freezer for about 30 minutes or in the fridge for a few hours to firm it up. Store the wrapped caramels in a jar or container in the fridge where they will keep for several weeks. Enjoy them straight from the fridge or let them sit at room temp for 10-15 minutes before eating.Will make roughly 60 caramels depending on size.
Nutrition
Originally published on The Daring Gourmet March 27, 2013

Hi, I’m Kimberly Killebrew and welcome to Daring Gourmet where you'll find delicious originals, revitalized classics, and simply downright good eats from around the world! Originally from Germany, later raised in England, world-traveled, and now living in the U.S., from my globally-influenced kitchen I invite you to tour the world through your taste buds!


These were really delicious! I’ve only ever used Karo syrup and was intrigued to try the golden syrup. Doing a taste test of the golden syrup there is no comparison. It makes Karo syrup taste like sugar water. I really enjoyed these caramels; they were fun to make and delicious.
That’s wonderful, Renee, I’m so happy you enjoyed them, thank you so much!
I tried making the caramel and it burnt. It burnt at 225 degrees, all for not! Yours looks great but . . .
I’m sorry to hear yours burnt. 225 F is standard for a lot of caramel candies and many candies have to be heated as hight as 260+F. It’s crucial that you stir the mixture constantly in order to prevent it from burning.