Traditional Lardy Cake
This post may contain affiliate links. See my disclosure policy.
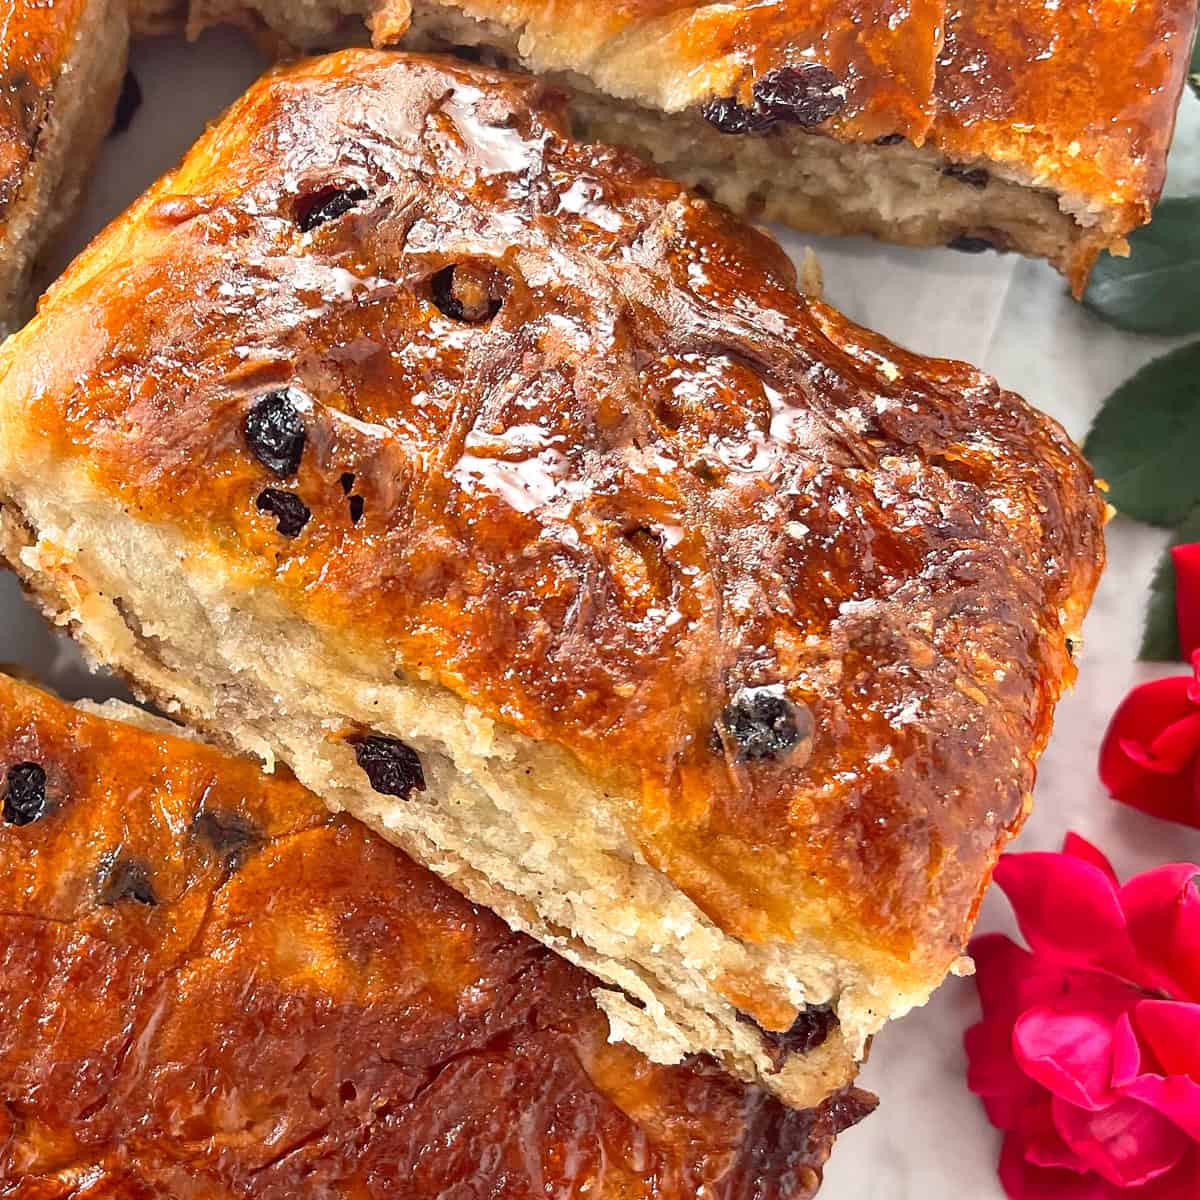
A traditional pastry from the rural countryside of England’s West Country, these currant-studded lardy cakes, baked to caramelized perfection, offer a true taste of 19th century baking at its best. This authentic lardy cake recipe is one of my very favorites and I think you’re going to fall in love with it too!
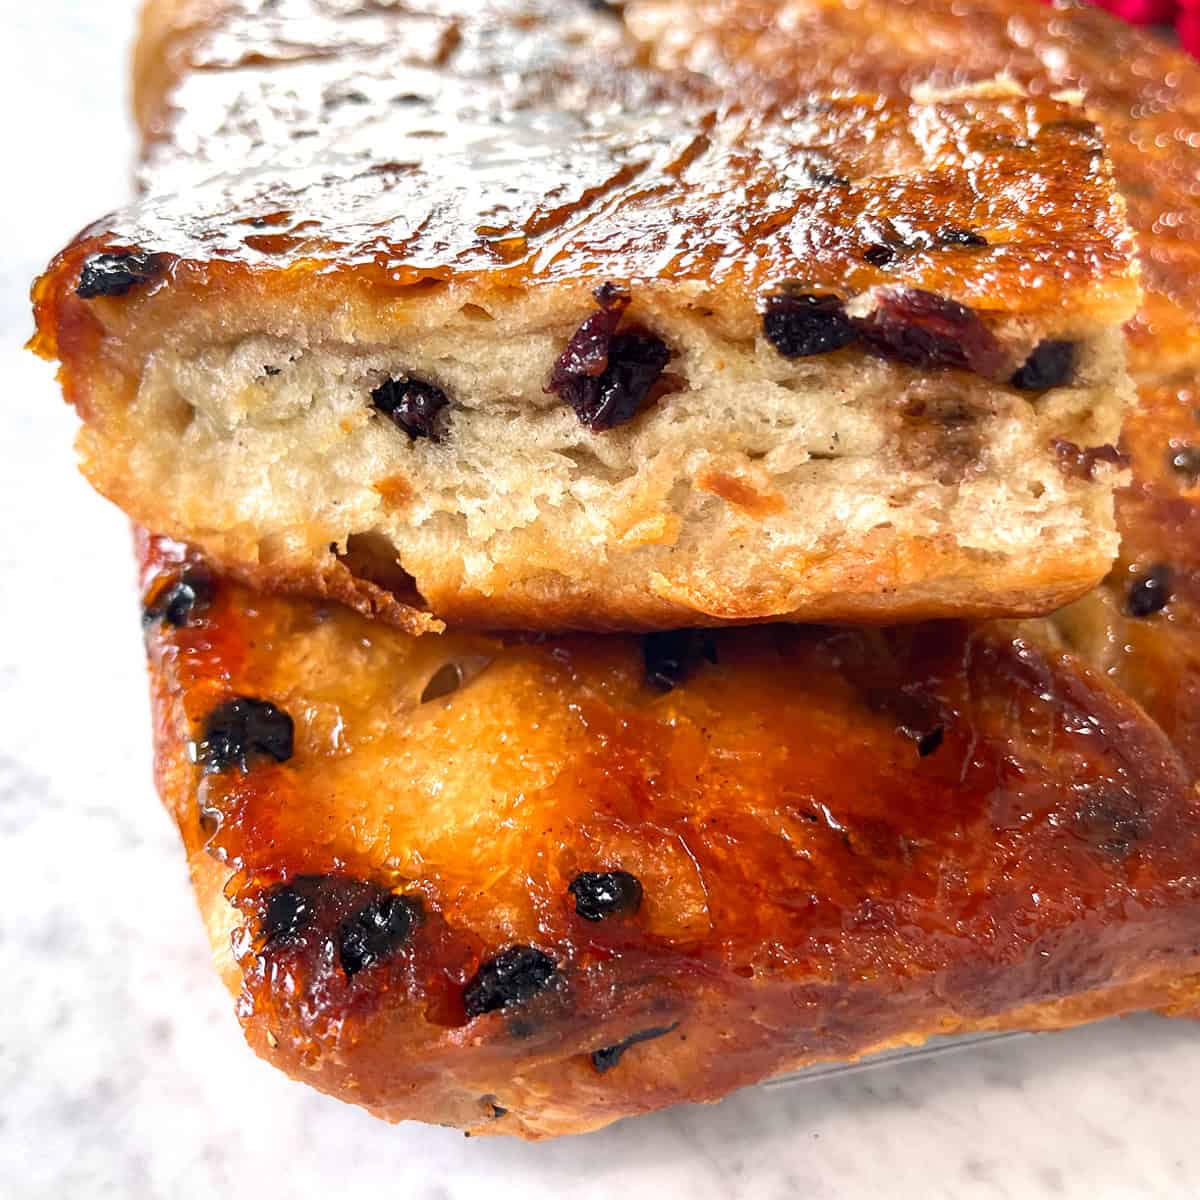
One of my most favorite of all traditional English bakes, Lardy Cake is something I have gone out of my way for on several occasions when we’ve visited England. Just ask my husband: a two hour detour to Wiltshire just to stop at a bakery that makes these. Fortunately I’ve been able to recreate the very best of the best versions I’ve had so that I can make it at home whenever I want. This traditional lardy cake recipe doesn’t cut corners nor does it skimp on that most important ingredient: LARD. Wonderfully moist and flavorful with that irresistible caramelized outer layer, trust me when I say that you’re in for a real treat!
This is one of those recipes where if you have to ask how much fat or how many carbs and calories it has, just don’t even bother making it. And in that same vein, if you’re trying to make a “skinny” version of lardy cake, just make something else. One of my favorite German phrases applies here: Wenn schon, denn schon. Which means, if you’re going to do something, DO IT. Do it right. Go all out. Lardy cake isn’t lardy cake if you hold back.
What is Lardy Cake?
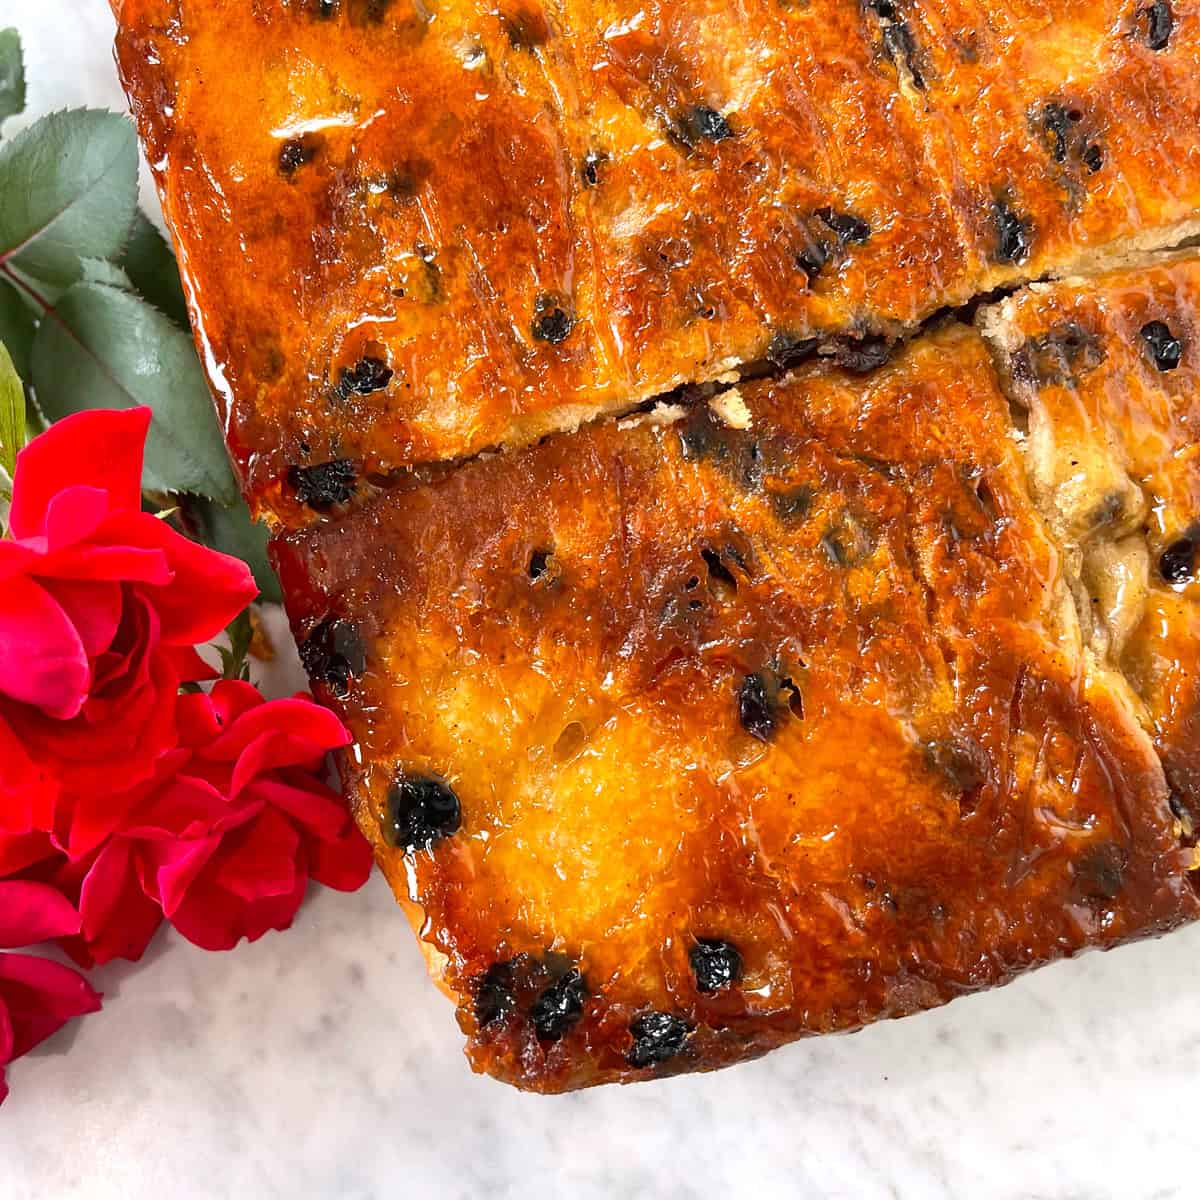
It’s more bread than it is cake and, as its name suggests, it’s made with lard. LOTS of lard. Unlike most pastries that contain some lard or butter, lard is THE central ingredient in this traditional English bake. Think of how much butter is used to make puff pastry or French kouign-amann and then liken that to lardy cake. In fact, there are similarities in the method: lots and lots of butter, or in the case of lardy cake lots and lots of lard, and the dough is then folded and rolled out, and folded and rolled out again multiple times (though with puff pastry it’s done many, many more times). This process of folding and rolling is known as lamination in the pastry world and is what creates layers within the dough.
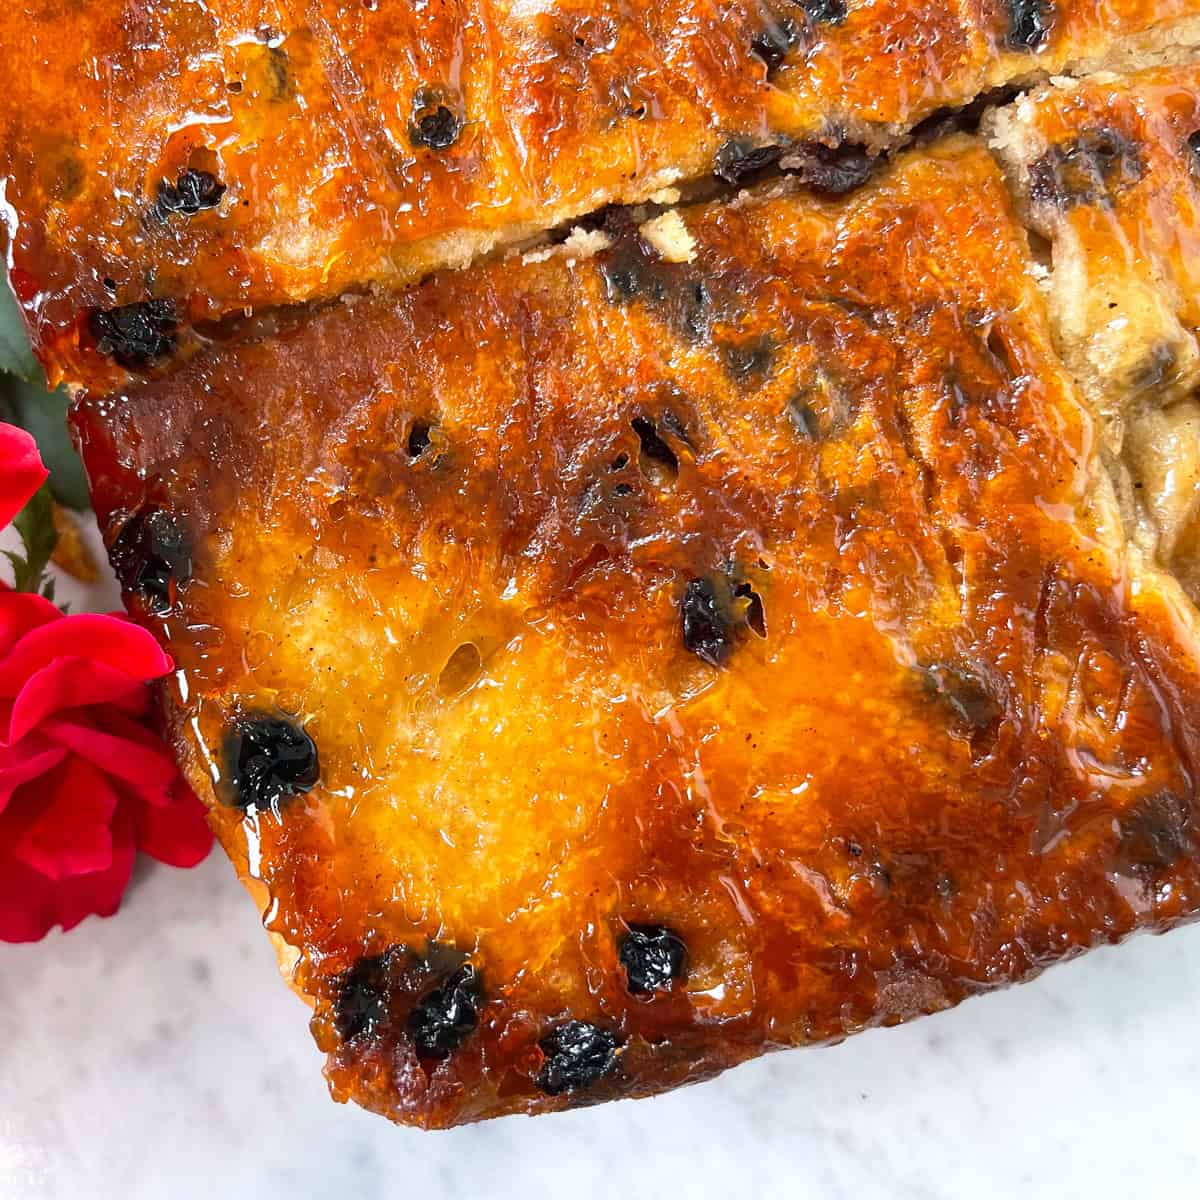
Aside from lard, the ingredients that go into making lardy cake are flour, yeast, sugar, sometimes mixed spice (a traditional British blend of spices), and dried currants (which aren’t currants at all in spite of their name; they’re actually a small variety of raisin known elsewhere as zante raisins or zante currants). The enriched yeast dough is baked in a baking pan with the lard collecting at the bottom. After it’s baked it’s given a brushing of golden syrup, then it’s inverted so that the bottom that’s all nice and caramelized from the lard is now on top, like an upside-down cake (and the lard can now penetrate down into the cake), and it’s cut into squares to serve.
Where Can You Find It?
Nowadays lardy cake is often referred to as Wiltshire lardy cake though neighboring areas, including Gloucestershire and Oxfordshire, likewise claim it. I do think that Wiltshire has perhaps been the most proactive in reviving this traditional bake that dates back to at least the mid-19th century. Wherever its county of birth, it is safe to say that its origin lies in the rural countryside of the West Country. Finding bakeries that still make lardy cake takes some dedicated searching but fortunately there are some bakeries, particularly in Wiltshire, that have brought the tradition back.
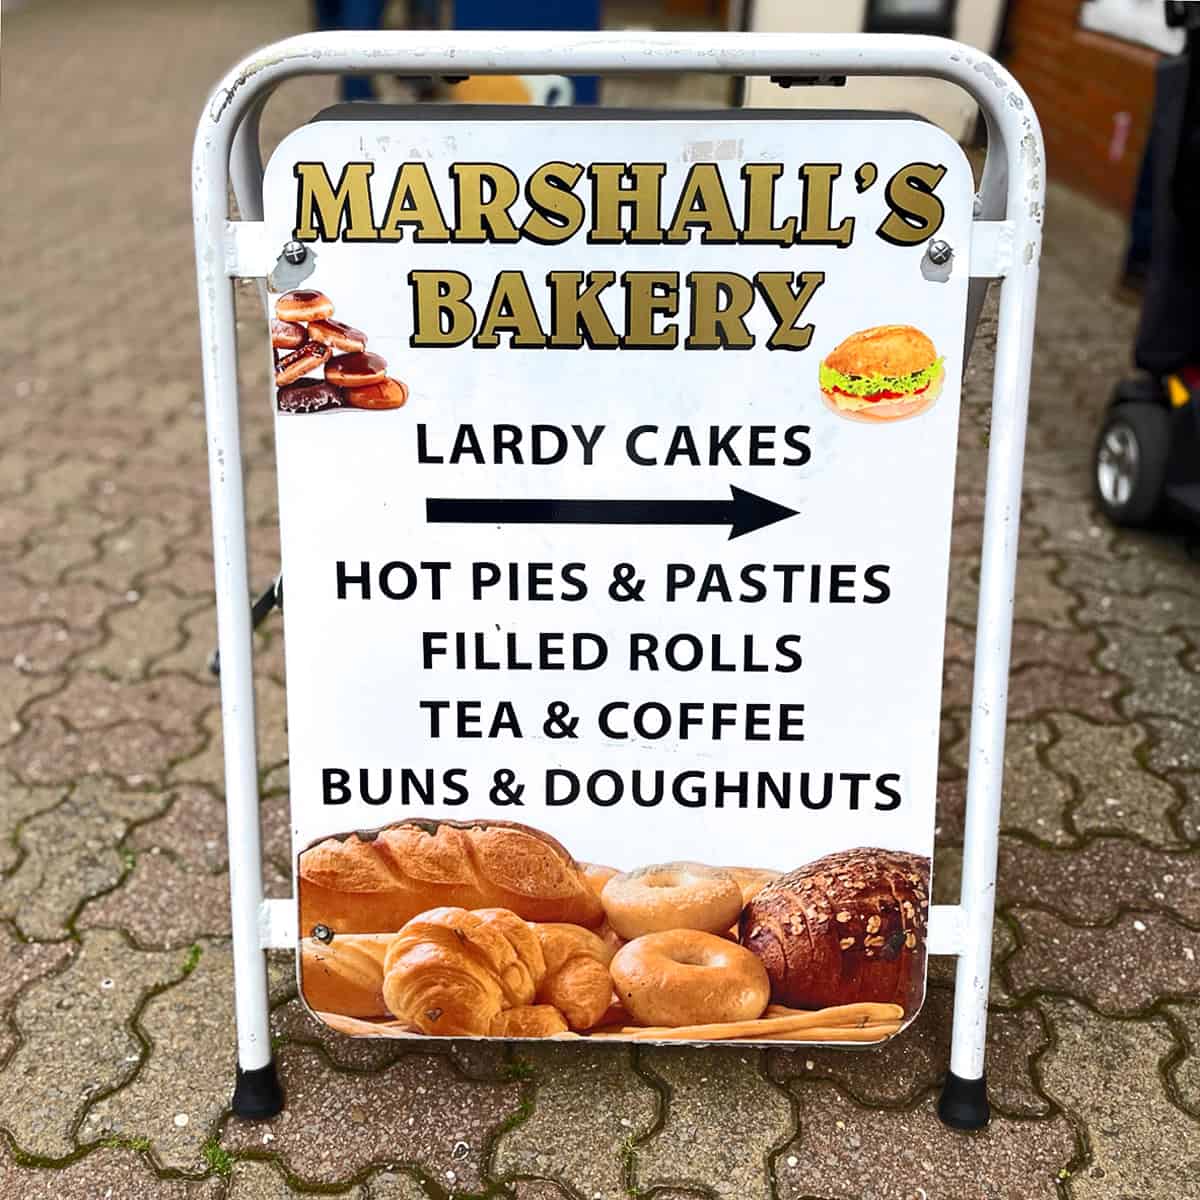
A few years ago I found a couple of bakeries in Gloucestershire that made them but they unfortunately shied back from using enough lard so the cake was pretty dry and lacking that caramelization. It was the same with another bakery I found in Wiltshire on a subsequent trip though it was an improvement over the first. When we were in England earlier last month I found a bakery in Royal Wootton Bassett that understands the role of lard in lardy cake and not only do they use a generous amount, the lardy cakes were seriously the size of my head! We bought two of them and made it a day of indulgence.
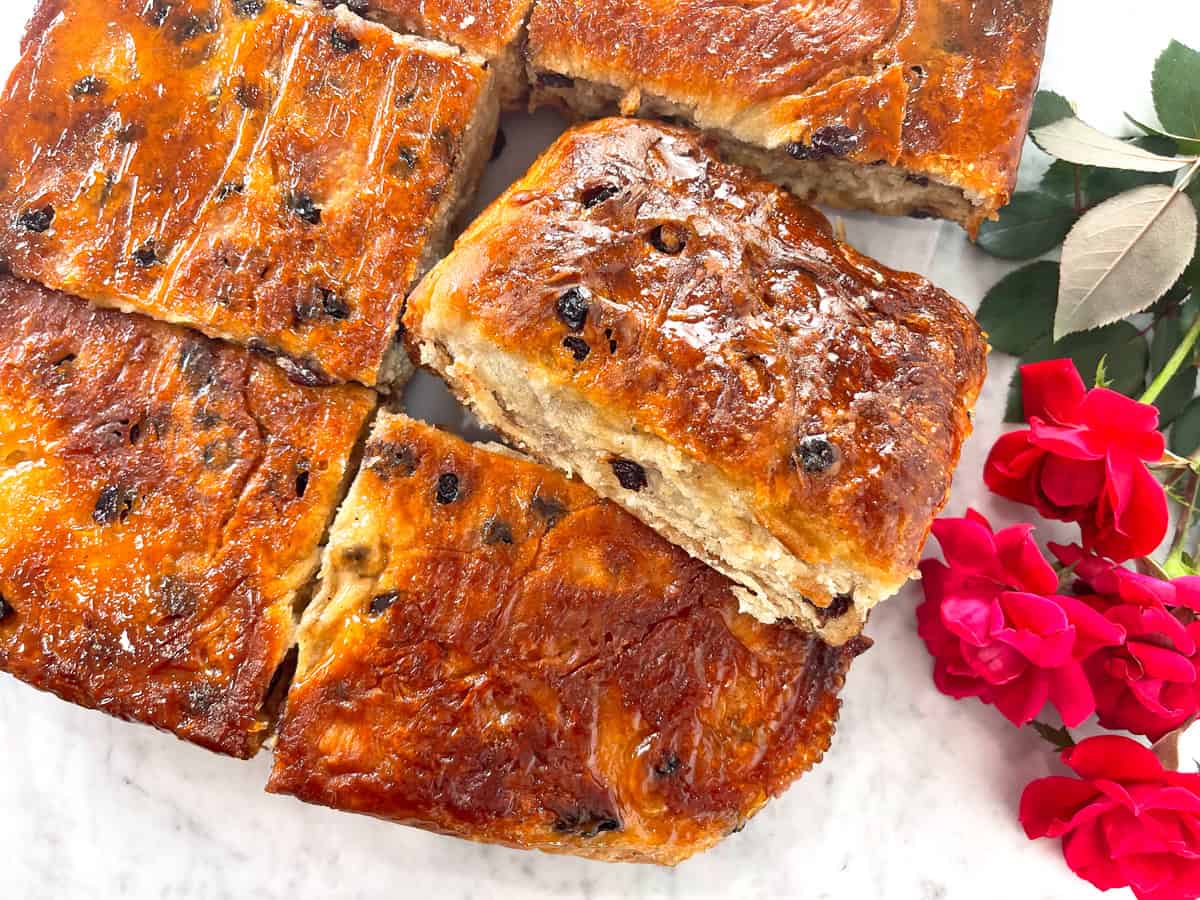
The lardy cakes we bought at this bakery clearly came from two different batches, one being quite pale and the other as dark as the ones I made in my photos. I wanted to compare the two for flavor and texture so I bought one of each. Both were good but in my opinion nothing beats the flavor that comes from that rich caramelization, so don’t be afraid to leave it in the oven a little longer. Unless you really over-bake it, the lard will ensure you have a moist crumb.
Essential Ingredients for Lardy Cake
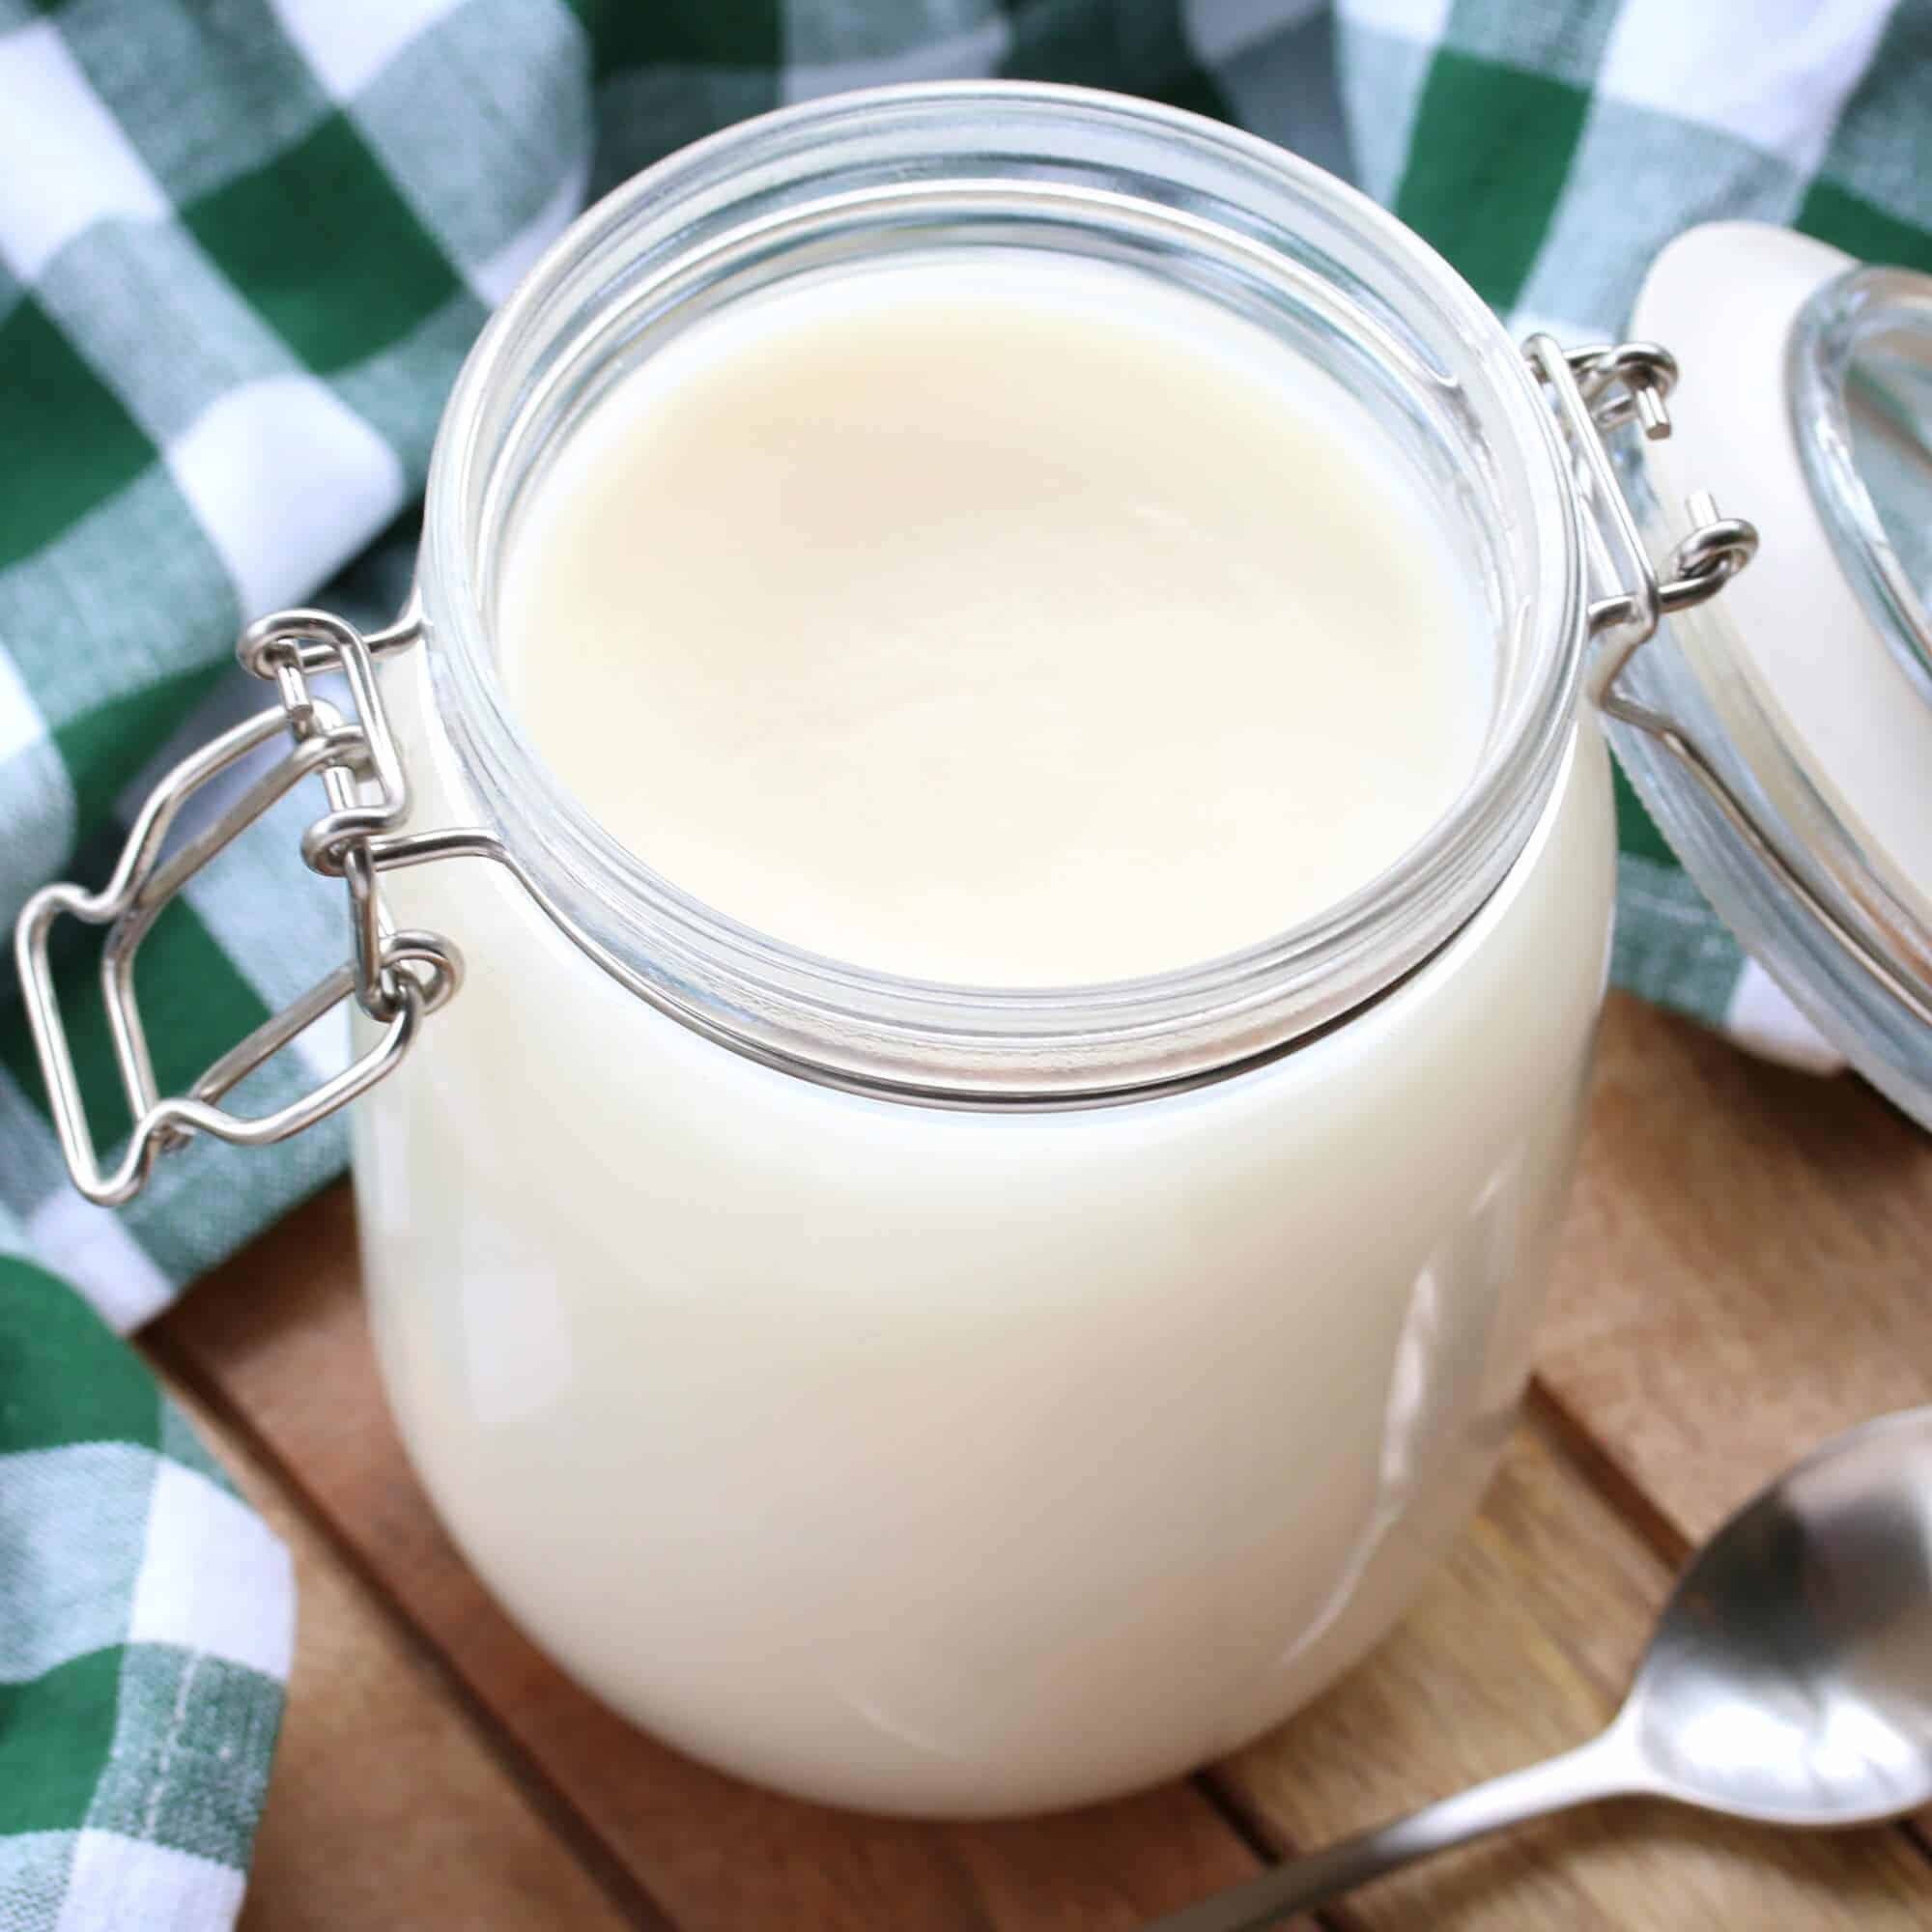
Let’s talk lard. Quality lard is imperative. Do not use the store-bought stuff, most of which is not pure lard but has been processed and modified with added chemicals and who knows what. I very strongly recommend rendering your own lard. Not only is it incredibly easy, it’s cheaper and you’ll get a high quality product. Check out my tutorial on How to Make Lard.
Can I Substitute Butter?
That was just thrown in for comic relief. But if you really were going to ask: No. Lard is the whole point of lardy cake!
Can I Use Raisins Instead?
Yes. Unlike the previous question (which would be committing an unpardonable sin), raisins or sultanas can be substituted. If you have access to dried currants (aka zante raisins) I recommend though as they are much smaller, remain firmer, aren’t as overly sweet, and don’t bloat and get as squishy as raisins. You can order dried currants online (in the U.S. they’re called zante raisins). Additionally, if you like you can add some finely chopped candied orange peel and/or lemon peel (click the link for my recipe – homemade makes ALL the difference).
Baking Tips
I cover all the baking tips to ensure your success in step-by-step photos below. But I’ll leave you with one additional baking tip from Jane Grigson, the highly influential English cookbook author born in Gloucestershire (1928-1990) who worked tirelessly to preserve and promote the traditional English cooking that she loved:
“The more lard, sugar and fruit you can cram in, the better, so that the dough is layered with brown sweet richness. Next time you may like to add more, or you may not. It probably will depend on how much Wiltshire mud runs through your veins.”
I clearly inherited a good amount of Wiltshire mud from somewhere, even if through adoption.
Traditional Lardy Cake Recipe
Let’s get started!
In the bowl of a stand mixer fitted with a dough hook, add the flour, sugar, yeast, salt, lard and water.
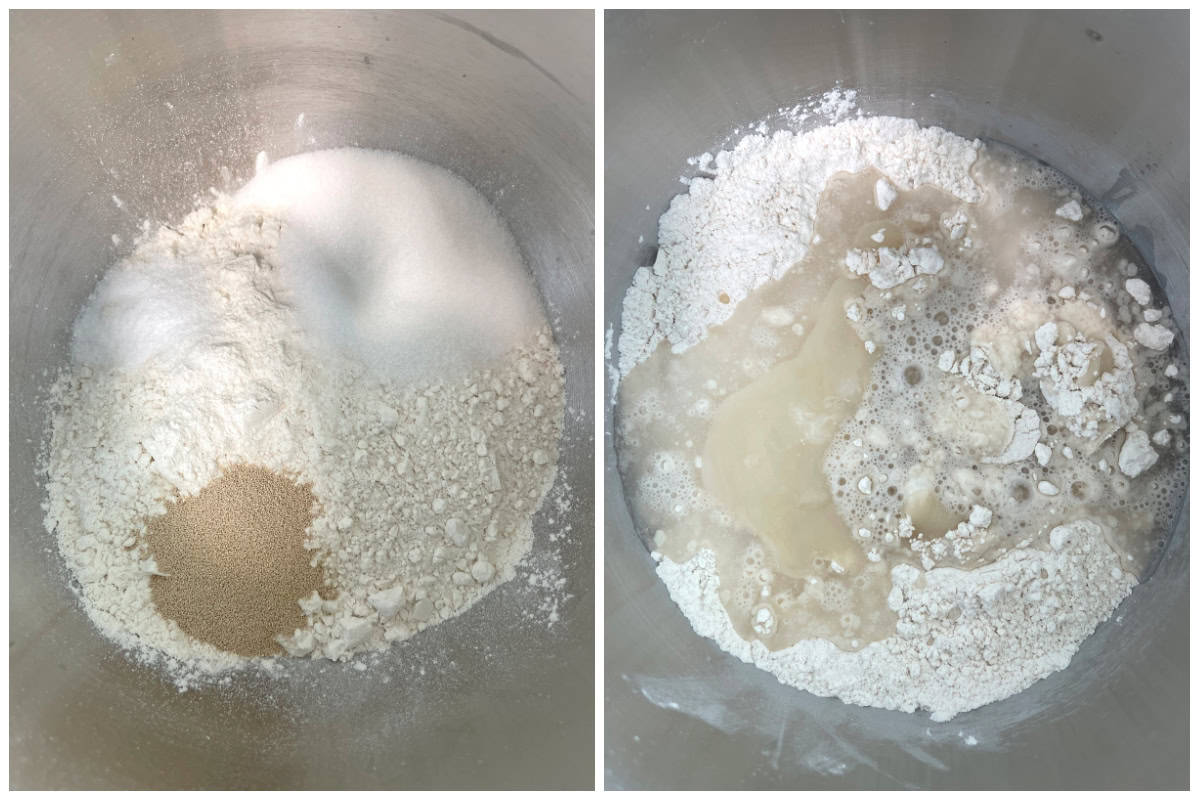
Knead for 4-5 minutes until the dough is soft and no longer sticky. Shape into a ball, lightly spray the bowl with oil, return the dough to the bowl, cover loosely with plastic wrap.
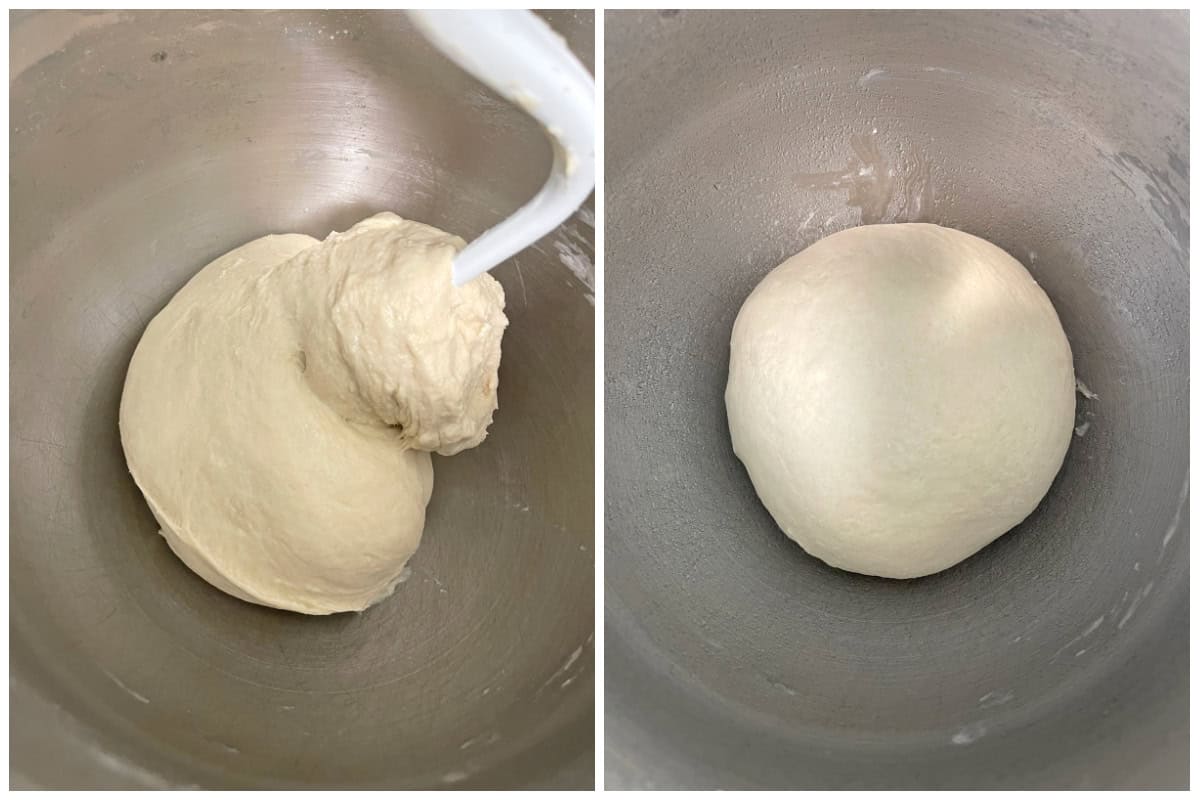
Let the dough rise in a warm place for 40-60 minutes or until doubled in size.
Punch down the dough down. Grease a 9×13 inch / 33x23cm baking pan.
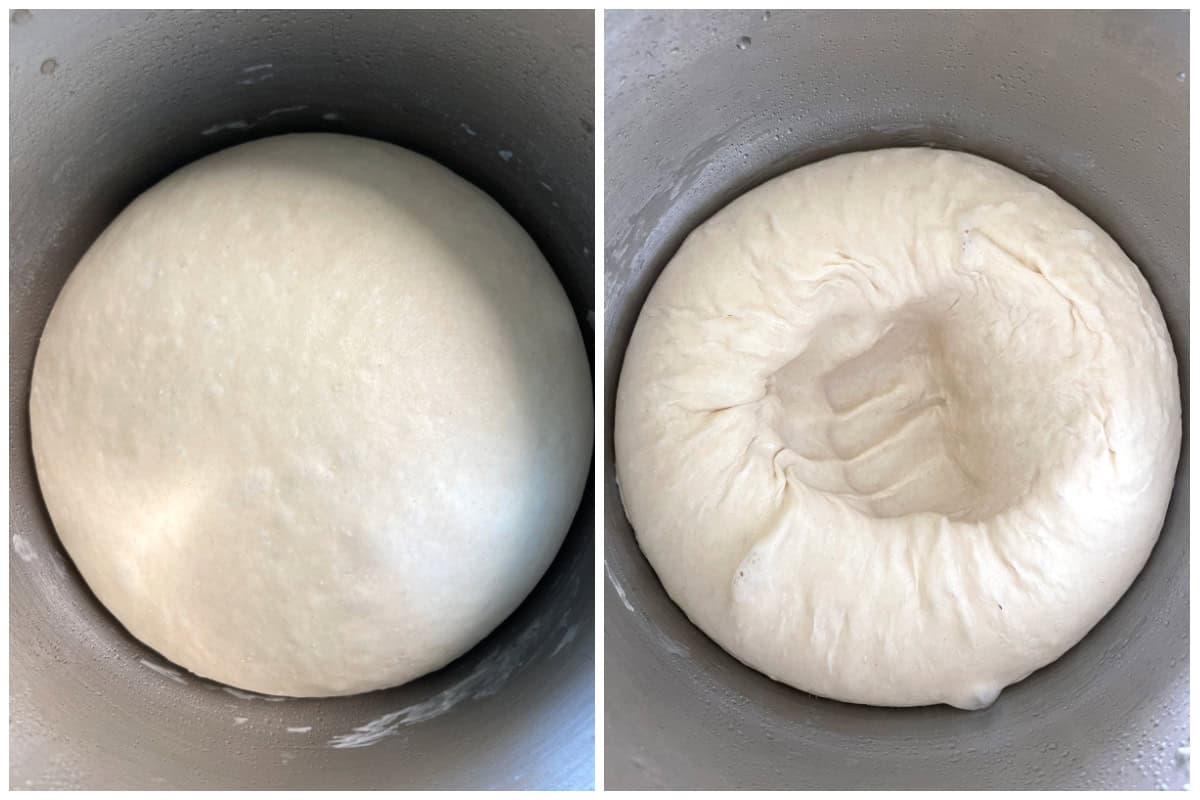
Transfer the dough to a floured work surface.
Roll the dough out into a rectangle a little larger than the baking pan.
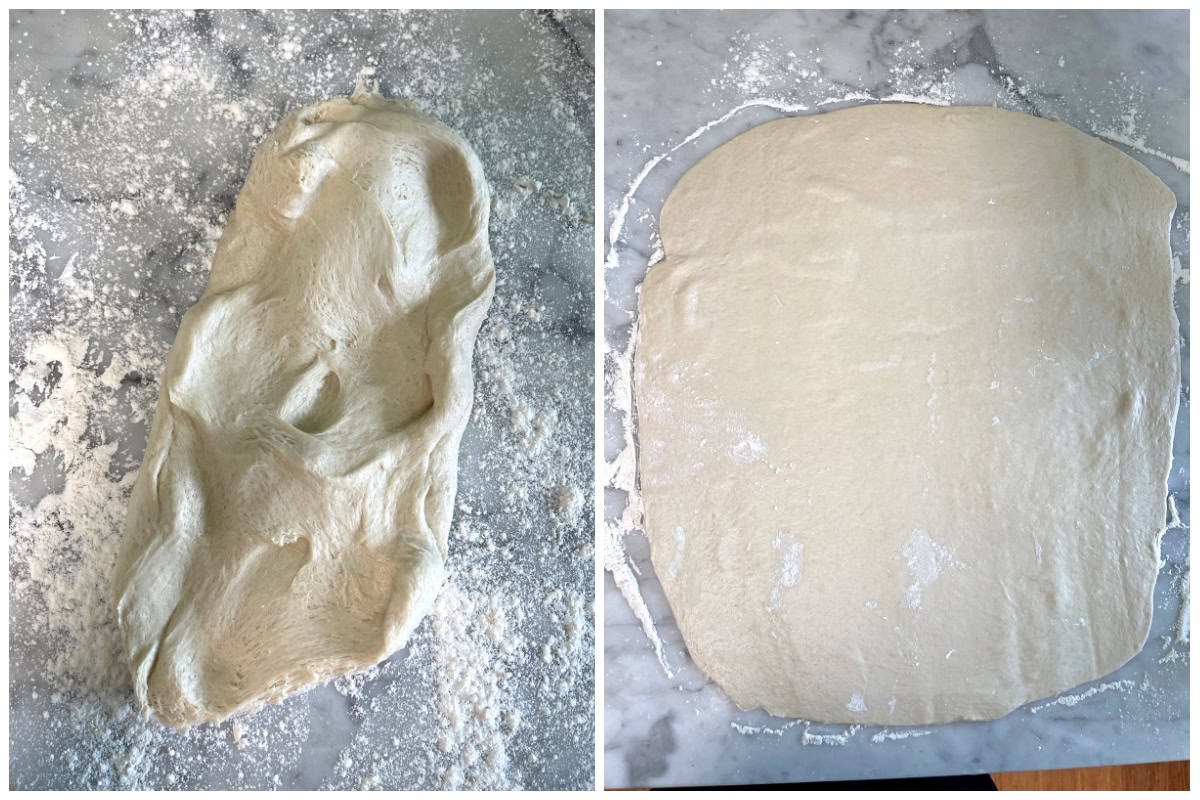
Spread lard thickly onto the entire surface of the dough.
Sprinkle the dried fruit onto 2/3 of the length of the rectangle.
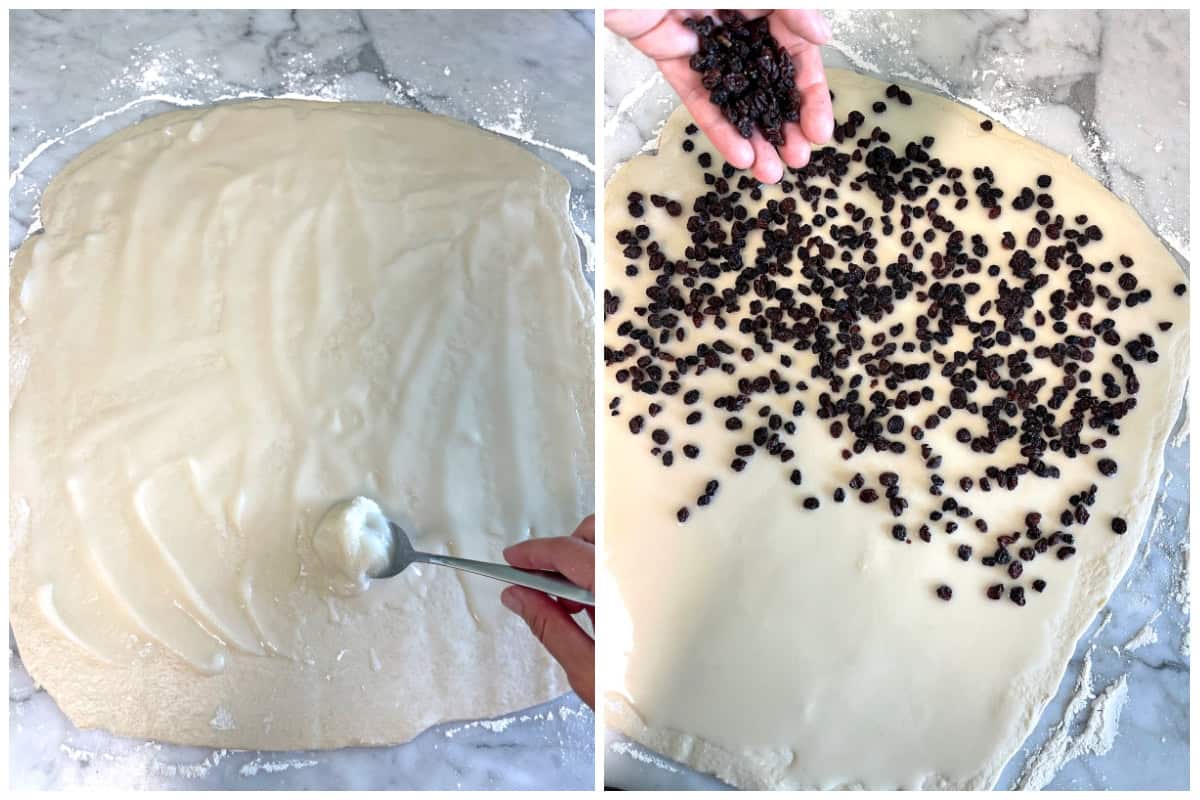
Sprinkle the sugar onto about 2/3 of the length of the rectangle followed by the mixed spice.
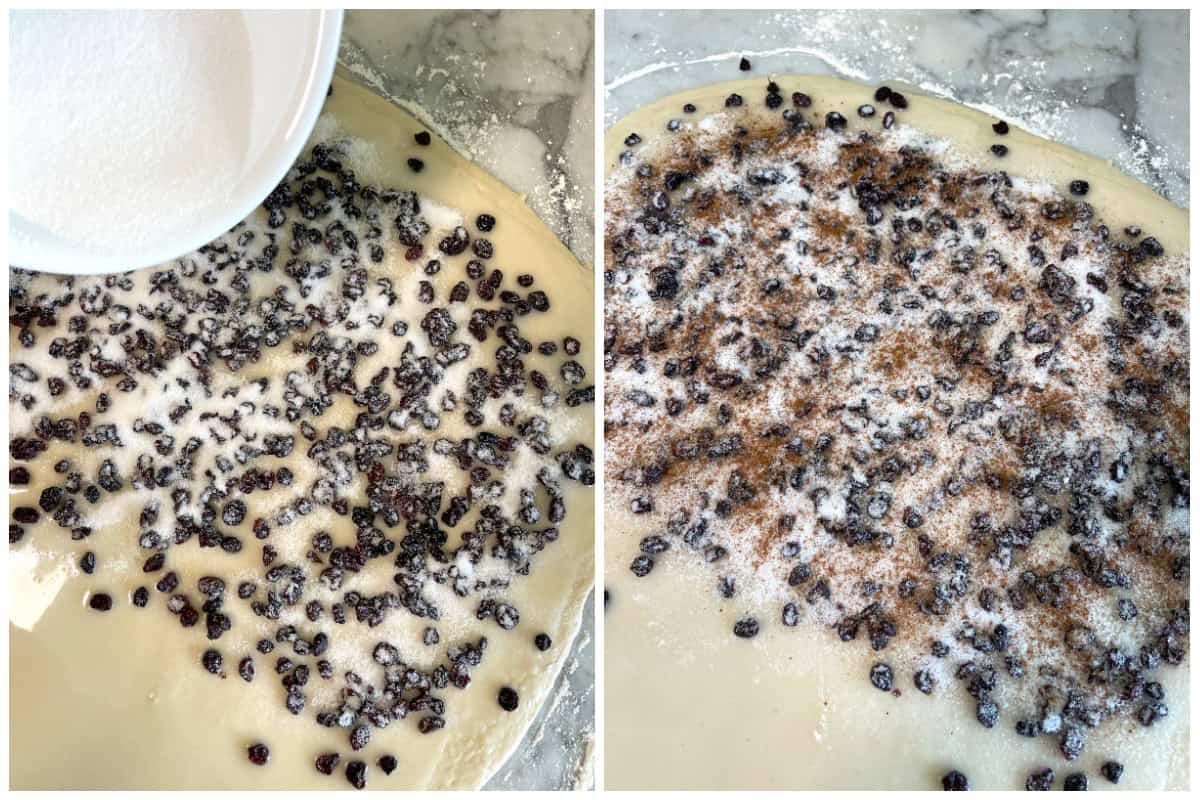
Taking the short end of the rectangle, fold it into the center.
Fold the other side on top of the other fold so the rectangle is folded into thirds like a letter.
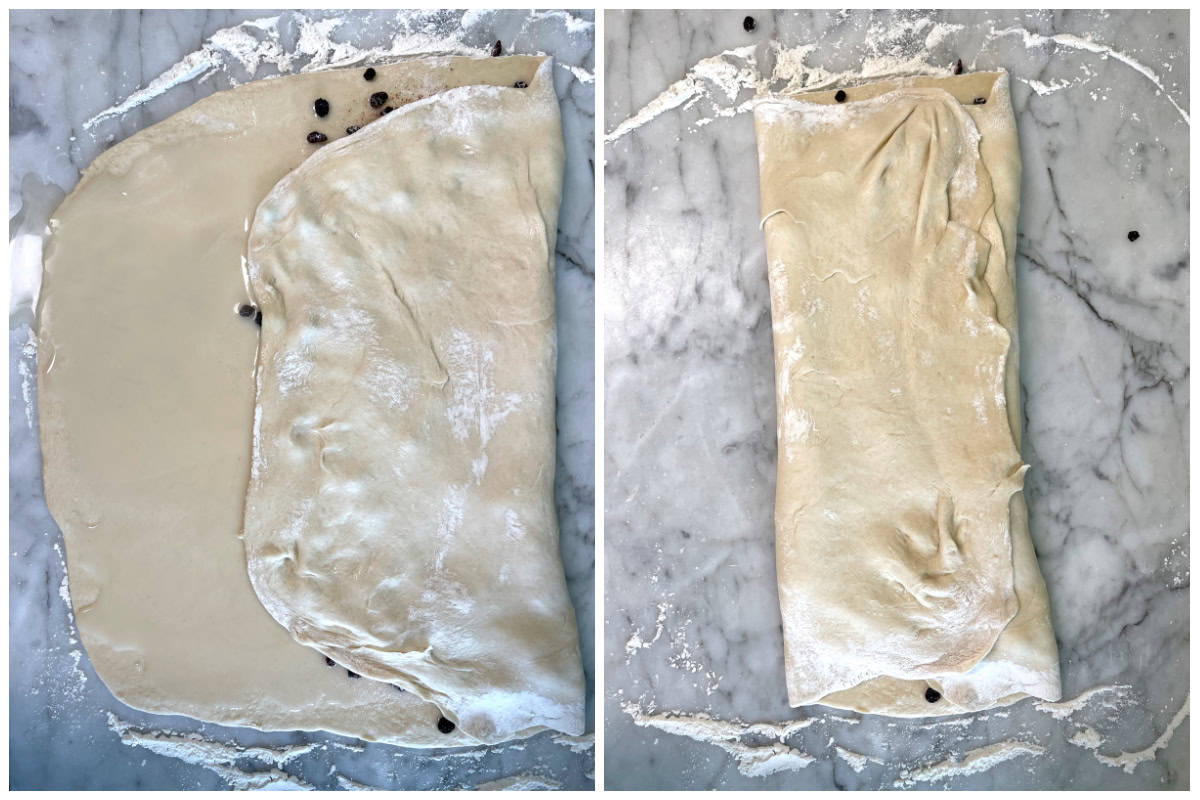
Fold the top of the rectangle down to the center and then fold the bottom up.
Gently flip the dough over so the folds are on the bottom.
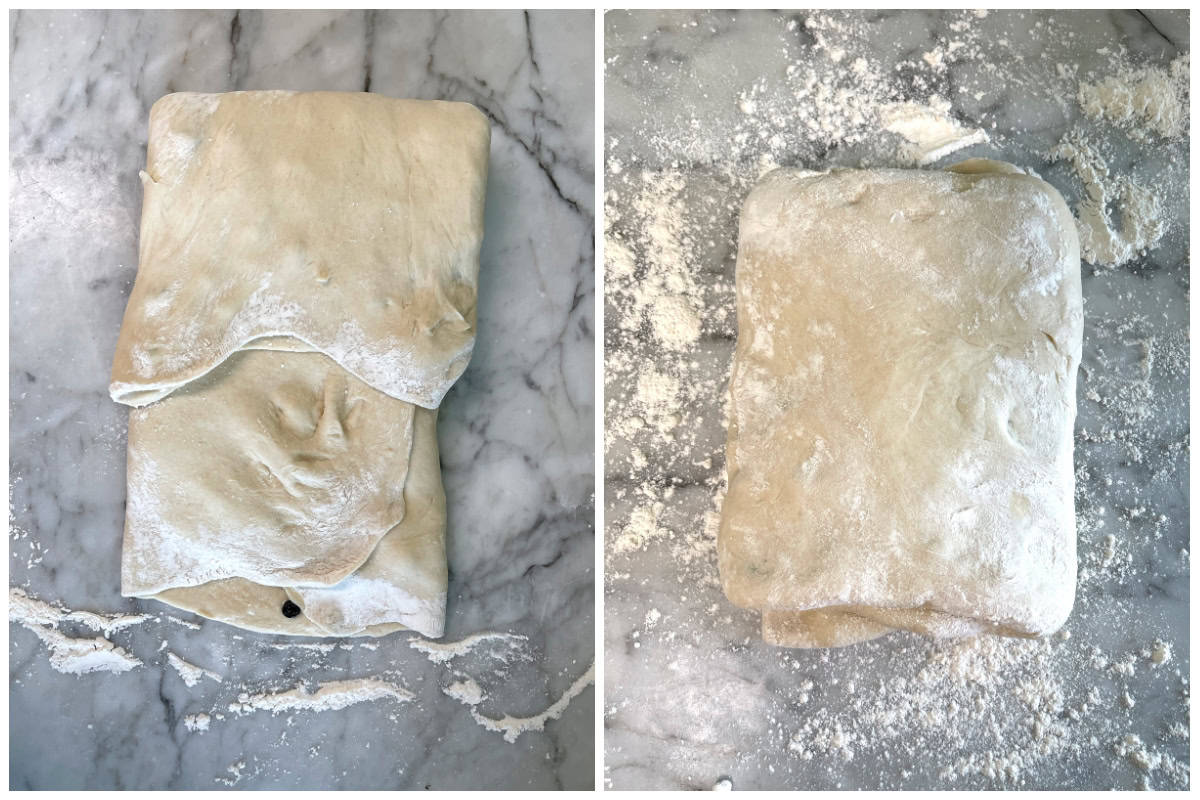
Roll the dough out into a rectangle, this time a little smaller than the size of the baking pan, being careful not let the dried currants rip through the dough (if this happens, it’s okay). Repeat the folding pattern, flip the dough over, and roll into a rectangle the size of the baking pan.
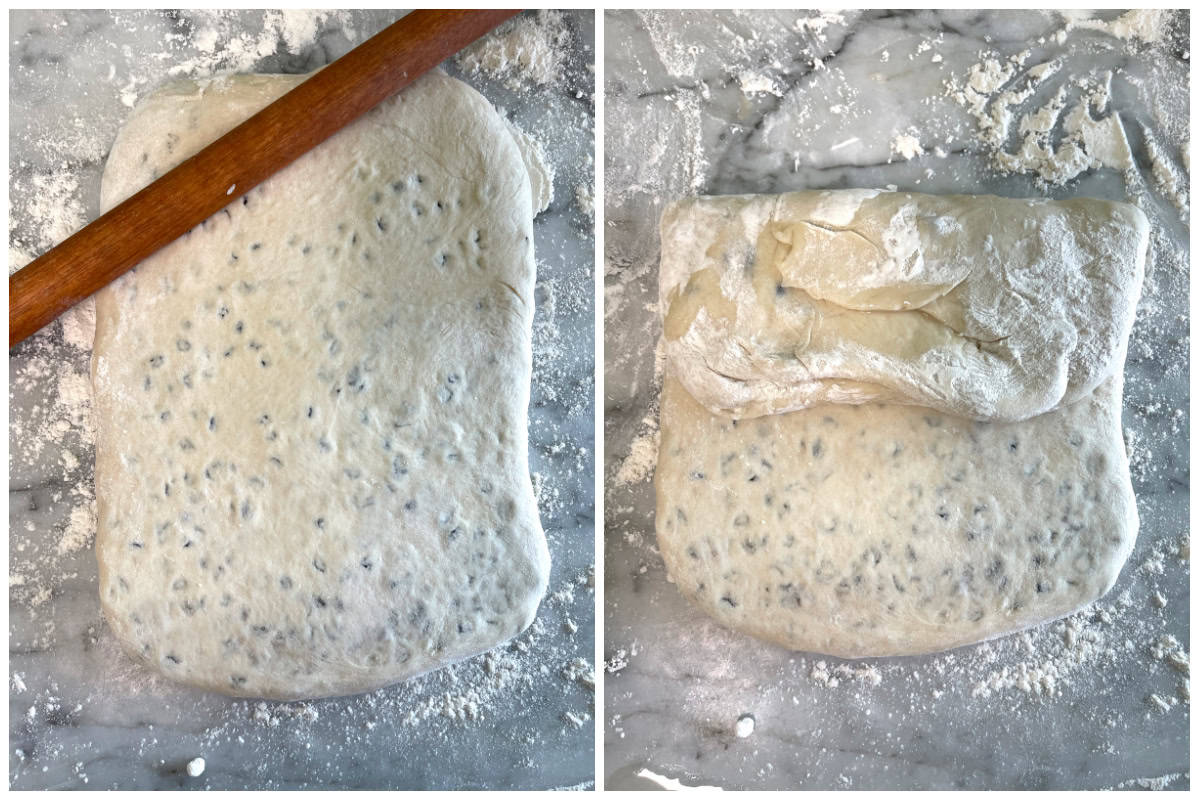
Cover loosely with plastic wrap and let it rest for 10 minutes.
Preheat the oven to 400 F / 200 C.
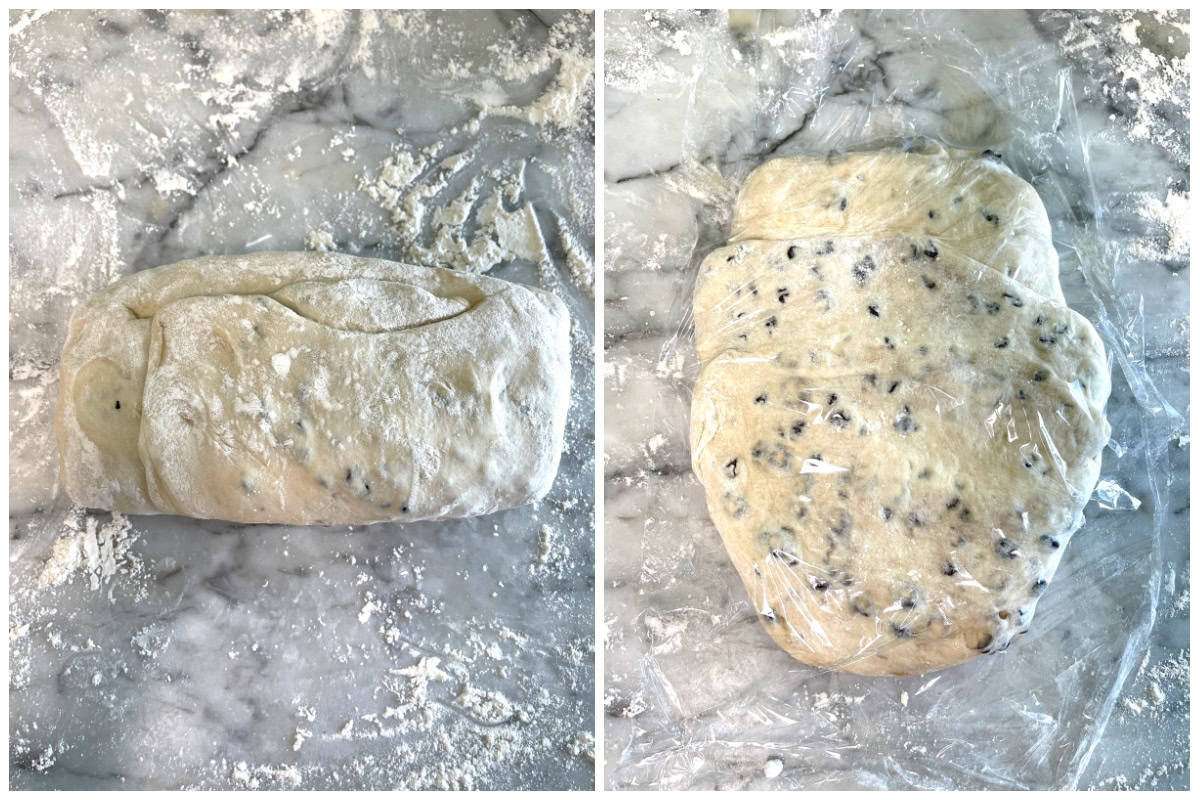
Transfer the dough into the greased baking pan, pressing it gently to fit. Cover loosely with plastic wrap and let it rise in a warm place for 40-60 minutes or until nice and puffy.
Use a dough scraper or knife to cut through the dough down the center lengthwise.
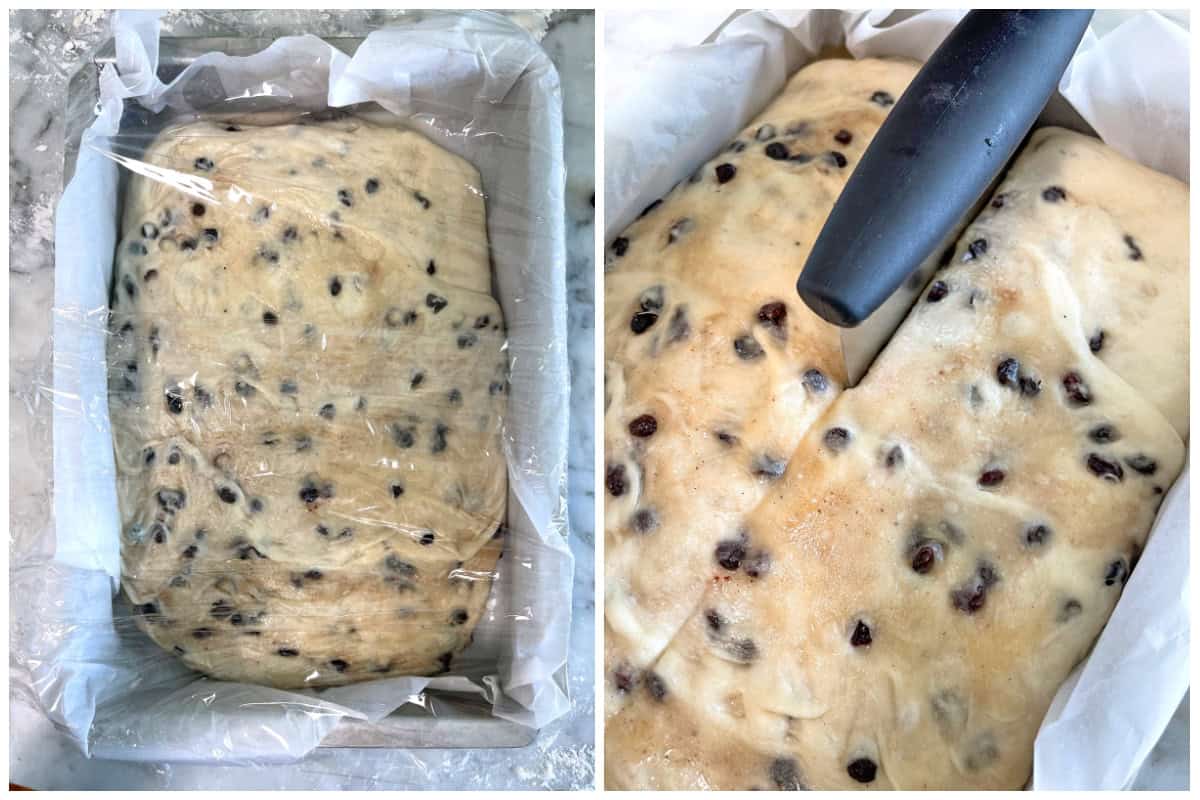
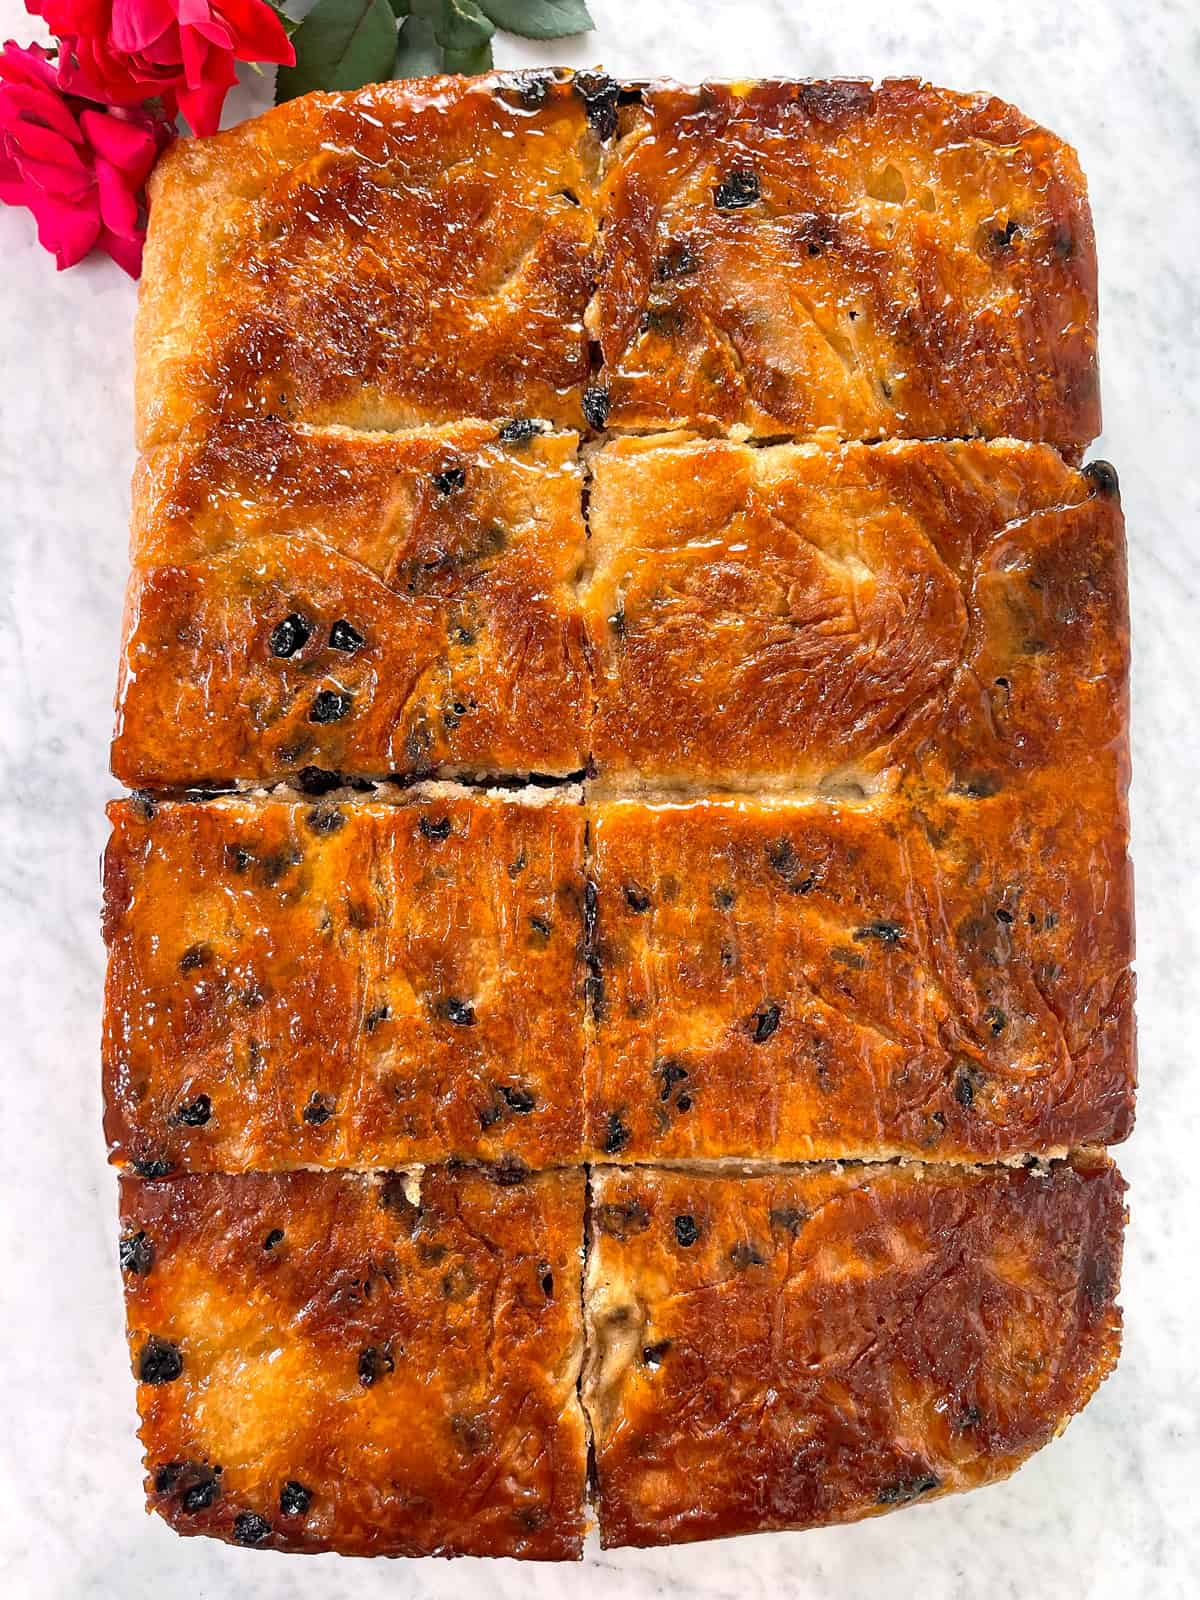
Then cut across the dough to make eight equal sized pieces.
Pick off any fully exposed currants (otherwise they will burn).
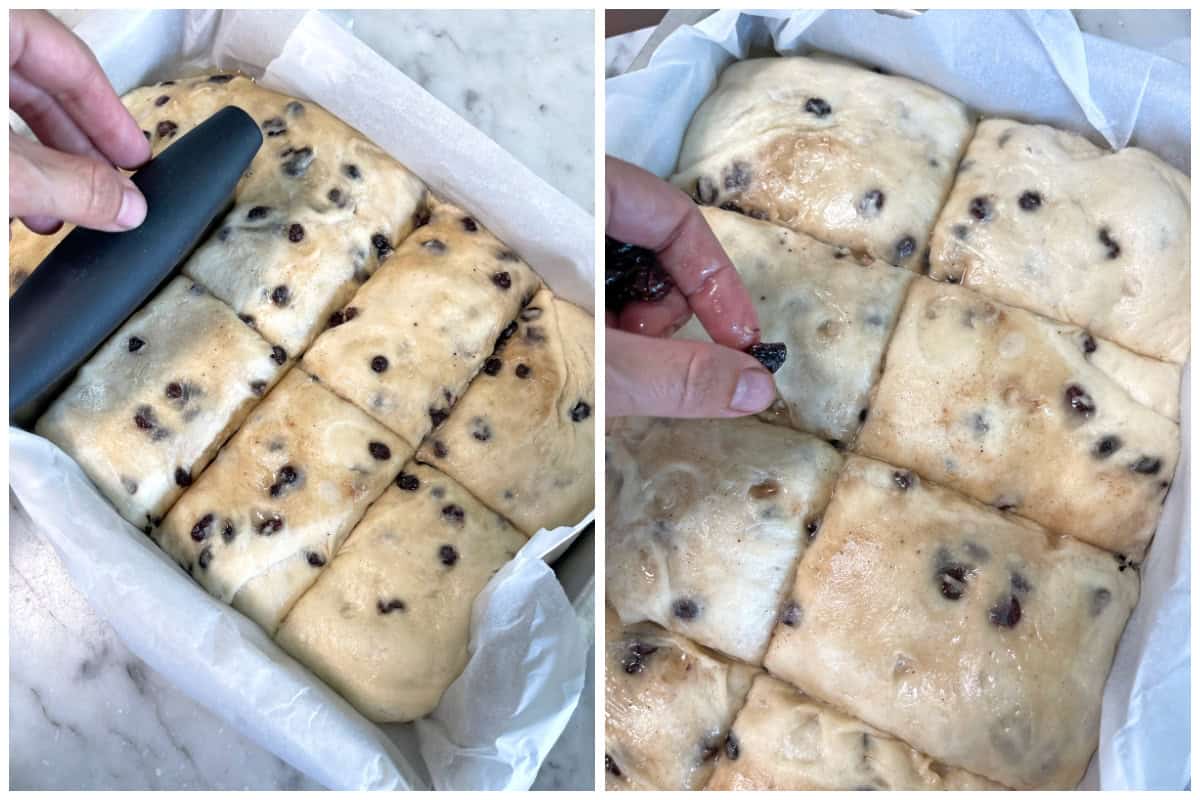
Bake the lardy cake for about 30-40 minutes or until it is a deep golden brown.
Remove from the oven and prepare the glaze by stirring the water and golden syrup together in a small bowl.
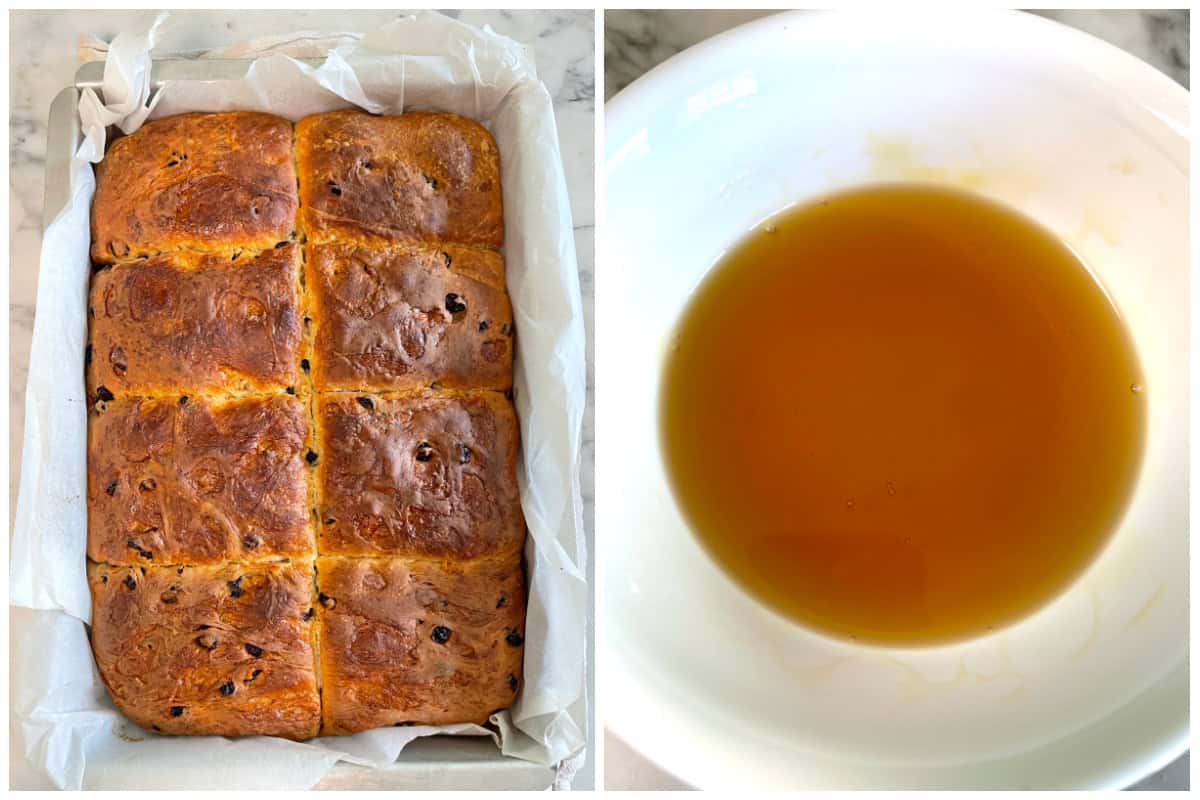
Brush the hot lardy cake with the glaze. Let it sit for about 10 minutes and then invert the cake onto a baking sheet so that the bottom of the cake is now on top.
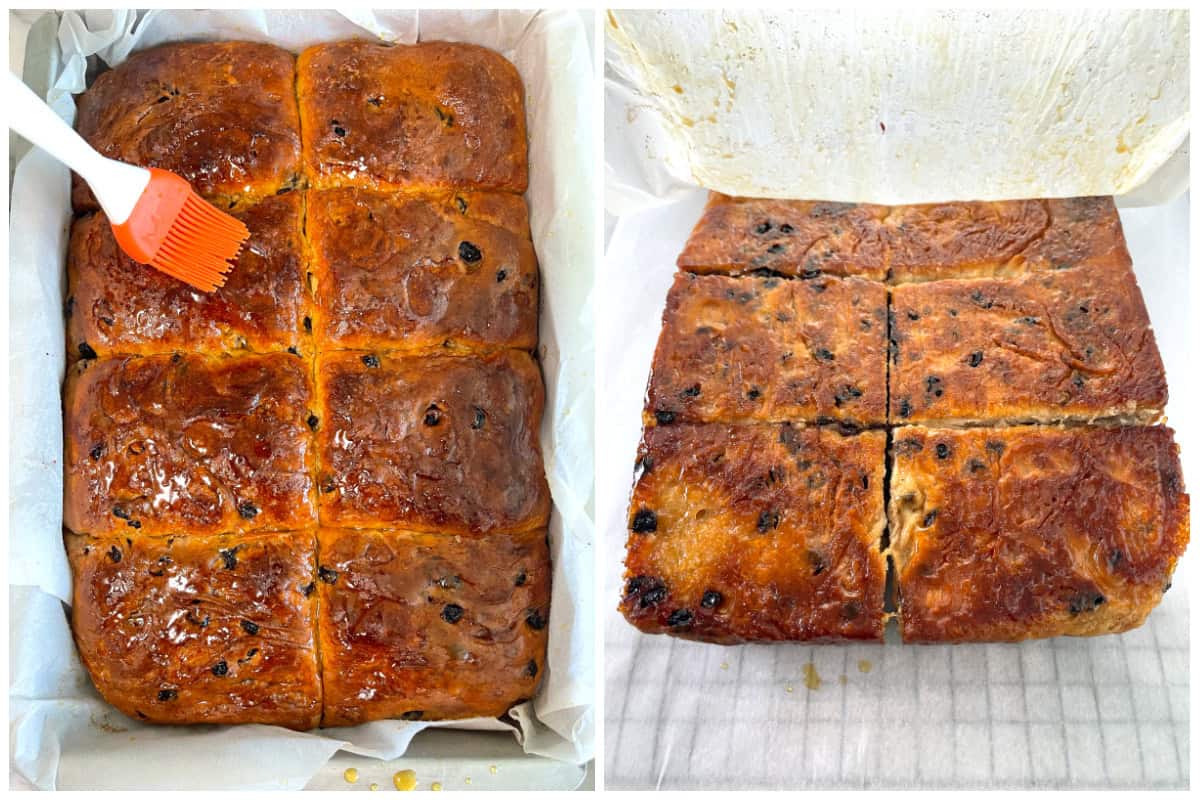
Let the cake cool.
Cut the pieces and serve.
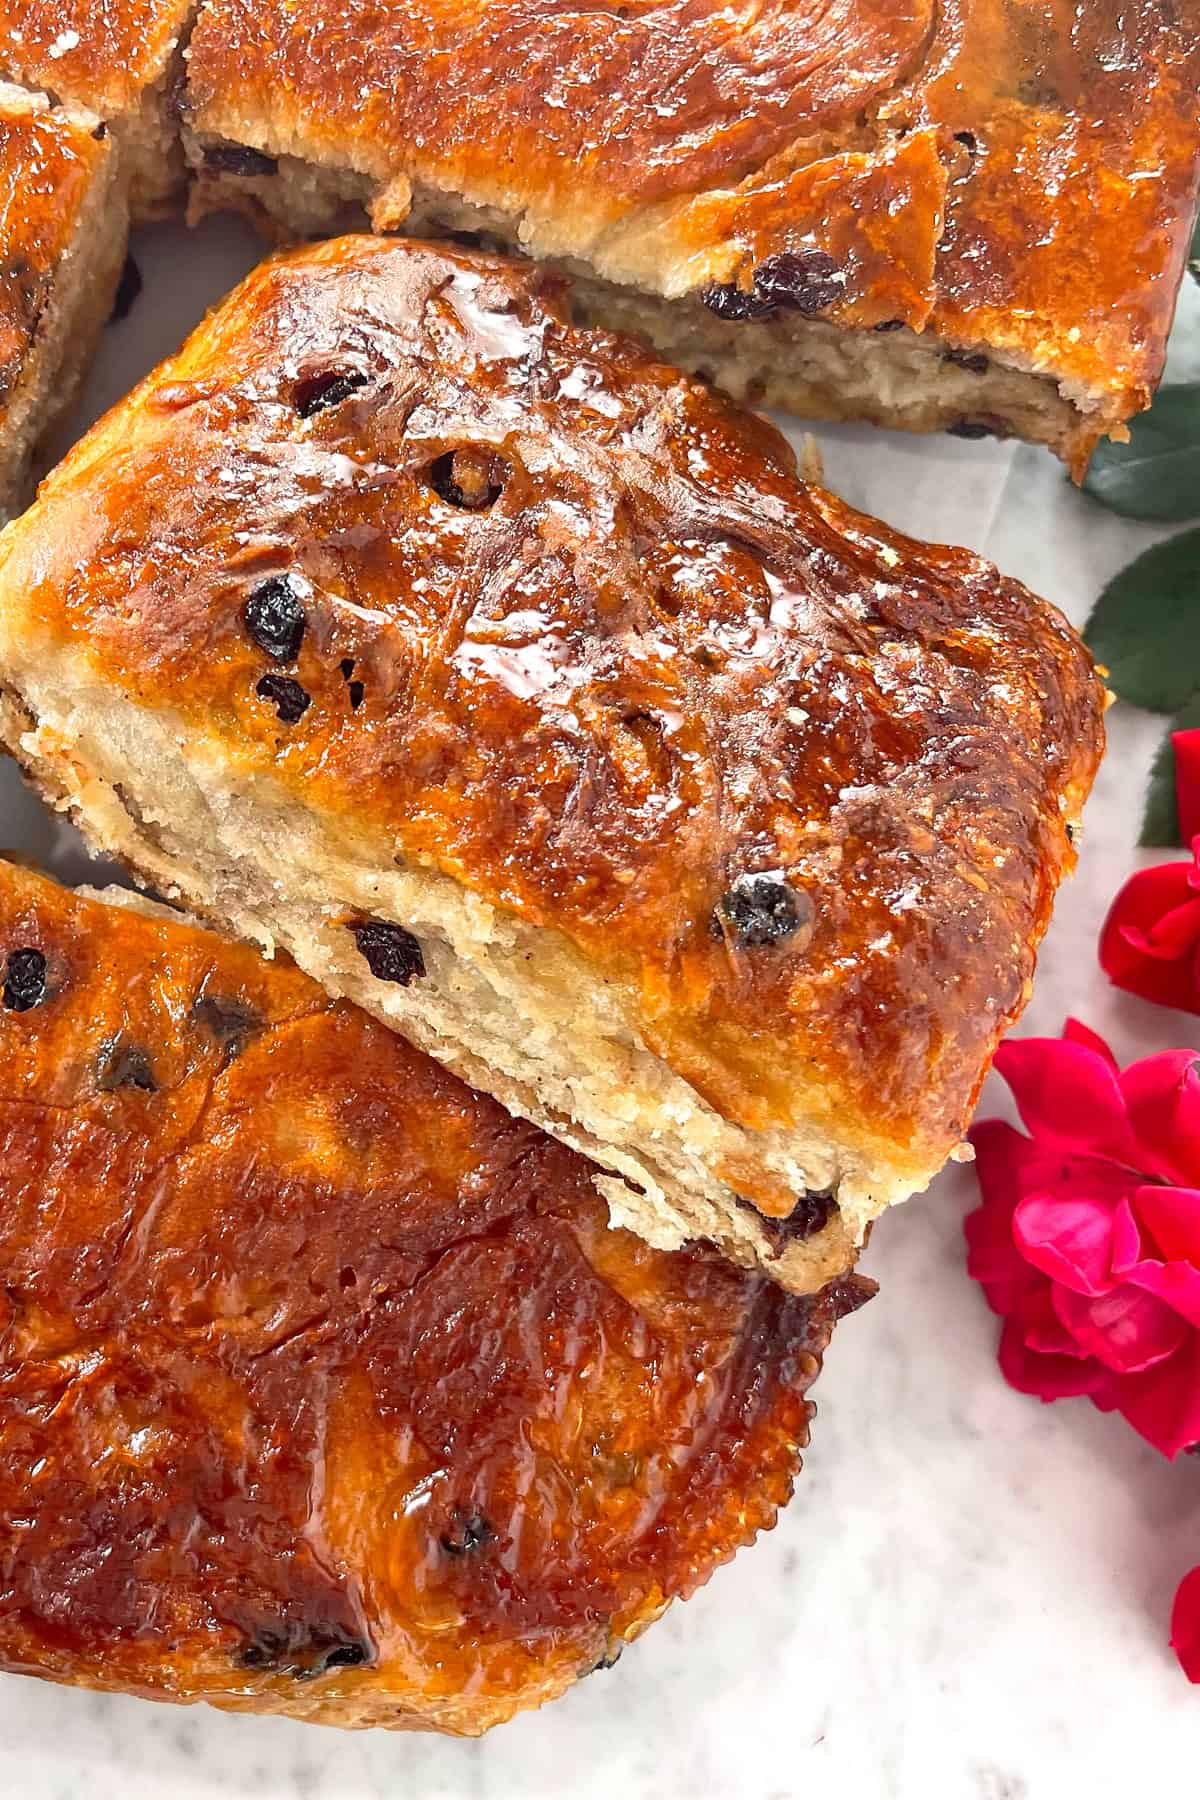
Store the lardy cakes in an airtight container at room temp. They are best eaten within a day or two but will keep for a few days. They can also be frozen.
Enjoy!
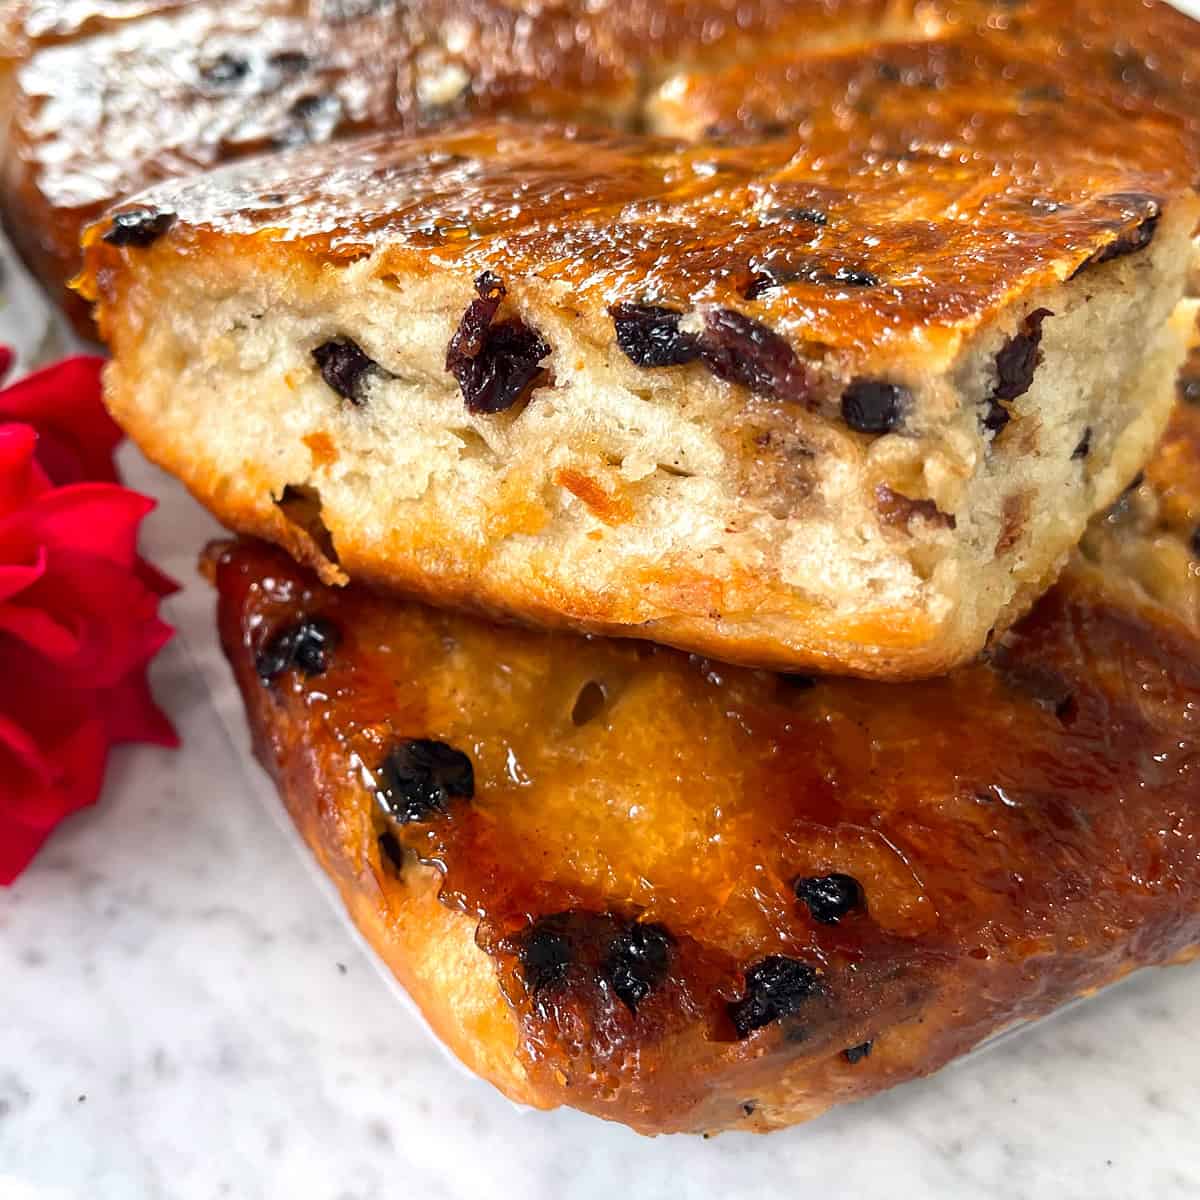
For more traditional British bakes be sure to try my:
- Treacle Tart
- Sticky Toffee Pudding
- Spotted Dick
- Cornish Fairings
- Victoria Sponge Cake
- Welsh Cakes
- Mince Pies
- Chelsea Buns
- Seed Cake
- Scottish Shortbread
- Flapjacks
- Bara Brith
- Parkin
- Eccles Cakes
- Crumpets
Save This Recipe

Traditional Lardy Cake
Ingredients
- For the Dough:
- 3 1/2 cups bread flour or all-purpose flour
- 1/4 cup sugar
- 2 1/4 teaspoons instant yeast
- 1 teaspoon kosher salt
- 1/4 cup pure lard
- 1 cup lukewarm water , plus more as needed
- For the Filling:
- 1 cup pure lard (click link for recipe – it's super easy!)
- 1 cup sugar
- 2 teaspoons mixed spice
- homemade mixed spice (click link for recipe)
- 1 1/4 cups dried currants (aka zante raisins)
- 3 tablespoons finely chopped candied orange/lemon peel , optional (click link for recipe – homemade makes ALL the difference)
- For the Glaze:
- 2 tablespoons water
- 2 tablespoons golden syrup
- homemade golden syrup
Instructions
- In the bowl of a stand mixer fitted with a dough hook, add the flour, sugar, yeast, salt, lard and water. Knead for 4-5 minutes until the dough is soft and no longer sticky. Shape into a ball, lightly spray the bowl with oil, return the dough to the bowl, cover loosely with plastic wrap, and let rise in a warm place for 40-60 minutes or until doubled in size.
- Grease a 9×13 inch / 33x23cm baking pan. Punch down the dough and transfer it to a floured work surface. Roll the dough out into a rectangle a little larger than the baking pan. Spread lard thickly onto the entire surface of the dough. Sprinkle the dried fruit onto about 2/3 of the length of the rectangle followed by the sugar and mixed spice. Taking the short end of the rectangle, fold it into the center. Fold the other side on top of the other fold so the rectangle is folded into thirds like a letter (see blog post pictures for visuals). Fold the top of the rectangle down to the center and then fold the bottom up. Gently flip the dough over so the folds are on the bottom. Roll the dough out into a rectangle, this time a little smaller than the size of the baking pan, being careful not let the dried currants rip through the dough (if this happens, it's okay). Repeat the folding pattern, flip the dough over, and roll into a rectangle the size of the baking pan. Cover loosely with plastic wrap and let it rest for 10 minutes.
- Preheat the oven to 400 F / 200 C. Transfer the dough into the greased baking pan, pressing it gently to fit. Cover loosely with plastic wrap and let it rise in a warm place for 40-60 minutes or until nice and puffy. Use a dough scraper or knife to cut through the dough down the center lengthwise. Then cut across the dough to make eight equal sized pieces. Pic off any fully exposed currants (otherwise they will burn).
- Bake the lardy cake for about 30-40 minutes or until it is a deep golden brown. Remove from the oven and brush with the glaze. Let it sit for about 10 minutes and then invert the cake onto a baking sheet so that the bottom of the cake is now on top. Let the cake cool, cut the pieces and serve. Store the lardy cakes in an airtight container at room temp. They are best eaten within a day or two but will keep for a few days. They can also be frozen.


This was as good or better as any I’ve in eaten in the UK. I’m too lazy to render lard, so I used the leaf lard that I buy, from of all places, Etsy.
Thank you so much, Toni, I’m thrilled that you enjoyed it and appreciate the feedback!
Hello there, I just wanted to say that I was absolutely delighted to come across your recipe. I’m from England and you’re right the lardy cake doesn’t travel past West Sussex. I’m from Hampshire (the shires are traditional pig rearing counties) and you can still get lardy cake but there’s not so much of the good stuff in it. I think that it’s due to changed and newer tastes, as well as the health aspect. I was on the Isle of Wight a few weeks back and was able to grab a slab there too. Anyhow, I just wanted to say how glorious your image looked and I’m looking forward to knocking one out this week.x
Hi Linda, thanks so much for sharing! Yes, whenever I find them I always ask if they’re actually made with lard or something else – and if it’s something else I give them a light-hearted reprimand and keep looking :) Fortunately the whole “animal fats are bad” myth has been debunked and even though it’s taking many doctors and nutritionists time to catch up to research (which is typical), more and more of them are getting on board. That’s obviously not to say that lardy cakes are healthy lol, but at least the problem isn’t the lard! :) I’d love to hear what you think about this recipe once you’ve had the chance to try it!
Every bite put a smile on my face, bringing back so many treasured memories of 60+ years ago in my grandmother’s kitchen in Salisbury. I ordered dried currants to make these, made your homemade mixed spice, and I am in heaven. Thank you, thank you Kimberley.
You are so welcome, Tom, and I am beyond thrilled that you enjoyed them and were able to relive those precious memories – thank you!
dear kimberly , can i use oil instead of lard ,in my dough mix.
if so how many tbsp.
your dripping cake is perfect just like the one, from townsends bakery in cheltenam gloucestershire
you have made an 80 year old man very happy
Dear Thomas, thank you for the compliment :) I can only imagine how delicious those drippers were from Townsends. From what I understand, lardy cake and dripping cake are very similar apart from lardy cake using pork fat and dripping cake using beef drippings. With either version though, I would not recommend substituting oil as it will produce neither the same texture nor the same flavor. Instead, you’ll end up with something more akin to Italian focaccia in texture :) If you have access to a local butcher, they should have both pork fat on hand (you’ll ant the kidney fat, also called leaf fat) that you can render very easily to make these cakes. Here is my tutorial on how to do that: https://www.daringgourmet.com/how-to-render-lard-and-why-you-should-use-it/
I worked for a bakery that allegedly did one of the best lardies in the south of Oxfordshire. My suggestion from the recipe I know is that they used a soft roll dough (10 oz – 250-300g) but the lard and sugar was ‘creamed’ before use. One 6 oz ball of lard/caster sugar was used per lardy cake. You roll out the dough into an oblong then add bits of the lard/sugar mix to the dough with the fruit then fold over to seal in the contents. Double over then carefully press out as described here. I am not sure what Lard was used for these but the final lardy was baked in a very hot oven (230’C) for twenty minutes in a round ‘cottage loaf’ pan then taken out and inverted on a tray to contain the lard as it runs out. Take tin off and leave to cool.
Thank you so much for sharing those insights, Dean. Next time I’ll experiment with creaming the lard and sugar and see how that impacts the final result.
This is an excellent recipe. We have made it multiple times and it’s been great every time.
I’m thrilled to hear that, thank you so much Robert!
Ah well done Kimberley, you’ve done us proud on this one. The flavour and texture were spot on, it took me back many many years to Grandmum’s kitchen.
I’m so happy you enjoyed this, Rod, thank you very much for the kind feedback!
I really enjoyed this post about lardy cake. I always appreciate the time and effort you put into researching and presenting your recipes in an informative and engaging way. I’ve never made my own lard before but you’ve convinced me to try, if only to make this recipe. Keep up the great work, Kimberley.
Thank you, John, I really appreciate that! Happy baking! :)
So scrummy! I had these many years ago in Wiltshire and what a walk down memory lane this was. From your delightful writeup to your detailed step by step recipe complete with pictures, I thoroughly enjoyed this one. This is a very authentic recipe for a very traditional, old-time English bake. And I loved it. Thank you, Kimberley xx
Thank you so much for the feedback, Cynthia! I’m thrilled that you enjoyed them and the walk down memory lane <3
I made this largely out of curiosity and I am grinning even now as I’m writing this. It is delicious!! I ordered the dried currants and even rendered the lard (using your very helpful tutorial) and no, I didn’t hold back on liberally applying the lard :) I was well rewarded. I’m not sure that I’ll be making this too often (I don’t want to break the bathroom scale) but as an occasional indulgence, absolutely, and I look forward to making it again.
Oh I’m so glad, Cori! I’m thrilled that you decided to try it and that you enjoyed it, thank you so much! And agreed, some things should definitely be enjoyed in moderation :)
Oh Kimberly, just WOW! I love, LOVE these old traditional bakes and the effort you make to revive them and to provide us with the interesting backstories and details. I have never had lardy cake before but I’ve heard of it and had always been curious. The moment I saw this I knew I had to make it. And fortunately I already had a batch of rendered lard on hand because I’ve been making it for a couple of years now, thanks to your tutorial on how to make it. I let the lardy cake bake to a nice rich deep golden like yours and the caramelized outer crust with the tender interior was fabulous. Such a lovely flavor too. Thank you!!
I’m absolutely thrilled that you enjoyed it, Marissa, thank you so much for the feedback and for the compliment! <3
Beyond chuffed to see this and can’t wait to make it. It looks incredible!
Thank you, Clarissa, I hope you enjoy it! Happy baking! :)
This makes me so very happy! :) I adore a good lardy cake and based on my experience with many of your recipes I’ve no doubt this is going to be exquisite. Keep these traditional favorites coming, Kimberly!
Thanks so much for the compliment, Margaret! Happy baking! <3