
How To Make Yogurt

This post may contain affiliate links. See my disclosure policy.
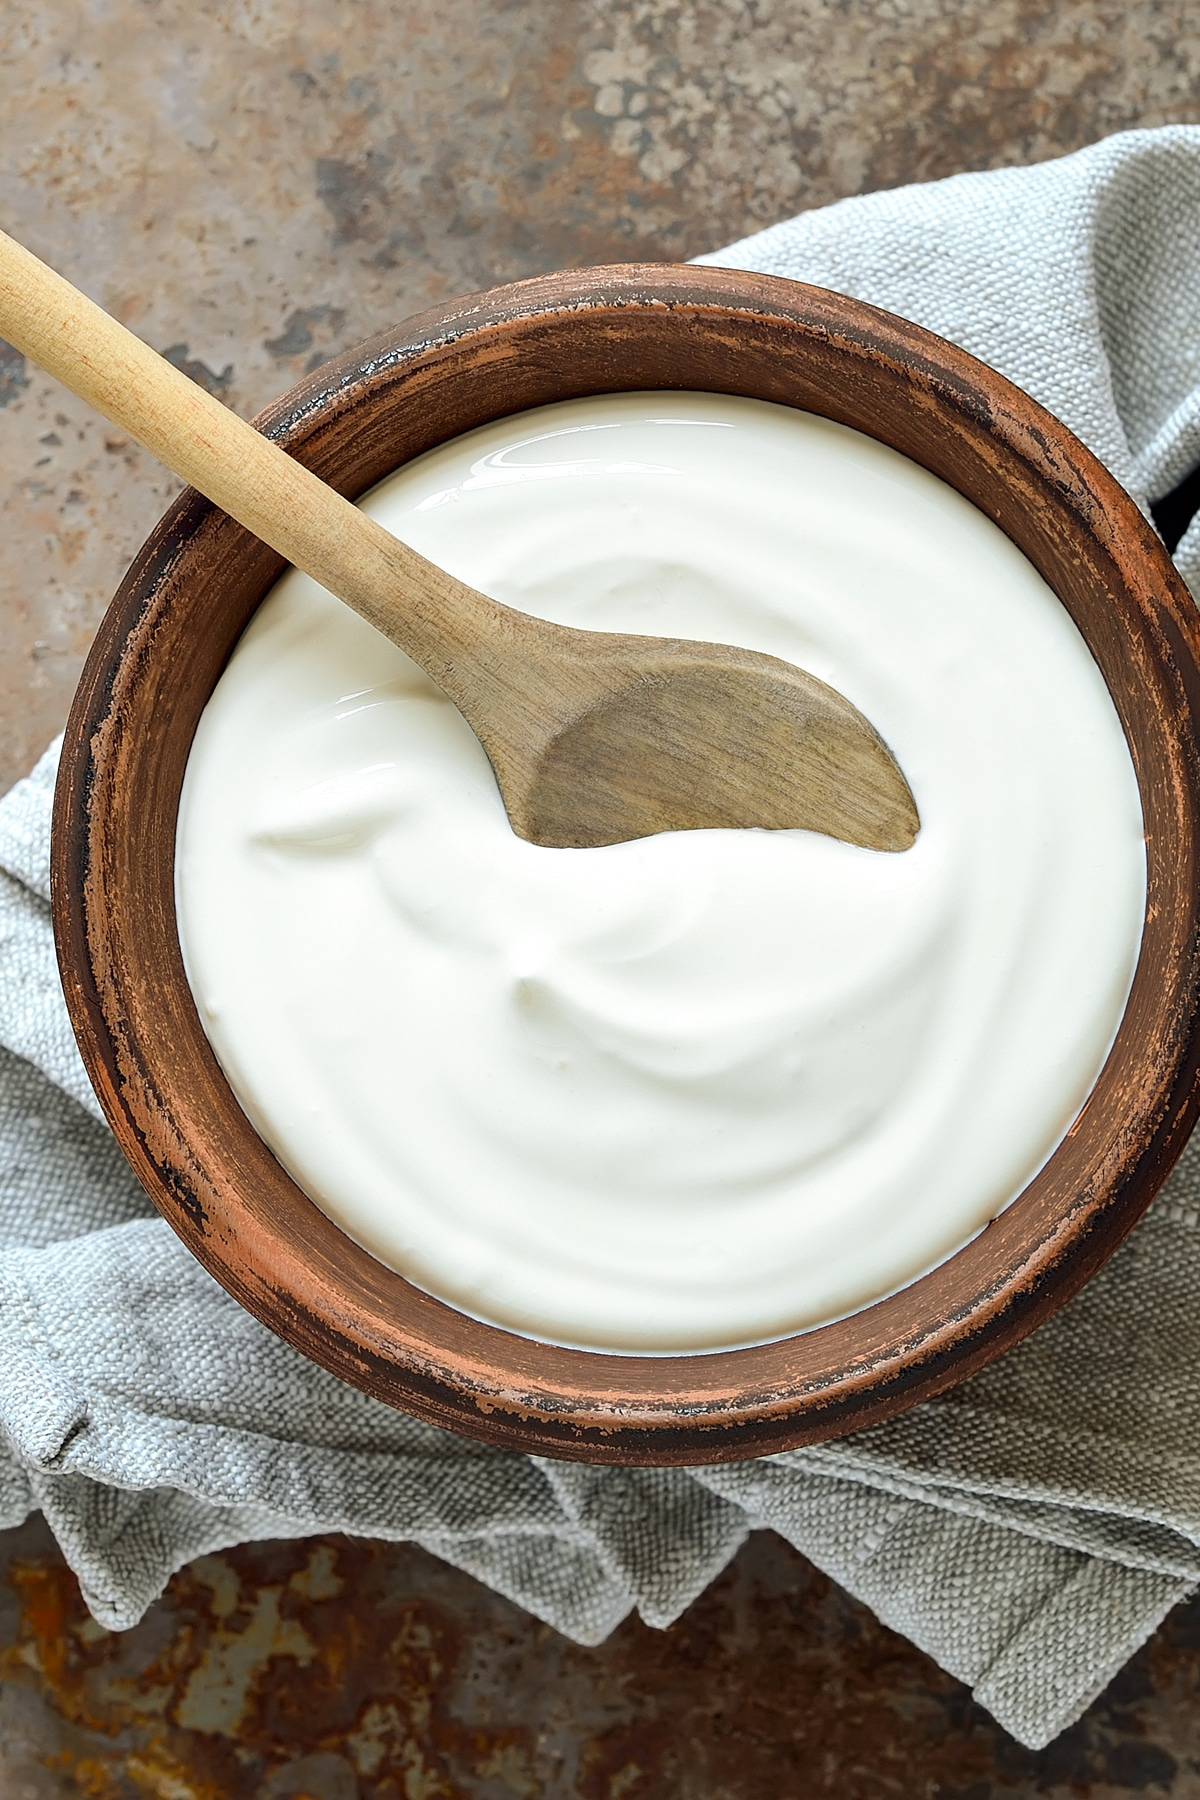
Whether you’re making regular or Greek yogurt, it’s time to learn How to Make Yogurt! It’s incredibly easy, requires virtually no prep work and the outcome will amaze you: Wonderfully thick, creamy, luxuriously delicious yogurt! This homemade yogurt recipe is SO good and SO easy, you’ll NEVER need to buy store-bought again!
Easy Homemade Yogurt
How long does it take to pour a gallon of milk into a slow cooker? That’s about how much hands-on prep time is involved in making this gloriously thick, rich, and creamy homemade yogurt! Making yogurt at home is surprisingly easy, economical, and gives you complete control over the ingredients and consistency. I’ll show you how to make regular yogurt or thick and creamy Greek yogurt. The choice is yours.
Why Make Your Own Yogurt?
I can’t remember the last time that I bought yogurt. I’ve been making my own yogurt for at least 10 years now and I love homemade yogurt because:
- It tastes great
- It costs less
- It contains live and active cultures
- I have full control over the ingredients and thickness
Making your own yogurt is easy and once you’ve gotten the hang of it you’ll likely never buy yogurt again either!
Homemade Yogurt Ingredients and Equipment
- Milk: For the richest, creamiest results, I recommend whole milk, although 2% and skim milk can also be used.
- Plain yogurt (as a starter culture): There is no need to buy a special yogurt starter culture. You can either use store-bought plain yogurt containing live cultures or a cup of yogurt from your previous homemade batch. If using store-bought be sure to check the label on the container confirm that it has l. bulgaricus and s. thermophilus in it. These live cultures are necessary in order for your yogurt to set.
- Cheesecloth: You’ll this for straining the yogurt. I use and recommend this cheesecloth because it’s 100% unbleached cotton, is high grade, is very durable for multiple uses, and you get a ton of it. Overall it’s the best value I have found for the quality.
- Thermometer: You’ll need a thermometer to check the temperature. Heating the milk to right temperature and then reducing it to the right temperature are both critical to the success of your yogurt.
- Large Pot or Slow Cooker: I like to use a slow cooker because of the hands-off convenience, bou can use either and I’ve provided instructions for both.
- Colander: You’ll need a colander for straining the yogurt through the cheesecloth. I like and use this one that hangs over the sink.
Slow Cooker vs. Stovetop: Which Is Better?
You can use either with great success. The best choice comes down to how much time you have and how hands-on you want to be.
Slow Cooker Method
Pros: The slow cooker heats the milk slowly and gently, which reduces the risk of scorching. It’s also wonderfully hands-off. You can let the milk heat over the course of a few hours while you go about your day.
Cons: It takes considerably longer to heat the milk than it does on the stovetop. Of course, that’s only a disadvantage if you’re in a hurry!
Stovetop Method
Pros: The stovetop method is much faster. You can bring the milk up to temperature relatively quickly, then simply wait for it to cool before adding the starter culture.
Cons: It requires more attention. As the milk gets hotter, you’ll need to stir it regularly to prevent scorching because the milk can burn surprisingly quickly if you’re not watching it.
Which method do I prefer? I’ve used both methods with success but I generally reach for my slow cooker because I love the hands-free convenience. I can plug it in and let the milk slowly heat while I go about my daily tasks.
Why Do You Have to Heat the Milk to 180°F?
A question you may be asking is, if I’m using store-bought pasteurized milk, do I need to heat it to 180 degrees or can I just skip that step? Even though grocery-store milk is already pasteurized, you should still heat it to approximately 180°F, then allow it to cool to around 110°F before adding the starter culture. Why? Because heating isn’t just about eliminating unwanted bacteria. High heat changes the structure of the milk proteins, helping the yogurt develop a thicker texture. I tested this myself. When I heated the milk to only a little over 110°F before adding the starter, it barely thickened. When I heated it to 180°F first, cooled it to 110°F, and then added the starter, it thickened beautifully. So don’t skip this step if you want reliably thick yogurt.
What is Whey?
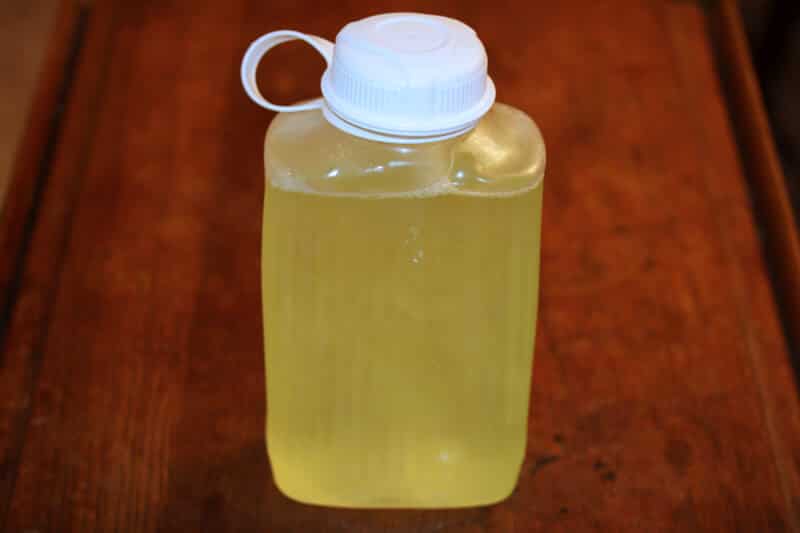
That yellowish liquid that’s left over after you strain the yogurt….that’s called whey. When making homemade yogurt, you’ll always end up with some whey as a by-product. The longer you strain the yogurt, the thicker it will get, the more whey it will yield. If you strain it to full capacity for an extra thick Greek yogurt, you’ll end up with about 8 cups of whey, but every batch will be different.
Whey is milk minus the fats and solids. It’s basically water with lactose and protein. And it’s the protein that’s the valuable ingredient here. Milk contains two types of protein, casein and whey. Most of the casein ends up in the yogurt and the whey is in the liquid by-product.
How to Use Leftover Whey
Whey is a good source of protein and is used in powdered form in protein shakes and protein bars. But how can you this leftover liquid whey? Here are a few ideas:
- Soups and broths: Use whey in place of some of the water for additional flavor.
- Bread and baking: Substitute whey for water in bread dough and certain baked goods.
- Smoothies: Add some to your favorite smoothie for a protein boost.
- Gardening: Because whey is acidic, appropriately diluted amounts can be used around acid-loving plants to lower the pH level of the soil.
Can You Freeze Whey?
Yes, it can be frozen for up to 6 months. Freezing it in smaller portions makes it easy to thaw only what you need.
Can I Make a Smaller Batch of Yogurt?
Absolutely. This recipe uses one gallon of milk, but you can easily cut it in half and use a half gallon instead. Remember that a gallon of milk won’t produce a gallon of strained yogurt. The final yield depends on how much whey you remove (the thicker you make your yogurt, the lower the final volume) and will give you something in the ballpark of 2 quarts. Homemade yogurt can generally be refrigerated for about two weeks. If you’re making a smaller batch, just remember to reserve enough plain yogurt to start your next batch.
How to Make Greek Yogurt
You don’t need a separate recipe for Greek yogurt. The difference is simply how much whey you strain from the finished yogurt. The longer you strain it, the thicker and more concentrated it becomes. Use a cheesecloth-lined colander and simply stop straining when the yogurt reaches the consistency you like.
Help! My Yogurt Didn’t Set
Every once in a while, a batch simply doesn’t thicken. I’ve made over 60 batches, and fortunately it’s only happened to me a couple of times. But it’s nonetheless disappointing when you’re expecting thick, creamy yogurt and instead get “yogurt soup!”
A failed set can happen for several reasons. Here are some common culprits:
- The milk wasn’t heated to the proper temperature.
- The milk was too hot when the starter was added, damaging the cultures.
- The milk became too cool during incubation.
- The yogurt wasn’t incubated long enough.
- Too much or too little starter was used.
- The starter yogurt didn’t contain sufficiently active live cultures.
Because yogurt depends on living bacterial cultures, even a seemingly perfect batch can occasionally behave differently. Live bacteria can be finicky and they kind of have a mind of their own. The only thing to do is try again with a new batch. But just because it failed turning into thick yogurt doesn’t mean you can’t still enjoy it.
Don’t Throw Out the “Yogurt Soup”!
A failed, thin batch doesn’t have to go to waste. Yogurt drinks, for example, are enjoyed throughout Europe and many other parts of the world, so your failed batch may simply have given you an opportunity to make something different! Here are a few ways you can turn it into a refreshing yogurt drink:
- Sweeten it with honey or maple syrup
- Add a favorite flavored syrup
- Blend it with fresh or frozen berries or your favorite fruit
- Using it as the liquid base for a smoothie
- Or instead of a drink, use it to make a cold soup like Tarator

How to Make Yogurt
Let’s get started!
IF USING A STOCK POT INSTEAD OF A SLOW COOKER: If you’re in a hurry or don’t have a slow cooker you can use a stock pot. Simply heat the milk in a large stock pot over low to medium heat. Just be sure to stir it regularly, especially as it gets hotter, to prevent the milk from scorching. Then follow the rest of the instructions as written.
Pour the milk into the slow cooker and set it to HIGH. Go about your business, it’ll take at least 2 hours (usually longer) before the temperature’s up to 180 degrees. Use a thermometer to check the temperature.
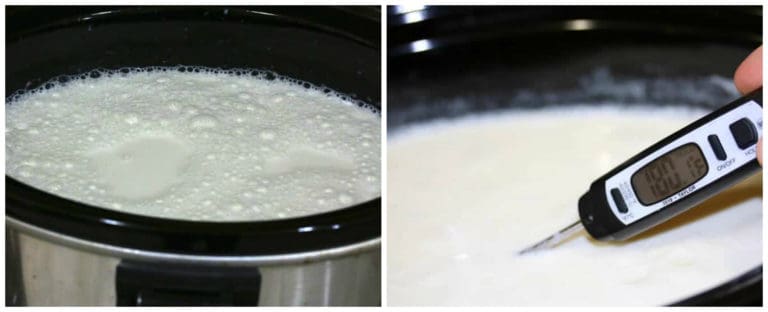
Once the temperature is up to 180 degrees, turn off the slow cooker or stove top and let the milk cool to 110 degrees F. Again, go about your business, this will take at least another 2 hours.
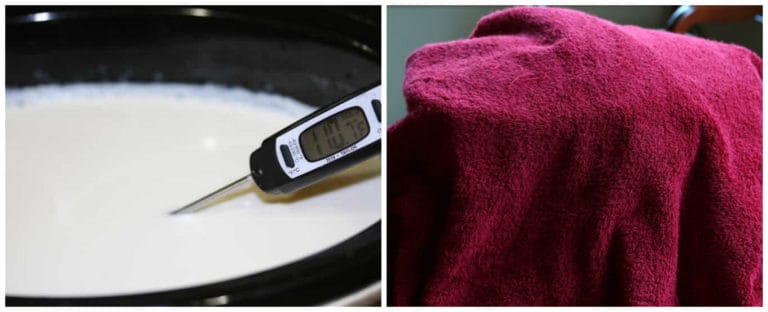
Once the temperature is 110 degrees, mix a little of the warm milk into the room temperature starter yogurt, then gently but thoroughly stir it back into the milk using up and down, left and right motions (not circular). Close the lid and turn off the slow cooker.
Wrap a large bath towel around the slow cooker and let it sit undisturbed in a draft-free, room temperature (or warmer) area for 10-12 hours or overnight. If the environment is too cool the yogurt will not set.
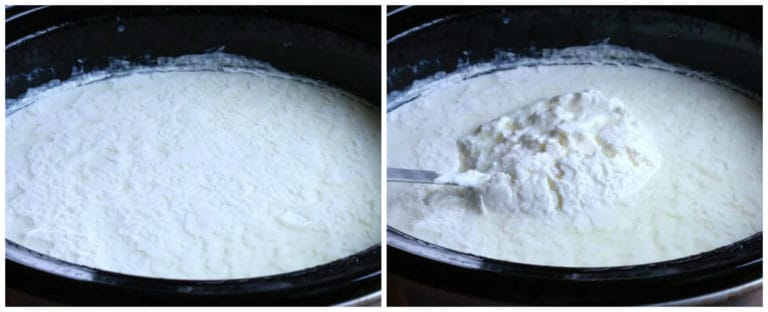
When you remove the lid you’ll find that the milk has thickened and the whey has separated.
Look at that fabulous thick texture! The transformation is almost magical. You’ll be so excited the first time you make this! I still get excited every time I lift the lid.
Line a colander with some cheesecloth.
I currently use this cheesecloth. It’s great quality and you get a lot of it for an excellent price.
Pour the yogurt into the cheesecloth. If it doesn’t all fit (depending on the size of your colander), let the yogurt strain until there’s room enough to add the remaining yogurt, then continue to strain.
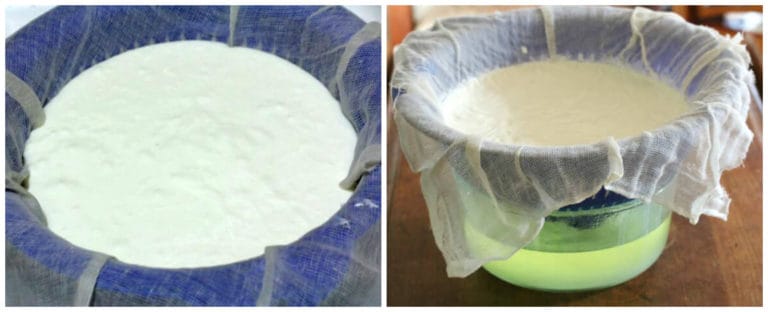
Depending on how thick you want the yogurt, this will take several hours. For thick Greek yogurt, you’ll end up straining it for at least 4 hours. That will also depend on the gauge of the cheesecloth. Set the colander on top of a large glass bowl. If leaving it to strain for several hours, you can put it in the fridge if you prefer and let it strain there.
See the liquid in the glass bowl above right? That’s whey. See the section above titled “How to Use Leftover Whey” for ideas.
Store the yogurt covered in the fridge for up to 2 weeks. When you’re ready to make another batch, use some of the previous batch for the starter culture.
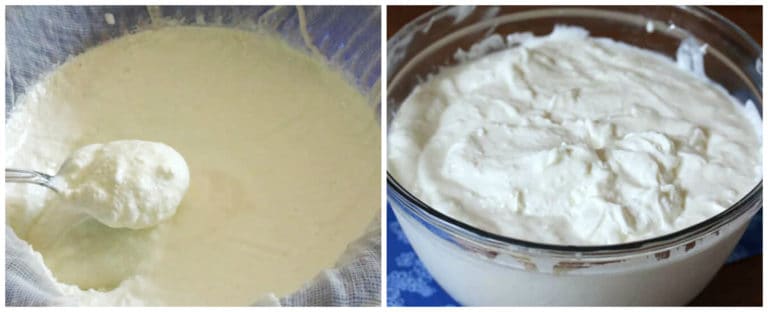
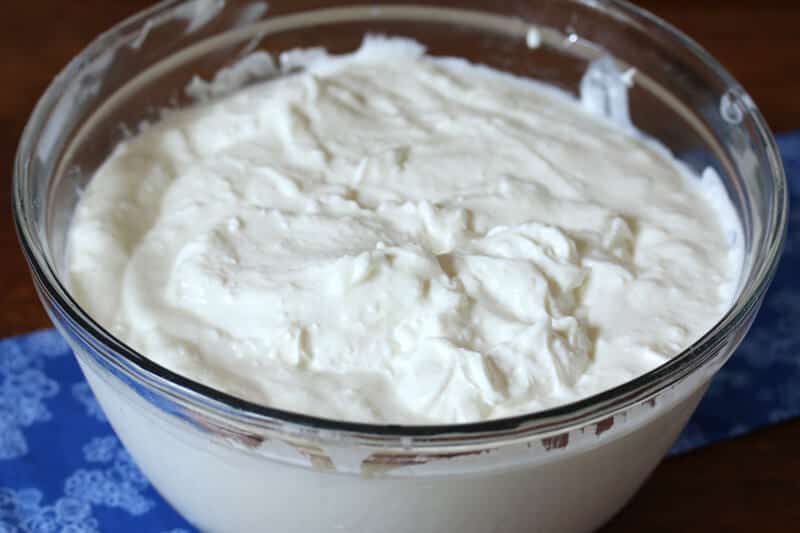
If fully strained to make Greek yogurt, you’ll end up with about 2 quarts (8 cups) of whey and 7-8 cups of Greek yogurt.
You’ll end up with less whey and more yogurt if you strain it less to make regular yogurt.
Cook with it, bake with it, eat it plain or with a variety of mix-ins, whatever your heart desires!
How Much Protein and How Many Calories Are in Homemade Yogurt?
There’s no single accurate answer because the nutritional content depends on the milk, starter, amount of whey removed, and final consistency. Straining removes water along with some lactose, minerals, and protein while concentrating the yogurt that’s left behind. As a result, calculating the calories and protein in homemade yogurt should be considered an estimate.
Ways to Enjoy Yogurt
There are so many ways you can enjoy your homemade yogurt. Here are just a few ideas:
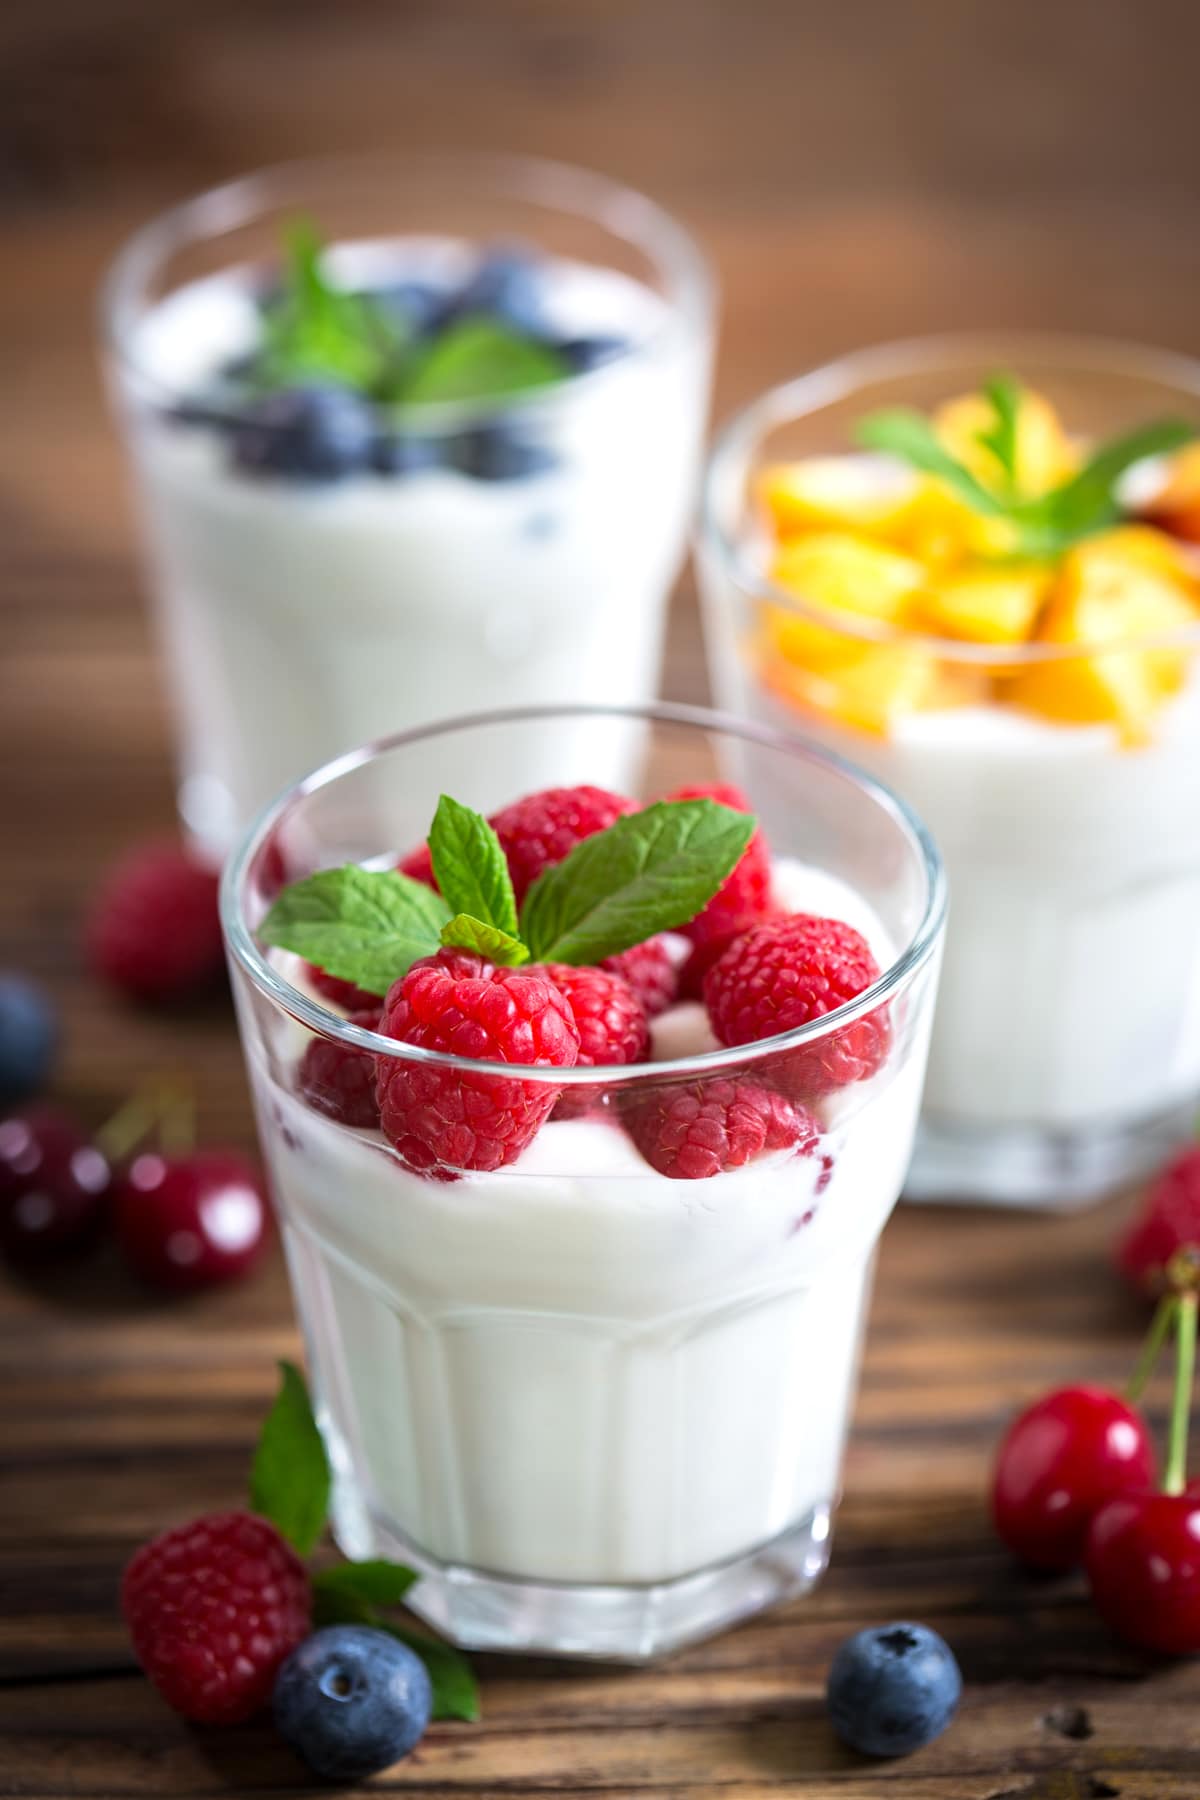
- Add fresh berries or cut up fresh fruits to enjoy with your yogurt along with a sprinkle of cinnamon and/or a drizzle of honey or maple syrup for a healthy breakfast or snack.
- Make parfaits with fresh fruit and granola.
- Blend it with fresh or frozen fruit or with nuts, peanut/cashew/almond butter, chocolate, etc. to make smoothies.
- Add other ingredients and seasonings to use as a sandwich, toast or bagel spreads.
- As the base of a savory dip for oven-baked chips, bread or raw veggies.
- As the base of a sweet dip for fresh fruits or toasted cinnamon pita strips.
- Use it to replace some of the mayonnaise for making creamy dressings like ranch dressing, Russian dressing, thousand island dressing, creamy French dressing, blue cheese dressing and creamy cilantro dressing.
- Make homemade tzatziki sauce.
- Replace sour cream and buttermilk with yogurt in baked goods like cakes, muffins, waffles, pancakes or pie (e.g., sweet potato pancakes, pumpkin waffles, boxty, whole wheat sourdough waffles, sweet potato pie).
- Make yogurt fruit popsicles.
- Use it in place of sour cream for things like tacos, enchiladas and burritos.
- Use it to replace some of the mayonnaise for egg salad, tuna salad, chicken salad, Olivier salad, macaroni salad and potato salad.
The way I most commonly enjoy my yogurt is simply stirring in a spoonful of fruit preserves with a little powdered stevia for a healthy, low-carb treat to satisfy my sweet tooth. Another favorite way is to make vanilla yogurt by stirring in some high quality vanilla bean paste.
You’re going to love how rich and creamy this yogurt is – it’s almost like eating dessert!
Be sure to check out these other tutorials:
Save This Recipe
How To Make Yogurt
Equipment
- Slow Cooker , or large stock pot
Ingredients
- 1 gallon whole milk, 2% or skim milk (whole milk is recommended for thickest, creamiest results) (see note about using raw milk) *this method does NOT work with non-dairy alternatives
- 1 cup plain yogurt at room temperature , either from previous batch or store-bought (*The yogurt must have live cultures in it to work. Check the ingredients to make sure they include l. bulgaricus and s. thermophilus.)
Instructions
- IF USING A STOCK POT: If you're in a hurry or don't have a slow cooker you can use a stock pot. Simply heat the milk in a large stock pot over low to medium heat. Just be sure to stir it regularly, especially as it gets hotter, to prevent the milk from scorching. Then follow the rest of the instructions as written.IF USING A SLOW COOKER: Pour the milk into a slow cooker set to HIGH and close the lid. It will take 2-3 hours before the temperature of the milk is up to 180 degrees F. Check it with an instant-read thermometer. Once it's at 180 degrees, turn off the slow cooker, close the lid, and let the milk cool to 110 degrees F. This will take another 2-3 hours. Once the temperature is between 110 and 115 degrees F, add some of the warm milk to the plain yogurt, stir to combine, and then gently but thoroughly stir the mixture back into the milk in the slow cooker using up and down, left and right motions (not circular).
- Close the lid, wrap the slow cooker or stock pot with a large bath towel, and let it sit undisturbed in a non-drafty place at room temperature (or warmer) for 10-12 hours or overnight. If the environment is too cool the yogurt will not set. During this process the milk will have thickened and the whey will have started separating from the milk.
- Line a colander with a cheesecloth and pour the yogurt into it. Set the colander over a large glass bowl and let it strain at room temperature for several hours, until you've achieved the desired thickness (length of straining time will also depend on the gauge of the cheesecloth). For thick Greek yogurt plan on at least 4 hours. You'll end up with about 8 cups of whey and 7-8 cups of Greek yogurt.
- Store the yogurt in the fridge in an airtight container, preferably a glass bowl for up to 2 weeks. When ready to make another batch of yogurt, use a cup of the previous batch as the starter culture.
Notes
Nutrition
First published on The Daring Gourmet June 2017

Hi, I’m Kimberly Killebrew and welcome to Daring Gourmet where you'll find delicious originals, revitalized classics, and simply downright good eats from around the world! Originally from Germany, later raised in England, world-traveled, and now living in the U.S., from my globally-influenced kitchen I invite you to tour the world through your taste buds!

















This turned out super, I swear I will never buy yogurt at the store again!
Thank you, Sophia, I’m so happy you enjoyed it!
I am so happy with my first batch of yogurt, it is so creamy with just the right amount of tang. Thank you for the recipe!
That’s wonderful, Anita, thank you so much!
This was my first time making yogurt and it turned out perfectly!!!
I’m so happy to hear that, Tatianna, thank you!
Hi Kimberly, can I leave my slow cooker in my oven overnight before straining?
Hi Mary, you bet!
Thanks, Kimberly! I’m thinking that during our cold winters, this would help keep the temperature steady overnight. This recipe turned out great! I’m so glad I found your page.
I’m so glad it was a success, Mary, thanks for the update! I’m likewise happy that you found my site and hope you find more recipes to enjoy <3
Found your recipe more than six years ago, use it ever since, the best yogurt ever. I drain it for a Greek yogurt, put some vanilla and honey, my grandson’s favorite, while store-bought was very difficult to persuade him to eat. Once I put chocolate on top, tastes like those cheese chocolate bars I used to have. Thank you, Kimberly.
Oh I’m so happy this has become a regular, Zita, thank you so very much for the positive feedback! <3
Let me say I am an experienced yogurt maker but something has gone wrong. My yogurt resembles the consistency of kifir. It sat overnight bundled safely in thick cozy towels with all the same love and attention I gave my firstborn child. This morning I was ready to pour it into my 3 layers of cheesecloth lining my bowl to put in the fridge. The entire batch of yogurt immediately drained through 3 layers of cheesecloth. Its a disaster. Help!
Where did I go wrong?
Hi Sabrina, assuming you didn’t overheat it and that it didn’t get too cold overnight, that would suggest that the cultures weren’t viable. Either the “starter” yogurt you used didn’t contain l. bulgaricus and s. thermophilus or the cultures were no longer active for whatever reason.
What’s the point of heating the milk to 180F if it’s already pasteurized? It seems like an unnecessary step. Just heat to 104-110F
Hi Joanna, heating milk to 180°F, even if it’s already pasteurized, isn’t about safety, it’s about texture. Heating it to 180 is the process of scalding milk, which denatures the whey proteins (e.g. lactoglobulin) and creates the thick, stable and spoonable texture of yogurt.