Suet Dumplings
This post may contain affiliate links. See my disclosure policy.
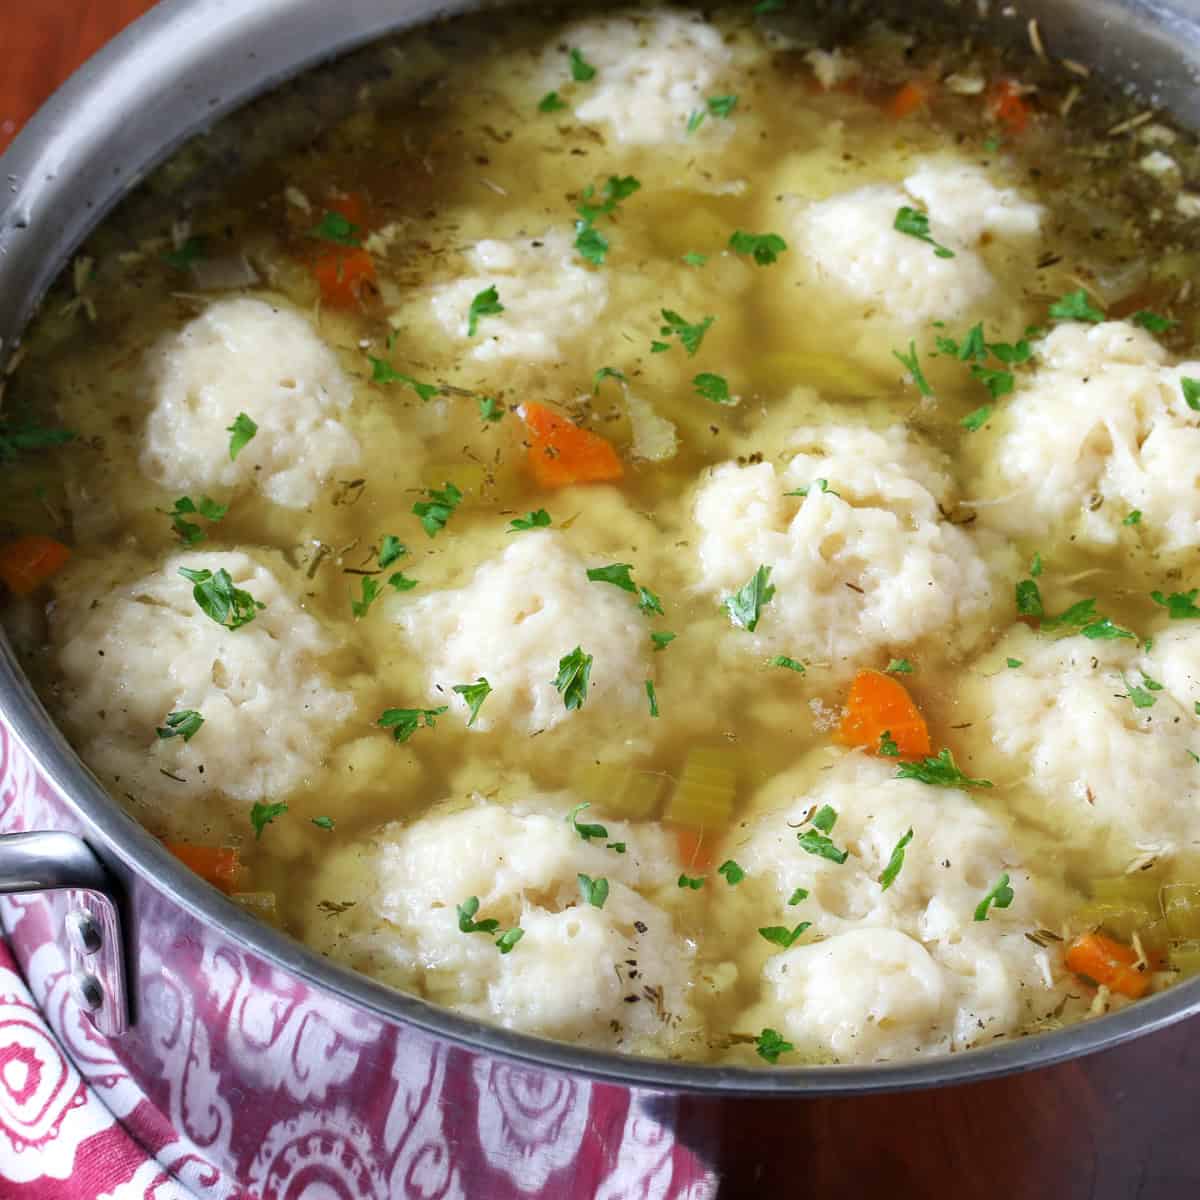
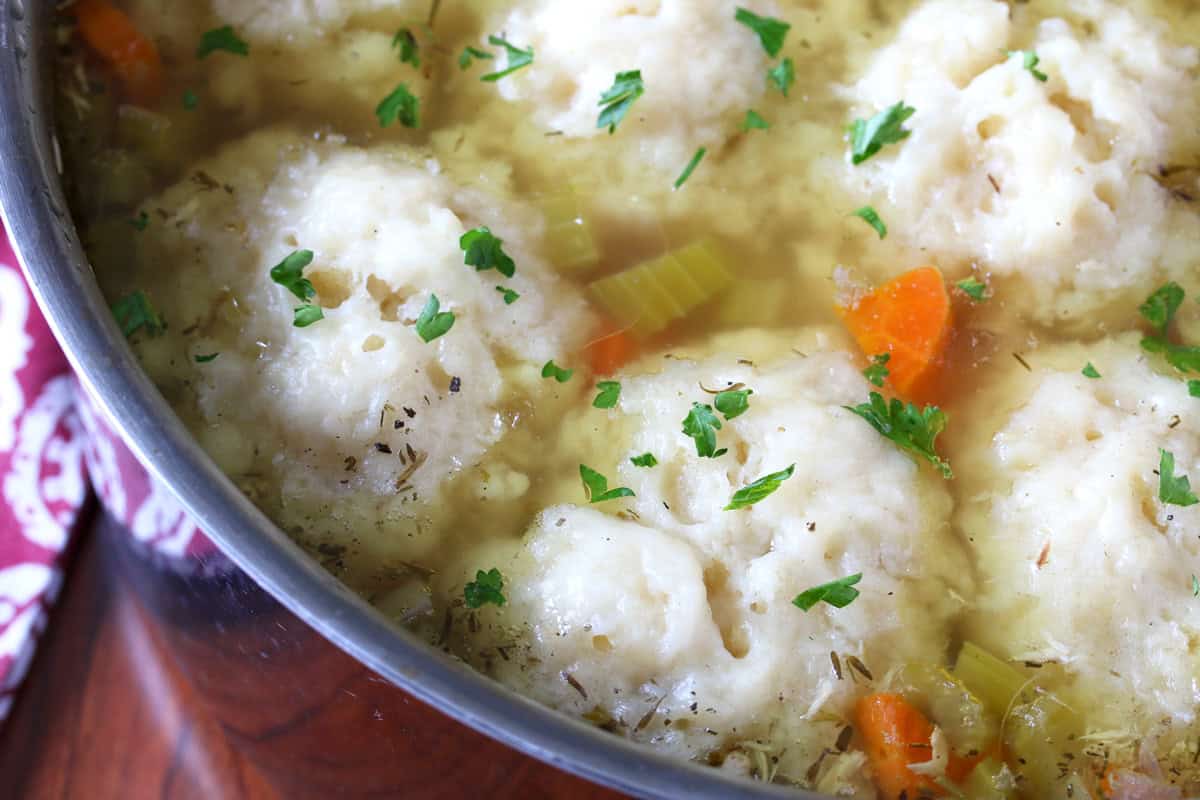
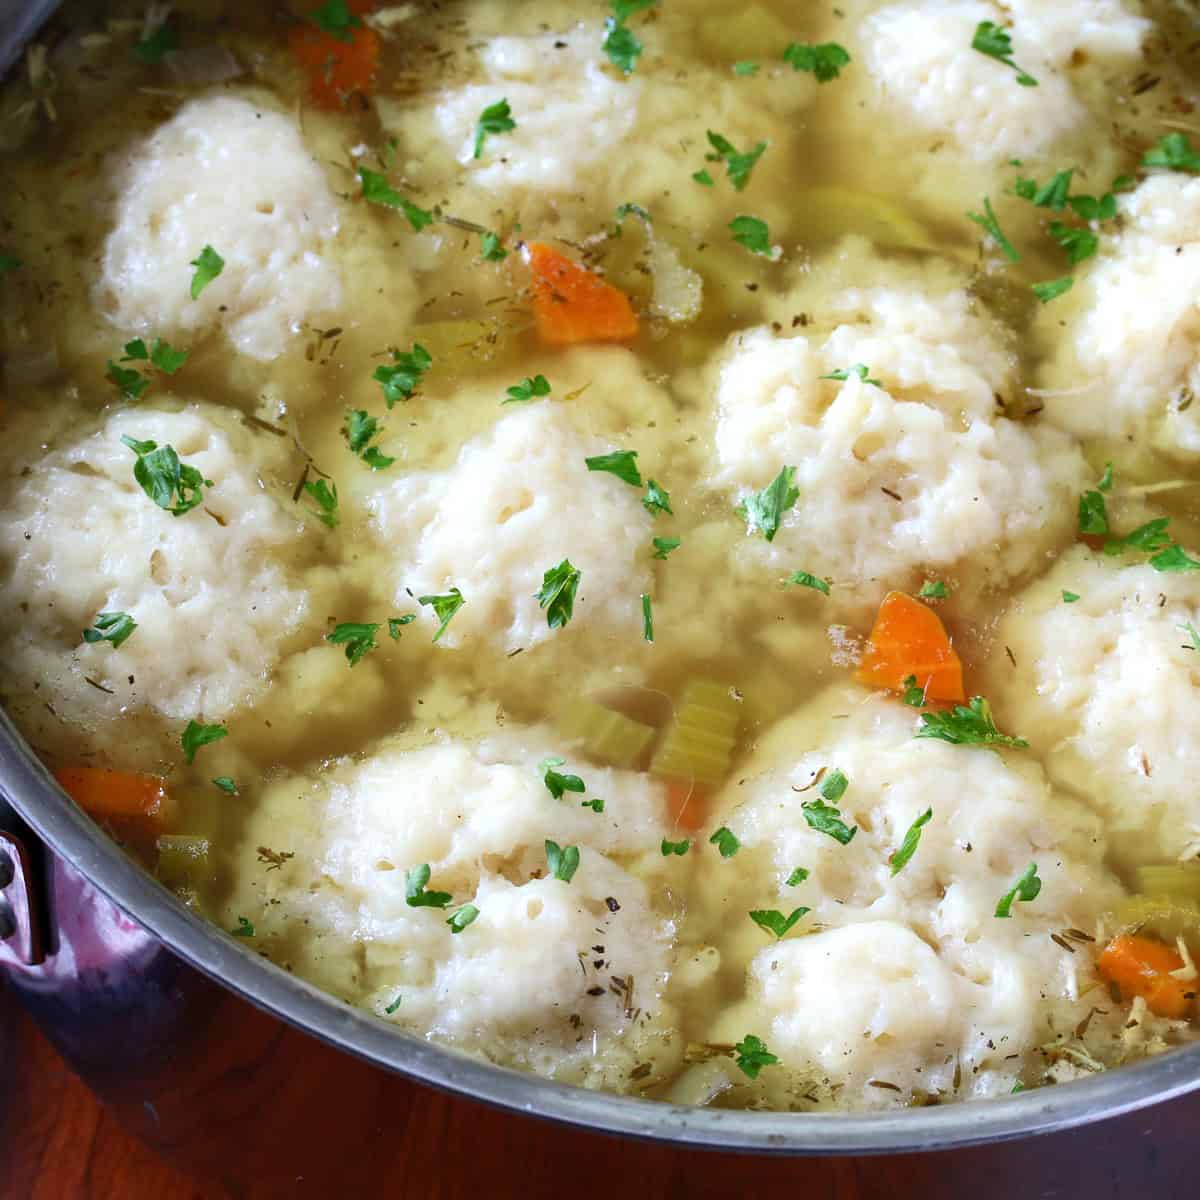
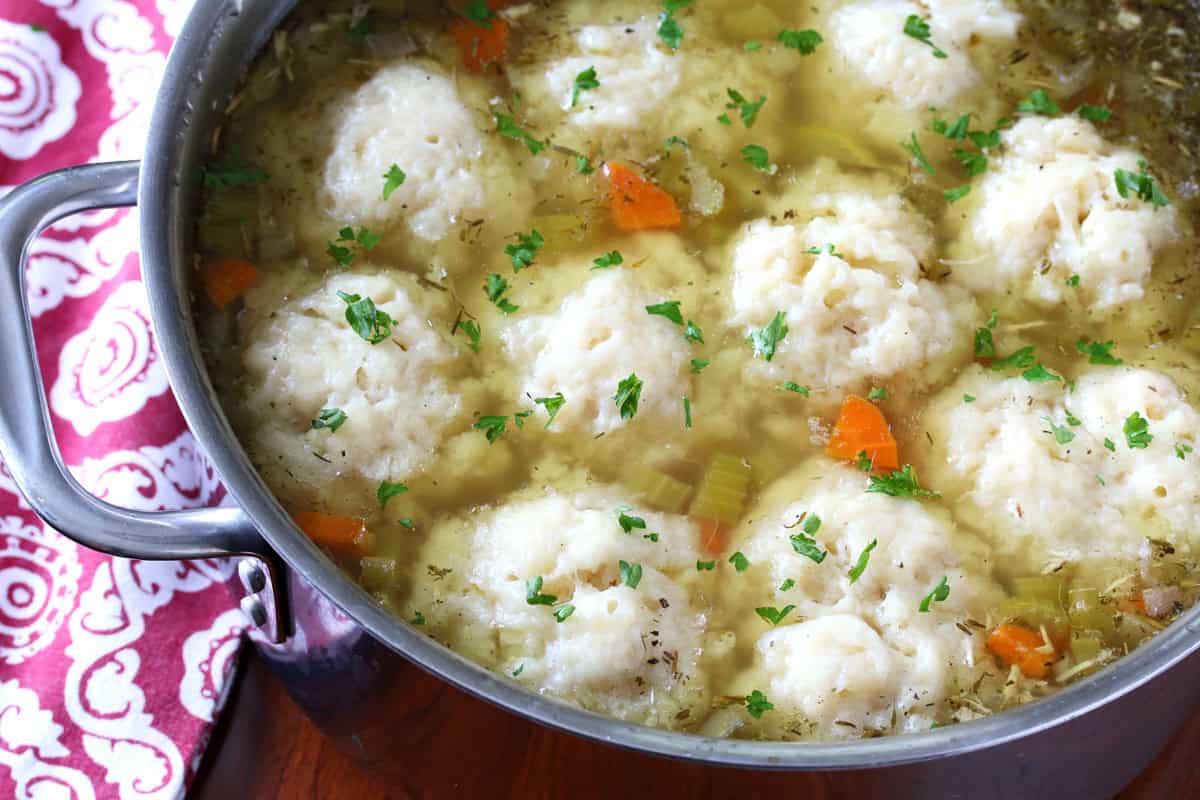
A traditional British favorite, this Suet Dumplings recipe creates those beloved light and fluffy dumplings that are perfect for serving with your favorite stews and soups!
What are Suet Dumplings?
Suet dumplings are a traditional British staple featuring a dough that is made from wheat flour, shredded suet (beef fat), and water. The dough is divided into balls and these are cooked by placing them on top of a stew to simmer. Suet has a high melting point, causing it to melt slowly during the cooking process, which creates tiny air pockets in the dough that give the dumplings their characteristic light and fluffy texture and helps them stay moist. (This is why suet is also used in classic British steamed puddings a roly-poly, Spotted Dick and Figgy Pudding.) Suet dumplings can be seasoned with herbs like thyme or parsley and are served alongside the stew or atop the soup.
Suet Dumplings Ingredients
These dumplings require just four ingredients plus water. Here’s what you’ll need:
- Flour: In the UK, self-raising flour is commonly used. This is all-purpose flour that already has the raising agent added (baking powder or soda) along with salt. I never use it because the addition of the baking powder limits how the flour can be used and it’s simple enough to add the baking powder and salt separately. I also like to retain control over how much of these ingredients are added. So I’m using all-purpose flour.
- Baking Powder: This acts as the leavening agent in the dumplings. Some recipes call for far too little and the result is dense, stodgy dumplings. Not something we want!
- Salt: I recommend kosher or sea salt.
- Suet: That’s shredded beef fat, specifically the fat surrounding the kidneys of the cow, also known as leaf fat.
- Optional Seasonings: If you like you can add some chopped thyme, parsley, or other herbs of your choice. Fresh is best but you can also use dried. If you like, you can even add some shredded cheese.
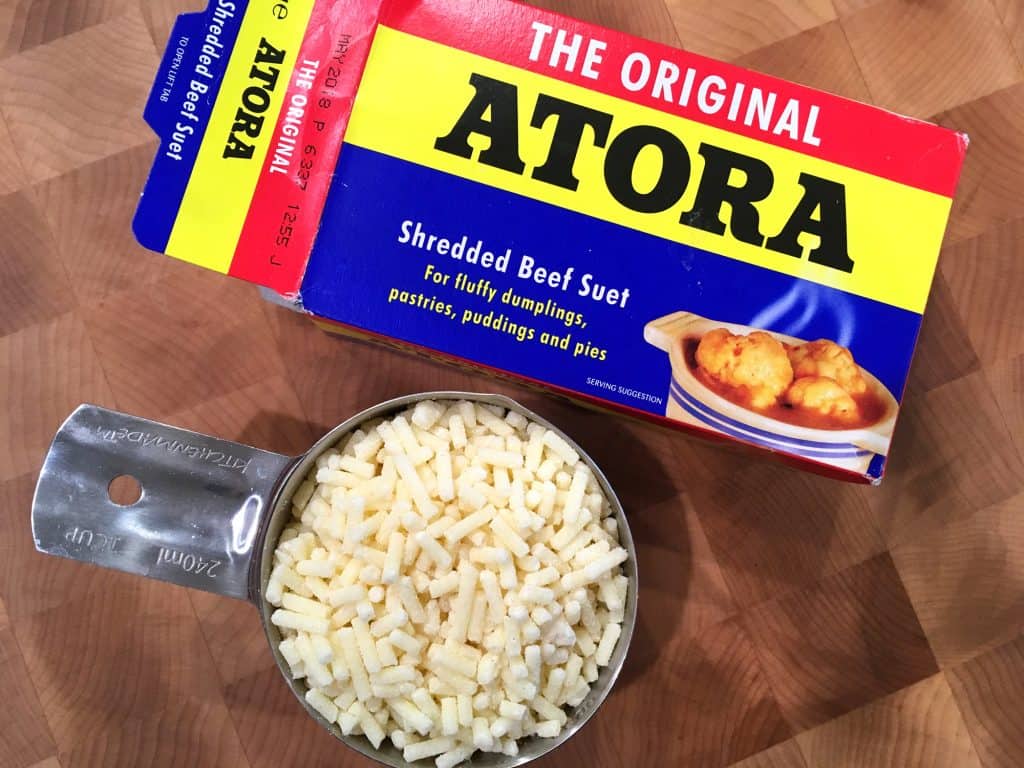
Where Can I Find Suet?
The most famous brand of ready-made suet that has been around forever is Atora, first manufactured in 1893 in Manchester, England. It’s inexpensive and readily available in most grocery stores throughout the UK. Outside of the UK it’s very expensive and you’ll generally only be able to find it online. You can buy Atora on Amazon.
How to Make Suet
Alternatively you can make your own. To do this you will need to find an independent butcher shop (not the butcher at a grocery store). Ask for beef kidney fat, also called leaf fat. This is the hard fat that surrounds the kidneys (as opposed to the back fat). Many butchers can shred the fat for your by running it through their finest grinder. If not, take the fat home, discard all of the membranes, veins, and any remnants of meat, and then freeze it for a few hours. If you have a meat grinder, run it through the smallest plate. Otherwise, grate the fat using a box grater. Do not try using a food processor or you will end up with a messy paste. The grated suet can be frozen and used as needed.
Do I Have to Use Suet?
Well, they are called suet dumplings. And the suet is specifically used because of the texture it creates – its high melting point enables it to melt very slowly while cooking, creating tiny air pockets throughout the dough that give the final dumplings their beloved light, fluffy and moist texture. Its high melting point is also important for helping the dumplings hold together during cooking.
But I’m vegetarian, what can I use instead? The same brand that makes the beef suet, Atora, also makes a vegetable shredded suet.
Tips for Success
Suet dumplings are pretty straightforward to make but there are few things to be mindful of to ensure their success.
- Use cold water: This makes the dough easier to handle when you’re forming it into balls.
- Work quickly: As the dough gets warm it will be come sticky, making it harder to roll into balls.
- Avoid overworking the dough: Otherwise your dumplings will be dense. Stir the mixture just until it comes together and is blended.
Suet Dumplings Recipe
Let’s get started!
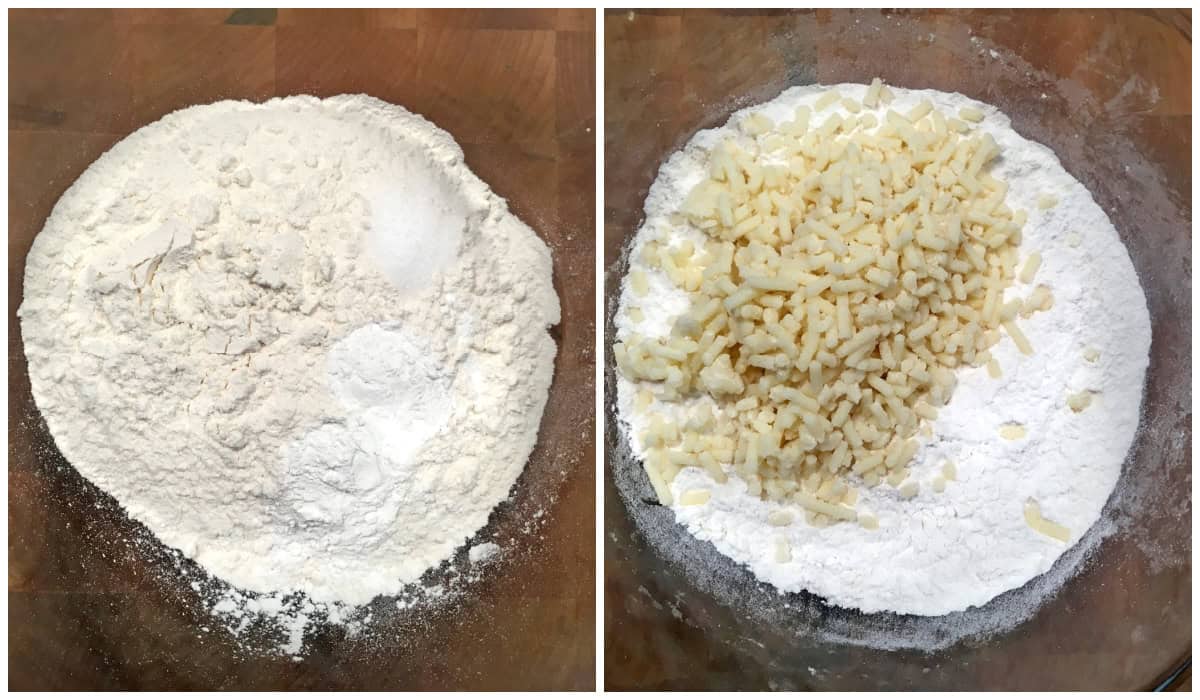
Combine the flour, baking powder and salt in a bowl. Add the shredded suet and stir to combine.
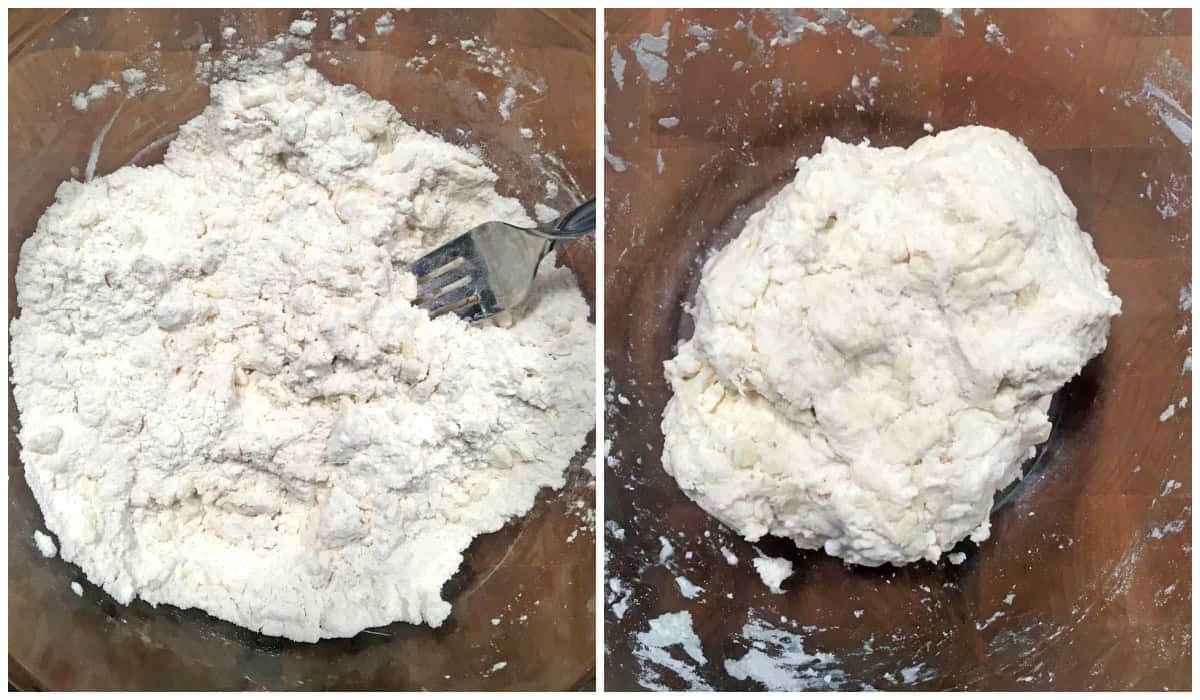
Using a fork to stir the mixture, add just enough water until the mixture comes together to form a dough ball. Start with less water and add more as needed to avoid making the dough too wet. It shouldn’t be very sticky or crumbly – it should be just moist enough to where you can easily form it into balls.
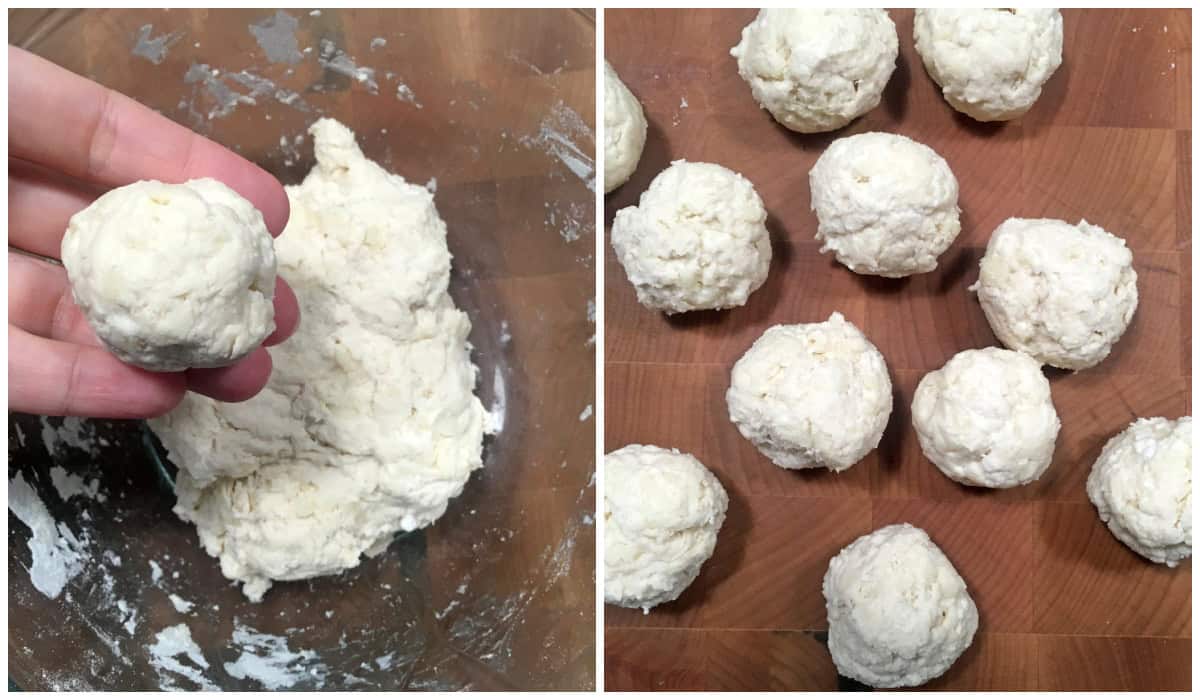
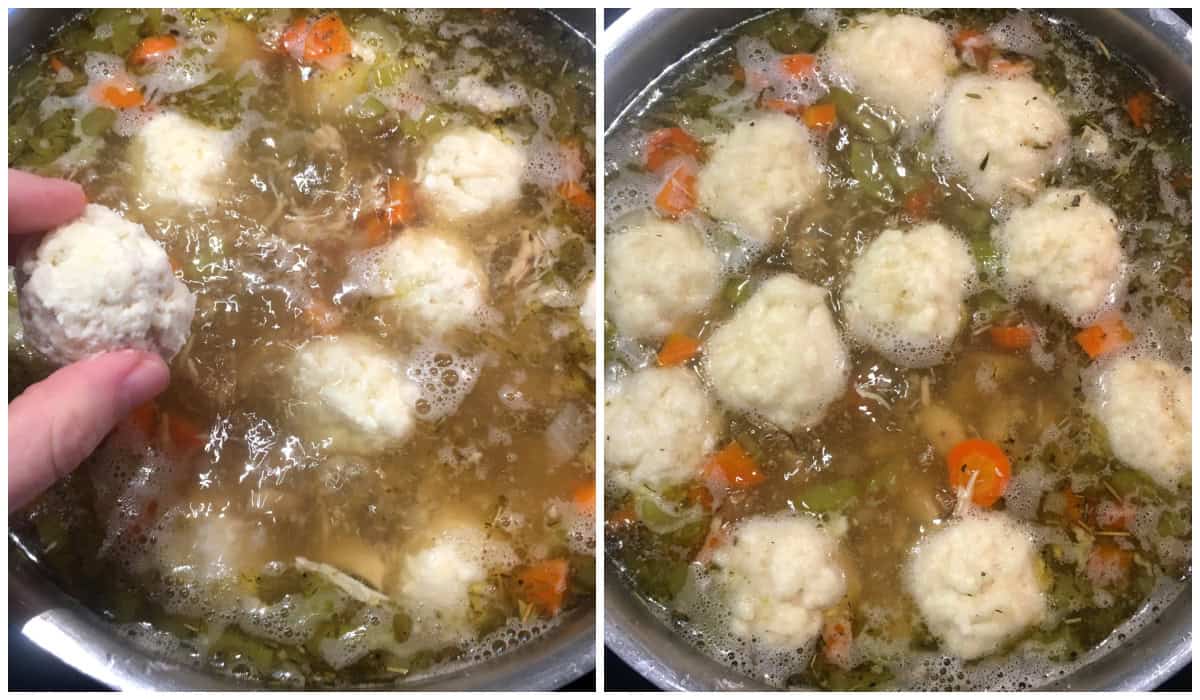
Divide the dough into 12 equal pieces and roll them into balls in the palm of your hands.
How to Use Suet Dumplings
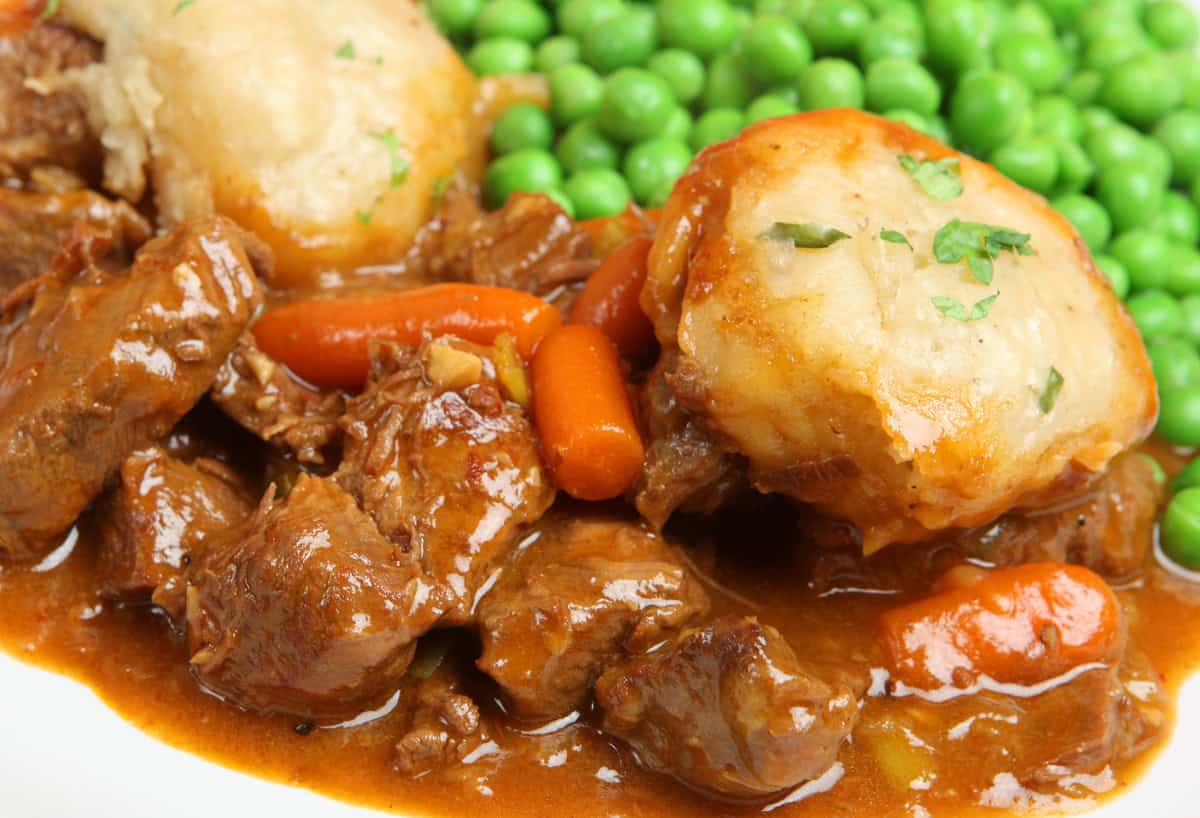
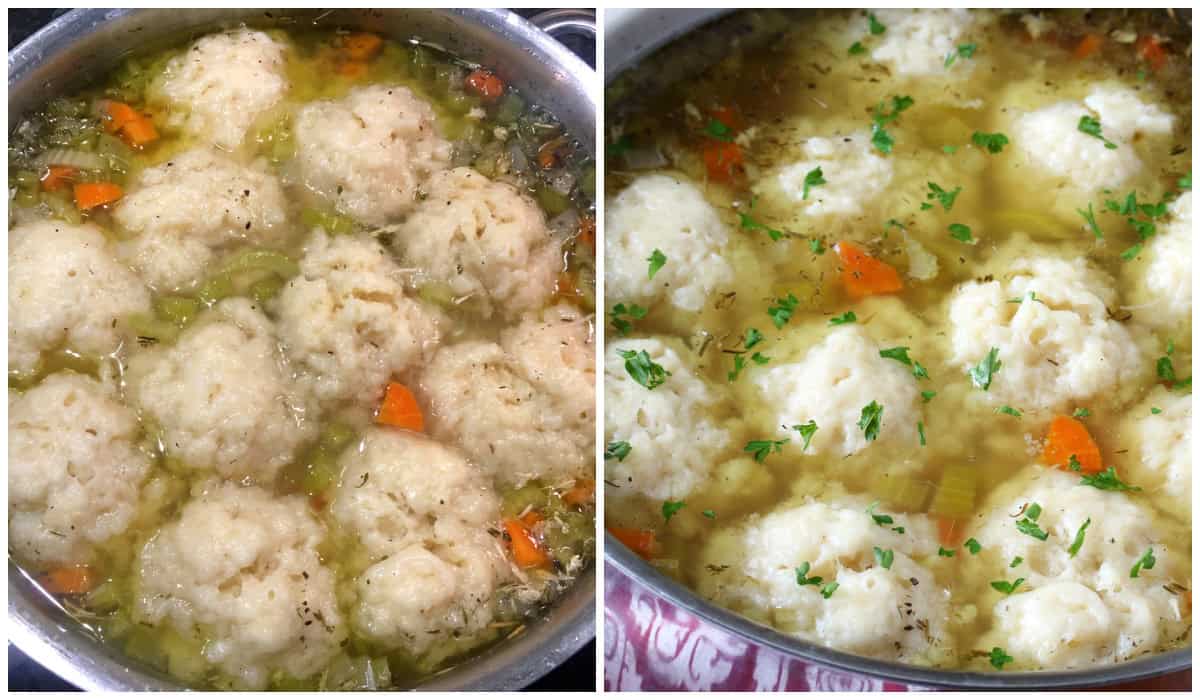
Suet dumplings are meant to cook on something, specifically any kind of stew or thicker soup. As long there is some bulk in the soup to help hold up the dumplings they can be added to brothy soups as well (the dumplings do a pretty good job of floating on their own). Whether you’re making the stew on the stovetop or in the oven, toward the end of the stew’s cooking time, place the suet dumplings on top of the stew, cover with the lid, and let them simmer with the stew for 20 minutes.
If you like a crispy exterior, remove the lid after the 20 minutes and continue to cook them for another 10 minutes or so until lightly browned. If necessary you can bump up the temp a bit.
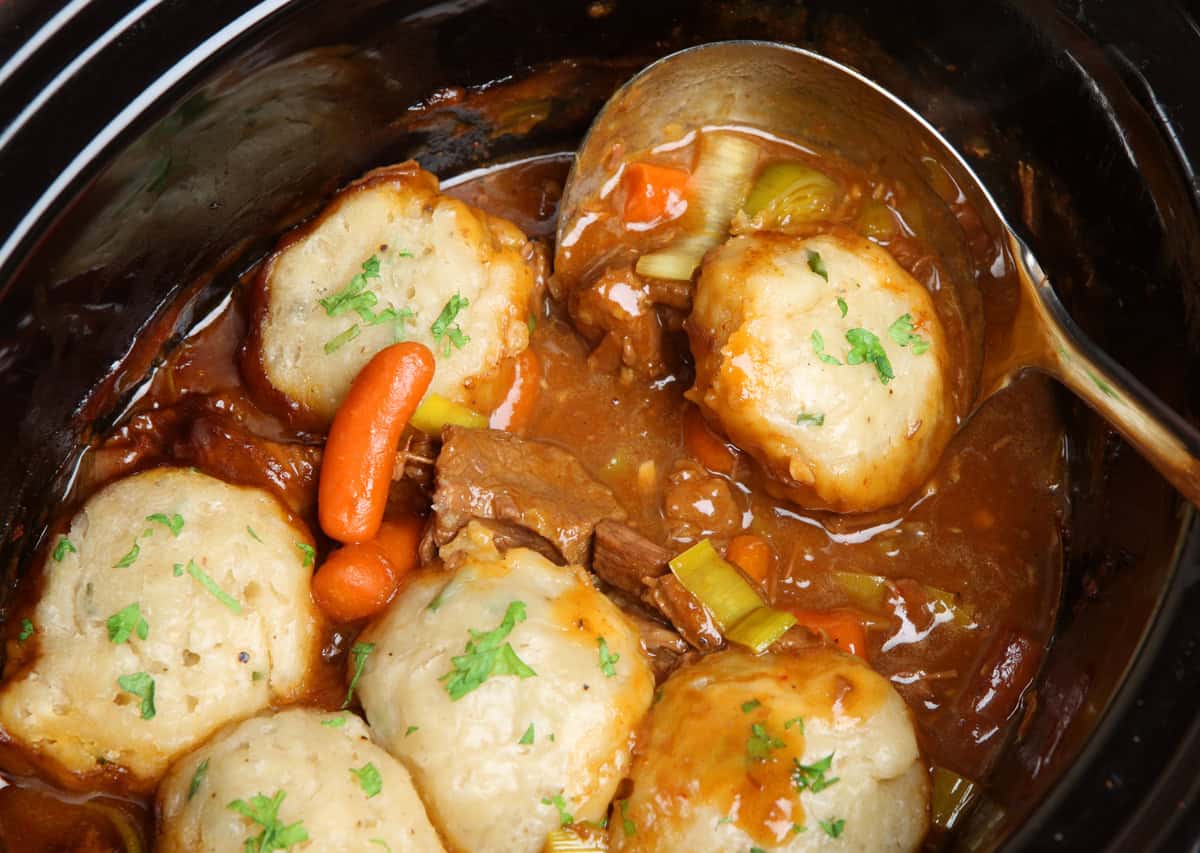
Here are a few hearty stews that you can cook with these suet dumplings:
Old Fashioned Beef Stew, Irish Stew, Guinness Beef Stew, Scotch Broth, German Goulash, Chicken Paprikash, Pichelsteiner, Kalops, Beef Bourguignon, Beef and Barley Stew, Szegedin Goulash, Beef and Pepper Stew.
Make Ahead and Reheating
These suet dumplings can be prepared and shaped into balls, placed on a plate and covered with plastic wrap and stored in the fridge until ready to cook. They can be made up to a day in advance. Leftover dumplings can be stored in the fridge for up to 3 days and can be reheated it by steaming them or microwaving them in a covered dish so that they don’t dry out.
Can you Freeze Suet Dumplings?
You sure can! There are two ways you can do this: freeze fully cooked and cooled dumplings or freeze them uncooked. Either way they will store in the freezer for up to 3 months. To freeze cooked dumplings, let them cool completely and place them single layer in a freezer container to freeze. Let them thaw in the fridge slowly overnight. They’re best reheated in a steamer but can also be microwaved in a covered dish to prevent them from drying out. To freeze uncooked suet dumplings, place the dough balls on a cookie sheet and freeze for a few hours until frozen. Then transfer them to a freezer container (I recommend placing parchment paper between layers so they don’t stick to each other). They can be thawed in the fridge first or can be cooked directly from frozen (just add a few more minutes of cooking time).
Enjoy!
For more traditional British recipes try my:
- Yorkshire Pudding
- Cornish Pasty
- Fish and Chips
- Mushy Peas
- Bangers and Mash
- Scotch Broth
- Scotch Eggs
- Crumpets
- Guinness Stew
- Toad in the Hole
Save This Recipe

Suet Dumplings
Ingredients
- 1 2/3 cups all-purpose flour
- 2 teaspoons baking powder
- 1/2 teaspoon kosher or sea salt
- 3.5 ounces shredded beef suet , see Note
- 3/4 cup cold water **start with less and add more as needed
- optional add-ins: cracked pepper, chopped parsley or thyme
Instructions
- Combine the flour, baking powder and salt in a bowl. Add the shredded suet and stir to combine.Using a fork to stir the mixture, add just enough water until the mixture comes together to form a dough ball. Start with less water and add more as needed to avoid making the dough too wet. It shouldn't be very sticky or crumbly – it should be just moist enough to where you can easily form it into balls.Divide the dough into 12 equal pieces and roll them into balls in the palm of your hands.
- To cook the suet dumplings: Whether you're making the stew on the stovetop or in the oven, toward the end of the stew's cooking time, place the suet dumplings on top of the stew in a single layer, cover with the lid, and let them simmer with the stew for 20 minutes. If you like a crispy exterior, remove the lid after the 20 minutes and continue to cook them for another 10 minutes or so until lightly browned. If necessary you can bump up the temp a bit.
Notes
Nutrition

Hi, I’m Kimberly Killebrew and welcome to Daring Gourmet where you'll find delicious originals, revitalized classics, and simply downright good eats from around the world! Originally from Germany, later raised in England, world-traveled, and now living in the U.S., from my globally-influenced kitchen I invite you to tour the world through your taste buds!


Simple, easy comfort food, served them with Irish stew. Delicious.
Thank you so much, Connra!
I am not familiar with this type of fat. however, can I use beef tallow fat? thank you.
Hi Edwina, suet is beef fat/tallow, specifically the fat from around the kidneys, also called leaf fat (it has a more neutral flavor and higher smoke point than the back fat). If you have some firm beef tallow you can shred it using a box grater and use that.
These were splendid, just like I remember them (and I won’t say how long it’s been!). Easy and filling, plopped them in the stew, so scrummy.
I’m so happy to hear that, thank you Dolores! <3
I was really delighted to stumble upon this recipe. Suet dumplings were a favorite throughout my childhood, something I looked forward to, and I continued making them through my early years of marriage. It’s been quite some time since I had them and I had long since misplaced my receipt for them. So as soon as I saw this I smiled and knew I had to make them again. Already have Atora (even as an expat Brit I still have to make my puddings and such), and so made them that very evening with my stew. These were as lovely and delicious as ever. So happy to have revived an old tradition and look forward to making them again.
Thank you so much for the feedback, Becki, I’m so thrilled that you enjoyed them! <3
How lovely! I haven’t had these in ages but my mum but I have such fond memories of the times my mum would make them. Always with Atora, I recognize that box the photo :) I’ve already placed my order for some Atora (will look for a butcher who has it next time) and cannot wait to make these. Yummy scrummy!
Happy cooking, Caroline, I hope you enjoy the suet dumplings! :)